Viewing entries in
Vegan

Triple Cheese & Nigella Seed Biscuits

Comment

Triple Cheese & Nigella Seed Biscuits


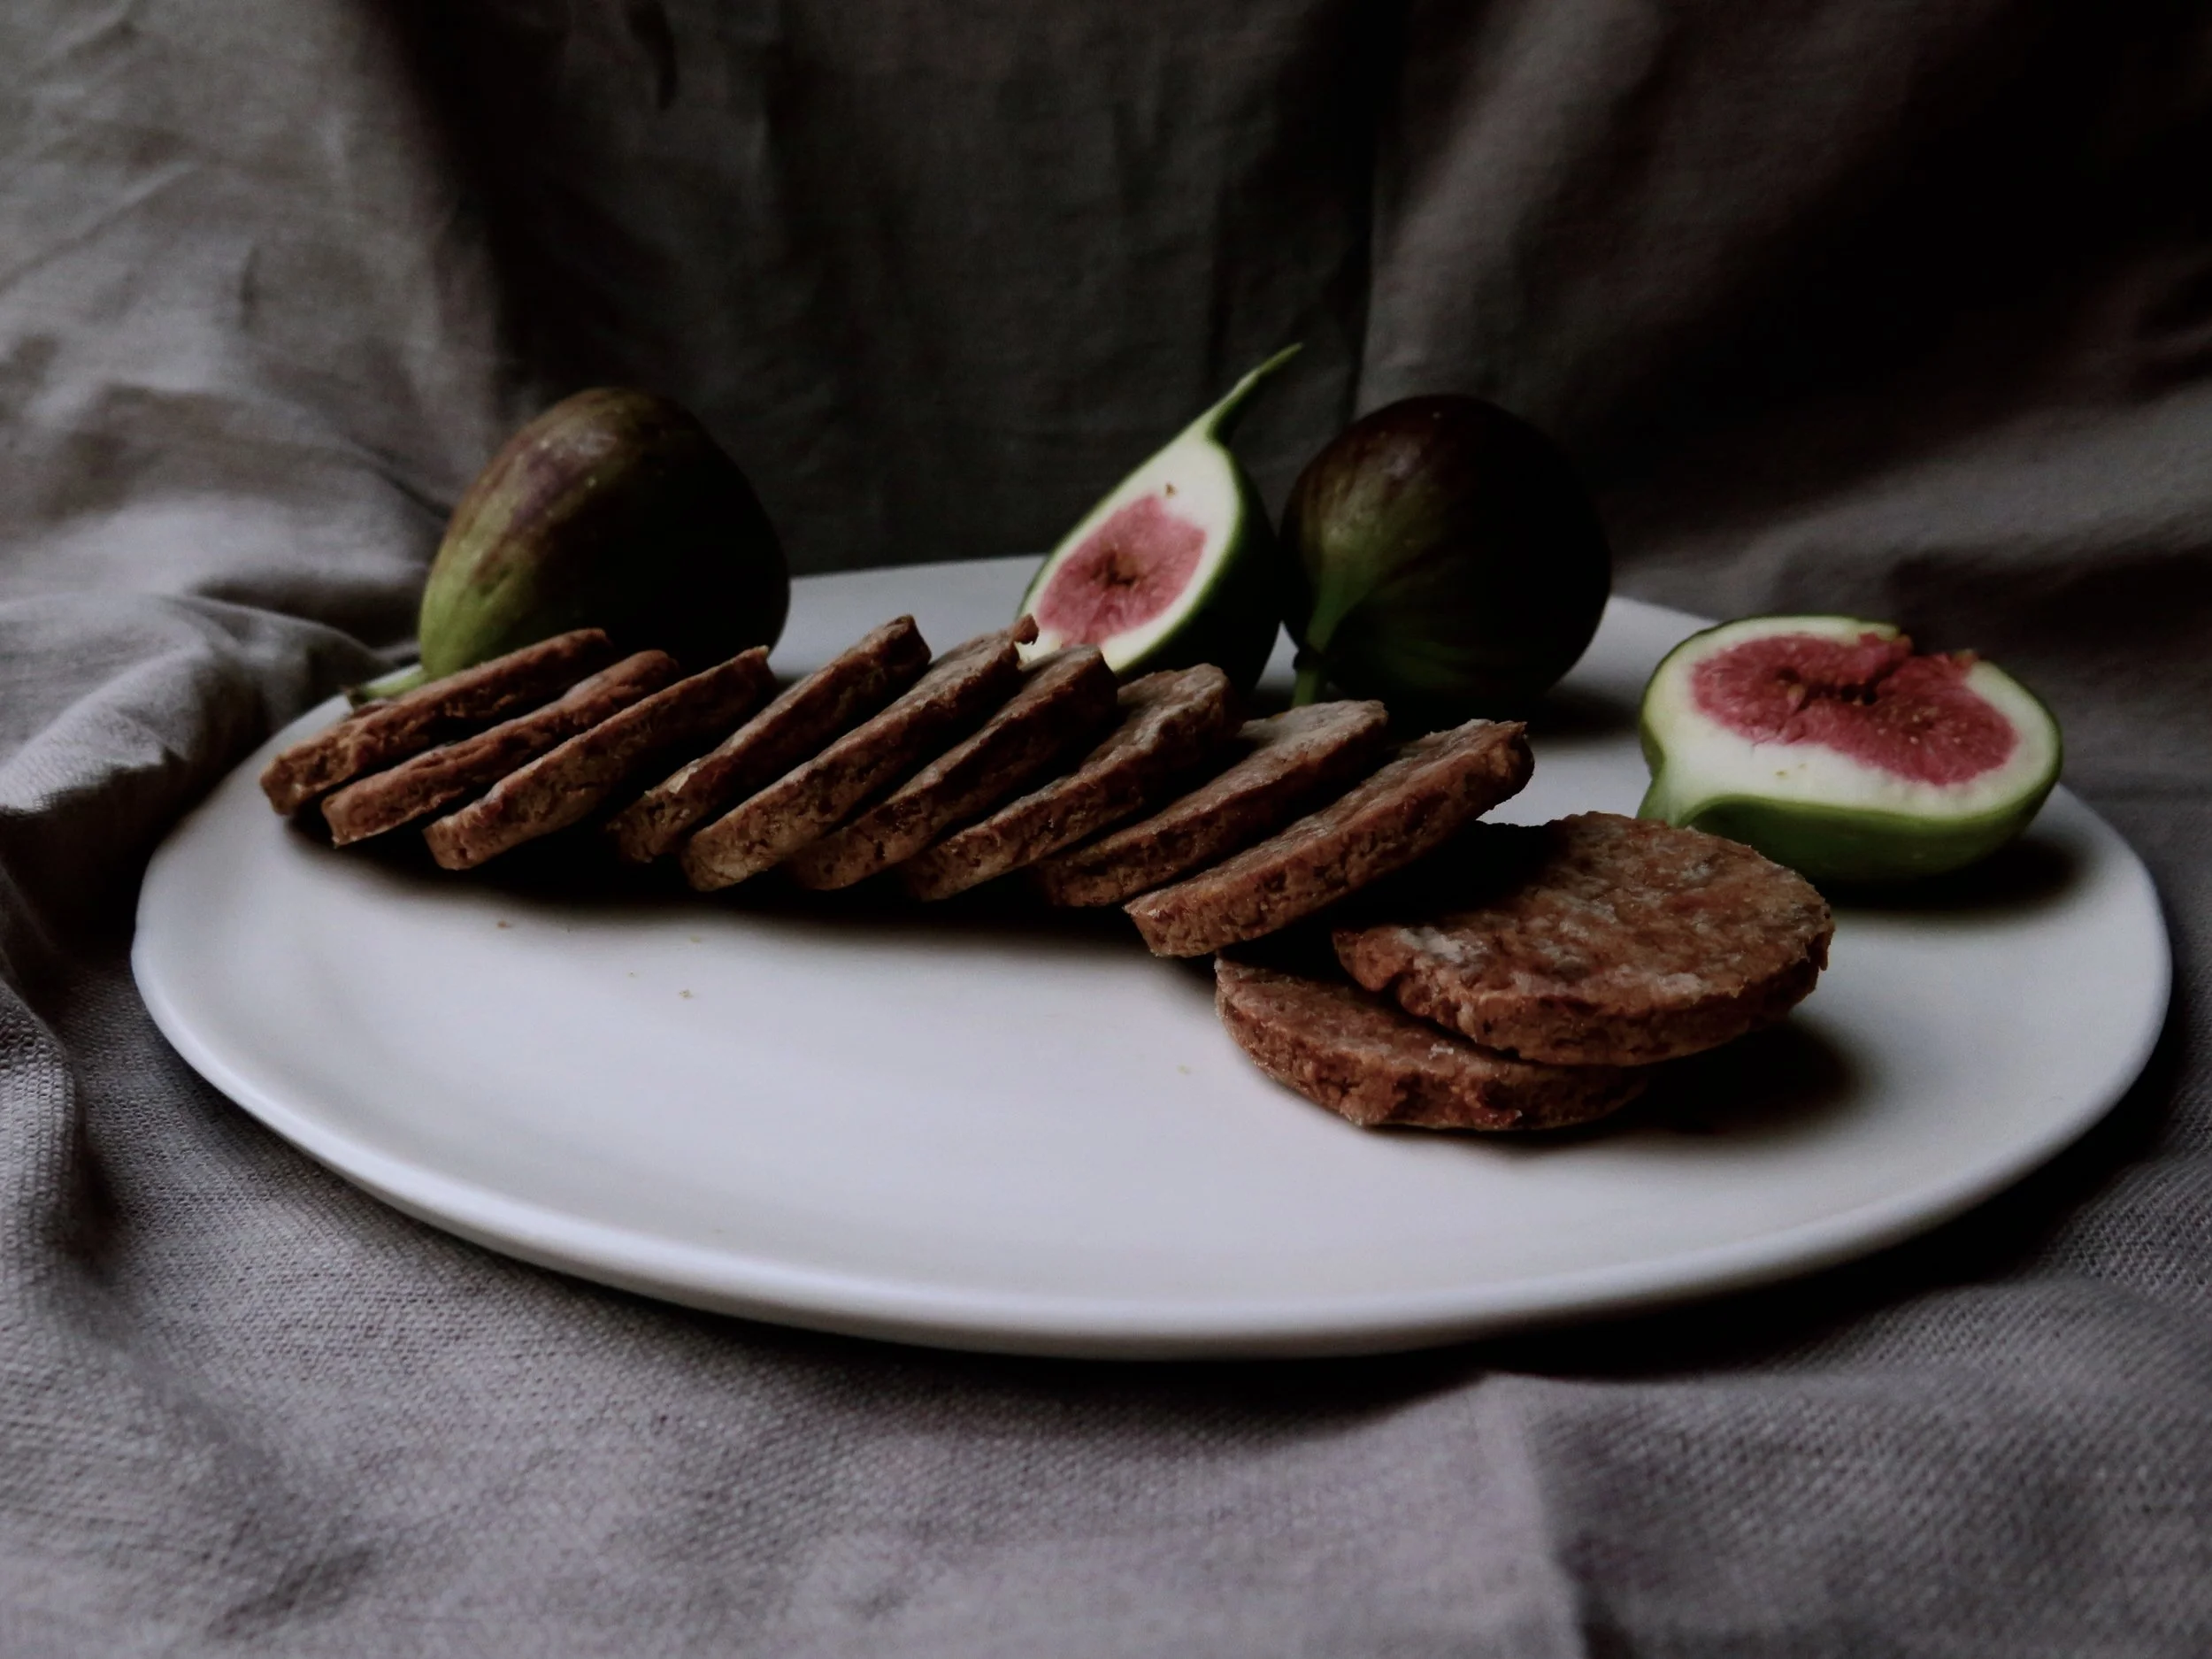
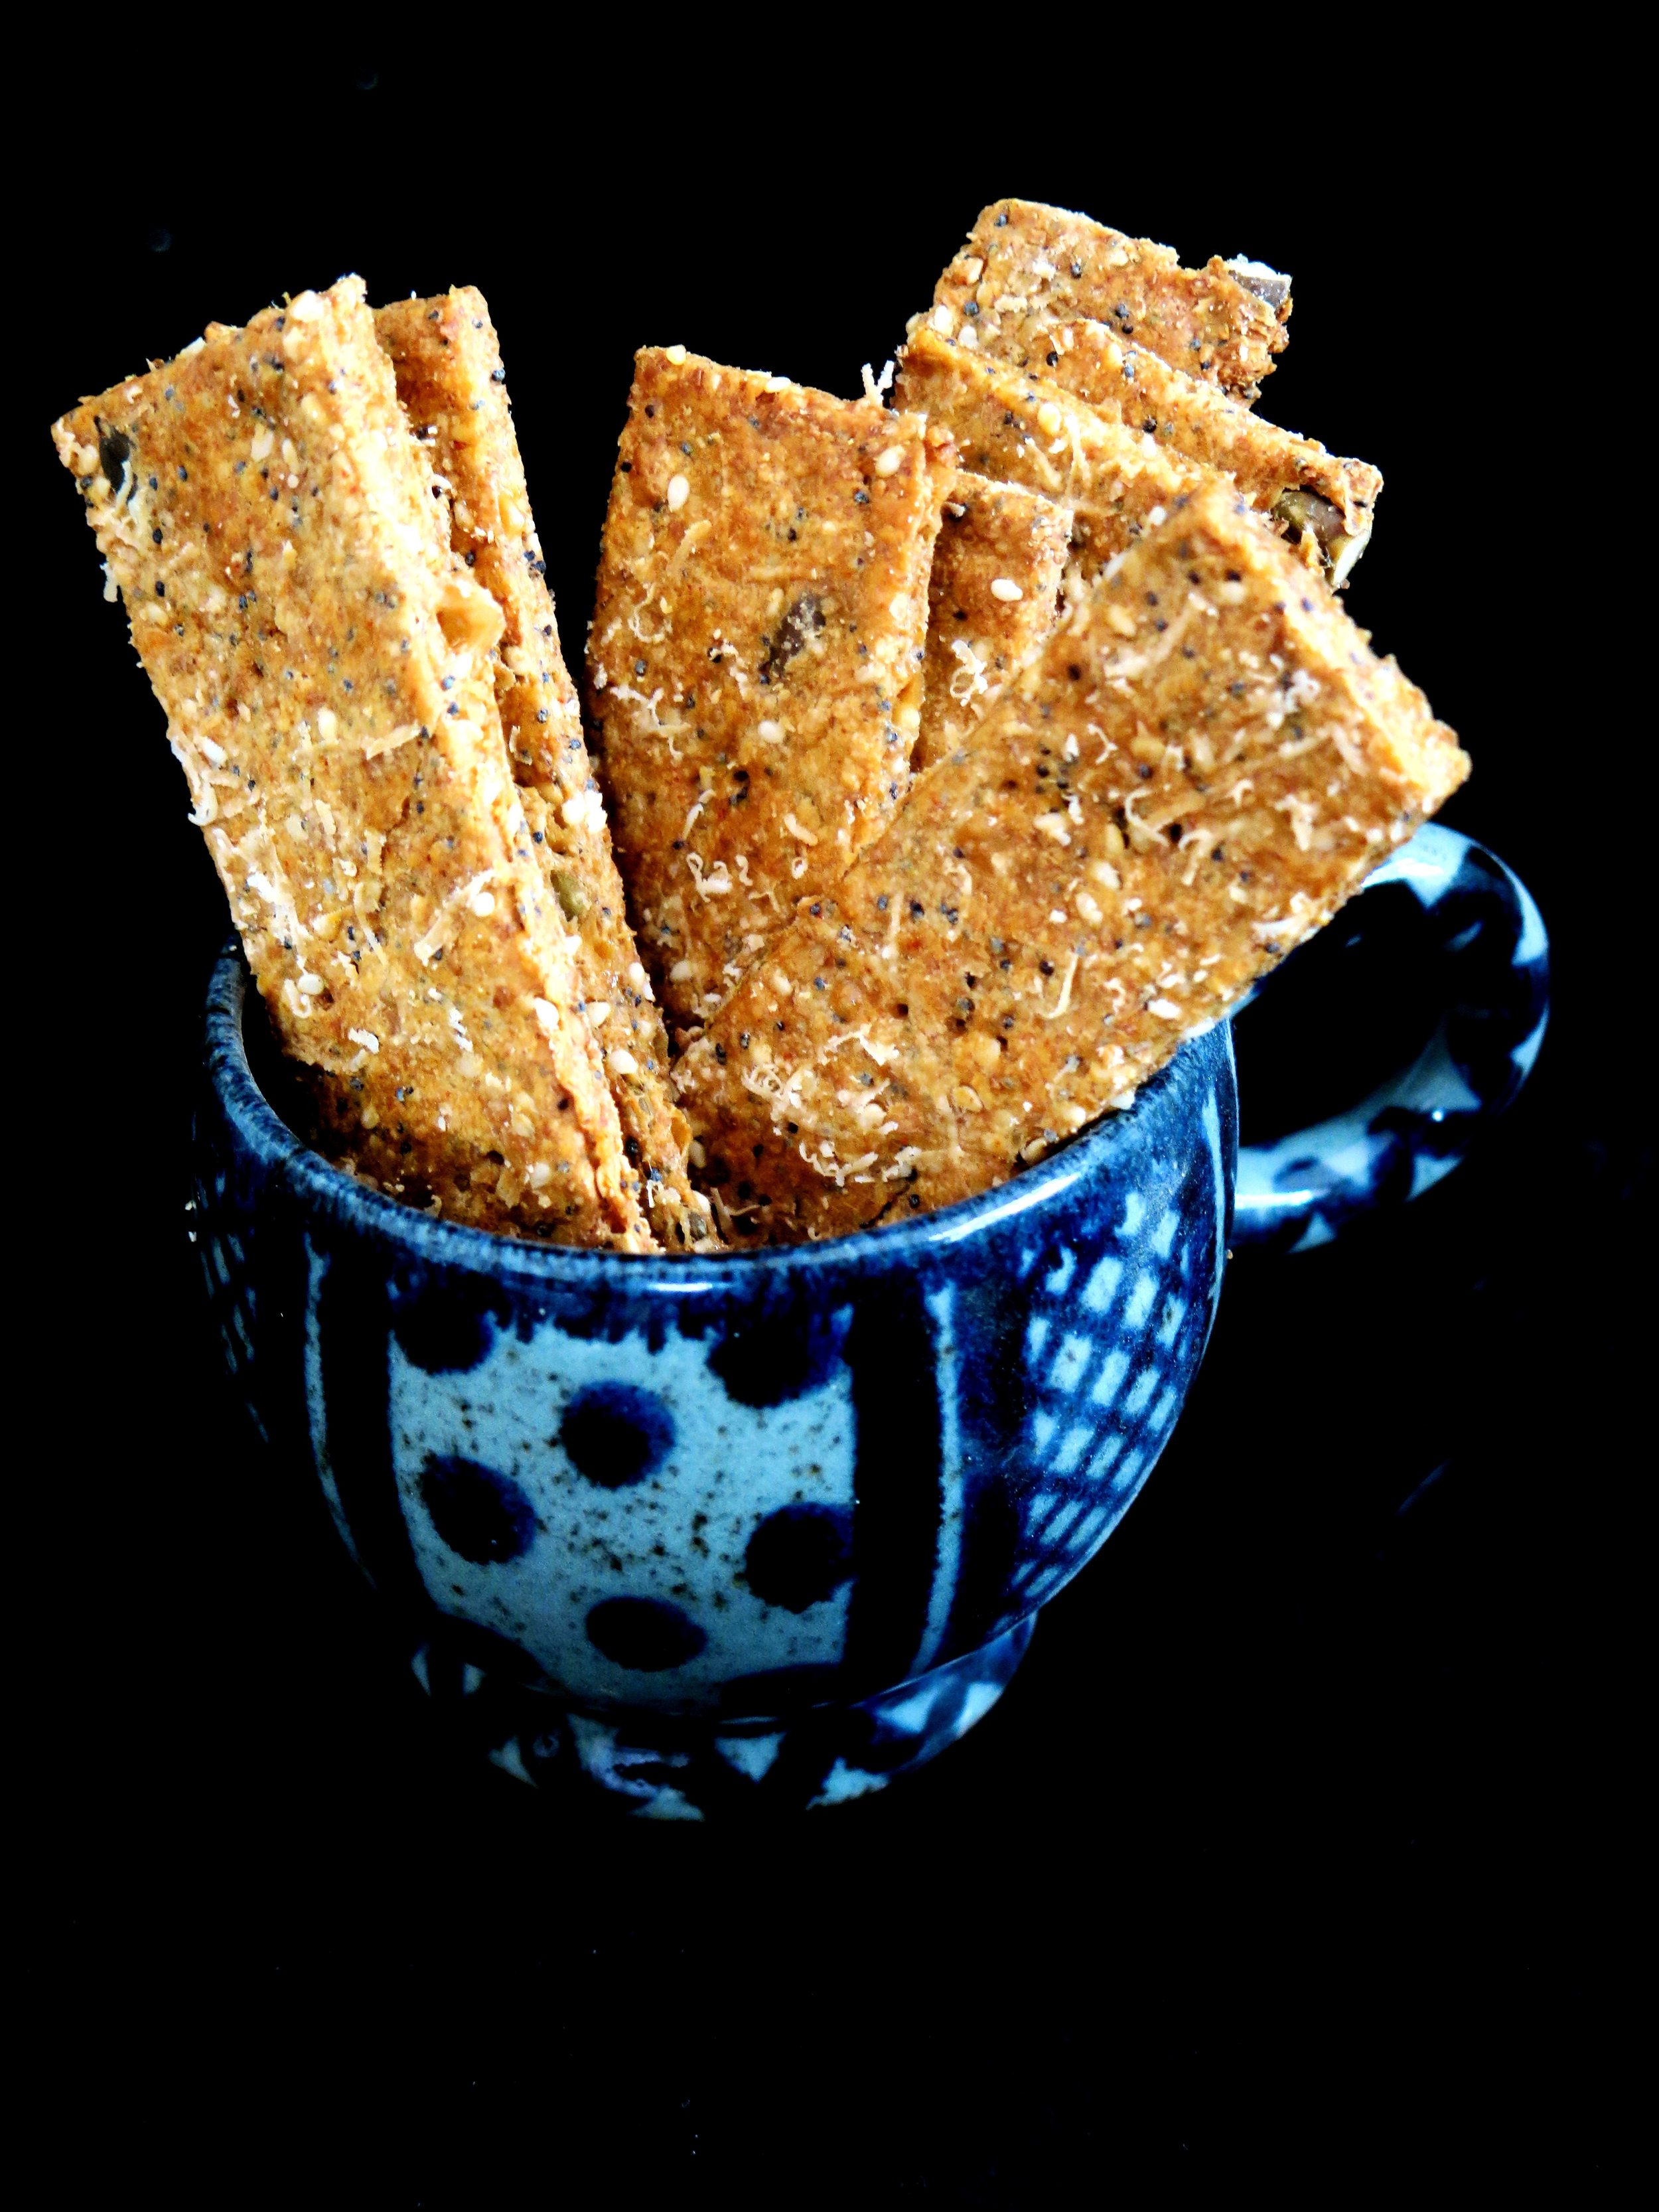
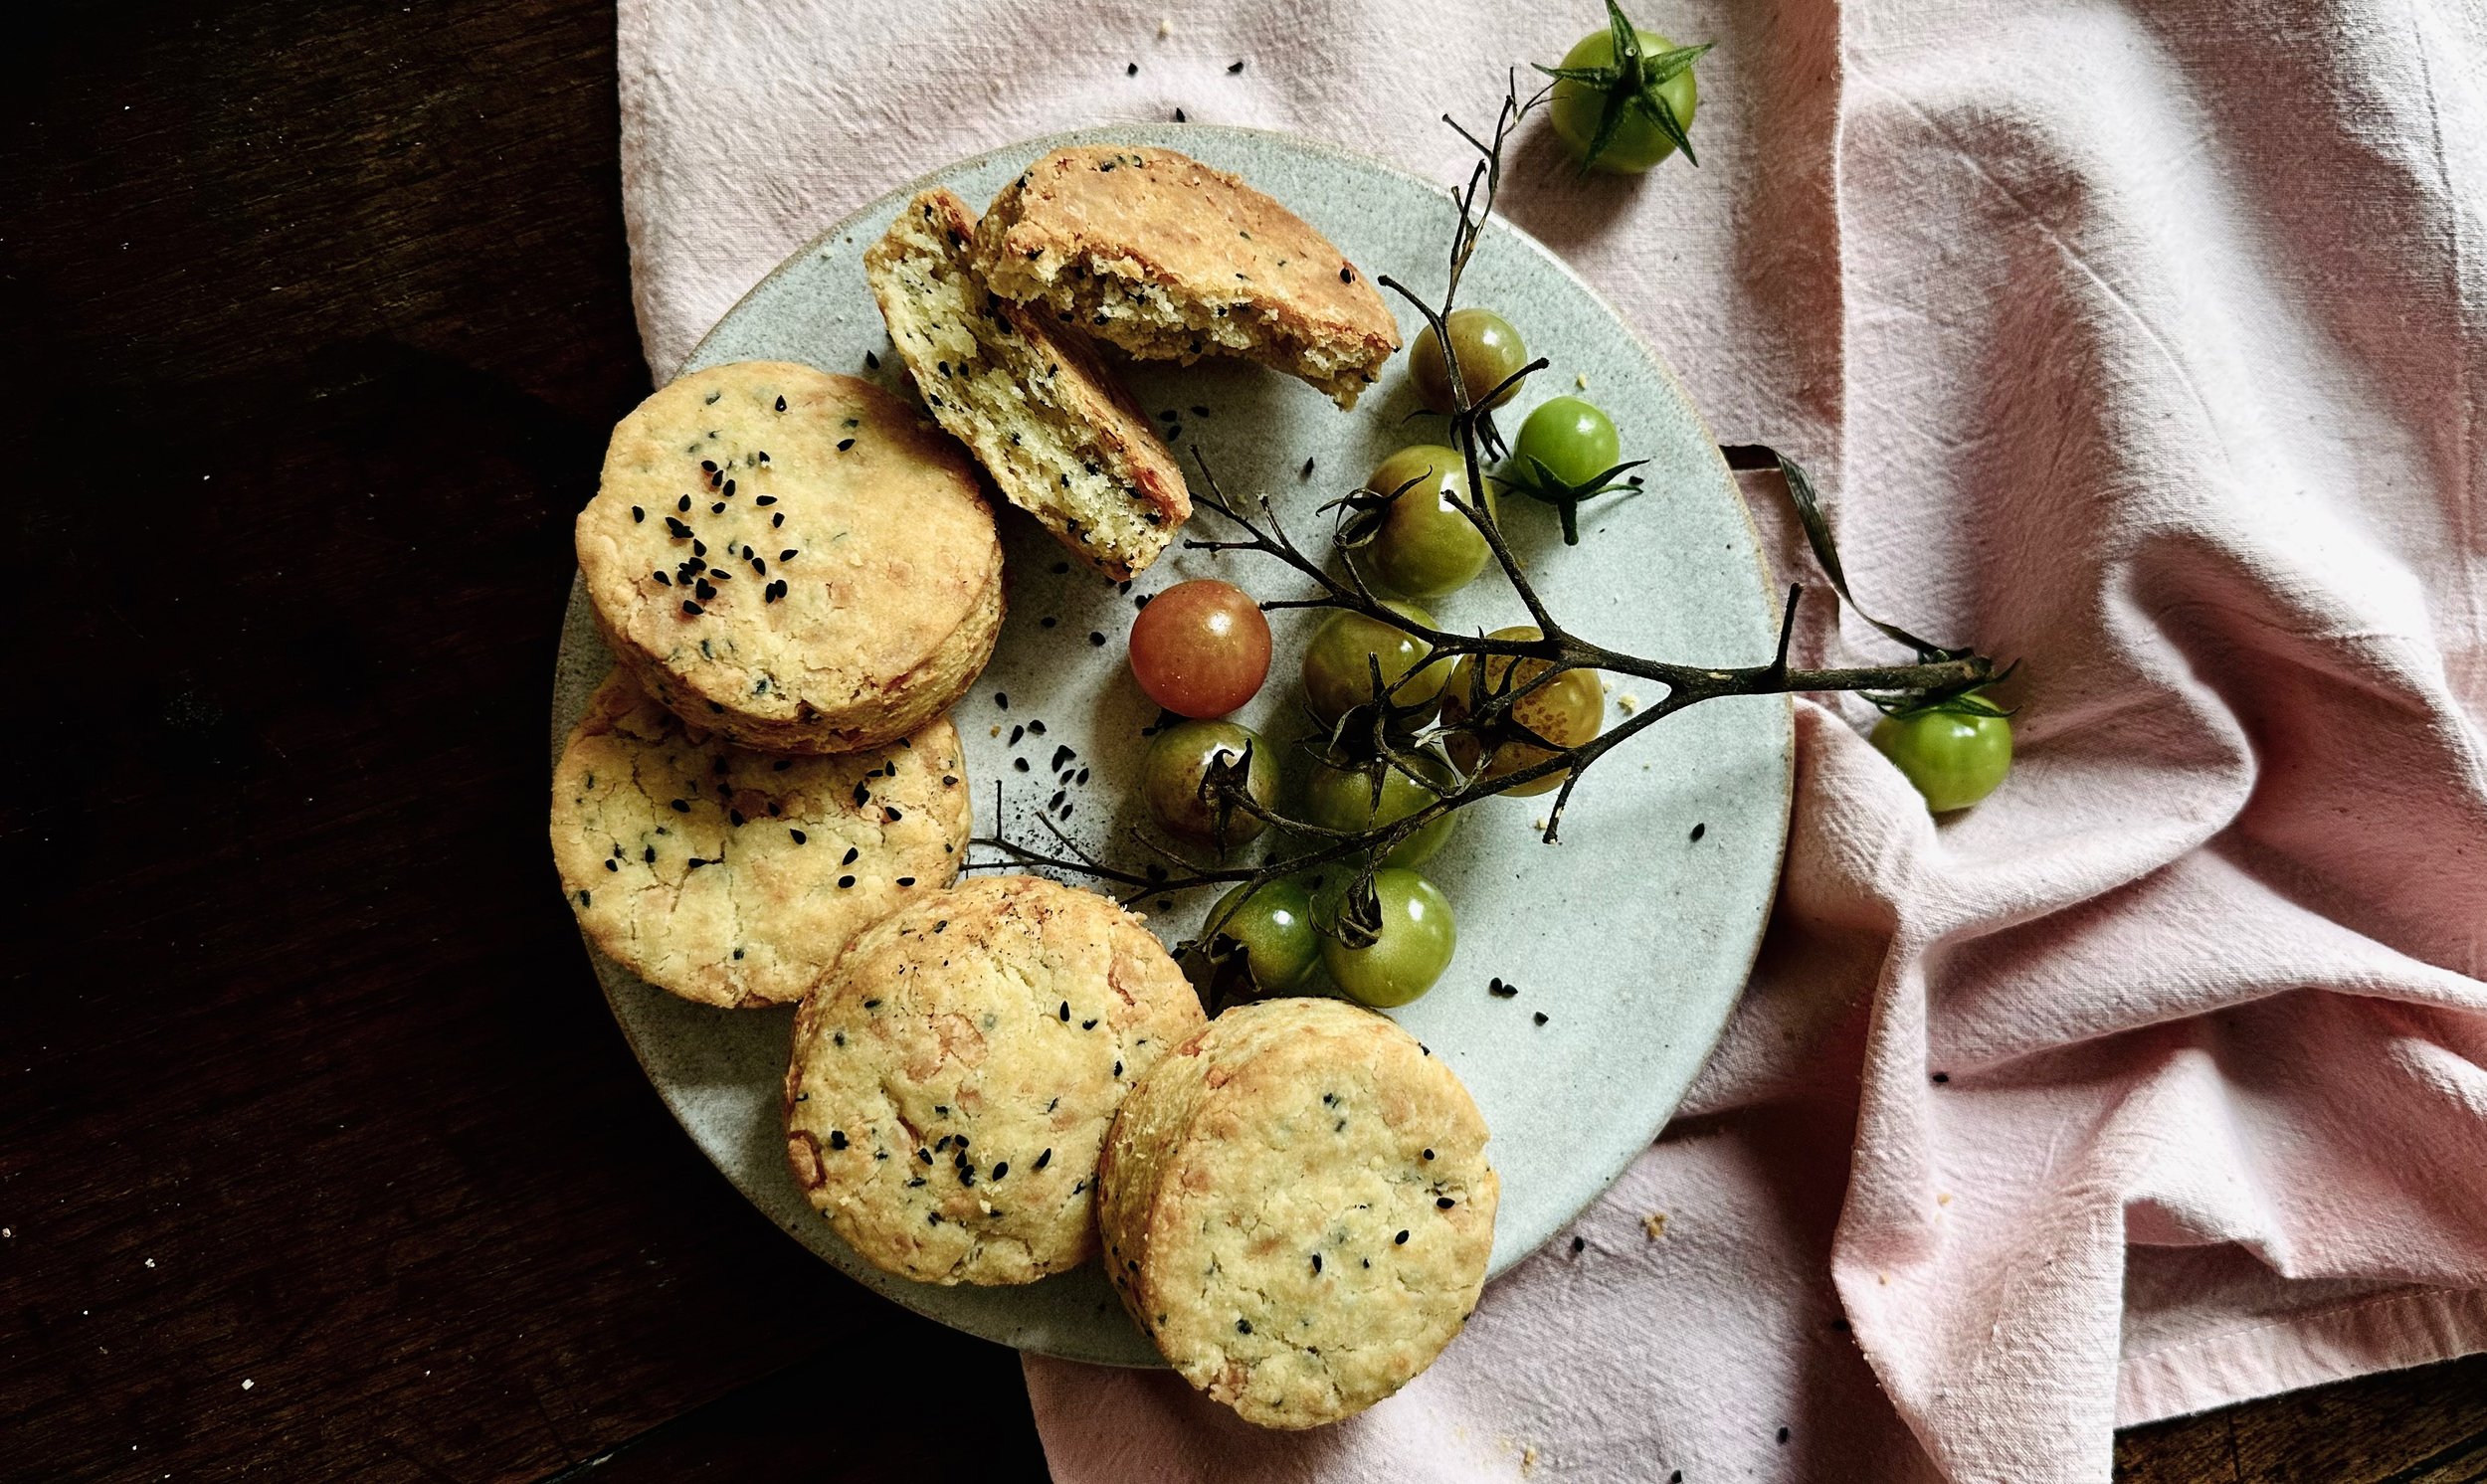
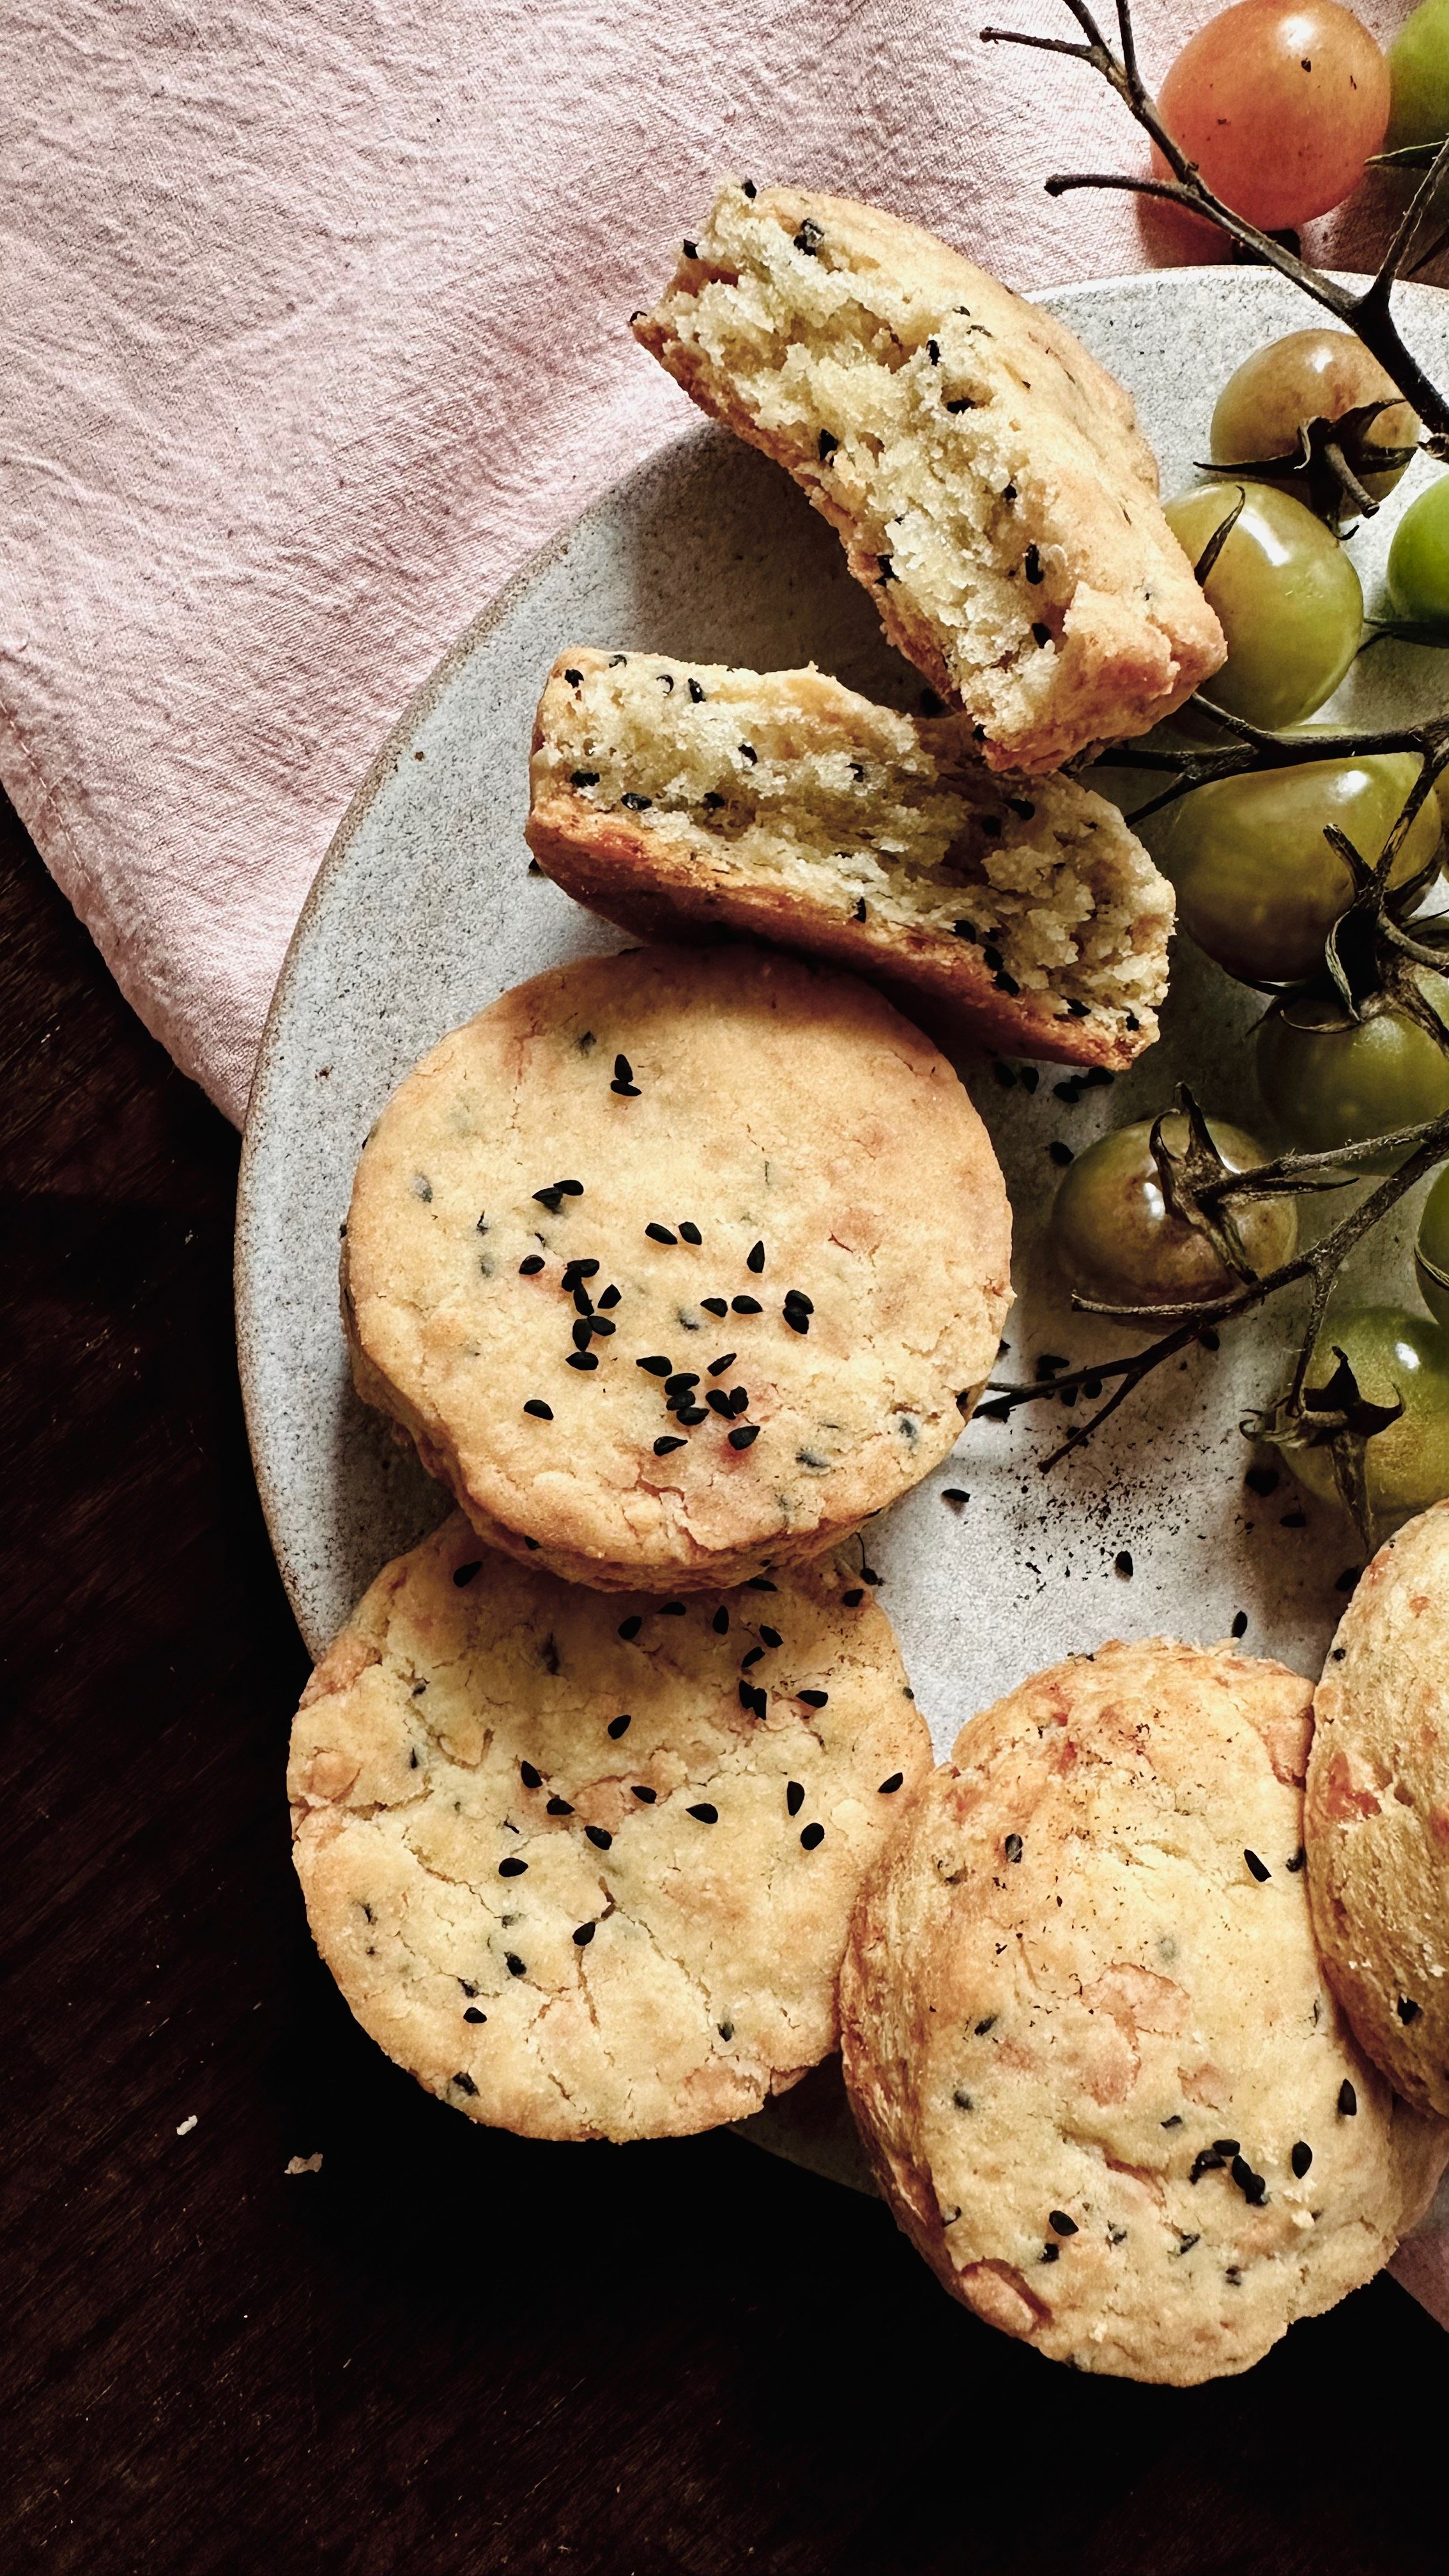
These exist in that tender interior, crunchy exterior, no-man’s-land between a scone, and a biscuit. I tried something similar at a hotel in Turkey, where at daily afternoon tea they produced thick, golden and extremely savoury kashar cheese cookies. As kashar cheese is a little harder to get here in the UK, I subbed in a mix of mozzarella, pecorino and feta, and they turned out beautifully. They’re umami, and slightly salty, and the cheese caramelises on the outside in a way that’s reminiscent of a toasted cheese sandwich.

They’re extremely easy to whip up, and work perfectly as a savoury treat at afternoon tea, accompanying a bowl of soup, or with cheeses, membrillo paste and a handful of fresh baby tomatoes.


TRIPLE CHEESE & NIGELLA SEED BISCUITS

RECIPE – MAKES 12


Ingredients


150g butter, very cold/frozen

75g fresh mozzarella

75g semi-stagionato pecorino (or parmesan, if you can’t get hold of pecorino)

60g feta

1 ½ tsp double cream (or milk if you don’t have any double cream to hand)

250g plain flour

10g nigella seeds

½ tsp salt

½ tsp baking powder

¼ tsp caster sugar


large baking tray, lined with baking parchment

6cm diameter cookie cutter (feel free to use a different size if you want larger/smaller cookies, but bear in mind the baking time will reduce for smaller cookies)


Method


1)    Preheat oven to 200°C.

2)    Take the mozzarella and press it between two pieces of paper towel to squeeze out as much liquid as possible.

3)    Using the coarse side of a cheese grater, grate the cold/frozen butter, mozzarella, pecorino and feta into the bowl of an electric stand mixer or a large bowl if making by hand. The cheeses may crumble a little unevenly but don’t worry too much about striving for perfection, they just need to be broken down into small pieces. Add in the double cream and stir together.

4)    In a separate medium sized bowl, whisk together the flour, nigella seeds, salt, baking powder and caster sugar until evenly mixed.

5)    Pour the dry ingredients into the bowl containing the cheeses. If using an electric stand mixer, fit it with the paddle and mix on a low-medium speed until the mixture just comes together. If making it by hand, stir with a wooden spoon until a crumbly dough is formed. Take care not to over mix as this will stimulate the gluten in the flour, and break down the butter too much, making the cookie tougher and less tender. If the mixture is too dry (climate/room temperature can affect this), add in a tiny bit more double cream but be careful not to add too much – the dough should be slightly crumbly.

6)    Lightly dust a clean surface/board with flour. Tip the cookie dough on to the surface and pat it together until it forms a disc. Roll it out to an even thickness of 1.5cm. Then use the cookie cutter to stamp out the circles. Place them on the baking tray at least 4cm apart (they won’t spread much).

7)    Place in the oven and bake for 12-15 mins, until the top and base are golden and crunchy. You can serve these warm or cool. NB, they keep for up to 3 days stored in an airtight container at room temperature. Or you can freeze them for up to 6 months in an airtight container.

Triple cheese and nigella seed biscuits recipe

 HUNGRY FOR MORE?

Comment

Grape Focaccia (vegan)

Comment

Grape Focaccia (vegan)

What could be better than a mattress of focaccia painted with glistening peppery olive oil, the occasional crunch of salt crystals, and a soft, pillowy interior that creates an insatiable appetite for more?

Almost nothing, apart from simply another version of a focaccia – this time with a layer of succulent grapes folded into the centre of the dough. Grapes, which burst in your mouth as you bite through the focaccia.

It’s perhaps even more beautiful than the OG focaccia, and tastes sublime on its own, or paired with pecorino and a glass of Vin Santo.

Comment

Spelt Poppy Seed Bloomer

Comment

Spelt Poppy Seed Bloomer

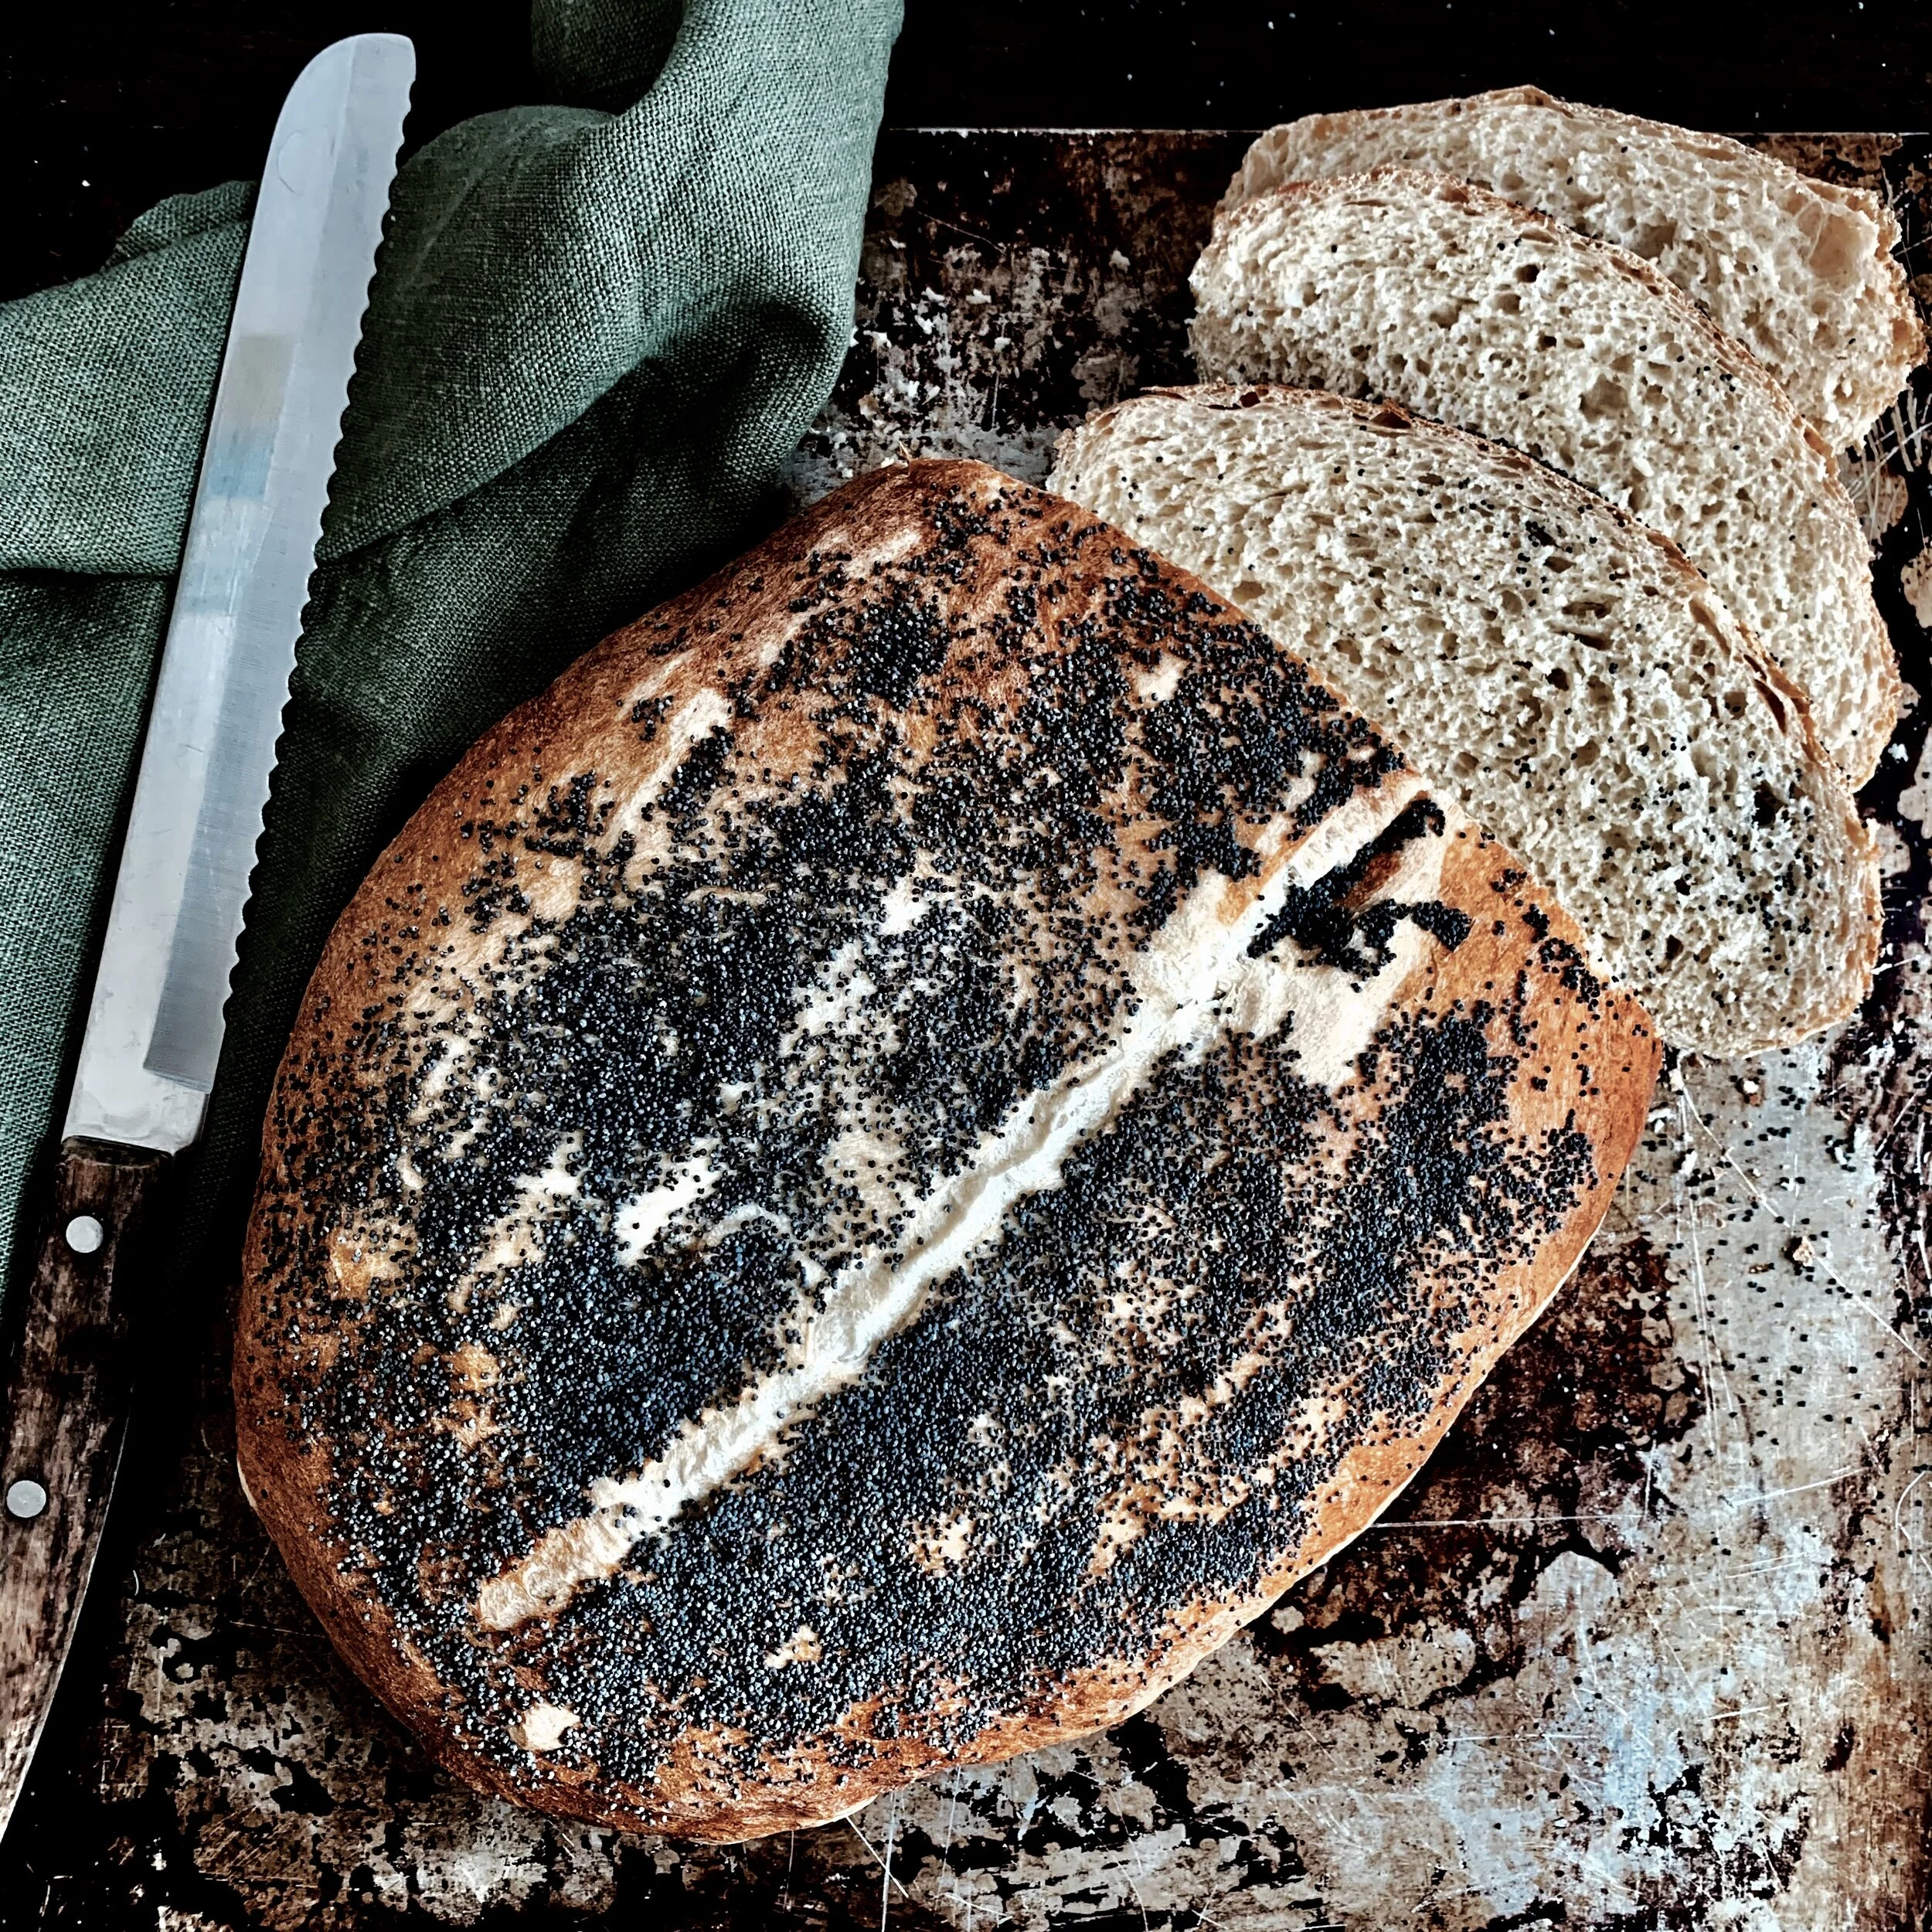
This bad boy is incredibly tender, with a lovely tanned, crunchy crust. You don’t have to put much effort in to reap the reward, and after one bite you’ll be lusting after the rest of the loaf. Please don’t be put off by the numerous stages – all you need is a patience and time.

Comment

Vegan Date & Rooibos Cake

Comment

Vegan Date & Rooibos Cake

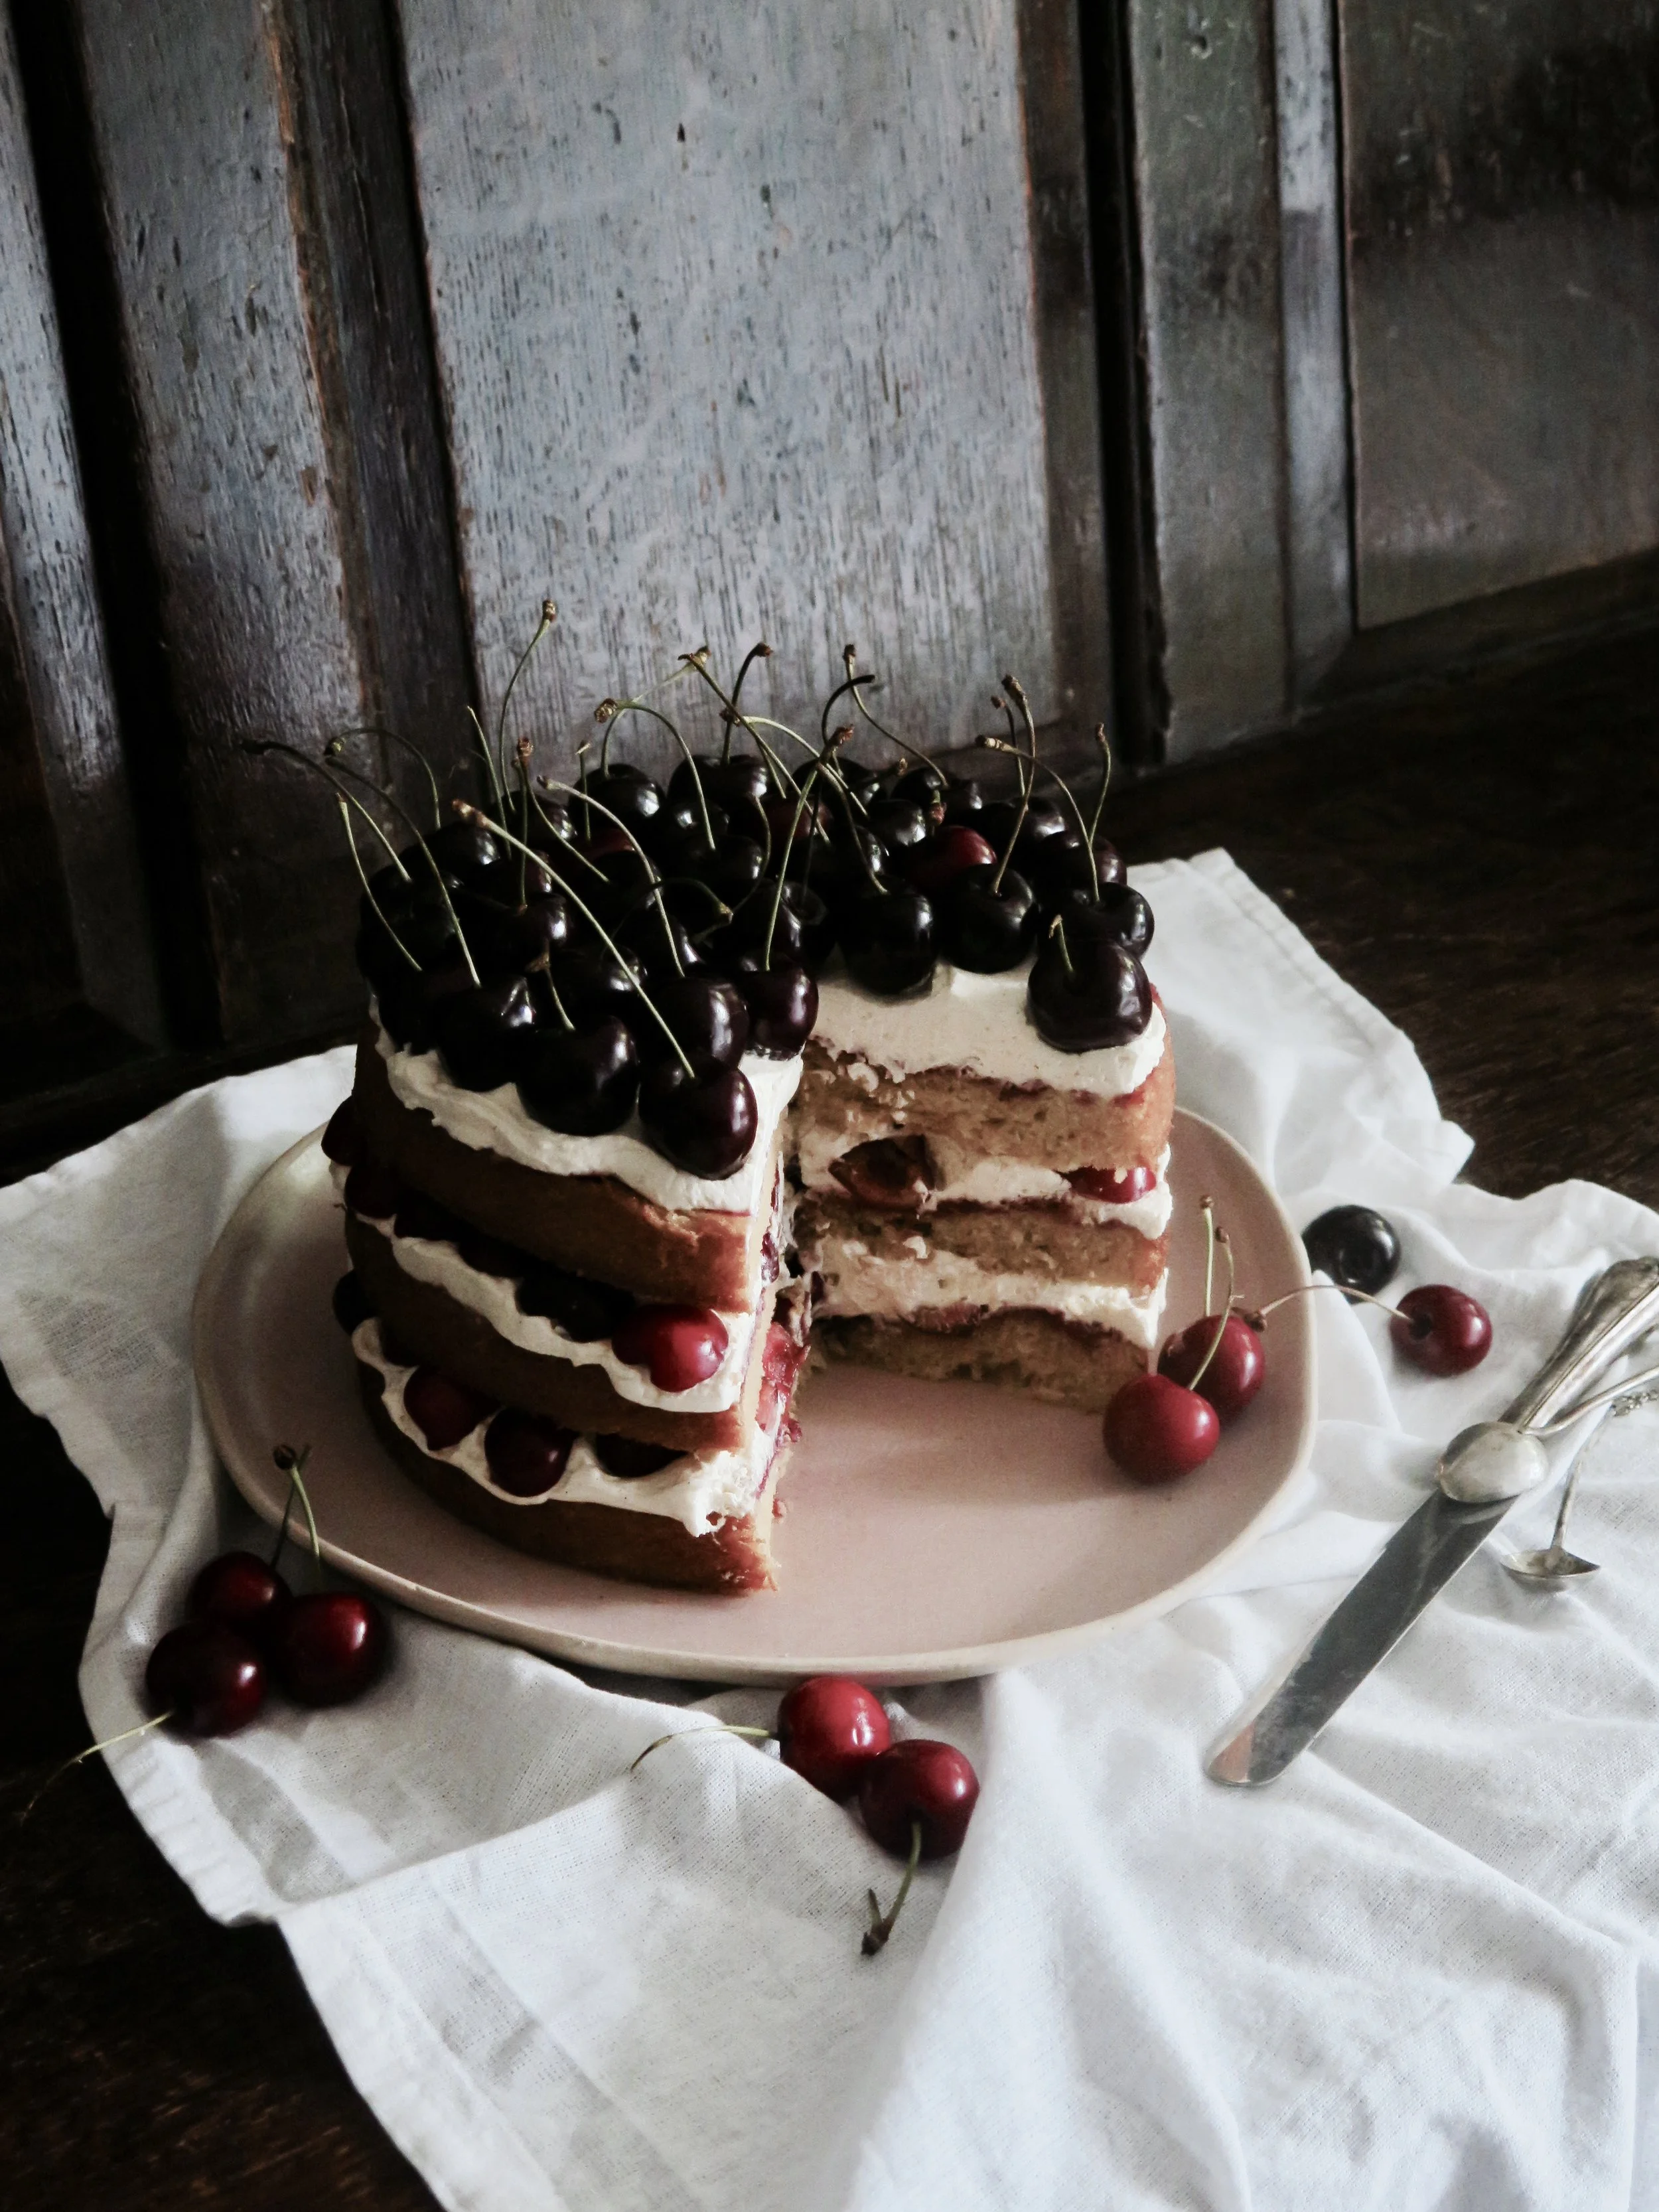
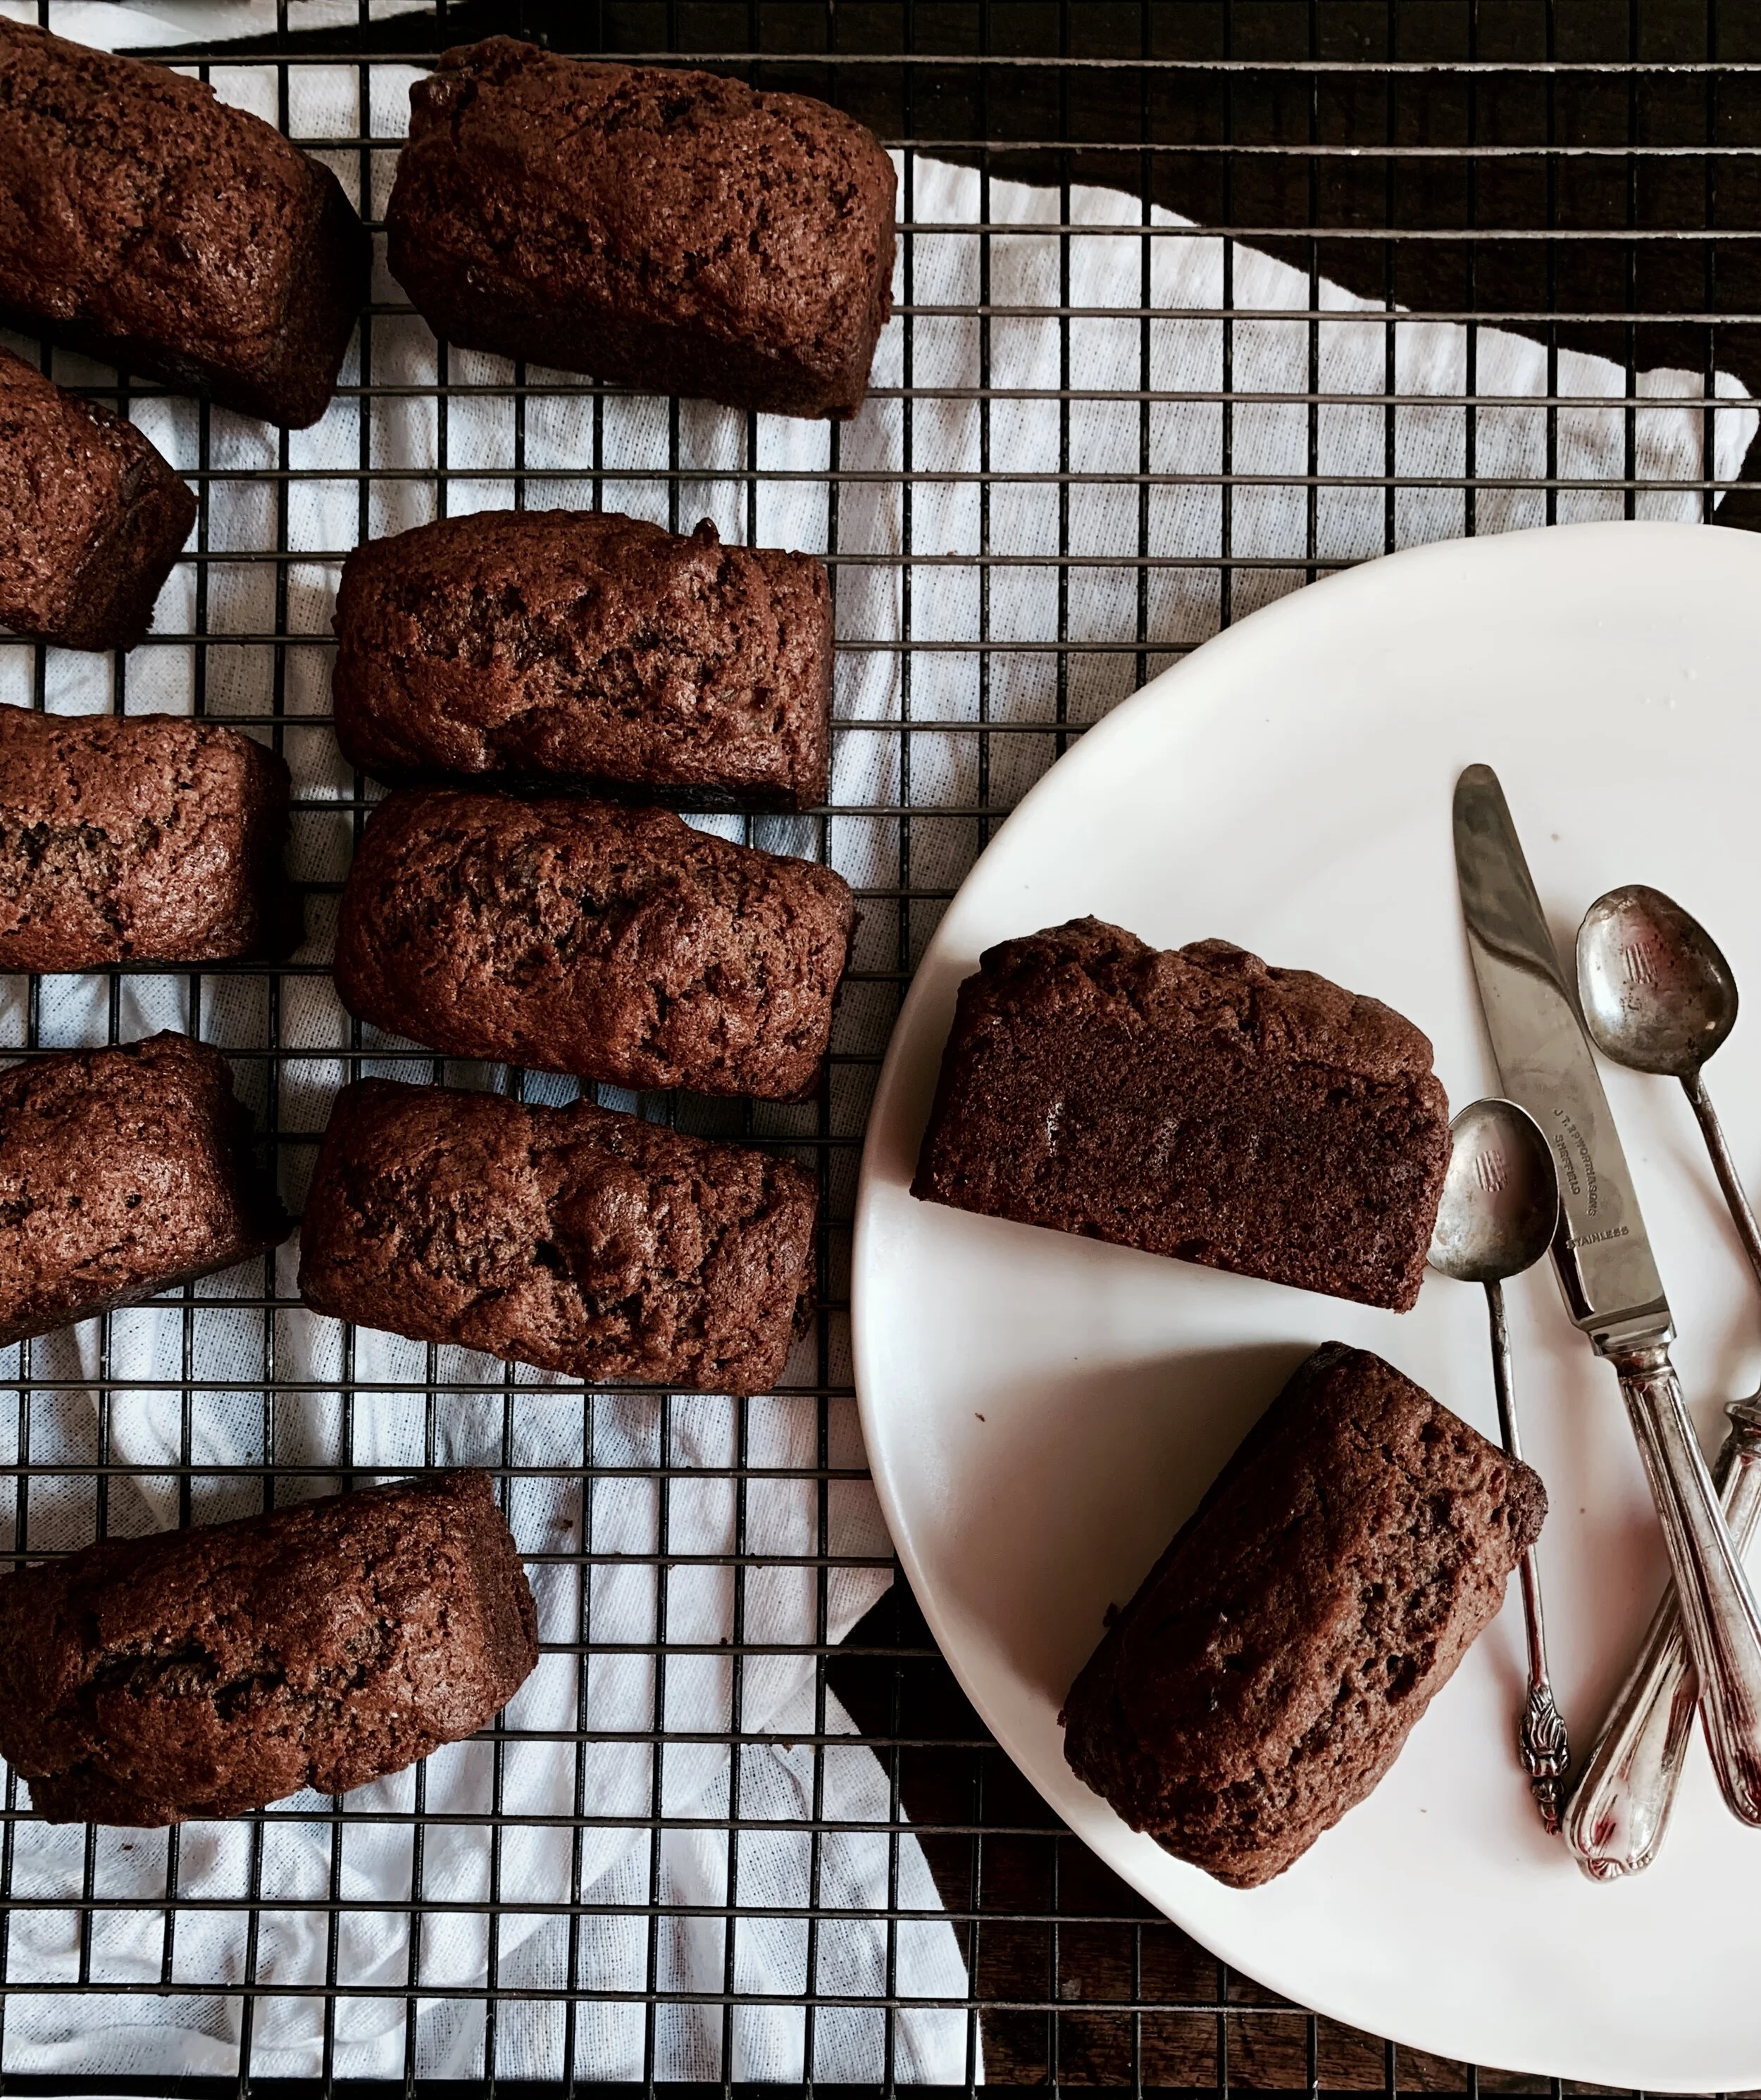
It’s the perfect cake for vegans and non-vegans alike: no weird gums or chemicals or frogspawn-y aquafaba, and it doesn't even need them. It’s moist, sticky and absurdly moreish. It can stand proudly beside any egg-containing cake, and win over any vegan cake-hating sceptic. When I say it’s easy to make, I mean it is exceptionally easy. It can be whipped up in under 10 minutes and, if you're making mini loaves, it bakes within 10 minutes too.

Comment

Molten Centre Chocolate & Raspberry Cakes (vegan)

Comment

Molten Centre Chocolate & Raspberry Cakes (vegan)

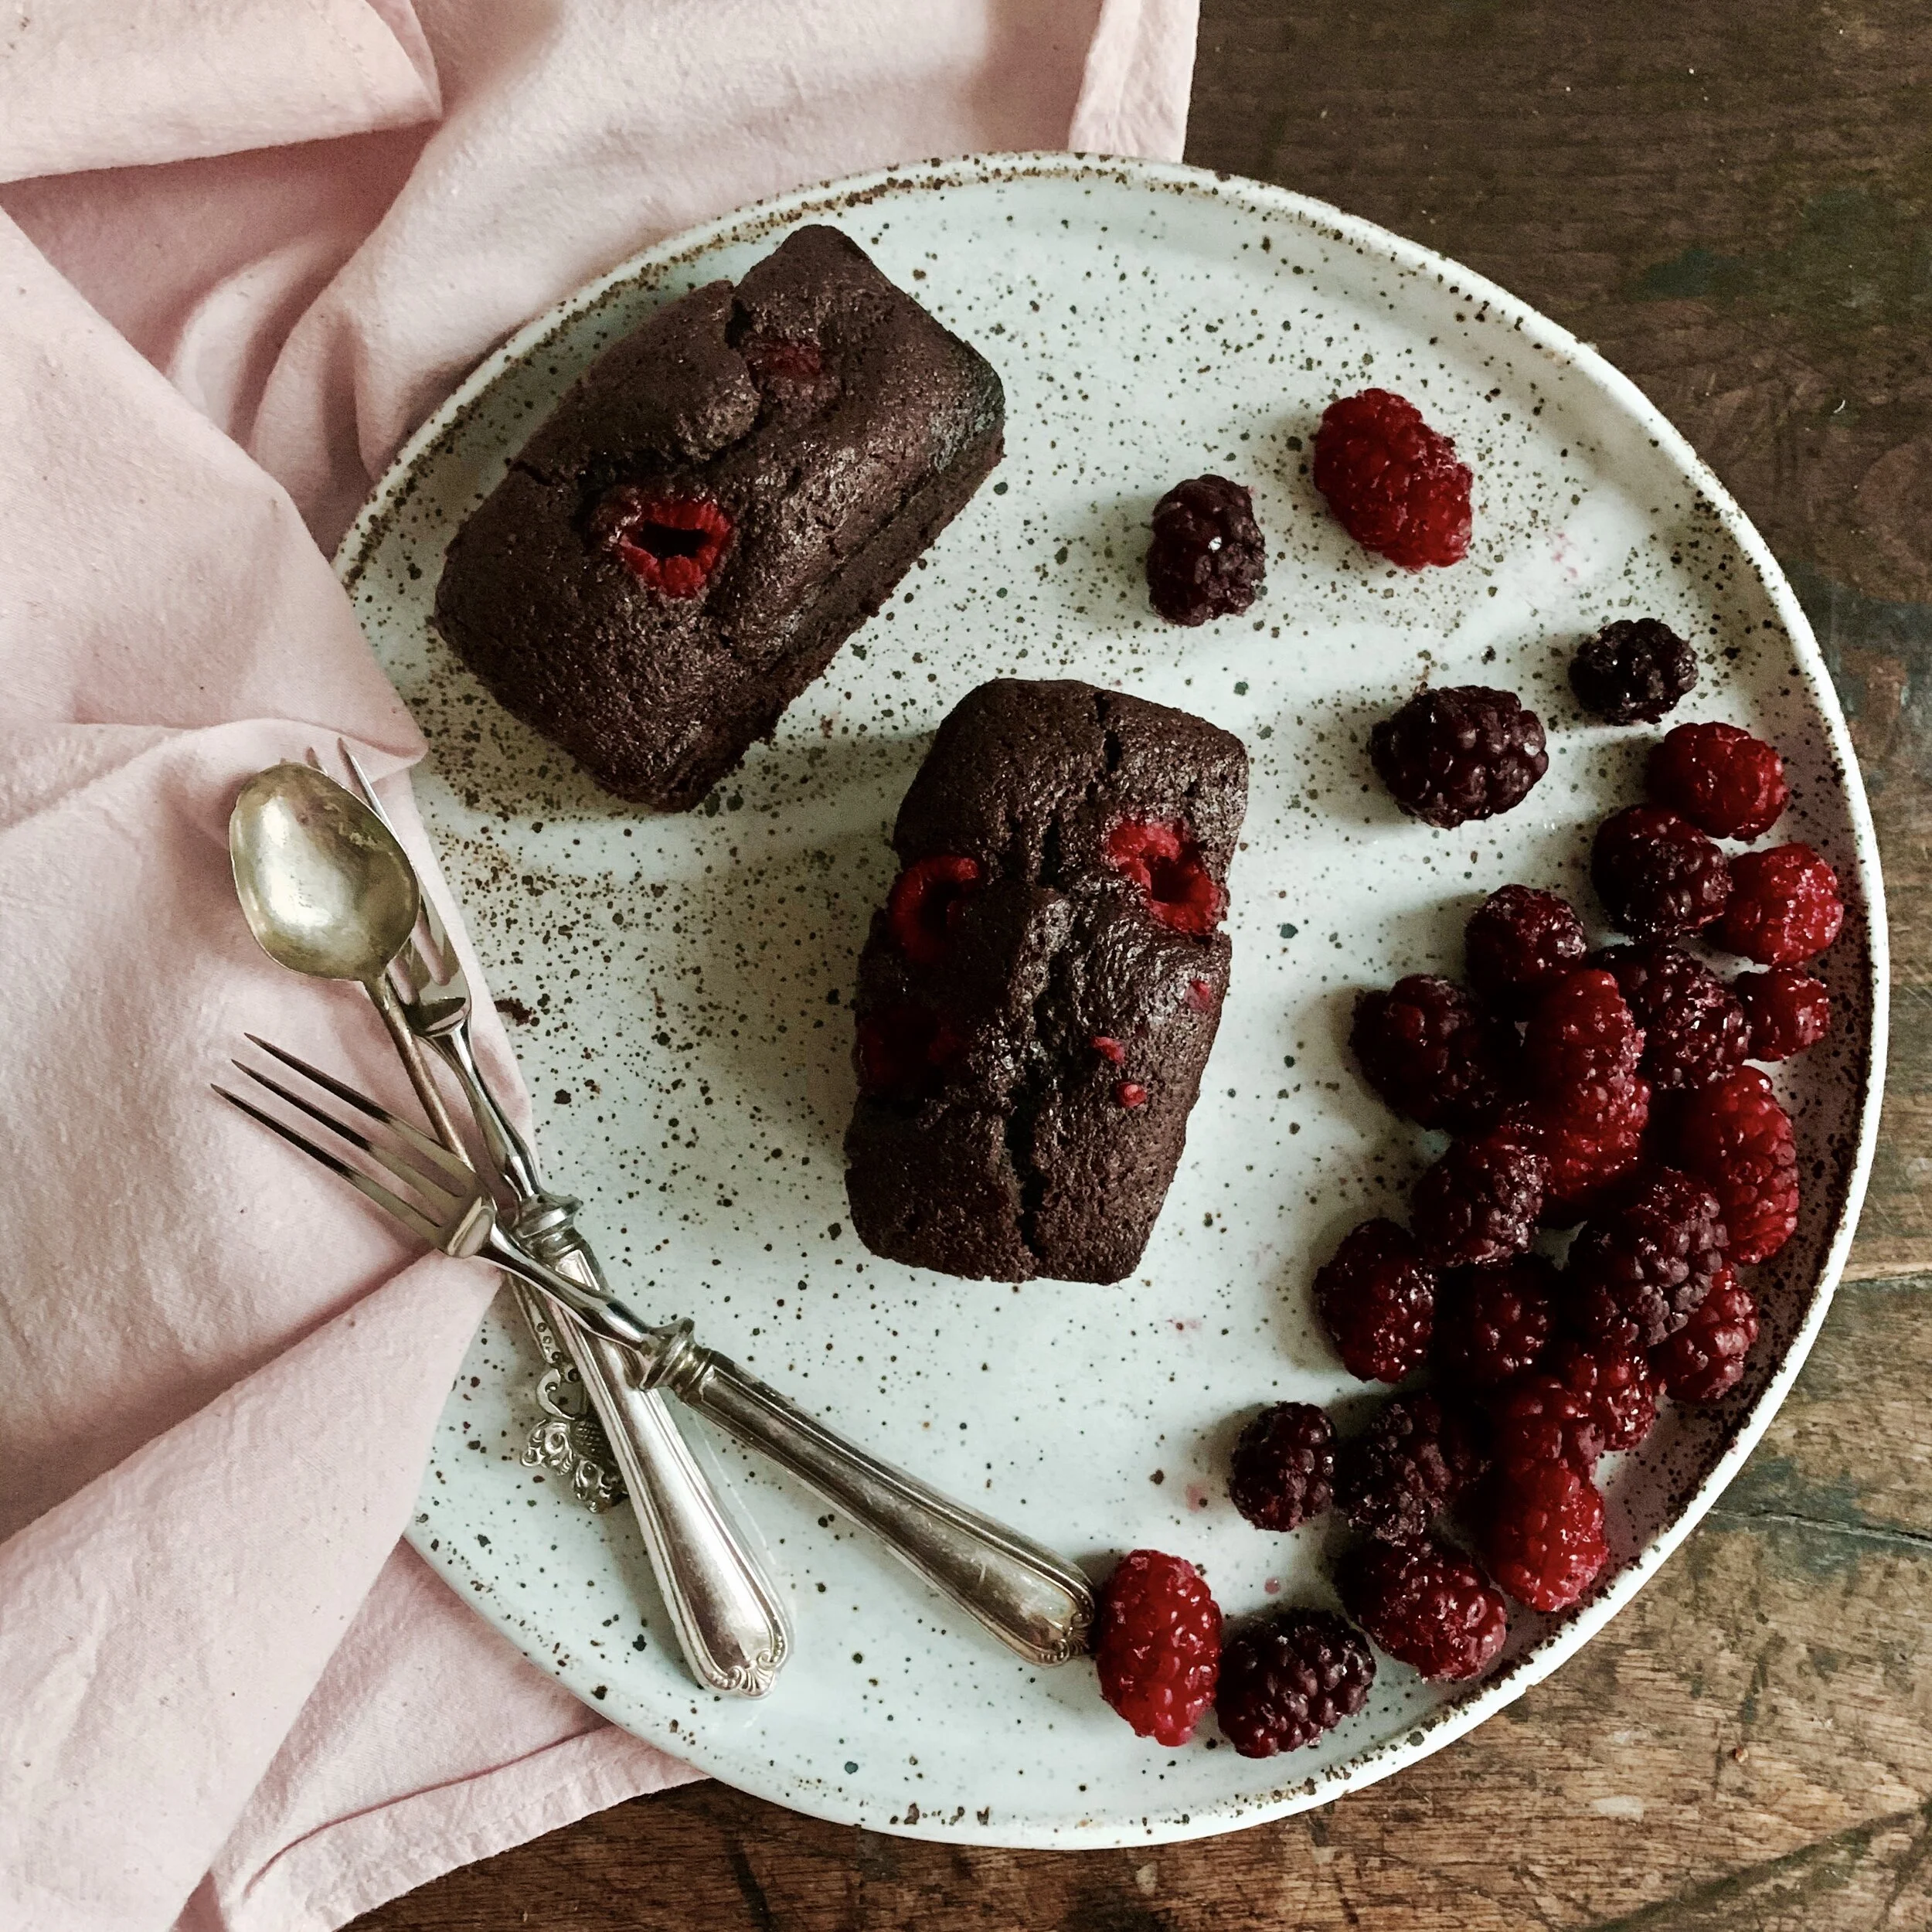
The cake is tender and chocolatey and, when cut open, reveals a molten centre. The raspberries add that vital fresh astringency to cut through the sweetness and make a second piece impossibly hard to resist.

Once again, this recipe comes with a disclaimer that despite being vegan, the cake does not vaguely taste “vegan”.

Comment

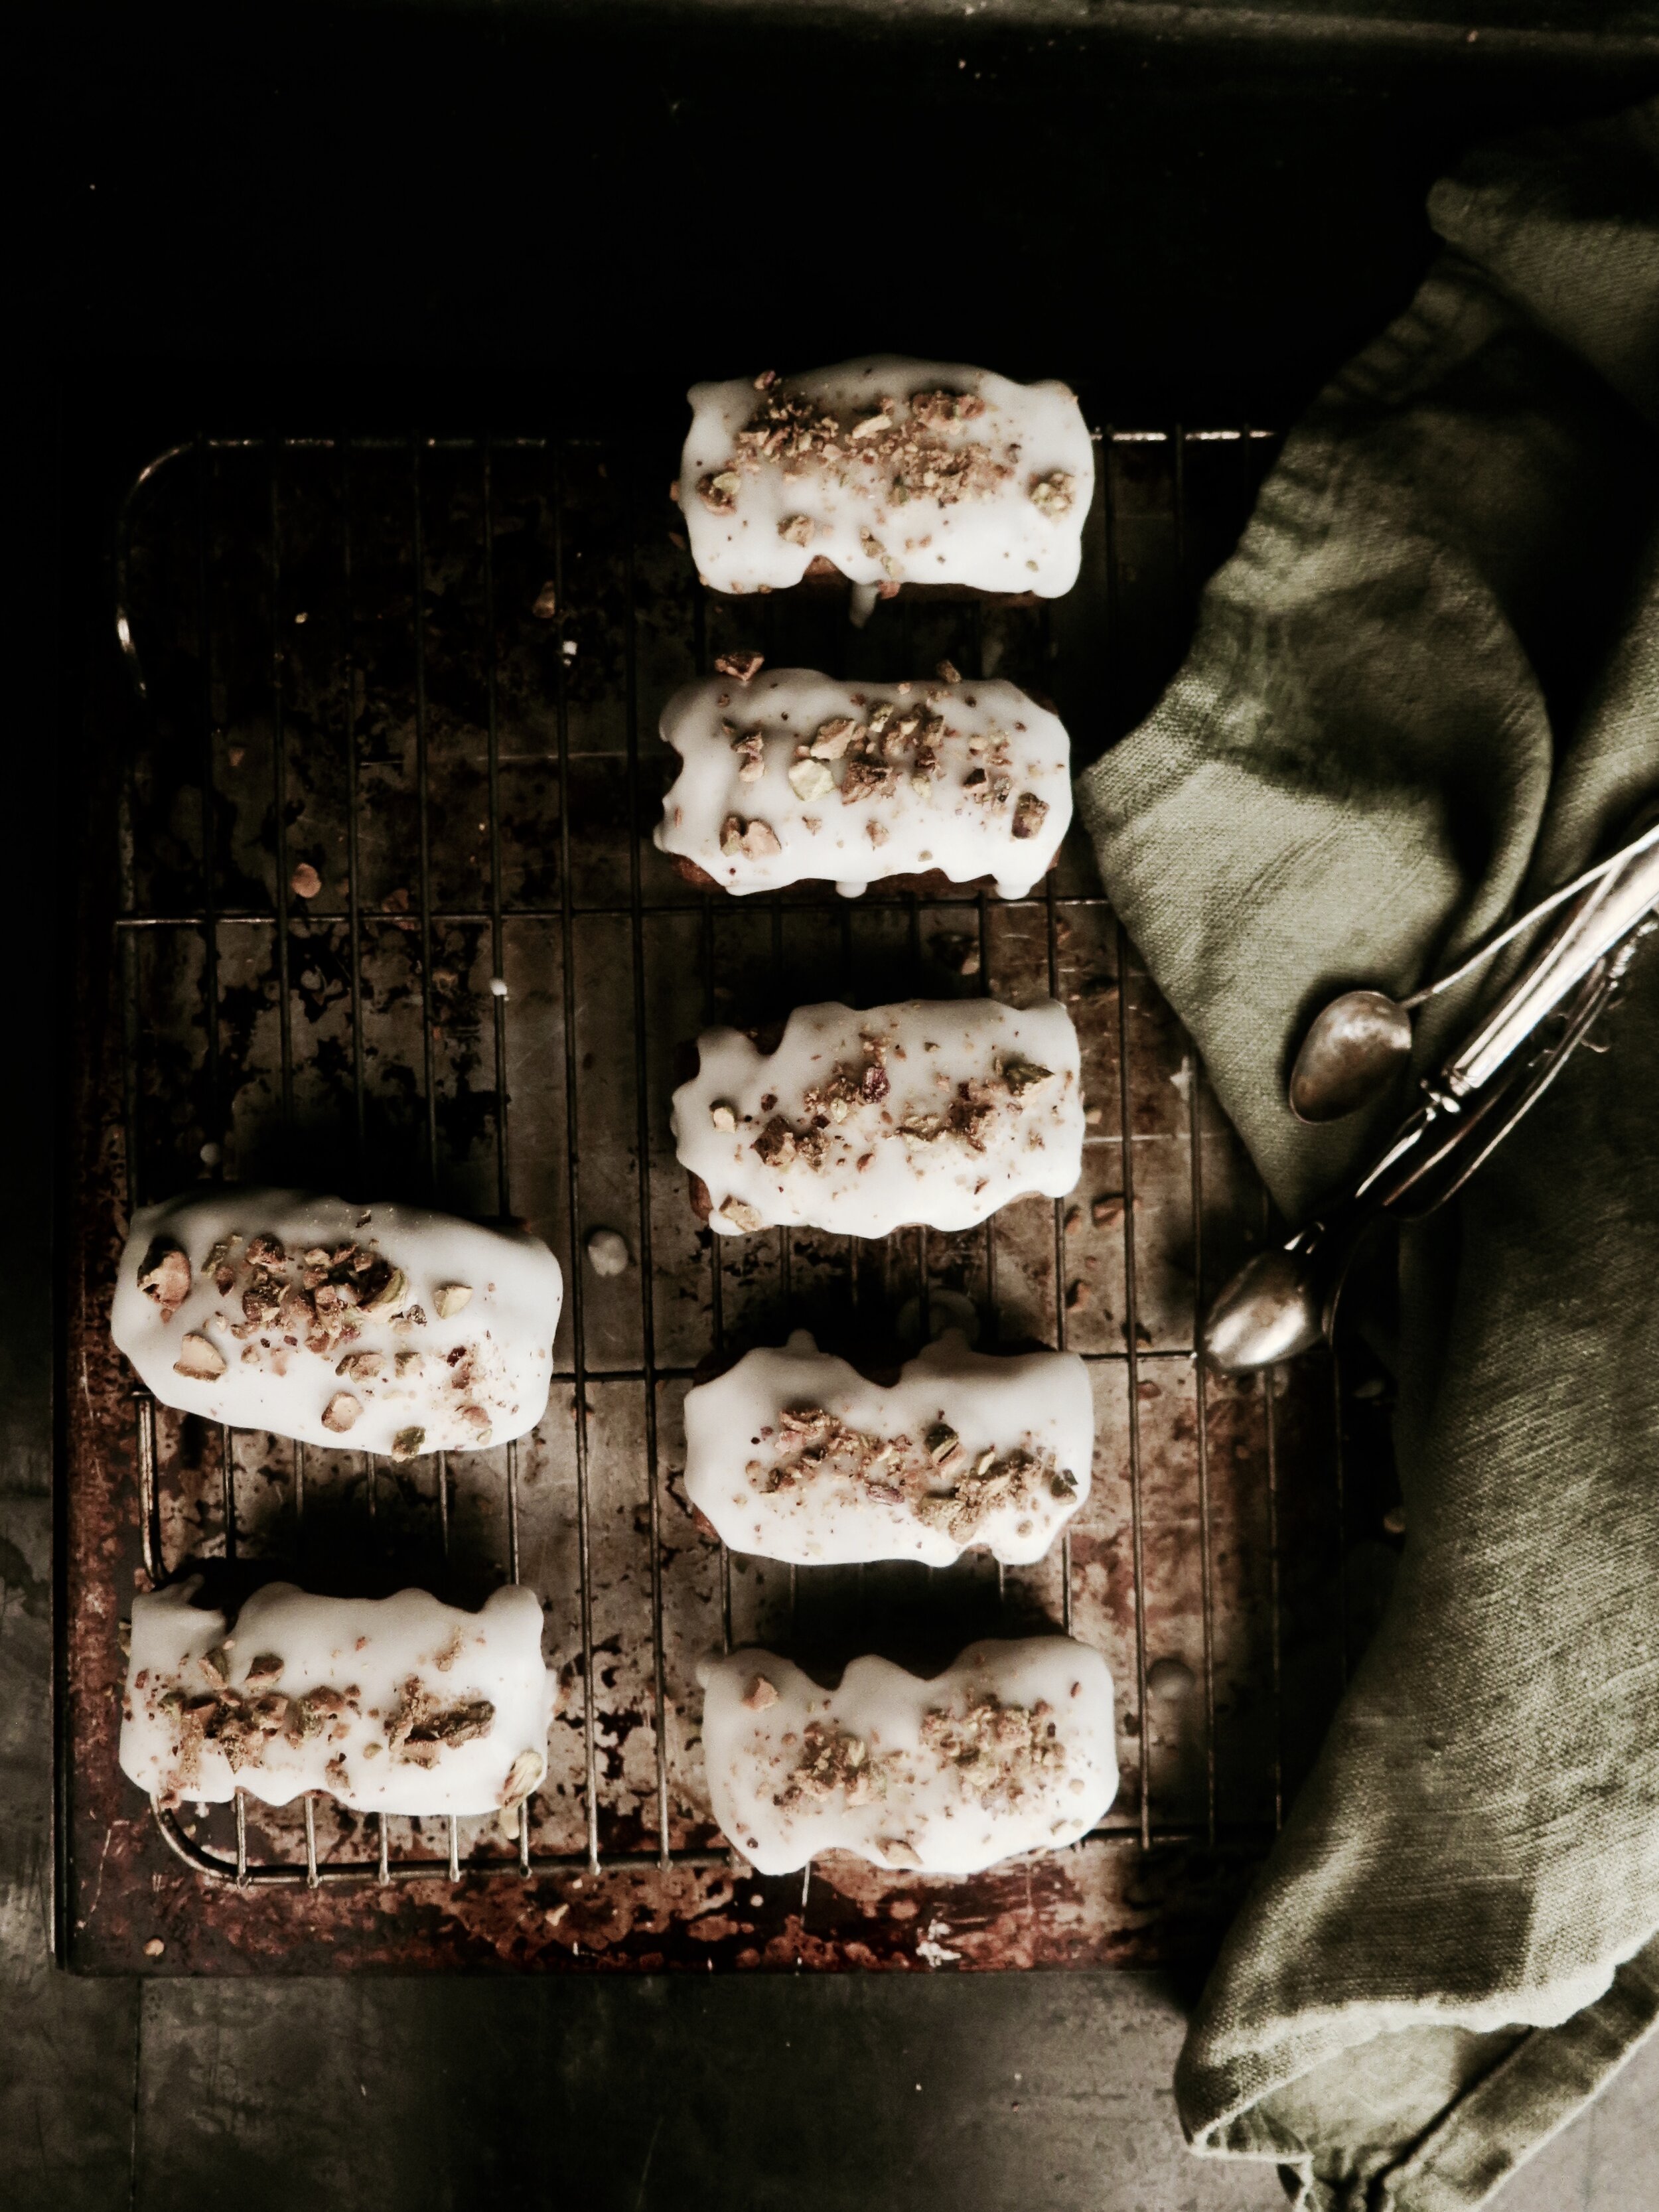
Vegan Pistachio, Rose & Lemon Syrup Cakes

Comment

Vegan Pistachio, Rose & Lemon Syrup Cakes

Vegan Pistachio & Lemon Cakes

Putting the words “vegan” and “cake” together can be dangerous territory. I’ve had some scarring experiences:  vegan cake conjures up memories of synthetic, stomach-ache inducing, chemical-tasting, dry sponges. 

Vegan Pistachio & Lemon Cakes

I’ve managed to defy the stereotype before with these chocolate cupcakes  and was beginning to fear that that is where my vegan cake adventures would end. I was wrong. These pistachio cakes are light, moist, and totally delicious – and they have no gross chemicals. 

They have a semblance of a Moroccan/Arabian dessert with tangy lemon to cut through the sweetness, crunchy salted pistachios for texture and relief from the sweetness, and a touch of rose water not to make them too perfumed (which I also don’t like) but to add a hint of exoticness.

The batter is also dangerously good (so make sure your spatula isn’t too effective).

Vegan Pistachio & Lemon Cakes

 Vegan pistachio, rose & lemon syrup cakes   

(makes 10 mini cakes or 1 large loaf cake)

Ingredients

100g roasted and salted pistachios, shelled (80g for the cake and 20g for the topping)

200g plain flour 

8 cardamom pods

¼ tsp vanilla

¼ tsp salt

220g caster sugar (150g for the cake, 70g for the syrup)

80ml vegetable oil

200ml plant-based milk (I use oat or almond for their neutral flavour)

3 lemons (zest of 1 lemon and juice of all 3)

1 ½ tsp baking powder

¾ tsp bicarbonate of soda

¼ tsp rosewater (you can leave this out if you’re not a fan or can’t get hold of it)

200g icing sugar, sifted


10-holed mini loaf tin (each one is 10cm x 4cm), or large loaf tin (10cm x 20cm), greased with vegetable oil and dusted with flour, or a 12-hole muffin tin, lined with cases


Method

1)    Preheat oven to 180°C.

2)    In a large bowl, mix together the flour, 150g caster sugar, baking powder, bicarb, salt and the zest of one lemon.

3)    With a pestle and mortar (or back of a knife), gently crush the cardamom pods so that you can remove the shells and are left with just the seeds. Crush the seeds to a powder. Then either in the pestle and mortar or in a blender, blitz 80g of the shelled pistachios until they resemble coarse sand. Mix them into the dry ingredients.

4)    Pour milk, oil, vanilla and the juice of one lemon into the dry ingredients and fold together until combined (btw the batter tastes amazing raw). Spoon the batter into the mini loaf tins/large loaf tin/muffin cases, and place in the oven to bake until an inserted skewer comes out clean. The mini loaf tins and muffin tins will take 10-12 minutes, the large loaf tin will take 30-40 minutes, and you may need to cover it with tin foil after 25 minutes to ensure the top doesn’t burn. 

5)    While the cakes are baking, in a small pan over a medium heat, stir together the juice of 1 lemon and 70g of caster until the sugar dissolves. Allow to simmer for 3-4 minutes until the liquid becomes slightly viscous (almost like maple syrup).

6)    Remove the cakes from the oven, place on a rack to cool, and pierce all over with a cake tester or toothpick. Spoon the heated lemon juice/sugar solution over the cakes. This will be absorbed quickly and make the cakes extra zesty and moist.

7)    While the cakes are cooling, make the icing by mixing together icing sugar, 2tbsp of lemon juice (about 1 lemon) and the rose water until they form a smooth paste. Often weather can affect consistency: if the icing is too stiff, you may need to add a drop more lemon juice; and vice versa, if it is too liquid, you can add a touch more icing sugar. It should be a thick paste.

8)    Once the cakes have cooled, drizzle the icing over, sprinkle with the remaining pistachios, and serve.


Vegan Pistachio & Lemon Cakes

(Adapted from So Vegan)

HUNGRY FOR MORE?

Comment

Vegan Crumpets

Comment

Vegan Crumpets

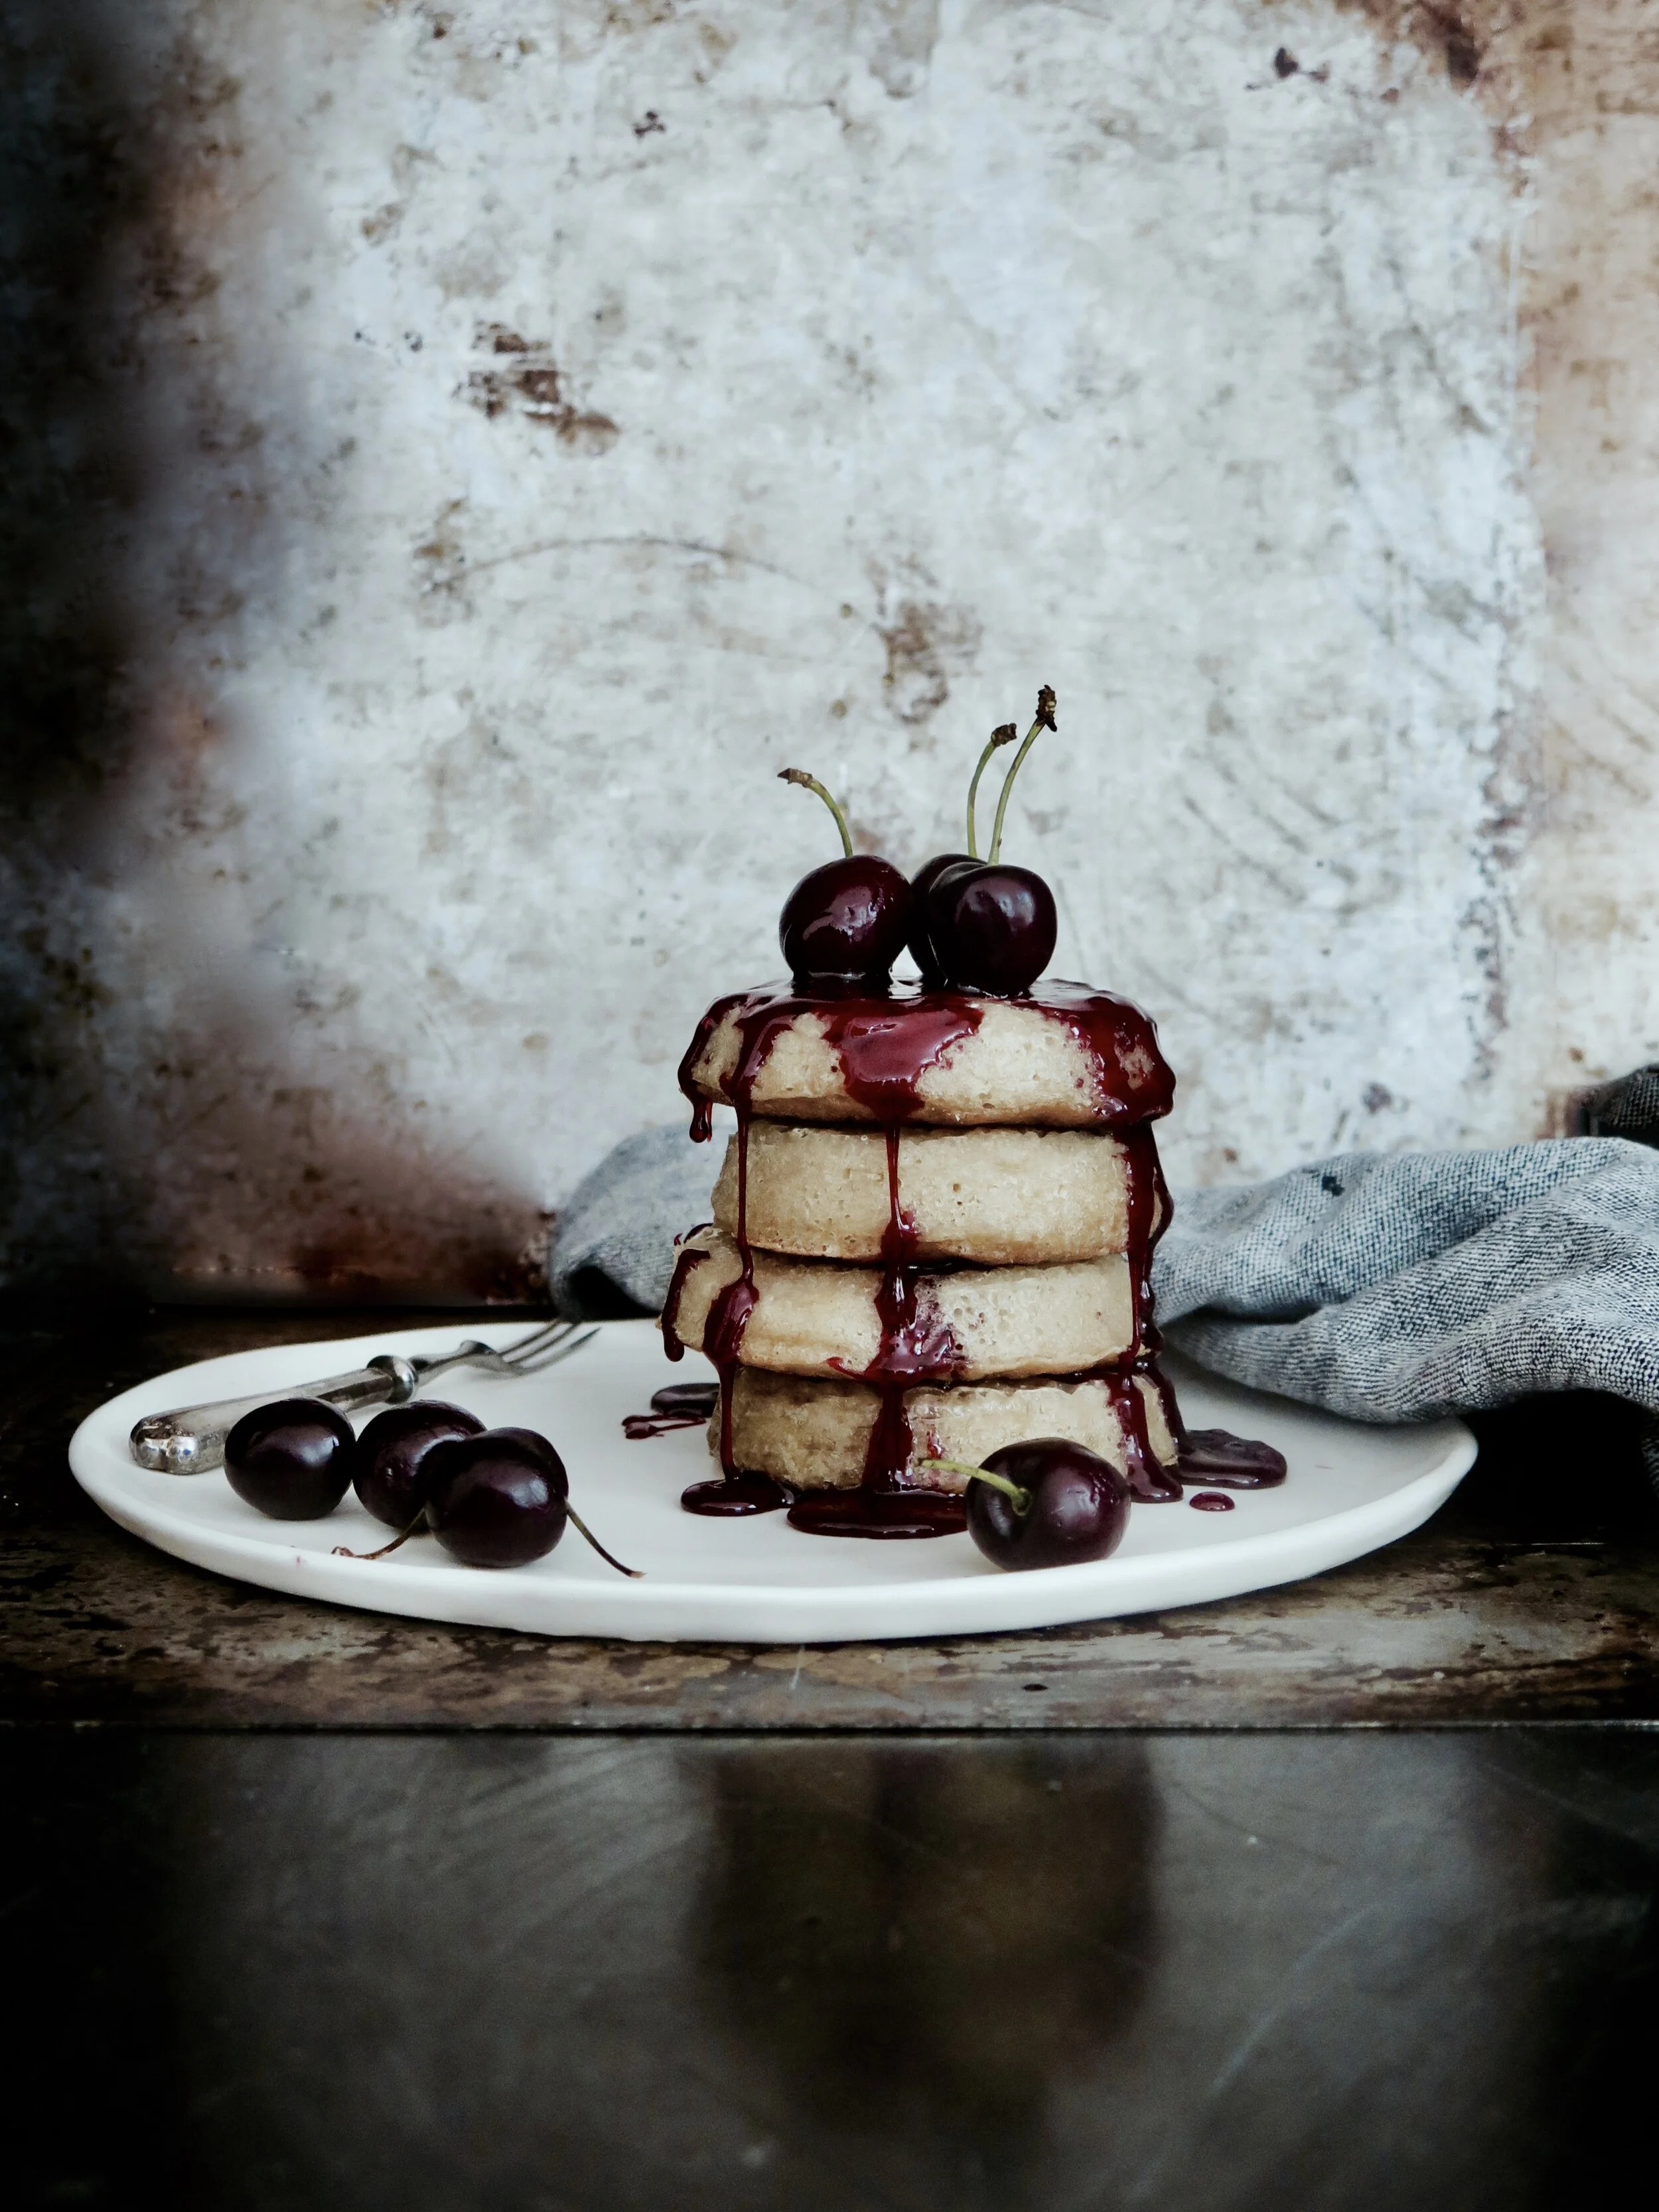
Crumpets are even better when home-made. Store-bought can be bland, powdery and stodgy. These, however, are fluffy and light, yet sturdy enough to provide an excellent foundation for several storeys of topping. Don’t be put off by the need for yeast - the whole process takes just over an hour and once you’ve made your own, it’ll be impossible to revert to store-bought.

Comment

Giant Vegan Blueberry Pancake

Comment

Giant Vegan Blueberry Pancake

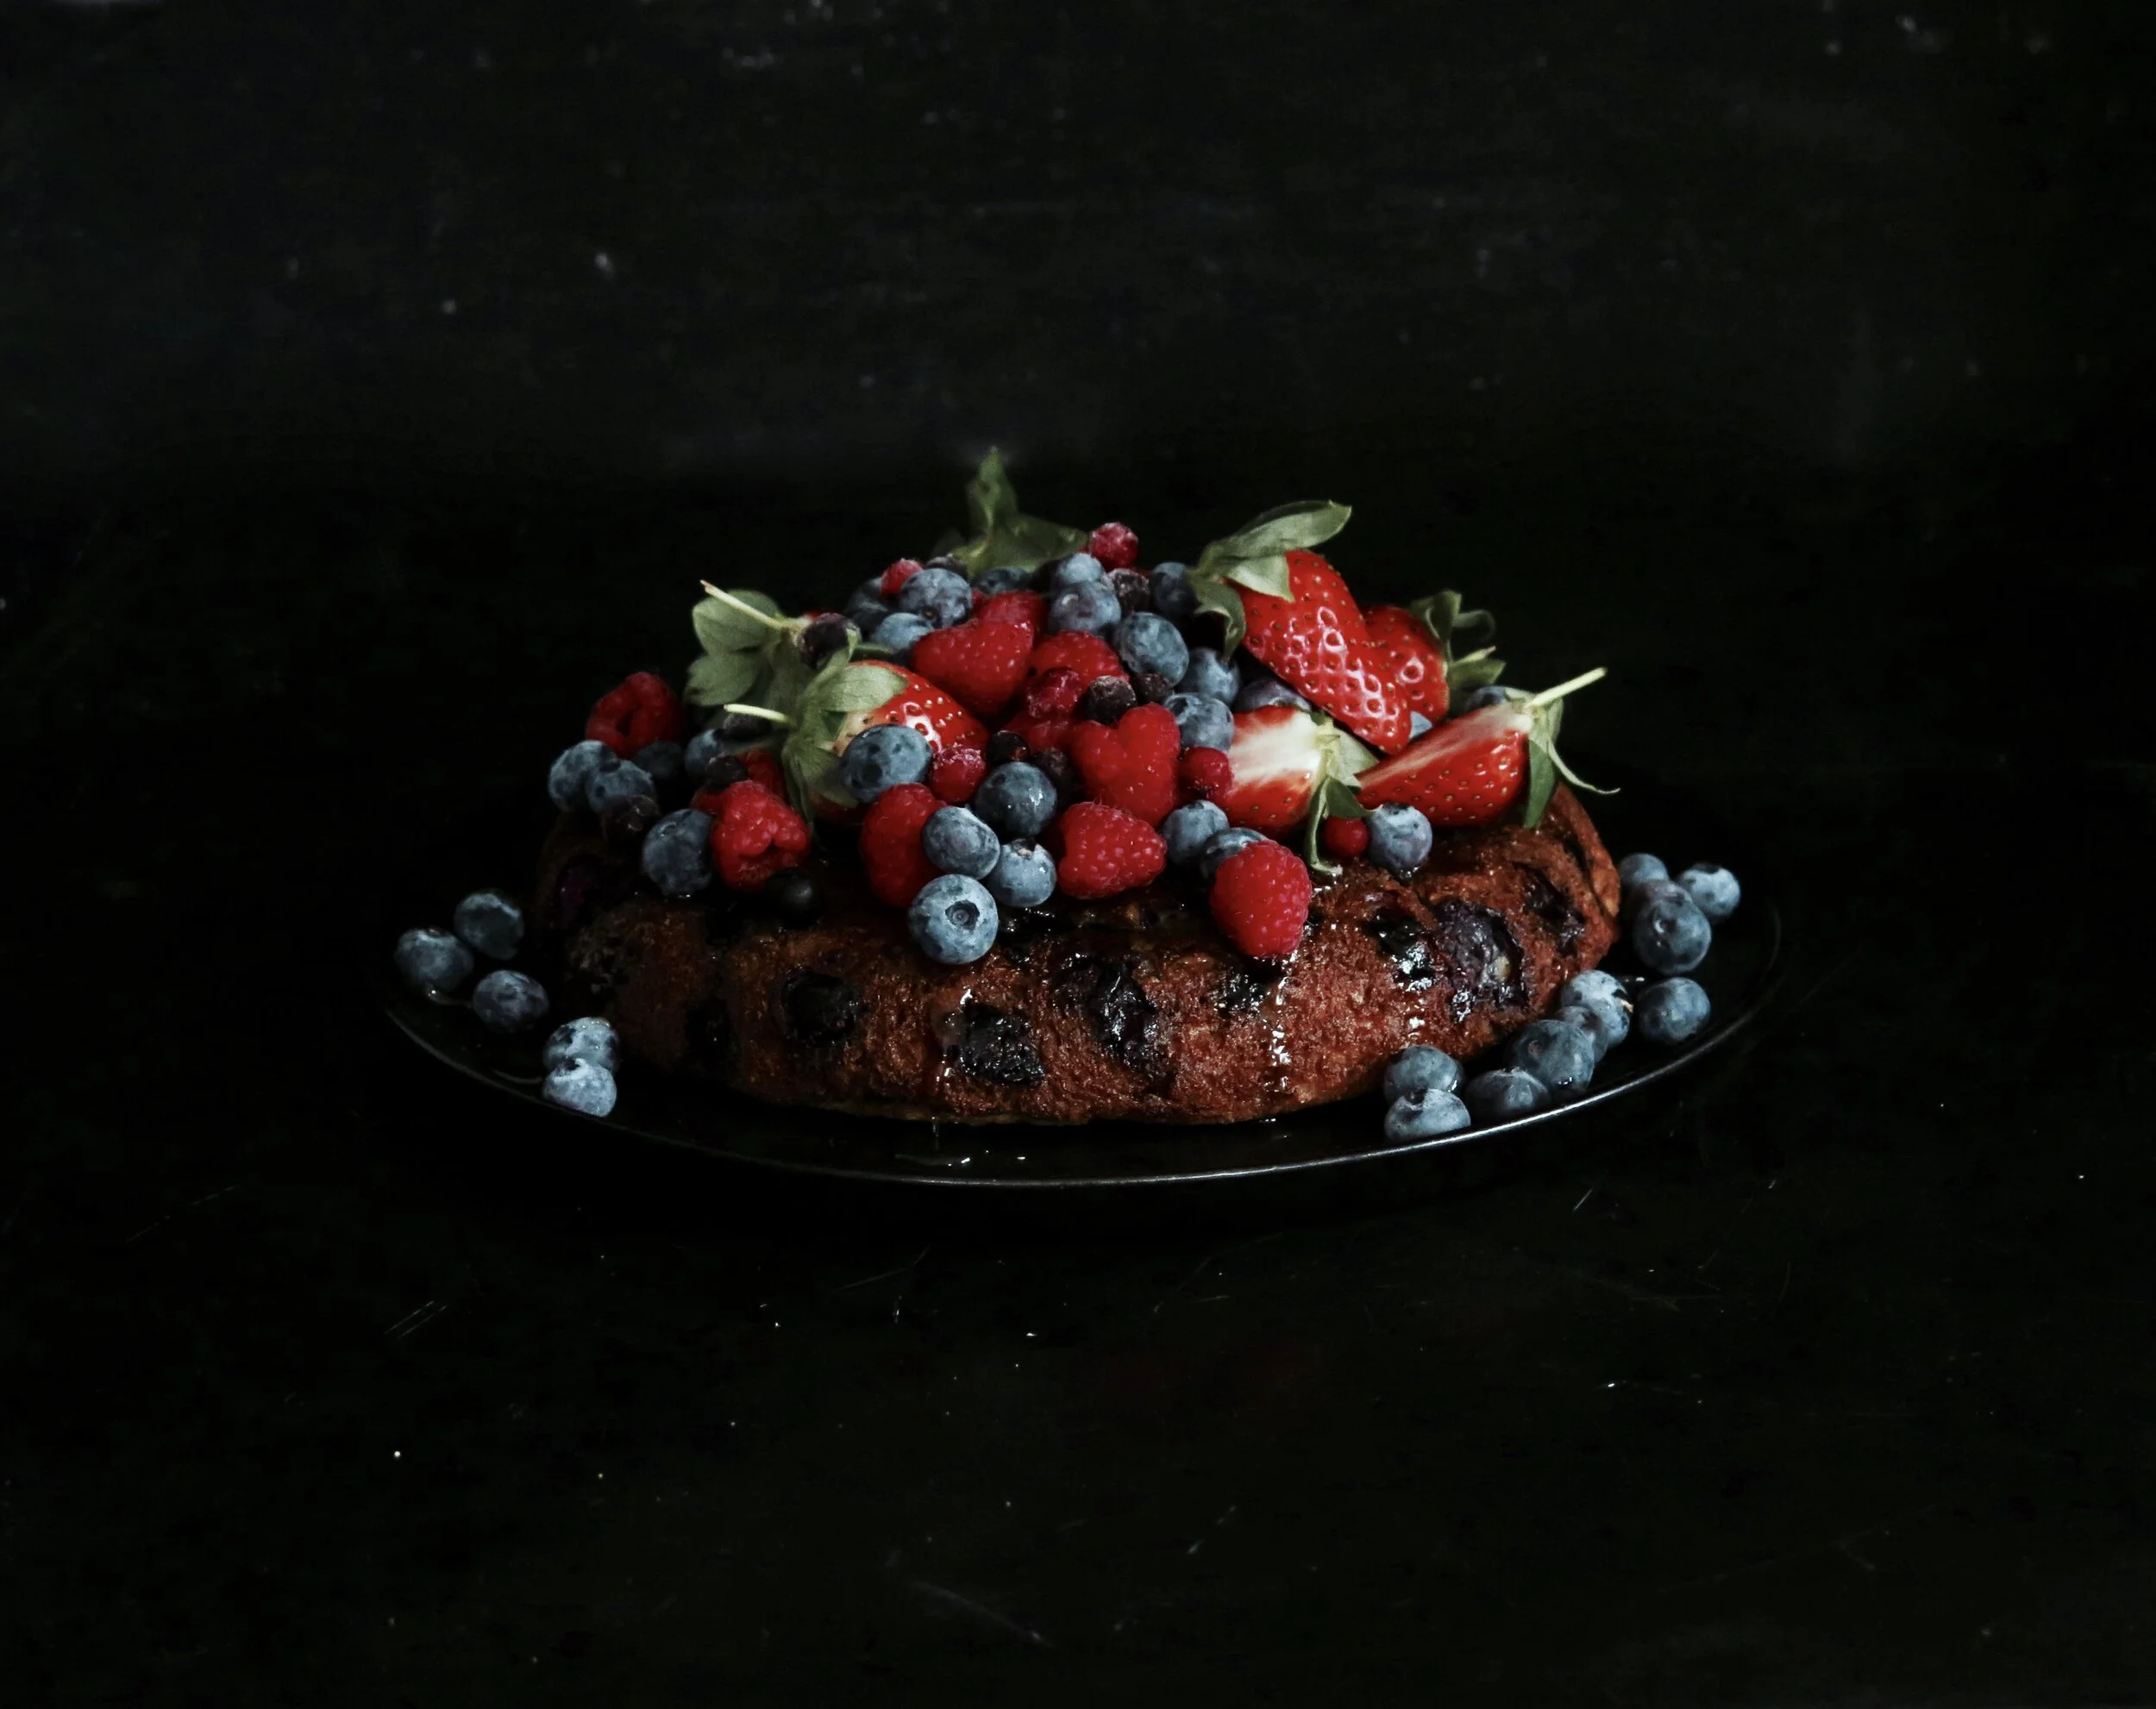
So, I’ve got the solution. Why make loads when you can make one large pancake to divide between your salivating guests? This is the pancake to top all pancakes – it makes even the most indulgent of American pancakes look pitiful and mean. It’s giant, thic(cc)k, pillowy and stuffed with blueberries. It can be dressed up, piled high with tumbled berries and drenched with lashings of maple syrup. 

Comment

The Best Vegan Chocolate Cupcakes

Comment

The Best Vegan Chocolate Cupcakes

if I have a vegan chocolate cake, it needs to meet or surpass its non-vegan equivalent in taste, in texture and in appearance.

And, it most certainly cannot have any weird artificial or suspicious gunk holding it together. 

Anyway, I stumbled across a basic recipe online: it came out disturbingly black, and tasted acrid. And I tried an online vegan icing recipe: it was revoltingly oily, and tear-inducingly bitter. So, I’ve chopped and changed and adjusted and refined, and this is the result: cupcakes that are juicy, fluffy, tender, and moist, with a smooth, creamy chocolatey icing. 

They are so good that I guarantee no one will guess they’re vegan.

Comment

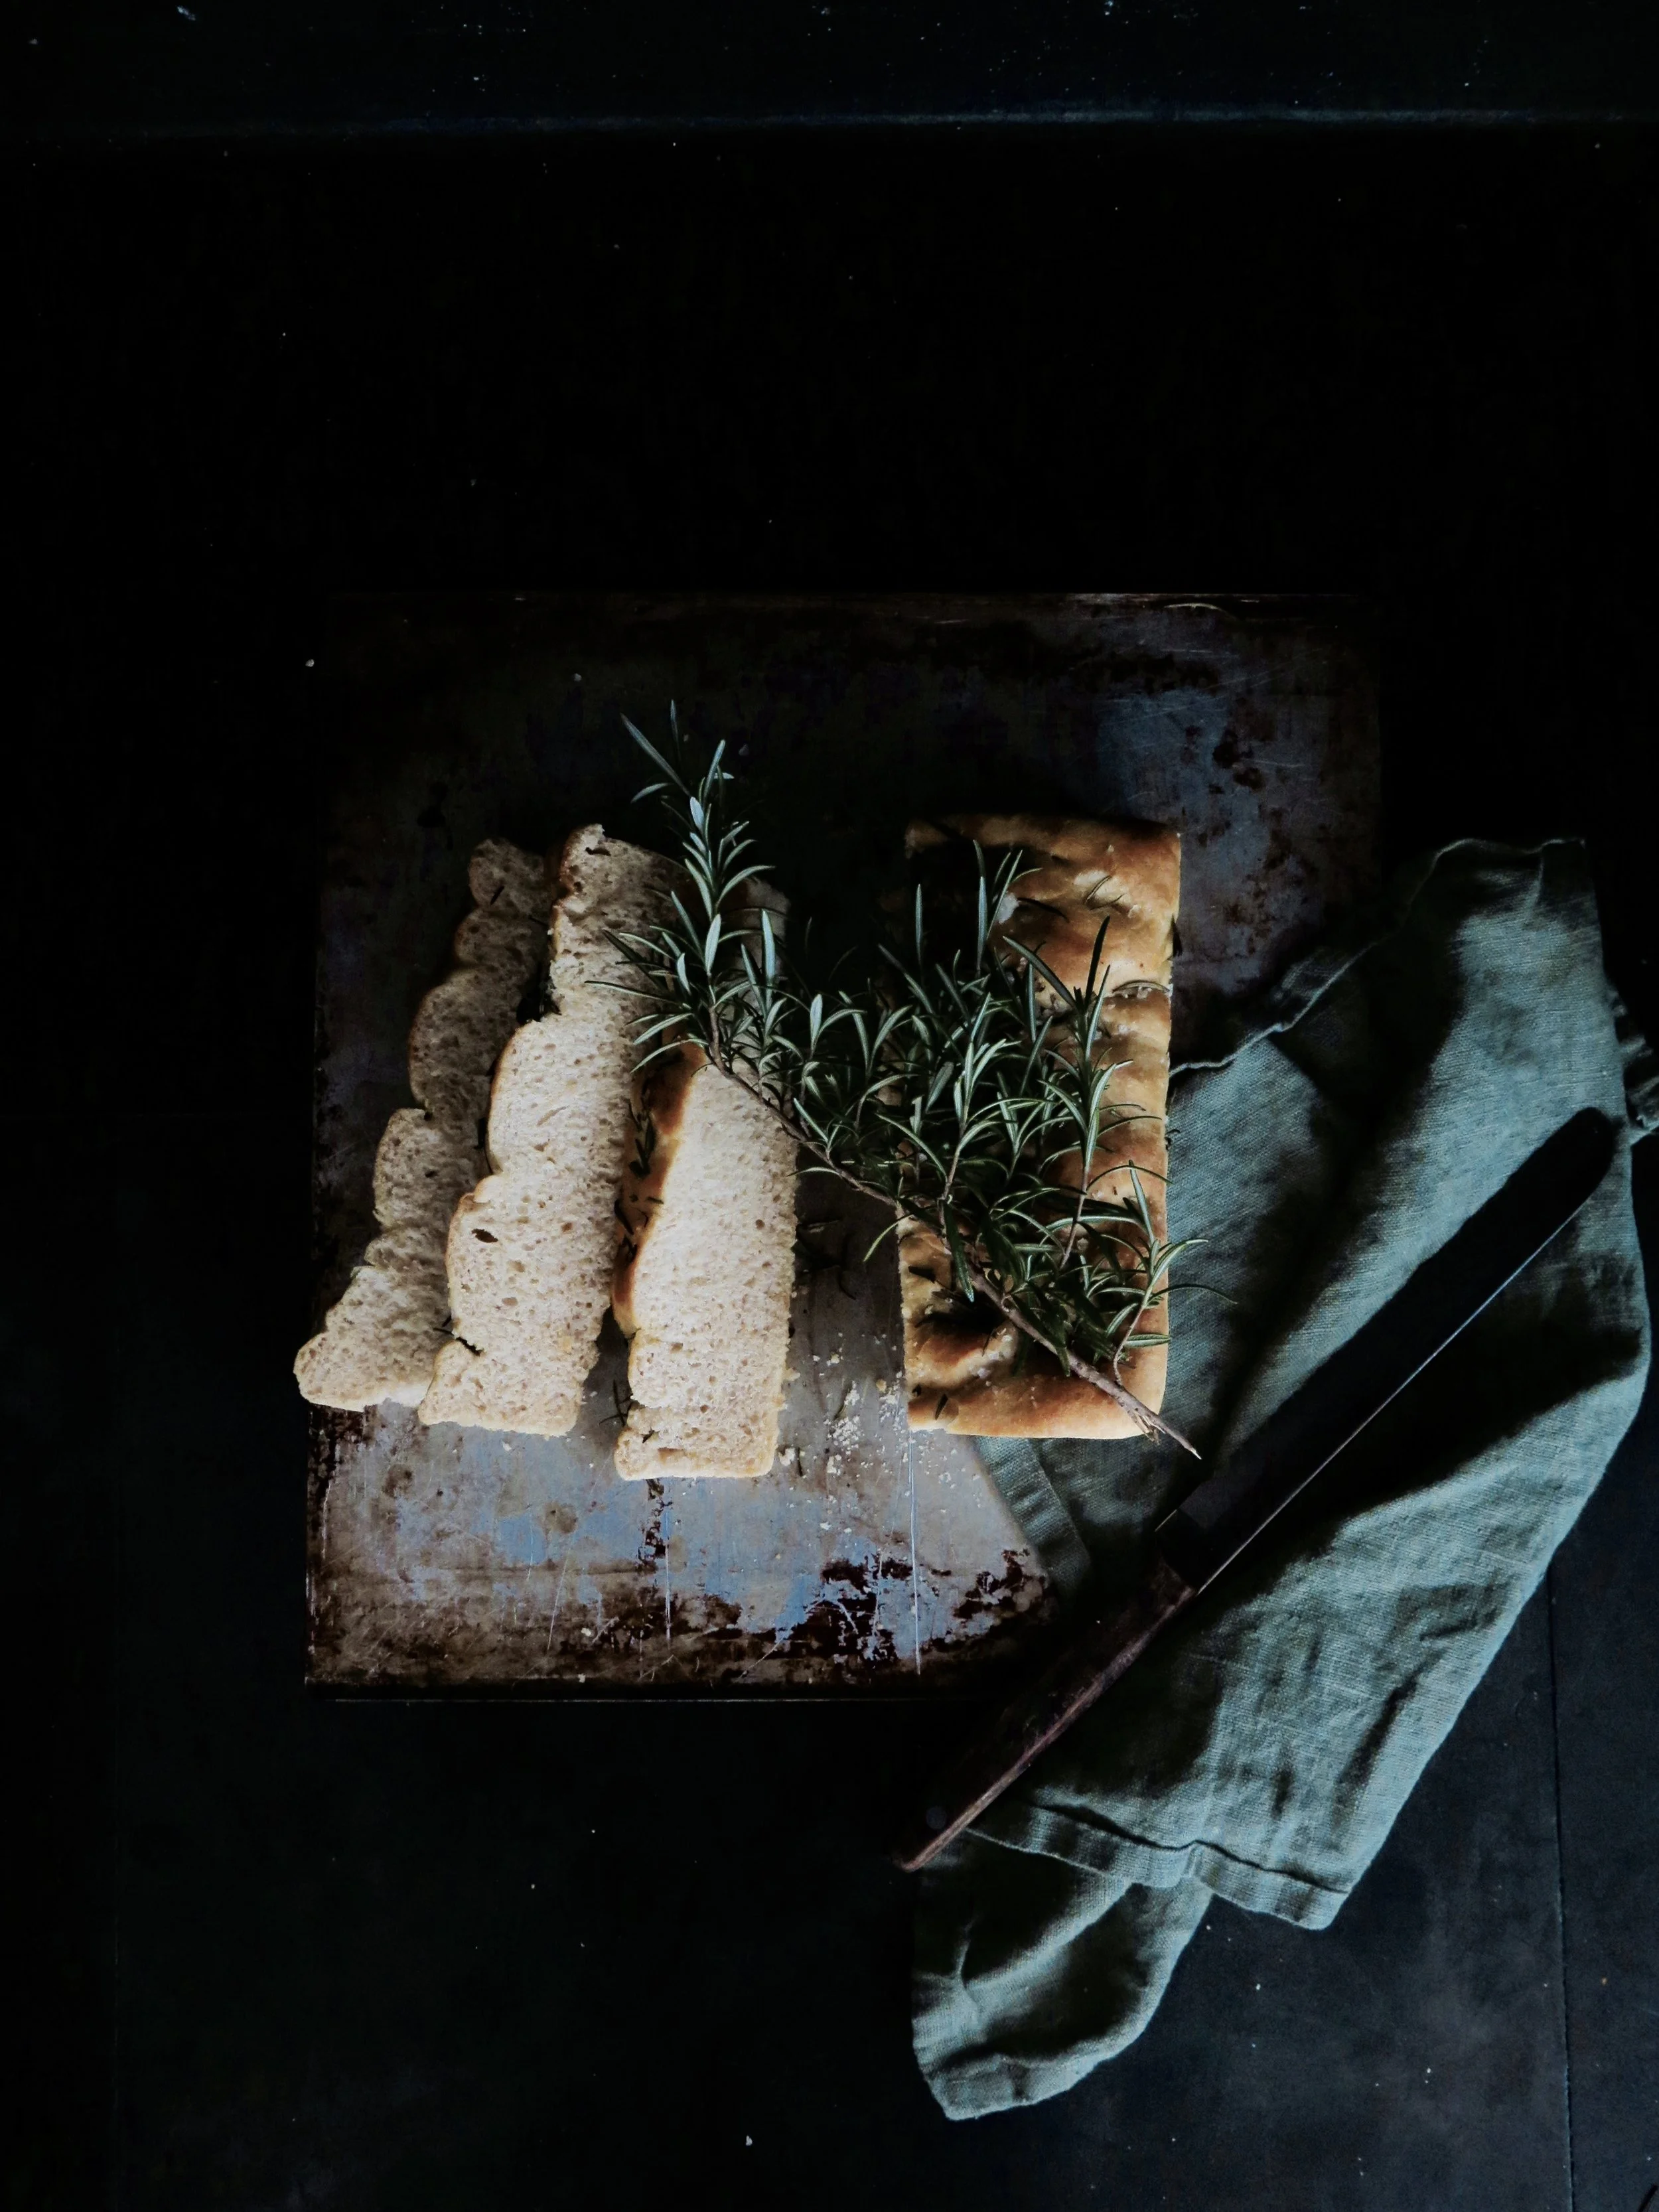
Sea Salt & Rosemary Focaccia (vegan)

Comment

Sea Salt & Rosemary Focaccia (vegan)

Vegan Rosemary Sea Salt Focaccia

Here is a recipe for a focaccia that is not a futon i.e. mean, hard and thin. It’s the emperor of mattresses: the dimples are deep, the texture is soft yet springy, and there is no scratchy dryness that a futon focaccia may have but, rather, a balmy olive oil-enriched crumb.

Vegan Rosemary Sea Salt Focaccia

Having had a few scarring experiences with the brittle, mouth-desiccating, hard mats that parade as focacce (even in their Italian heartlands), this recipe is not only sublime but a protest against my negative experiences.

Vegan Rosemary Sea Salt Focaccia

And while I’m singing its virtues, I have to stress that it’s ridiculously easy to make. Bread-making has such a bad press in terms of time, effort and skill required, but it is all a conspiracy to get you to buy the overpriced, chemical–laden, factory produced supermarket types. All you need to do is hang around a bit and the yeast does all the work for you. Total contact time with focaccia is only about 15minutes - the rest of the time is just a matter of rising or baking (or eating).

Vegan Rosemary Sea Salt Focaccia

I make this with spelt which lowers the GI and adds a little nuttiness. You can play around with the toppings: rosemary is traditional, but you can add caramelised onion, parmesan, olives, sun-dried tomatoes, sage…whatever you wish.

I like to make a lot in one go and freeze the loaves sliced, so you can dip into them when you please. But if you want to make fewer, just halve or third the ingredients.

Vegan Rosemary Sea Salt Focaccia

Recipe  - makes 3 loaves (or mattresses)

Ingredients

14g dried active yeast (2 sachets) or 25g fresh yeast

2 tbsp sugar

675ml lukewarm water

4 tbsp olive oil, for the dough + 3 tbsp for topping

1kg white spelt flour (or plain, if not available)

2 ½ tsp normal salt

1 tbsp coarse sea salt

4 sprigs of rosemary


3 x 25cm square cake/bread tins (or tins with the equivalent area), greased with olive oil


Method

1)    If using fresh yeast, cream it together in a large bowl with the sugar until it turns to liquid. Then, stir in the water and oil. If using dried active yeast, mix it with the sugar and water, and let it sit in a warm place for five minutes to activate. Then, stir in the oil.

2)    Into the wet ingredients, stir in the flour and salt –it should form a sticky, craggy mass. If you have a stand mixer, fit it with the dough hook and knead the dough for five minutes. If you are making the bread by hand, pour the dough on to a lightly floured board and knead until smooth and springy, so that it bounces back when pressed.  I like to use the dough hook for most of the kneading, take it out when it's almost done and finish by hand. 

3)    Place dough in a lightly oiled bowl, cover with cling film and allow to rise for about 1 to 1 ½ hours until doubled in size.

4)    Punch down the dough (so. much. fun.) and divide it into three. Stretch each piece of dough in its tin so that it is even in depth and reaches the sides (you may need to do a bit of pummeling to do this). Then, sprinkle over the rosemary and olive oil and dimple the dough with your fingers, pressing almost to the bottom of the tin. Allow to rise for a further 45 minutes to an hour until almost doubled in size. 

5)    Preheat the oven to 200C.  Then, sprinkle the breads with coarse sea salt, and place in the oven to bake for 12-15 minutes, or until deep golden in colour and crunchy on top. Remove from the oven and place on a baking rack to cool. Best eaten on day of baking (which is usually inevitable as testament to their deliciousness). Or place in an air-tight box and freeze for up to 3 months.

Vegan Rosemary Sea Salt Focaccia

HUNGRY FOR MORE?

Comment

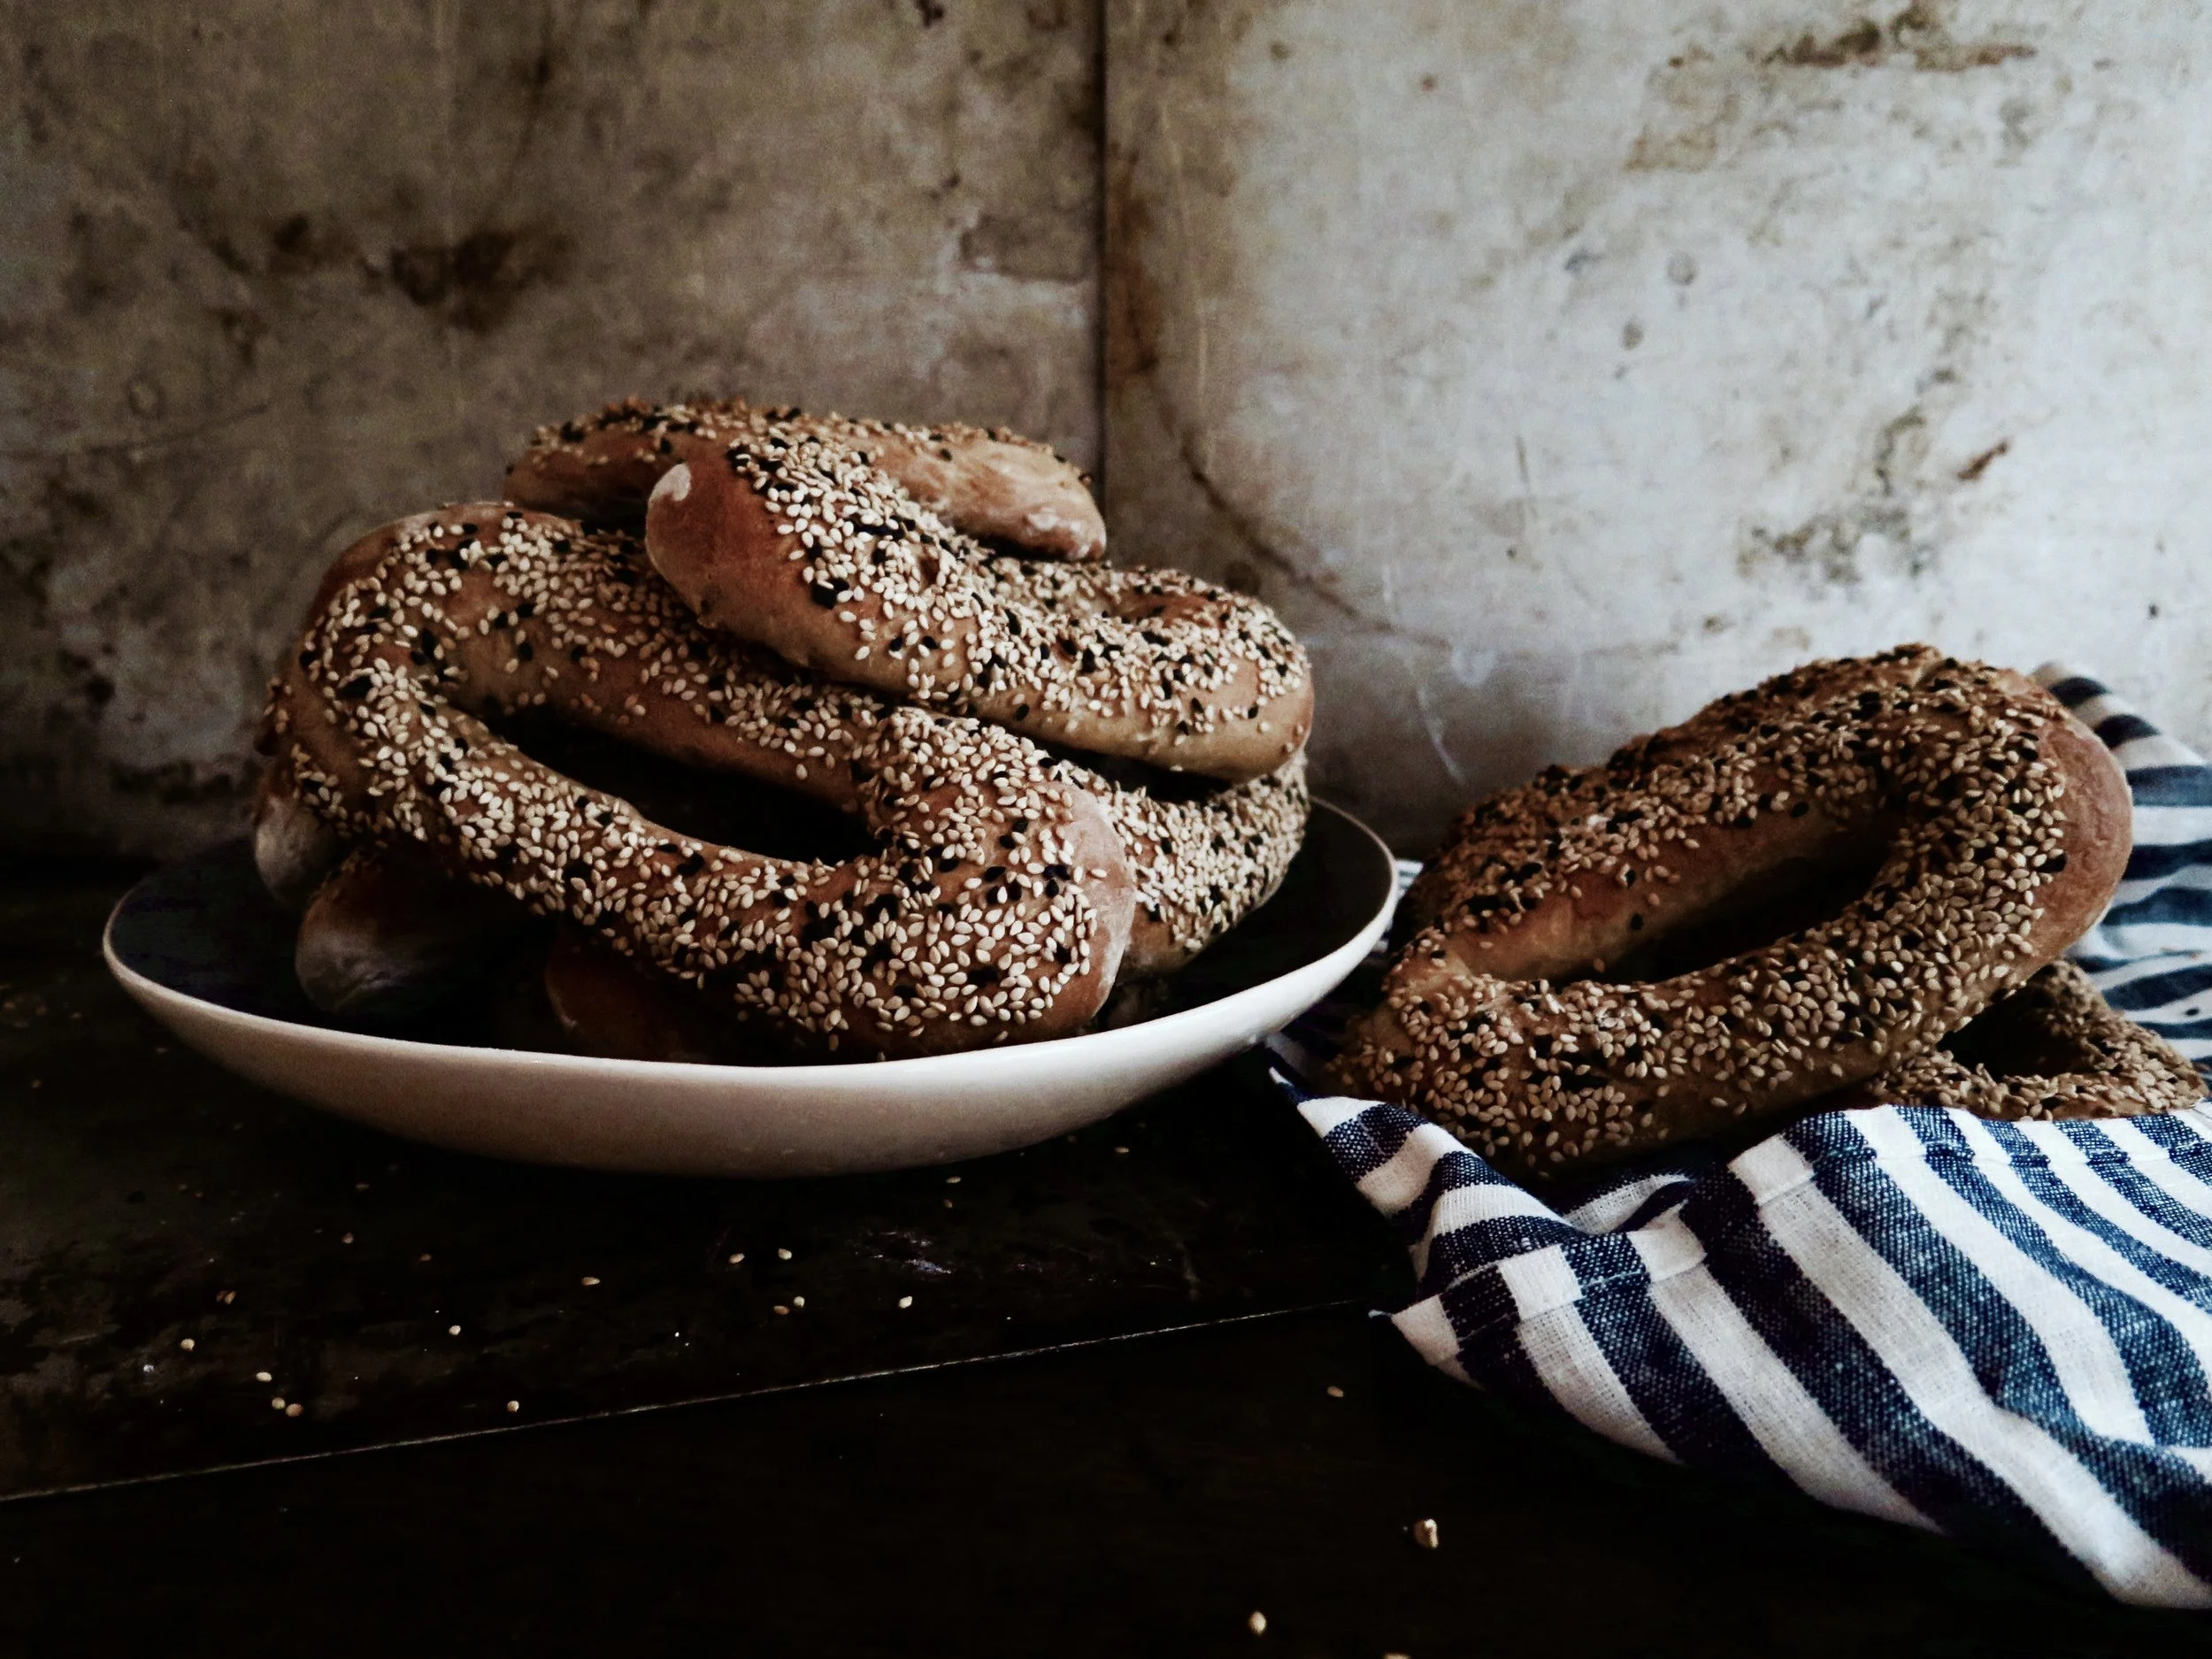
Vegan Sesame Jerusalem Bagels

Comment

Vegan Sesame Jerusalem Bagels

fullsizeoutput_2c0f.jpeg
fullsizeoutput_2c2e.jpeg

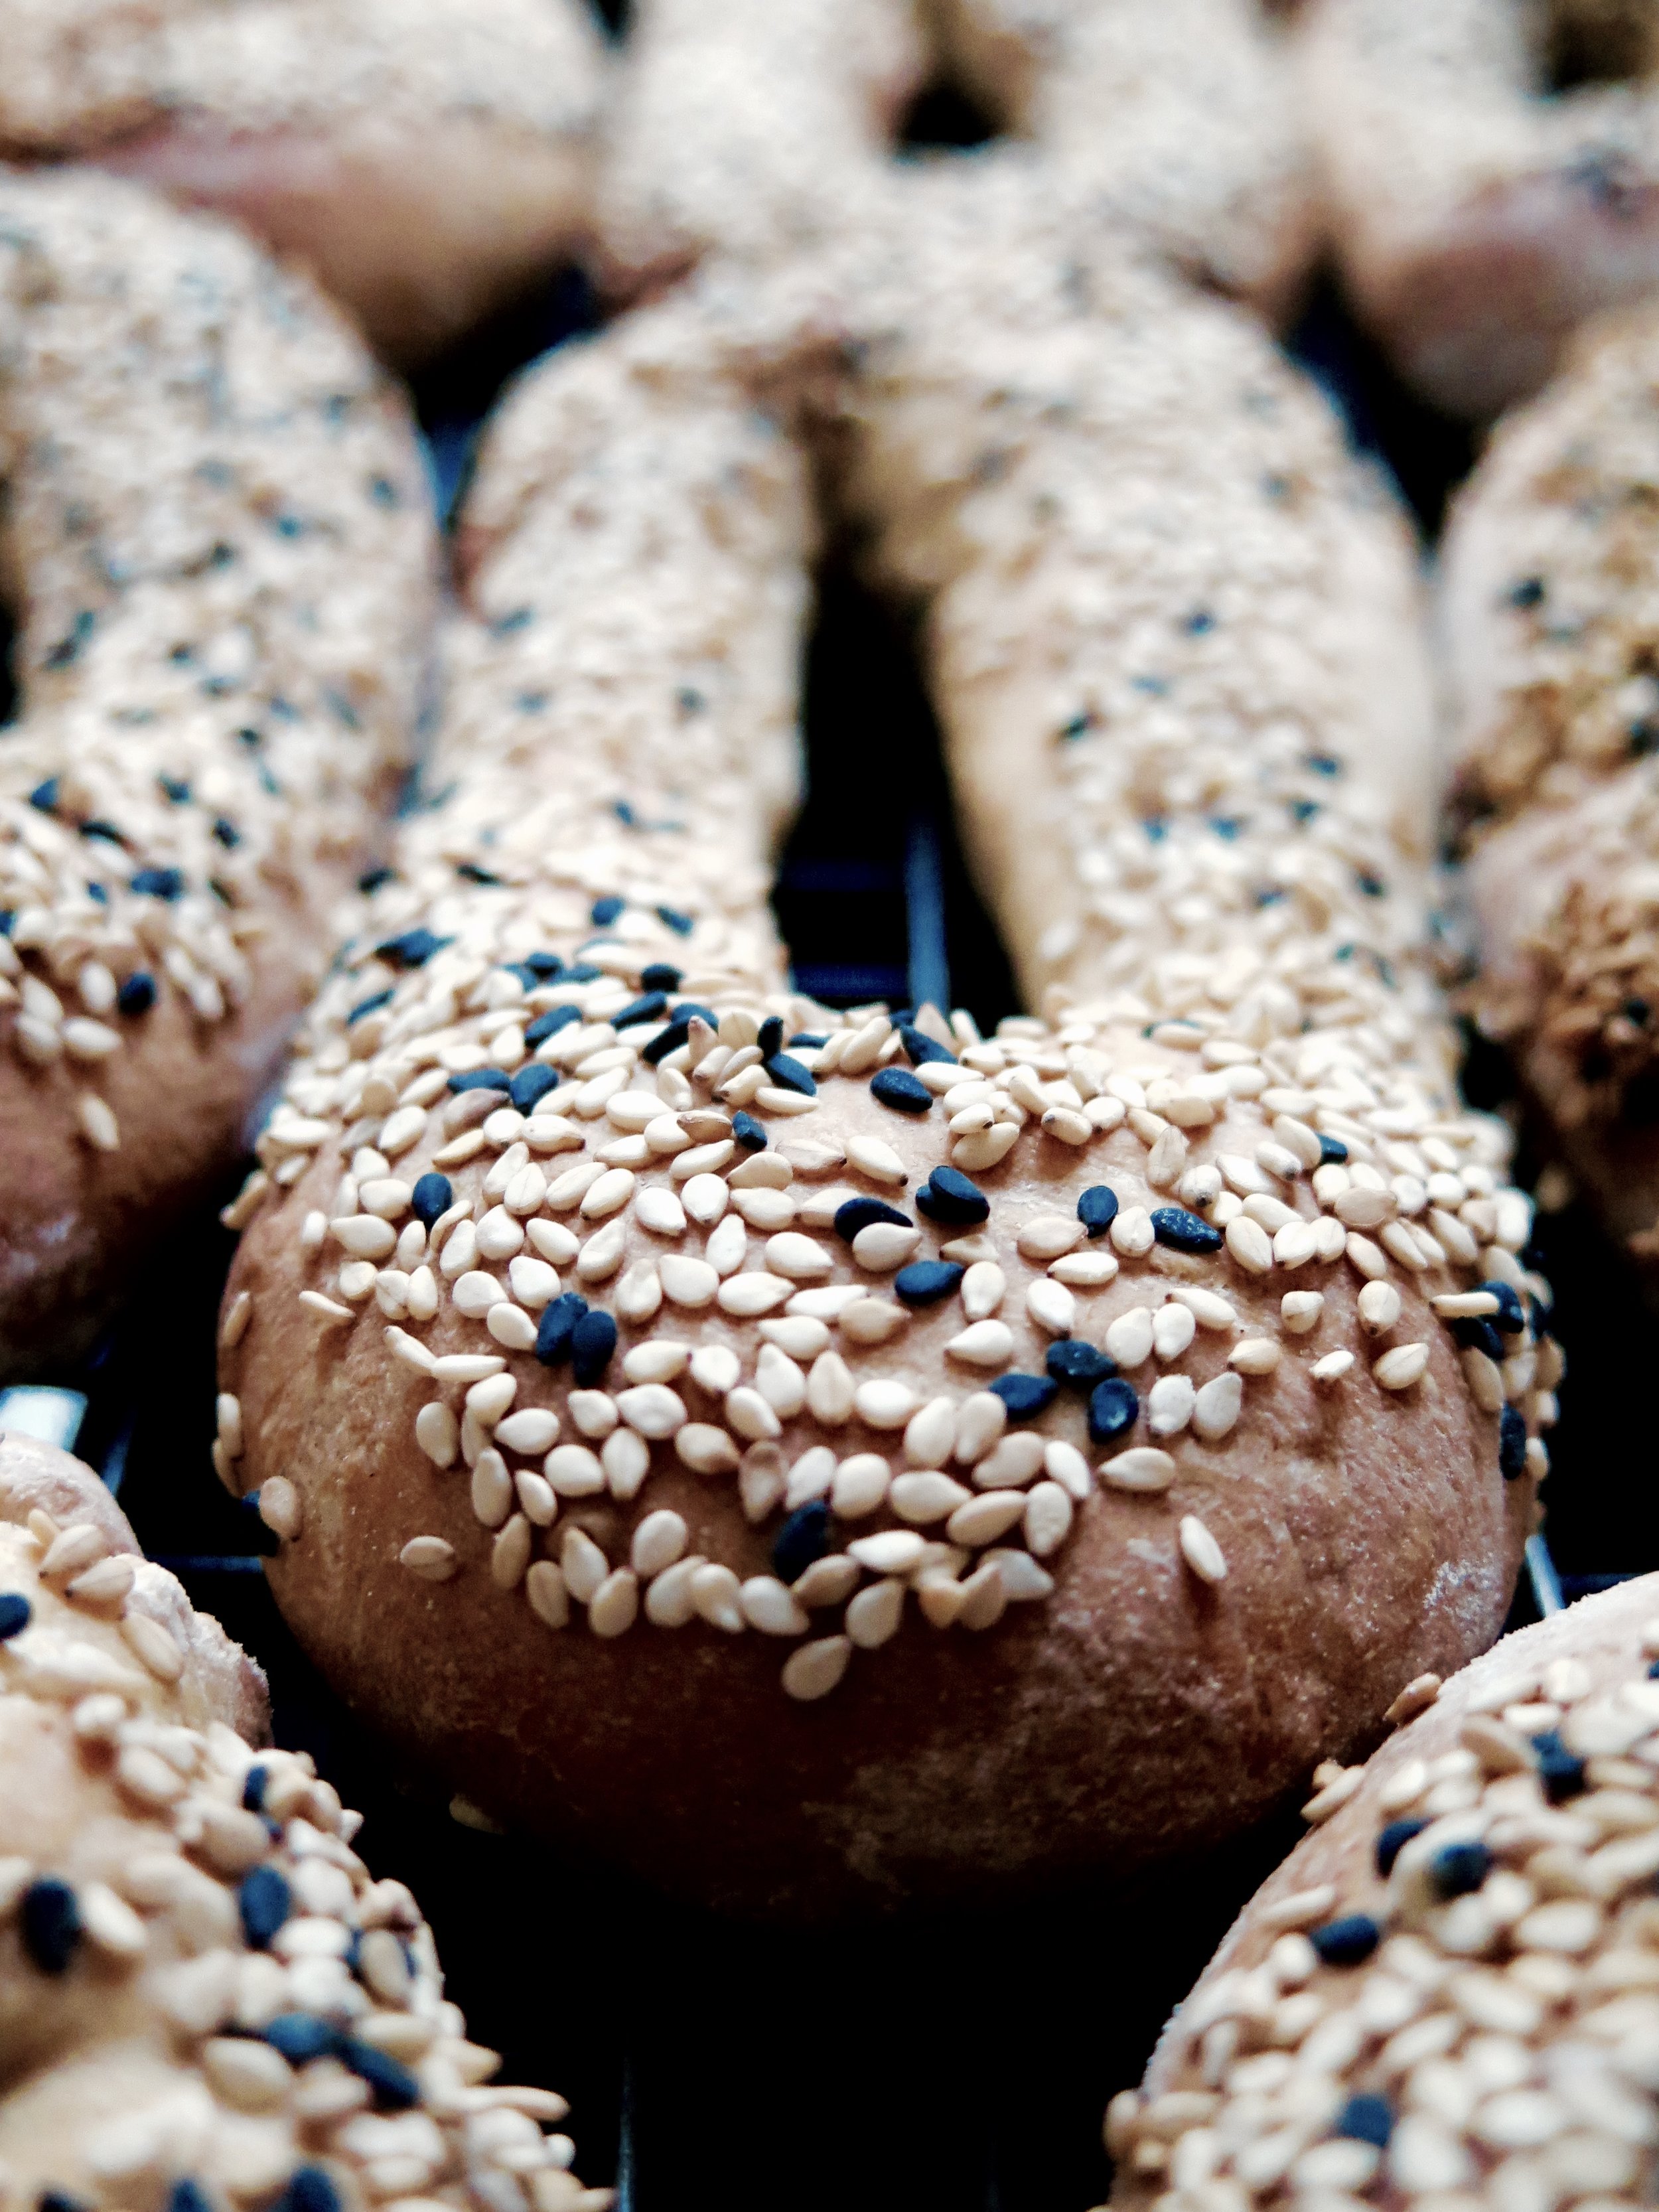
Do your ears hang low? Well, attached or unattached, furry or fuzzy, chunky or petite, this recipe is an ode to the earlobe.

Specifically, it is a celebration of stretched earlobes, whether those of an 85-year-old glamazon who refuses to compromise on opulence in pursuit of practicality or pain avoidance, and has transformed the once-small piercing pin pricks into gaping chasms by the weight of her bejewelled, solid gold hoops. Or the nonchalant indie who has plugged and gouged and strained their lobes to form human wind tunnels.

fullsizeoutput_2c5e.jpeg
fullsizeoutput_2c52.jpeg

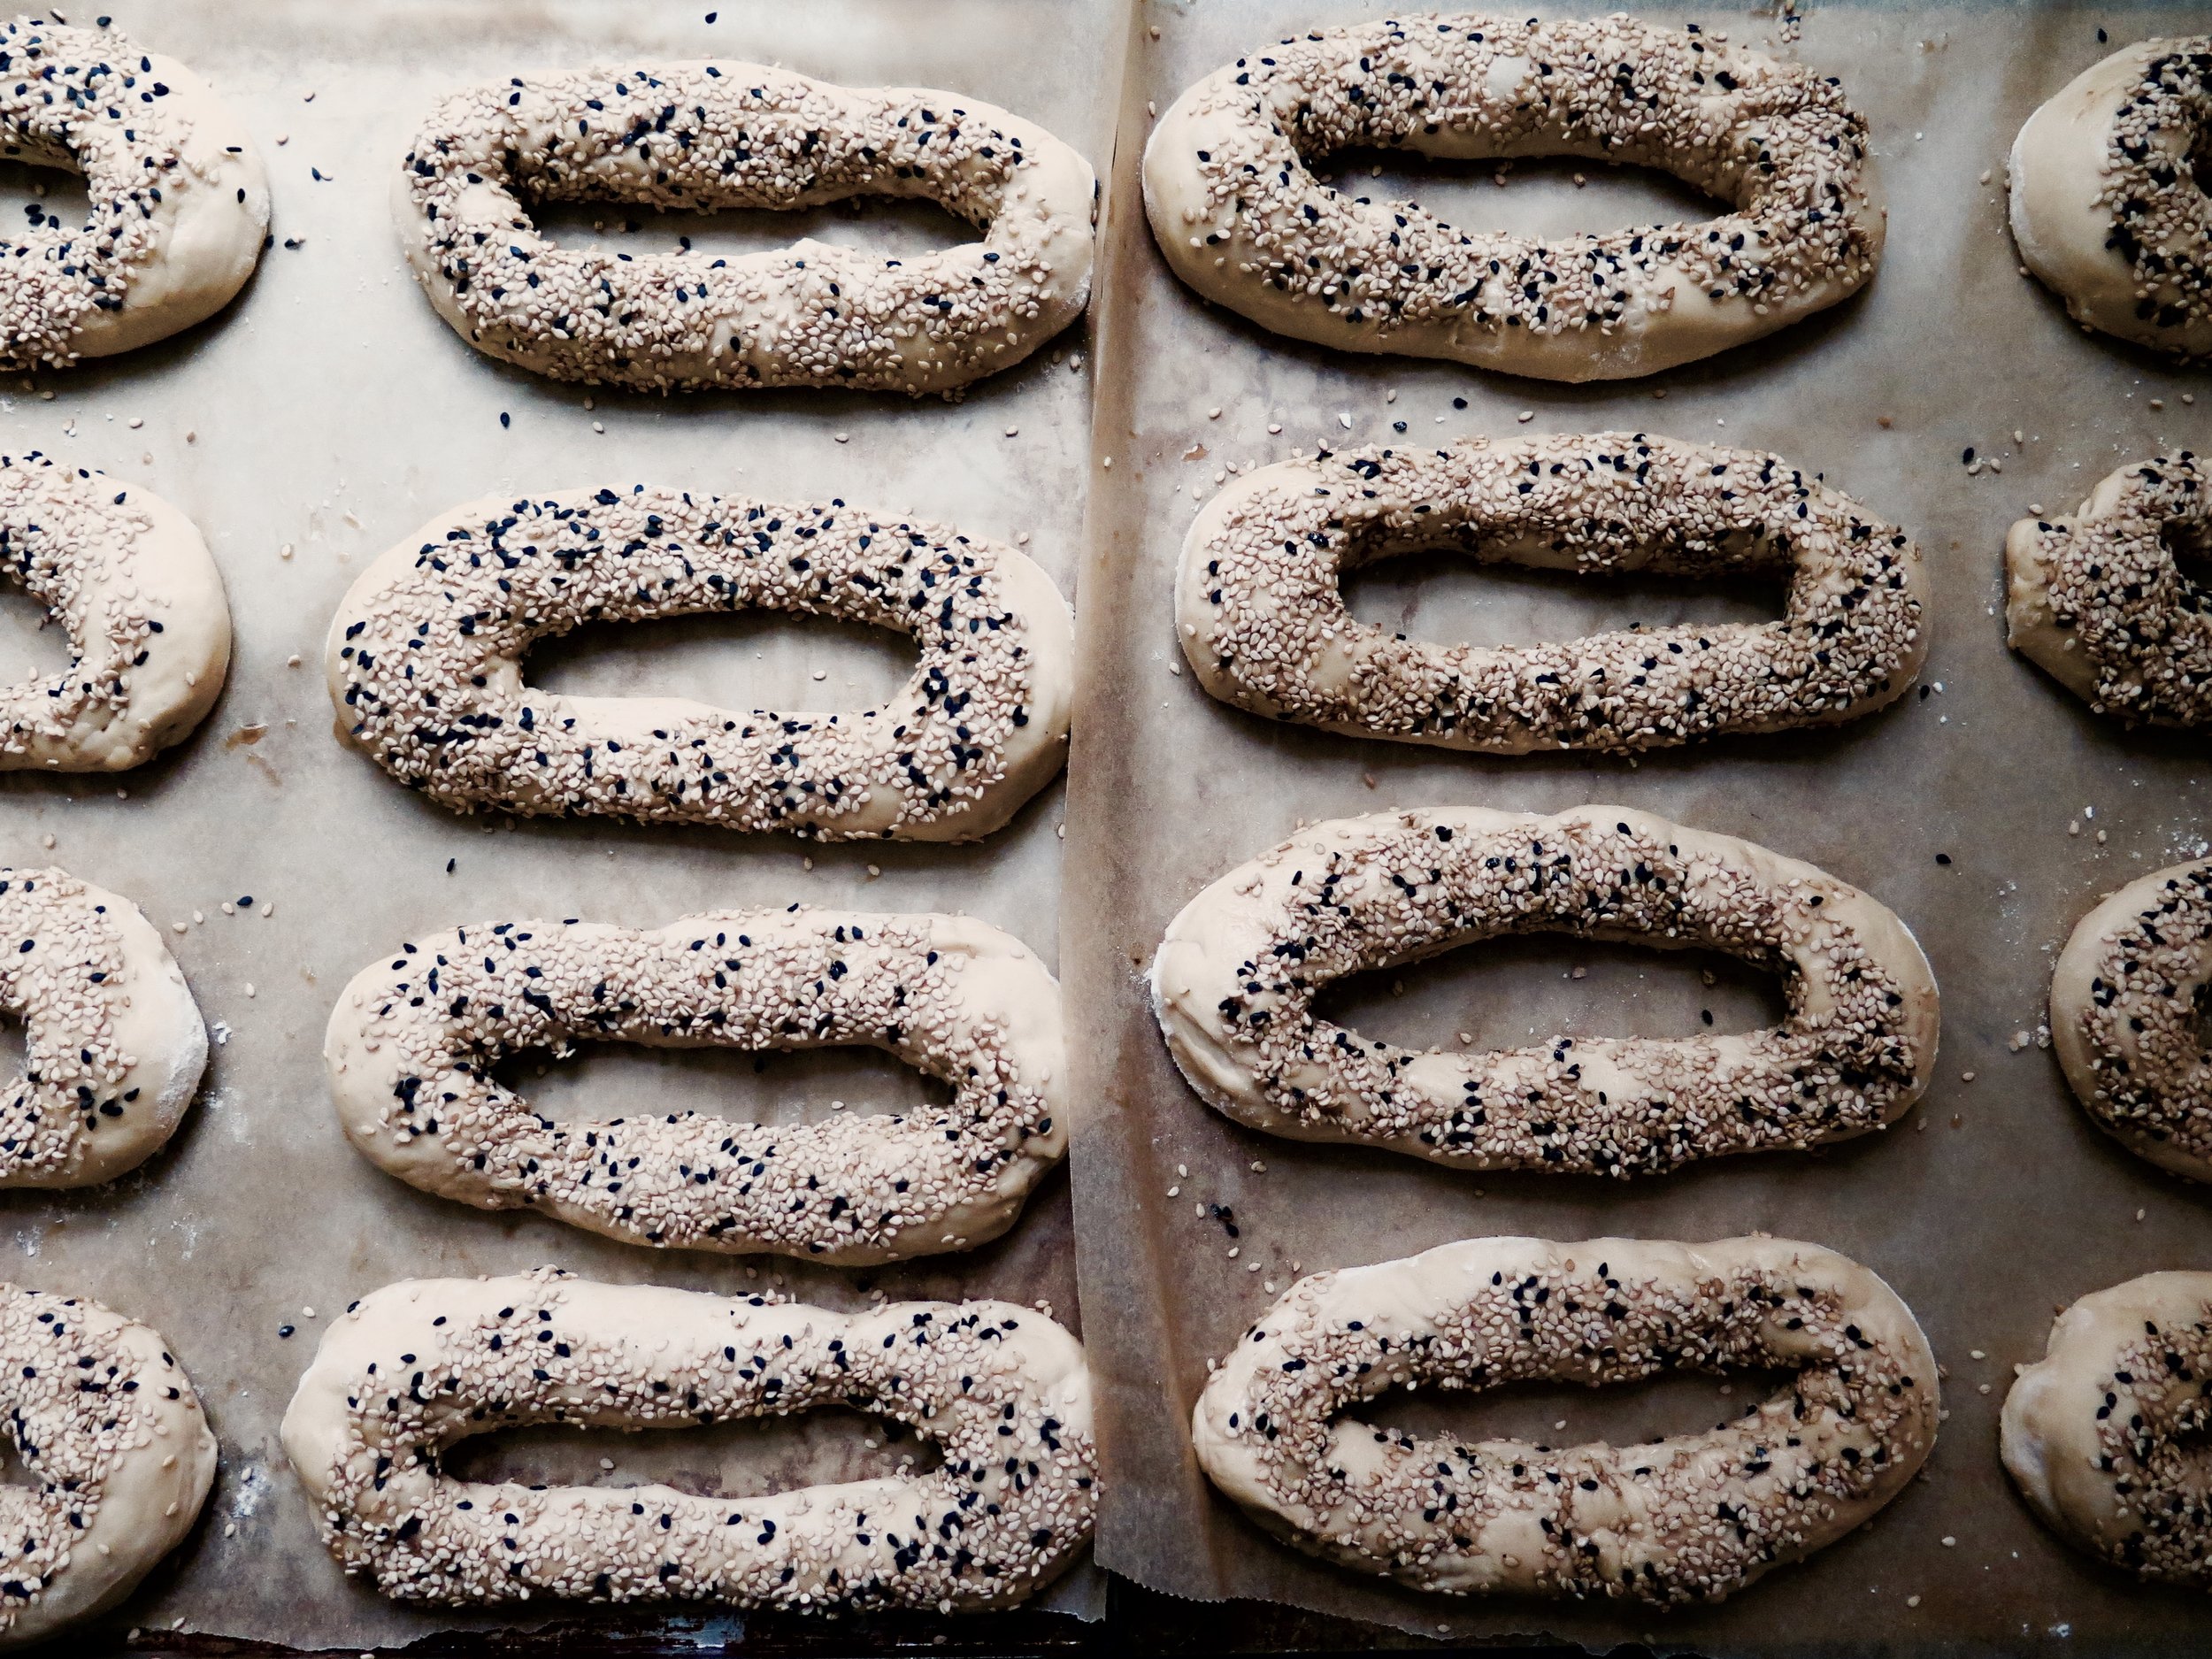
Like stretched lobes, these sesame studded bagels are not your standard chewy round.

They are a rare sight in the UK, only occasionally vaguely mimicked by the odd fougasse dangling in the windows of French bakeries. Though related to those that are more common sighted, Jerusalem bagels are elegantly elongated, less chewy, more fluffy, yet with a crusty exterior (I’m on the topic of bread now, not lobes).  And the Jerusalem bagel is in no way a lesser version – being a rarer breed and a much more fun shape to nibble (yes, still on bagels), I actually prefer them. They are also easier to bake: the absence of the boiling stage means less room for error, and no witch-hunting of wet doughy rounds, bobbing up and down and falling apart in vats of boiling water.

fullsizeoutput_2c42.jpeg
fullsizeoutput_2c35.jpeg
fullsizeoutput_2c21.jpeg

 If you are intimidated by bread-baking, do not be.

These are extremely simple, and though the process from flour to end-product takes a while, they are very undemanding in terms of action – the sesame seed dipping is, in fact, rather satisfying from a pre-school art class perspective.  Feel free to halve the mixture if you want fewer bagels, though they are so delicious and addictive it’s probably not worth it.... Also, do have a play around with ingredients: you could try poppy, flax, sunflower, or nigella seeds, as well as sprinkling the bagels with cheddar cheese or parmesan if you aren’t vegan.

fullsizeoutput_2c02.jpeg
fullsizeoutput_2bf1.jpeg

Makes 20

Ingredients

750ml warmed, unsweetened almond milk (can substitute with oat, or another neutral-flavoured, unsweetened plant-based milk)

21g active dry instant yeast (3 sachets)

60g caster sugar

500g strong white flour (+ extra flour for dusting surfaces)

500g white spelt flour

4 tsp salt

2 tsp baking powder

1 tbsp olive oil


100g white sesame seeds

15g black sesame seeds

4 tbsp boiling water

2 tbsp pomegranate molasses

1 tbsp agave syrup (or honey if you’re not vegan)


3 baking trays lined with baking parchment


Method

1)    In the bowl of a mixer fitted with a dough hook, or in a large stand-alone bowl, stir together warmed milk, yeast and sugar. Pour in all the flour (apart from that to be used for dusting the surface), salt and baking powder and stir to combine into dough.  

2)    If using a mixer, knead the dough for about five minutes on a low speed with a dough hook. If making by hand, pour the dough onto a lightly floured surface, and knead by hand until soft, smooth and springy. It may be slightly sticky, but try to avoid adding too much flour as this will make the bagels dry and tough. Even if I use the dough hook, I take the dough out to knead by hand for the last minute. 

3)    Coat the inside of a bowl with the olive oil, place the dough inside and cover with cling film or a tea towel. Allow to rise in a warm place for about an hour, or until it has doubled in size.

4)    When the dough has risen, punch it down and turn it on to a lightly floured surface. Divide the dough into 20 pieces. You can approximate this by quartering the dough and dividing each quarter into five pieces. Or you can weigh it: each piece should be about 85g. Then gently roll each into a ball. To make the Jerusalem bagel shape, take each ball of dough and press your thumb through the centre to create a hole. Whilst keeping the dough even in diameter, gently stretch the hole into an oval so the bagel is about 11 cm long. Place each back on the floured surface and allow to rest and rise for 15 minutes.

5)    Preheat the oven to 200C. Make the topping by mixing the water, pomegranate molasses and agave/honey in a bowl. Then pour the mixture into a small tray or large flat-based bowl. On another tray, mix together the black and white sesame seeds (or whichever other seeds you are using). Taking each bagel lobe, dip it first (on one side only) into the water molasses mix, then into the sesame, so that one side is coated in sesame seeds. Then place it on the tray lined with baking parchment. If the bagel stretches a bit, that is fine. Repeat with the rest of the bagels, spacing them at least 3 or 4cm apart, and allow them to rest again for a further 10 minutes. 

6)    Place them in the oven to bake for 10-15 minutes until they are deep golden and crusty on the outside. Once baked, transfer the bagels to a baking rack to cool. They are best eaten on the day of baking (and it will be a miracle if they last beyond a day). However, if you want to save them for another time, you can freeze them as soon as they have cooled for up to three months in an airtight container.

fullsizeoutput_2c25.jpeg
fullsizeoutput_2bf7.jpeg

HUNGRY FOR MORE?


Comment

Virtuous Vegan Date & Peanut Butter Cookies

Comment

Virtuous Vegan Date & Peanut Butter Cookies

fullsizeoutput_d51.jpeg

If I told you that a vegan, refined sugar-free, protein-rich, wheat-free, ancient-grain (and if you so desire, gluten-free) cookie existed, you’d think it was the stuff of myth and legend or, alternatively, something so disgusting that it couldn’t be deemed edible.

Well, it does exist.

fullsizeoutput_d69.jpeg
fullsizeoutput_d50.jpeg

After an overindulgent stay in NYC, I made these for my birthday. They aren’t overpoweringly sweet, and they aren’t going to be equivalent to the 500 calories a pop thick, fudgy cookies you see in bakeries. However, they are delicious in their own right, soft and just sweet enough. Plus, being vaguely healthy automatically entitles one to devour 5x the quantity. In fact, for a snack to be officially deemed a source of protein, it needs to contain 6g protein. Well, 3 of these cookies contain just that.

fullsizeoutput_d54.jpeg
fullsizeoutput_d77.jpeg

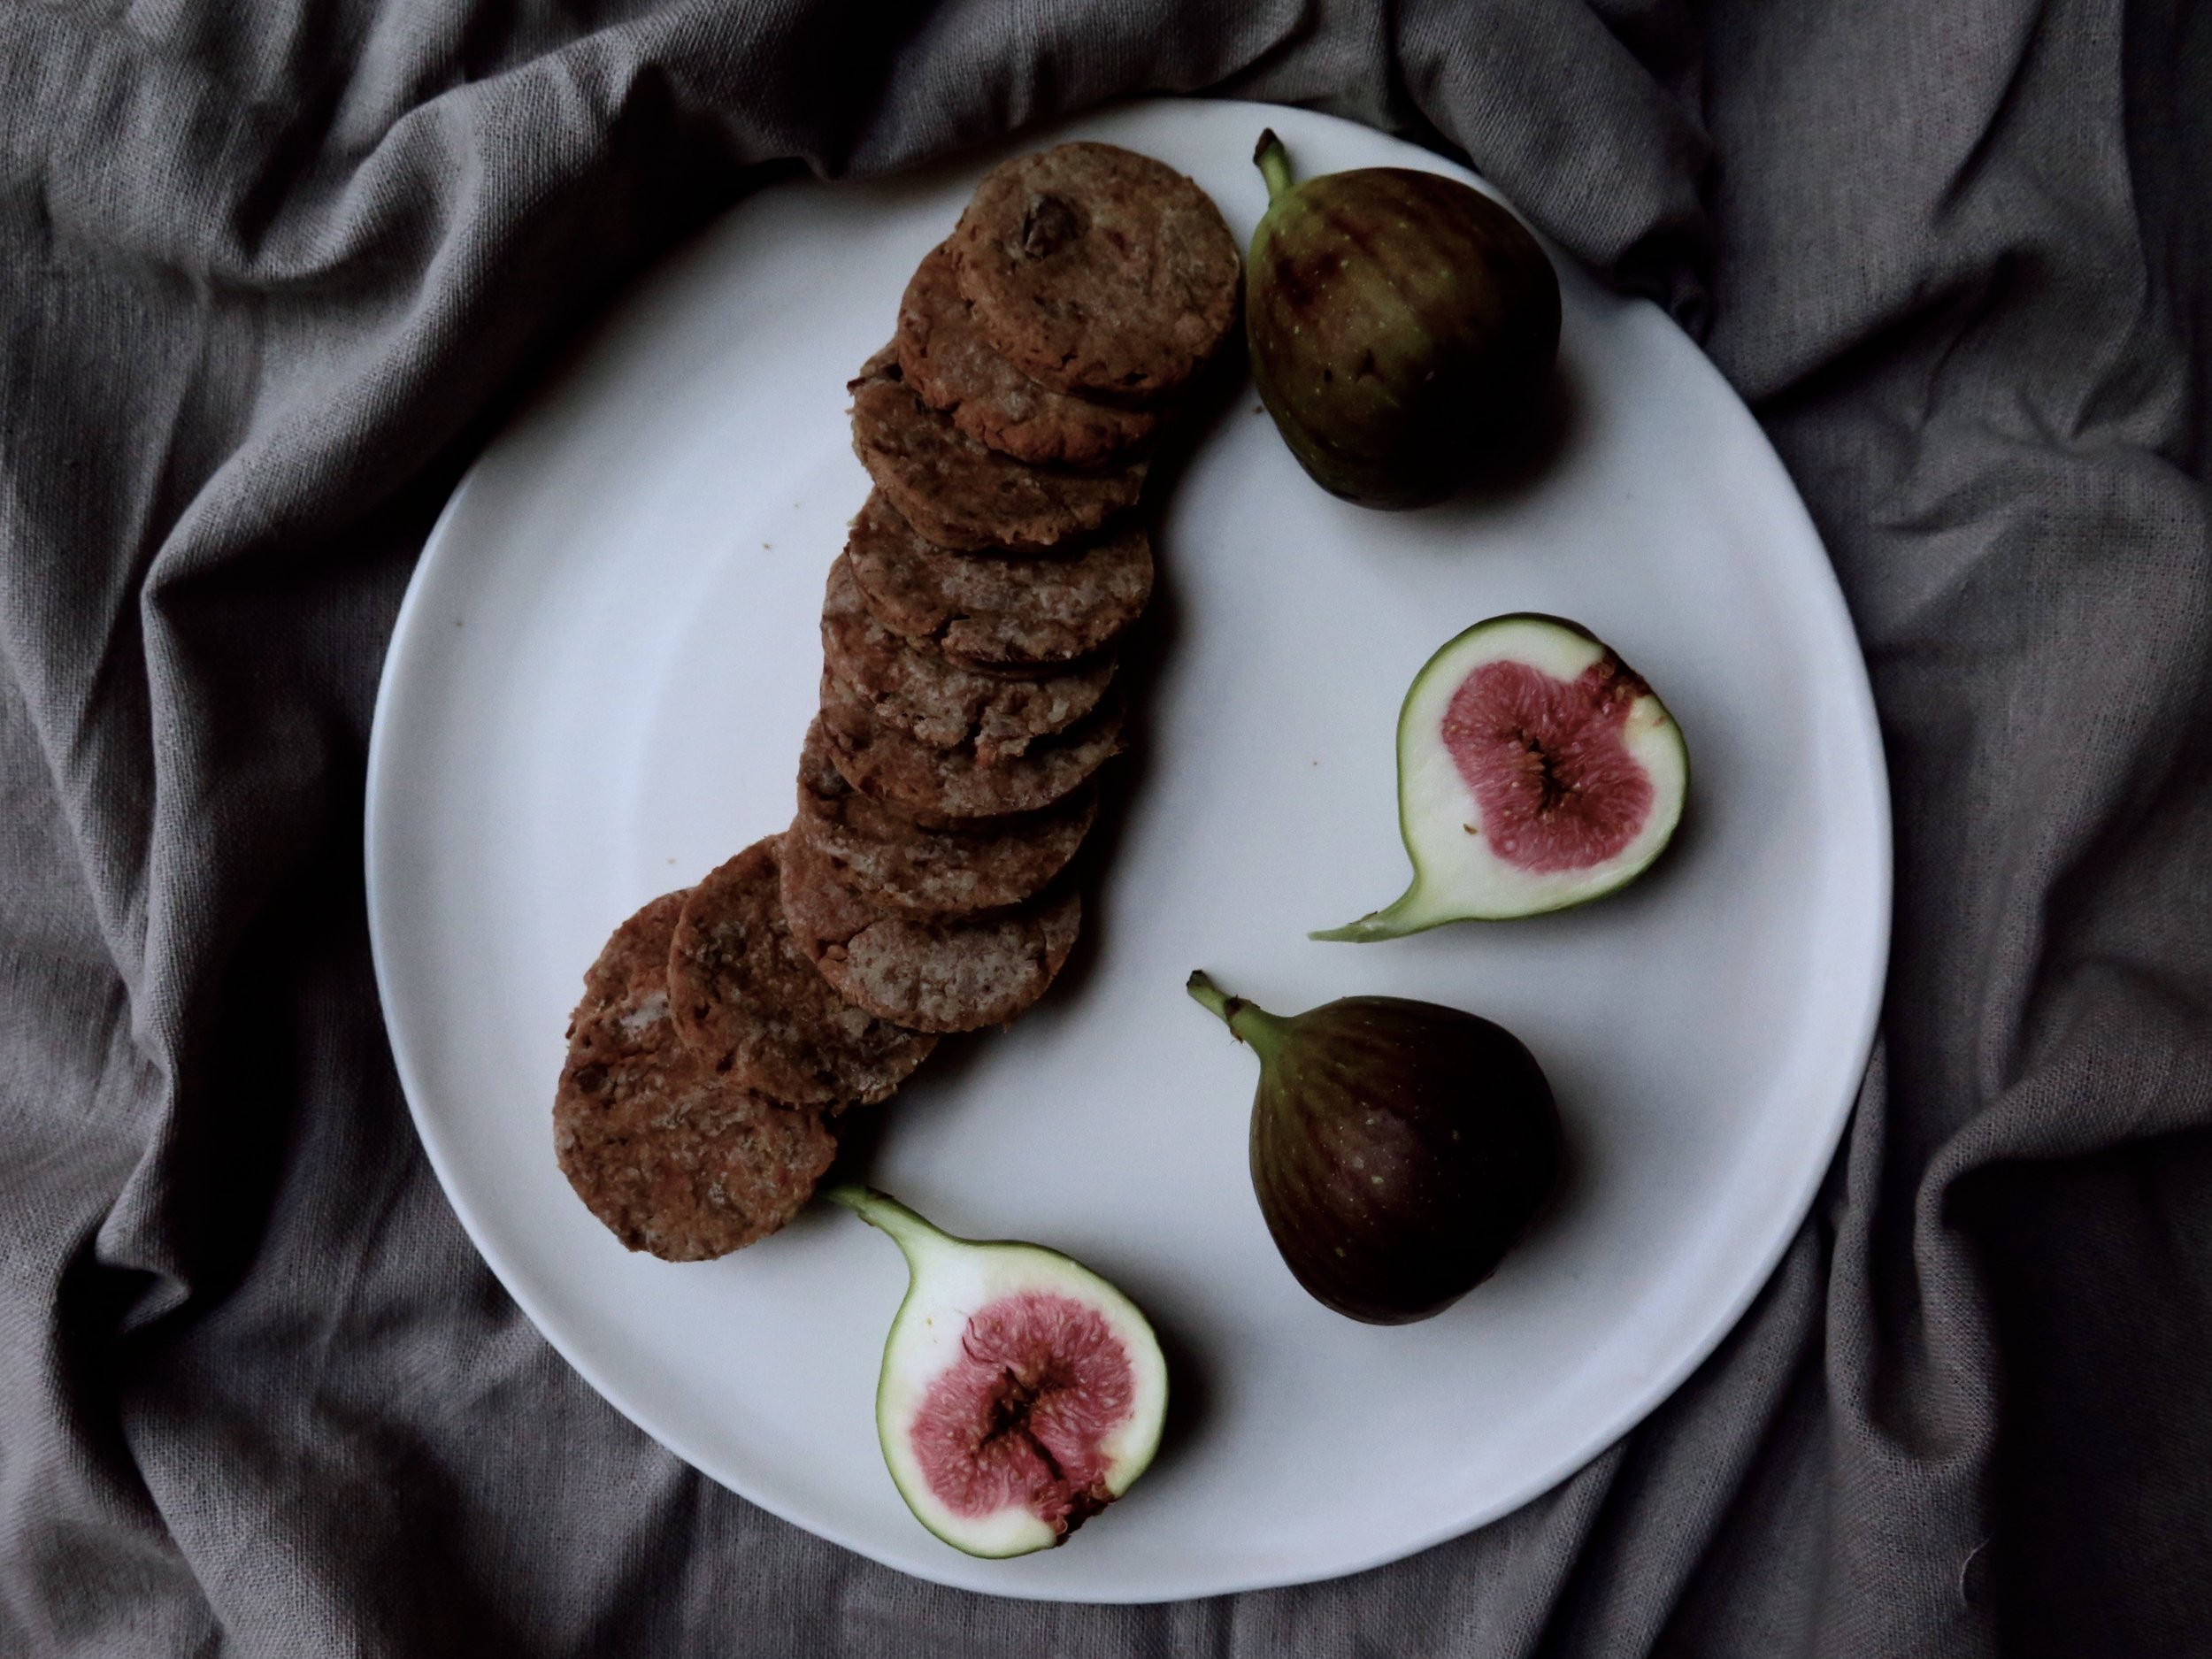
They are extremely quick to conjure up and would be good for that weak-point, late afternoon slump when you crave something sweet, and delicious, too, paired with a (vegan) ice cream for dessert, or even with a wedge of stilton and a dollop of pear compote if you’re going down the non-vegan route. If you want a slightly more savoury option, substitute the dates with figs as in the photos.

fullsizeoutput_d58.jpeg
fullsizeoutput_d7a.jpeg
fullsizeoutput_d82.jpeg

Ingredients (makes 20 medium cookies)

160g pitted medjool dates, roughly chopped (about 10) (if you want a more savoury cookie, substitute dates with figs, as per the photos)

4 tbsp orange juice

4 tbsp water

1 tsp vanilla

½ tsp finely grated orange zest

80g smooth peanut butter

200g spelt flour (or gluten free flour)

½ tsp mixed spice

¼ tsp salt

baking tray lined with baking parchment

4-5cm round cookie cutter


Method

1)    Pre-heat oven to 180°C

2)    Place the chopped dates, orange juice, water, vanilla extract and orange zest in a small pan over a medium/high heat and allow to come to a boil. Stir continuously for about 4/5 minutes until all the liquid has evaporated and the dates have turned into a thick, sticky pulp.

3)    Place the date mixture together with the peanut butter in a blender and pulse until smooth. Pour in the spelt flour, mixed spice, and salt and pulse until it comes together to form a slightly sticky dough.

4)    Lightly flour a board and roll out the dough to a 0.5cm thickness. Stamp out cookies with the cutter and place on the baking tray. Bake in the oven for 7-10 minutes until firm and slightly golden. Allow to cool, then devour.

fullsizeoutput_d6f.jpeg
fullsizeoutput_d89.jpeg

HUNGRY FOR MORE?

Comment

Crunchy Spicy Tangy Thai Salad

Comment

Crunchy Spicy Tangy Thai Salad

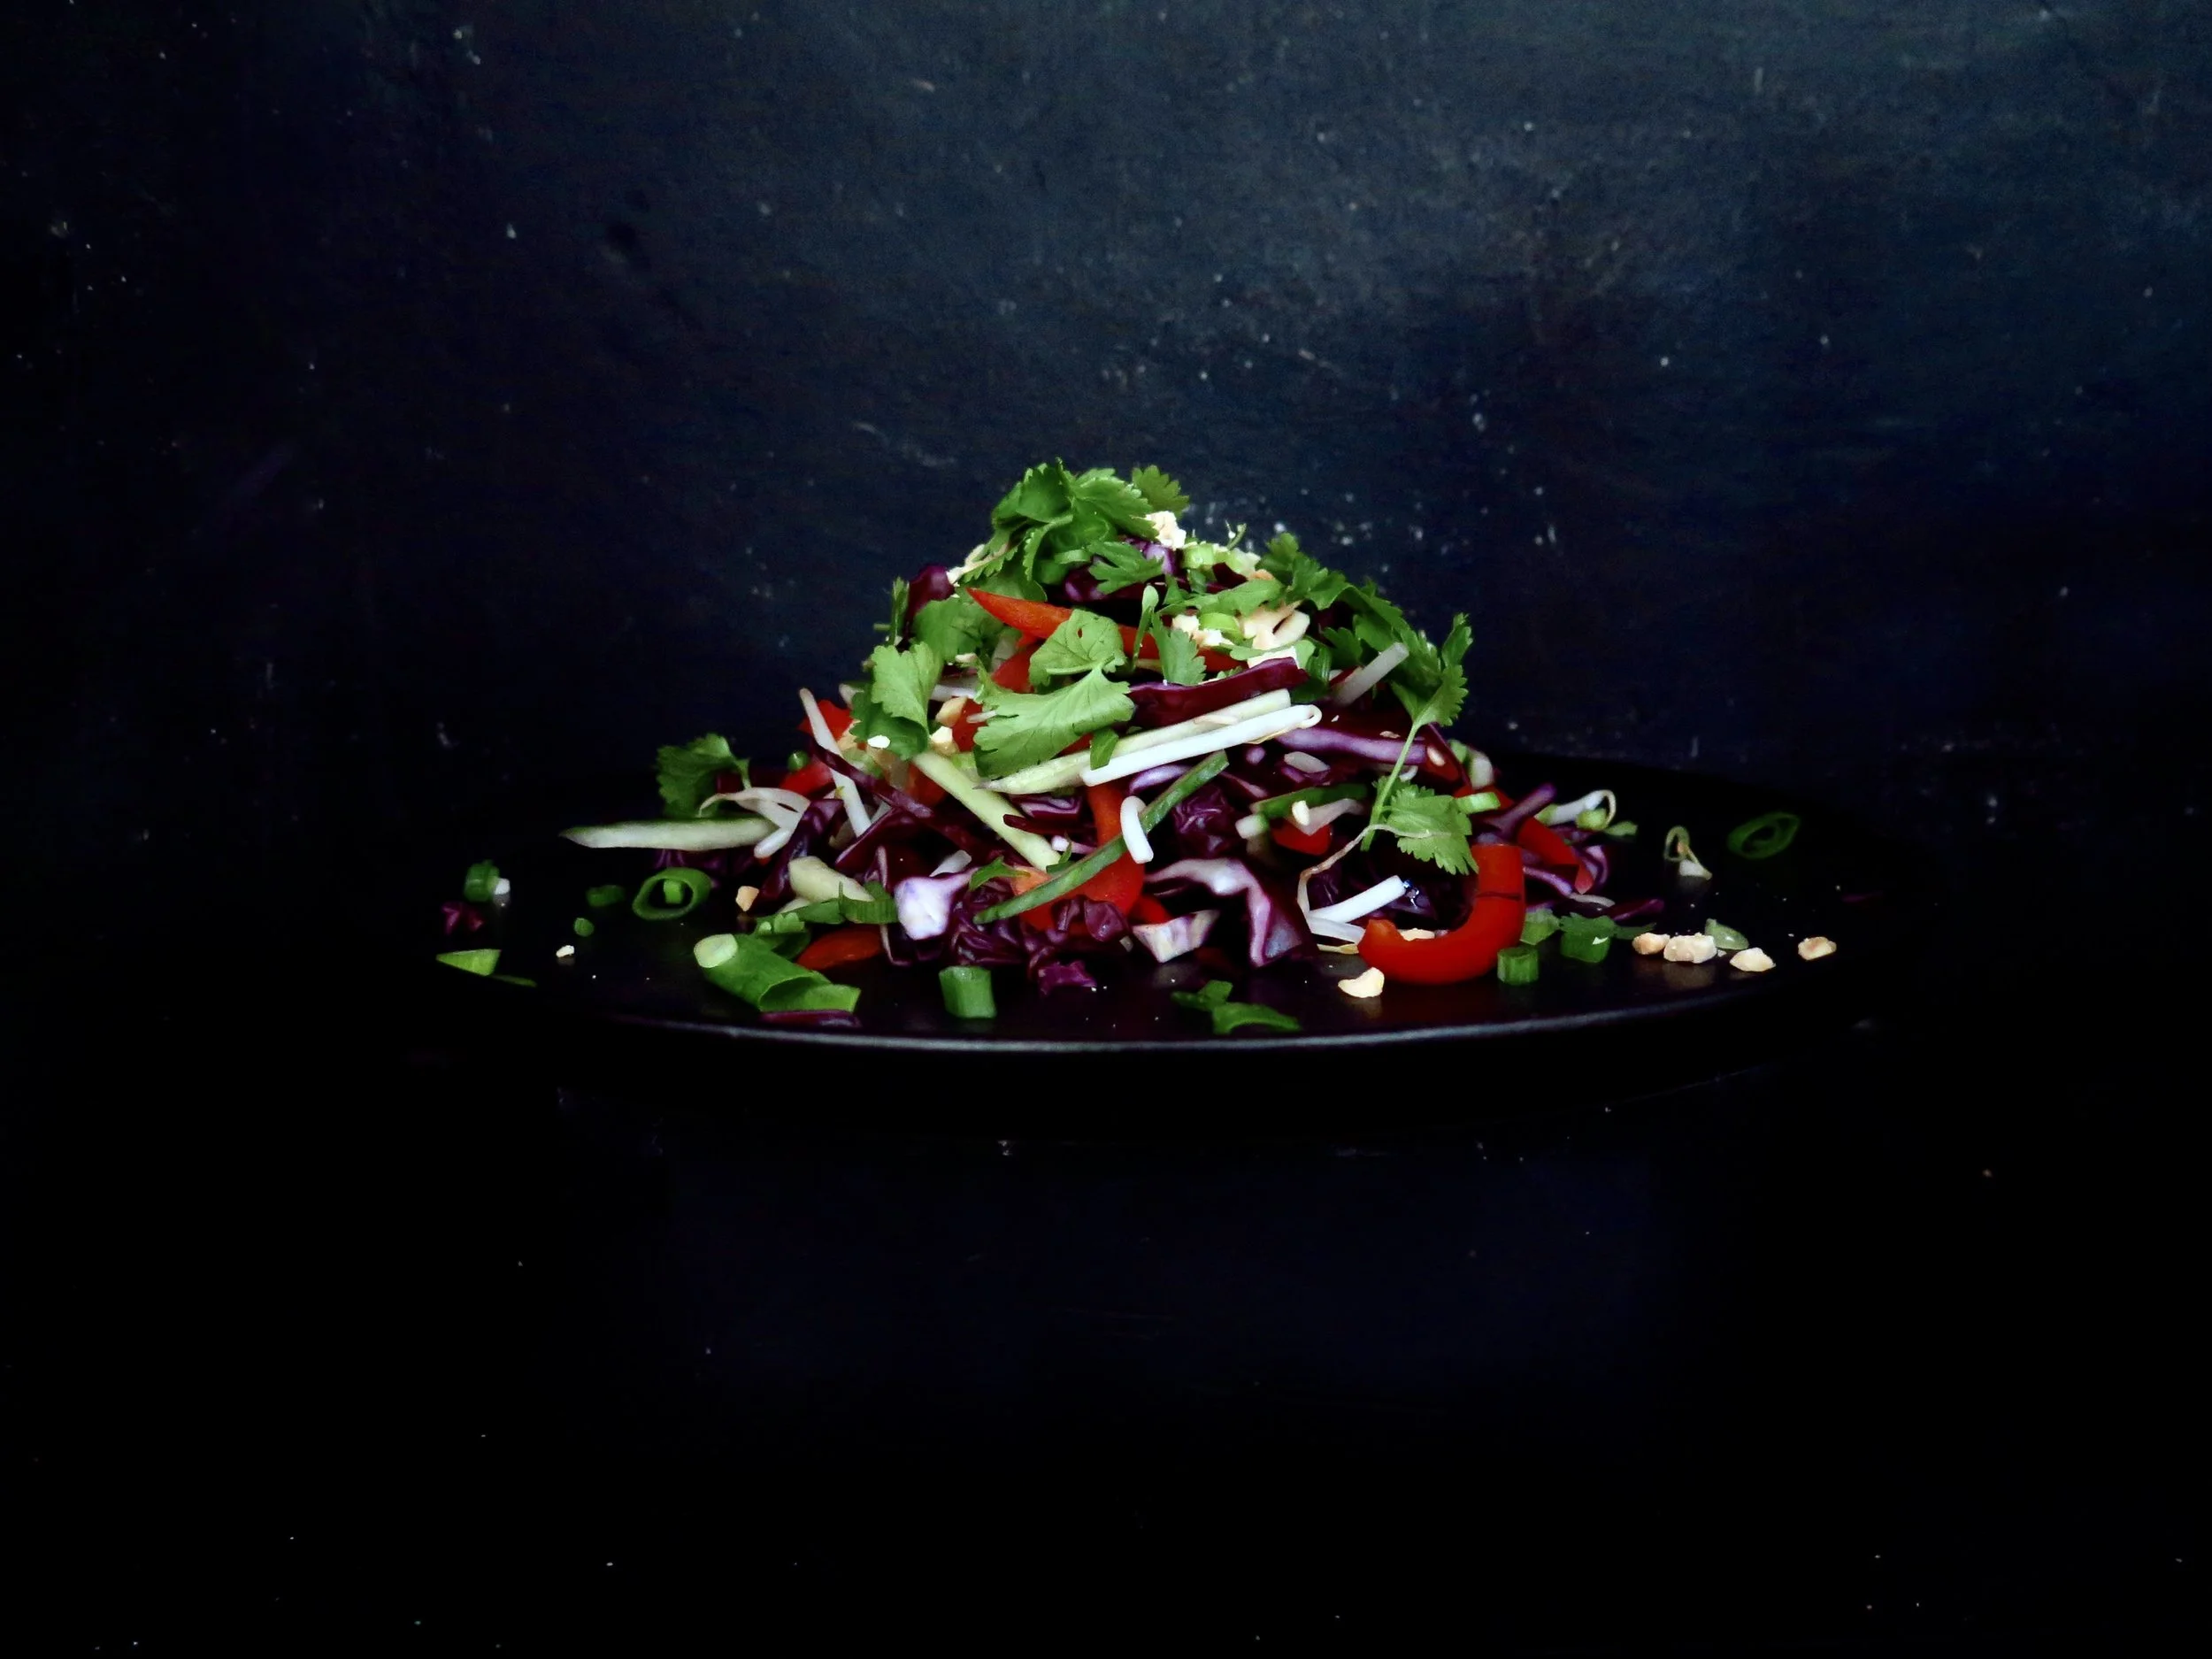
At the centre of a party you have the brash, garishly dressed harpy in a spandex and lurex flesh-popping, bum-skirting bodycon dress. She’s swishing her long, over-straightened blonde hair in the hope that people, like magpies, will be drawn in by its glinting sheen. But she’s telling the story you’ve heard a hundred times.

The punchlines are obvious and overdone. It’s an opaque boast to show off her intellect and attractiveness. She’s hyperbolising, and the decibels are mounting, in order to suck more people in.

You draw near, but after a few superficial bites, you hit the bone. What appeared to be a sumptuous, resplendent, sticky chicken wing feast was just a scraggly bit of overhyped flesh, and you’re left with a sickly sweet taste, desperate for something more refreshing and with more interest.

That’s when you leave the centre of the room and go over to the quiet person in the corner: modestly dressed, elegant but not overstated, and initially slightly shy. But once you start talking, there’s no stopping - tantalising wit, layers of texture and depth, sweet enough but with refreshing zestiness that intrigues and keeps you going back for more. Guard this salad closely because when others' attention rapidly wanes they’ll be coming over here too. Food envy is not something to be treated lightly, so here’s the recipe:


Recipe

Ingredients (serves 4)

3 tbsp (60g) smooth peanut butter (unsalted preferably)

4 1/2 tsp (45g) honey

4 1/2 tsp sesame oil

4 1/2 tsp soy sauce 

3 tbsp lime juice

15g finely grated fresh ginger 

1 medium sized garlic clove, crushed

(optional) 1 small Thai red chilli, very finely chopped


230g red cabbage (approx 1 quarter of a cabbage)

1 red pepper

130g cucumber

3 spring onions

100g beansprouts

60g roasted and salted peanuts, crushed + 10g extra for serving

25g coriander, roughly chopped + 5g extra for serving


Method

  1. In a medium bowl, whisk together all the dressing ingredients until smooth and emulsified.
  2. Finely slice the cabbage horizontally (so the average piece is about 4cm long). Remove the stalk and deseed the red pepper, then slice finely horizontally.
  3. Slice the cucumber in half lengthways and, with a teaspoon, scoop out the seeds. Then slice finely lengthways and then in half horizontally to create matchsticks.  Finely chop the spring onions.  Then in a large bowl mix together the cabbage, pepper, cucumber, spring onions, crushed peanuts & roughly chopped coriander.
  4. Pour the dressing over, and mix through. Scatter with extra crushed peanuts and then the chopped coriander, and serve.  If you are making in advance, prepare the salad ingredients and dressing separately, and pour the dressing on just before serving.

HUNGRY FOR MORE?

Comment

MINI CHOCOLATE & RASPBERRY MERINGUES

Comment

MINI CHOCOLATE & RASPBERRY MERINGUES

Mini Chocolate & Raspberry Meringues

According to most newspapers, January should be the month of indulgence deprivation. With the weather cold, grey and bleak, we’re being told that now is the time to eliminate everything that affords even a hint of pleasure. I admit that it may be time for me to cut down on the panettone habit: I caught myself tearing off fleecy chunks of the ambrosial, yellow, sultana-studded fluff and crowding my mouth until it overflowed. 

Mini chocolate & raspberry meringue

My brother actually created a time-saving method which anticipated the bolus of food that would develop in the gullet by compressing the panettone in his hands first before devouring. I was impressed.

Mini chocolate & raspberry meringue

Fortunately, but lamentably, my mother prevented me from importing from Italy to England the 5 kg of panettone that I’d bought (with the pretence of giving as gifts). To cope with the withdrawal symptoms, I made these instead.  

Mini chocolate & raspberry meringue

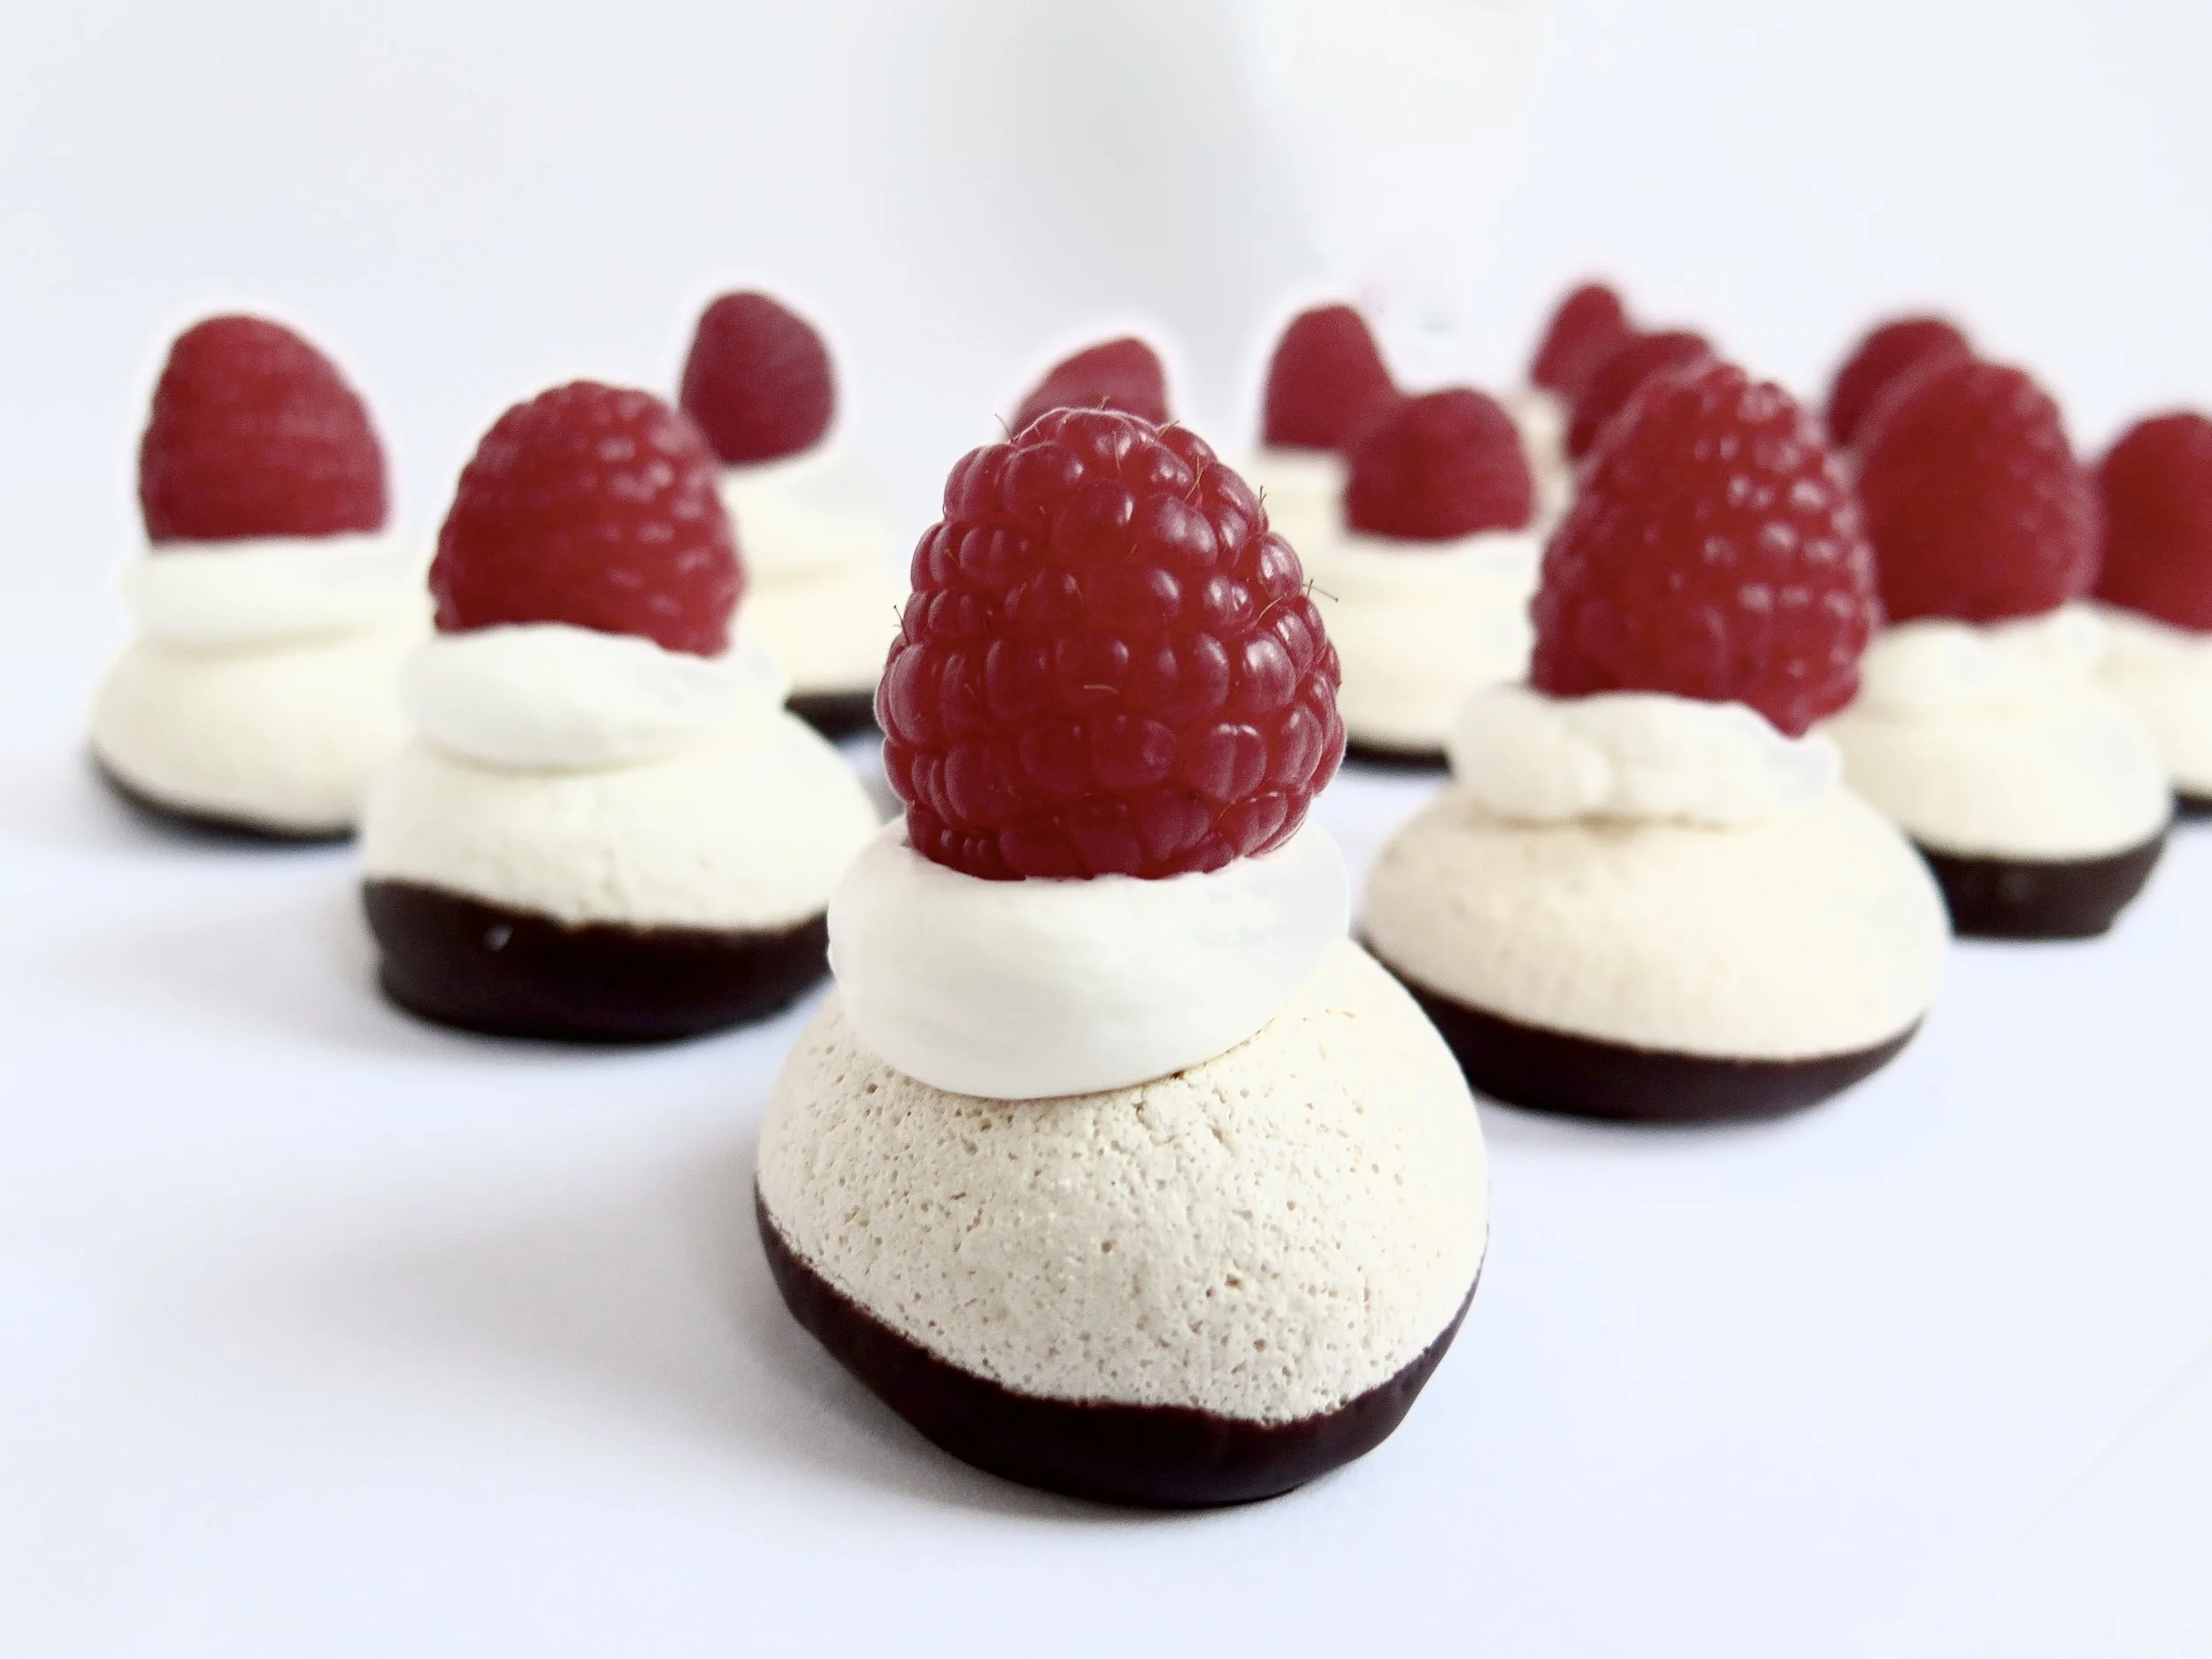
I refuse to deprive myself of pleasure - these can be a happy halfway house. So numerous that they can be popped into the mouth in one without anyone noticing that the supply has been reduced, so light that they can be enjoyed without having to loosen waistbands to accommodate them, and so small that they make gorgeous bejewelled petit fours at dinner parties without the guilt attached, in my case, to eating an entire pavlova.  

Mini chocolate & raspberry meringue
Mini Chocolate & Raspberry Meringues

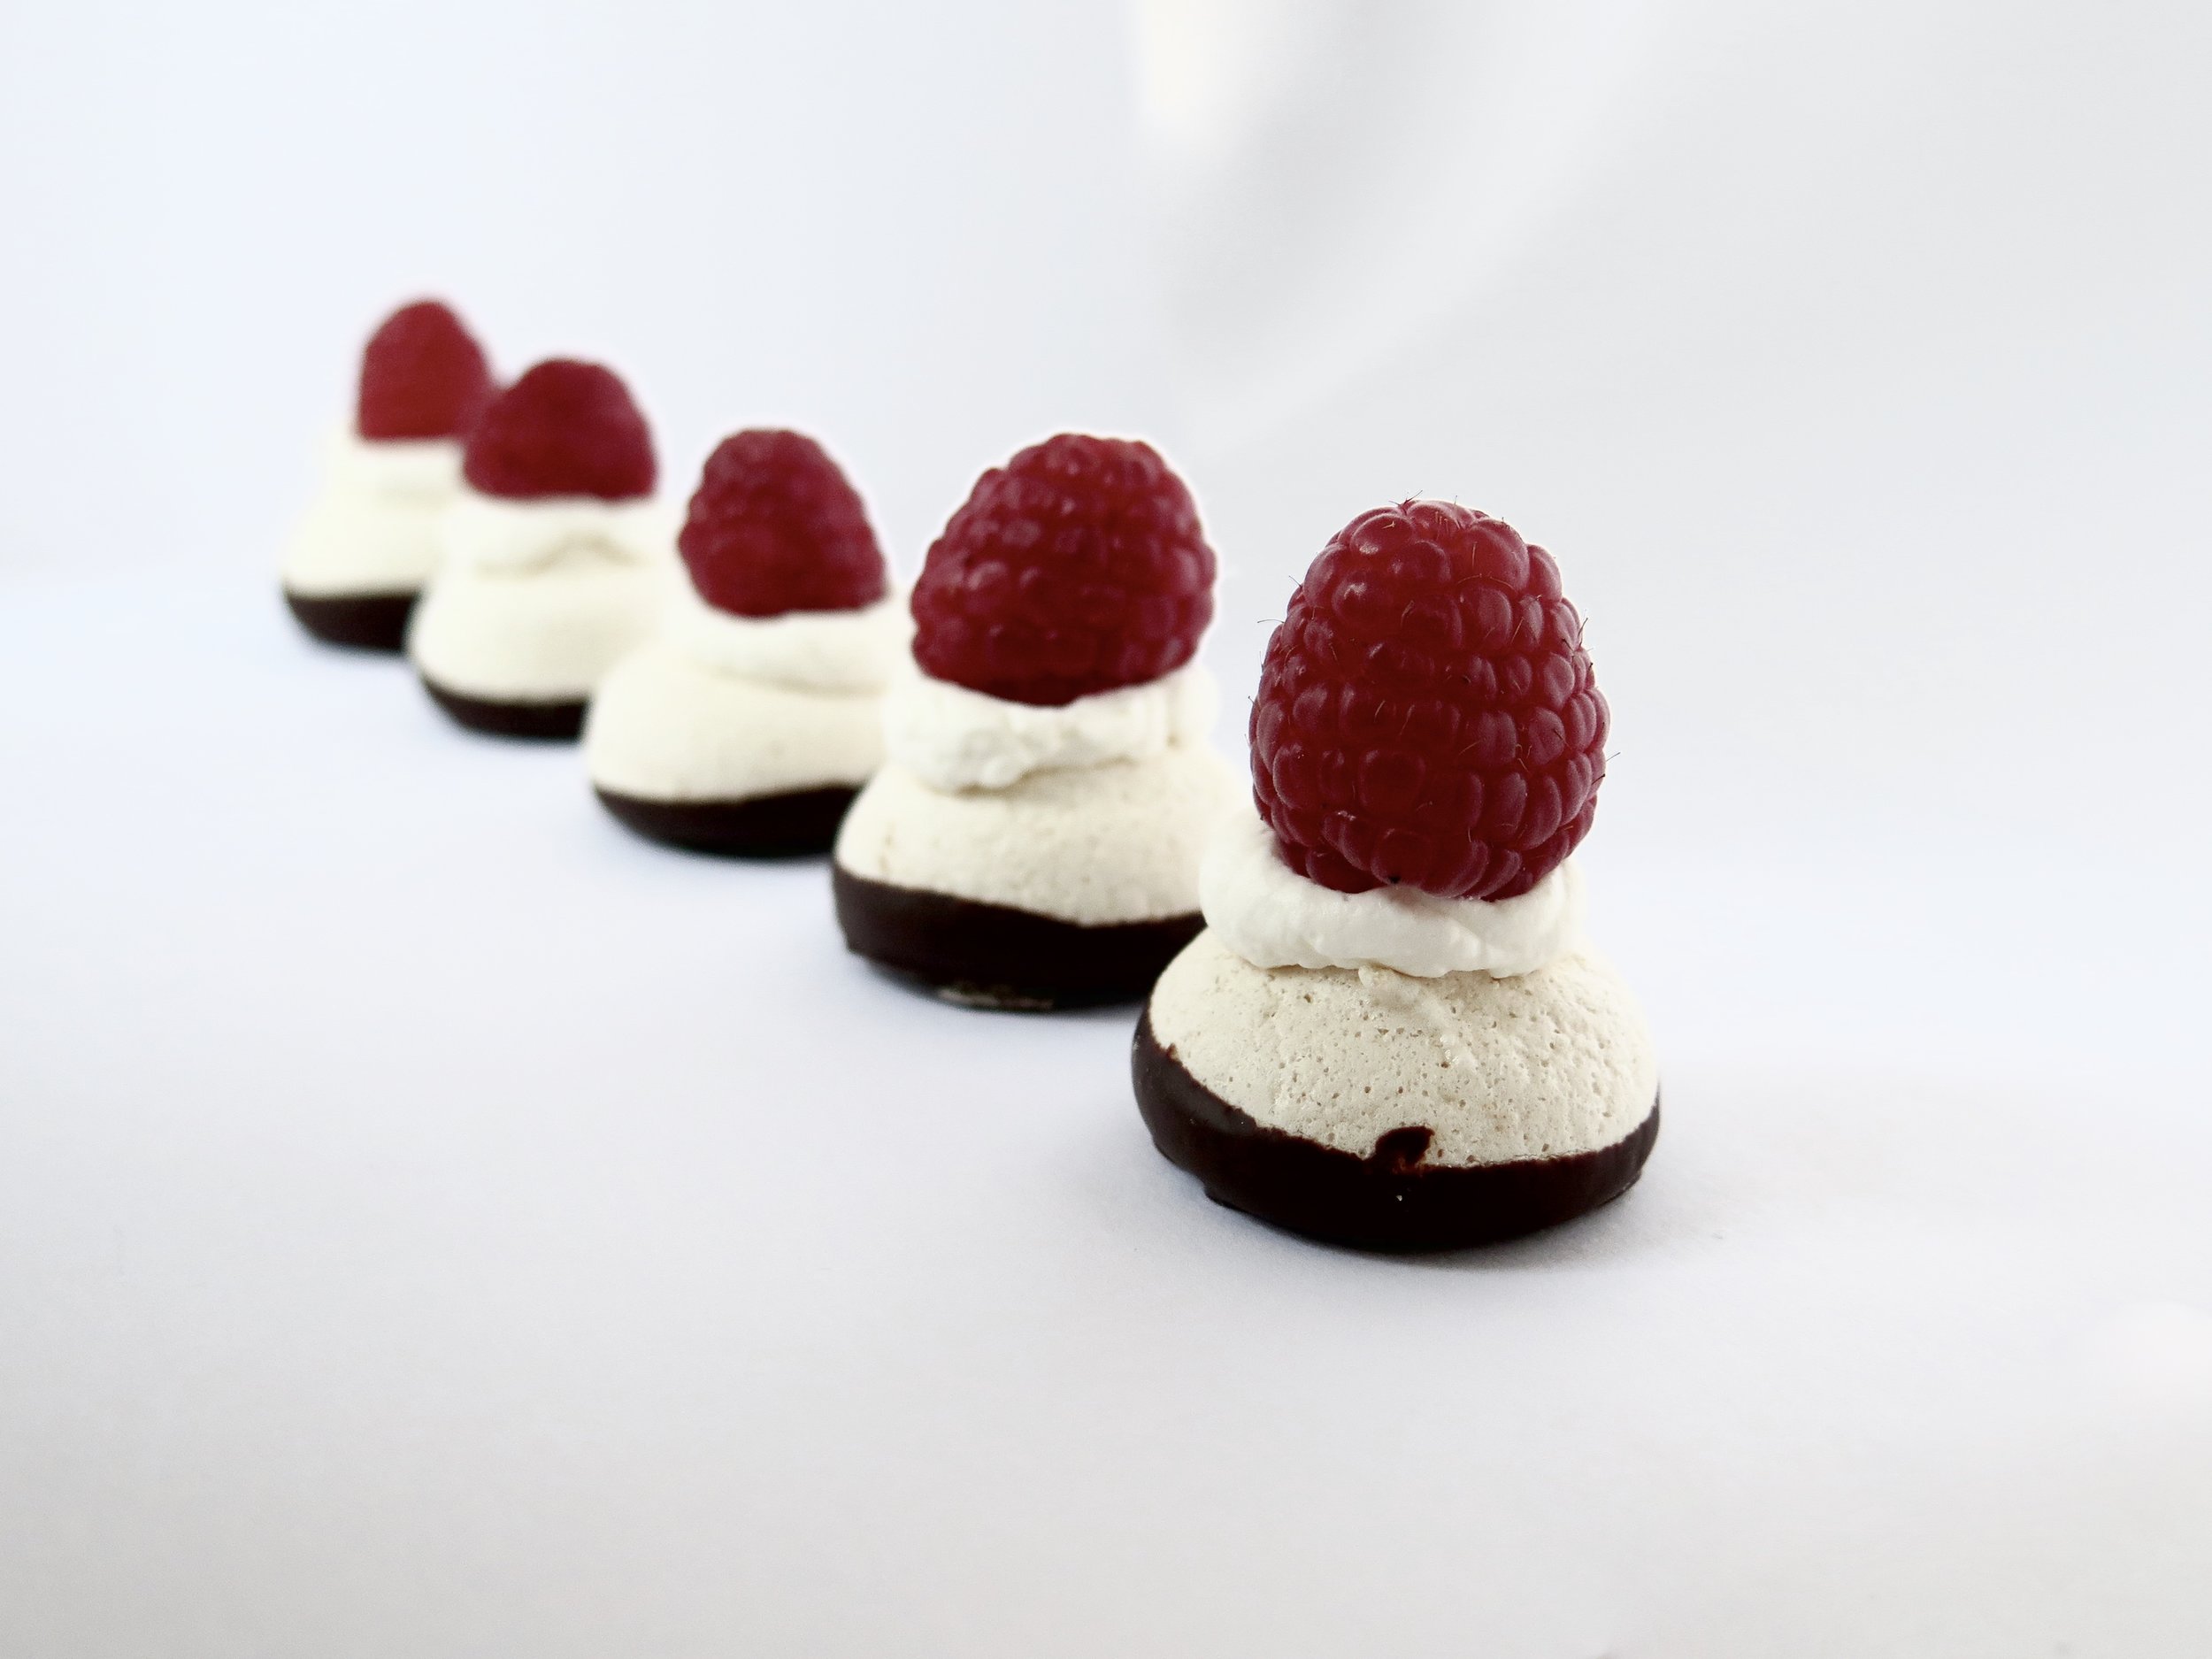
The dark chocolate base adds a touch of sophistication and slight bitterness to undercut the sweetness, and the raspberry provides that much needed astringency to cut through it. Crunch, creaminess, chocolate and tang, all in one mouthful – who needs 5kg of panettone? 

Mini Chocolate & Raspberry Meringues

Ingredients

(makes 70 mini meringues - halve the recipe if you would like fewer)

90g egg white (the whites of 3 large eggs)

175g caster sugar

150g good quality dark chocolate (70%)

200ml double cream

350g raspberries (approximately 1 per meringue)

30g icing sugar (optional)

2 large baking sheets lined with baking parchment

A piping bag fitted with a round 1cm nozzle to be used twice: first to pipe the meringue, and then the cream.  It can be marginally larger or smaller than 1cm. If you lack a piping bag, you can use a freezer bag and cut off a corner to replicate a 1 cm sized nozzle.

Method

  1. Preheat oven to 130°C. Pour egg whites into an electric mixer fitted with a whisk and whisk on high speed until soft peaks form.  It should be foamy in appearance.
  2. Switch the speed to medium-high and pour in caster sugar one tablespoon at a time. Once each tablespoon has dissolved into the mass of egg white, add the next. Keep whisking until the meringue forms hard peaks and is glossy i.e. the meringue should hold its shape when drawn into peaks with a spoon and the tracks of the whisk are visible in its surface.
  3. Spoon the meringue mixture into the piping bag.  Holding the nozzle at a right angle to the baking parchment, pipe 3cm diameter sized meringue peaks onto the parchment in rows, leaving 3cm between each one (they expand slightly as they bake). Place in the oven and cook for 45 minutes, checking after 30 minutes. Once cooked, switch the oven off and allow to sit for another 15 minutes in the oven. They should remain pale and be crisp on the outside and slightly soft in the centre. Remove cooled meringues from the oven, and set them aside.
  4. Break the chocolate into pieces and place in a bowl over a pot of simmering water. Don't allow the water to touch the base of the chocolate bowl. Don't melt the chocolate directly in a pan on the stove as this causes it to seize. Allow to melt, stirring occasionally until glossy and smooth. Remove from the heat. Lightly holding the meringues at the sides with thumb and forefinger, dip the base of each meringue into the molten chocolate so that it coats the base and up to 1cm on the sides of the meringue. Place the dipped meringues back on to the baking parchment. Once the whole batch is coated, place the tray in the freezer for 10 minutes to allow them to set.
  5. In an electric mixer fitted with a whisk (or by hand if you’re feeling strong), whisk the cream until thickened. The tracks of the whisk should be visible and it should hold light peaks. Spoon the cream into a piping bag and pipe about a teaspoon of cream on to each meringue. Place a raspberry on each cream peak, face down. Sieve icing sugar over, if desired, and serve. 
  6. Best eaten on the day but the meringues without topping can be kept in an airtight container for a couple of weeks in a cool dry cupboard, and for a month in the freezer.
Mini Chocolate & Raspberry Meringues

HUNGRY FOR MORE?

Comment

Seeded Spelt Crackers - Recipe

9 Comments

Seeded Spelt Crackers - Recipe

IMG_5199.jpg

Last week I panic baked.  My usually dependable supply of Dr Karg’s seeded spelt and emmental and pumpkin seed crisp breads had run dry. Only a few sad seeds in the corner of the packet remained, which I ate mournfully, before desperation led me to pulling open drawers in search of the emergency packet I had hidden from myself.

IMG_5211
IMG_5211
Seeded Spelt Crackers - Recipe

My hunt was rewarded with absolutely no trophies.  I must have found them some time before.

Seeded Spelt Crackers - Recipe

Necessity mothered invention: I combined some of my favourite ingredients to make my own version of the crisp breads, and they turned out rather well, perhaps even better than the originals. My family had clearly also been struck by panic, as two batches were devoured in ten minutes…

Seeded Spelt Crackers - Recipe

These crisp breads are ridiculously quick to make, healthy (when you don’t eat the whole batch in one sitting – an almost impossible feat), and delicious.  They’re also versatile – the seeds can be eliminated and/or exchanged for other varieties as desired, and they can be served with hummus, red pepper pesto (see my recipe), guacamole etc.  They can also be made dairy-free by eliminating the cheese.

Seeded Spelt Crackers - Recipe

Ingredients

115g white spelt flour

100g wholemeal spelt flour

¾ tsp salt

30g sesame seeds

15g poppy seeds

30g pumpkin seeds

50g cheddar, grated

50g parmesan grated, + 5g for sprinkling

1 tsp cayenne pepper (optional)

125ml water

1 tbsp olive oil

1 baking tray, overturned, greased with oil and dusted with flour

Method

  1. Preheat oven to 220˚C. In a large bowl mix dry ingredients together. Pour in water and oil and stir until mixture clumps together into quite a dry dough.  You may need to knead it slightly with your hands.
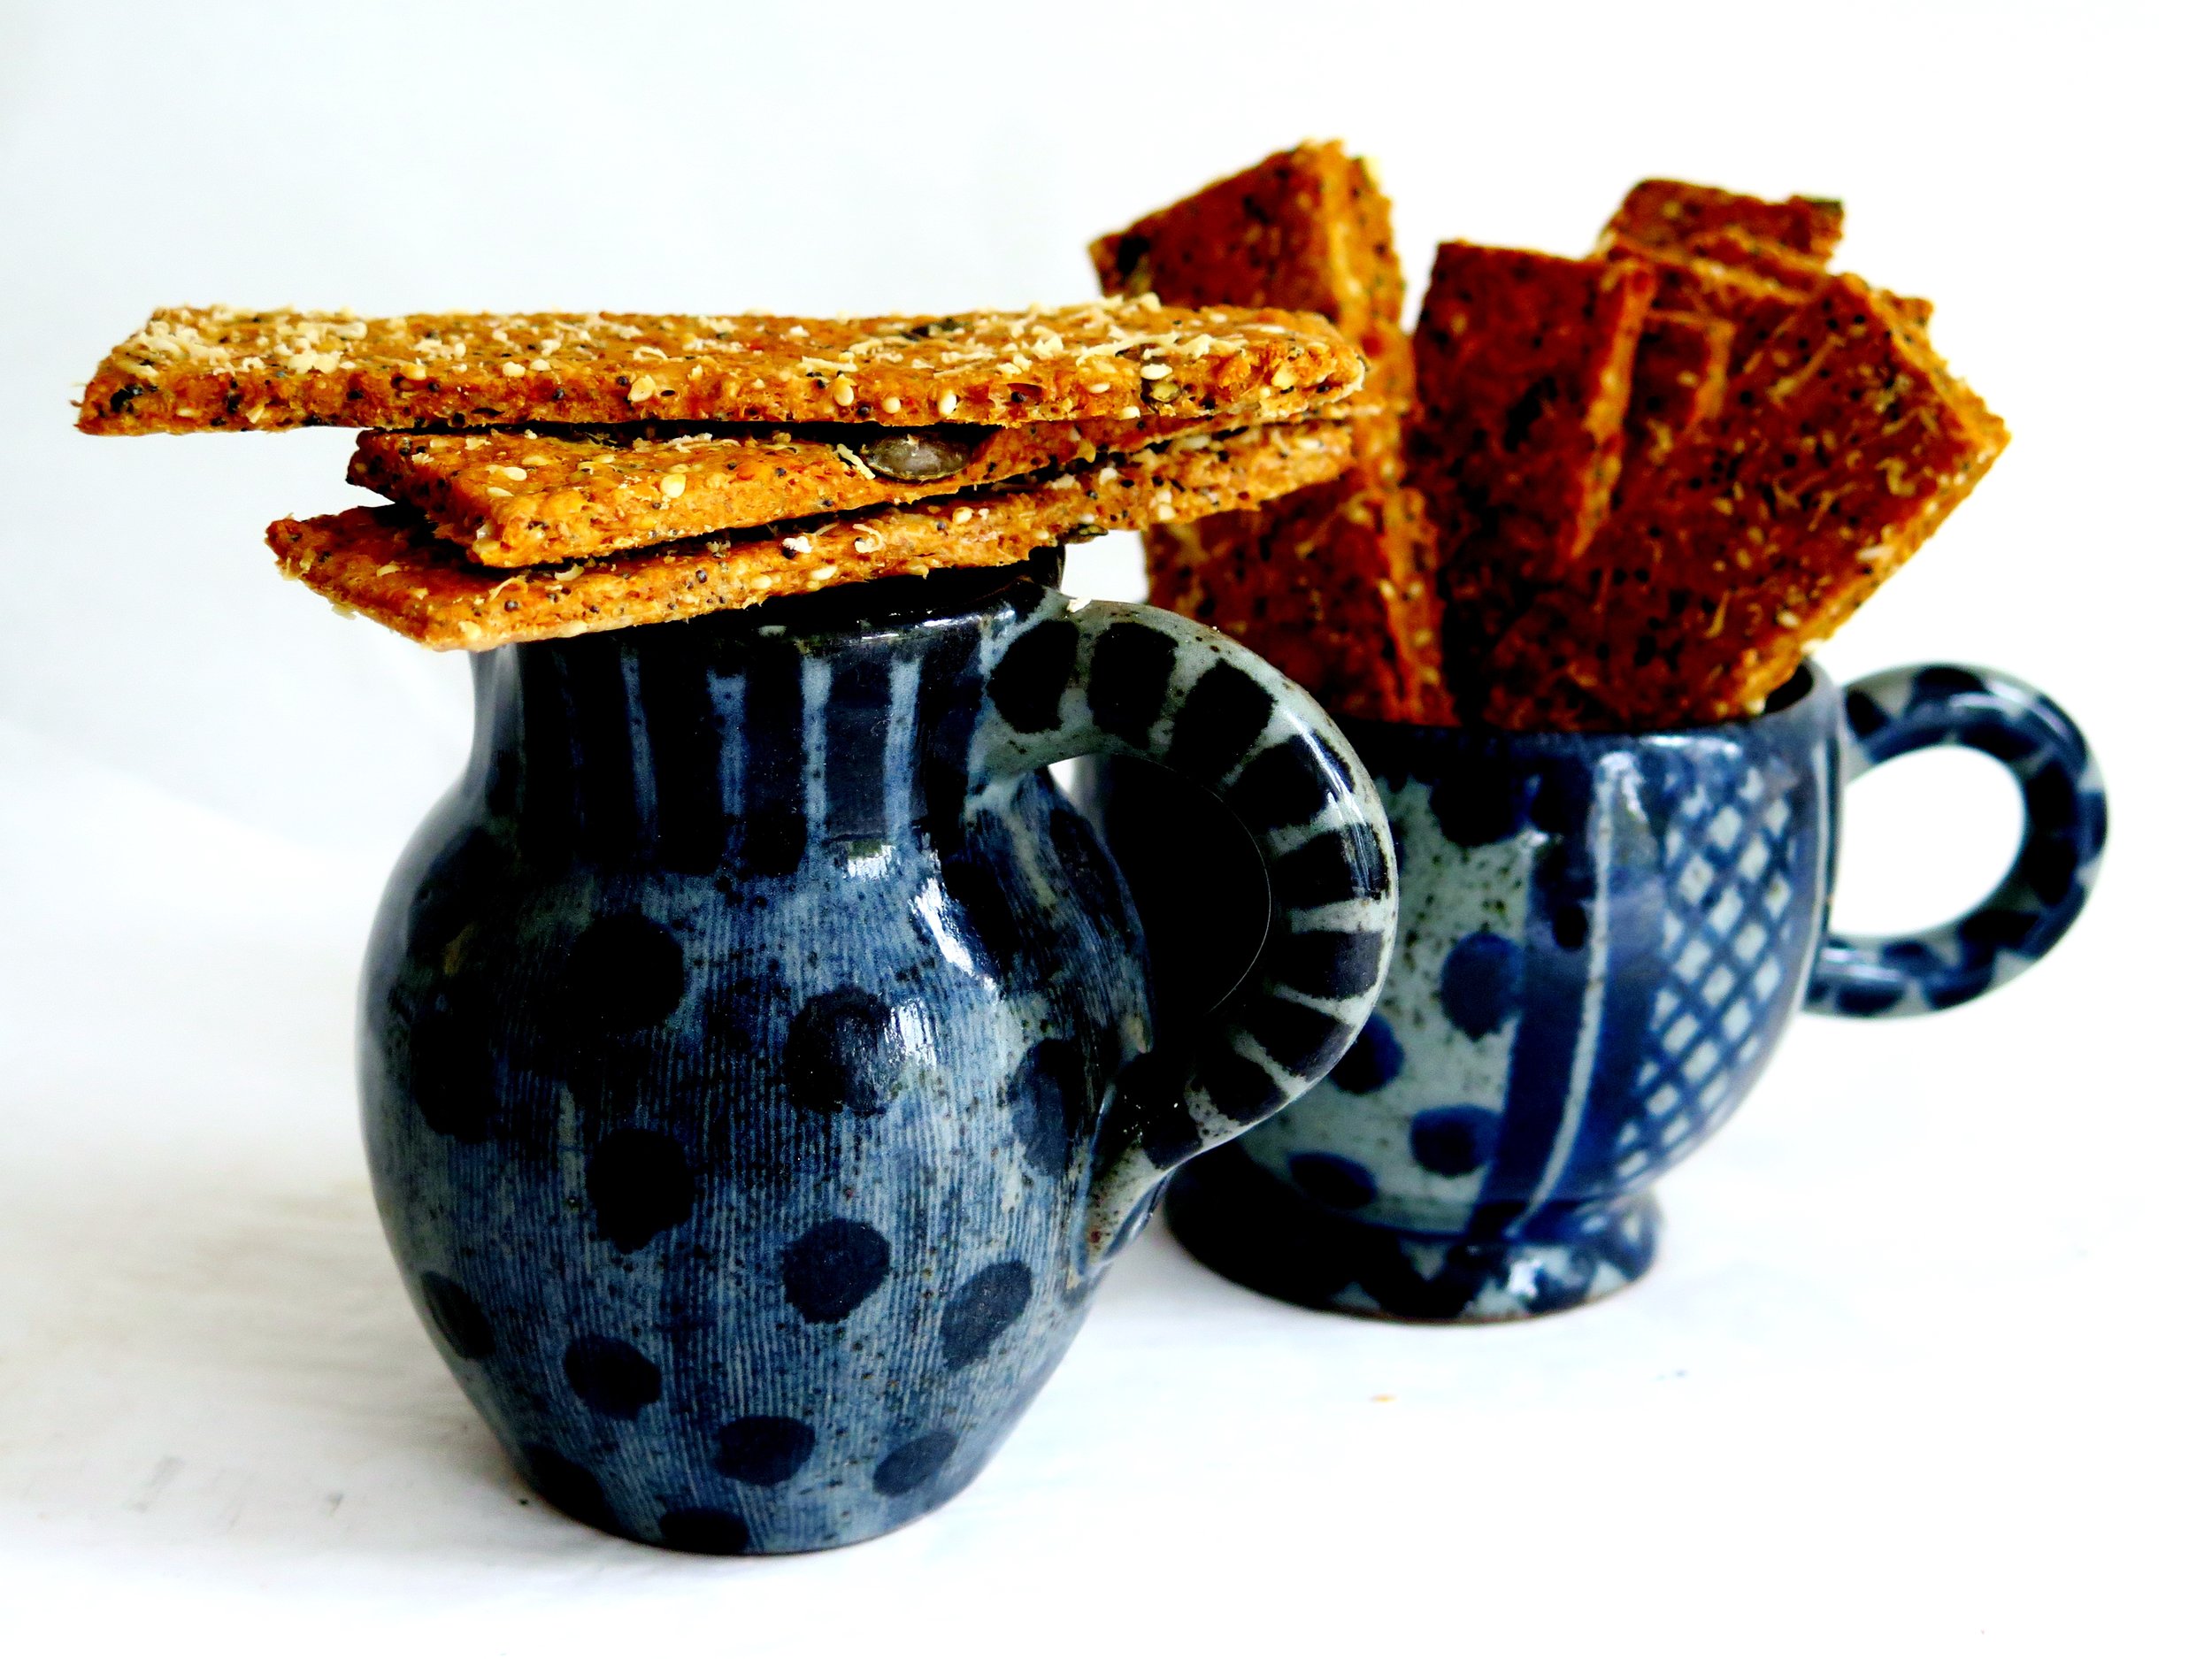
  2. Place dough on overturned baking tray and roll it out until it reaches the edges of the tray. It should be about 3mm thick.
  3. Sprinkle with the extra parmesan, prick the dough liberally with a fork, and score it into your preferred geometric shapes. I like 4cm x 10cm rectangles.
  4. Place in oven and bake for 10-15 minutes until golden, and firm to touch. Leave to cool – they will become crisper as they cool.
Seeded Spelt Crackers - Recipe

9 Comments

Smoky Tomato & Garlic Spelt Risotto with Crumbled Feta - Recipe

Comment

Smoky Tomato & Garlic Spelt Risotto with Crumbled Feta - Recipe

IMG_4134.jpg

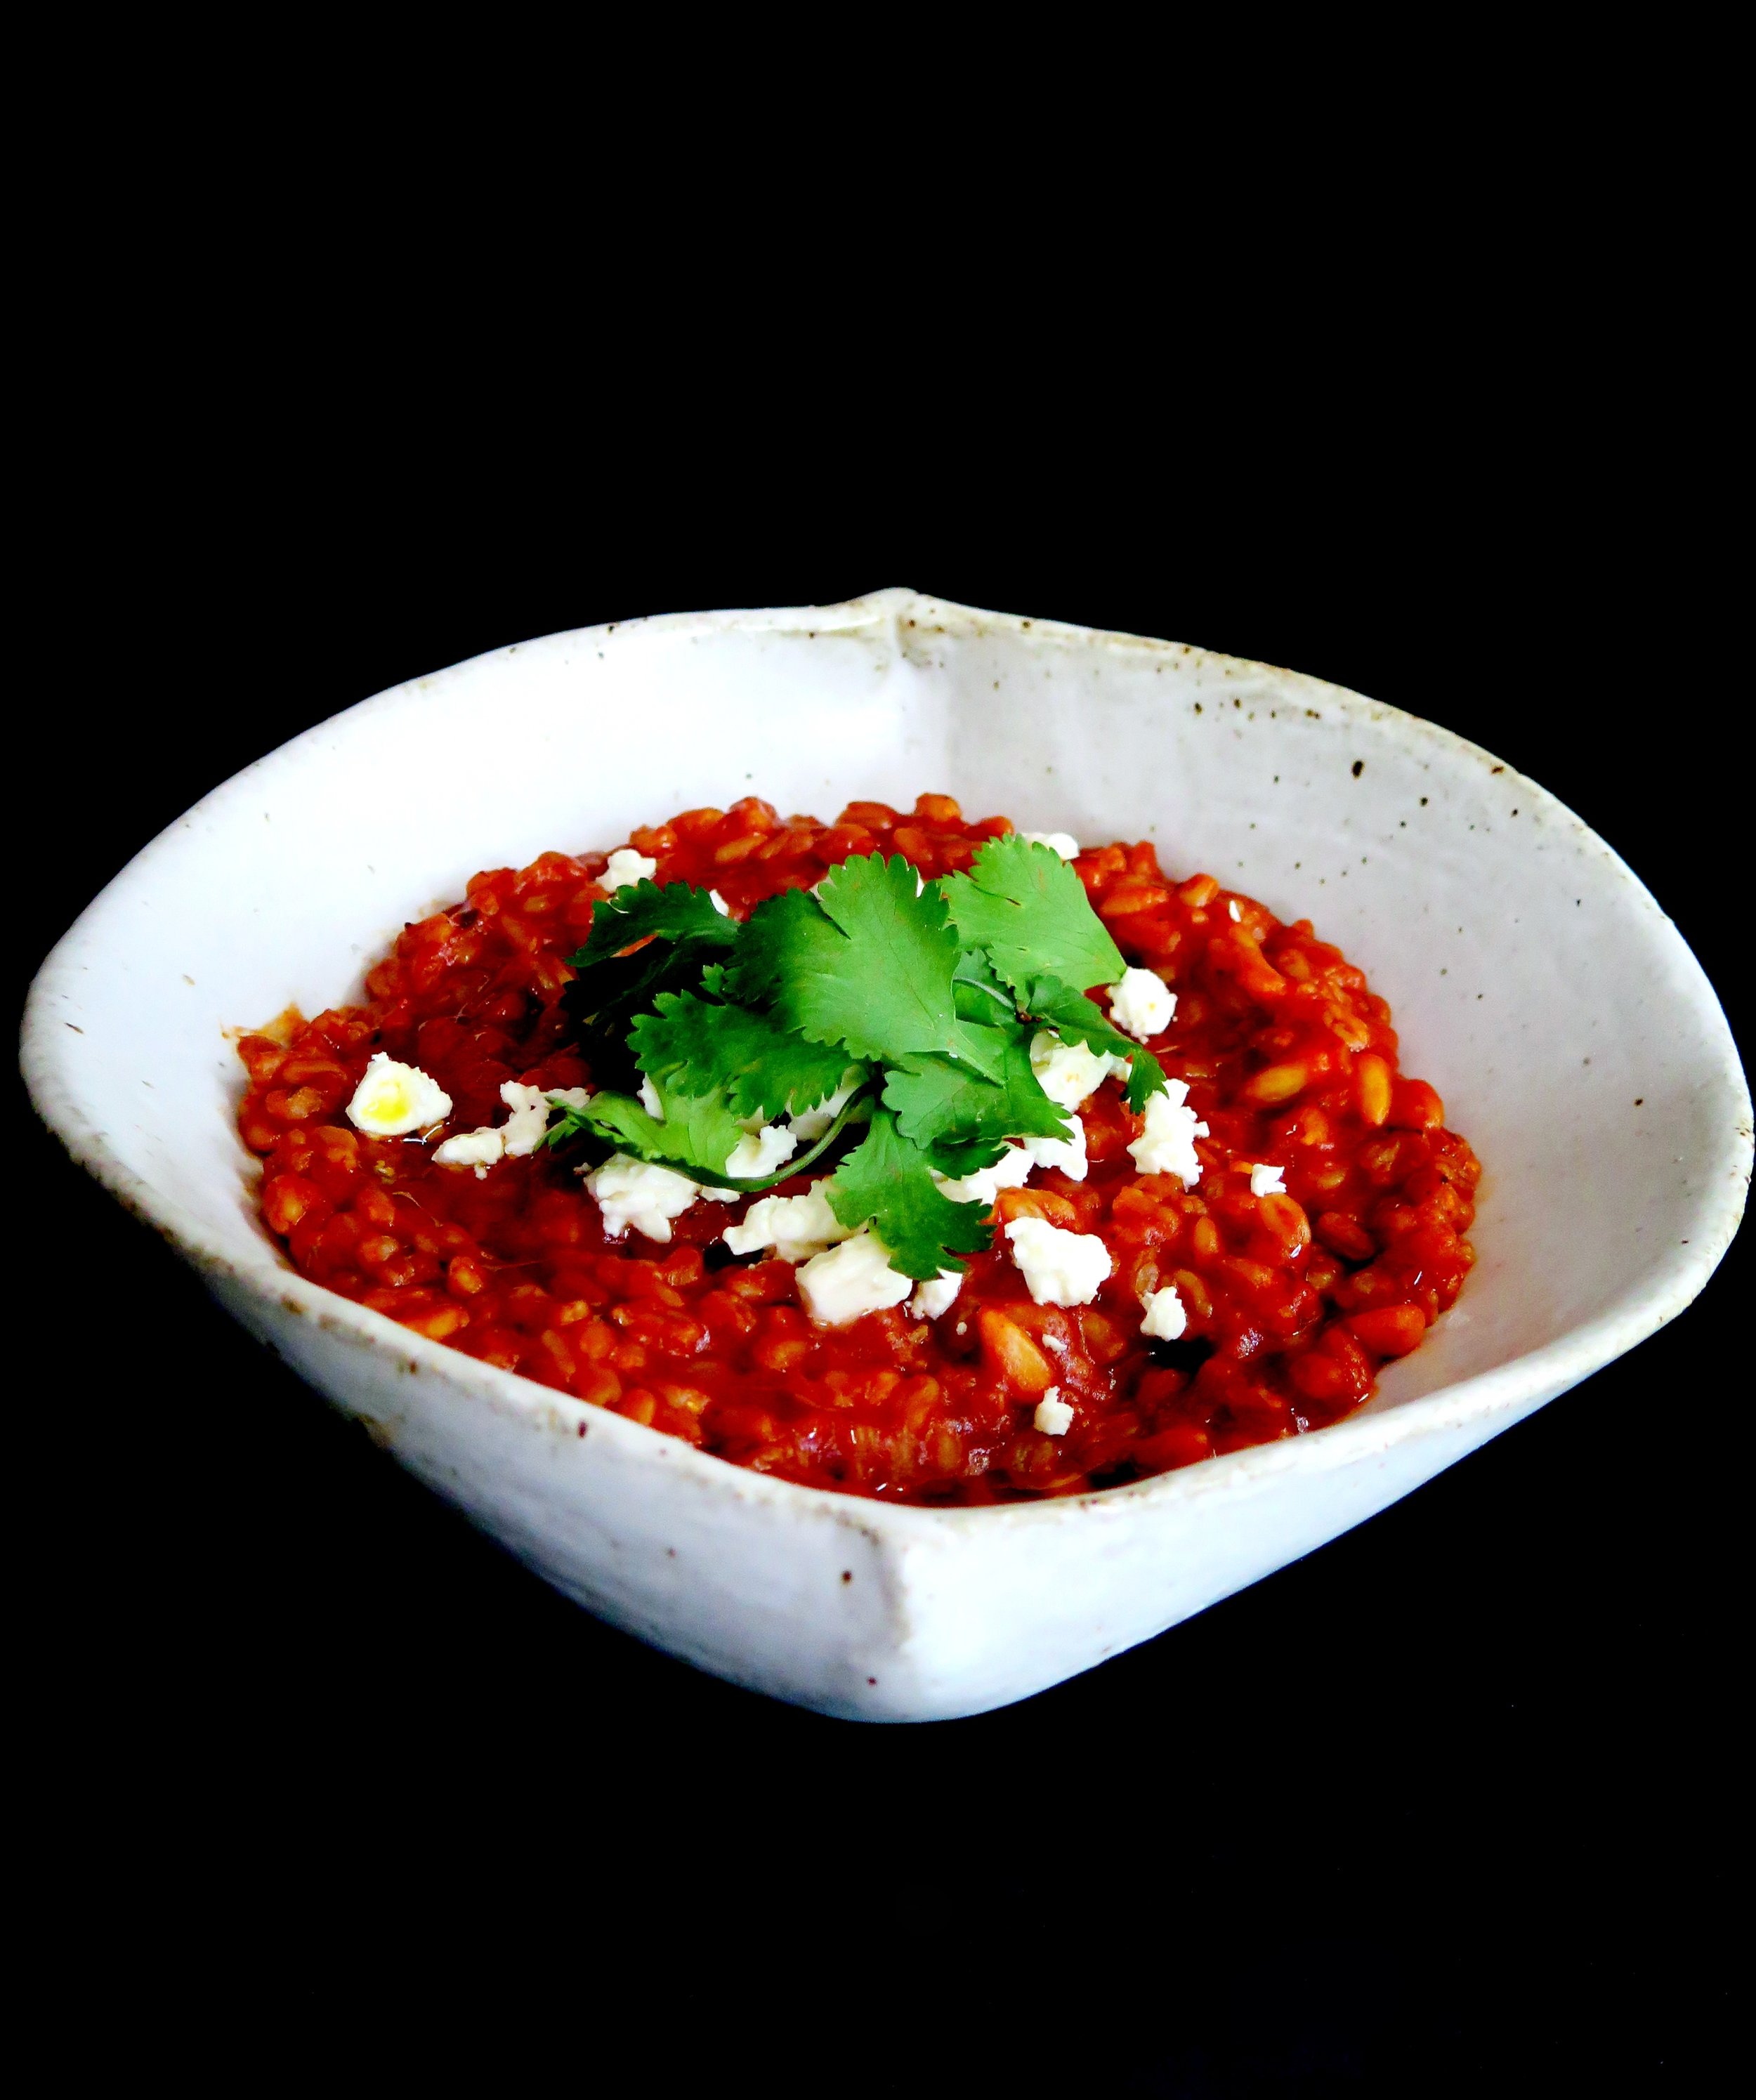
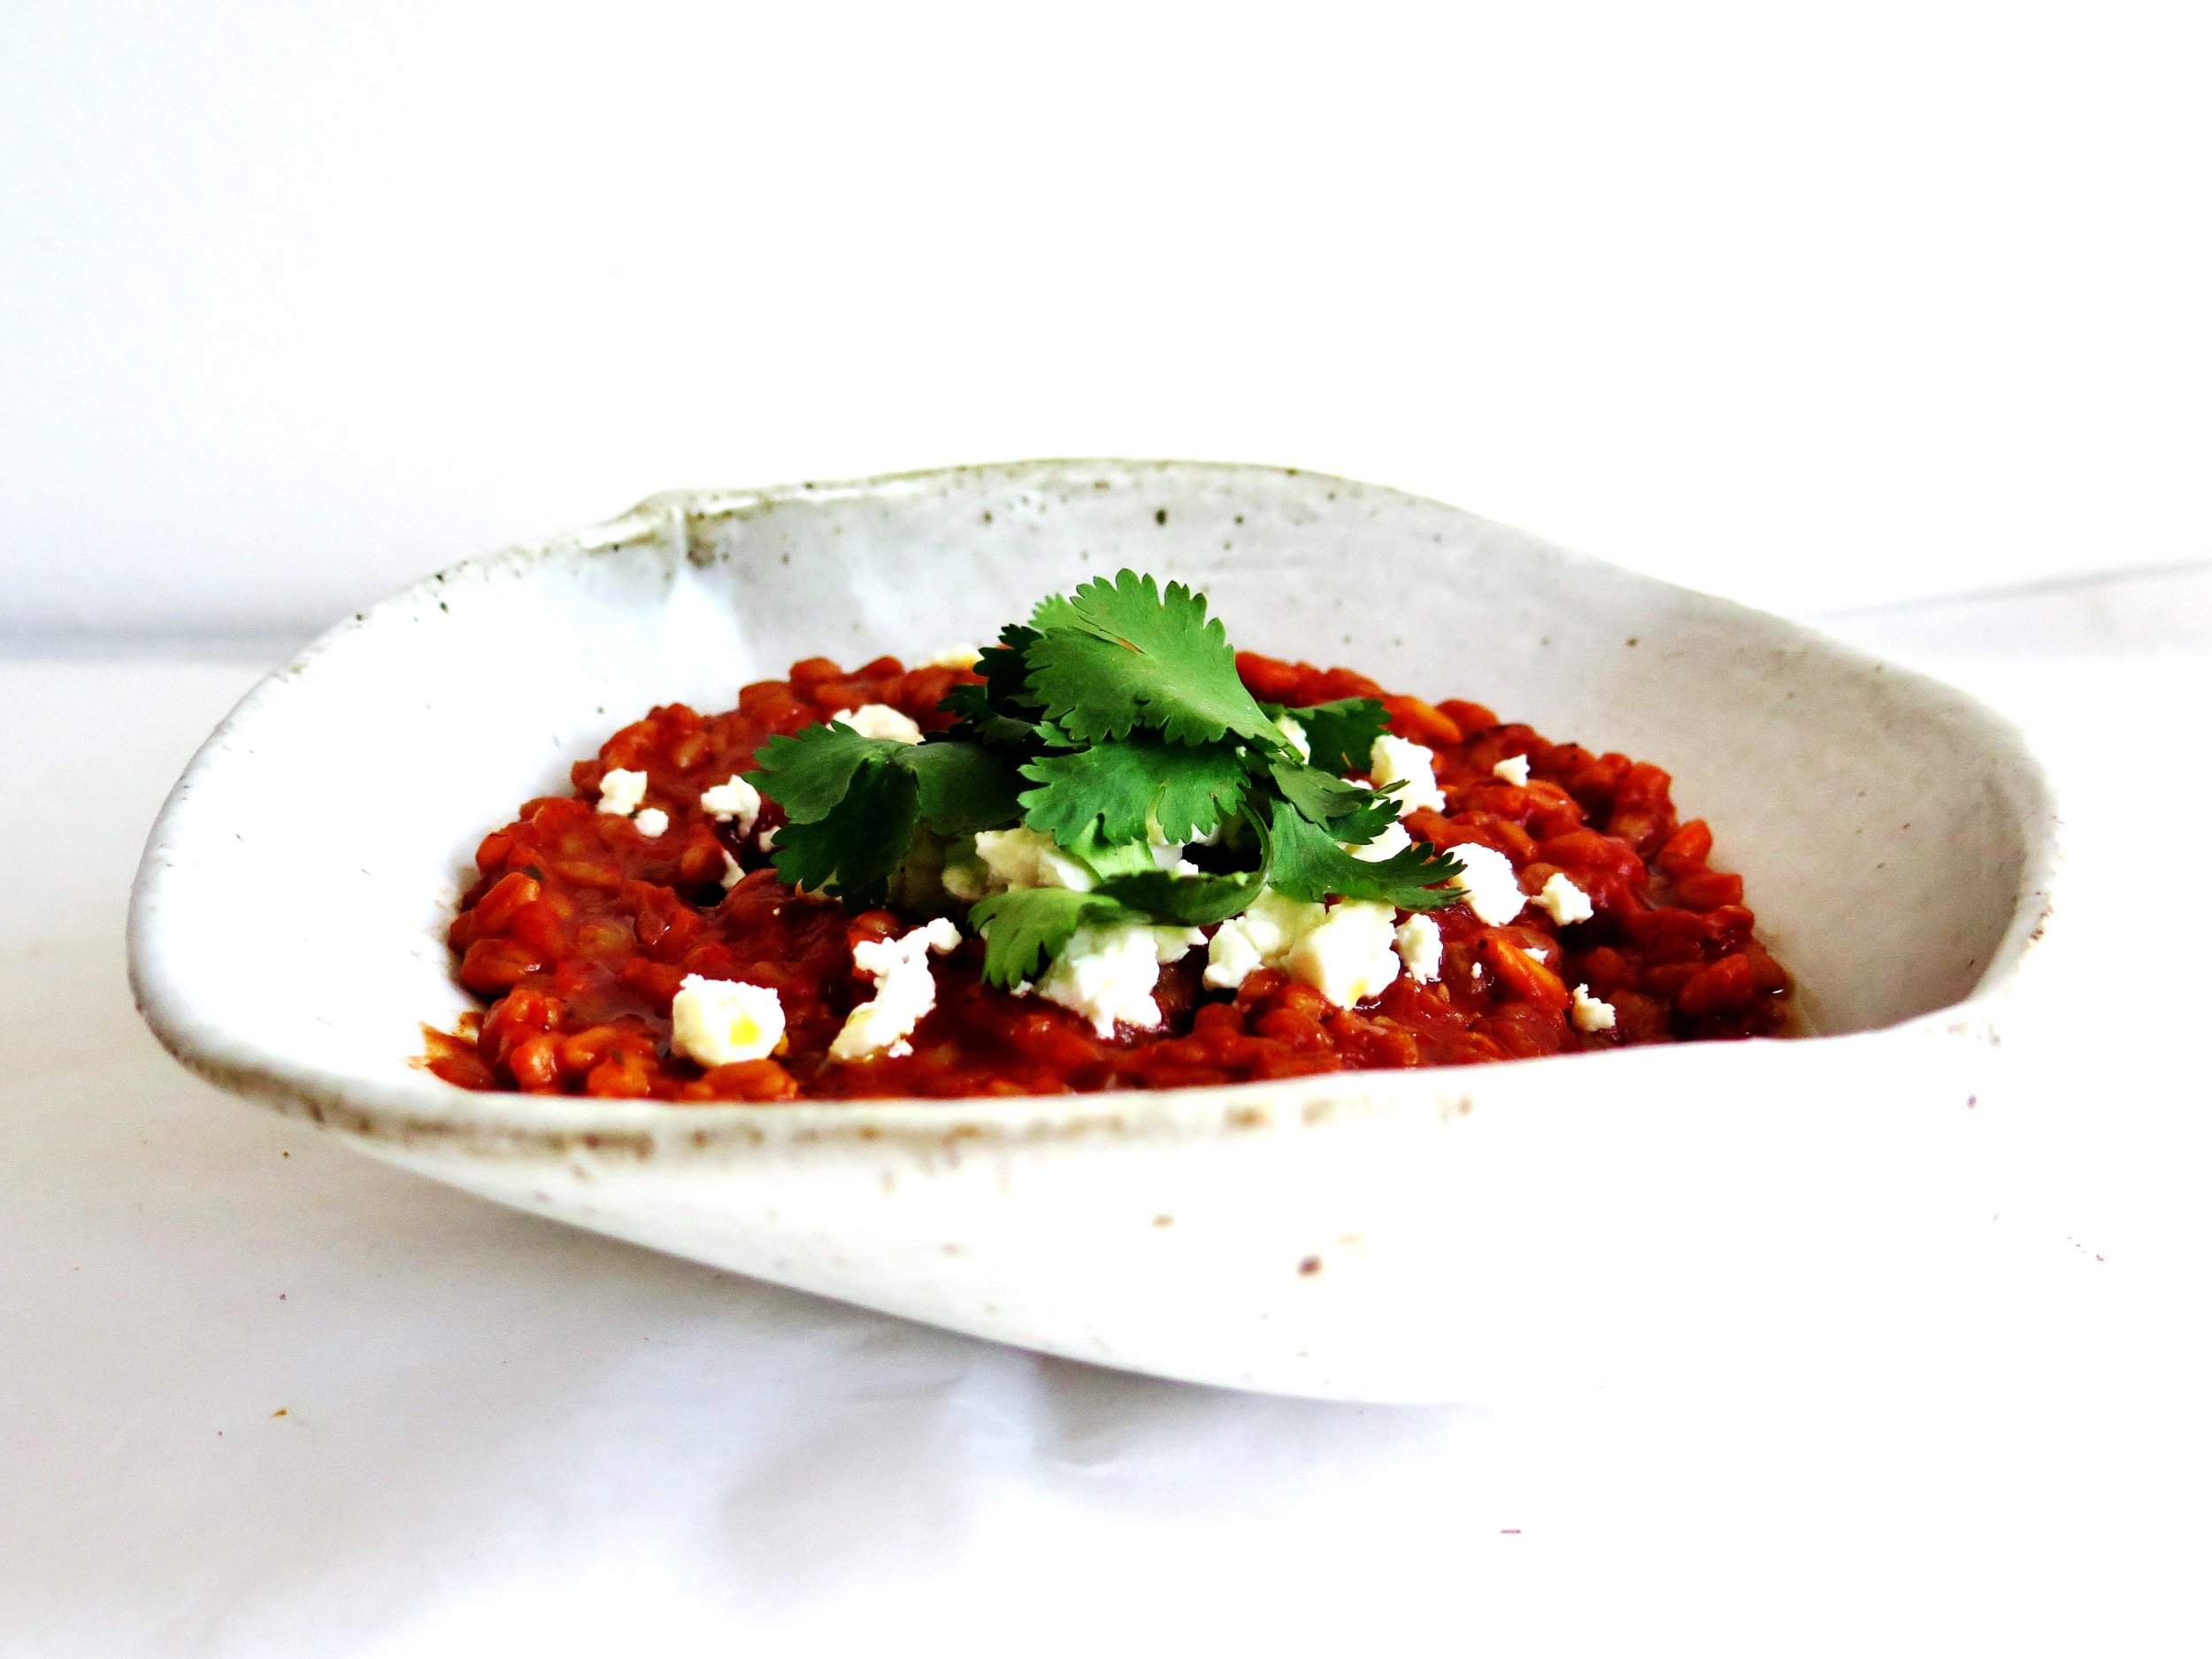
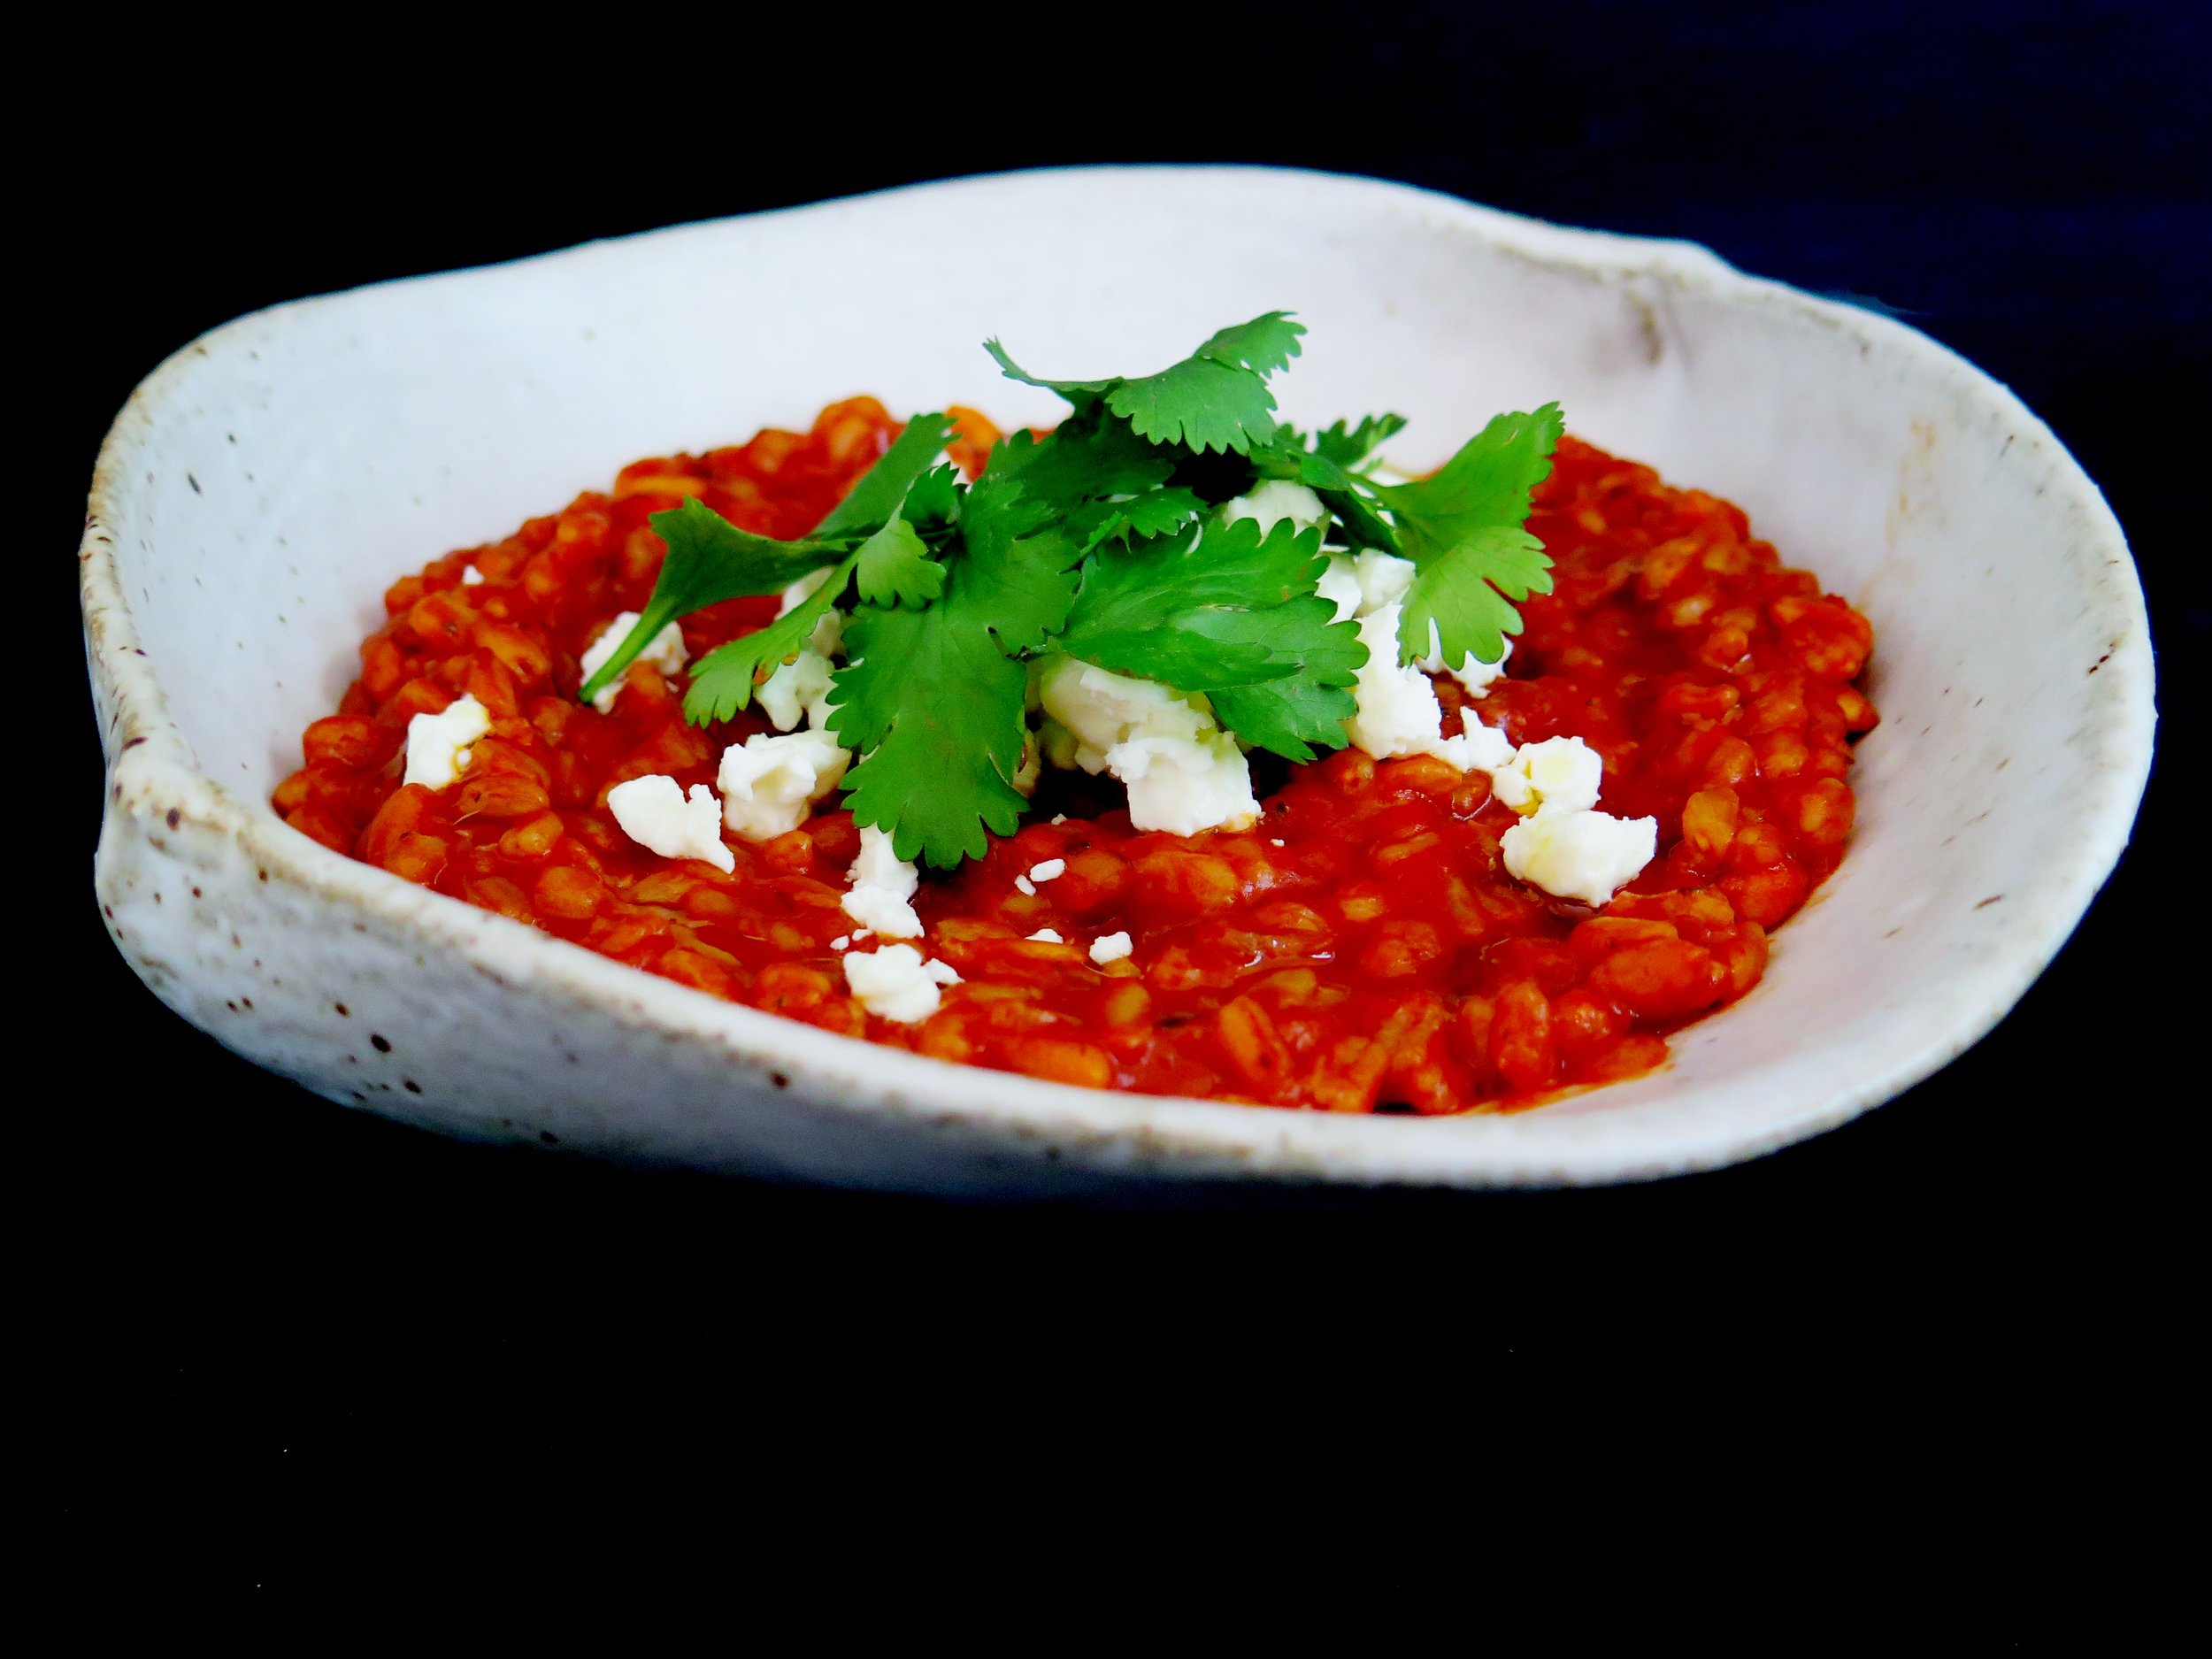
Smoky tomato and garlic spelt risotto with crumbled feta and pine nuts In MasterChef Australia (I’m not a fan of the British version) risotto is known as the “death dish”.  The judges groan whenever a contestant confesses that he/she will be serving it.  And quite rightly so, as the results are invariably sludgy, glutinous, crunchy, solid, watery, bland, or resembling something a woman in Ancient Rome might have used as a face pack.

Smoky tomato and garlic spelt risotto with crumbled feta and pine nuts


It is often also the go-to dish for restaurants under pressure to include a vegetarian dish in their repertoire, and this is often disappointing, too, for two reasons:

1.) All too often it becomes a stodgy double cream and rice porridge. In a traditional risotto recipe there is no cream – the creaminess is achieved through breaking down the starch by stirring the grains with a good quality stock.  And no, this isn’t difficult at all.  Don’t believe the hype surrounding the pitfalls; it is really a very simple dish to perfect.

Smoky tomato and garlic spelt risotto with crumbled feta and pine nuts

2.) In some unwritten chef rulebook there exists the heinous concept that risotto can only be married to butternut squash or mushrooms. It’s not that I dislike either of these, but that I’m just crying out for some more original combination.

Smoky tomato and garlic spelt risotto with crumbled feta and pine nuts

Risotto doesn’t have to be made with rice either.  I use spelt (or farro) instead for numerous reasons: it has a lower GI, has a nuttier flavour, and has a more interesting texture.  It’s also a hundred times easier to cook well. Obviously, it isn’t strictly ‘risotto’, but the idea is similar.

Smoky tomato and garlic spelt risotto with crumbled feta and pine nuts

Ingredients

1 tbsp olive oil

1 tbsp butter (15g)

2 medium onions, finely chopped

25g (about 8 cloves) garlic, crushed

2 tbsp sundried tomato paste

2 tsp sugar

2 tsp balsamic vinegar

1 tsp thyme (fresh or dried)

½ tsp chilli flakes

Grated zest of ½ lemon

¾ tsp smoked paprika

500g passata

250g pearled spelt (or farro)

750ml boiling water

3 tsp vegetable stock

80g toasted pine nuts

1 tsp lemon juice

100g feta

Handful of coriander, to serve

(Serves 4)


Method

  1. In a large pot, melt together the butter and oil. Add in the finely chopped onions and garlic, and cook over medium/high heat until the onions are soft and translucent.
  2. Stir in the sundried tomato paste, sugar, balsamic vinegar, thyme, chilli flakes, lemon zest, smoked paprika and a pinch of salt. Cook ingredients together for a couple of minutes.
  3. In a bowl, dissolve the stock in the boiling water, then pour roughly 250ml of this, together with the passata and spelt into the pot, and stir together on a medium heat.
  4. Stir every now then to prevent the spelt from sticking, and add the rest of the water, a ladleful at a time, at roughly 10 minute intervals.
  5. After 40-50 minutes, remove from the heat, stir in toasted pine nuts and lemon juice and season according to taste. The spelt grains should be soft all the way through with no chalkiness, and with some texture remaining.  Most of the water should have been absorbed or evaporated so the consistency is thicker than that of a soup, without being solid, and not thin enough to pour.
  6. To serve, crumble the feta over the top and scatter with coriander.

Smoky tomato and garlic spelt risotto with crumbled feta and pine nuts


Comment

Wholesome American Style Spelt Pancakes (Dairy-free) - Recipe

3 Comments

Wholesome American Style Spelt Pancakes (Dairy-free) - Recipe

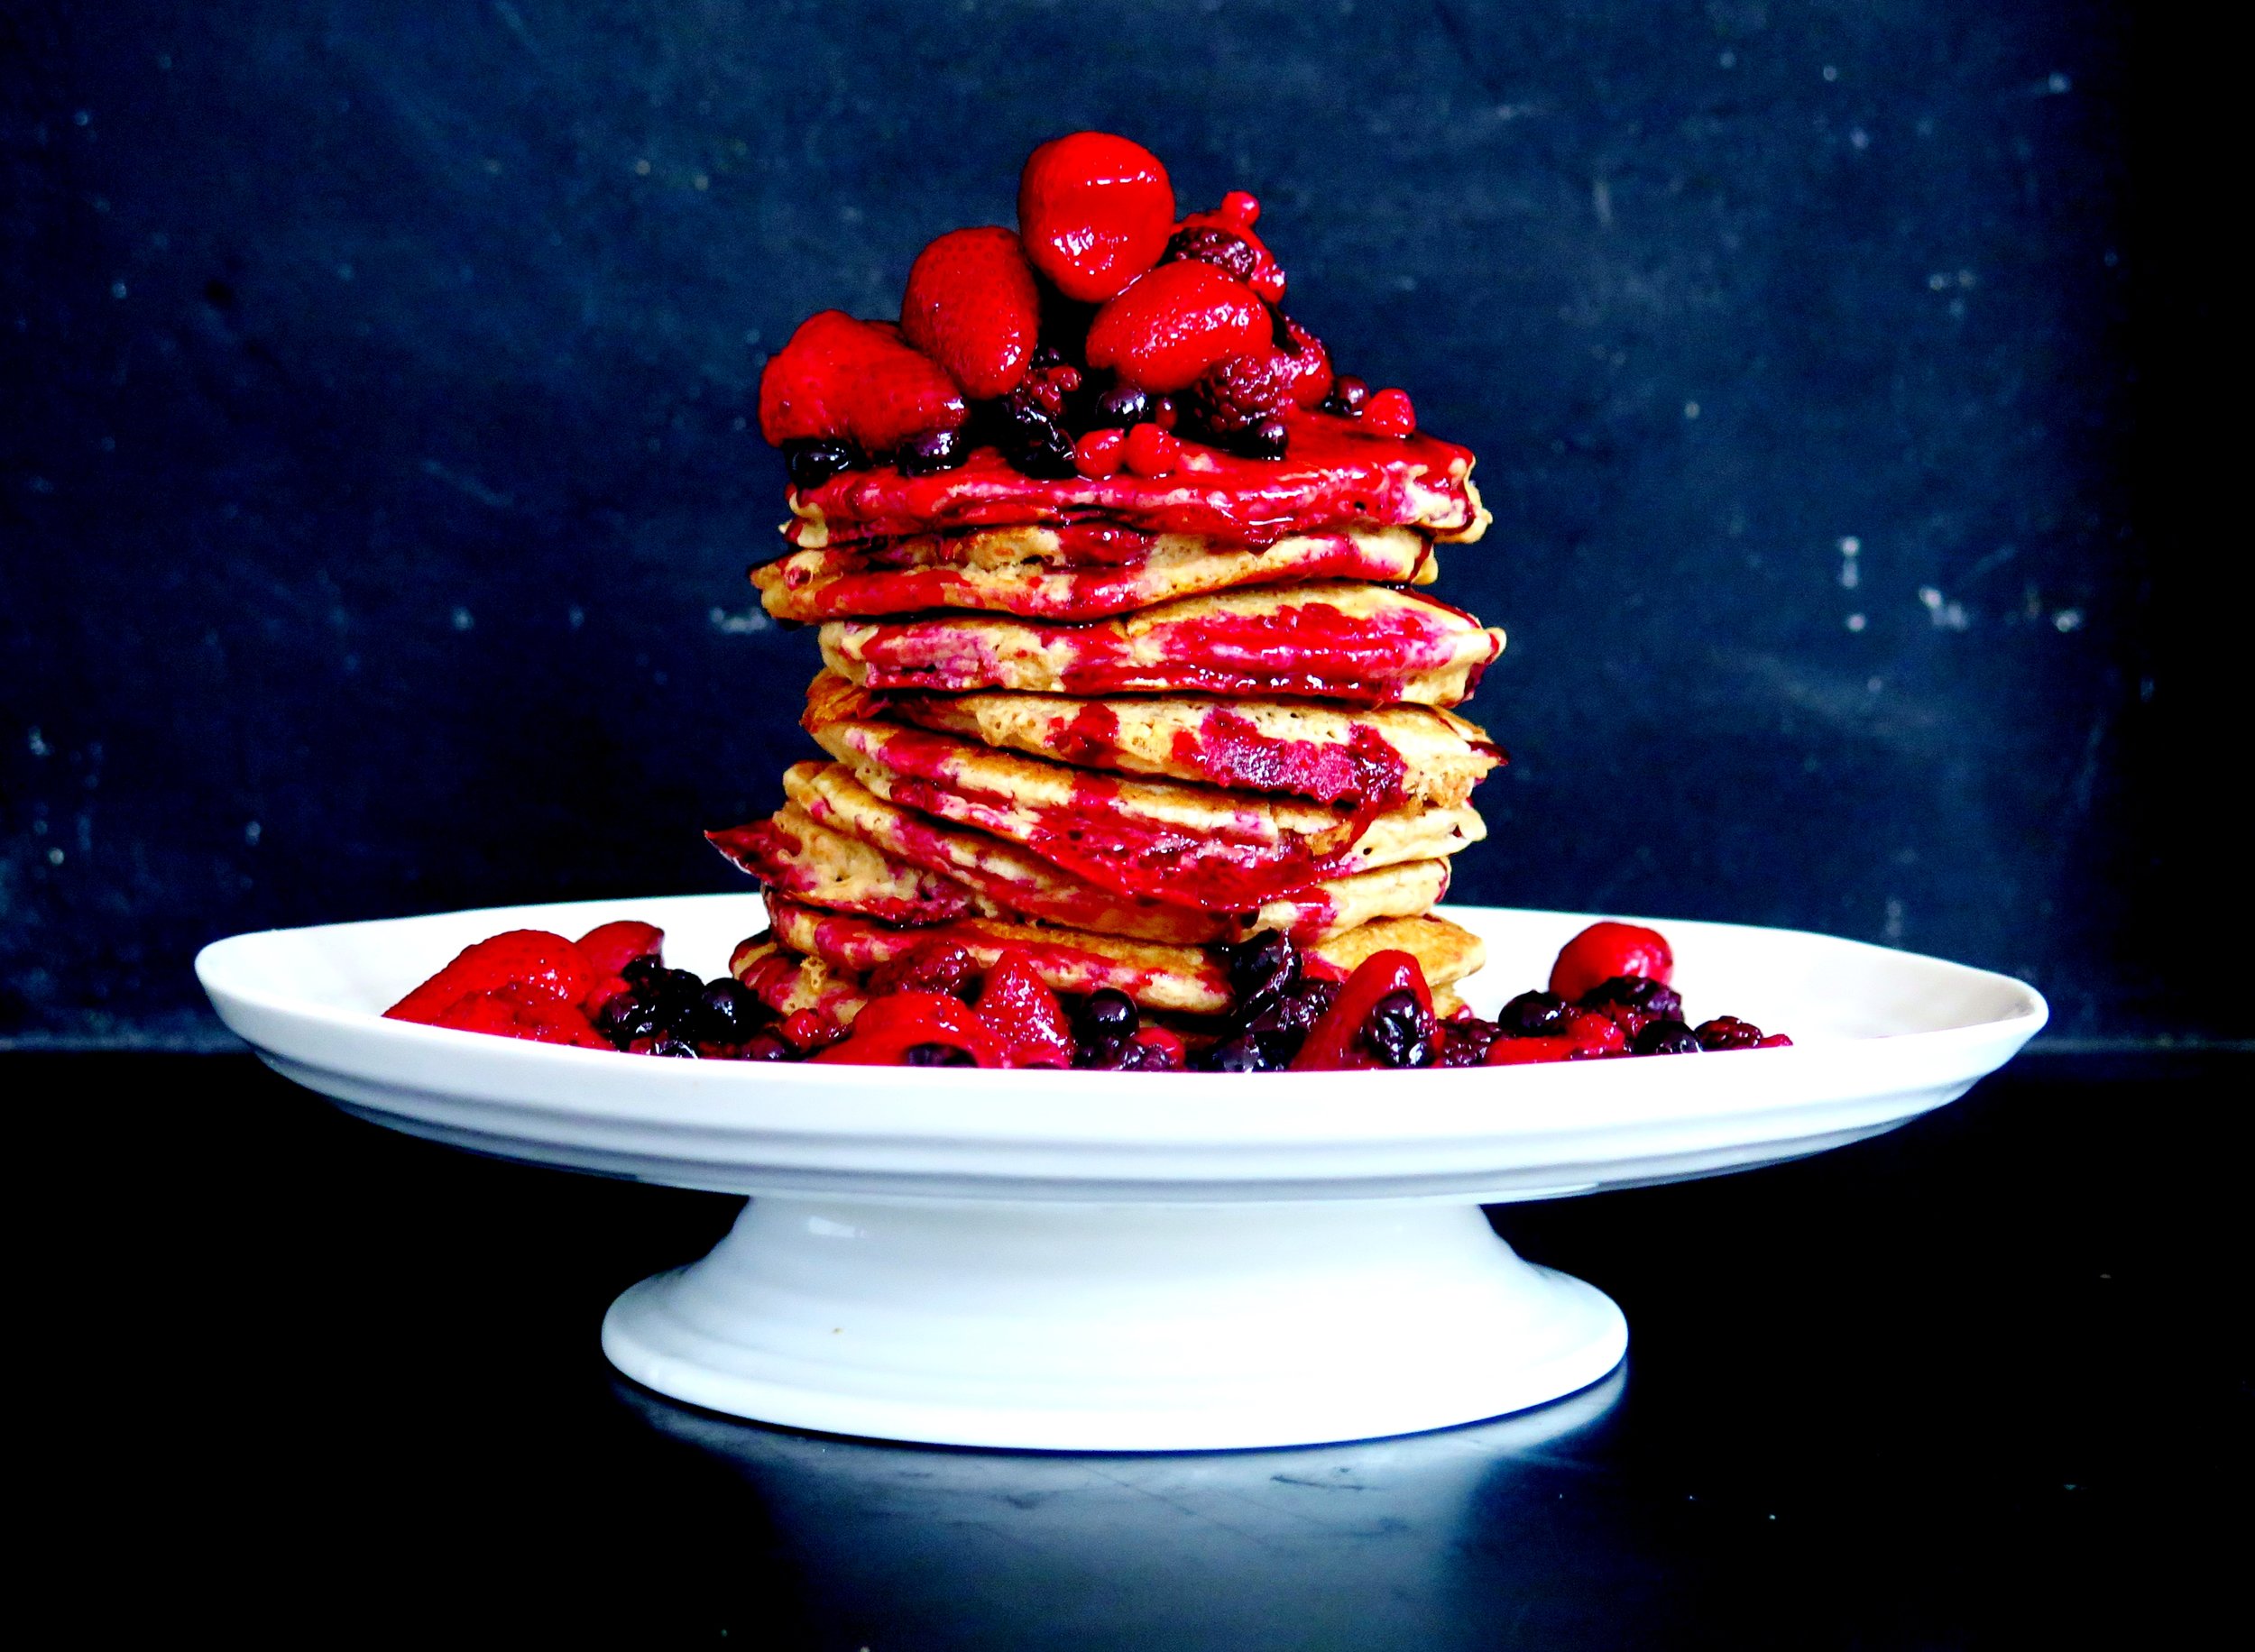
Khanom krok, crepes, blinis, dosas, tortillas, msemmen, ingera, beghrir, and both pandan and rice  pancakes - dense, spongy, fluffy, light,...  I've devoured them all.  But when it gets to Sunday, and brunch is obligatory, I always revert to American-style pancakes.   I want to whisk up something quick, easy and delicious.

The internet is currently riddled with recipes for "sugarless, 2-ingredient protein pancakes".  Warning: two ingredients = egg and banana, and there are many things I'd rather eat than a banana omelette.  So I came up with my own healthier version of American-style pancakes using wholegrain spelt and coconut oil.

They're fluffy, light and filling, and the wholemeal spelt flour adds a warming nuttiness as well as lowering the overall GI level.  They're also really  addictive - the photos are of the fourth batch I made on the day (as the first batch were consumed as a solo act, and the second and third were inhaled by my brothers).

I paired them with a very simple mixed berry compote, the recipe for which is below.

Ingredients

Wholesome American Style Spelt Pancakes

340g wholemeal spelt flour (can be substituted with plain flour, wholemeal wheat or white spelt)

4 1/2 tsp baking powder

1/4 tsp salt

3 large eggs

450ml unsweetened almond milk (can be substituted with any other kind)

1 tbsp vanilla extract

45g coconut oil, melted + extra to coat frying pan (can be substituted with butter)

Berry Compote

500g mixed frozen berries

3 tbsp maple syrup (optional)

1tbsp vanilla extract

Method

Pancakes

1.) In a blender, blitz together all the ingredients until smooth.

2.) Place shallow frying pan over a medium-high heat and melt 1tbsp of coconut butter (or butter, if using), swirling it around to coat the pan.

3) Pour batter into pan to desired pancake size and cook for a couple of minutes until bubbles begin to break through the surface.  Flip, and cook for a further couple of minutes until golden.

Mixed Berry Compote

1.) Place pan over high heat, pour in all ingredients, and stir to mix through.

2.) When the berries have melted and the mixture begins to simmer, reduce to a low heat and cook until berries are completely cooked through.

3.) Drench pancakes.

HUNGRY FOR MORE?

3 Comments

Vanilla Bean & Cinnamon Bircher Muesli (Dairy-free, Sugar-free, Gluten-free) - Recipe

Comment

Vanilla Bean & Cinnamon Bircher Muesli (Dairy-free, Sugar-free, Gluten-free) - Recipe

IMG_2375.jpg

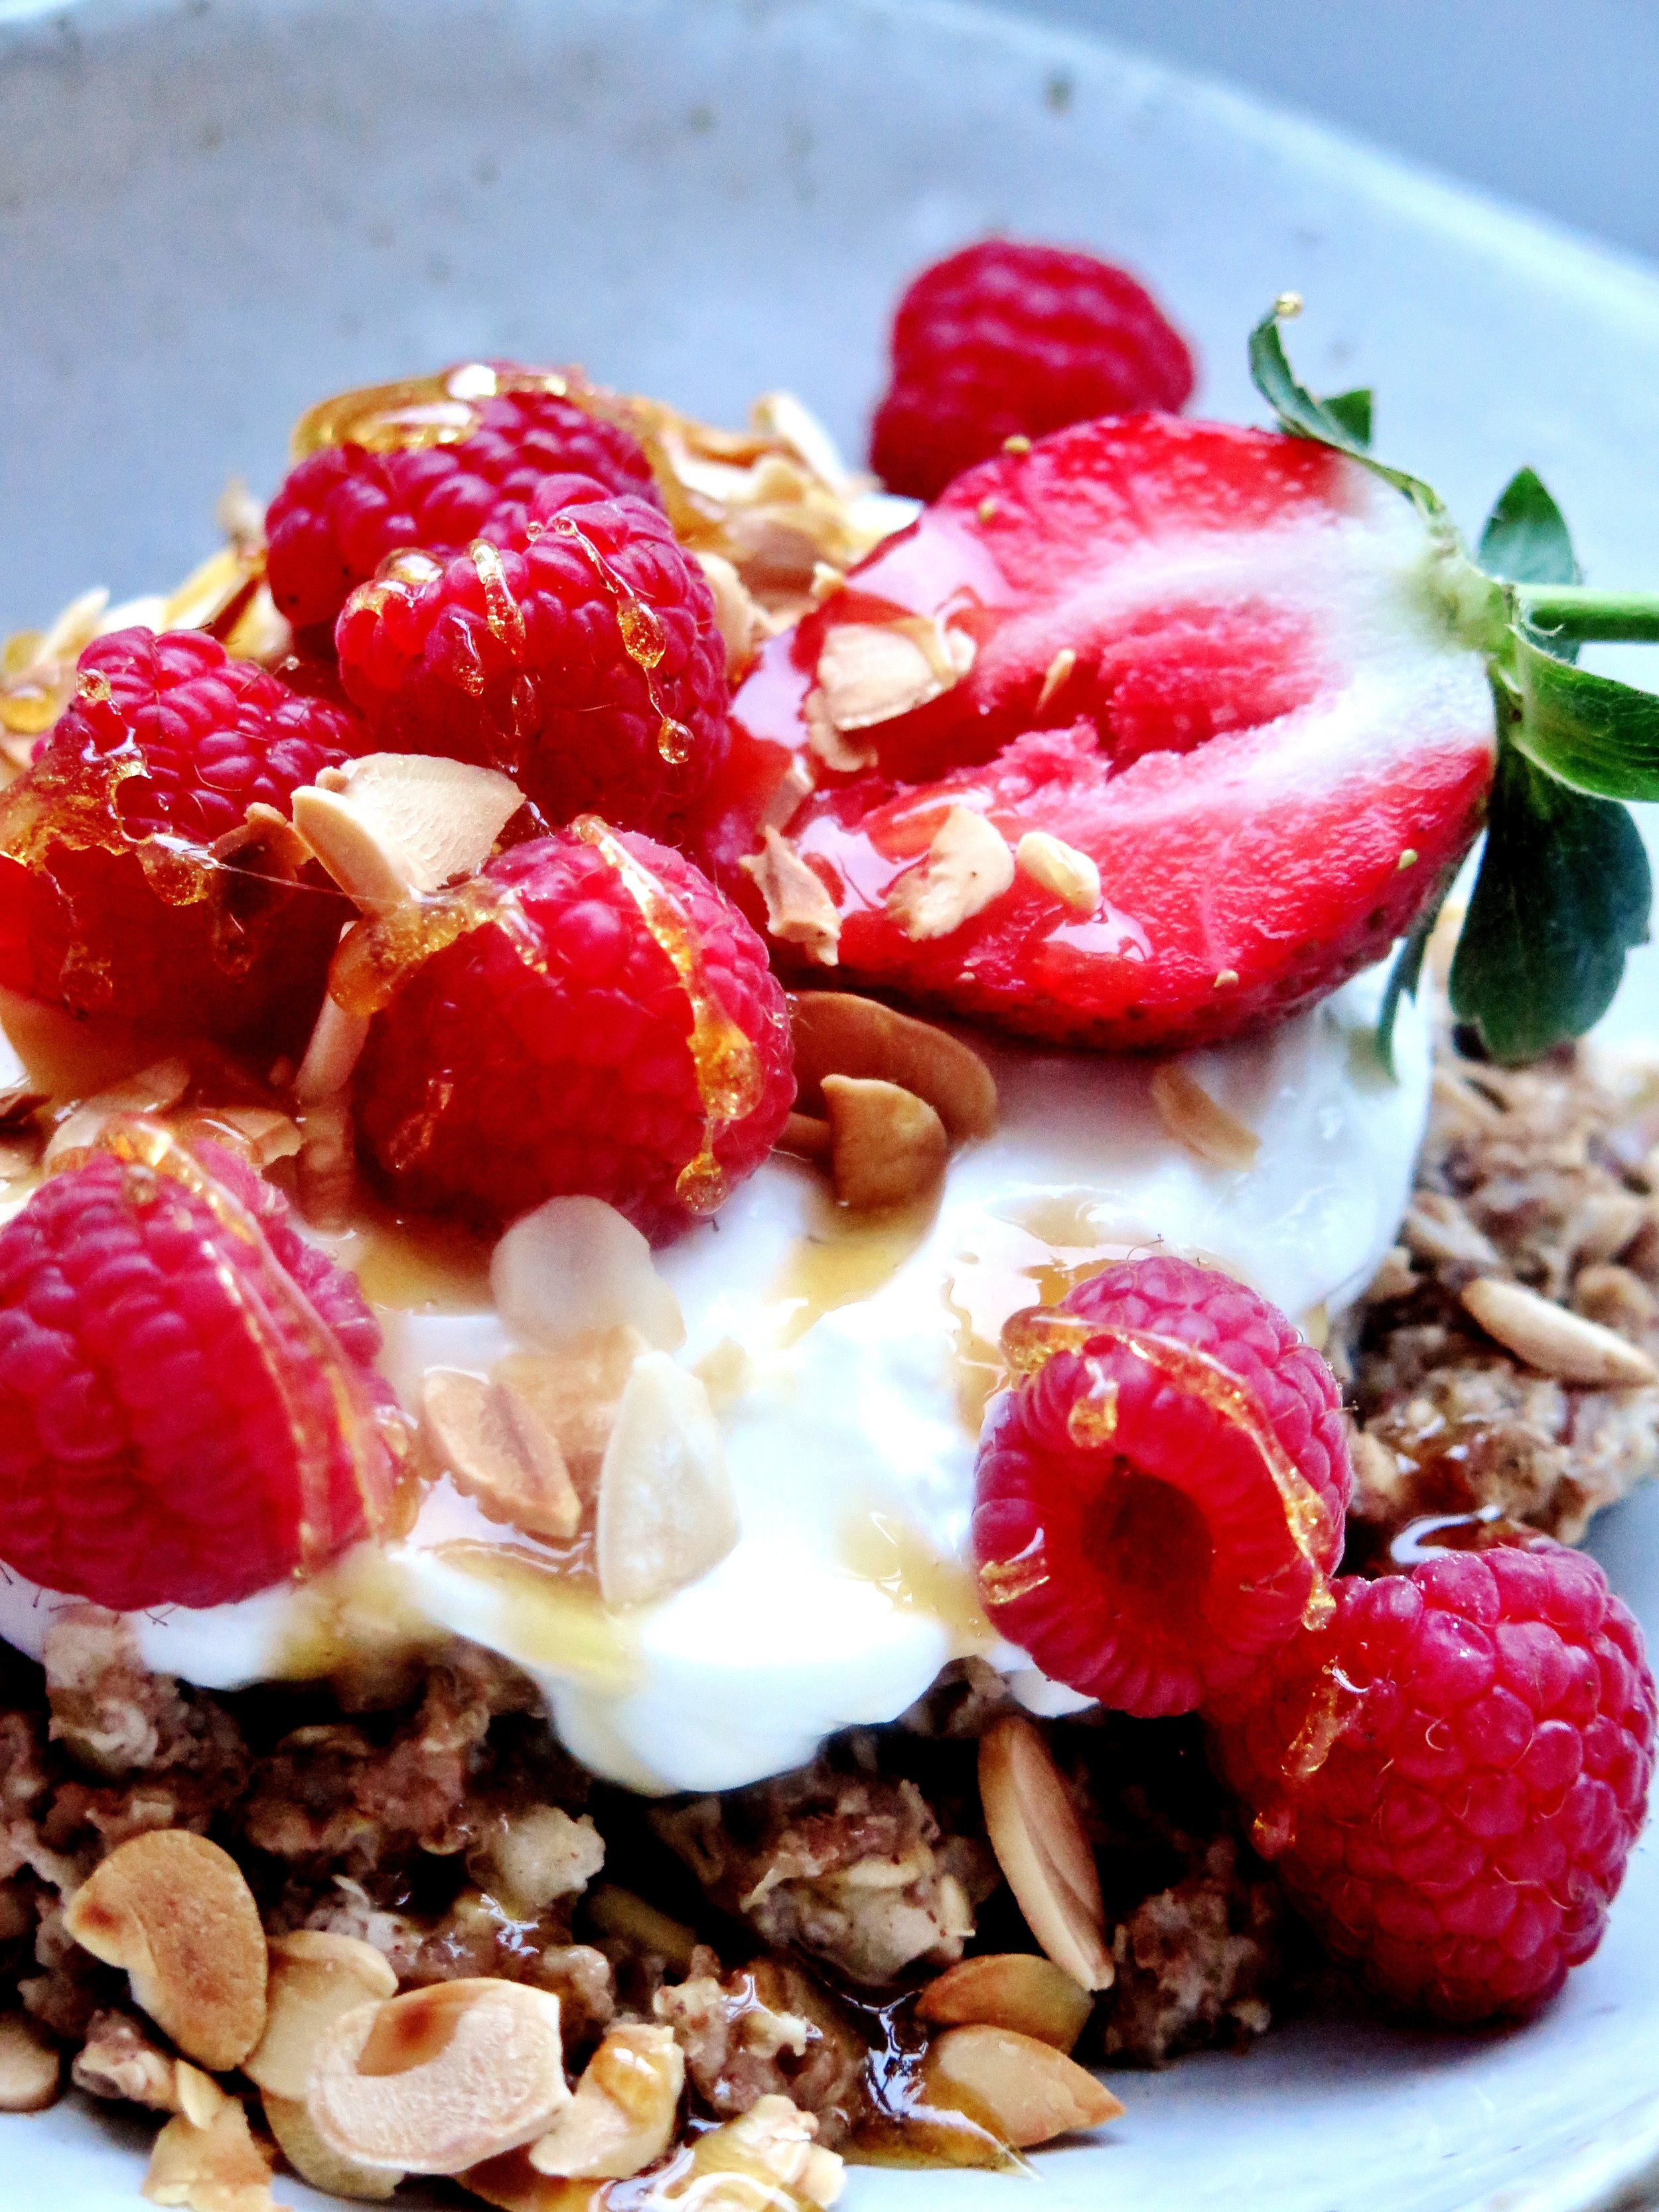
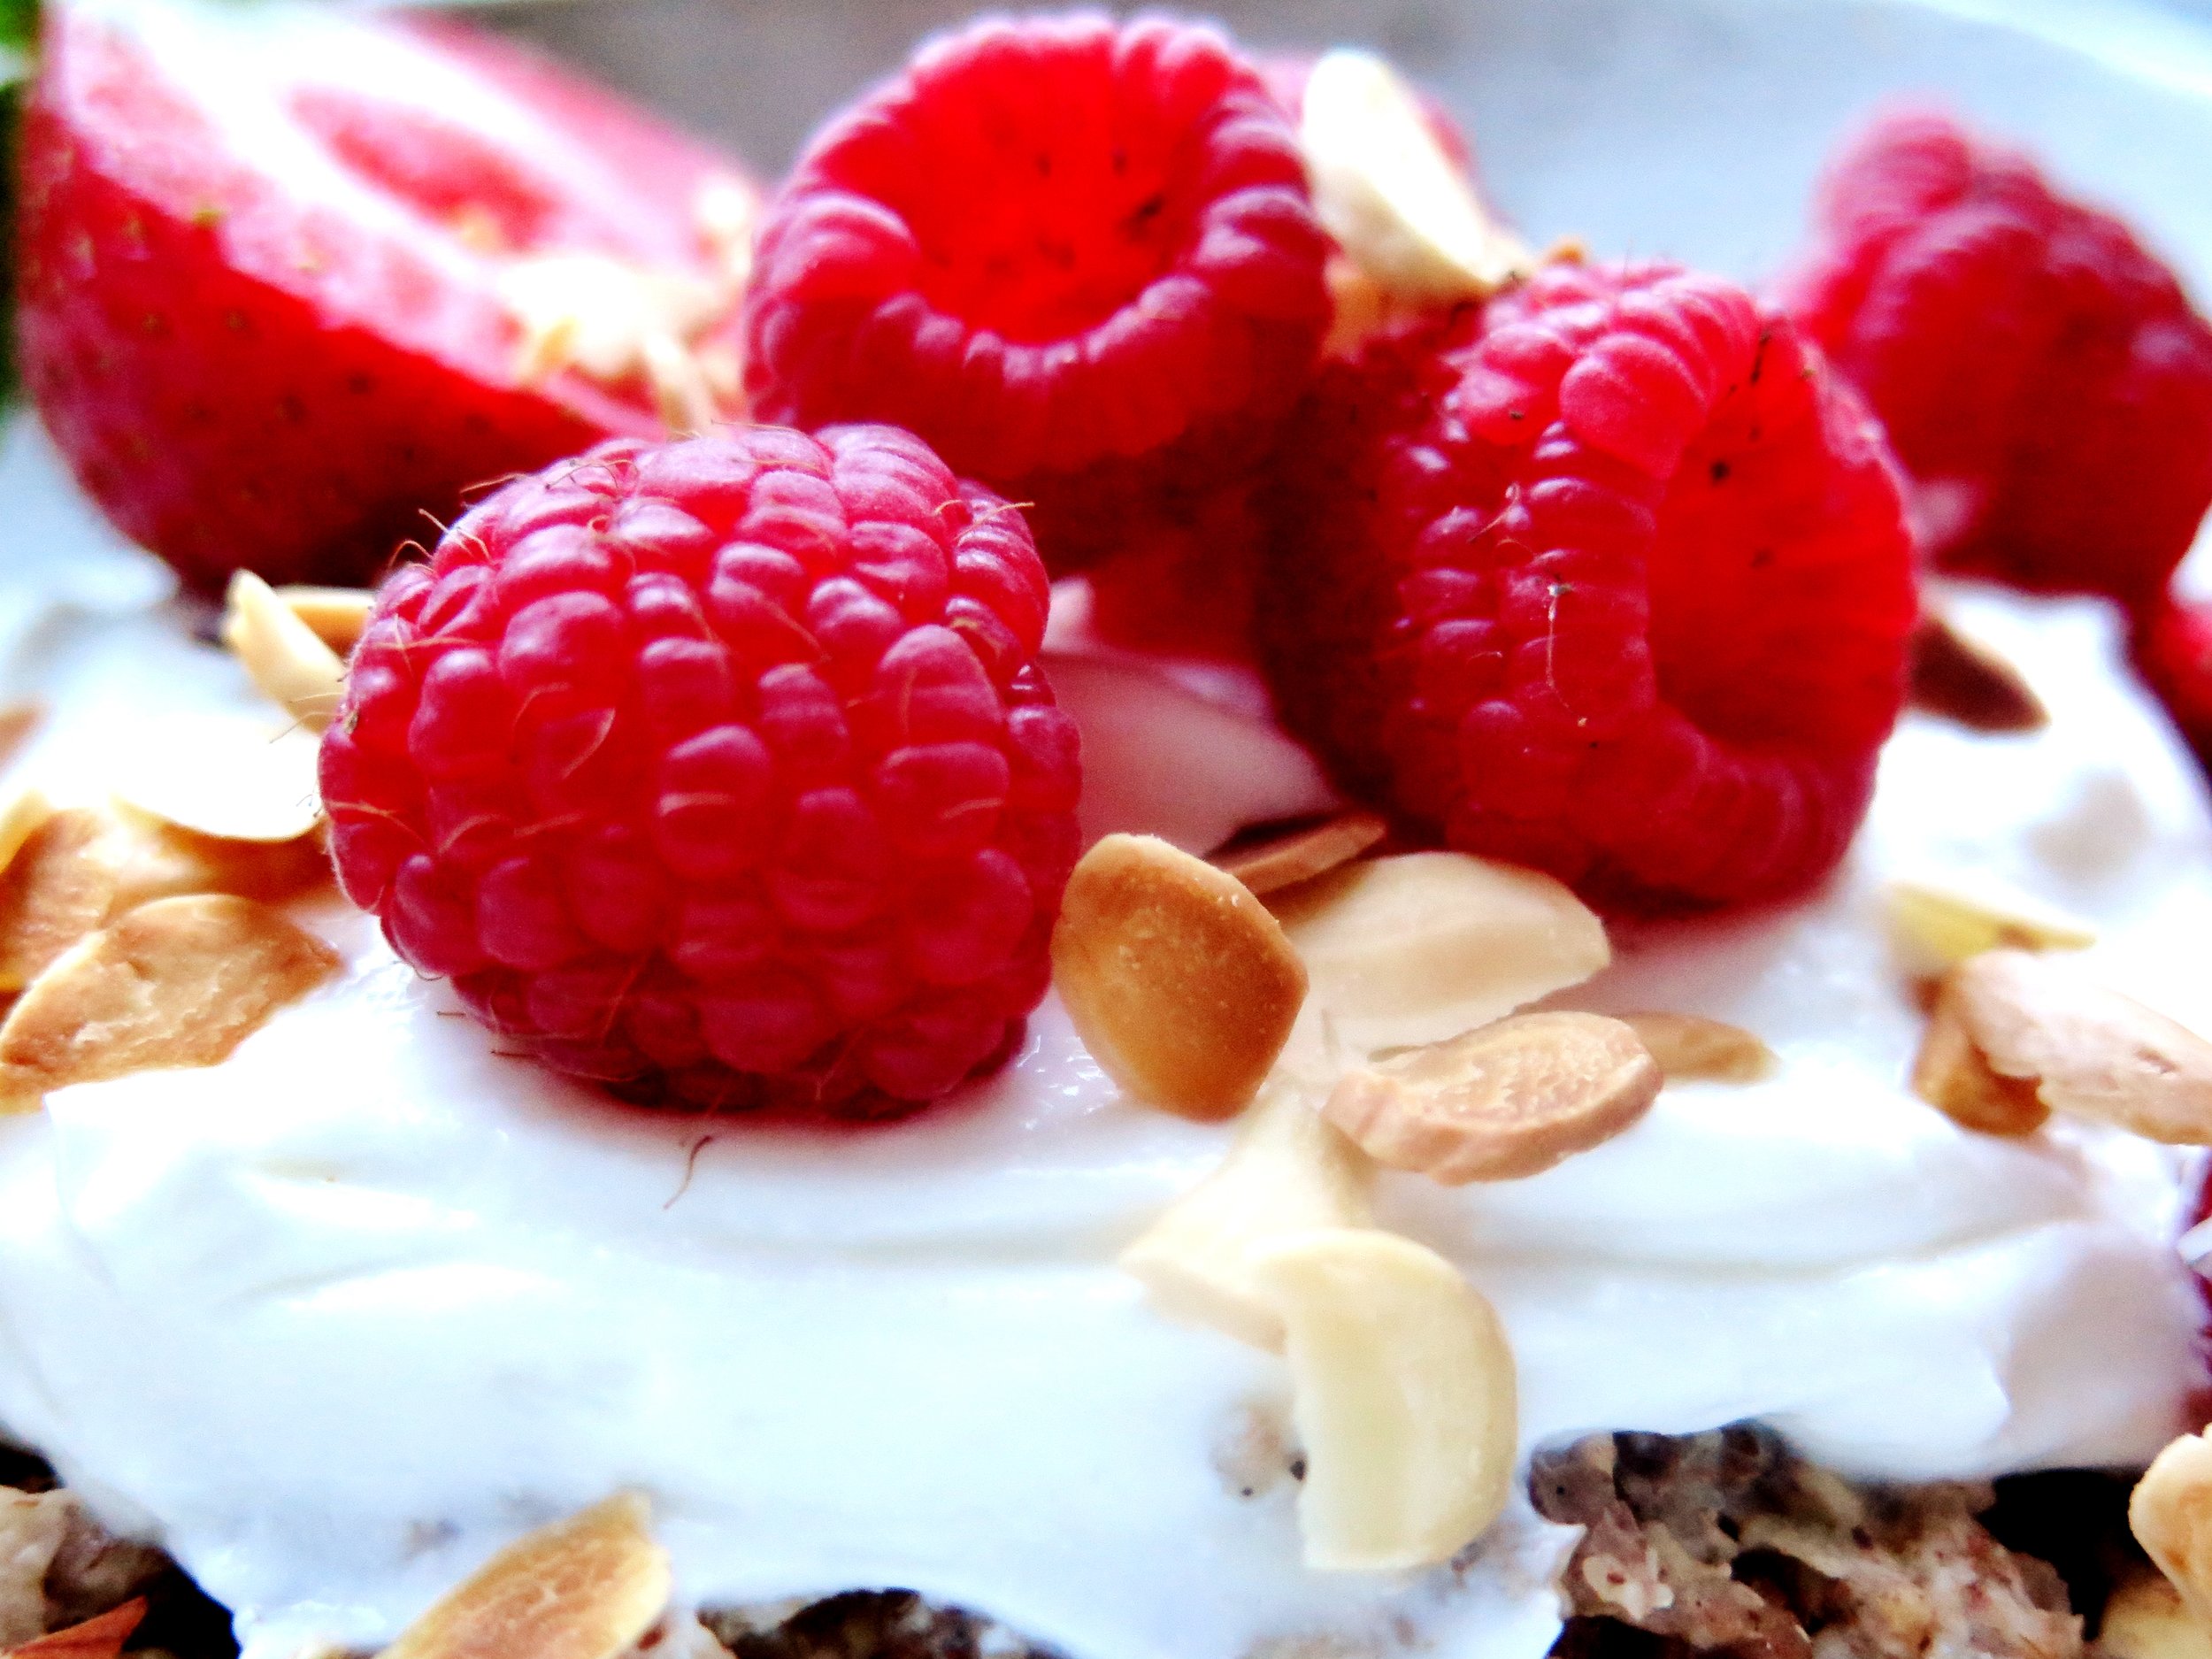
Vanilla Bean & Cinnamon Bircher Muesli (Dairy-free, Sugar-free, Gluten-free) - Recipe Last year I spent a week in the middle of nowhere, in freezing cold, exercising over 6 hours a day in mud/gales/snow/hail,  under the supervision of ex-military trainers who pushed me physically beyond  my limits until every last droplet of sweat had been purged.  My fellow “bootcampers” included a fresh out of prison and rehab drug dealer/addict, a morbidly obese woman who refused to communicate with anyone, a creepy London shop owner, a z-list celebrity from a certain Chelsea based reality TV show, whose ego was undeservedly overblown, and some poor guy whose father had told him he was going on a spa retreat in Spain but despatched him instead into gruelling and bleak middle England.
Vanilla Bean & Cinnamon Bircher Muesli (Dairy-free, Sugar-free, Gluten-free) - Recipe


Our diet was heavily regimented, too: no sugar, no caffeine, no alcohol, and nothing processed.  Despite its virtuousness, it was delicious - fresh, wholesome and innovative - all cooked by an ex-OXO Tower chef.  Admittedly, food is the first thing I think of when I wake up anyway, but this feeling became intensified at the camp, especially with a 6 o’clock alarm call, and two hours of torture before breakfast.   No, it wasn’t a prison camp: I did this out of choice.


Vanilla Bean & Cinnamon Bircher Muesli (Dairy-free, Sugar-free, Gluten-free) - RecipeVanilla Bean & Cinnamon Bircher Muesli (Dairy-free, Sugar-free, Gluten-free) - RecipeVanilla Bean & Cinnamon Bircher Muesli (Dairy-free, Sugar-free, Gluten-free) - Recipe

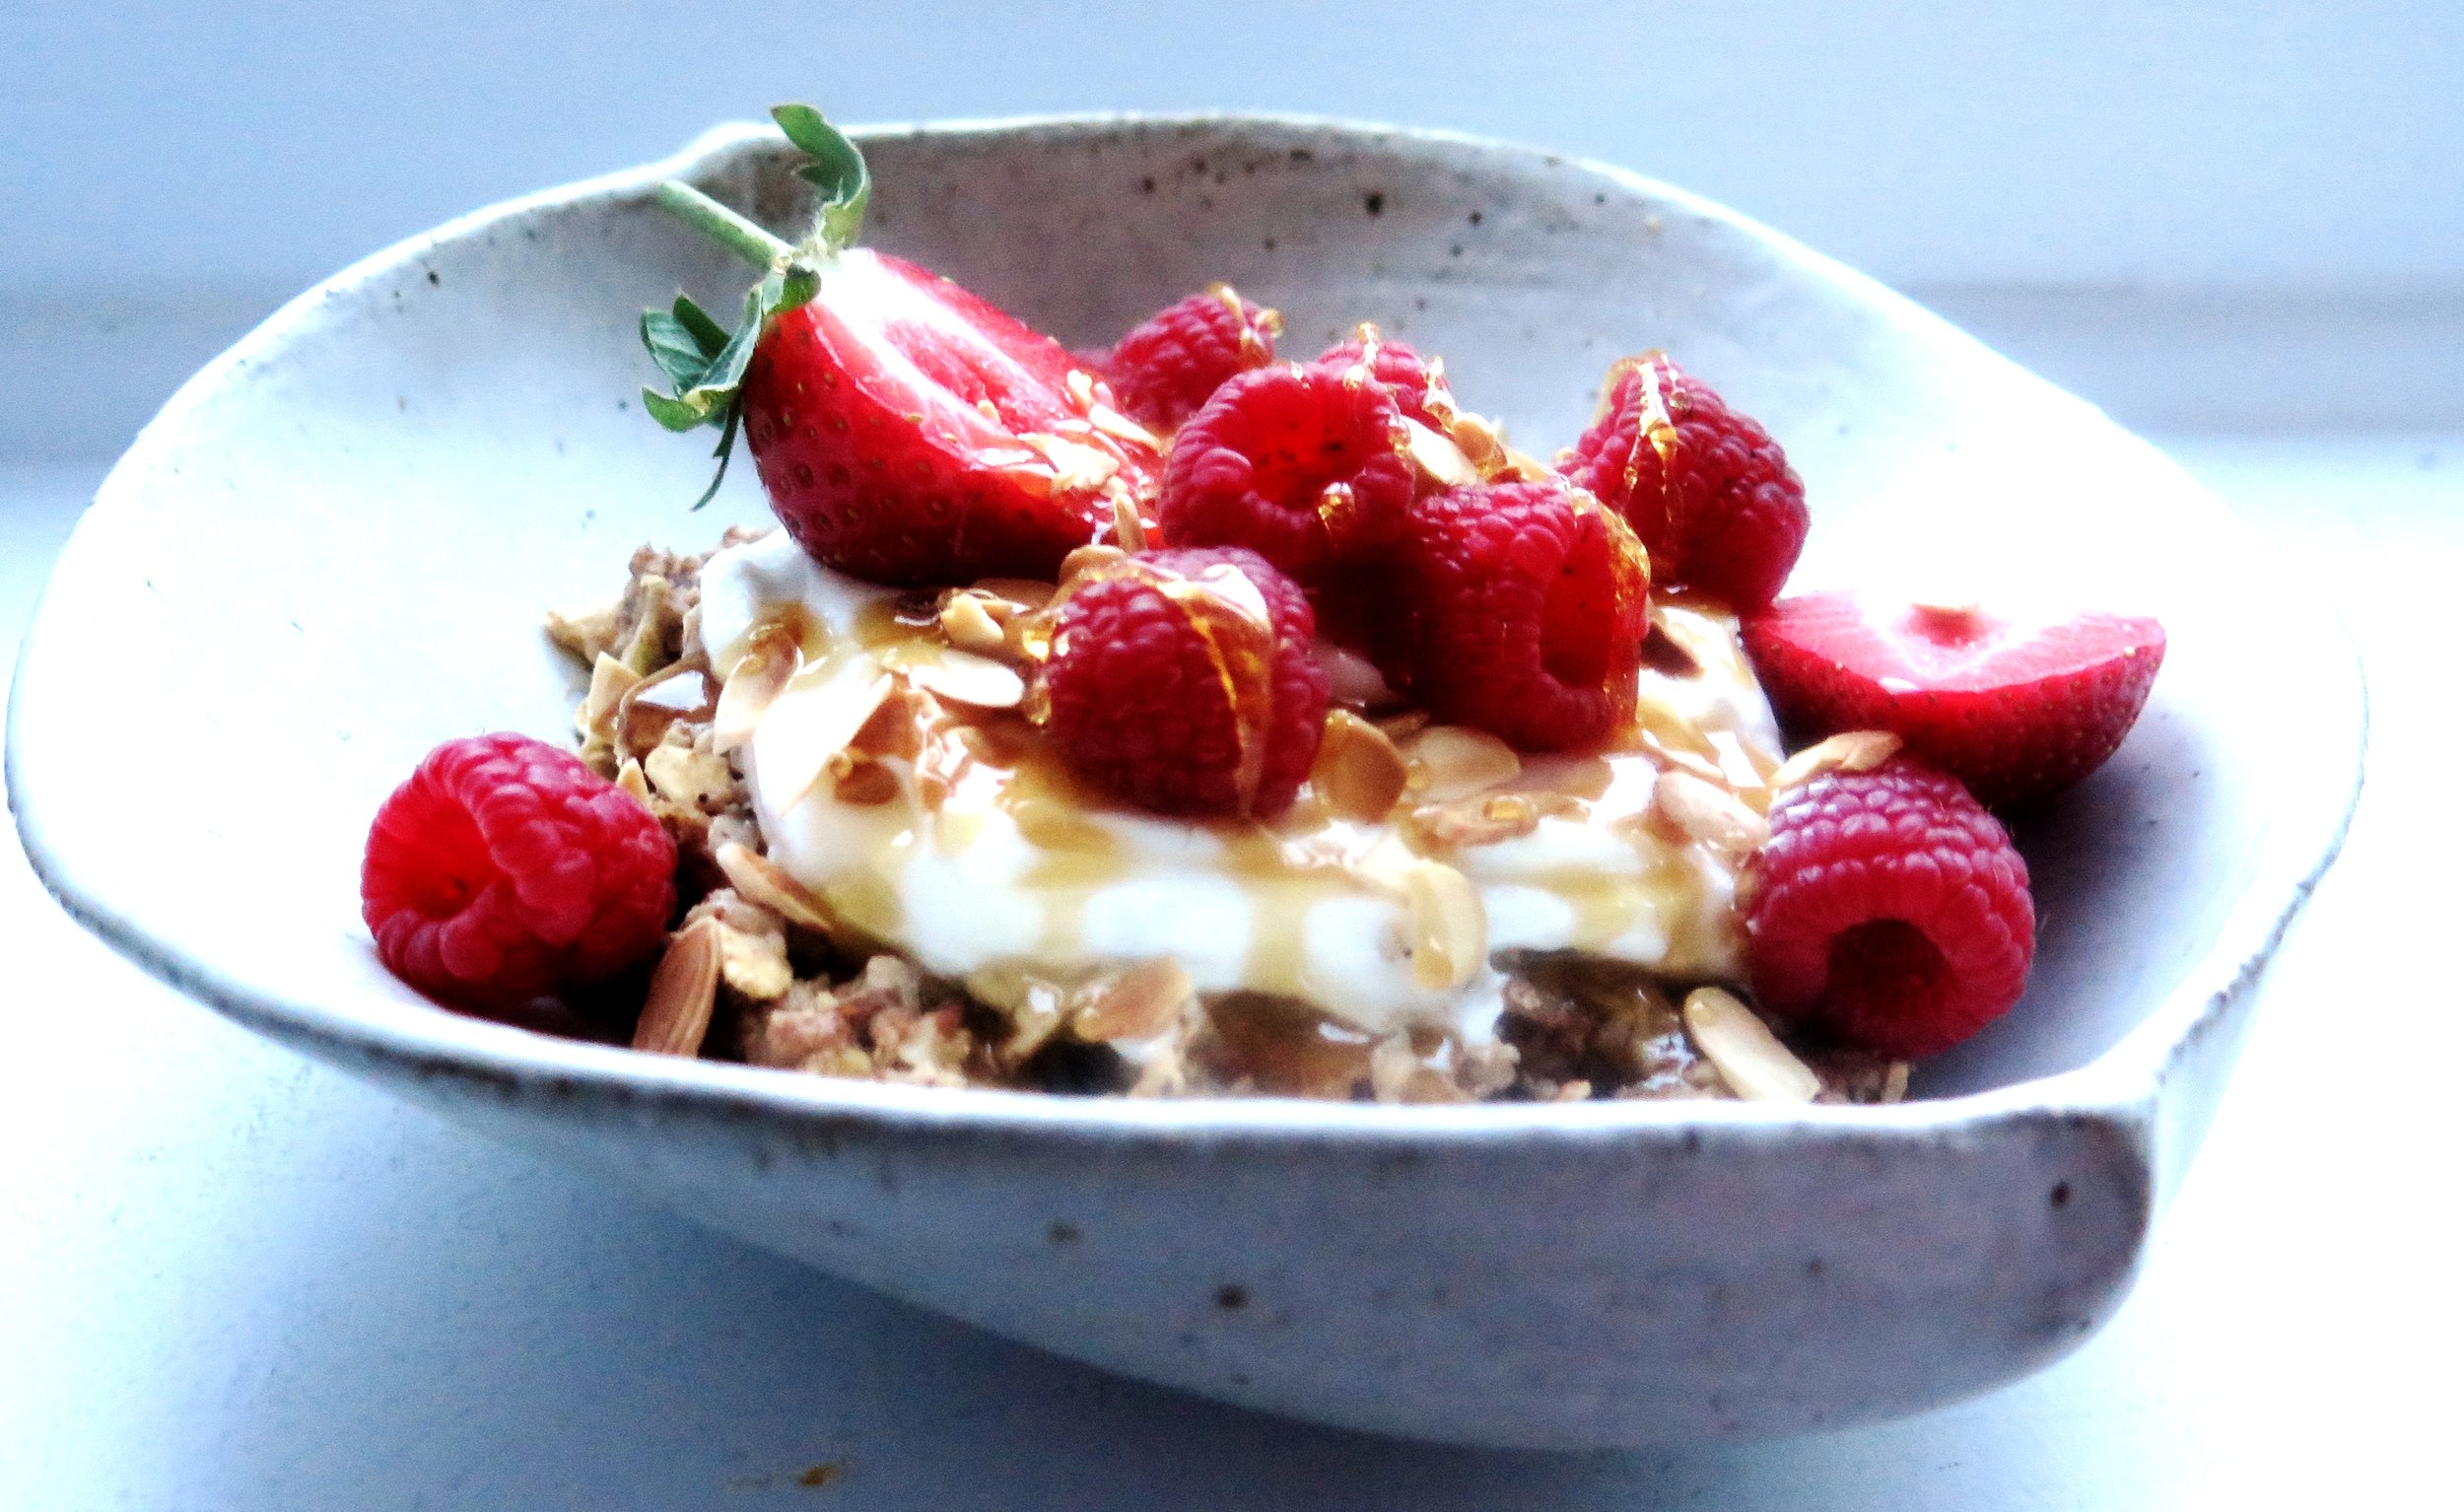
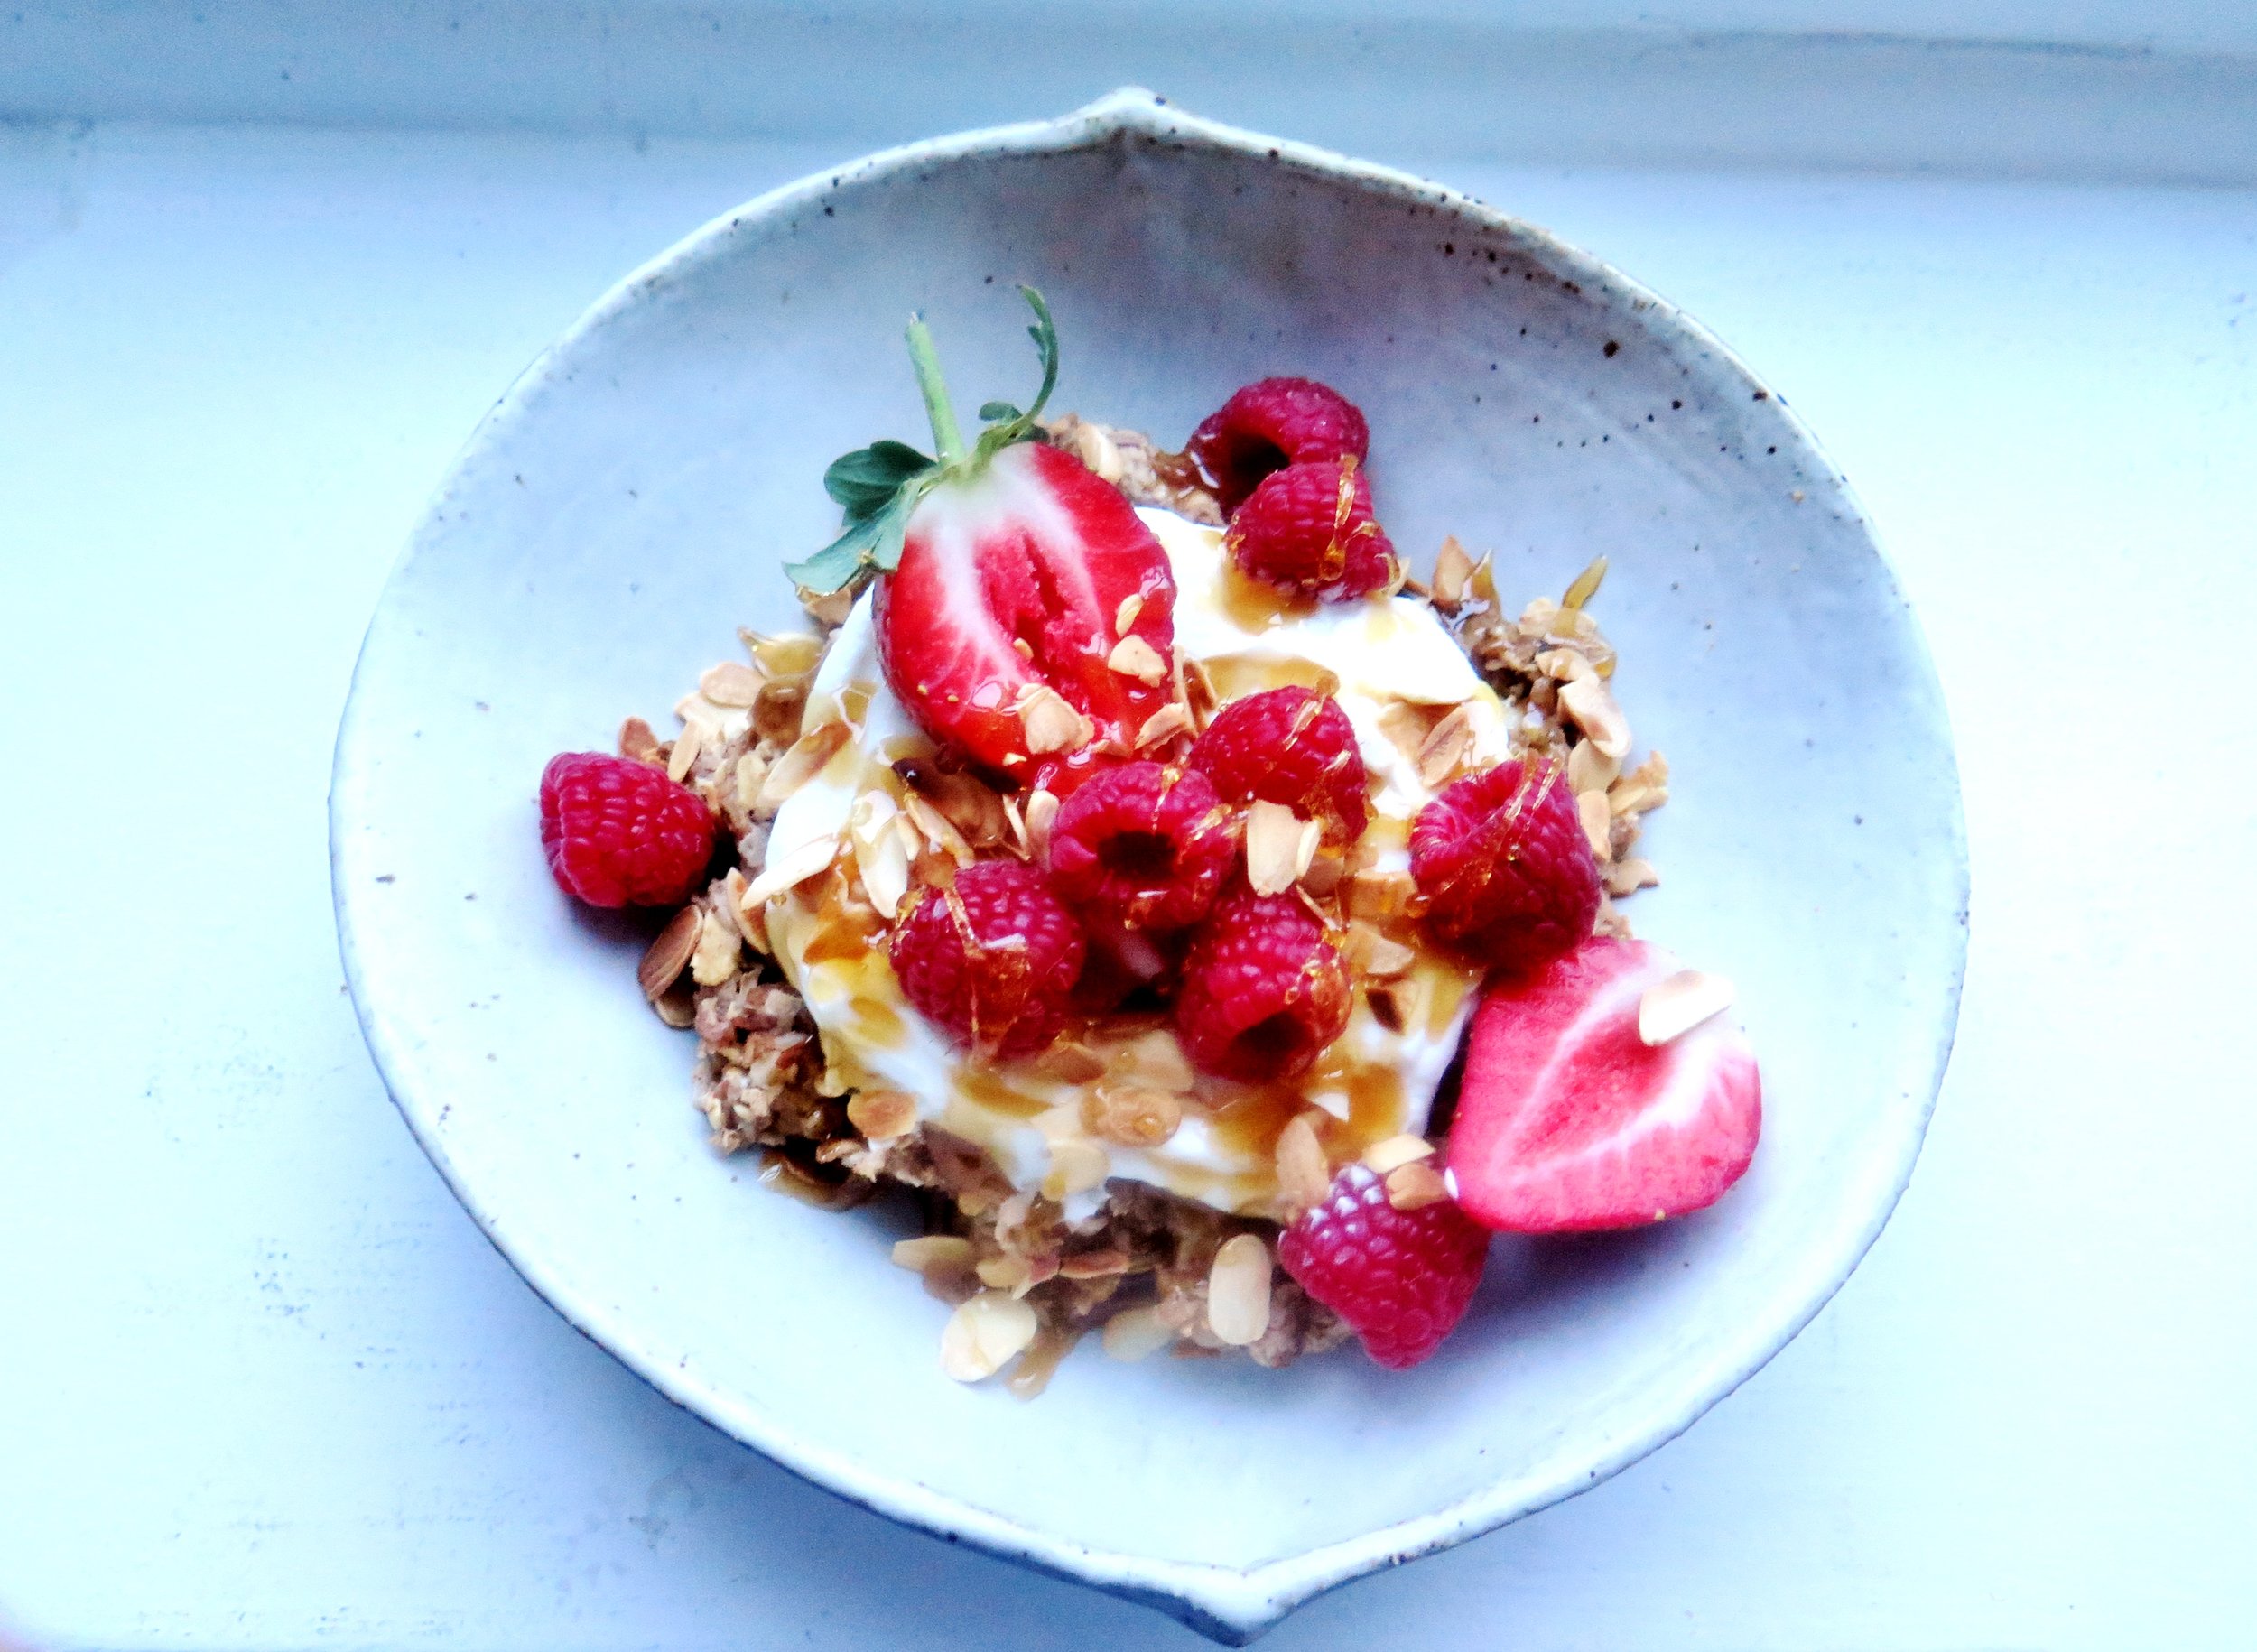
It was one of the only occasions when getting chummy with the chef didn’t reap any edible perks.  I did , however, manage to glean the recipe for the breakfast highlight of the week: Bircher muesli.  It traditionally has a fluid consistency and is made the night before to allow the oats to become plump with apple juice and yoghurt.   This one breaks all the rules but is more delicious, healthier and a hundred times more convenient – most people (excluding me) spare little thought for breakfast, let alone prepare for it the night before.

Vanilla Bean & Cinnamon Bircher Muesli (Dairy-free, Sugar-free, Gluten-free) - Recipe

This recipe is dairy-free and sugar-free simply because I think it’s delicious that way, but feel free to use dairy equivalents, and add some maple syrup if you’re that way inclined – it works equally well. It can also be made gluten-free  – just use the appropriate muesli brand.

Vanilla Bean & Cinnamon Bircher Muesli (Dairy-free, Sugar-free, Gluten-free) - Recipe


Ingredients (serves 2)

Muesli

2 cups sugar-free muesli

1 Braeburn apple, grated and sprinkled with 1 tsp lemon juice (this will prevent it oxidising and going brown)

¼ tsp vanilla bean paste

1 tsp cinnamon

¼ cup coconut yoghurt (or Greek yoghurt)

3 tbsp coconut milk (or dairy)

2 tbsp apple juice

(1 tbsp maple syrup – optional)


Topping

¼ cup coconut yoghurt

100g raspberries

A handful of strawberries

2 tbsp flaked almonds, toasted in a dry pan over a medium heat for a few minutes until pale brown


 Method

  1. Stir together all topping ingredients. It should be of a thick consistency but feel free to add another splash of coconut milk if you prefer.  Leave for 10 minutes to allow the muesli to absorb the flavours.
  2. Top with yoghurt, and scatter with berries and flaked almonds. Drizzle with maple syrup if you like.


Vanilla Bean & Cinnamon Bircher Muesli (Dairy-free, Sugar-free, Gluten-free) - Recipe

Comment

Carb-free, Sugar-free, Gluten-free Fruit & Seed Bars

7 Comments

Carb-free, Sugar-free, Gluten-free Fruit & Seed Bars

gluten-free.png

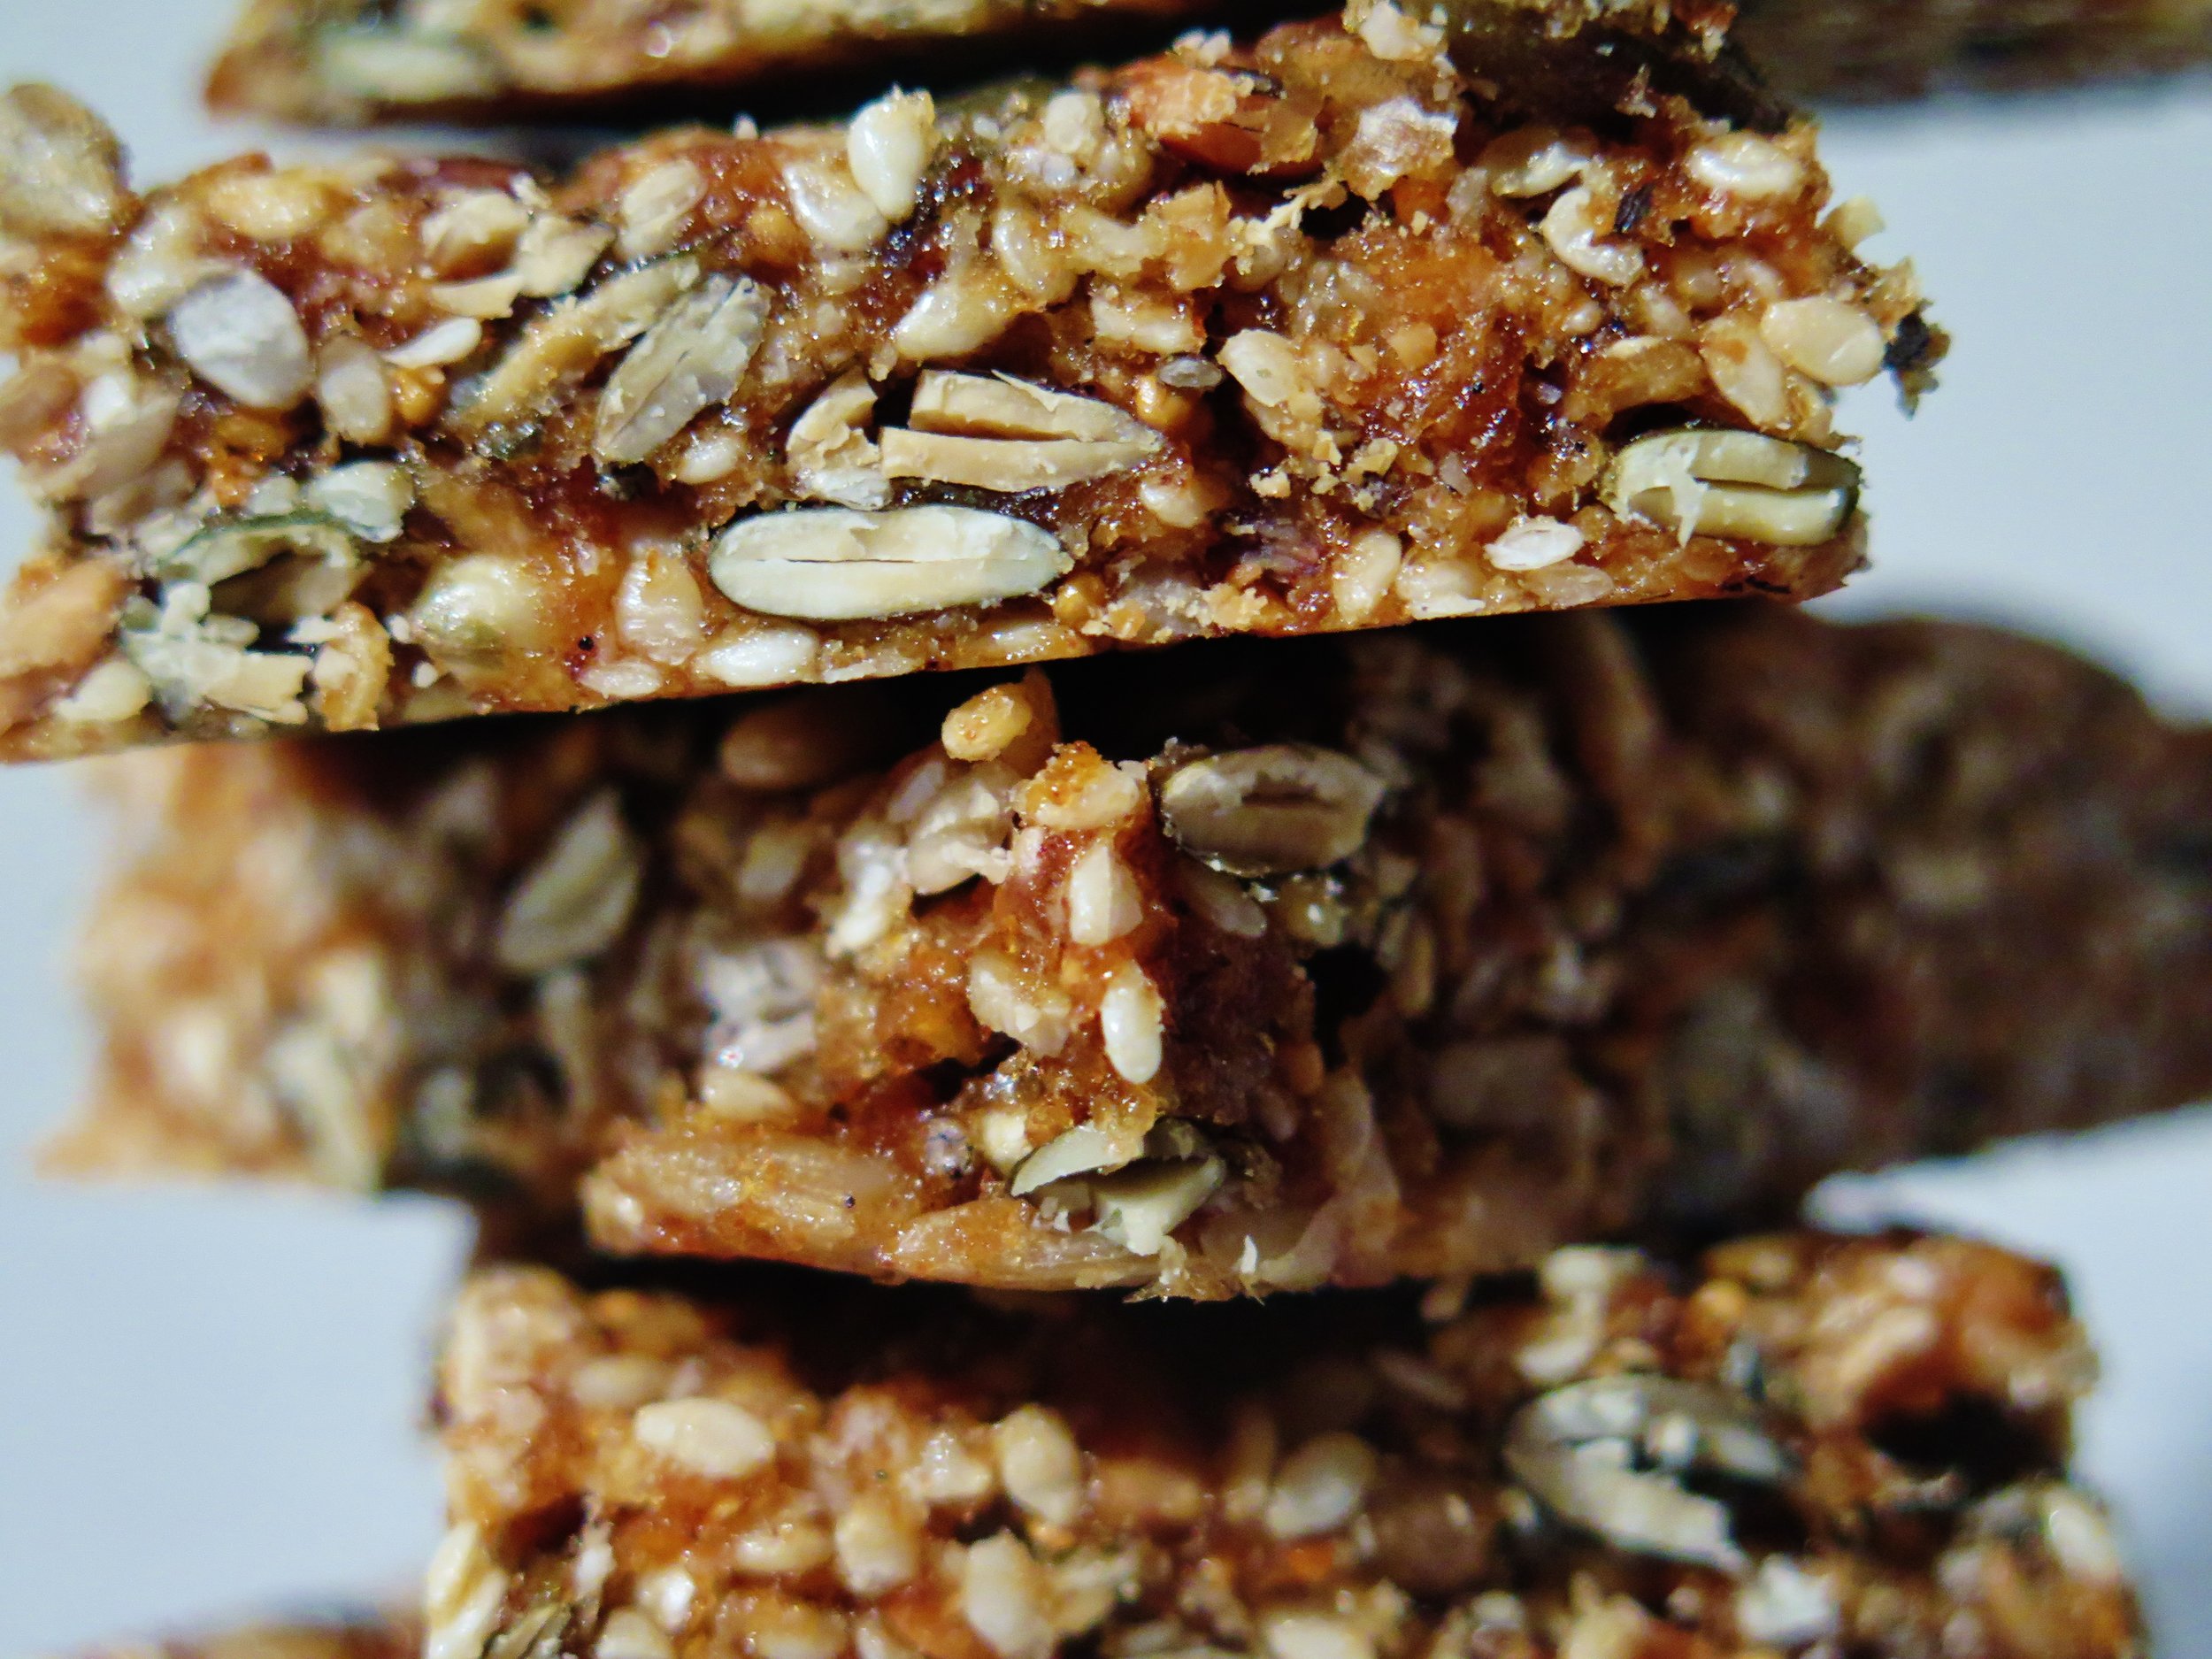
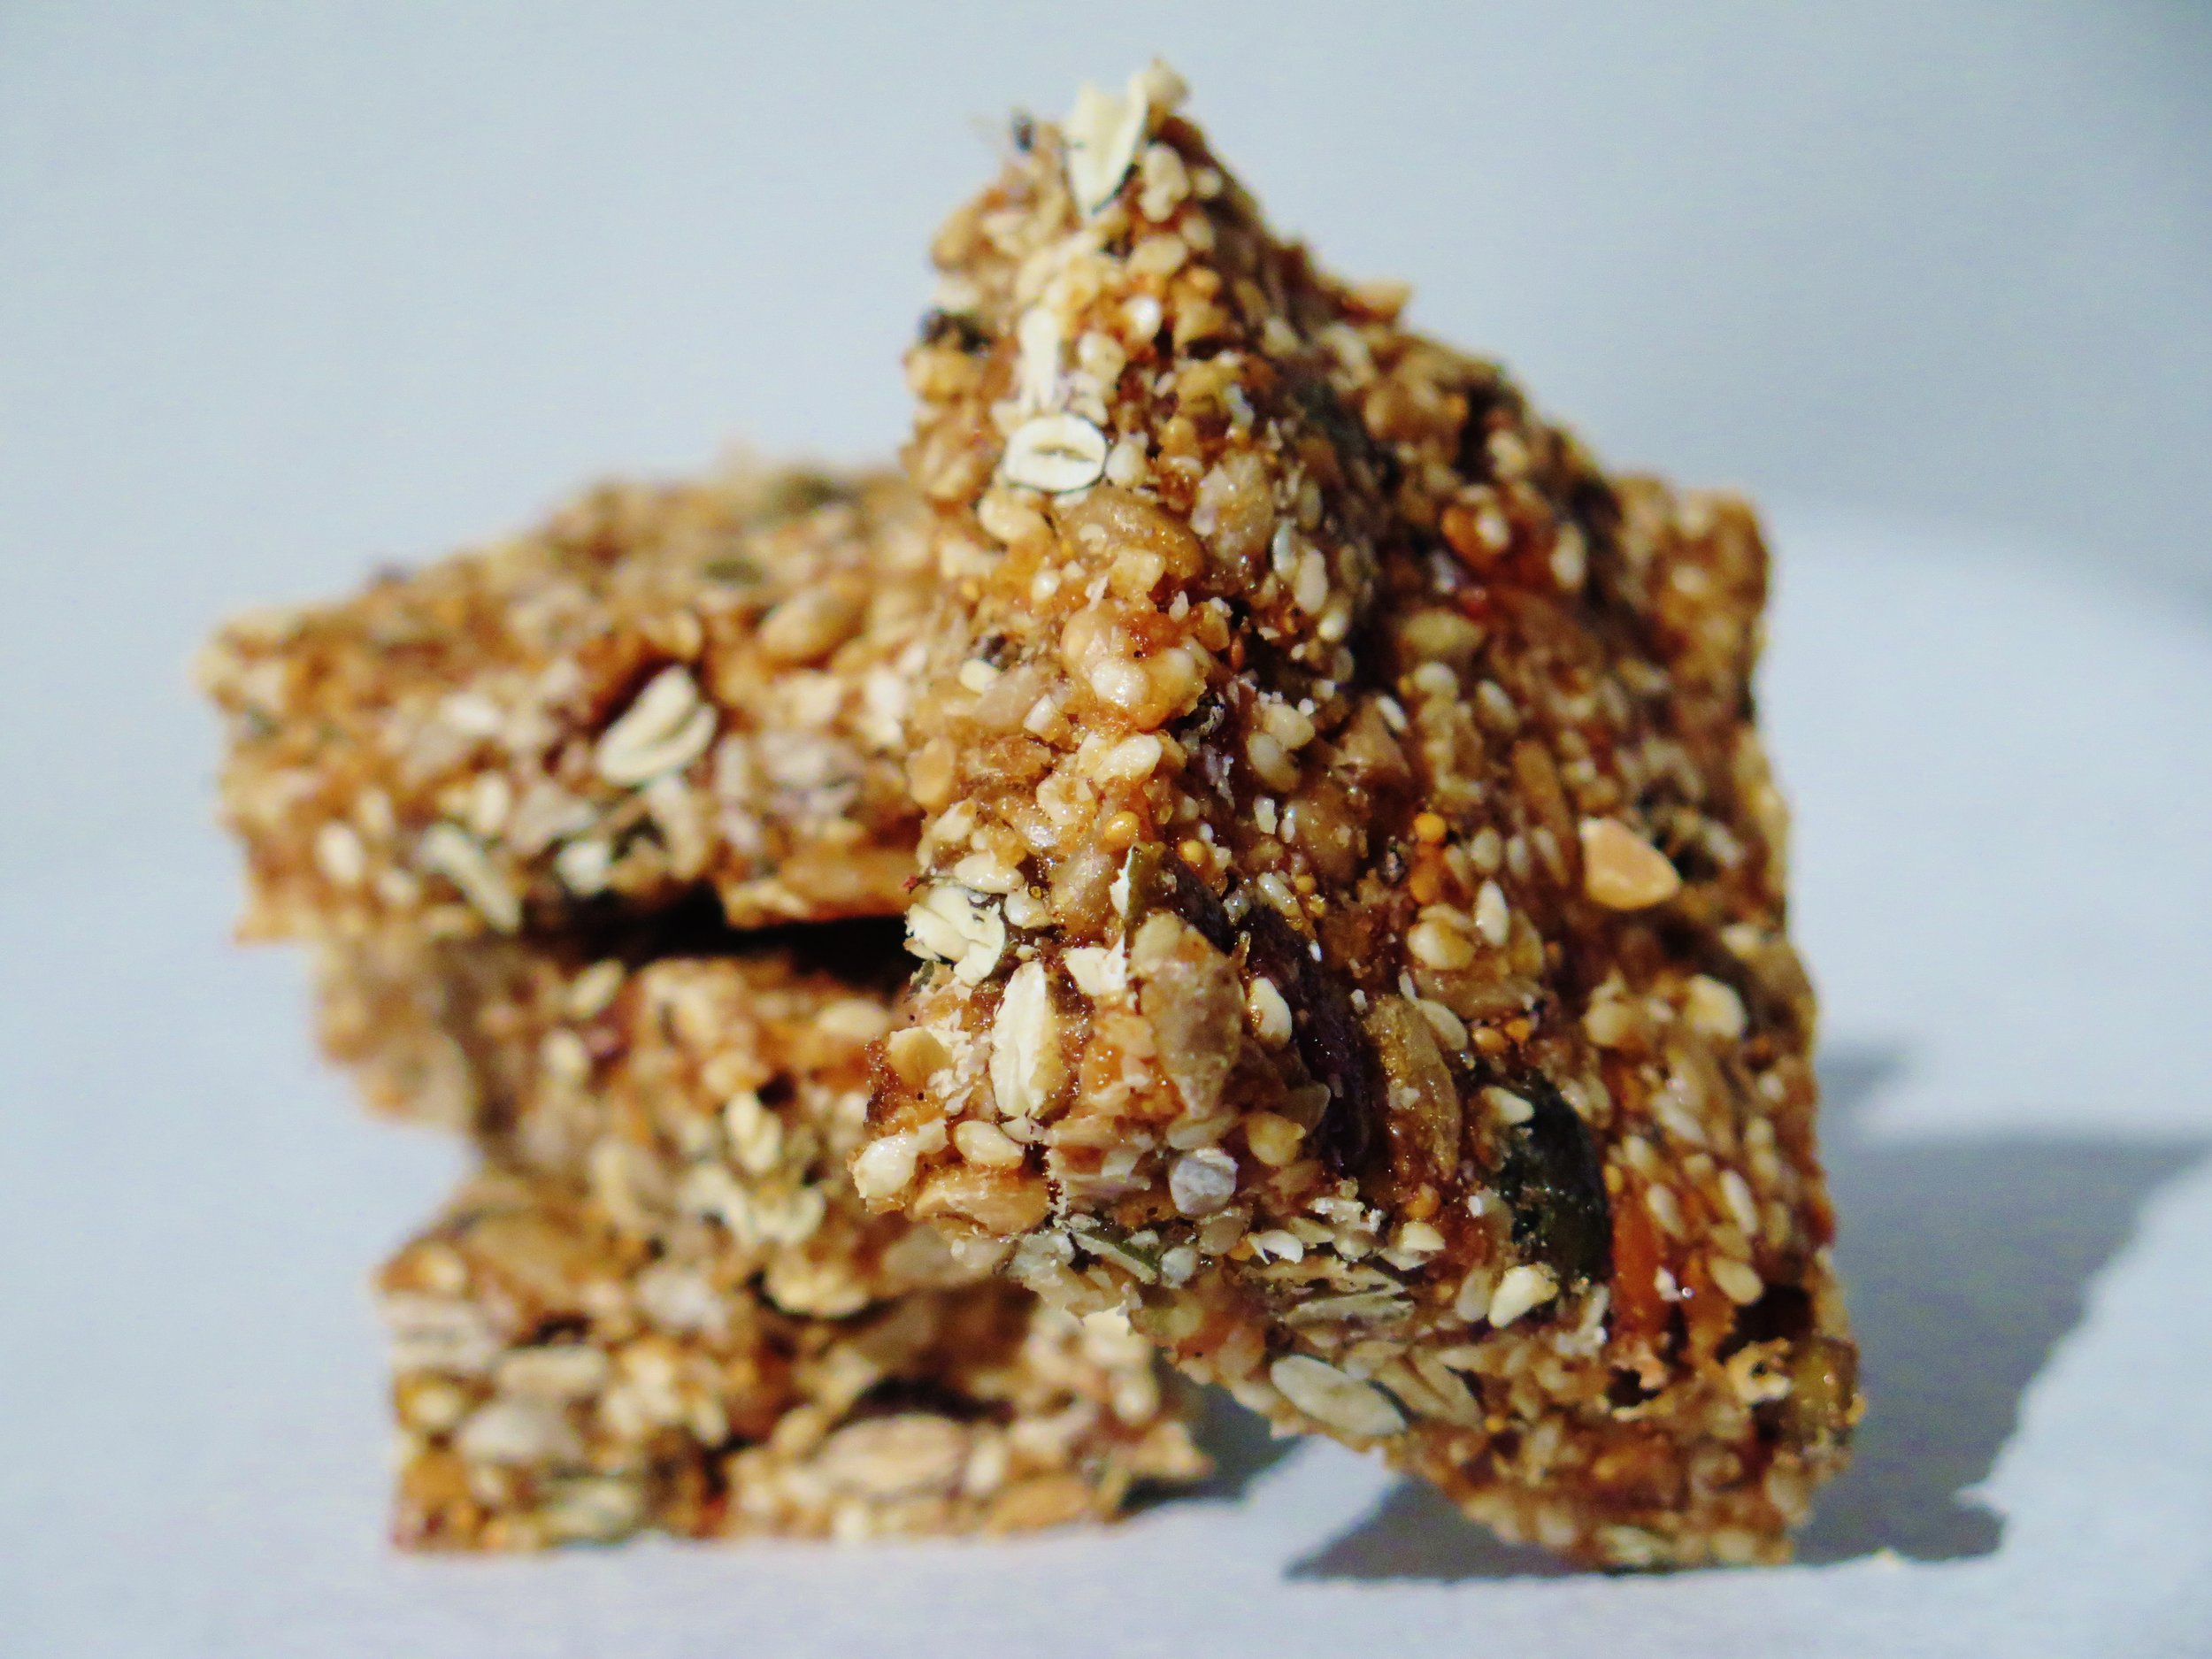
Carb-free, Sugar-free, Gluten-free  Fruit & Seed Bars When you get the 4 o’clock slump, moderation is at an all-time low and chocolate bars are winking at you, reach for one of these carb-free, sugar-free, gluten-free fruit & seed bars instead.  They are high in protein, vitamin rich, low GI, ridiculously easy to make (no baking), yet despite their virtuousness, they are irresistibly delicious.

Carb-free, Sugar-free, Gluten-free  Fruit & Seed Bars

Carb-free, Sugar-free, Gluten-free  Fruit & Seed Bars

Carb-free, Sugar-free, Gluten-free  Fruit & Seed Bars


Ingredients

500g mixed seeds (I use pumpkin, sunflower, sesame)

40g ground almonds (optional)

3 tbsp chia seeds (optional)

3 tsp vanilla bean paste (use vanilla extract if not available)

200g medjool dates

200g dried figs

Pinch of salt

20x25cm baking tray, greased


Makes about 30, depending on size

Method

  1. Pre-heat the oven to 180˚C.
  2. Spread out the mixed seeds on a large baking tray (not the pre-greased one) and place in centre of oven to toast for 5 minutes until they are beginning to turn golden. To achieve the same result without an oven, toast them in frying pan over a medium heat and stir continuously for about 5 minutes.
  3. Blend together figs, dates, vanilla bean paste and salt until they turn to a smooth paste.
  4. In a large bowl mix together toasted mixed seeds, ground almonds, chia seeds and the fig-date paste until thoroughly combined.
  5. Press the mixture into the pre-greased baking tray and slice into bars of desired size.
  6. Wrap the tray with clingfilm and place in freezer for at least an hour, or leave overnight in fridge to set. The bars will last for several weeks.

7 Comments

Beware Gluten-free + Recipe for Moroccan Style Chickpea Salad

3 Comments

Beware Gluten-free + Recipe for Moroccan Style Chickpea Salad

IMG_65821.jpg
IMG_65821.jpg
Moroccan Chickpea Salad

Yesterday, with cupboards almost bare, I resorted to the very strange assortment of ingredients remaining & concocted this salad.  It's low GI, wholesome, healthy, super quick to make, involves minimal cooking and is addictively flavoursome.

Moroccan Chickpea Salad

Ingredients

250g halloumi cheese cut into 1 cm cubes

1 tbsp. olive oil

400g chickpeas, drained

1 red onion, finely sliced

50g drained, sundried tomatoes, cut into narrow strips

150g cherry tomatoes, halved

40g fresh coriander, including stalks, finely chopped, plus a few sprigs extra for garnish

½ green chilli, finely sliced (optional)

Dressing

3 tbsp. lemon juice

2 tbsp. harissa

3 tsp. sundried tomato paste

2 cloves garlic, crushed

Freshly ground black pepper

Method

  1. Fry the cubes of halloumi in the olive oil until they are golden brown.
  2. Combine all the salad ingredients apart from the dressing, the chilli (if using), and the extra coriander for garnish.
  3. Mix the dressing ingredients until well combined.
  4. Shortly before serving the salad, mix the salad with the dressing, and sprinkle with the coriander and chilli.

(Serves 4 as an accompaniment)

BEWARE GLUTEN-FREE!

1 in 100 people in UK is coeliac .  1 in 20 people in UK is diabetic (http://www.diabetes.org.uk/Documents/Reports/Diabetes-in-the-UK-2012.pdf).

According to the Telegraph, 1 in 5 people is buying gluten-free products, but only 5% of these are buying the products due to coeliac disease.  The most common reasons for a non-coeliac buying the gluten-free products are listed as: “digestive health”, “nutritional value” and “to help me lose weight”.  These consumers are misguided. Everyone who can is cynically taking advantage by jumping aboard the gluten-free bandwagon: the British gluten-free market is worth £238 million annually (Food Standards Agency) and grew by more than 15 per cent last year. In the US, it is worth around $2.6 billion, a growth of 36 per cent since 2006, with predictions that it may double in size in the next two years.

It’s great that the gluten-free options are increasing for those who have coeliac disease, but the products that are tailored specifically to exclude gluten (bread, biscuits, pastas etc.) and targeted at non-coeliac sufferers are actually detrimental to one’s health.

Gluten-free does not mean that a product is ‘virtuous’ or in any way superior to its glutenous counterpart.

Unless you are coeliac, your body needs the vitamin B, iron and folates that are in gluten-containing grains such as barley, spelt and kamut. That is not to say that these should be had in excess, but they should not be entirely avoided.

Gluten-free products which have been made to substitute for the real bread, pasta, biscuits etc. may be worse for you than what they purport to replace: in order to imitate the gluten contained in their counterparts, the products have to be messed around with a lot more, often resulting in a significantly higher level of fat than their “normal” equivalents. For example, the gluten in bread allows it to maintain its shape and softness; to achieve the gluten-free equivalent, manufacturers often use additives like xanthan gum and hydroxypropyl methyl cellulose or corn starch. In addition, extra sugar and fat are often also added to make products more flavoursome.

It is not just the shops that are propagating the gluten-free message, taking advantage of people’s ignorance, but food bloggers and recipe websites are doing it too. The internet is saturated with gluten-free recipes, and more and more cooks are incorporating gluten-free recipes into their books.  Clearly, not a bad thing for coeliac sufferers.  There is, however, no transparency.  The breads that are made in imitation of the glutenous equivalent use a combination of flours.  For example, the Doves Farm’s gluten-free brown flour, with muted-tone, paper bag packaging promoting a wholesome brand image – consists of potato, rice, tapioca buckwheat, carob, sugar beet fibre, and xanthan gum.  Doesn’t sound too bad, you might think.  In fact, these combined ingredients create a product much higher on the Glycaemic Index (GI) than white flour.  The GI is not a fad diet but a measure of the rise in a person's blood sugar level following consumption of a carbohydrate.  The NHS recommends diabetics to have a low GI diet as low GI foods break down more slowly and are less likely to cause a rapid increase in blood sugar levels in contrast with high GI foods.  A low GI lifestyle is not solely beneficial for diabetics but for everyone.    Carbohydrates with high GI cause glucose and insulin levels to surge.  The body releases the hormone insulin to regulate blood sugar levels. If sugar is not quickly used for energy, insulin removes it from the blood, and it is then converted into triglycerides in the liver. These triglycerides can then be stored as body fat.  Standard white bread has a high GI of 71 on average.  Gluten-free white bread has a higher GI of 79.  Clearly, GI isn’t always a measure of other benefits that are derived from a product, but the fact that shops, companies, bakeries and bloggers are promoting gluten-free products as a virtuous substitute is deeply misleading – they are, in fact, pushing a product that spikes the levels of glucose in a consumer’s blood, causing fat gain, aiding the onset of obesity and type 2 diabetes.

So the question is why is “low GI” not trending? Why is #glutenfree posted on almost 3,000,000 photos on Instagram, and #lowGI only 18,000? Gluten-free products are not necessarily beneficial for your health. Surely there should be greater focus on the GI factor as well as greater transparency in relation to gluten-free products.

3 Comments