Viewing entries in
Sweet

Citrus syrup-soaked cake

5 Comments

Citrus syrup-soaked cake

orangecake2-3.jpg

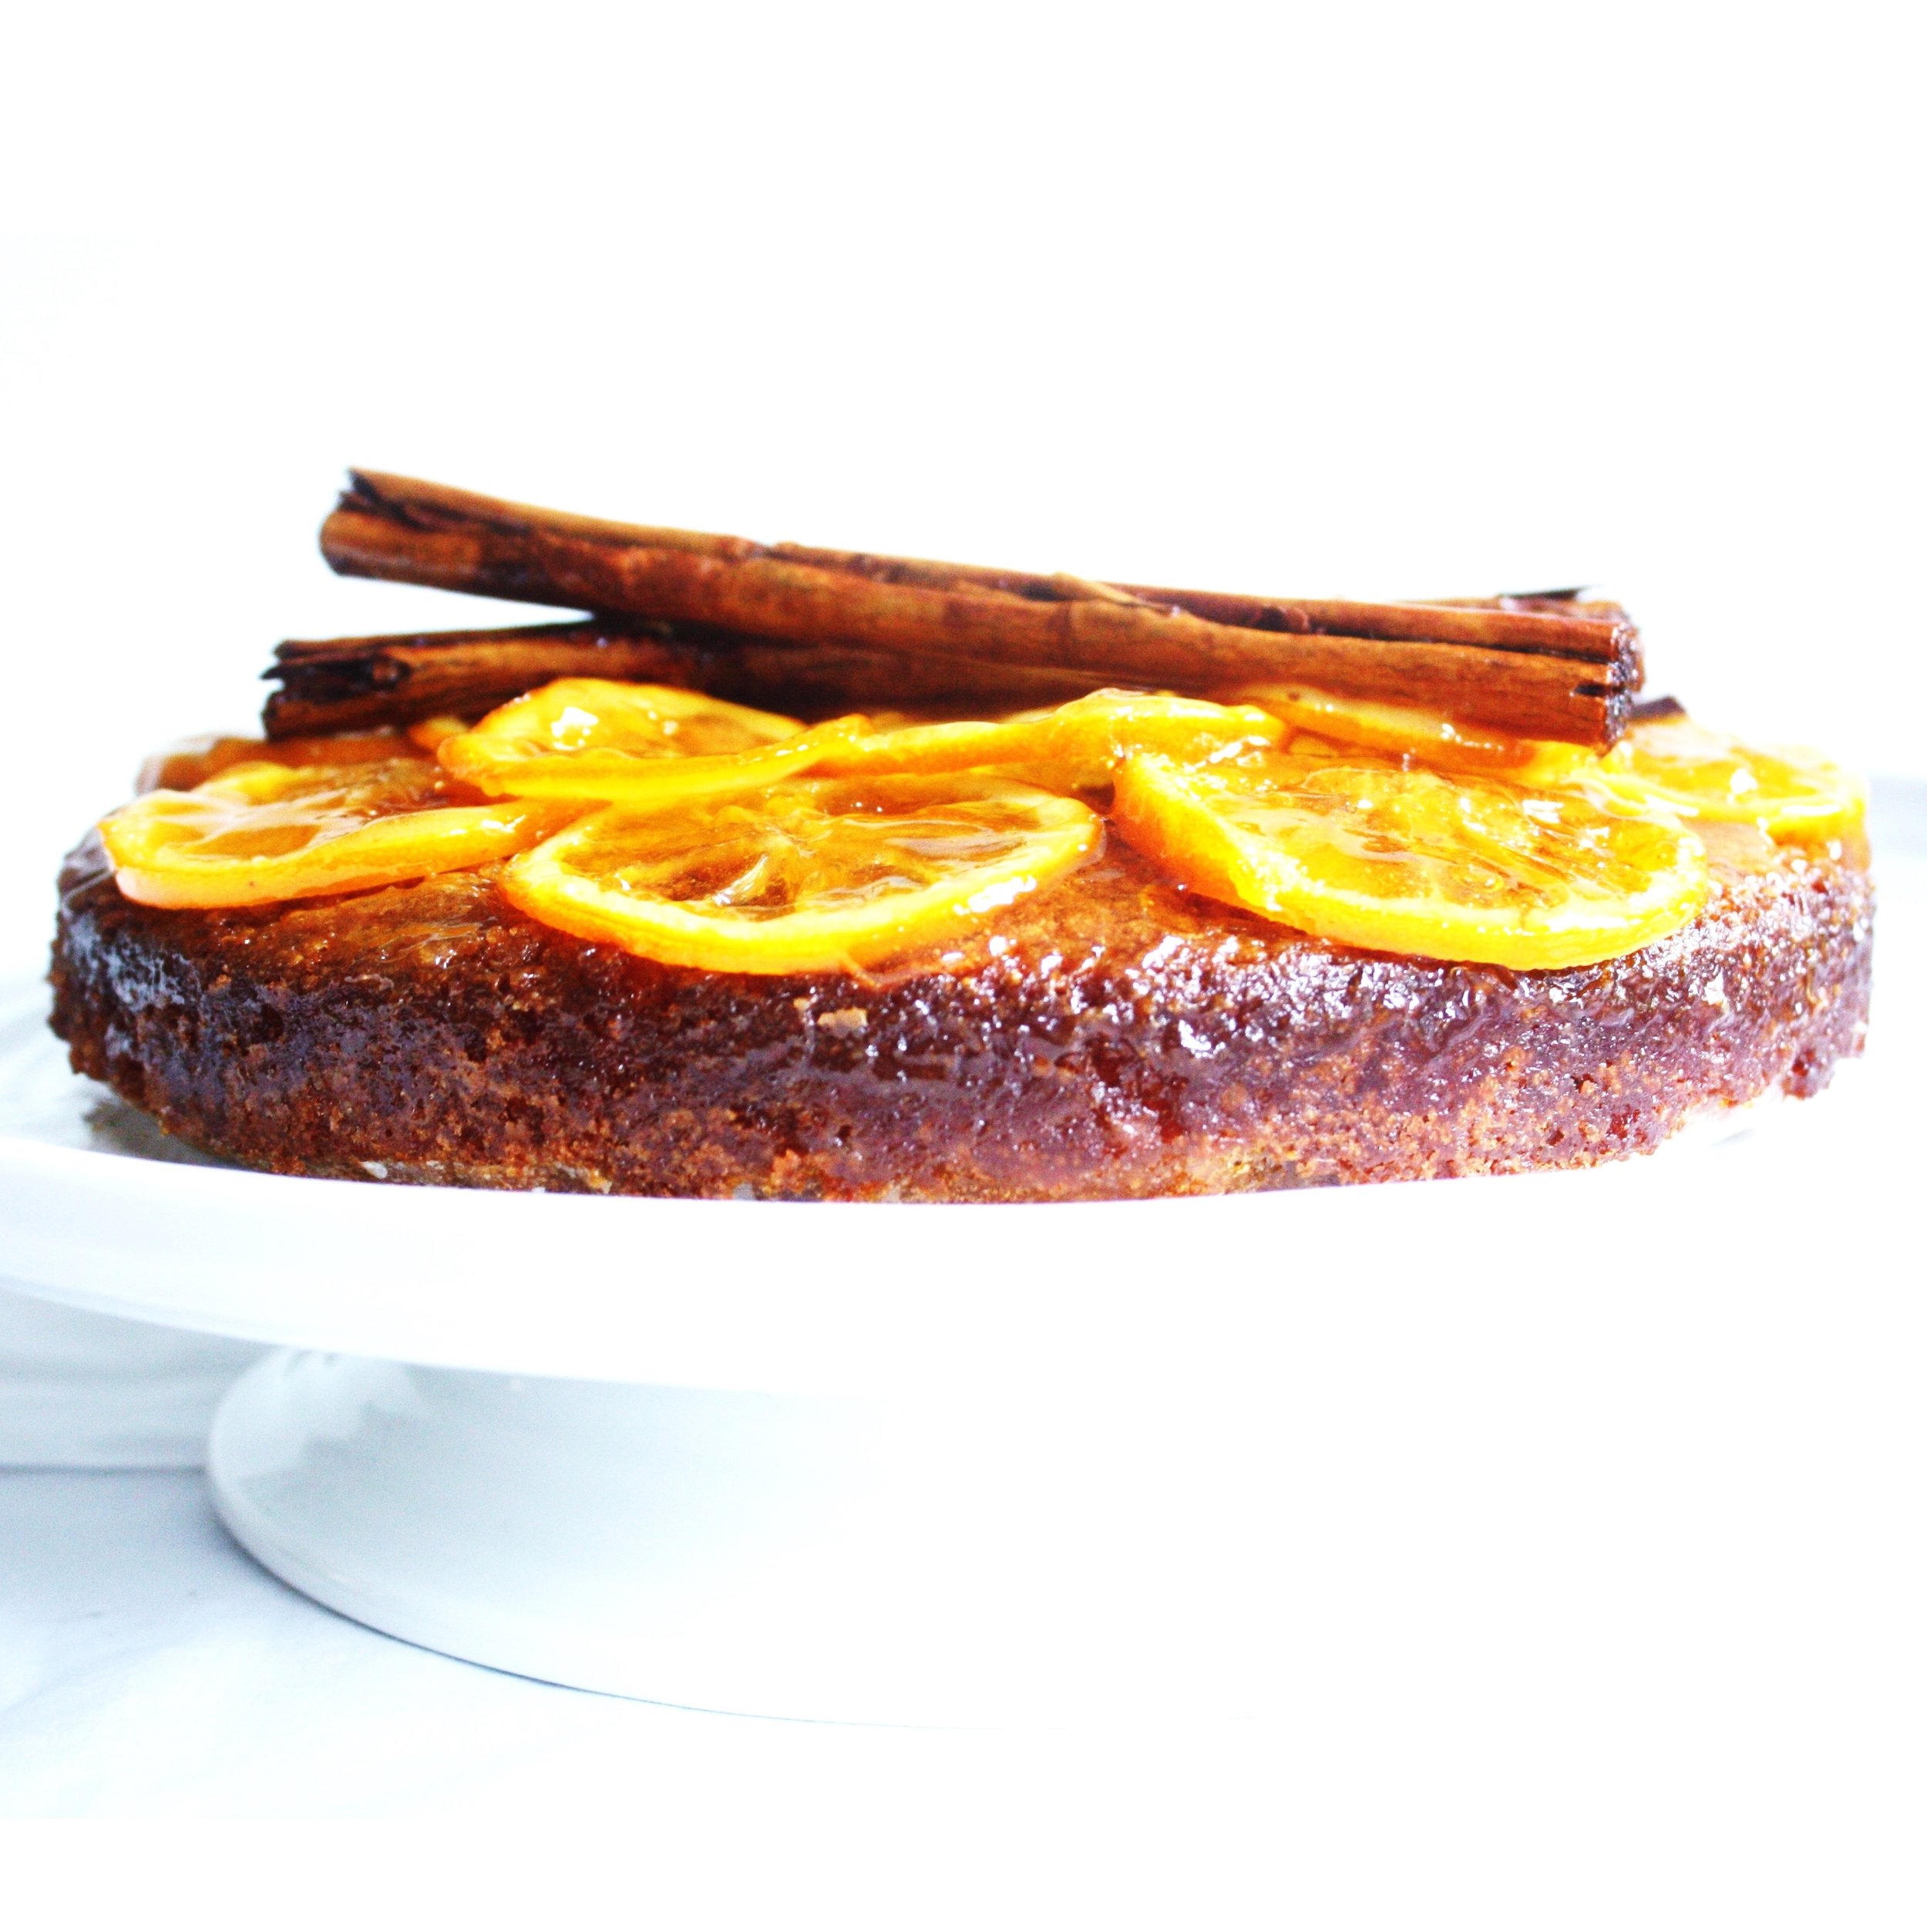
IMG_3830 This citrus syrup soaked almond cake takes me back to the Jemaa el-Fnaa, the central square of Marrakesh: the teeth pullers ready to pounce with their pliers, the snake charmers forcing a writhing snake scarf on your neck, and amongst this the orange juice vendors lined up, the citrus scents suffusing the air…


orangecake2 (3)

Incredibly easy and quick to make, this cake will last for several weeks if kept in a sealed container.

It can be made gluten free simply by using gluten-free bread crumbs.

IMG_3251


The candied orange topping is optional.


Ingredients


Cake

50g stale/toasted white bread crumbs (gluten free can be used)

175g caster sugar

100g ground almonds

1 ½ tsp baking powder

200ml vegetable oil

4 eggs

Finely grated zest of 3 medium /2 large unwaxed oranges

Finely grated zest of 2 unwaxed lemons

1 tsp cinnamon (optional)

½ tsp vanilla extract

¼ tsp salt


Citrus syrup

Juice of 2 oranges

Juice of 1 ½ lemons

75g sugar

6 cloves

1 cinnamon stick


Optional Candied Orange

1 cup water

½  cup caster sugar

2 small unwaxed oranges sliced across the diameter 2mm thick


20cm diameter tin, lined with baking parchment


Method

Cake

  1. In a large bowl whisk together oil, eggs and orange and lemon zest until combined.


  1. In a separate large bowl mix all dry ingredients together.


  1. Pour wet mixture into dry and stir until combined. Pour into lined tin and place in cold oven & turn heat to 180˚C.


  1. Bake for 40-50 minutes or until skewer comes out clean.


Citrus syrup

  1. While cake is cooking pour all ingredients into pan & place on medium high heat. Stir until sugar has dissolved then let it simmer for 4 minutes until it has reduced slightly to a thin, non-viscose syrup.


  1. As soon as the cake is removed the oven stab it all-over with a skewer , don’t hold back. Pour the syrup over.  It may initially look like it’s drowning, but it will rapidly be absorbed.


  1. Serve when cool.


Optional candied orange layer

  1. In a large frying pan stir together sugar and water until sugar has dissolved.


  1. simmer for 3 minutes then add orange slices. Don’t worry if they overlap.


  1. Simmer on medium-low heat for 15 minutes, or until the skin of the orange is translucent.


  1. Arrange as desired.


IMG_3844


(recipe influenced by Sophie Grigson)


5 Comments

Raspberry dusted white chocolate coated salted caramel truffles

12 Comments

Raspberry dusted white chocolate coated salted caramel truffles

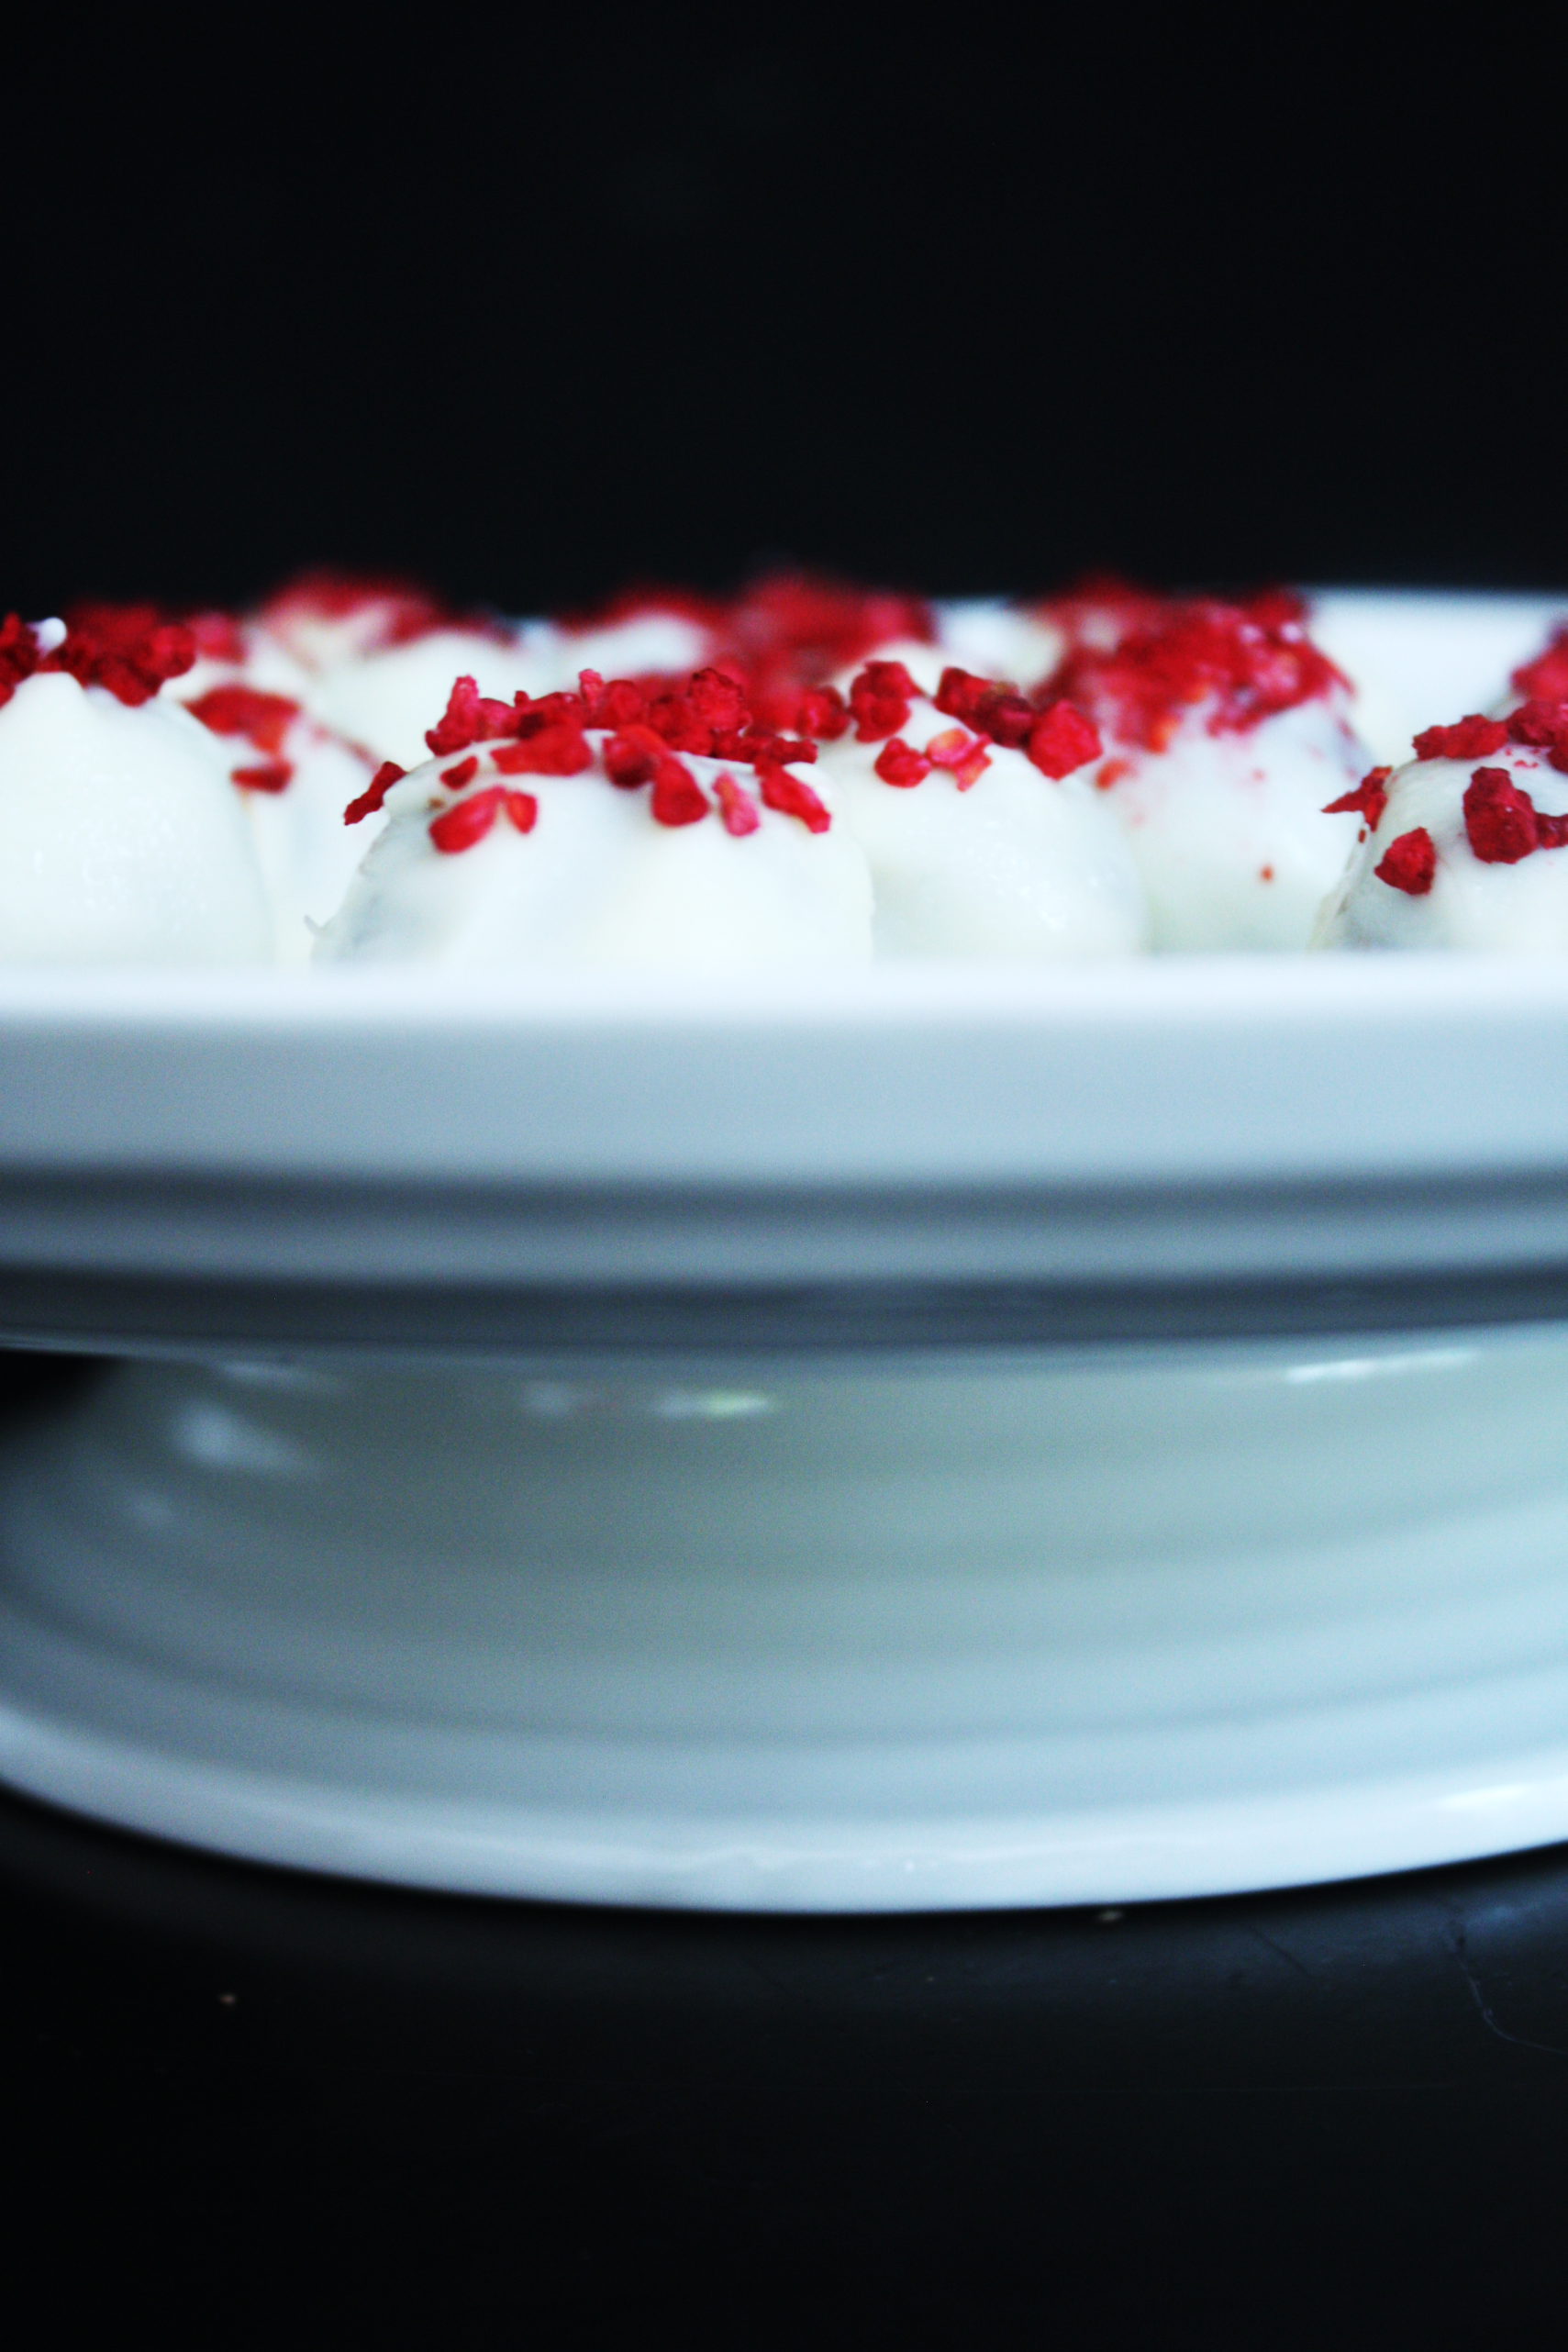
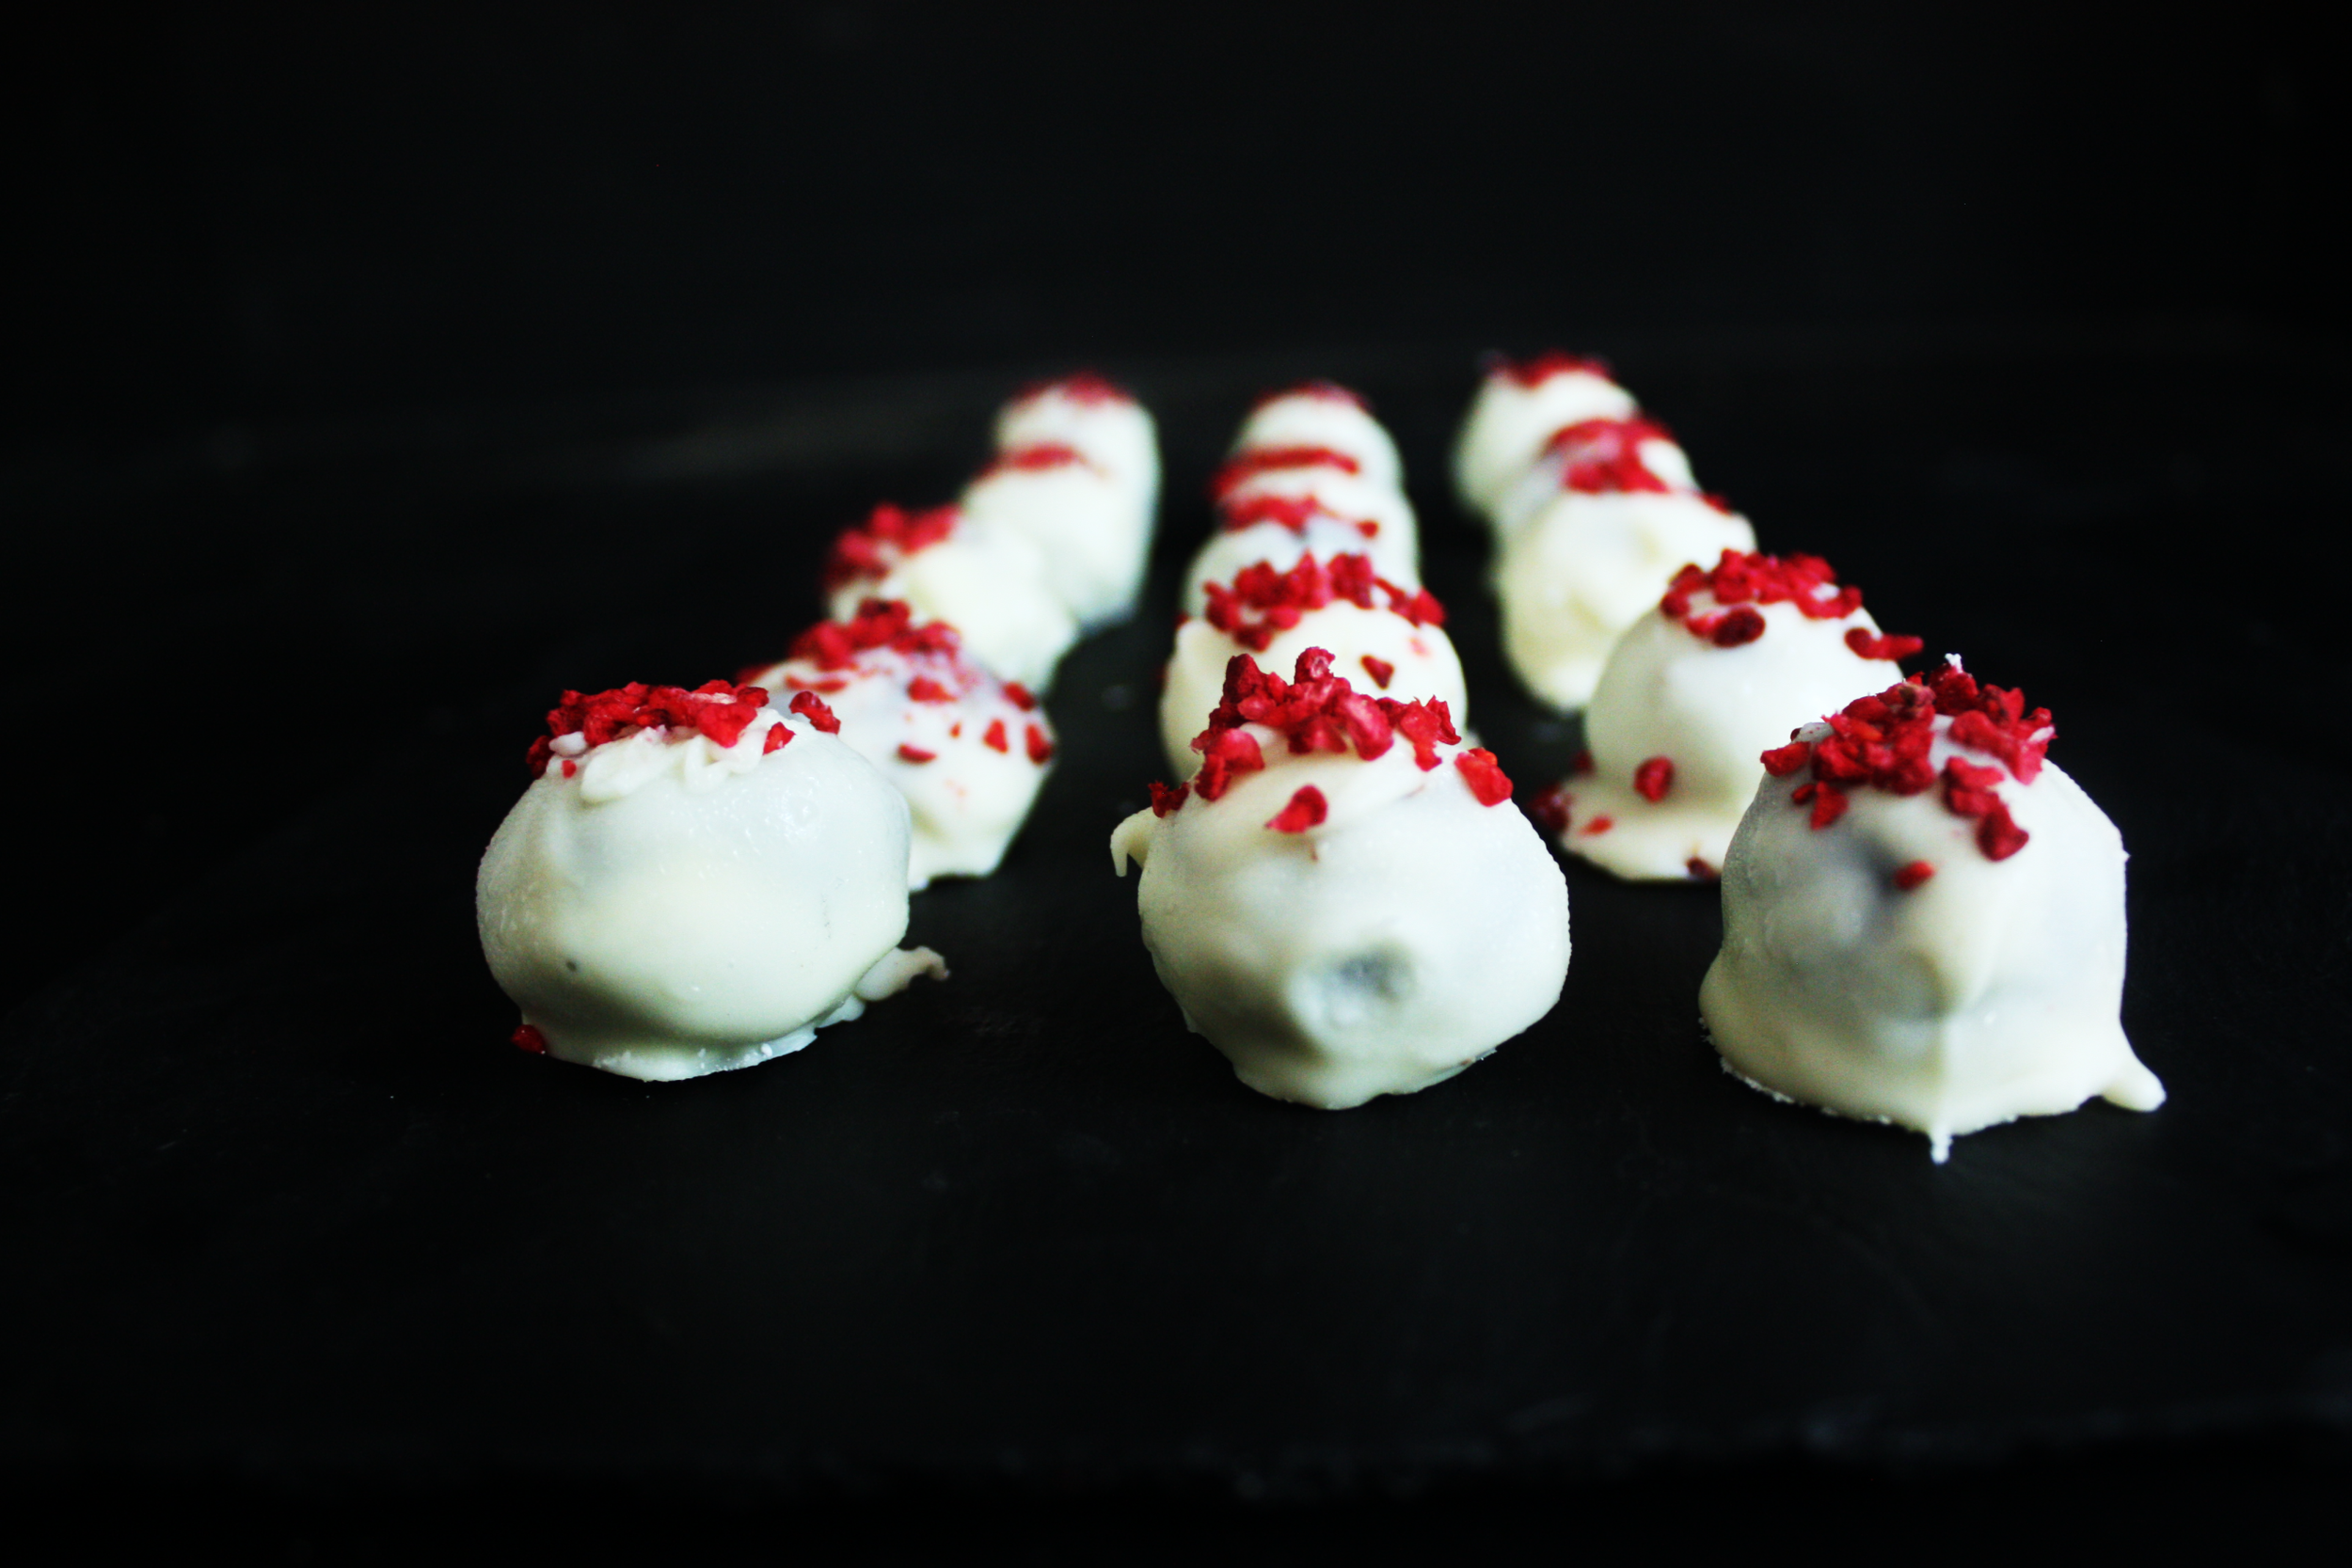
truffles5 Last weekend Culina was trumpeted into existence…literally, with an evening of jazz, ever-flowing champagne, canapés, desserts & petit fours. It was a wonderful evening of abundance and great company.

truffles2

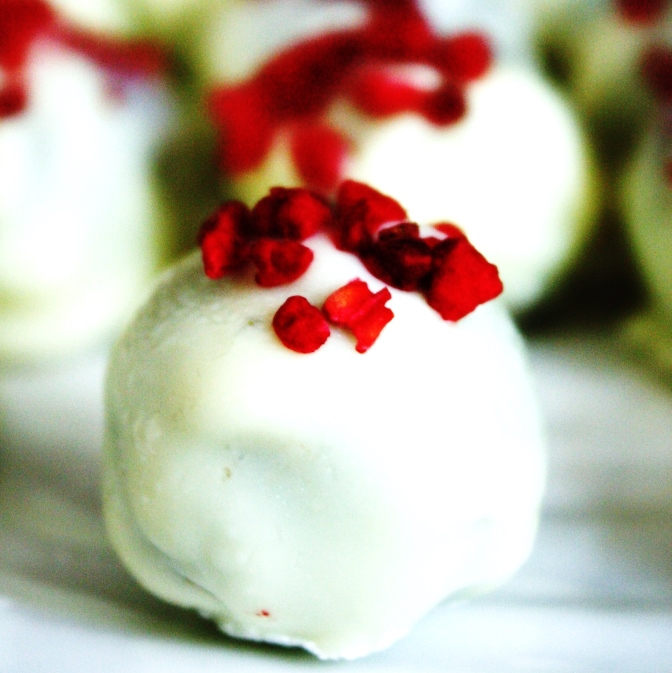
I had dedicated every evening of the previous week to “truffling” yet all 300 of the white chocolate coated salted caramel truffles disappeared without a trace. Salting caramel has become almost a cliché but there is definitely a reason for that combo: the salt balances the sickly sweetness of the caramel, making the truffles even more moreish.


If you’re short of time, you need not dip the truffles into the white chocolate. Instead, after rolling them into spheres, roll them in cocoa powder, chill in the fridge and serve.

truffles6-682x1024 (2)

truffles4


Ingredients 300g 70% good quality dark chocolate

300g caster sugar

300ml double cream

20g light brown muscovado sugar

20g butter

1tspn vanilla extract

1 tspn salt

450g good quality white chocolate

5 g freeze dried raspberries, crushed or powdered (optional)

100g icing sugar (or 100g cocoa powder if not coating with white chocolate)

toothpicks


(Makes approx. 60)


Method


1. Chop the dark chocolate roughly, and set aside in heatproof mixing bowl. Or if you’re feeling aggressive, smash it against a surface (when still in its wrapper).

2. Place caster sugar in saucepan over medium high heat, and when it starts to melt stir gently with spatula to avoid burning around the edges. Push unmelted sugar into the already caramelised sugar to aid the caramelising process. 3. Once the sugar has turned a rich, dark gold colour, while still on the heat, pour in 150g of the cream whisking all the time. If clumps form, don’t panic: keep whisking over medium low heat, and they will eventually melt. 4. Once the lumps have dissolved, pour in the rest of the cream, the muscovado sugar, butter, vanilla and salt and stir the bubbling mixture on a medium heat for another 2 minutes. 5. Pour the mixture into the bowl of chopped dark chocolate and stir immediately until all the chocolate has melted and the caramel and chocolate are fully combined. 6. To chill more quickly, pour the mixture into a baking tray and place in the freezer for about an hour, or until solidified. 7. Cover a clean baking tray with tinfoil. Use a teaspoon to scoop out the mixture, and roll between palms of hands to form 2cm diameter spheres. Roll the spheres in the icing sugar to finely coat, and then place them on baking tray with space around each sphere to avoid their sticking together. Once all the mixture has been rolled into spheres, place baking tray in freezer for half an hour or until the spheres are firm and cold to touch. 8. Break white chocolate into pieces and place in bone-dry heatproof bowl (any drop of water will make the chocolate seize). Place heatproof bowl over pot of boiling water without the boiling water touching the base of the heatproof bowl. Stir occasionally. Remove pan from heat when the chocolate has melted. 9. Remove dark chocolate spheres from freezer, and one at a time, skewer with a toothpick and coat by spooning over the melted white chocolate. Remove the skewer, replace the coated truffle on the tin foil lined baking tray. Drip enough white chocolate over the truffle to disguise any blemishes the toothpick has made. 10. While the white chocolate is still liquid, sprinkle with the freeze-dried raspberry, if using. 11. Replace the tray in the freezer for half an hour until the white chocolate coating has hardened. The truffles may be kept in the fridge until you wish to serve them. Alternatively, the truffles may be kept in a sealed box in the freezer for a couple of weeks.

truffles3

12 Comments

Tarta delle susine (drenched plum cake)

15 Comments

Tarta delle susine (drenched plum cake)

plumtart3-1024x6821.jpg

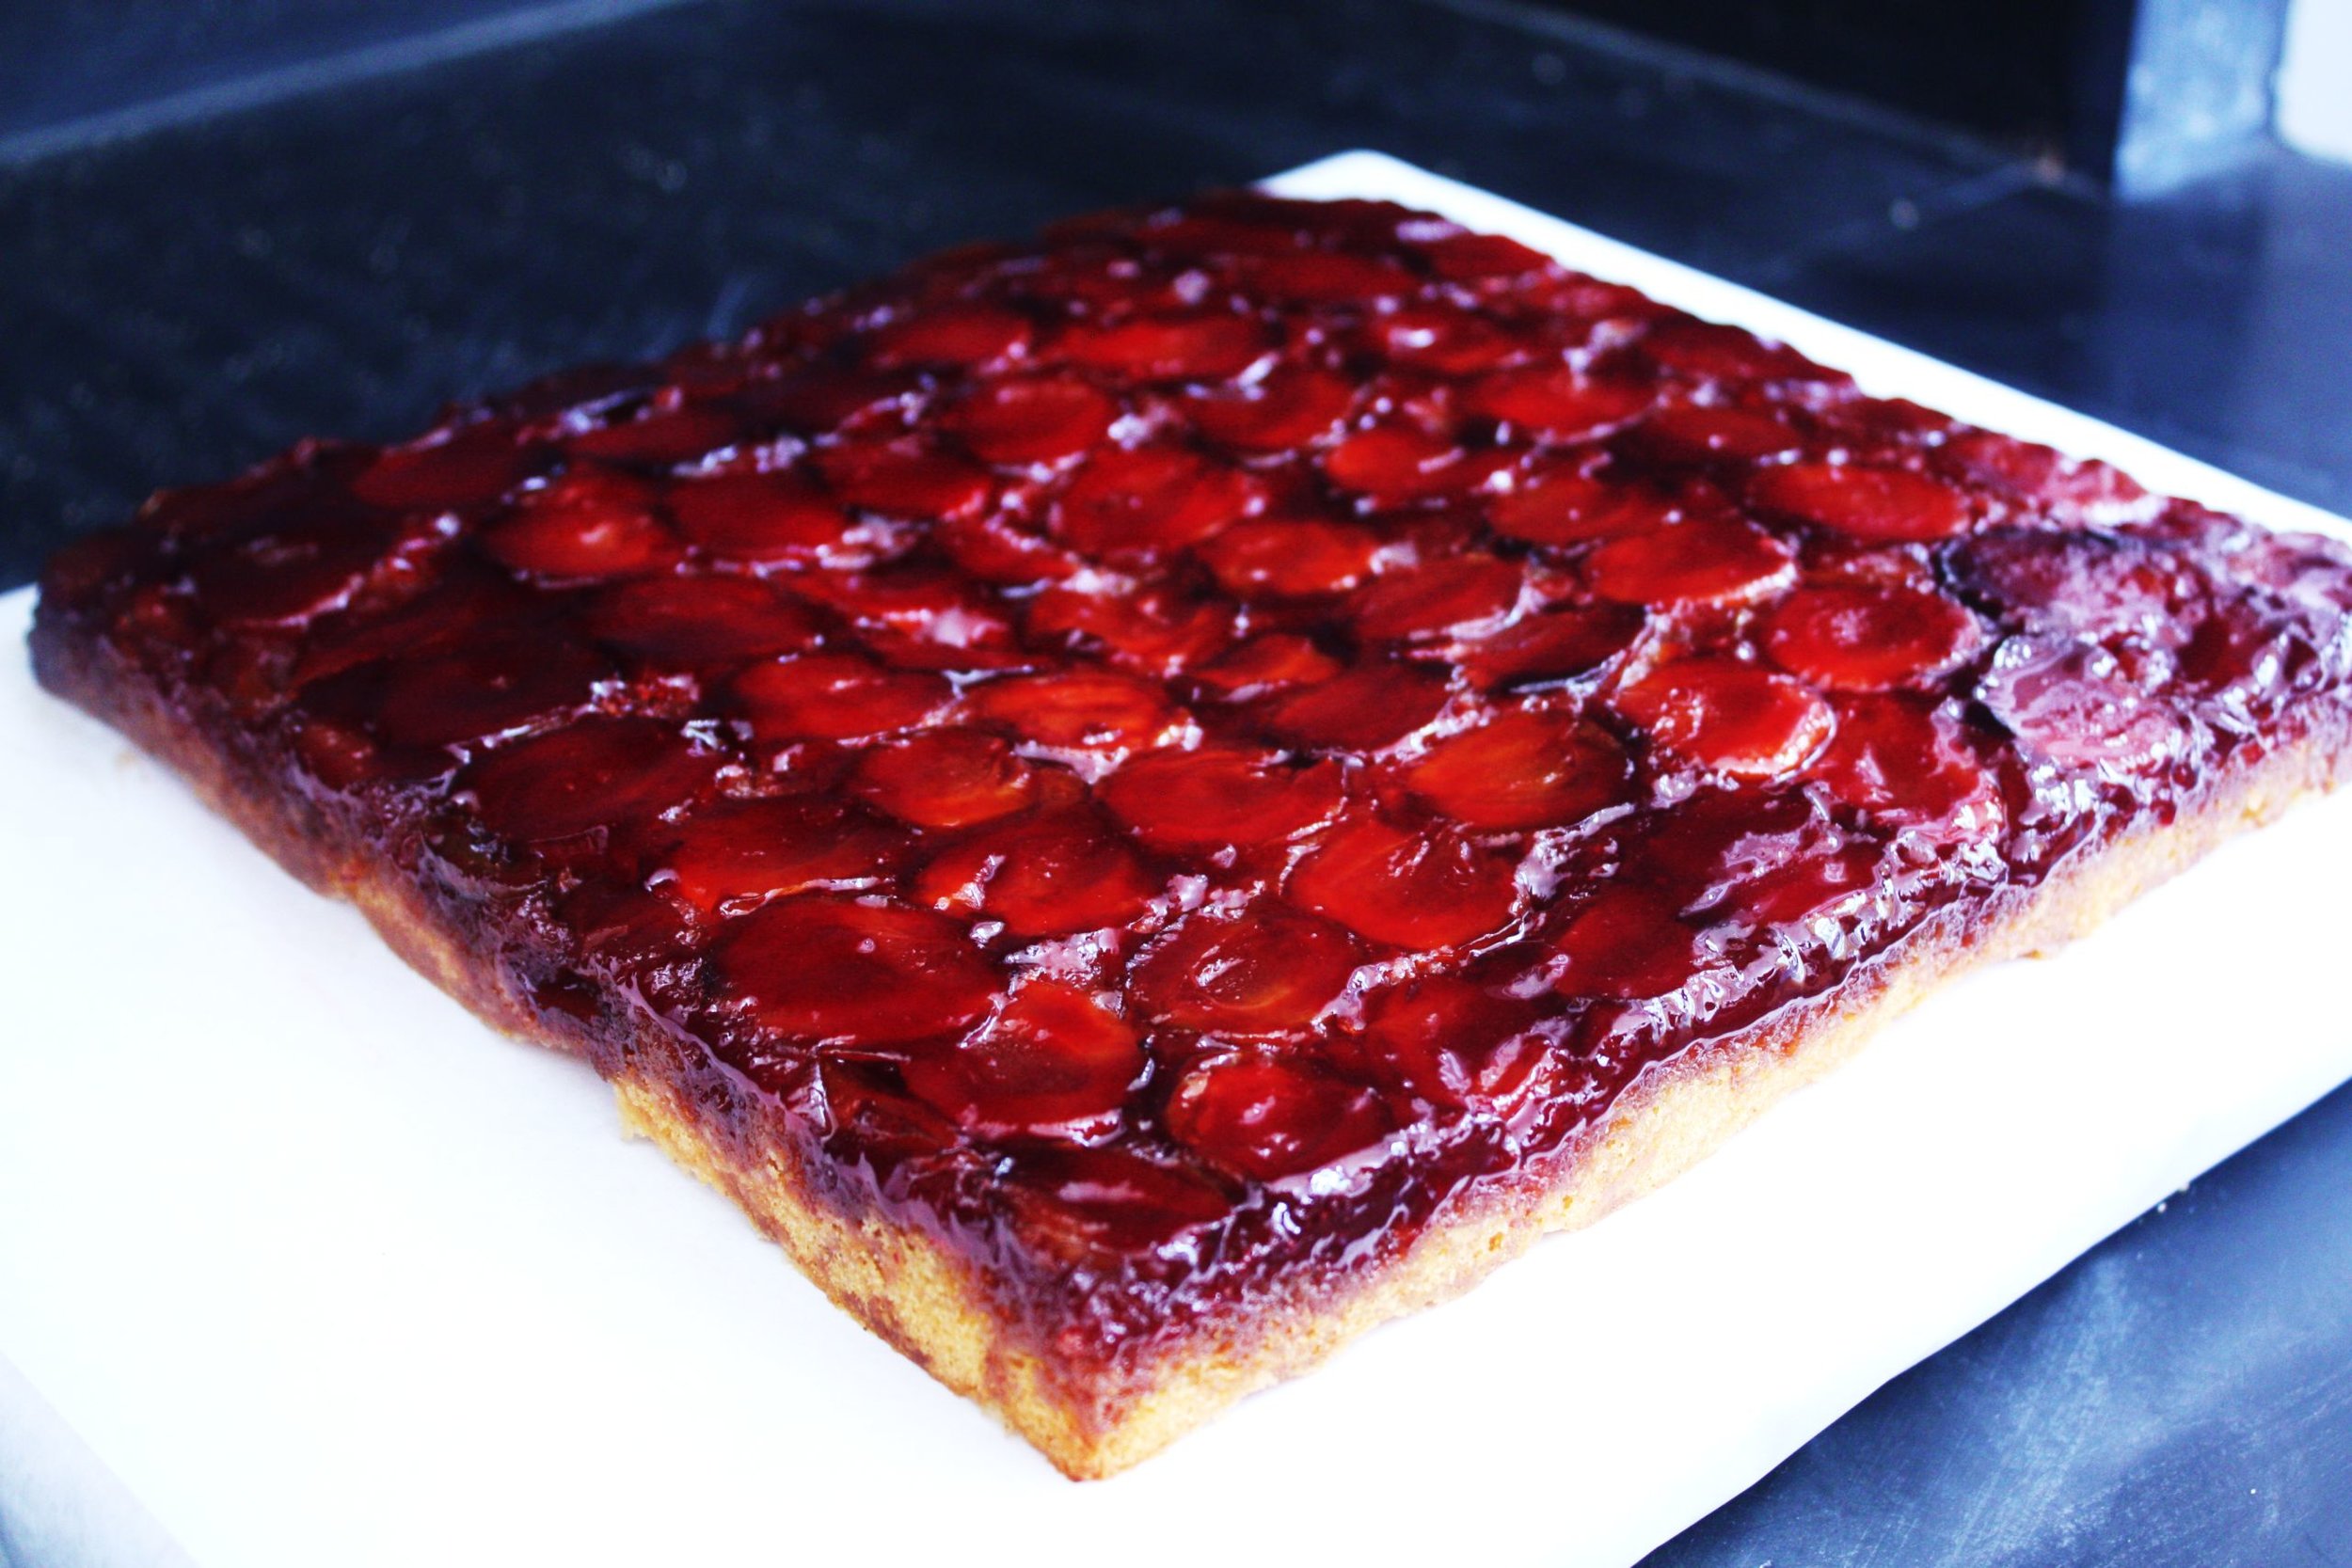
plumtart4plumtart4 As Nigella says, “Moderation in moderation”, a phrase which defines my 21 year relationship with food and cooking.  If I see that a recipe requires half a lemon, I will automatically triple it. A quarter teaspoon of vanilla essence?  Quadruple that.  The drenched plum cake has become my signature dessert.  I first tried a version of it at Ballymaloe House, the Irish country house hotel, when I was 10.  It was so good I ate myself sick.  This recipe is its 7th incarnation, and the pinnacle of all variations on a plum dessert theme: it will leave you with a Tantalean desire for more.  There is no moderation in this dessert.

plumtart11

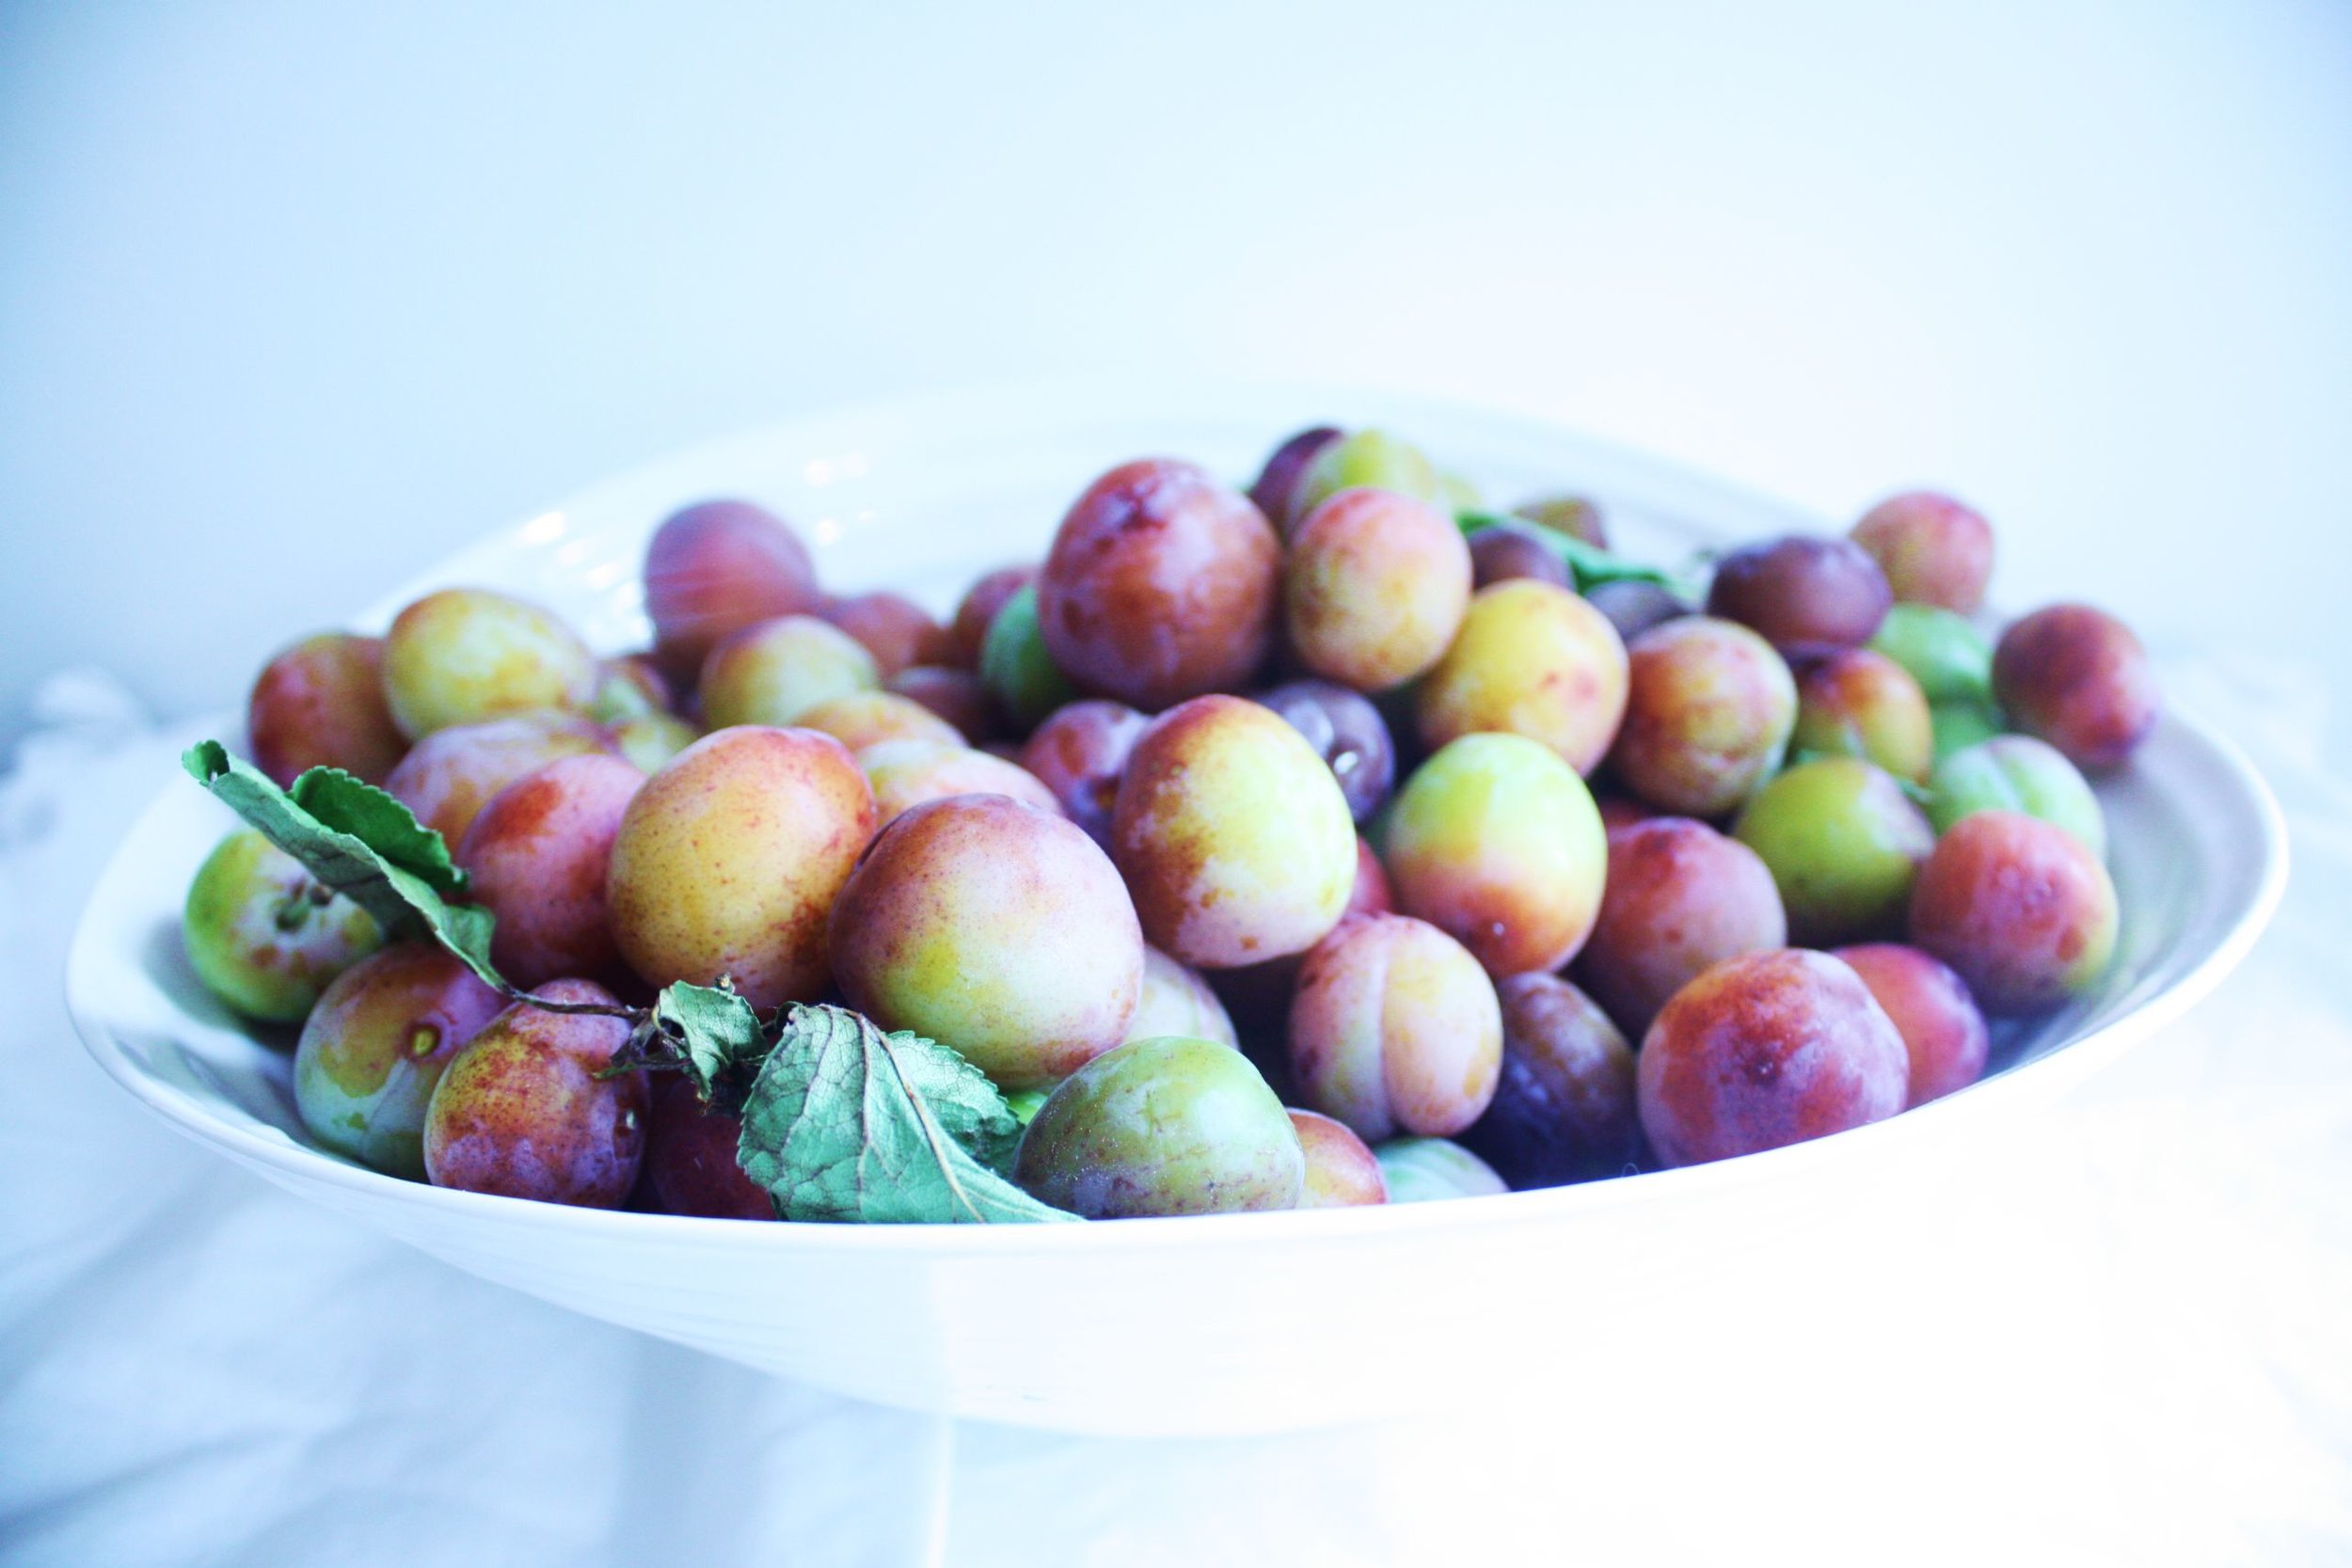
Late summer/early autumn is the best season to make this dessert, when the plums are rich, firm, red-fleshed and smell faintly of acetone.  Use the best quality plums you can find – an over-ripe plum will ruin it.plums3


I suggest laying out the plum halves cut side down in the tine before making the caramel to make sure you have the right number. Remove the plums before you make the caramel and replace them after the caramel is poured in.


plumcakecaramel1


This dessert keeps for a couple of days, and is in fact better the day after making, when the cake is drenched with the juices.  Keep covered in the fridge and remove a couple of hours before serving to allow it to come to room temperature.


plumtart3


plumtart9

Ingredients

Caramel layer:

350g caster sugar

180ml water

About 900g halved and stoned plums (slice down the middle and twist to separate halves)


Batter:

150g caster sugar

150g unsalted butter

210g self-raising flour

3 large eggs

1 tsp vanilla extract

½ tsp salt

Zest of 1 lemon

Zest of  ½  orange


Syrup:

3 plums, halved and stoned

150g caster sugar

50ml water


26cm square tin with a depth of at least 5cm, greased well with butter (or a circular/rectangular tin of the same area)

Preheat oven to 180˚C


Method

Caramel

  1. Pour sugar and water into pan over medium heat, and stir until sugar is dissolved.  Once the sugar is dissolved, do not continue stirring but let it bubble until it turns a deep golden colour.  This takes 5-10 minutes.  Do not take your eye off it – a split second can be the difference between caramel and burnt sugar.
  2. Remove from heat, and pour immediately into the greased tin so that the base of the tin is evenly covered.
  3. Arrange the plums, cut side down, as tightly as possible in the syrup. It may harden while you are doing this, but that is not a problem.


Batter

  1. In a food processor, blitz all the batter ingredients together, stopping as soon as the mixture comes together.
  2. Spread evenly over the plums and place in middle of the oven to bake for half an hour, or until a skewer into the batter layer comes out clean.
  3. Once the cake is cooked, remove from oven and leave to cool.
  4. Once it is cool, place a plate over the tin, and invert.  Be bold – swift motion is best.


Syrup

  1. Mix the ingredients together in a saucepan over a high heat until the sugar is dissolved.
  2. Continue to cook until the syrup is viscous and the plums have broken down.
  3. Strain the plums off and pour the syrup over the plum cake.  The syrup may be served hot or cold.

Serves 8-10


plumtart12


15 Comments