Viewing entries in
Recipes

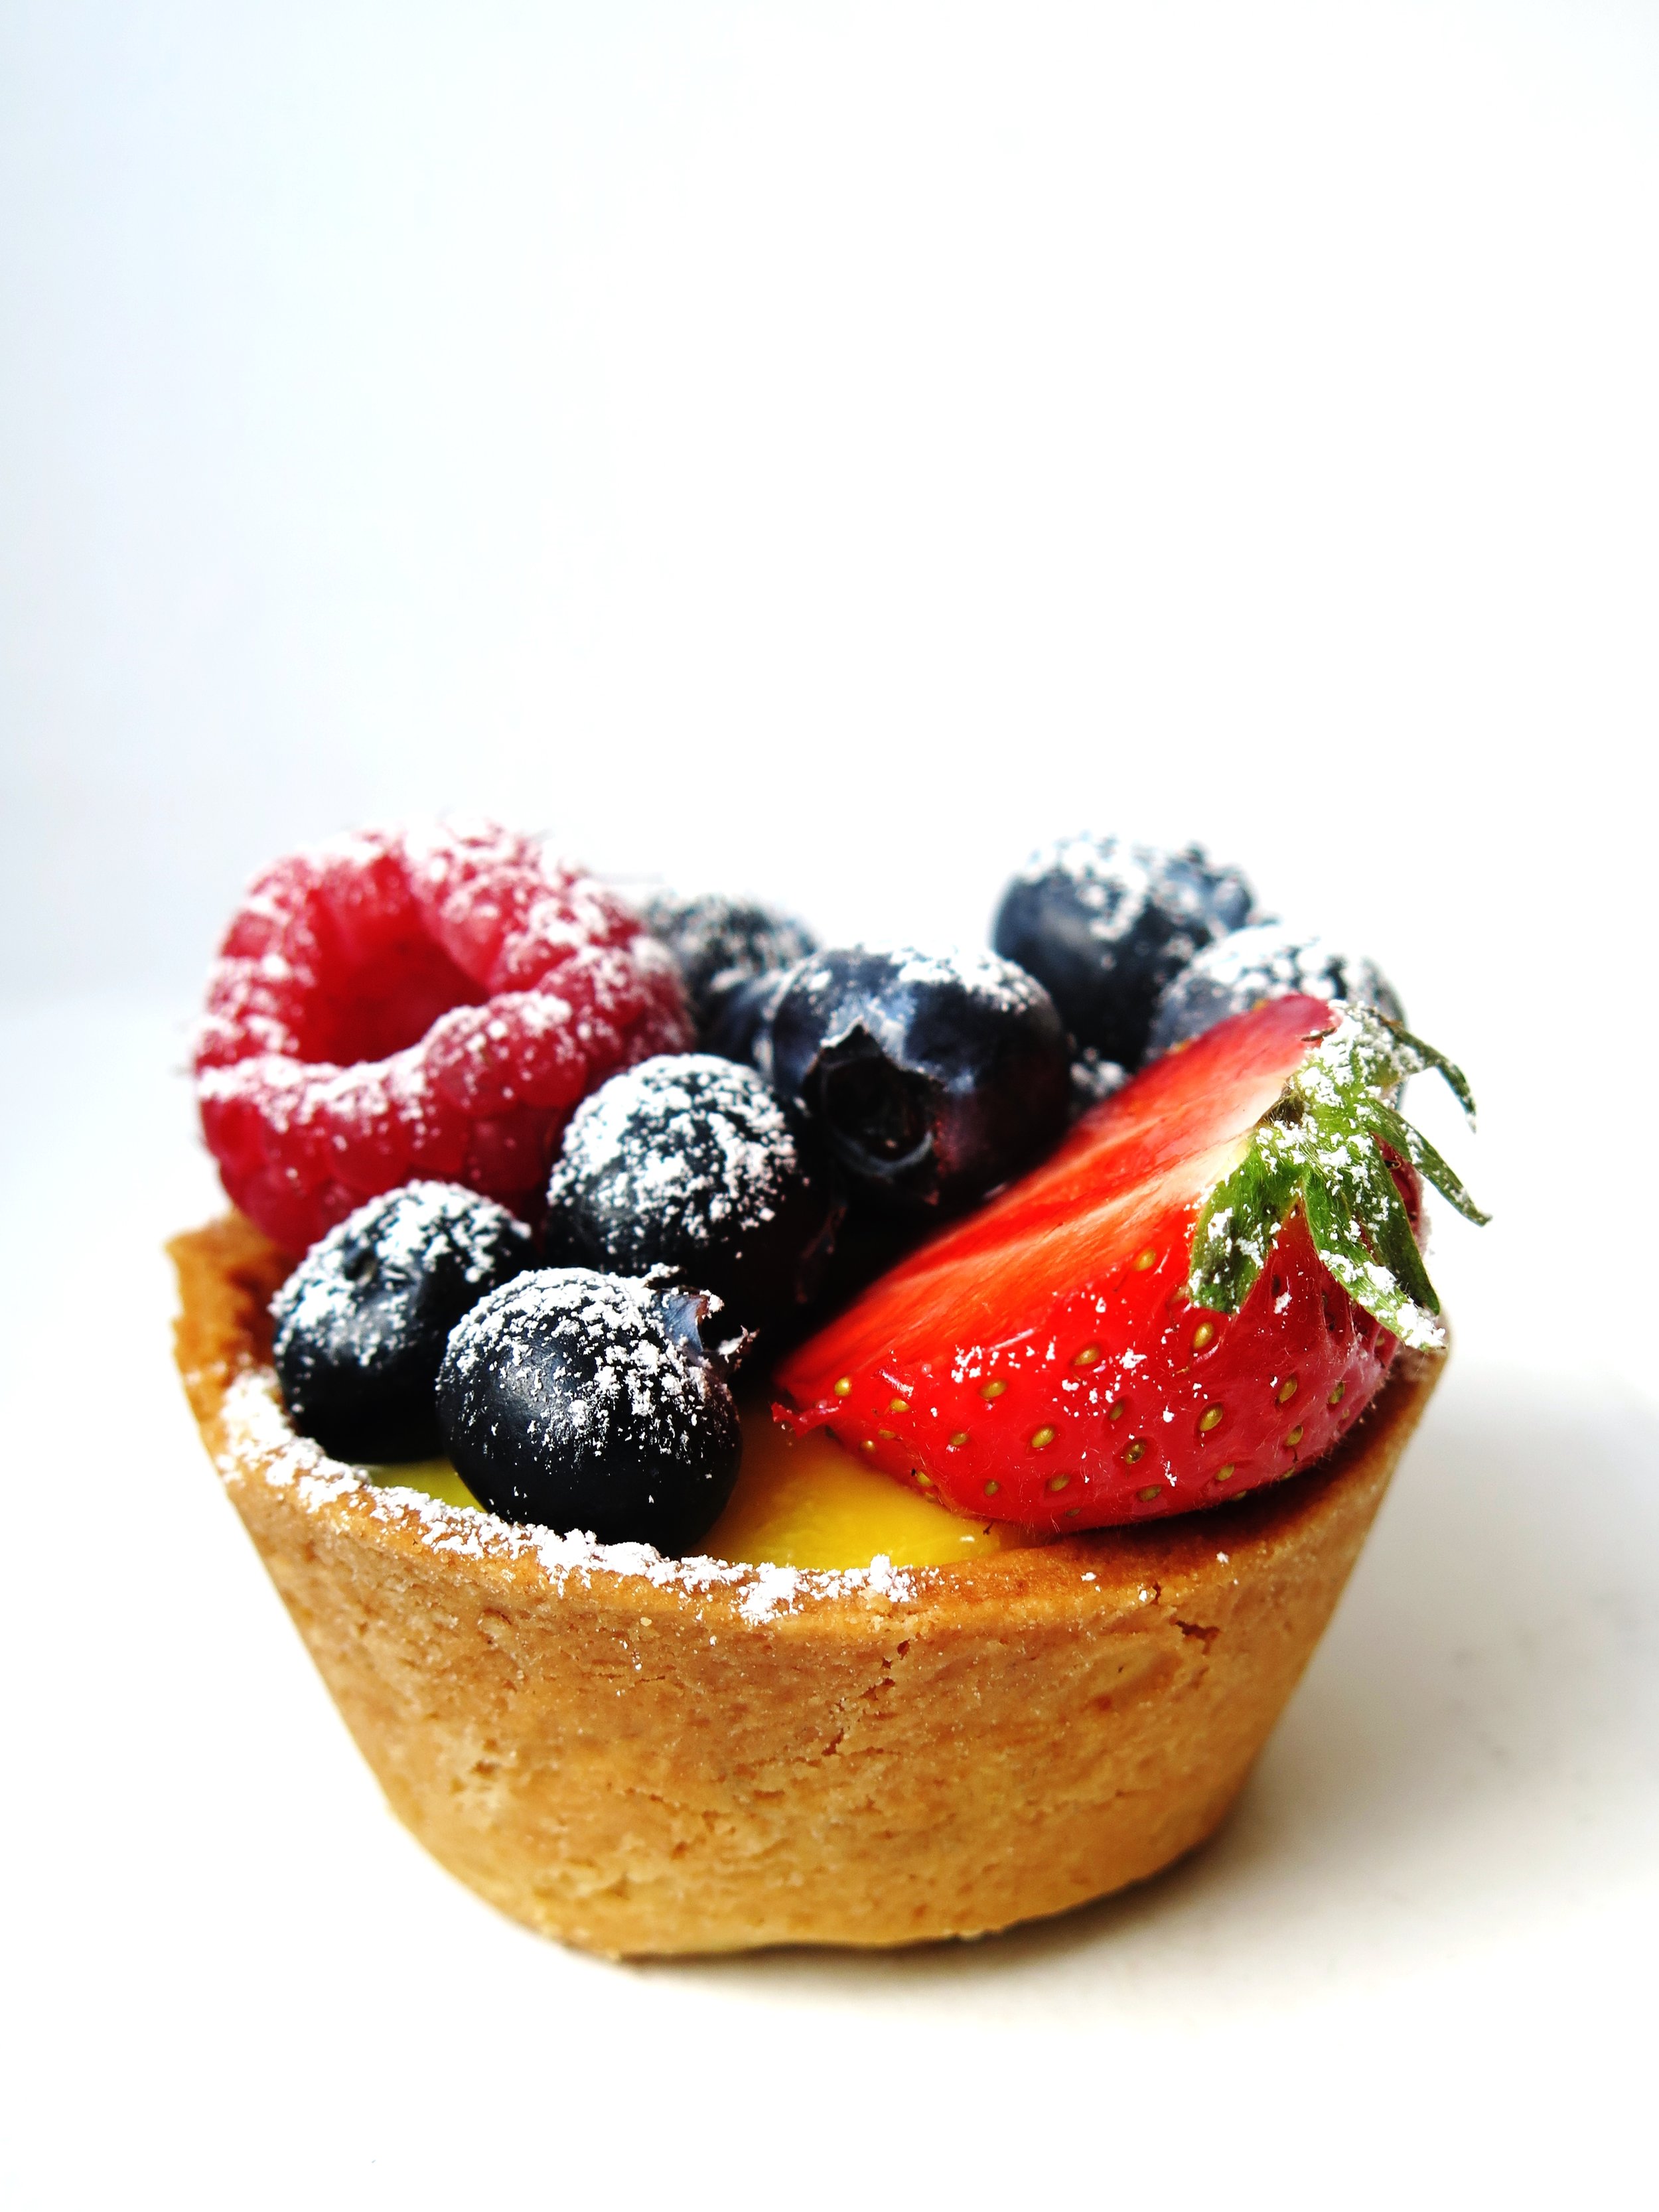
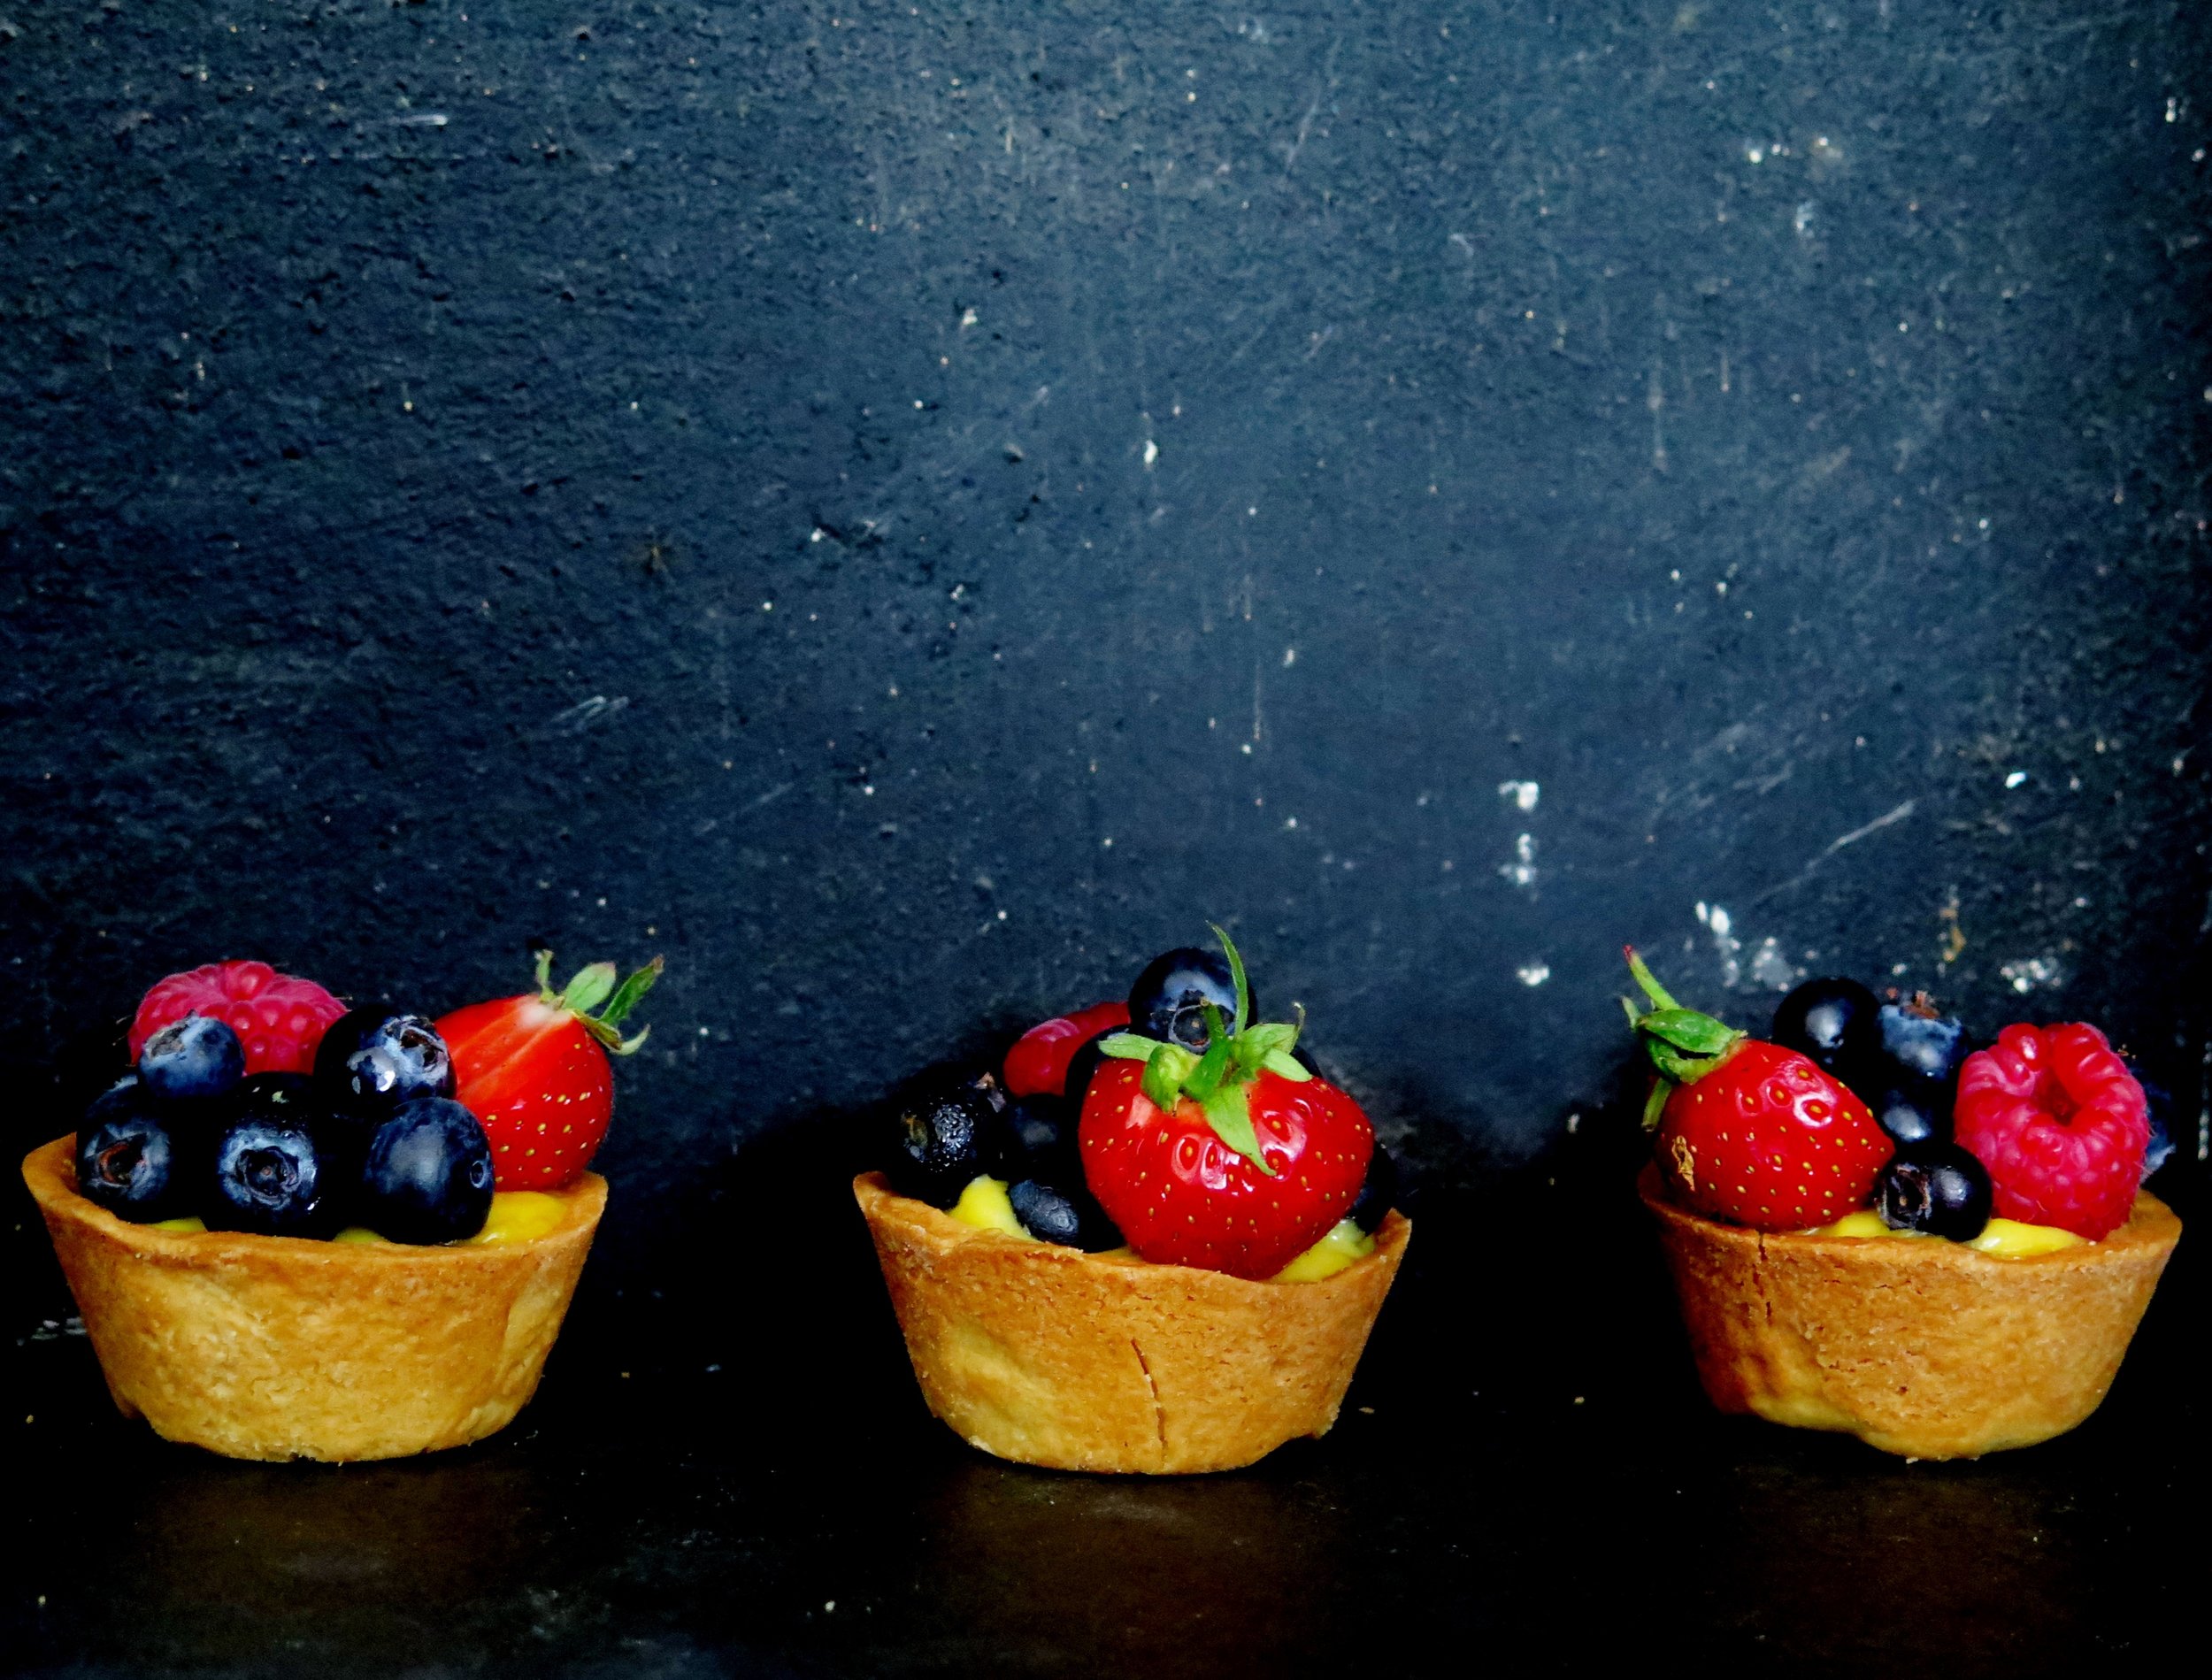
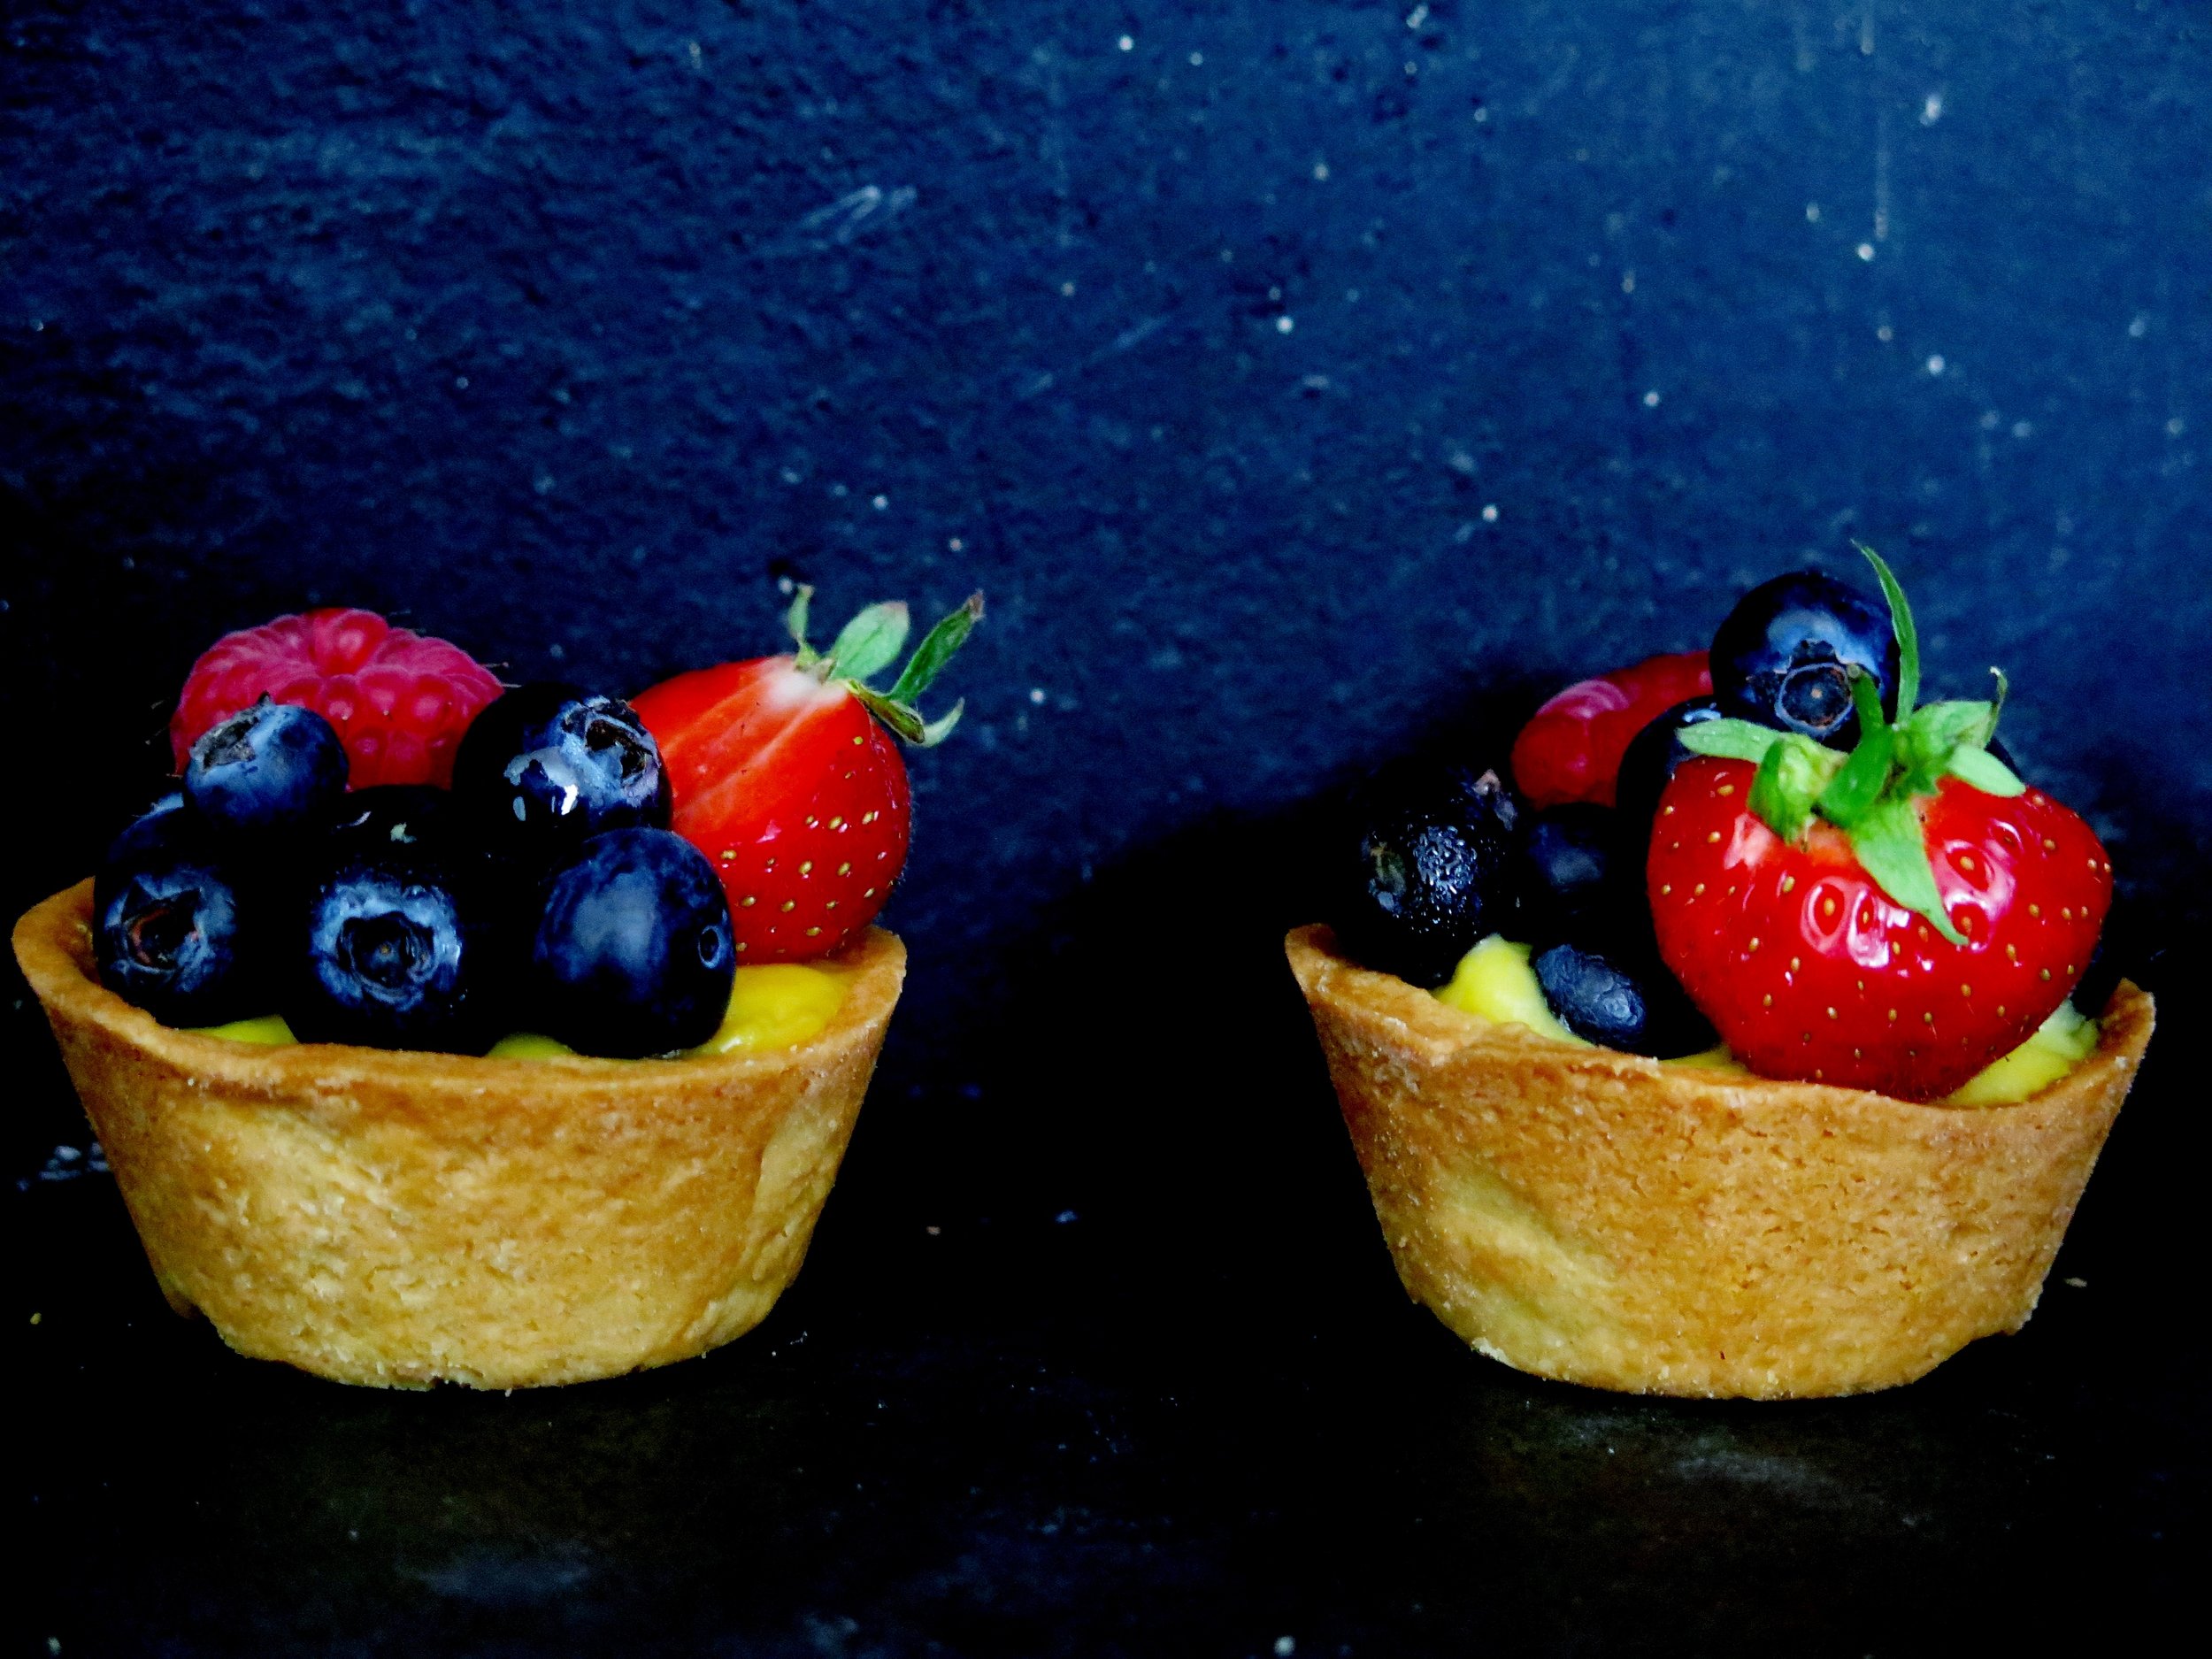
Summer Berry Lemon Curd Tarts

8 Comments

Summer Berry Lemon Curd Tarts

IMG_1078.jpg

Summer Berry Lemon Curd Tarts I endured school lunches for four years and then abandoned them. Waking up twenty minutes early to throw together a packed lunch seemed worth it at the time.  My school lunches weren’t even bad.  In fact, they were probably rather good – good enough to avoid having Jamie Oliver sniff his way into our school kitchen in pursuit of good TV.

IMG_1007

What turned me (and my stomach) resided in the stainless steel vats adjacent to the desserts:  pools of lurid yellow purulence (custard).

Summer Berry Lemon Curd Tarts


Notwithstanding my decade old aversion, I decided to venture into custard territory last week.  And I found my cure: lemon curd-filled tarts.
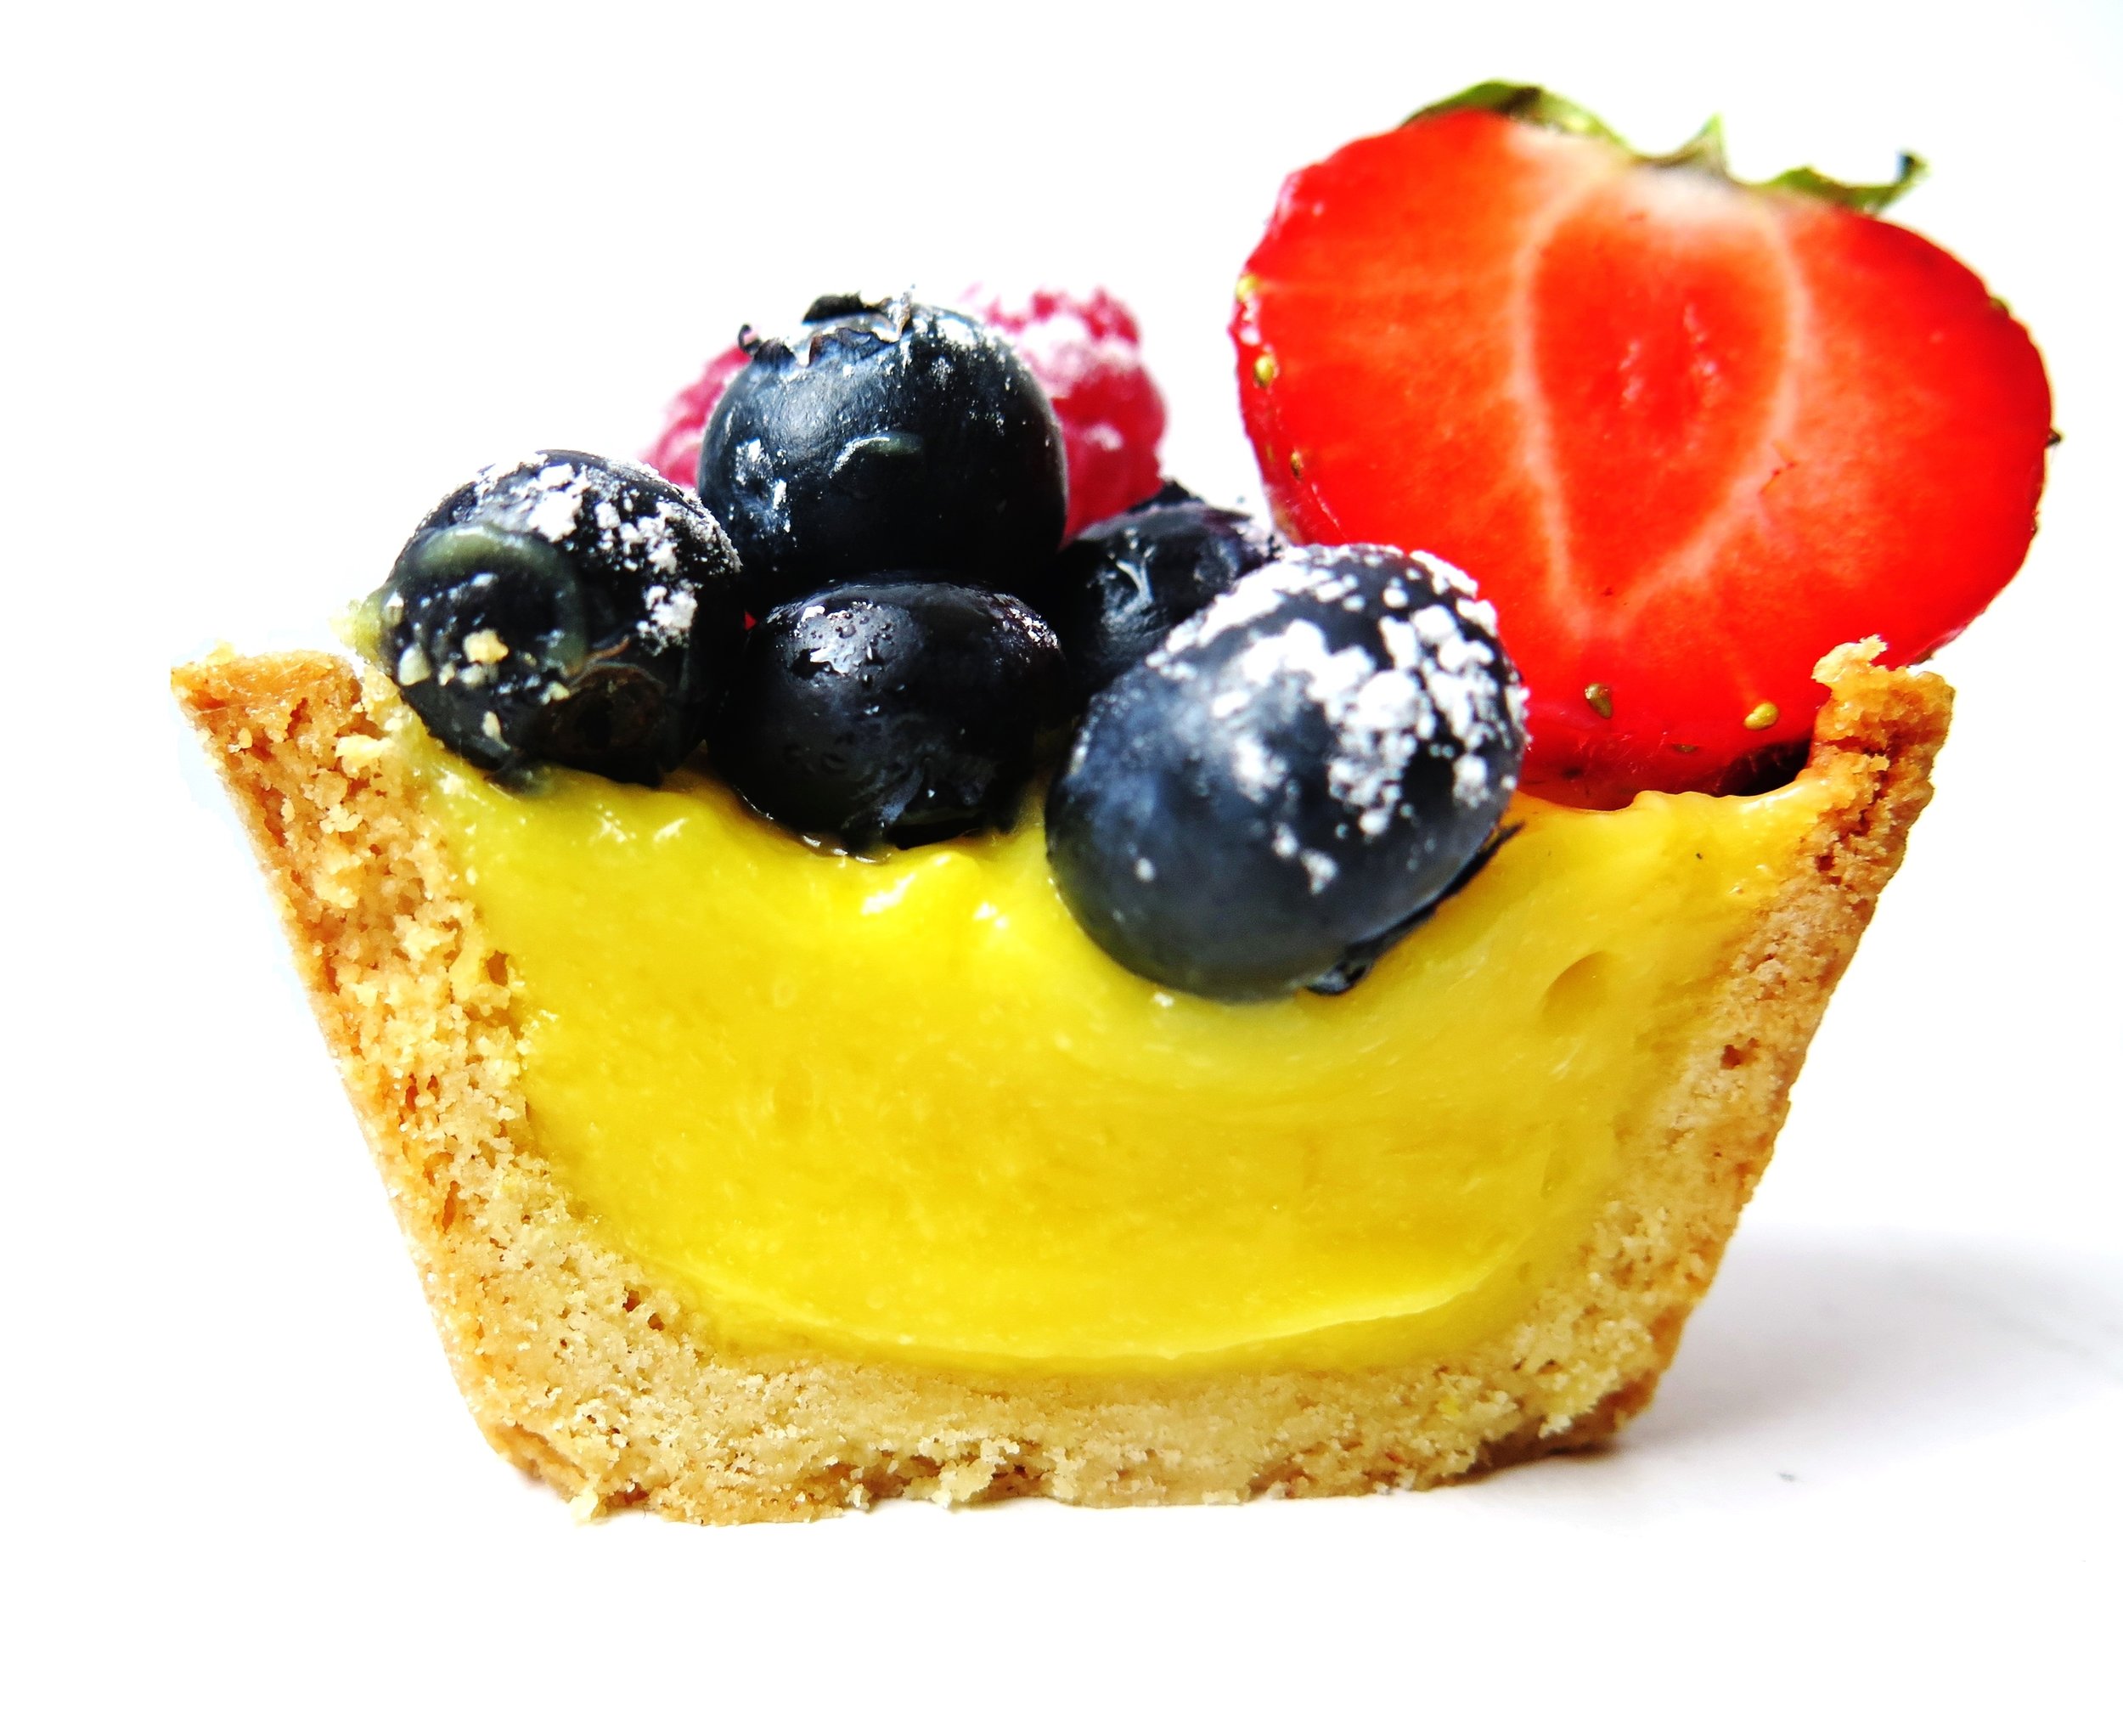
Summer Berry Lemon Curd Tarts

Summer Berry Lemon Curd Tarts


Made using both lemon juice and zest, paired with a lemon-infused tart shell, and partnered with fresh berries, these make a tangy and refreshing summer dessert.
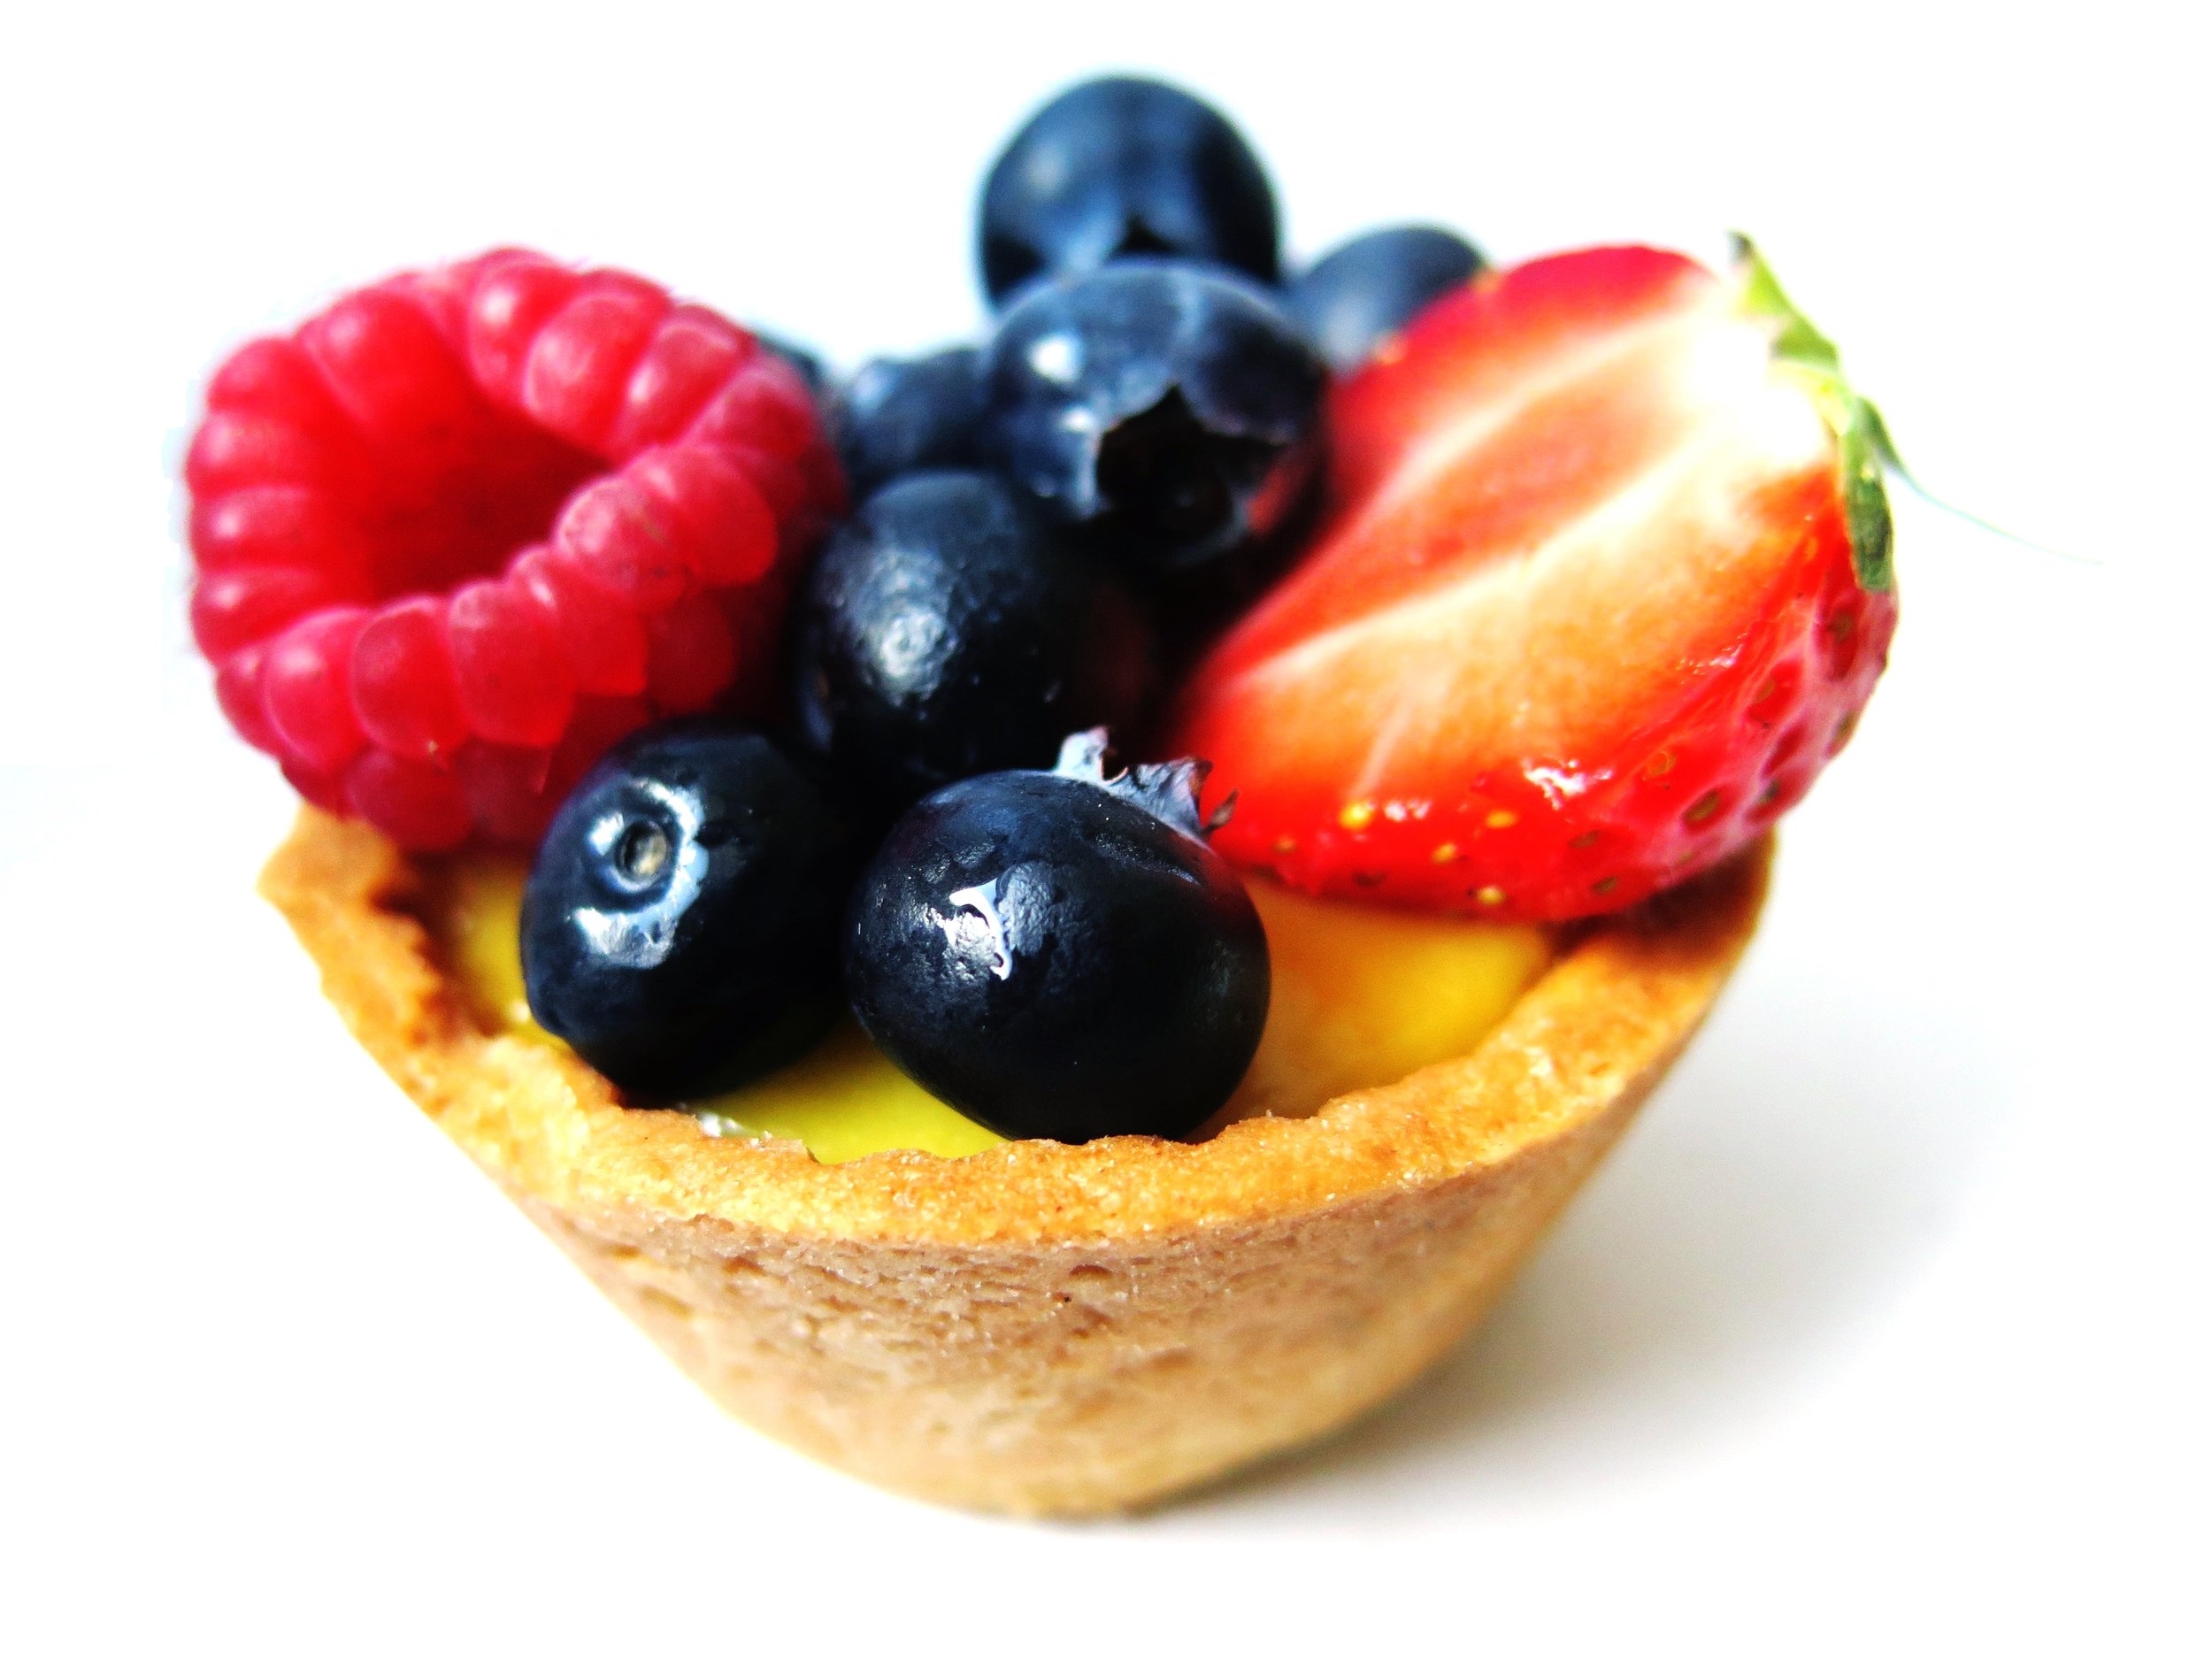
Summer Berry Lemon Curd Tarts

Summer Berry Lemon Curd Tarts


I use spelt flour in the pastry to add extra nuttiness and depth of flavour.  It also has a lower GI than wheat flour.   However, if you can't find it, you can substitute plain flour.

IMG_1038


IMG_1021 Summer Berry Lemon Curd Tarts

Summer Berry Lemon Curd Tarts

Summer Berry Lemon Curd Tarts Summer Berry Lemon Curd Tarts Ingredients (makes 12)

Lemon tart shells

360g white spelt flour  (substitute with plain flour if unavailable)

110g icing sugar

Finely grated zest of 1 lemon

¼ tsp salt

190g cold unsalted butter, roughly chopped into small cubes

1 egg yolk

1 tsp vanilla extract

2 tbsp cold water


A 10cm pastry cutter

1 12-hole cupcake tin, greased with butter and then placed in fridge to chill

Baking beads or rice to weigh down the pastry while it bakes

12 cupcake cases


Lemon Curd

Finely grated zest of 4 lemons

200 ml lemon juice (4-6 lemons)

200g caster sugar

4 medium eggs

4 medium egg yolks

180g unsalted butter

1 baking tray with lipped sides

200g blueberries

150g strawberries

150g raspberries

Icing sugar for dusting


Method

Lemon pastry tart shells

  1. Blend together flour, sugar, lemon zest and salt in a food processor, and add in butter, pulsing to combine until the mixture resembles damp sand. Alternatively, if working manually, mix together the dry ingredients in a large bowl and rub the butter in with your fingers.
  2. Pour the egg yolk, vanilla and water into the mixture and pulse/stir until the mixture just comes together. Flatten the pastry dough into a disc , wrap in baking parchment/cling film and chill in the fridge for an hour, or freezer for 20 minutes.
  3. Preheat the oven to 150˚C.
  4. On a floured surface, roll half the dough out to the thickness of 2 or 3 mm, and cut the pastry into discs using the pastry cutter. Gently press the pastry discs into the prepared cupcake tin.  You will find that there is some dough left over.  This can be frozen for about a month.
  5. Set the cupcake cases into the pastry shells and fill them with the baking beads/rice to weigh the pastry down and prevent it from losing its shape during the bake.
  6. Bake in the oven for about 20-25 minutes until golden and firm to touch. If they have not turned golden by this point, remove the baking beads/rice and cupcake cases and bake for a further 5-10 minutes.  Remove from the oven and set aside to cool.  These can be made 2 or 3 days in advance and kept in an airtight container until you are ready to use them.

Lemon curd

  1. Place lemon zest, juice, sugar, eggs, egg yolks and half the butter in a saucepan over a medium-high heat and whisk continuously while the ingredients cook together.  When the mixture has thickened slightly and threatens to stick to the bottom of the pan, reduce the heat and continue to whisk for another couple of minutes until thickened, whisking all the while.  Off the heat, whisk in the remaining butter until thoroughly combined.  It should be smooth and glossy.
  2. Sieve the curd over the baking tray, and spread it out with a spatula so that only a thin layer coats the tray. Cover the surface of the lemon curd with baking parchment or cling film and place the tray in the fridge for a minimum of half an hour or until it has cooled and become slightly firmer.  Alternatively, place the tray in the freezer for 20 minutes.

Assembly

Arrange the pastry shells on a serving plate and spoon in the lemon curd (roughly 3 tsp per case). Top generously with the berries and dust with icing sugar just before serving.  They can be kept in the fridge for up to 6 hours before serving; longer than that they tend to become soggy.
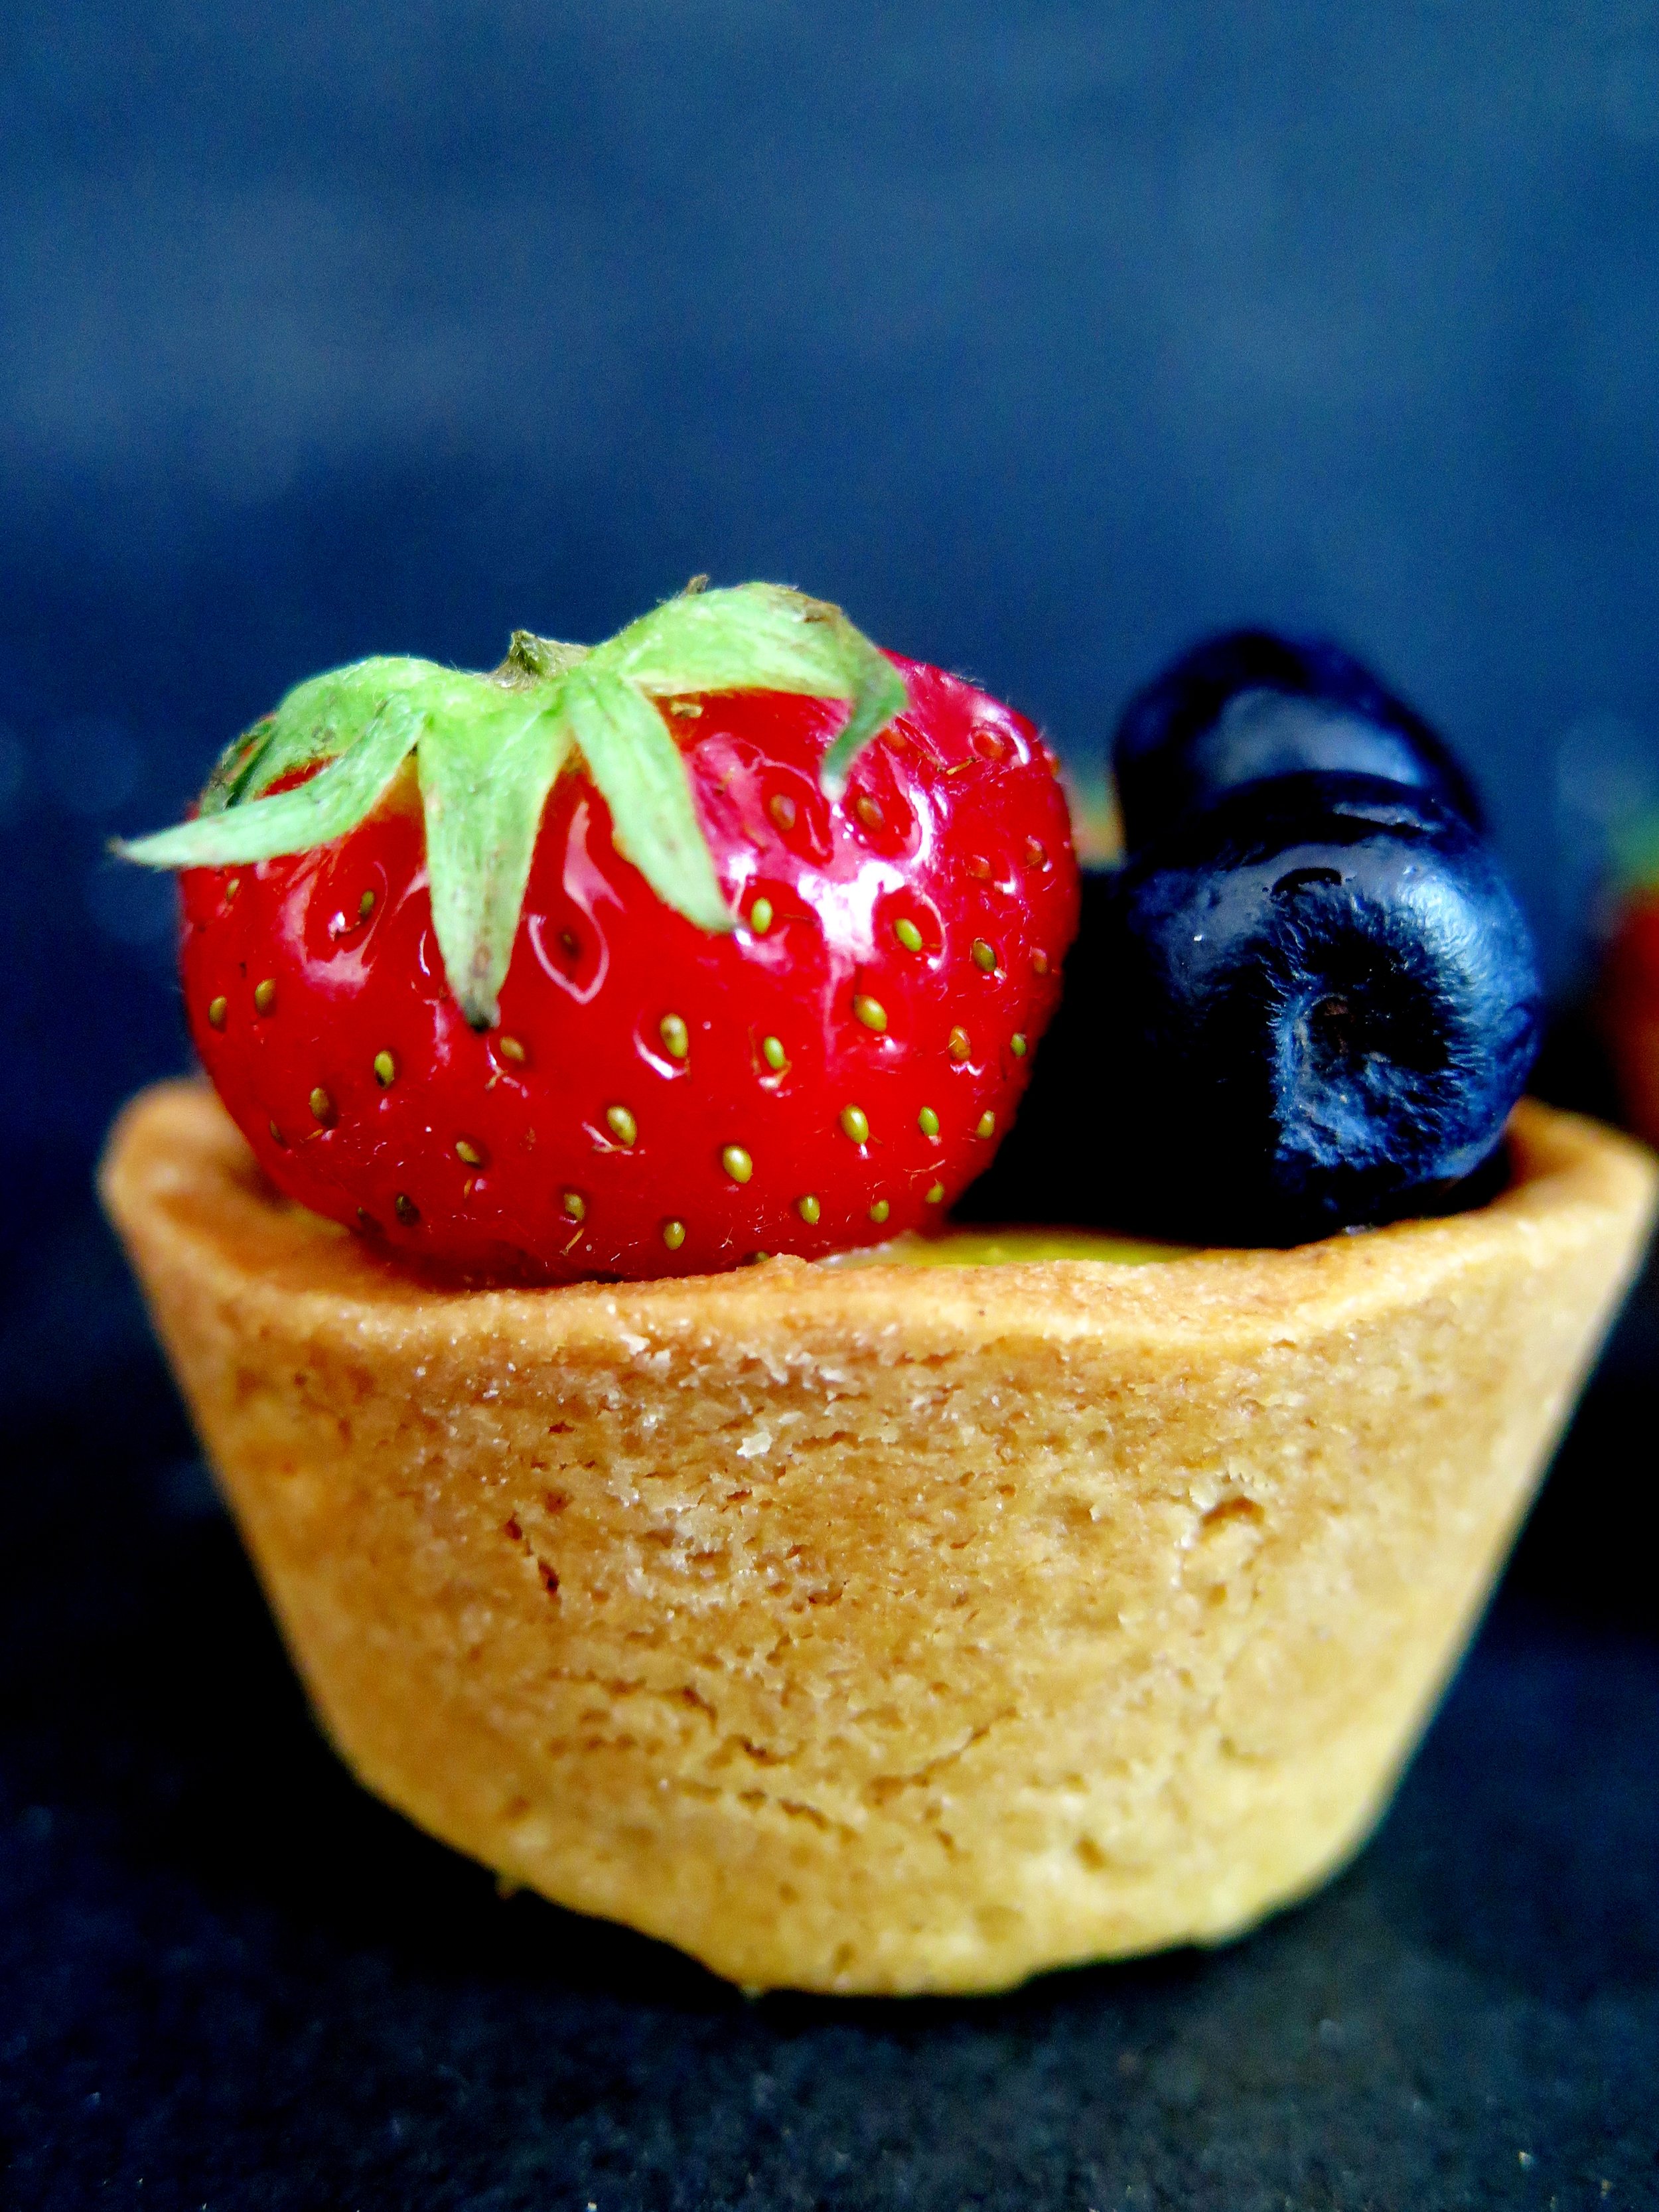
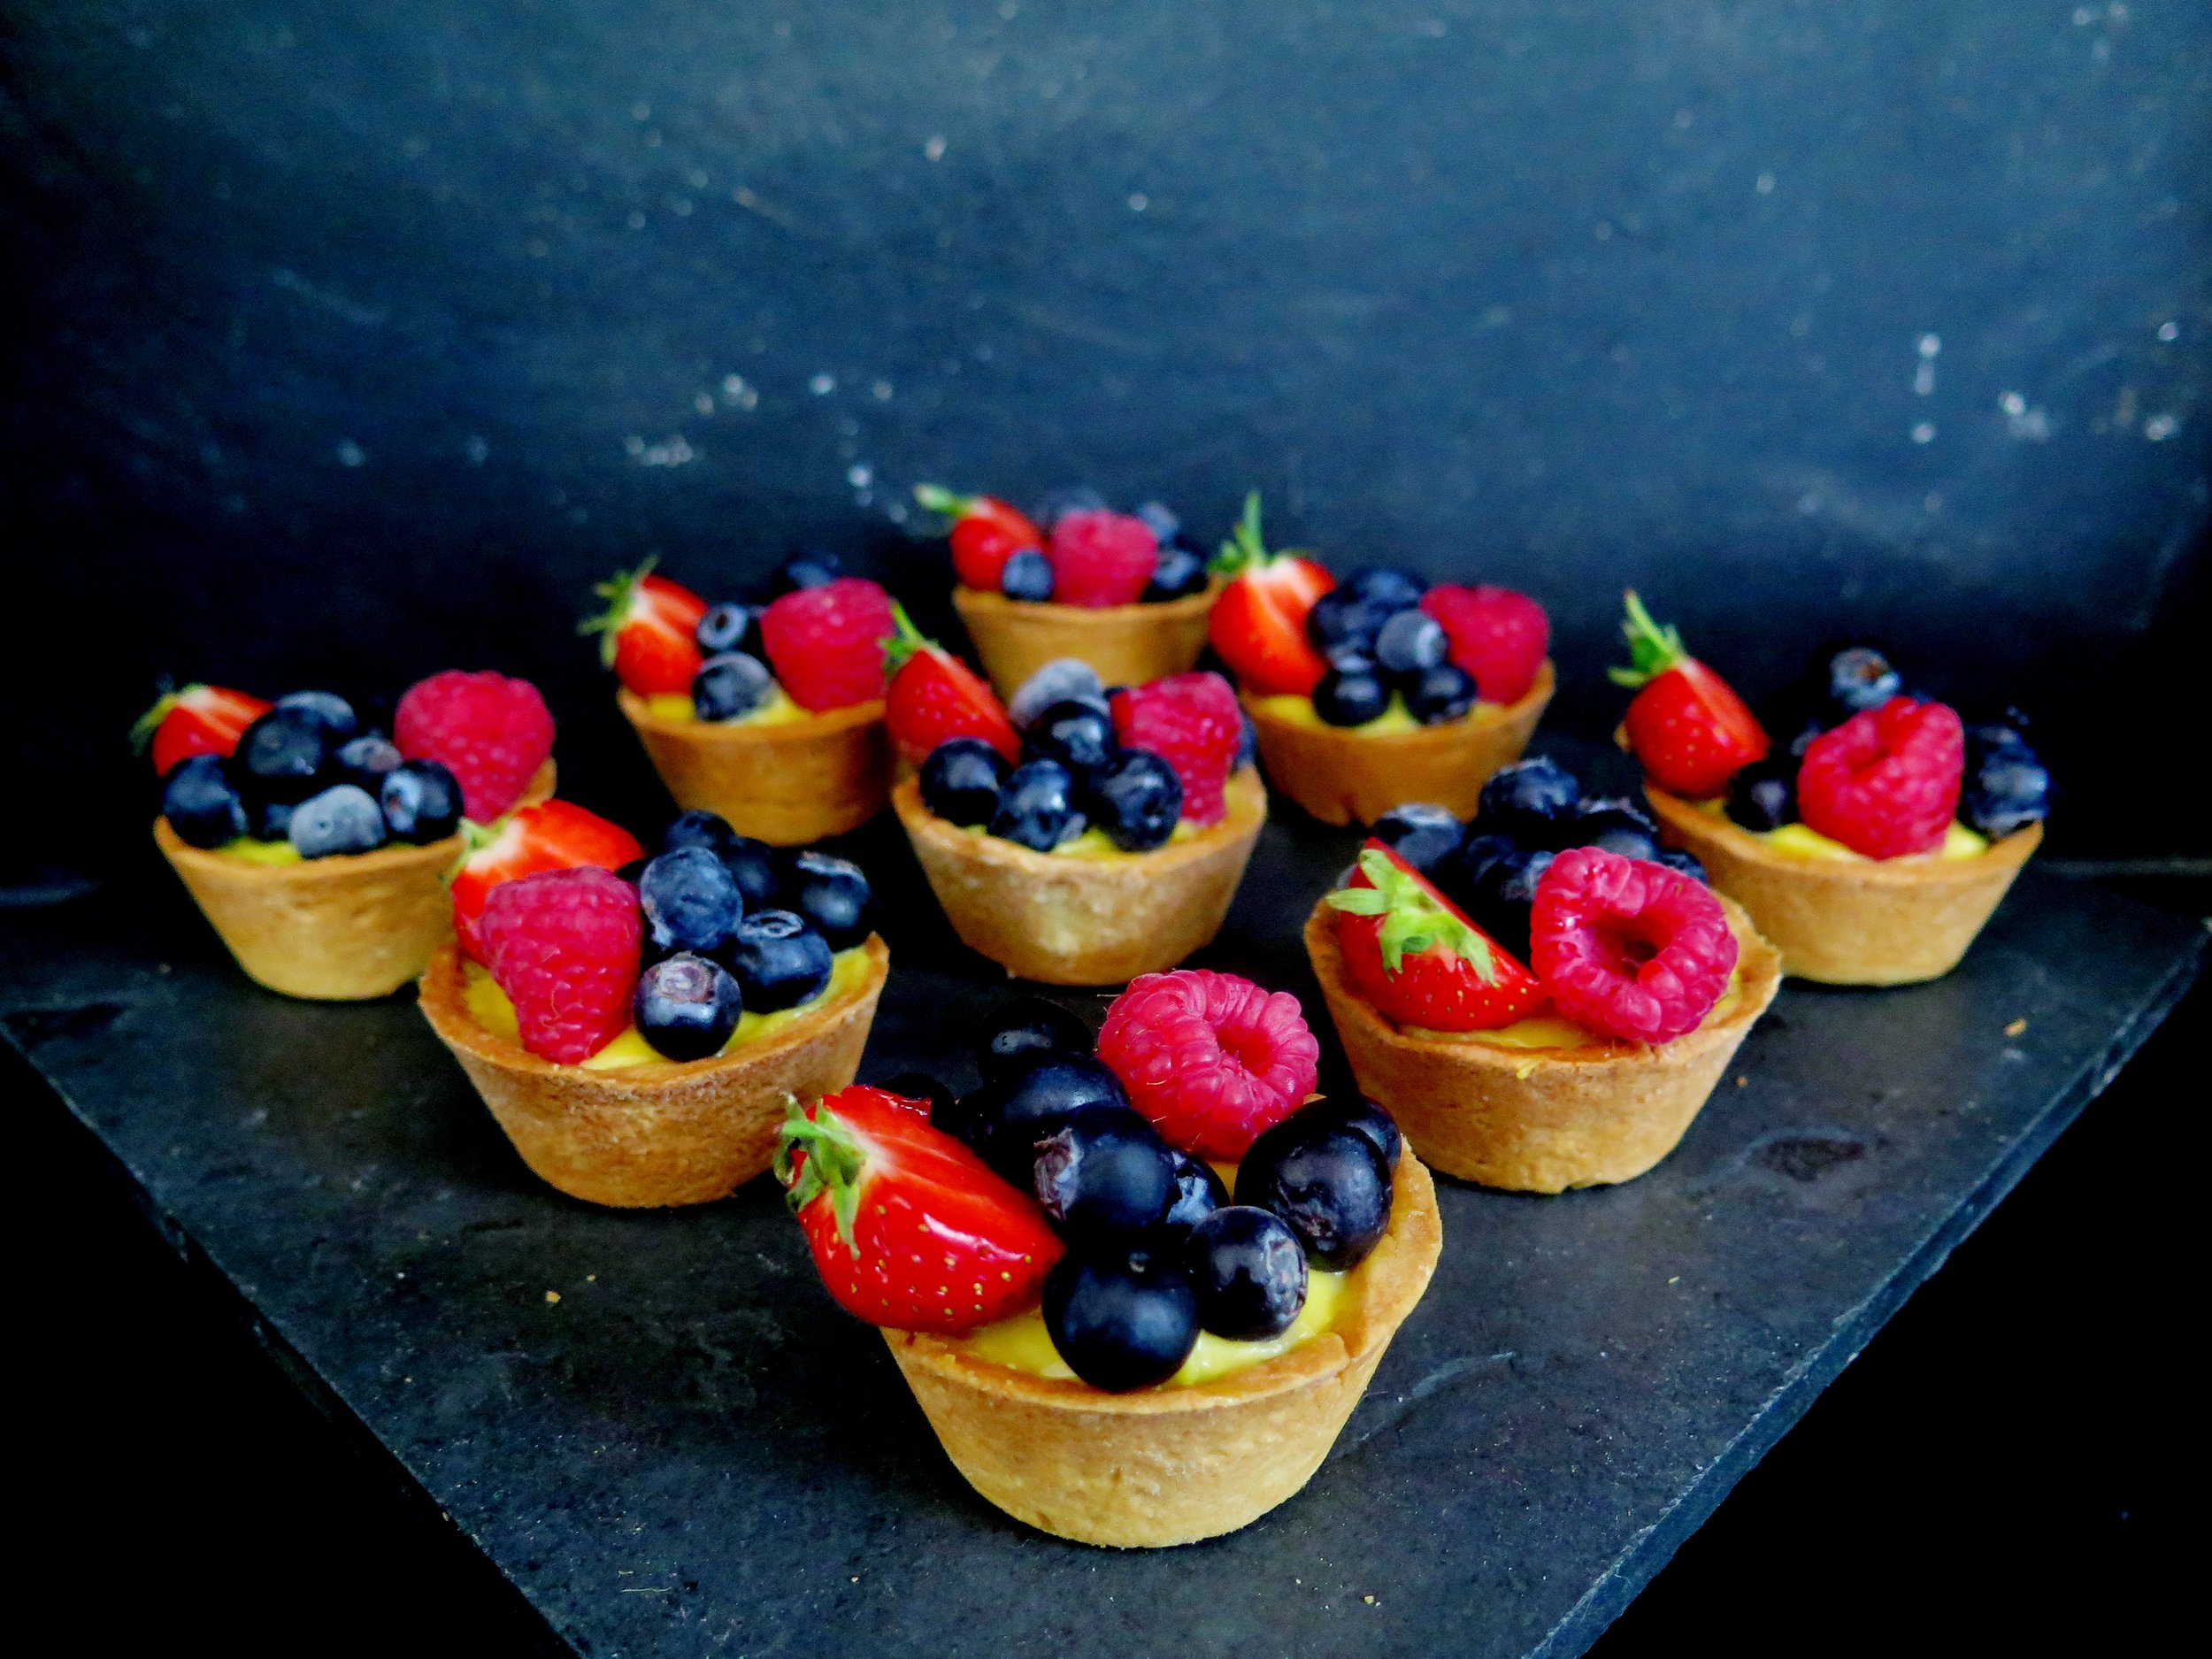
Summer Berry Lemon Curd TartsSummer Berry Lemon Curd Tarts

8 Comments

Brown Butter Brioche Cinnamon Buns

2 Comments

Brown Butter Brioche Cinnamon Buns

IMG_0348.jpg

Brown Butter Brioche Cinnamon Buns

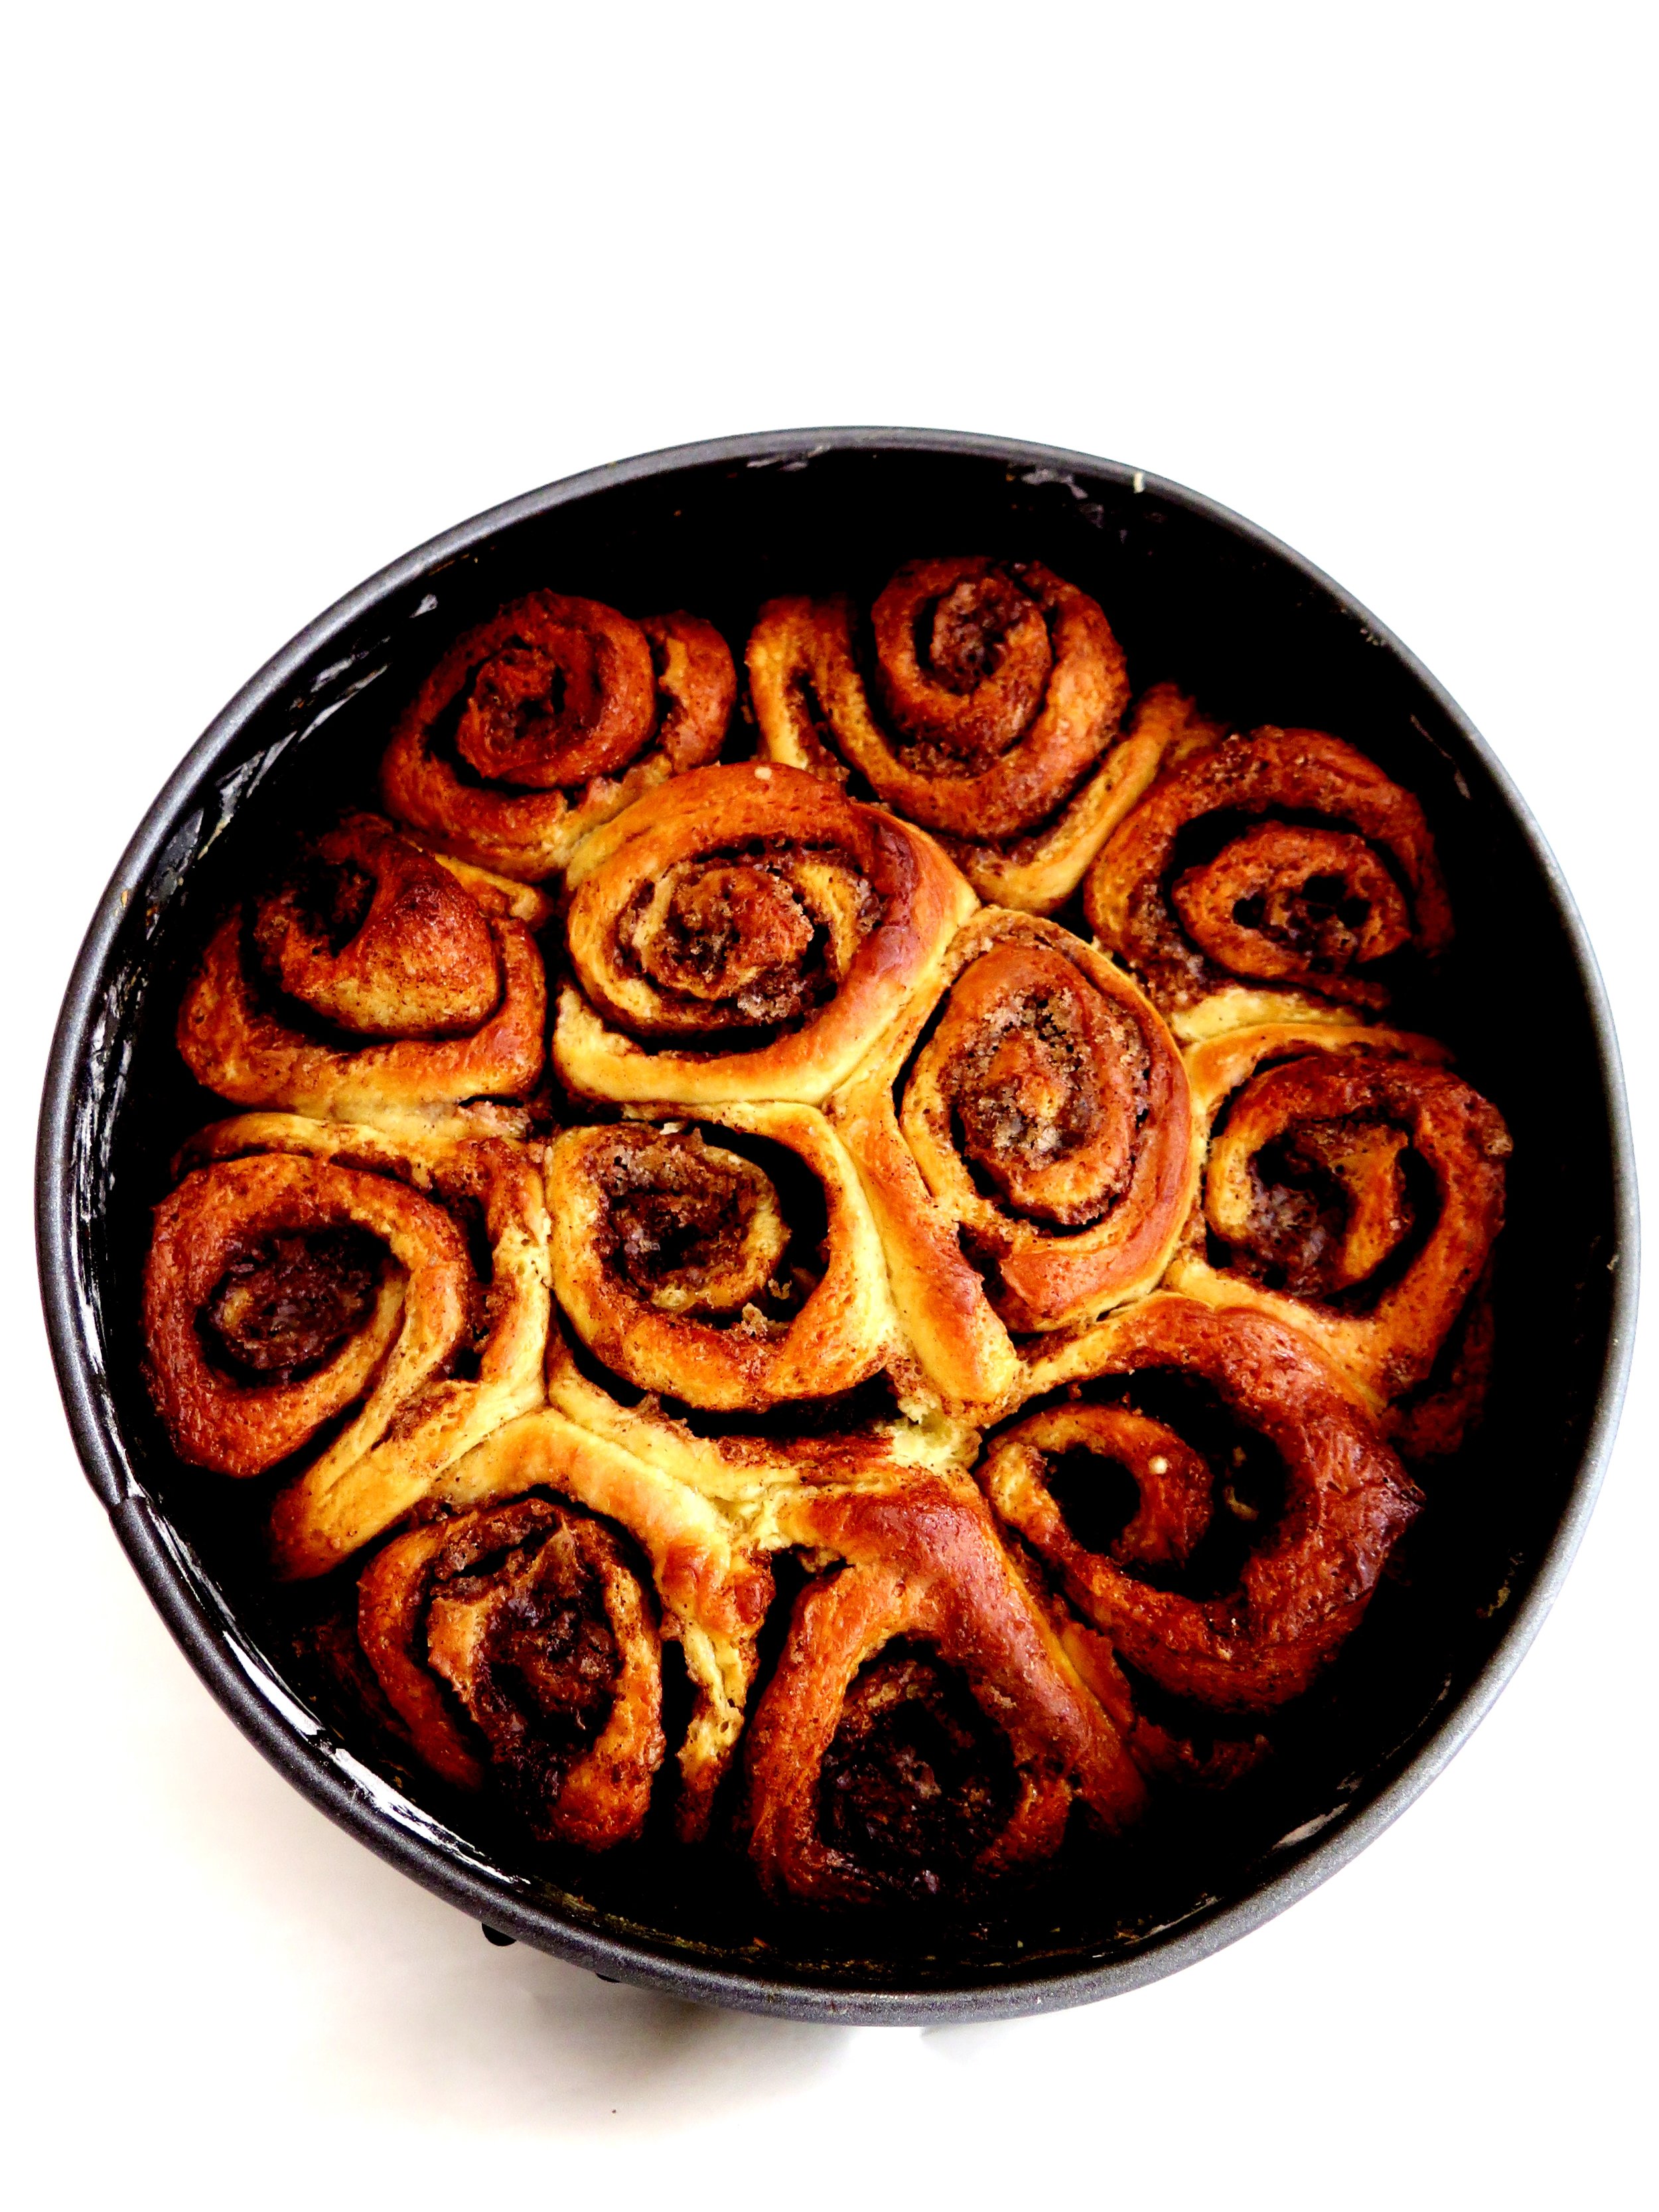
When I was six I experienced peak cinnamon bun.  In the middle of a farmers’ market in Toronto I was handed a parcel wrapped in brown paper.  Inside was a glistening golden sticky buttery cinnamon swirl - a full face experience, and well worth it.  Ever since then I’ve been looking for one to mirror its spiced perfection, but my quest continues to this day.  To the untrained/inexperienced/non-cinnamon obsessed palate a cinnamon bun is just a cinnamon bun.  Wrong.

Brown Butter Brioche Cinnamon Buns

My gluttonous many-year quest has allowed me to sample the many different types:  there is the American gloopy, slightly under baked, doughy, cream cheese-coated type.  This can be found in a ubiquitous American chain (at particular low points during my degree I used to linger outside the Cambridge branch just to catch the cinnamon perfumed scent).

Brown Butter Brioche Cinnamon Buns


At the opposite end of the scale there’s the more refined flaky and French variety which is unsatisfyingly mild in terms of cinnamon flavour if you’re an obsessive like me.

Brown Butter Brioche Cinnamon Buns


Somewhere in between the two is the Nordic variety, cardamom and cinnamon infused, with a delicate dough (my trip to Norway this summer will be dedicated to experiencing as many of these as possible).

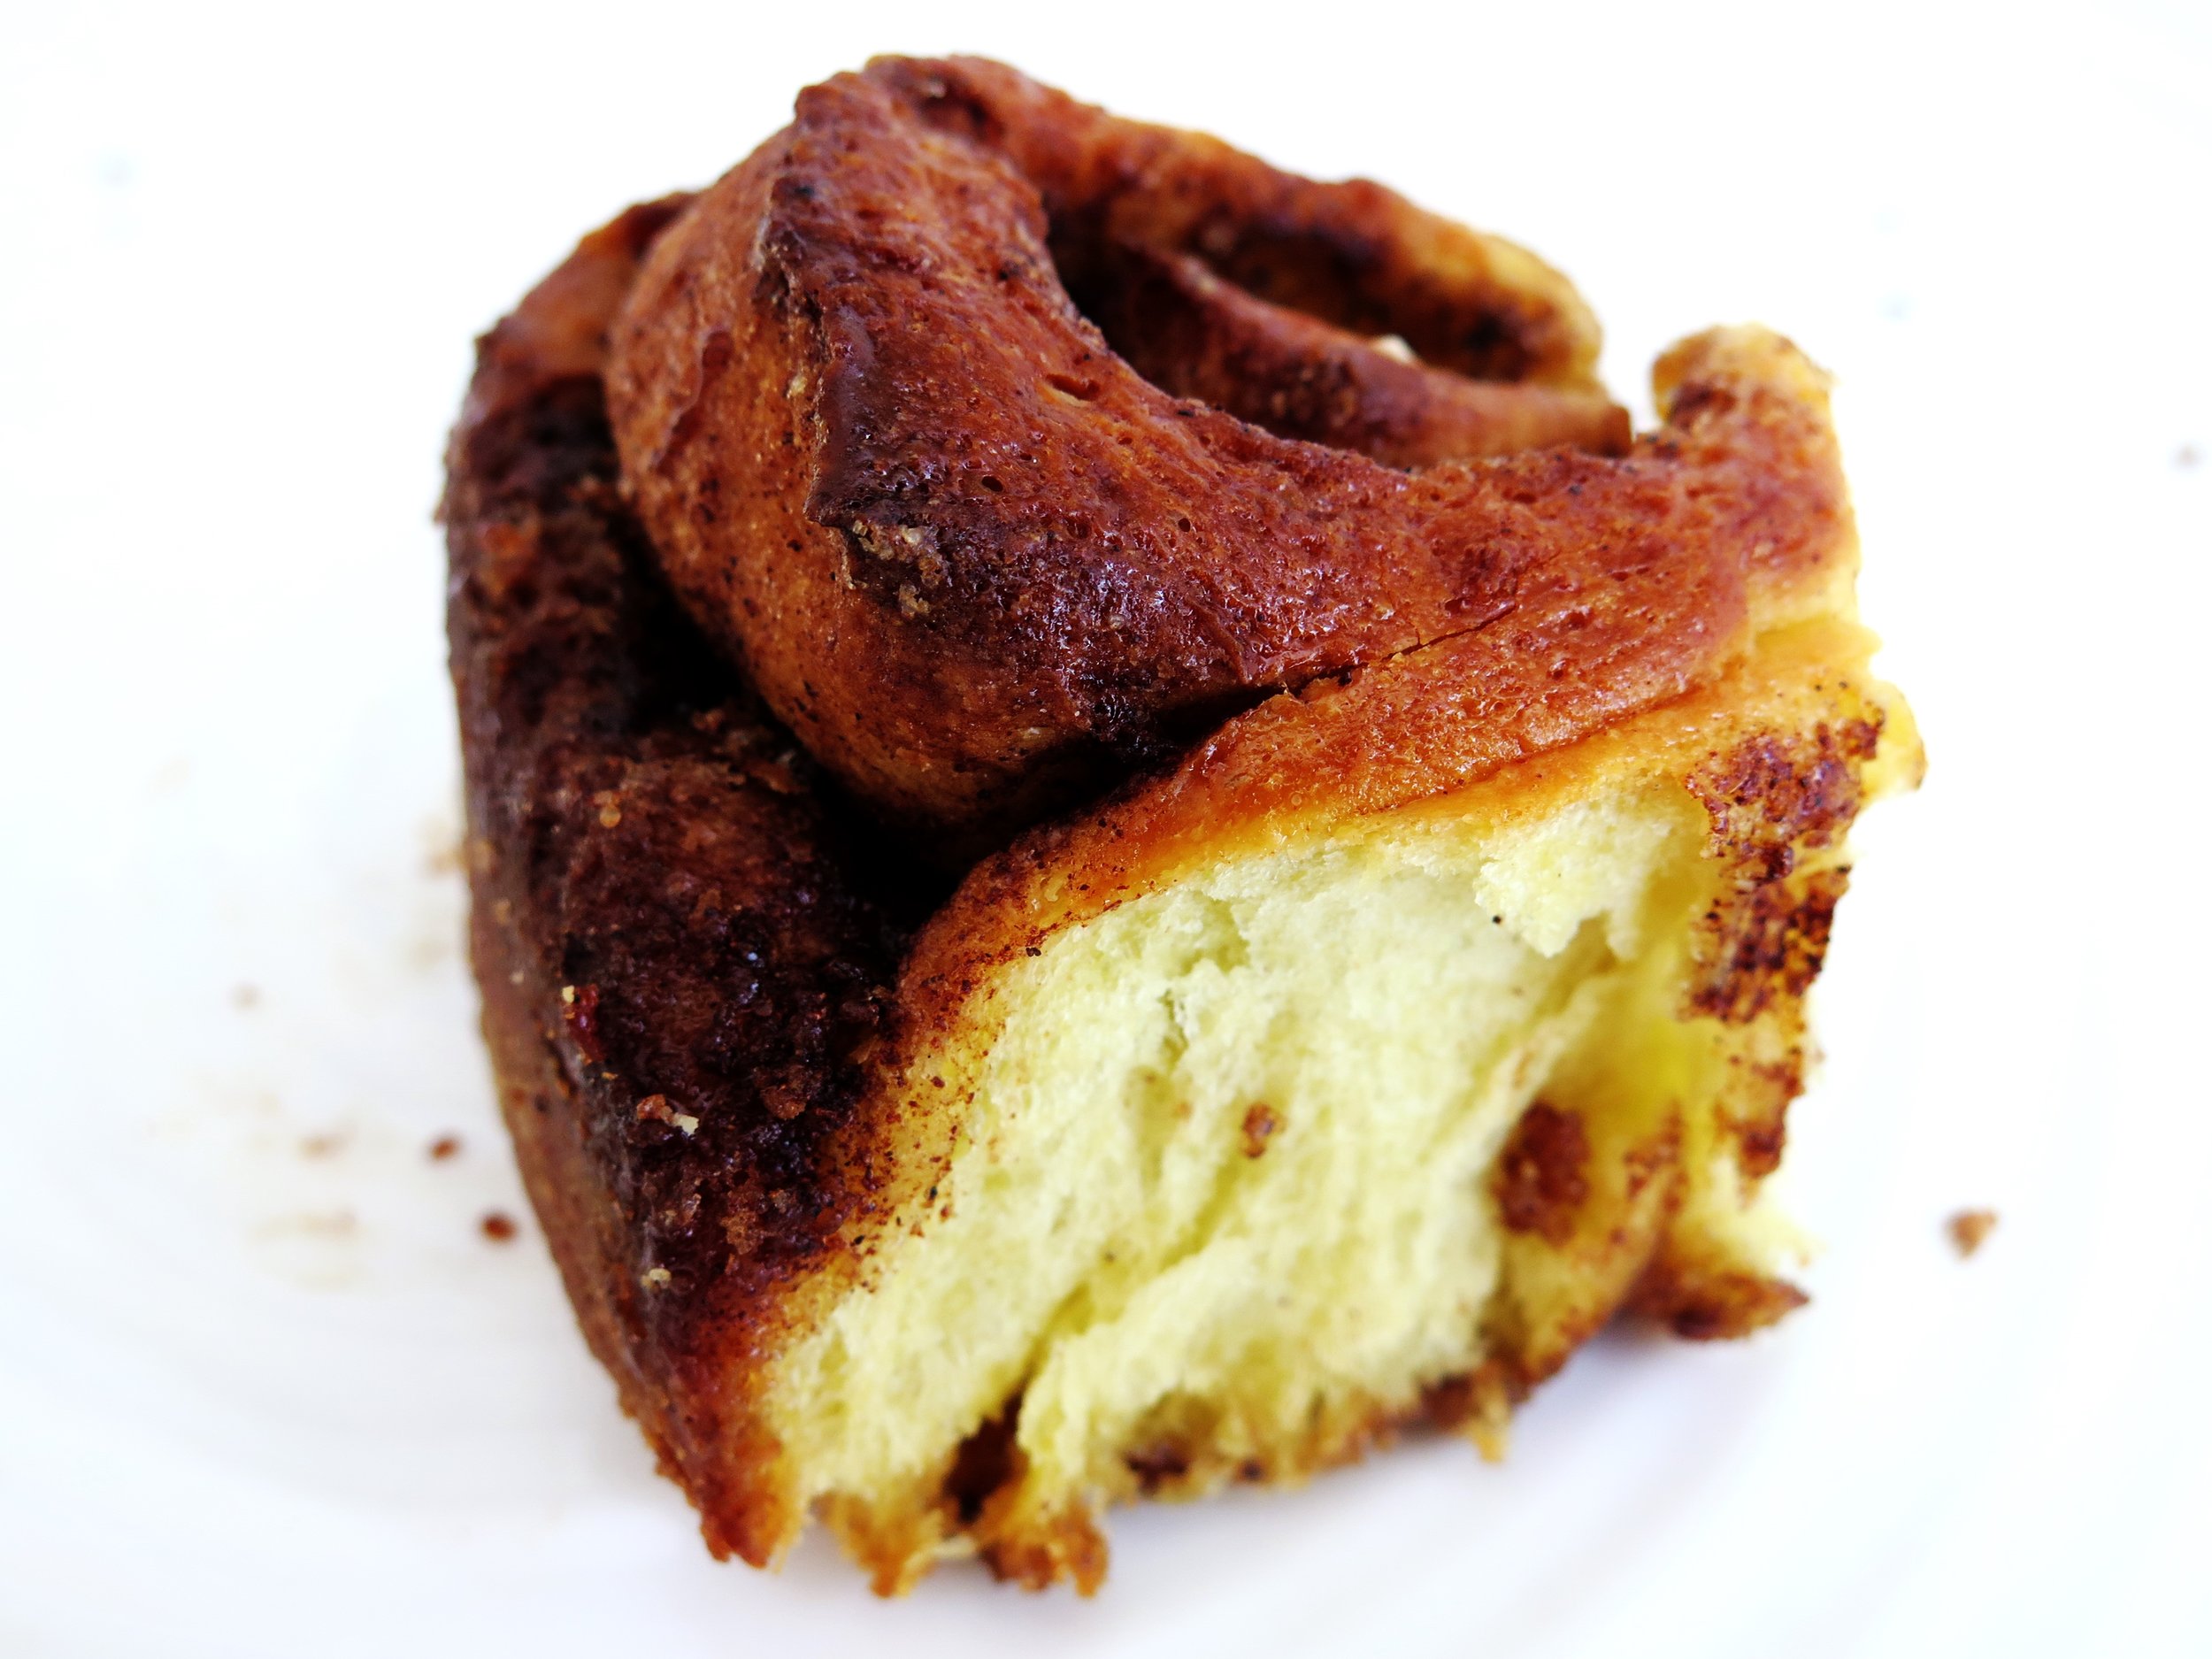
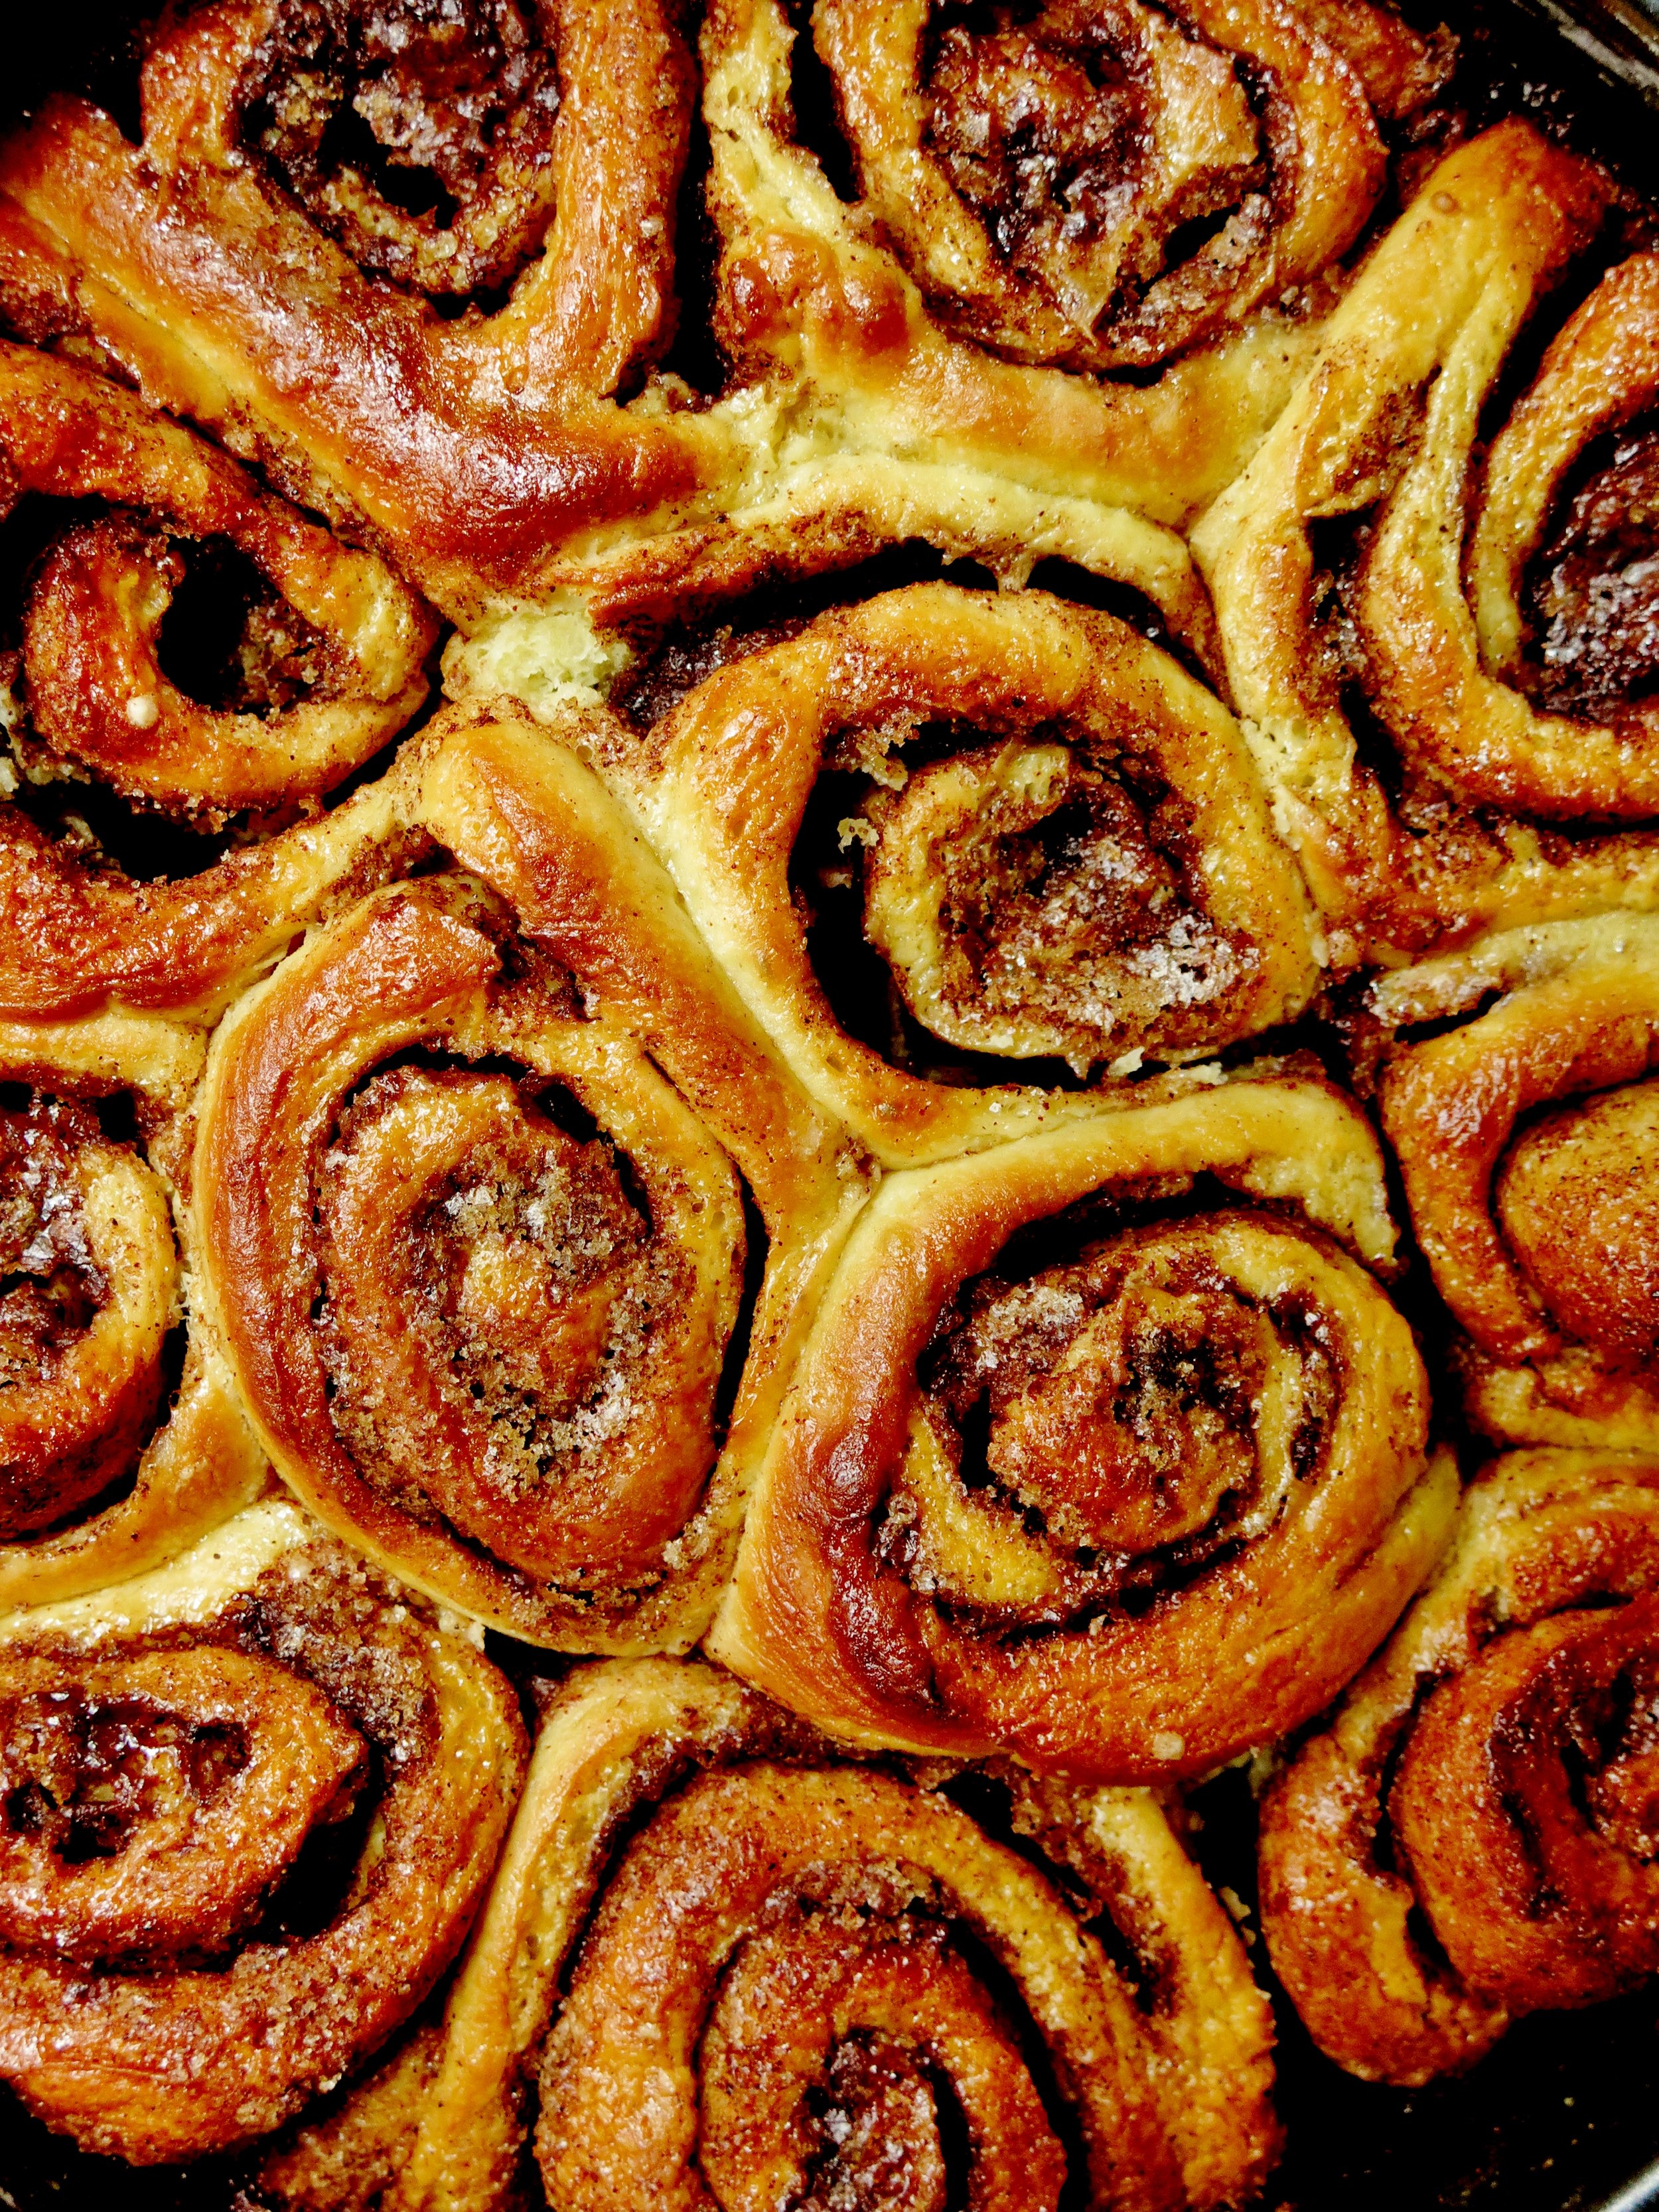
Brown Butter Brioche Cinnamon Buns   My own recipe falls somewhere in the middle of the 3 varieties.  The brioche dough is soft and light on the inside and crisp on the outside, the browning of the butter in the filling adds a nutty richness, and the muscovado sugar makes the bun moister and adds greater depth of flavour than plain caster sugar.  As the buns cook, the sugar cinnamon filling caramelises slightly at the base adding a moreish stickiness.

Brown Butter Brioche Cinnamon BunsAlthough the brioche dough requires starting the evening before, don’t let it stop you from making these.  They are, in fact, incredibly easy and quick to make.  It’s also rather lovely going to bed knowing that a cinnamon bun awaits you the next day…

Brown Butter Brioche Cinnamon Buns


Brown Butter Brioche Cinnamon Buns


Ingredients

Brioche

1 ½ tsp active dried yeast

3 tbsp lukewarm water

285g strong white bread flour

¾ tsp salt

40g caster sugar

3 medium sized eggs + 1 to paint the buns

115g cold unsalted butter

Cinnamon Filling

90g butter

160g light brown muscovado sugar

3 tbsp cinnamon

½ tsp salt


1 round 9 inch tin, greased and dusted with flour


Method

  1. In large bowl stir together yeast and water until the yeast has dissolved. Leave in a warm place for 5-10 minutes until the yeast is activated and the mixture begins to go slightly frothy.
  2. Add in the flour, salt, sugar and eggs and mix until thoroughly combined and the dough is smooth and sticky. If you are using a Kitchen Aid, as I do, fit it with the paddle and mix.
  3. Stirring continuously (or with the machine on a medium-high speed) add in the butter bit by bit, waiting until it is fully combined before adding more. Once the butter is fully combined, keep mixing until the dough is smooth and shiny. This will take about 8-10 minutes.
  4. Placed dough in a lightly greased bowl, cover with cling film, and place in fridge overnight or for minimum 8 hours.
  5. The next day make the cinnamon filling by placing the butter in a pan over a medium heat. Once it has melted, leave it on the heat for another minute until it goes golden in colour and has a rich, nutty aroma. Mix the sugar, salt and cinnamon with the butter to form a paste and set aside to cool.
  6. Remove the dough from the fridge and, on a board dusted with flour, roll it out to a rectangle of roughly 30cm by 38cm and to a 3/4cm thickness. Spread the cinnamon filling evenly over the rectangle.
  7. With long side of the rectangle closest to you (i.e. landscape as opposed to portrait), roll the dough from the long side to the other long side tightly, like a scroll. With the seam side down, slice the roll into 12 even slices. Arrange the slices spiral side up in the prepared tin, cover with a tea towel, and allow to rise for an hour in a warm place.
  8. Preheat the oven to 180˚C. To give the buns a beautiful golden shine, beat the egg and brush a thin layer over them.
  9. Place the tin in the oven and allow to bake for about 20-30 minutes until the surface is a golden brown and a skewer comes out clean. If it looks a little too dark early on in the bake, cover with tin foil. Once cooked, place on a wire rack to cool (or eat immediately).

Brown Butter Brioche Cinnamon Buns

2 Comments

Tarta delle susine (drenched plum cake)

15 Comments

Tarta delle susine (drenched plum cake)

plumtart3-1024x6821.jpg

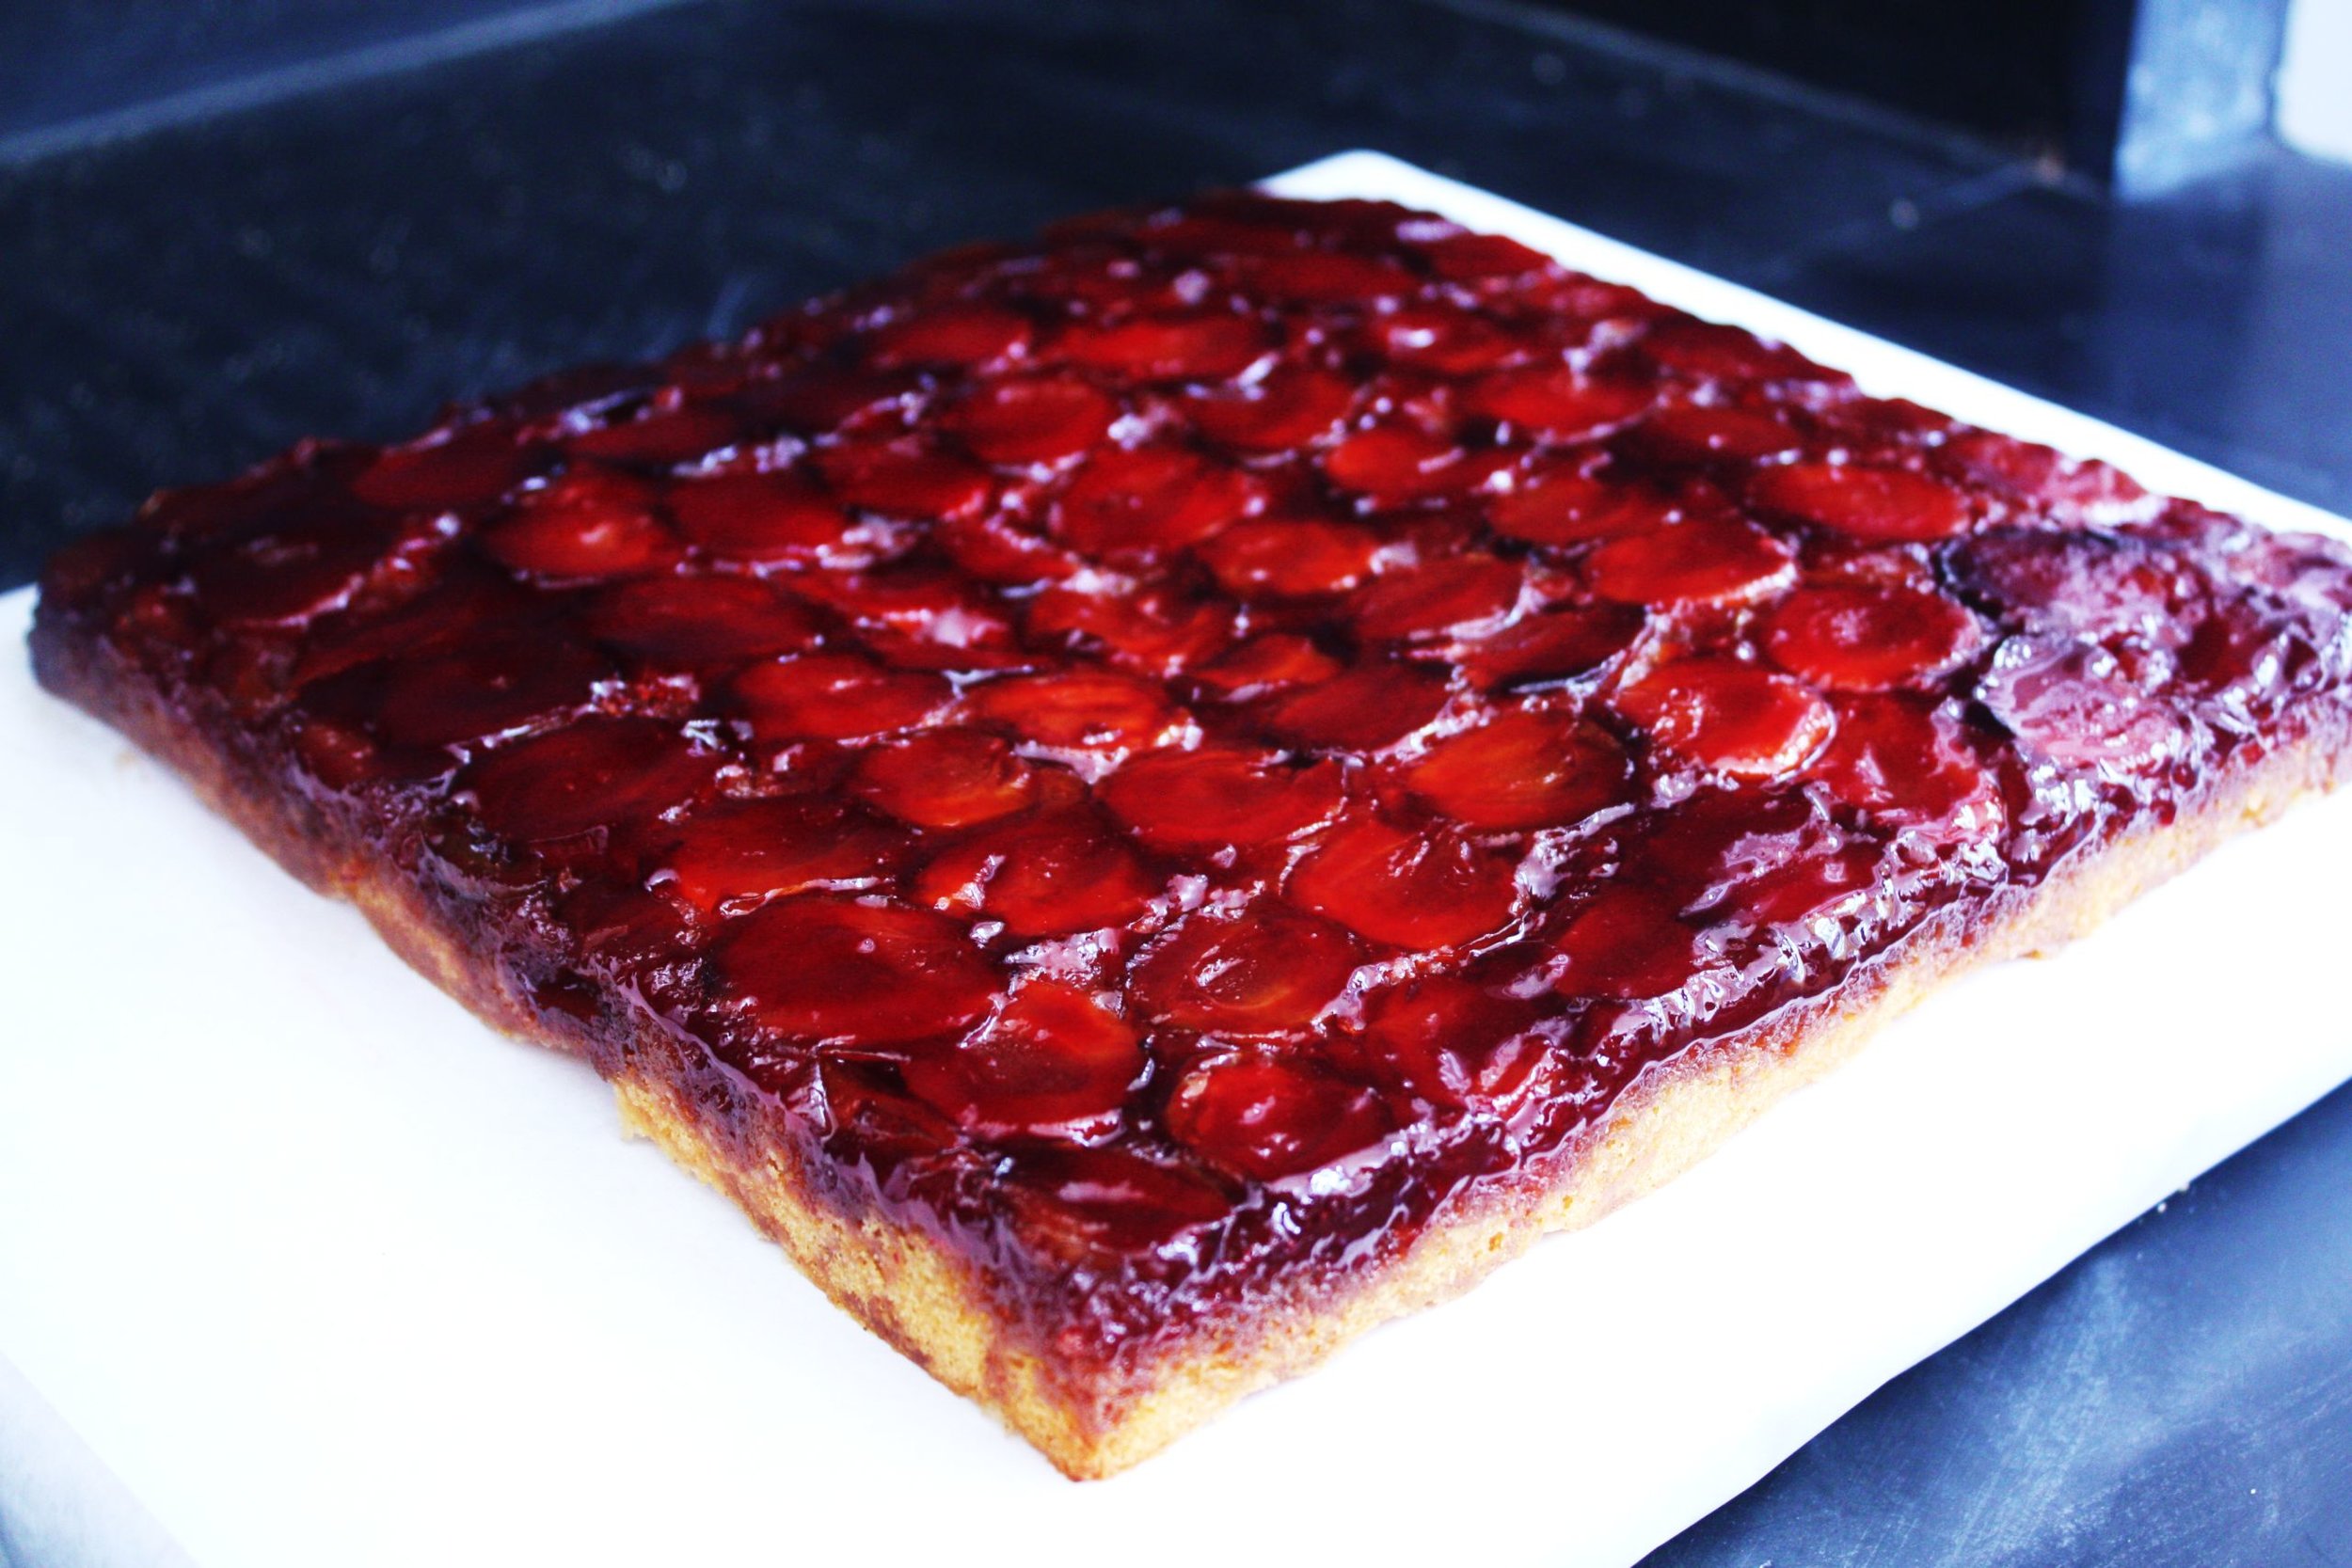
plumtart4plumtart4 As Nigella says, “Moderation in moderation”, a phrase which defines my 21 year relationship with food and cooking.  If I see that a recipe requires half a lemon, I will automatically triple it. A quarter teaspoon of vanilla essence?  Quadruple that.  The drenched plum cake has become my signature dessert.  I first tried a version of it at Ballymaloe House, the Irish country house hotel, when I was 10.  It was so good I ate myself sick.  This recipe is its 7th incarnation, and the pinnacle of all variations on a plum dessert theme: it will leave you with a Tantalean desire for more.  There is no moderation in this dessert.

plumtart11

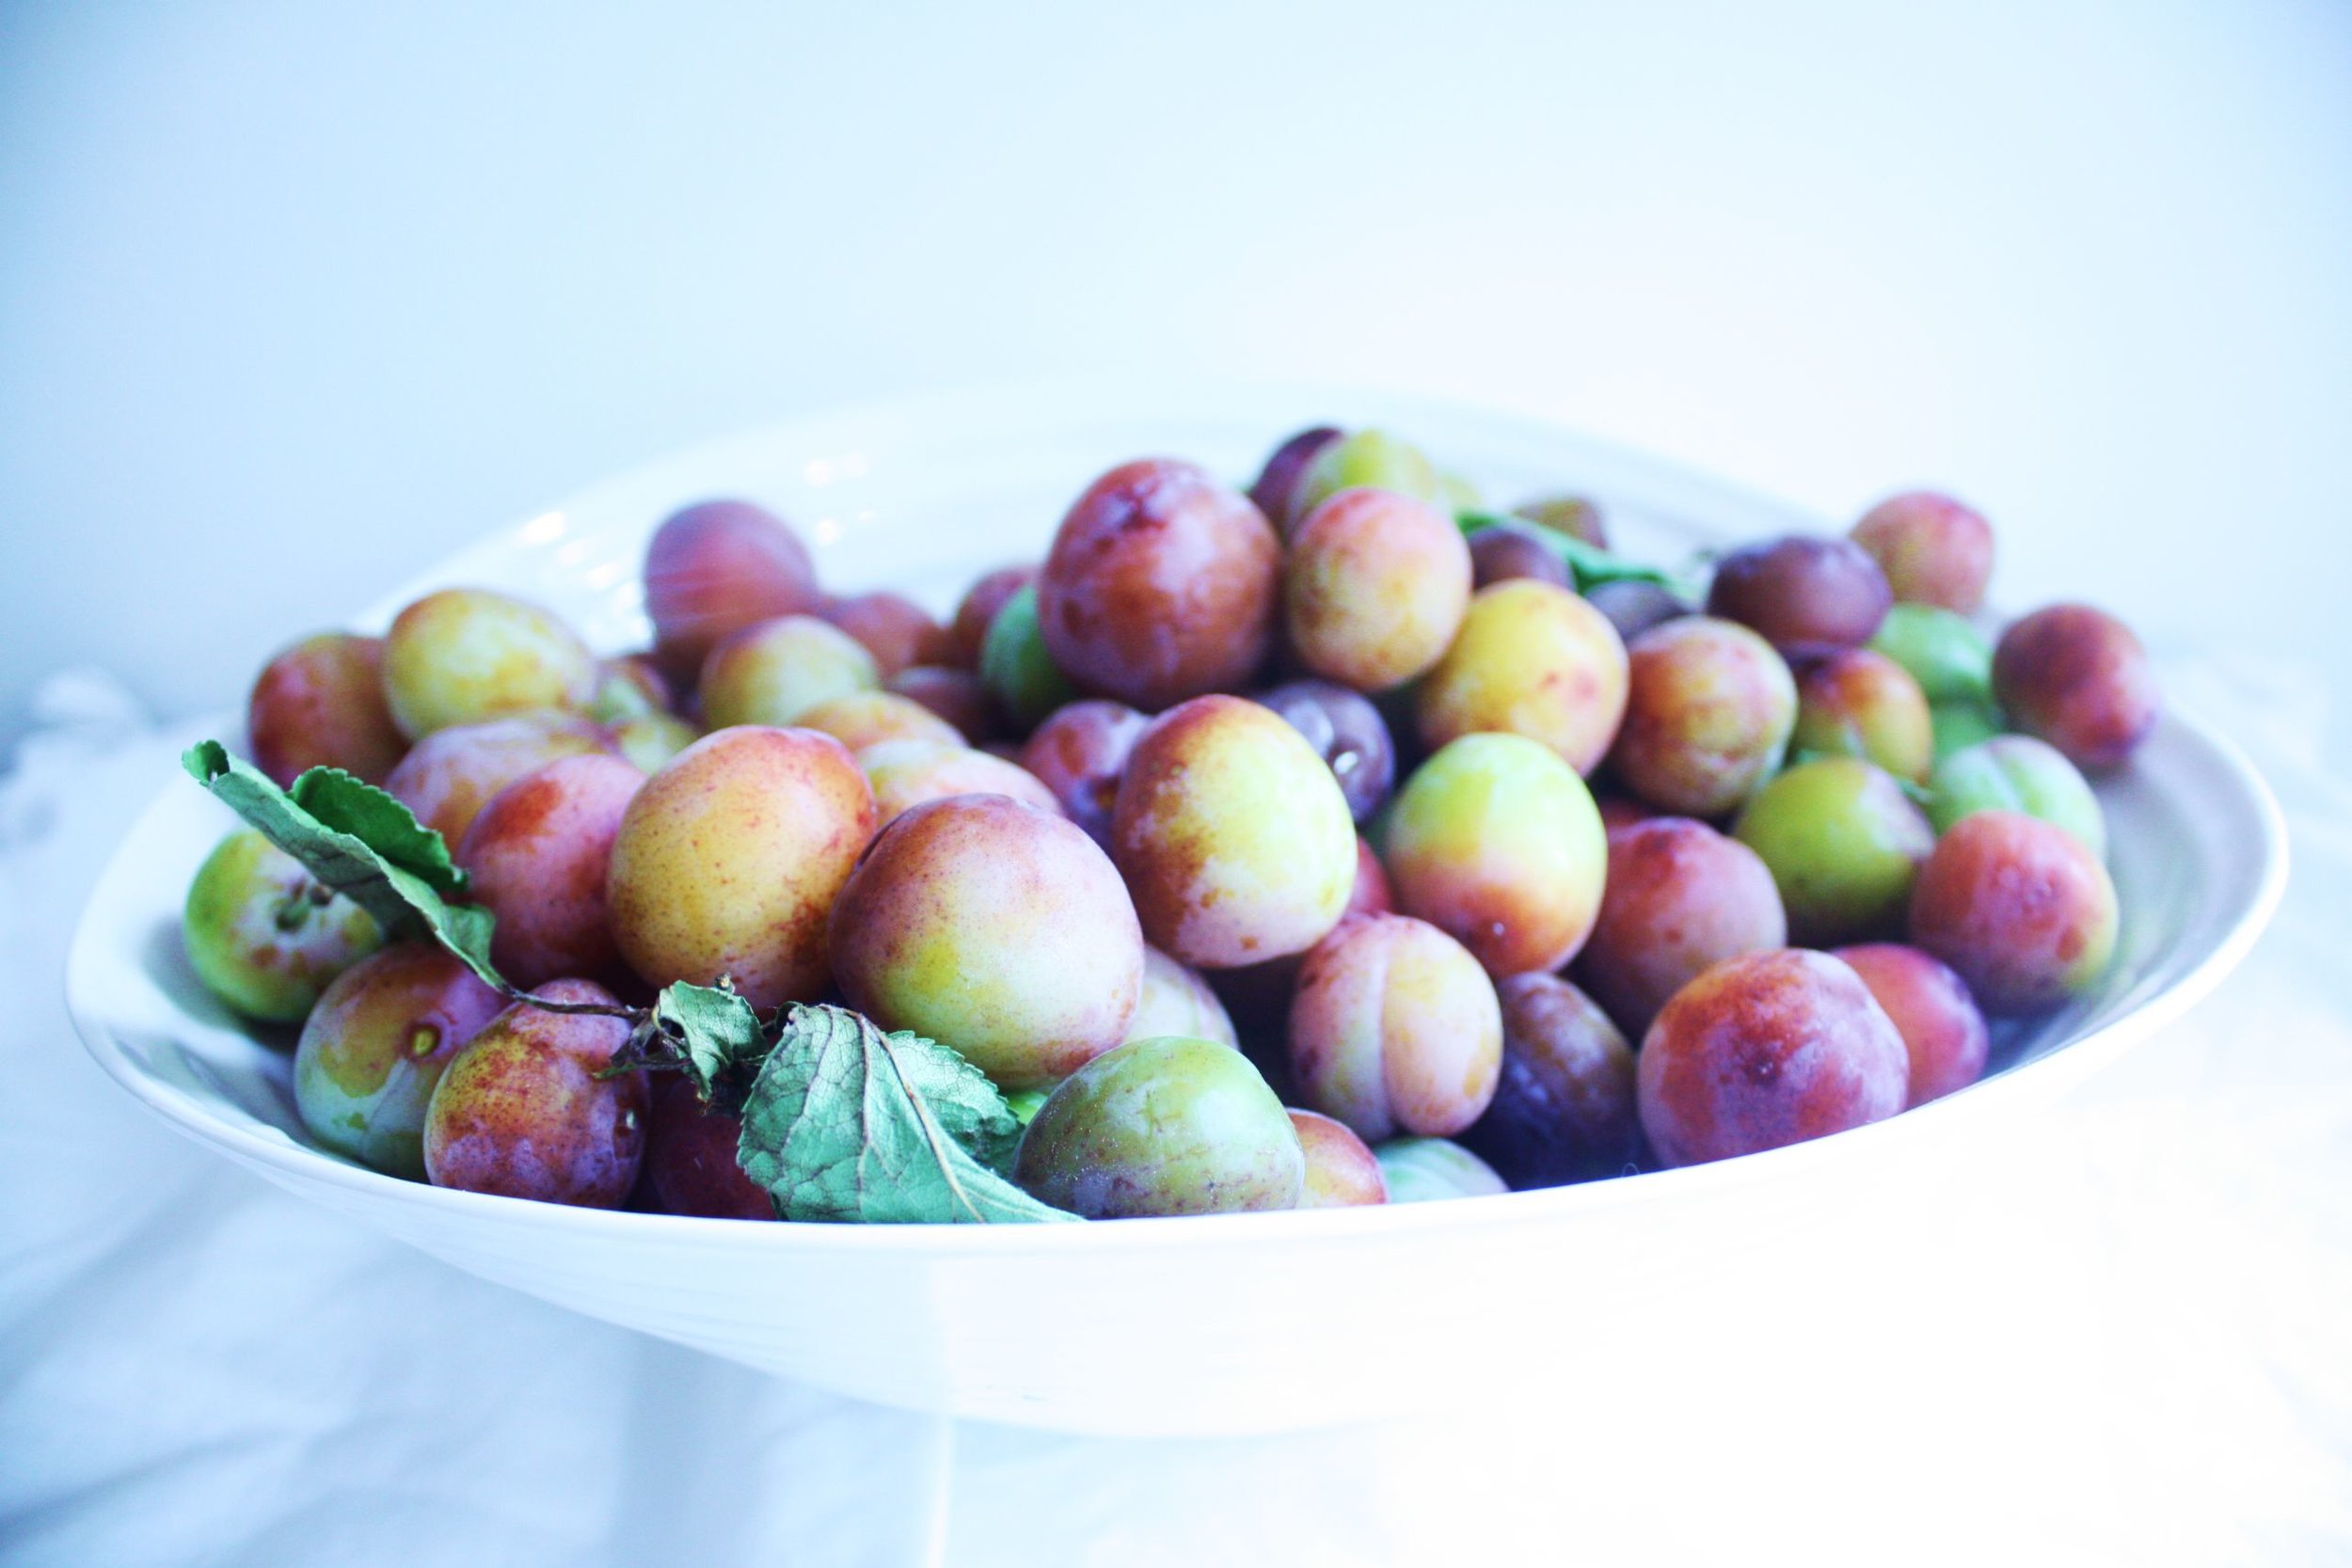
Late summer/early autumn is the best season to make this dessert, when the plums are rich, firm, red-fleshed and smell faintly of acetone.  Use the best quality plums you can find – an over-ripe plum will ruin it.plums3


I suggest laying out the plum halves cut side down in the tine before making the caramel to make sure you have the right number. Remove the plums before you make the caramel and replace them after the caramel is poured in.


plumcakecaramel1


This dessert keeps for a couple of days, and is in fact better the day after making, when the cake is drenched with the juices.  Keep covered in the fridge and remove a couple of hours before serving to allow it to come to room temperature.


plumtart3


plumtart9

Ingredients

Caramel layer:

350g caster sugar

180ml water

About 900g halved and stoned plums (slice down the middle and twist to separate halves)


Batter:

150g caster sugar

150g unsalted butter

210g self-raising flour

3 large eggs

1 tsp vanilla extract

½ tsp salt

Zest of 1 lemon

Zest of  ½  orange


Syrup:

3 plums, halved and stoned

150g caster sugar

50ml water


26cm square tin with a depth of at least 5cm, greased well with butter (or a circular/rectangular tin of the same area)

Preheat oven to 180˚C


Method

Caramel

  1. Pour sugar and water into pan over medium heat, and stir until sugar is dissolved.  Once the sugar is dissolved, do not continue stirring but let it bubble until it turns a deep golden colour.  This takes 5-10 minutes.  Do not take your eye off it – a split second can be the difference between caramel and burnt sugar.
  2. Remove from heat, and pour immediately into the greased tin so that the base of the tin is evenly covered.
  3. Arrange the plums, cut side down, as tightly as possible in the syrup. It may harden while you are doing this, but that is not a problem.


Batter

  1. In a food processor, blitz all the batter ingredients together, stopping as soon as the mixture comes together.
  2. Spread evenly over the plums and place in middle of the oven to bake for half an hour, or until a skewer into the batter layer comes out clean.
  3. Once the cake is cooked, remove from oven and leave to cool.
  4. Once it is cool, place a plate over the tin, and invert.  Be bold – swift motion is best.


Syrup

  1. Mix the ingredients together in a saucepan over a high heat until the sugar is dissolved.
  2. Continue to cook until the syrup is viscous and the plums have broken down.
  3. Strain the plums off and pour the syrup over the plum cake.  The syrup may be served hot or cold.

Serves 8-10


plumtart12


15 Comments