Viewing entries tagged
summer

Roasted Strawberry & Vanilla Cake

Comment

Roasted Strawberry & Vanilla Cake

...& 14 Thoughts from the Kitchen Sink

From the moronic to the morbid, here’s an insight into what happens when I bake and let my mind wander:

fullsizeoutput_13fd.jpeg

-      Drowning in a vat of sticky bread dough would probably be the worst way to die.

-      When you sieve icing sugar and it puffs into the air in clouds, how many calories are there in one mouthful of air?

-      Why do so many obscure meats taste like chicken and not beef?

fullsizeoutput_13f8.jpeg

-      What is the significance of sometimes craving baby food - especially rusks, and pureed apple and banana?

-      Why do we delude ourselves that avocado on toast has been ‘smashed’?  I’ve never seen anyone smash an avocado.  I suppose ‘smeared’ doesn’t have the same ring to it.

-      If I could subsist on one food for the rest of my life it would most likely be oats.

fullsizeoutput_1332.jpeg

-      Nandos’ ‘hot’ sauce is anachronistic.  It was created about 20 years ago and people’s (i.e.my brother’s and my) tolerance for heat has gone up.  They should downgrade it to ‘medium’.

-      What was the exact moment when someone decided to put sugar, milk, butter and flour together to make the very first cake?

-      How do you know nigella seeds are nigella seeds and not mouse droppings?

fullsizeoutput_13b8.jpeg

-      If 2017 was the year of slime porn, why can’t 2018 be the year of dough porn? 

-      Earlier this year some pig farmers tried to halt the use of pig terminology as connotative of greed.  Imagine if other farmers were to do the same: we couldn’t exclaim something was cheesy, or call people ugly cows, or ask people with whom we’re angry if they want beef, or complain that bland people are vanilla, or exclaim that someone is mutton dressed up as lamb, or taunt cowards as being chicken…

fullsizeoutput_13e4.jpeg

-      How many times in my life has a waiter spat in my food on purpose?

-      Why do I have six jars of preserved lemons in my cupboard when I only use a small shaving of one once a year?

-      The smell of freshly baked bread should be a perfume.

fullsizeoutput_139a.jpeg
fullsizeoutput_1369.jpeg

That’s enough musing for one day.

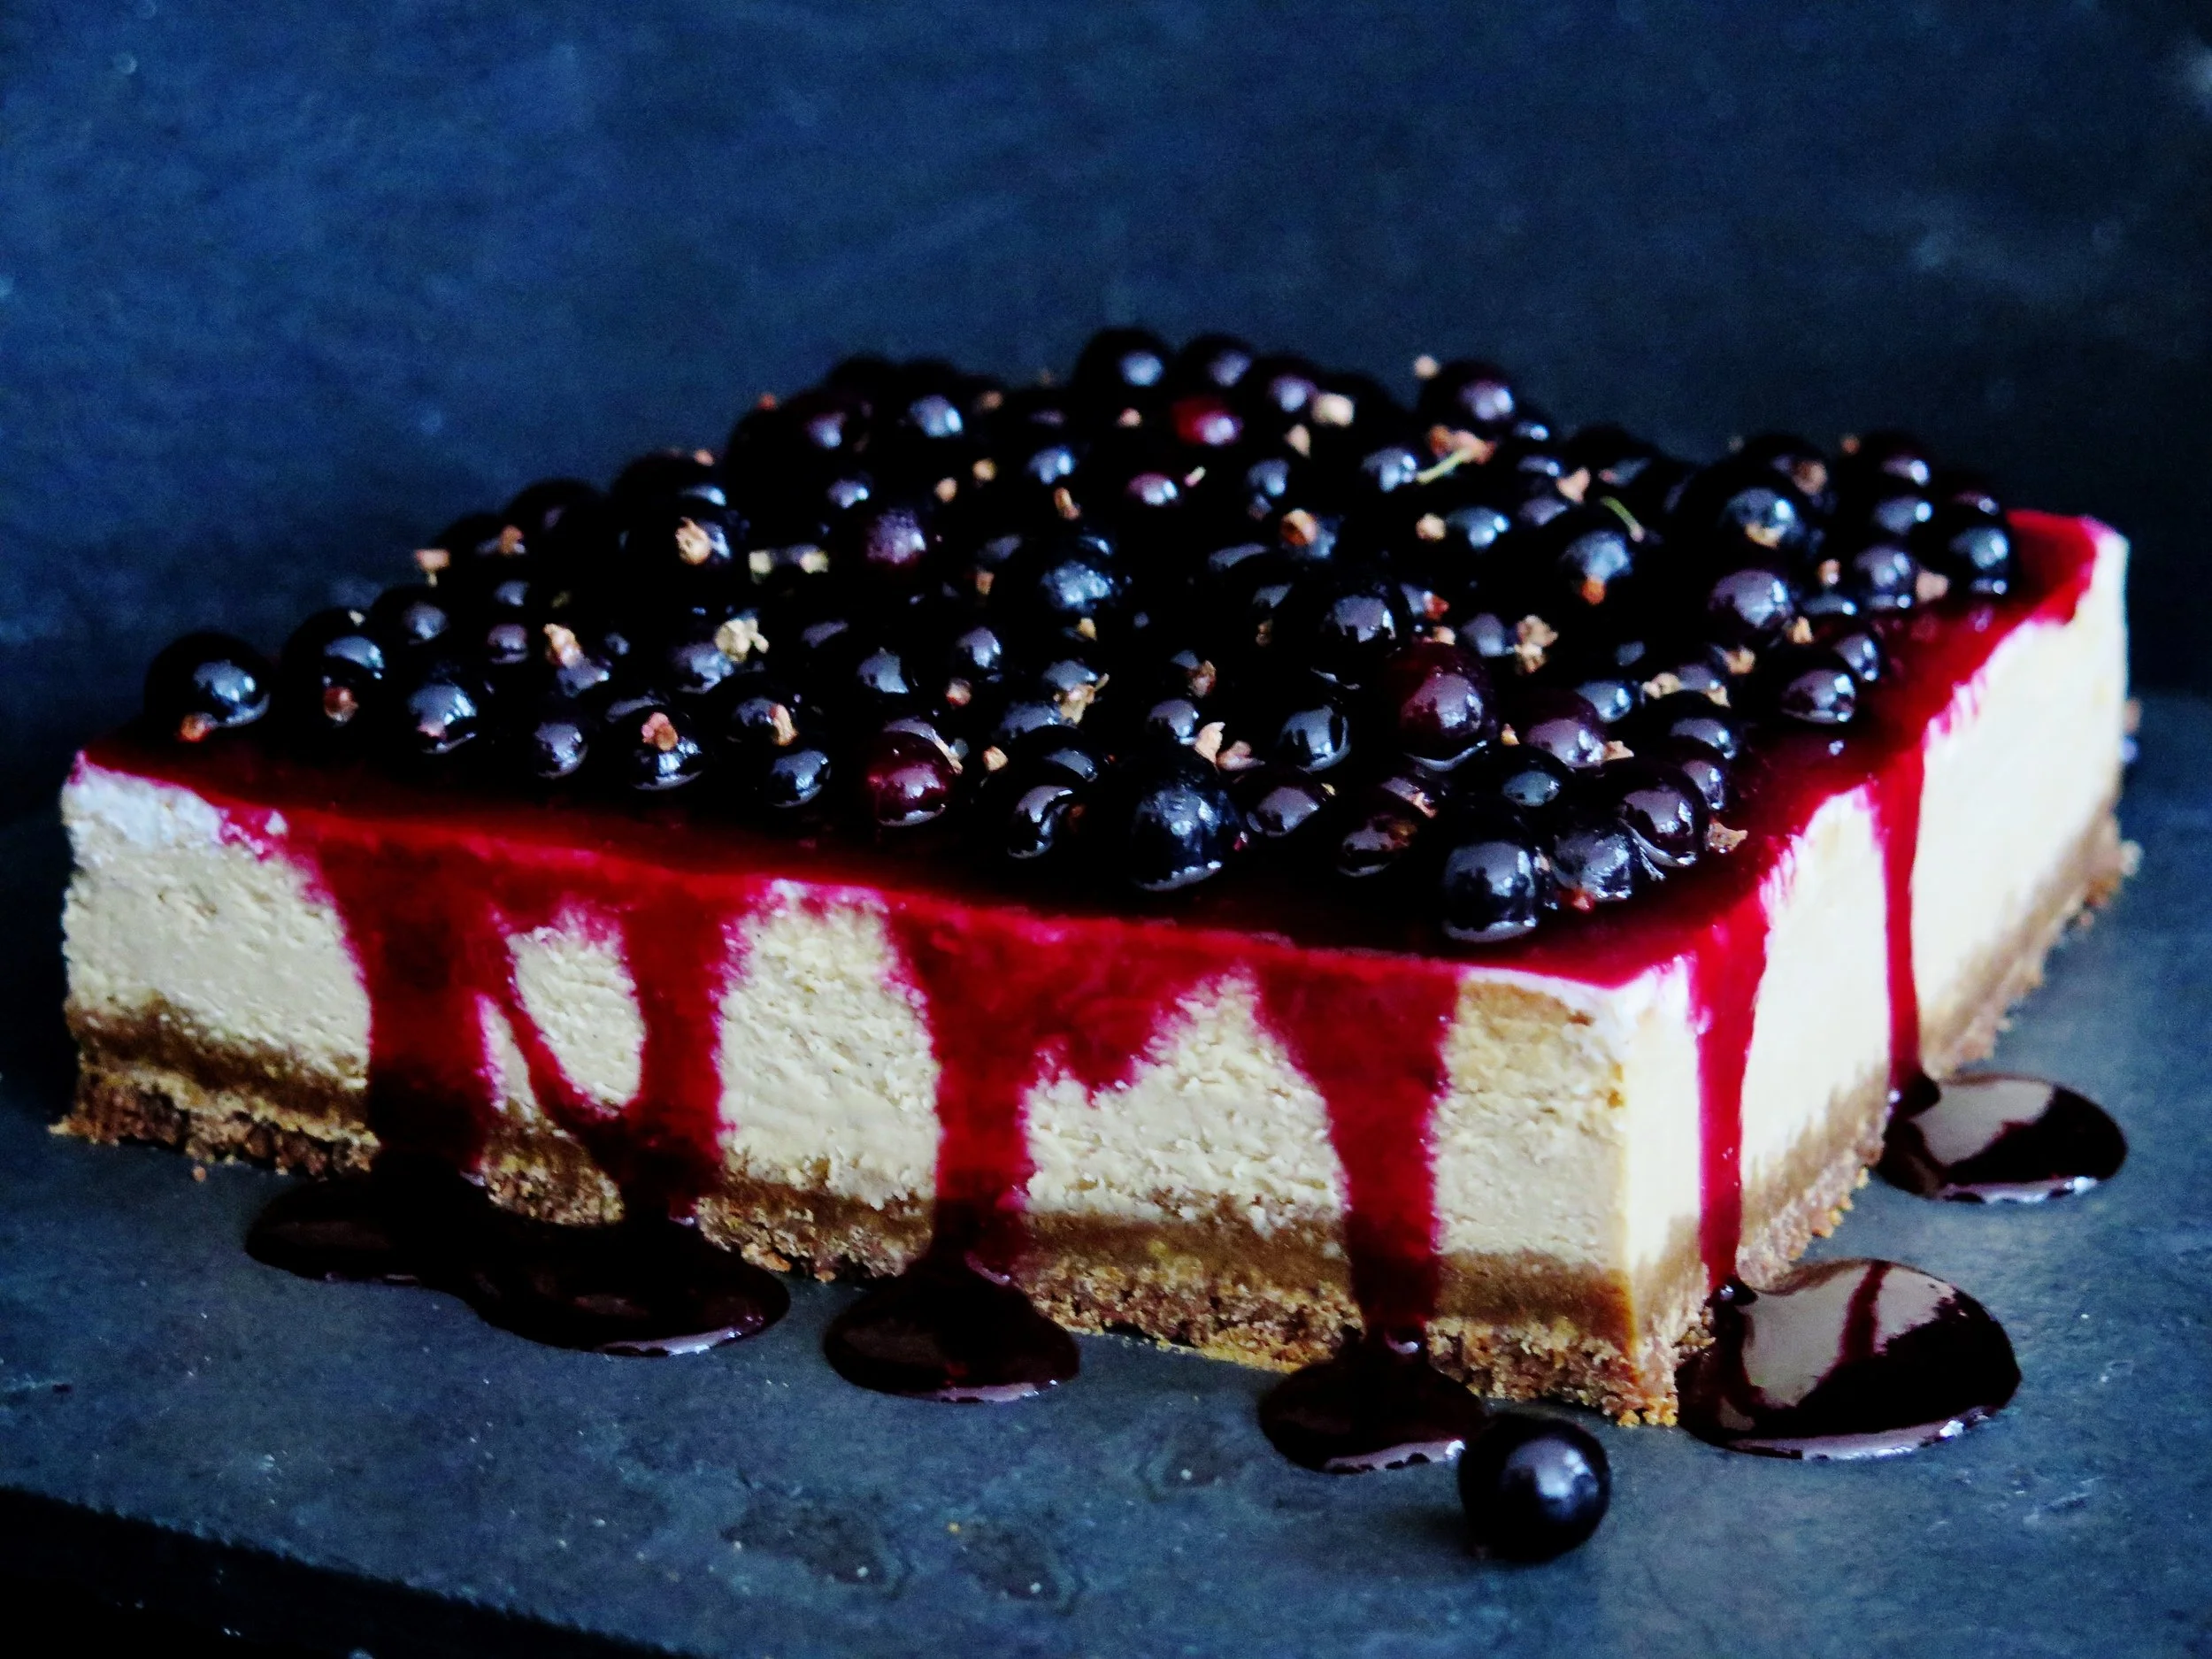
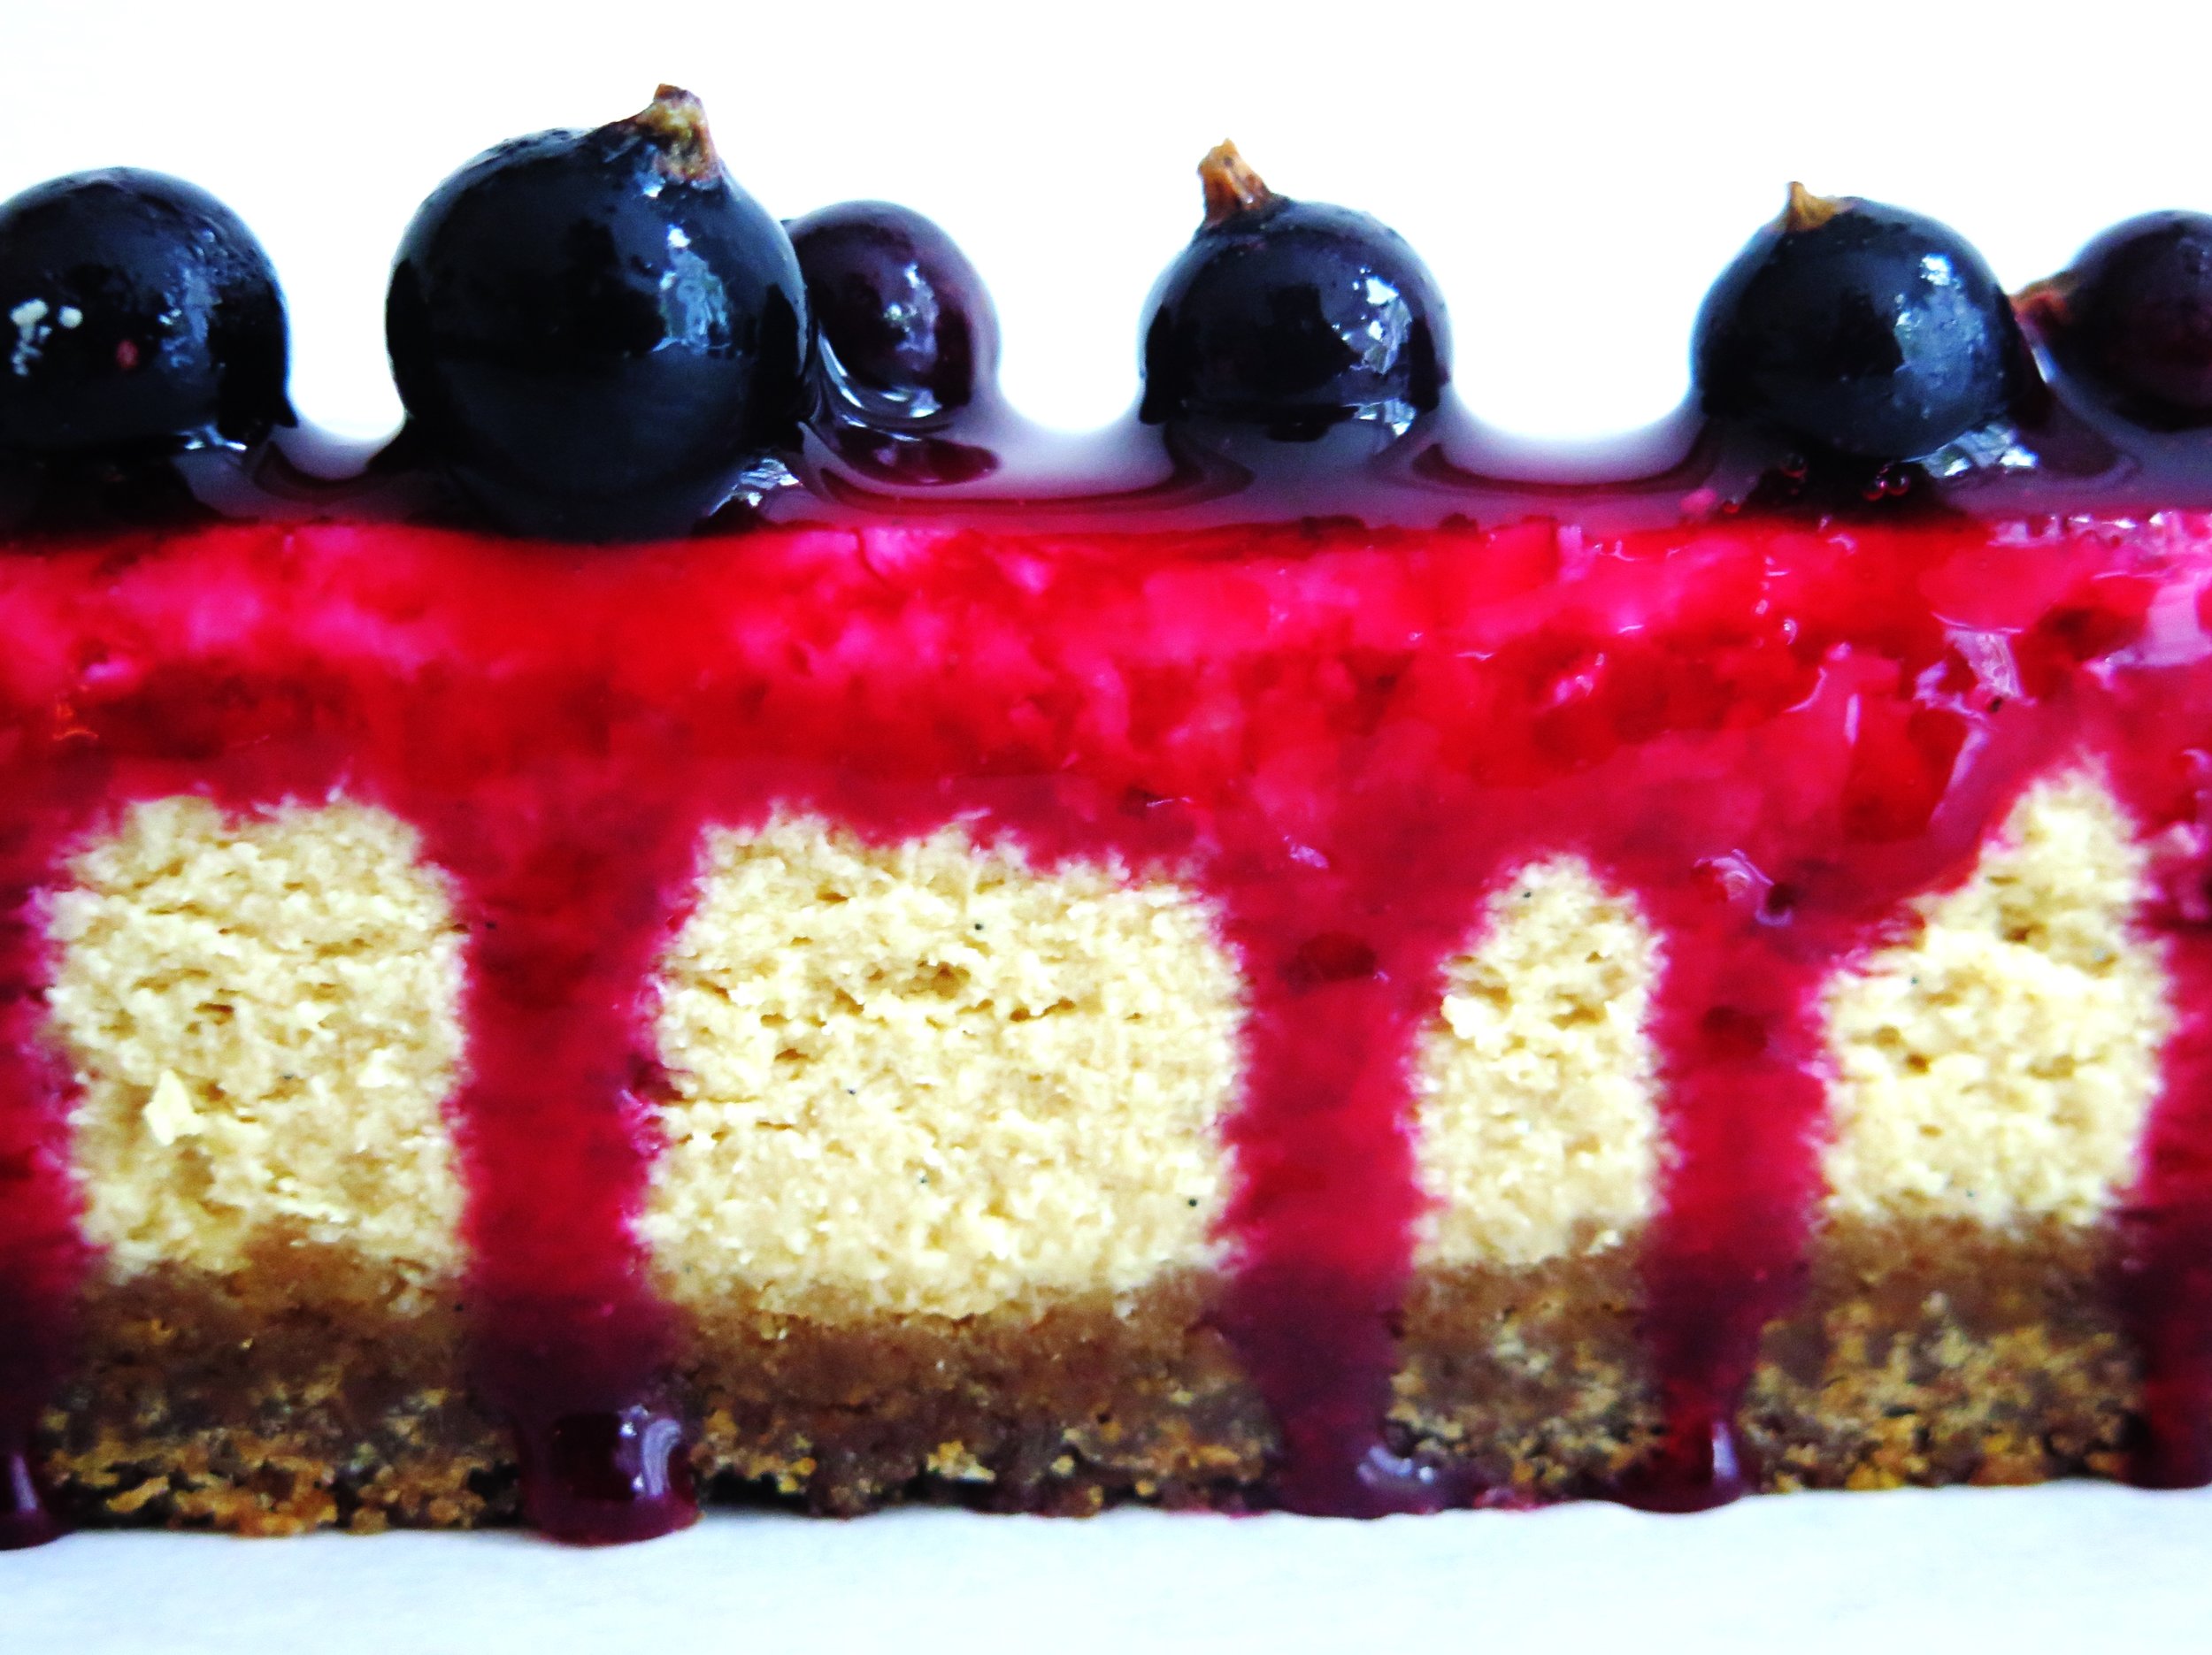
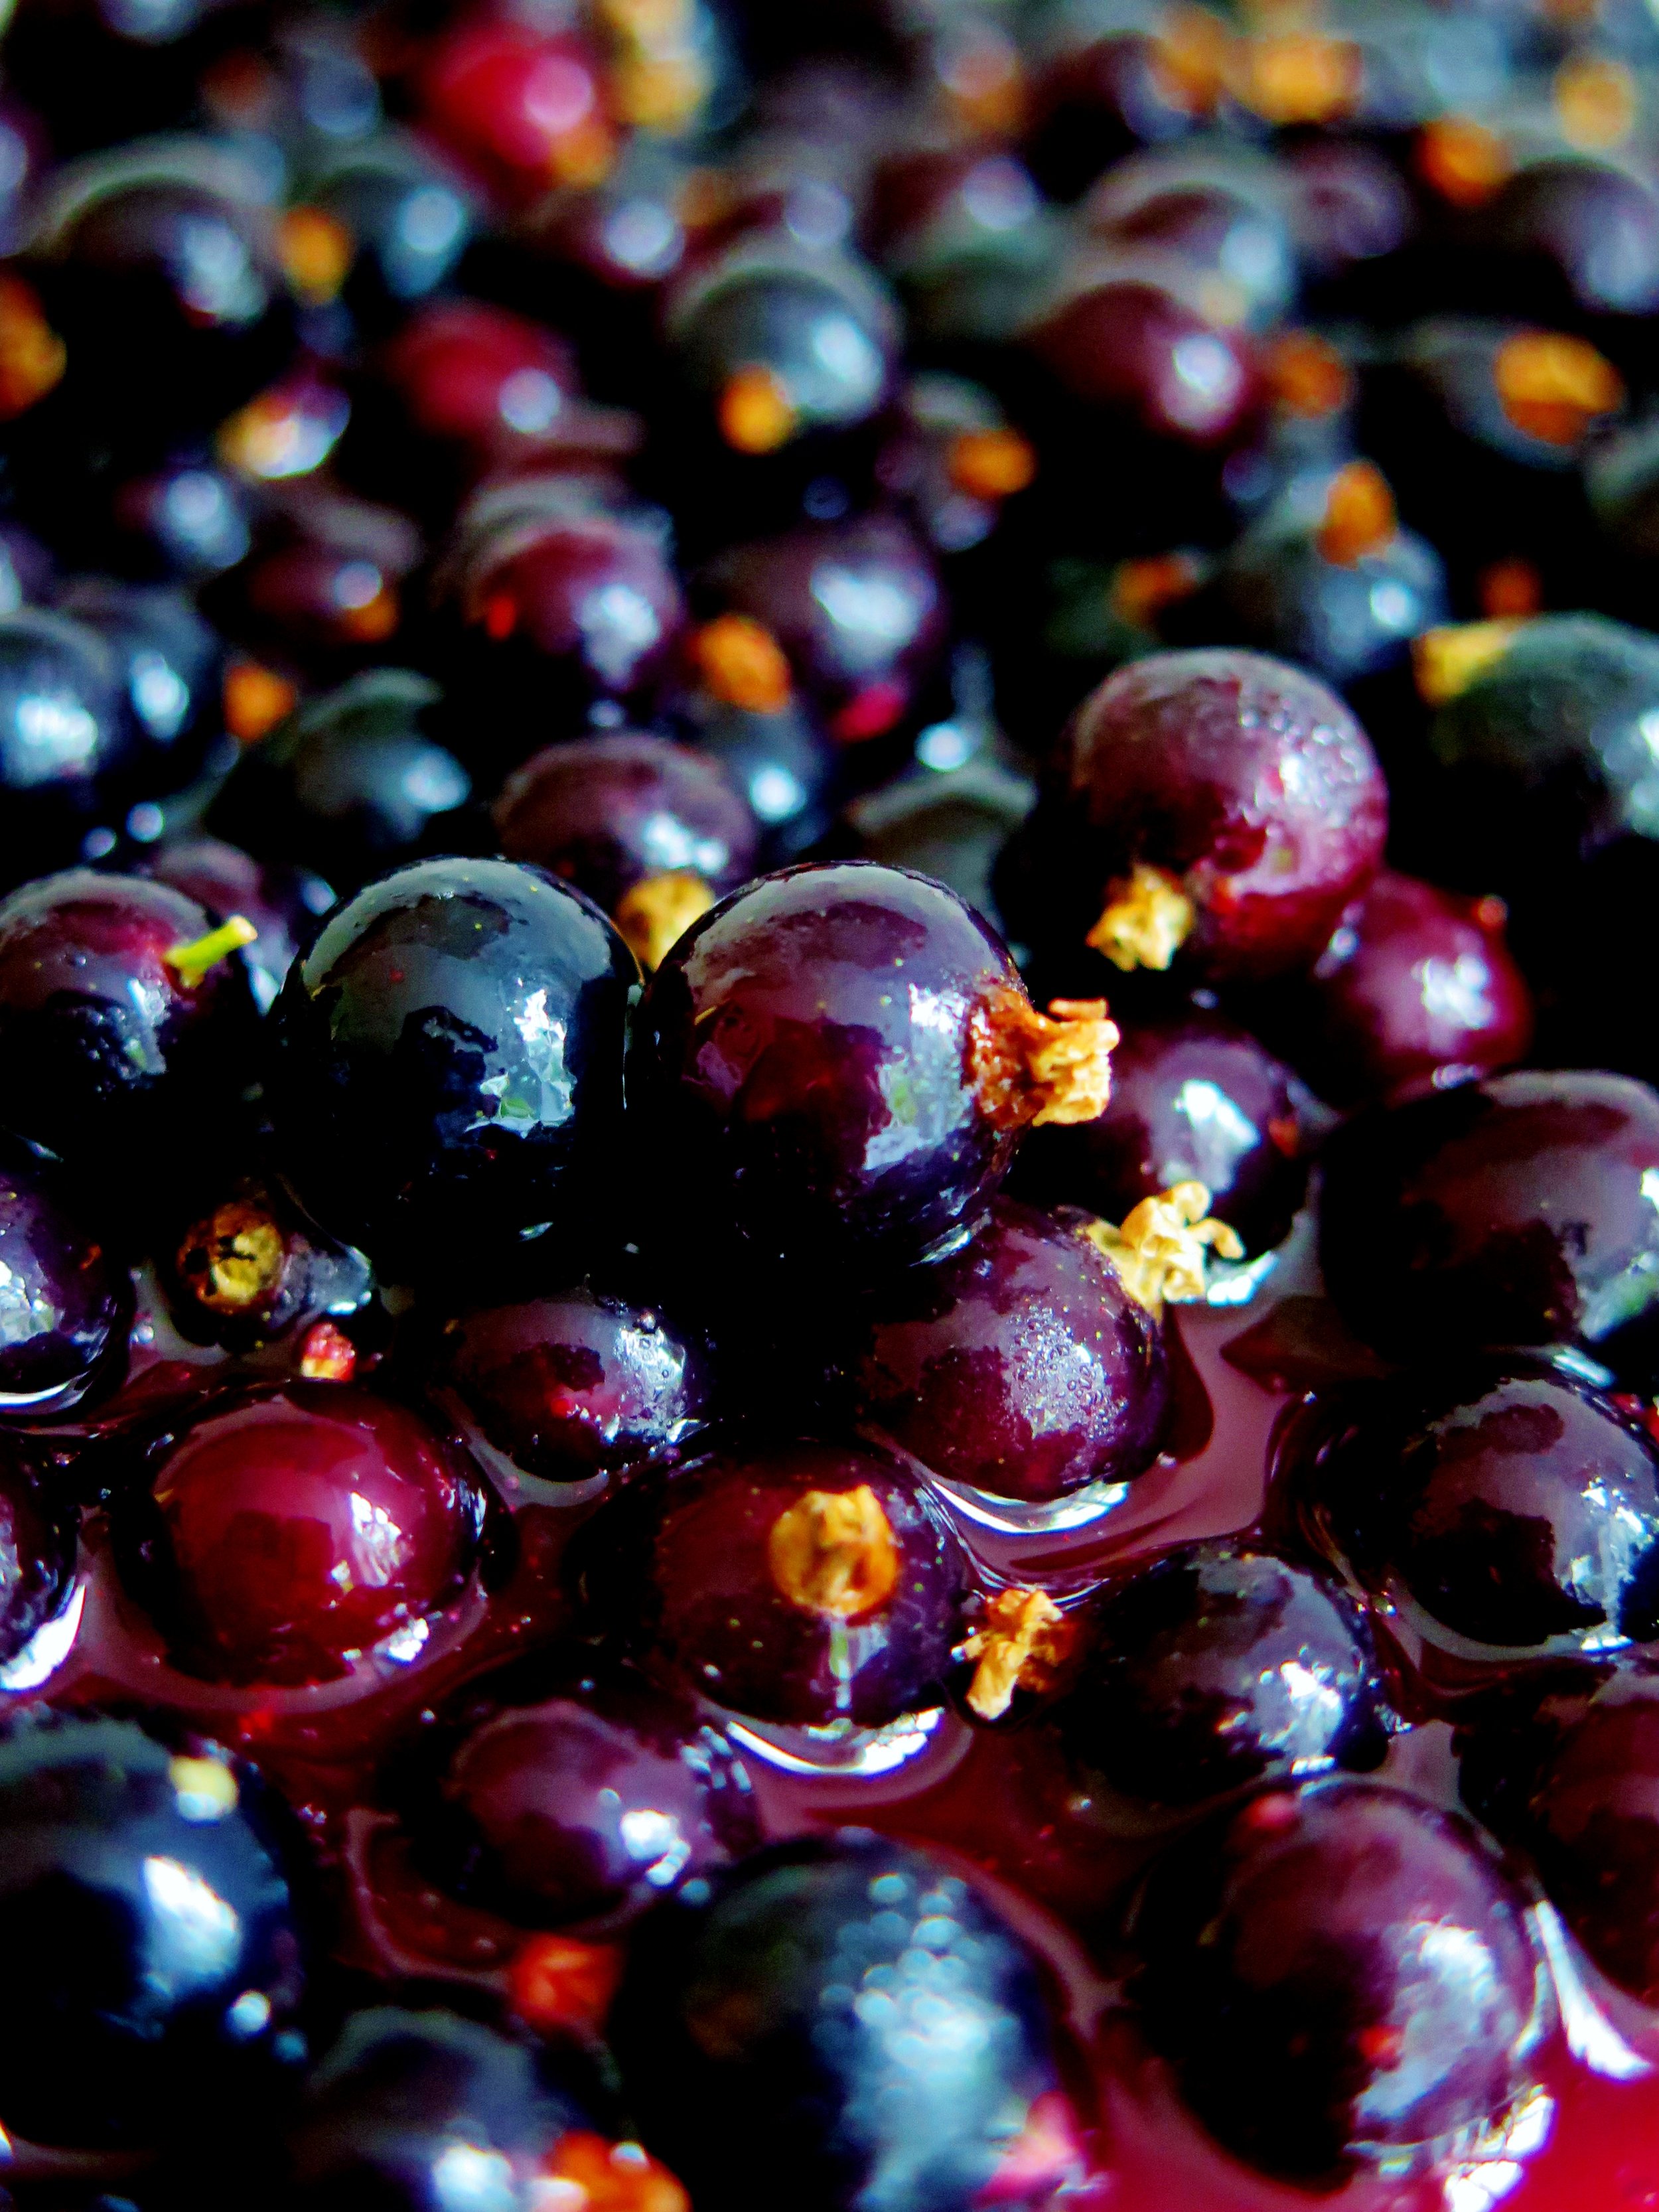
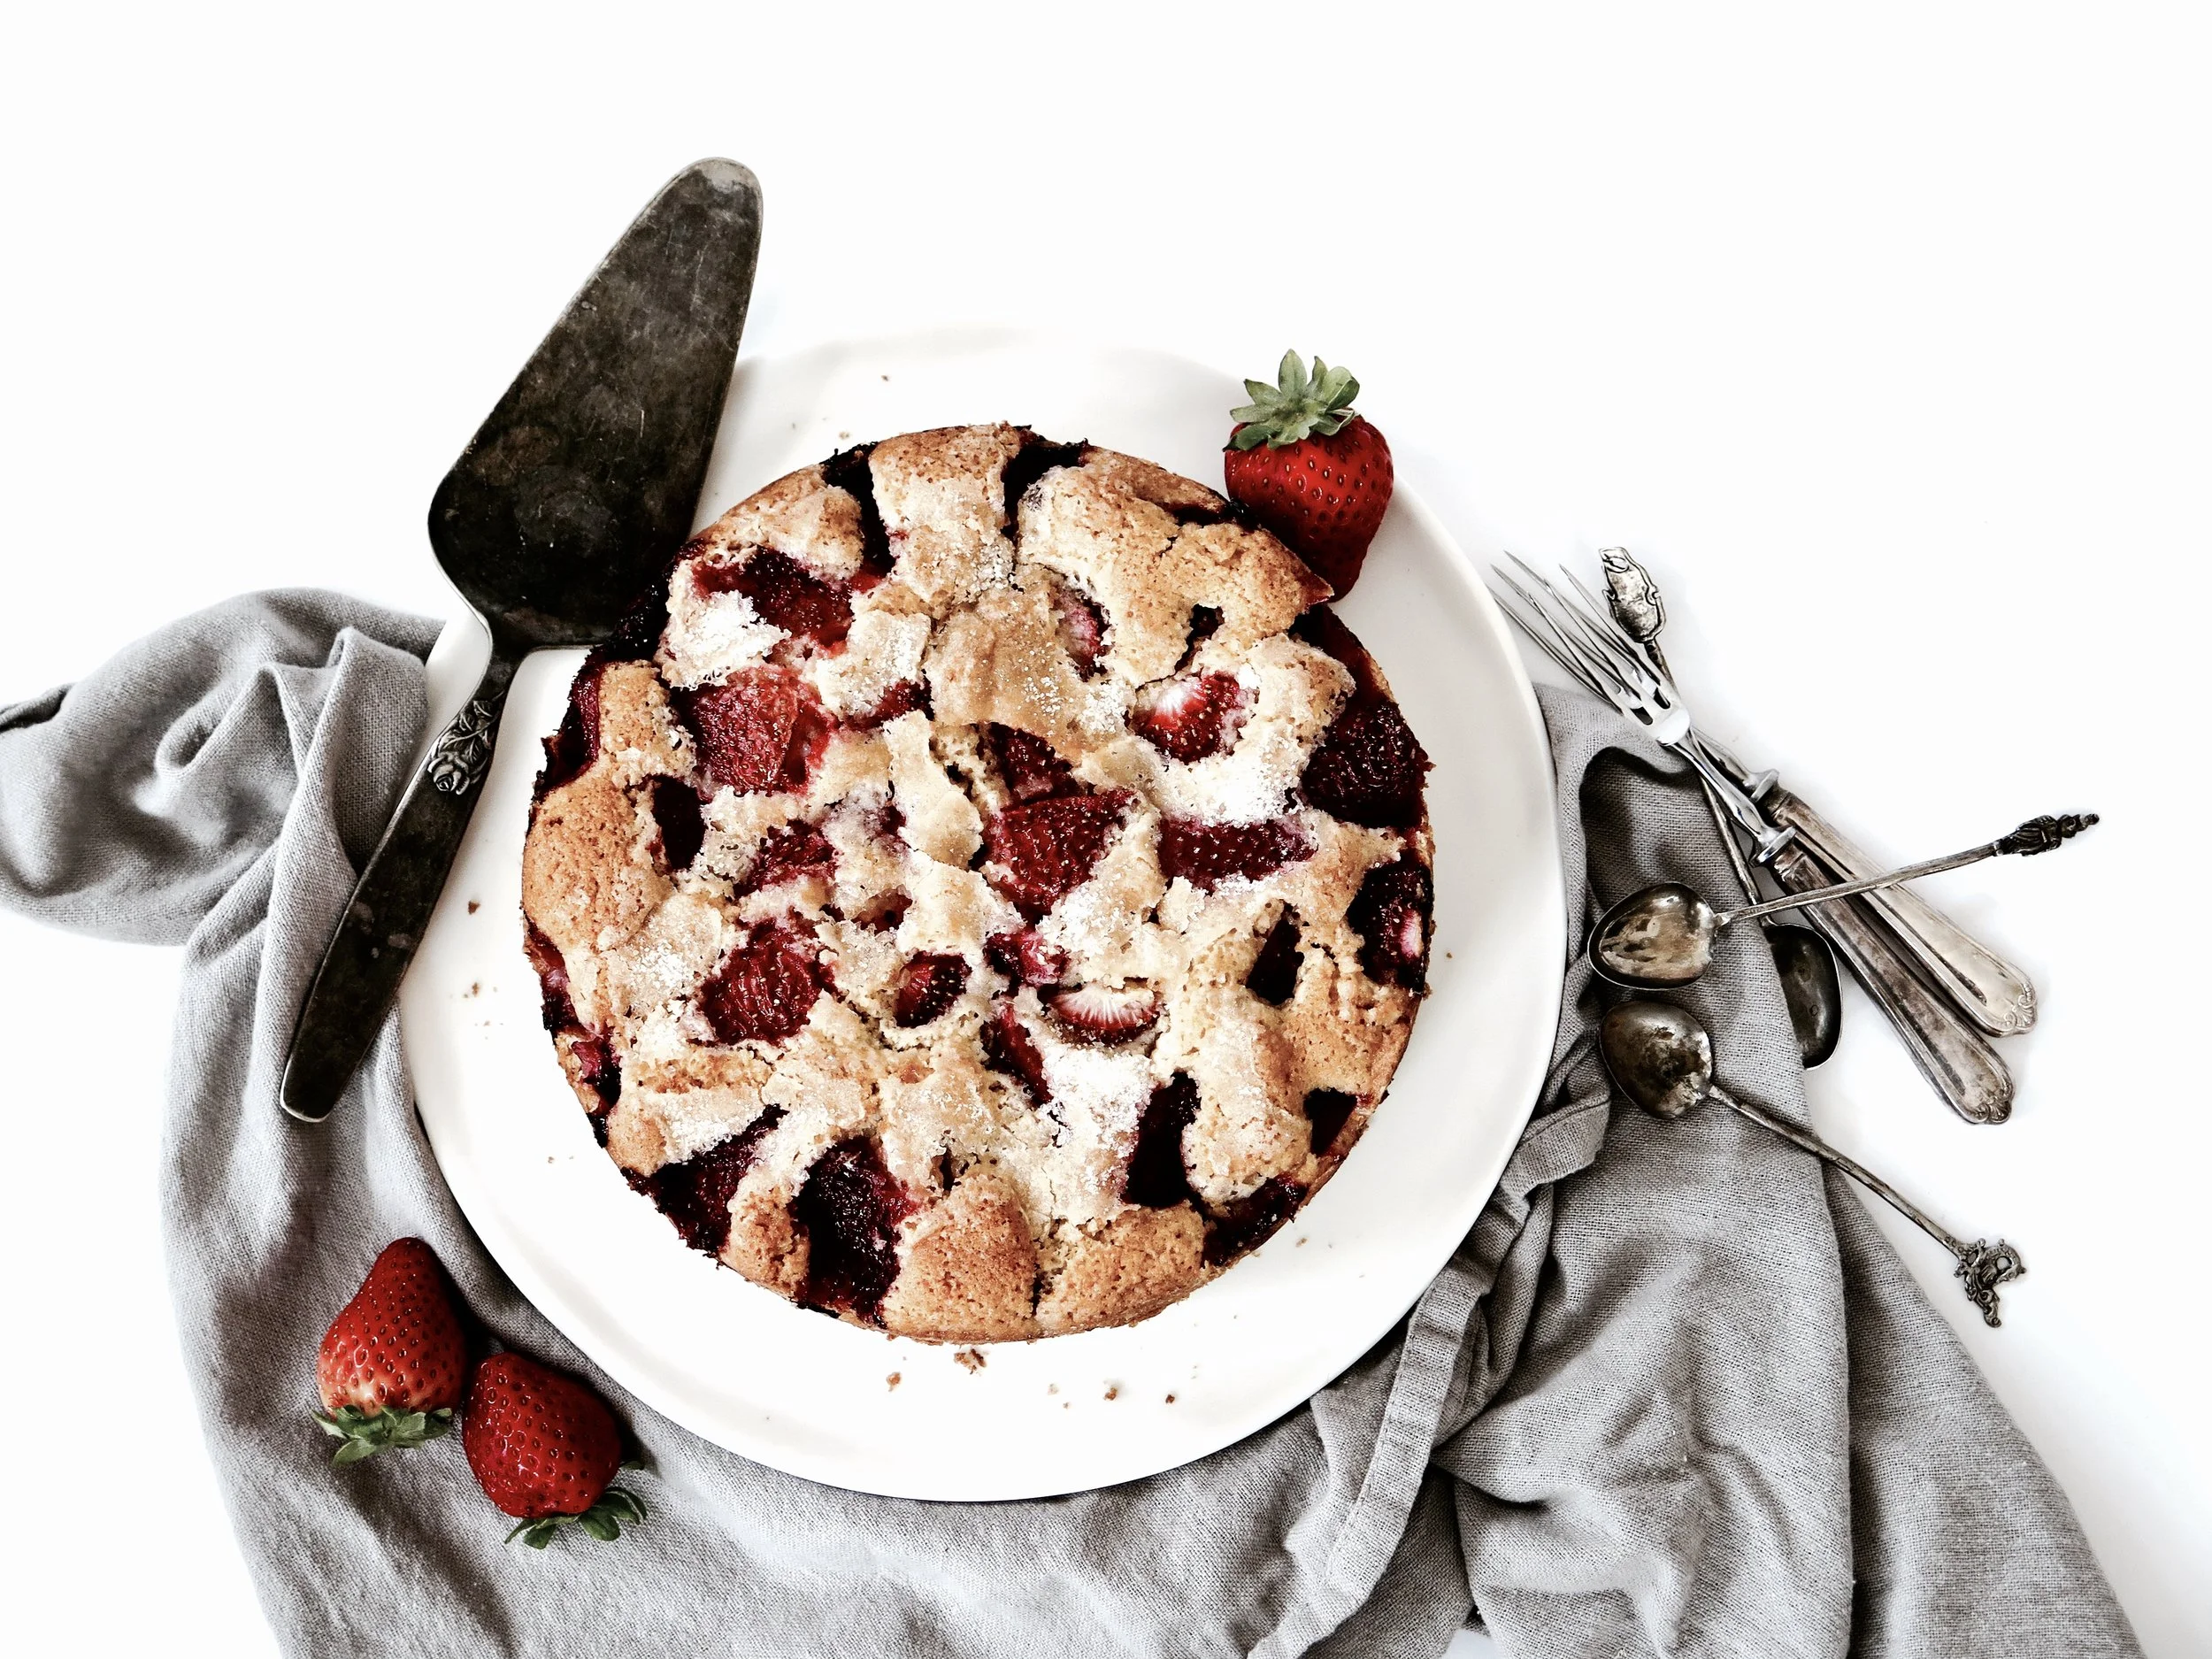
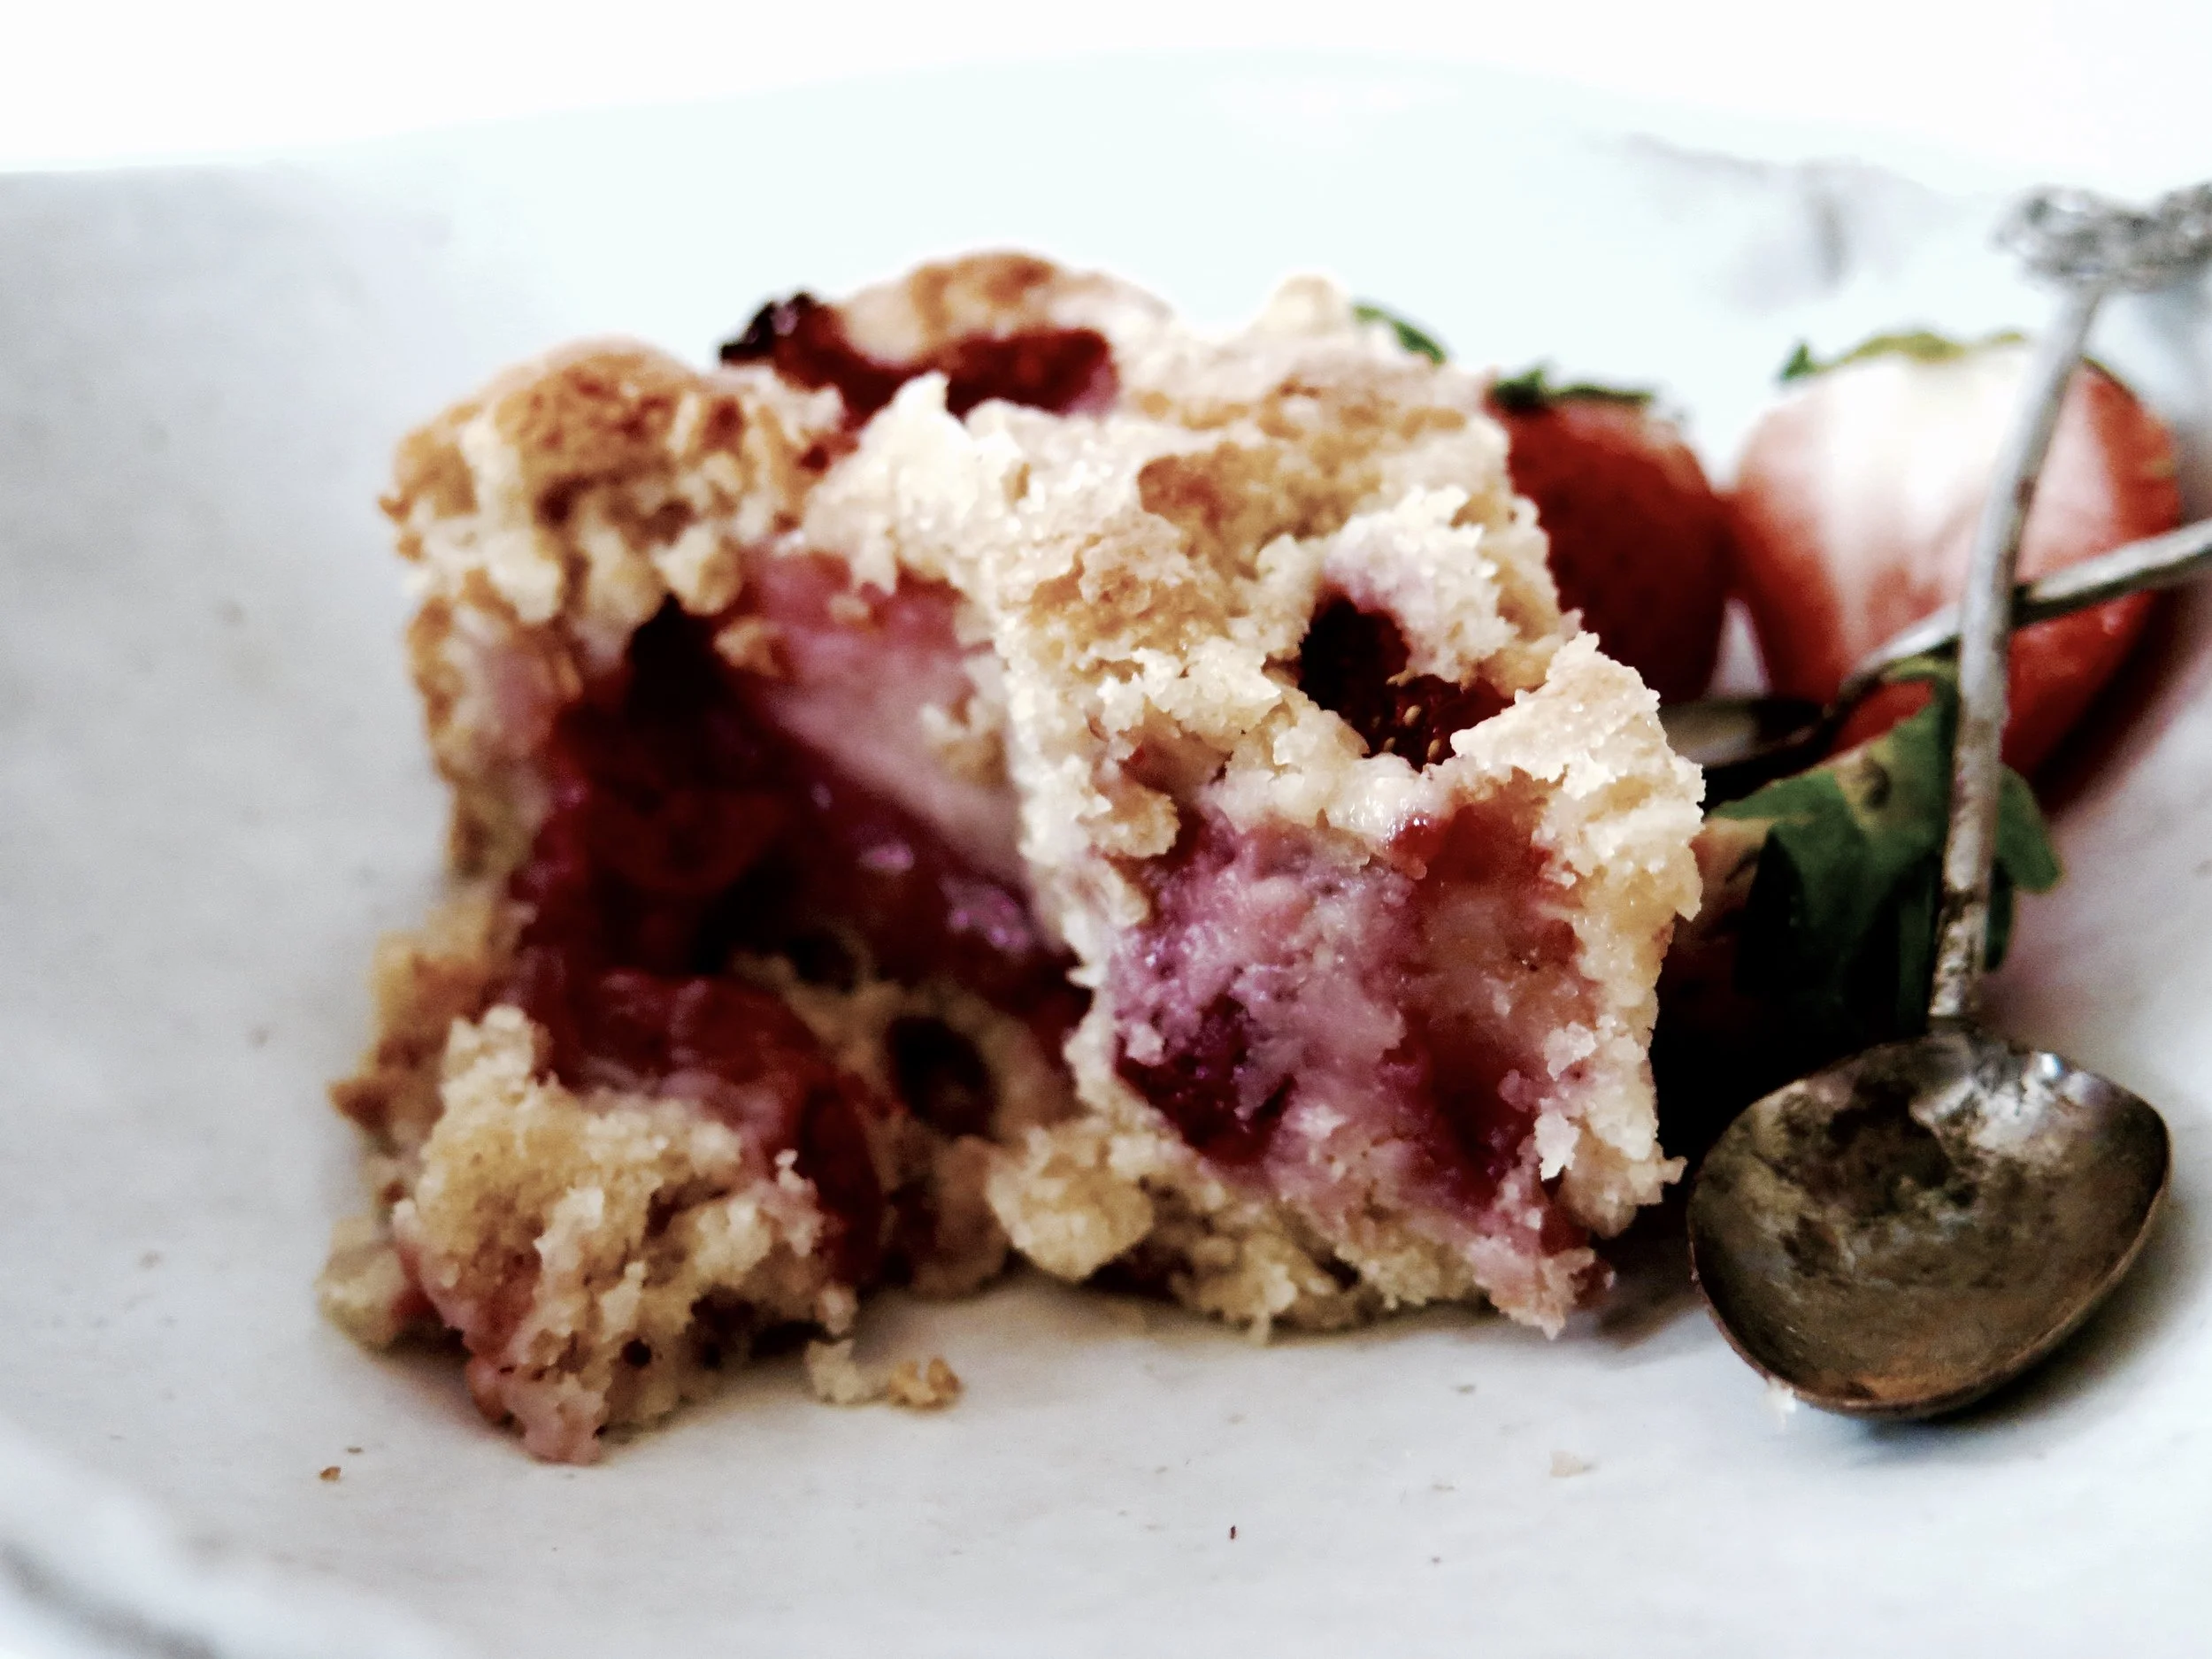
Here’s the recipe for an exceedingly luscious cake. It is succulent, and filled with roasted strawberries so that there is at least one deliquescing in every bite. The berries on the surface turn almost jam-like in the oven.  Absurdly quick and easy to make, it is totally moreish. 

NB. This cake can be made gluten-free by substituting the flour for gluten free. 

Luscious Strawberry cake  

Serves 6-8 (depending on level of greed)

Ingredients

85g unsalted butter, at room temperature

160g caster sugar + 2 tbsp for the topping

1 large egg

120ml milk

1 tsp vanilla extract

190g white spelt flour (or gluten-free equivalent)

1 1/2 tsp baking powder

1/2 tsp salt

400g strawberries, after having been hulled and halved

20cm diameter round springform cake tin, either totally lined with baking parchment (if you’re feeling lazy and you don’t mind crinkly cake sides), or thoroughly greased with butter and the base lined with a circle of baking parchment


Method

1)   Preheat the oven to 180°C. 

2)   Either by hand or in a stand mixer fitted with the paddle, beat the butter and sugar together until soft, light and fluffy (which should take about three minutes).  Then pour in the egg, milk and vanilla extract and beat to combine. It may look slightly curdled but that is not a problem.

3)   Into the wet ingredients sieve the flour, baking powder and salt. Gently fold the dry ingredients through until the batter is smooth and fully combined.  Pour into the prepared cake tin.

4)   Arrange the strawberries cut side down in the batter. You make need to overlap some or push some down to fit them all in. Sprinkle the 2 tbsp of caster sugar over the top and place in the oven. 

5)   Bake for 45-55 minutes (depending on oven), checking after 30 minutes. You may need to cover the top with aluminium foil if the surface looks at risk of becoming too dark. When ready, the top should be a deep gold and a cake tester should come out batterless (moisture from the strawberries will prevent it from coming out totally clean).

6)   Allow to cool on a wire rack and devour on the day, or within two days, of baking.

(Adapted from Smitten Kitchen)

fullsizeoutput_13c9.jpeg

HUNGRY FOR MORE?

Comment

Spelt Scones & Damson Jam

Comment

Spelt Scones & Damson Jam

fullsizeoutput_8bb.jpeg

Adorned with dew drops of glaucous fruits, the damson tree was innocent in its fairy tale perfection. Plump and firm, tart and succulent they were ideal contenders for picking. There seemed at first glance to be very few, but as the minutes rolled by, our bags heavier and the ladder creaking, the tree continued to proffer its bounty. The result: 6kg of damsons and a swollen stomach from ones that never quite made it into the bag.

fullsizeoutput_8ff.jpeg
fullsizeoutput_8b5.jpeg

Our supply of sugar rather pitiful in the wake of the unsurpassed abundance, I heaved an Olympian quantity back from the supermarket. The one bag that decided to split has left a coating of sticky grit on any coins that I dig out of the corners of my bag.  

fullsizeoutput_8c5.jpeg

Then on to the stove went the damsons, the heated sugar and a touch of water. They blistered, bubbled and broke out of their skins. The stones rose to the surface like witches on trial and had to be picked out one by one. Meanwhile the mixture boiled and thickened, giving off a foamy pink effervescence that I carved off as it supposedly tastes slightly bitter (although I rather enjoyed spooning it directly into my mouth). Then as it reached its rich amethyst depths and a satisfying viscose texture, I took it off and poured it into the sterilised jars: therapeutic and deeply satisfying…the first-time round.

fullsizeoutput_8ac.jpeg
fullsizeoutput_93a.jpeg

But as I tried to leave the kitchen I was bludgeoned with another 3kg worth of damsons. I was pelted, too, with threats of waste and rotting fruit if I didn’t make jam immediately. The kitchen became heated with the upset from my father who had cultivated and nurtured the tree for years.

fullsizeoutput_920.jpeg
fullsizeoutput_915.jpeg

So, I gave in and became a slave to the damson tree once more, boiling, straining, stirring pouring. And now we have half a fridge thronging with jar upon jar of jam. And what does one do when he or she has a year’s supply of jam? Well, I find eating it straight from the jar perfectly acceptable, but others need a medium as an excuse. So I made scones. These are not the dry, stale and overly sweet ones that leave you desperately seeking a currant to relieve you from the accumulating doughy mass at the top of your palate. These are soft, light, moist and crumbly. Rustic in shape, they are best eaten immediately or on the same day (though it is unlikely they will survive longer). 


fullsizeoutput_90c.jpeg
fullsizeoutput_8fa.jpeg

Spelt Scone Recipe – makes 12

500g white spelt flour (can be substituted with plain)

4 ½ tsp cream of tartar

2 tsp bicarbonate of soda

(optional: 2 tbsp sugar if would like them sweet)

1/2 tsp salt

125g cold unsalted butter, diced

300ml milk

1 egg, beaten, for egg wash


6cm round cookie cutter

Large baking sheet, lined with baking parchment


Method

1)    Preheat the oven to 220°C.

2)    Into a large bowl sift all the dry ingredients. Add in the butter and with fingertips rub it into the dry ingredients until like damp sand. Pour in the milk and very gently fold in until just combined (there may still be pockets of flour).

3)    Turn the dough out onto a floured surface and knead it lightly for about 10 seconds. Roll out to a 3cm thickness and then cut out as many scones as possible. Lightly re-knead the scraps of dough and roll out once more to cut out the last remaining scones.  Space them out on the tray and blush with the beat egg. Place in oven to bake for 8-10 minutes until they are shiny and golden.

Damson Jam Recipe (makes about 3kg, 9 jars)

NB. This recipe can be adapted for any number of damsons by maintaining the ratio

2kg damsons (slightly under-ripe and not too soft)

2kg sugar

200ml water

9 jam jars, sterilised

Method

1)    Pour sugar into an over proof dish and place in oven heated to a low temperature (around 120°C) while the damsons are prepared. Place a couple of small plates into a fridge to cool – these will be used to check the jam’s consistency later.

2)    Grease a large stainless-steel pot with butter to prevent the fruit from sticking. Then pour in the damsons and water and stew over a medium-low heat, stirring gently until the damsons’ skins break. Pour in the warmed sugar and stir over medium-low heat until the sugar has dissolved.

3)    Increase the heat to medium-high and allow to boil (controllably), stirring occasionally to prevent the fruit from sticking. After a few minutes, as the fruits break down, a pink foam will rise to the surface. Using a slotted spoon, siphon this off into a bowl. If some remains it won’t ruin the jam, it just doesn’t taste as pure as the rest. Then, as the stones begin to rise up, siphon off those too.

4)    After about 15 minutes of boiling, when all the stones have been removed, pour a teaspoon of the liquid onto a cold plate. Let it sit for about a minute then tilt the plate, if the liquid is no longer watery, with a viscosity between a sauce and a jam, and wrinkles when pushed with the finger, it is set. For the more scientifically-minded, it should be 105°C on a sugar thermometer. Pour the jam into the sterilised jars and allow to come to room temperature before sealing them with lids.

fullsizeoutput_908.jpeg

HUNGRY FOR MORE?


Comment

Crunchy Spicy Tangy Thai Salad

Comment

Crunchy Spicy Tangy Thai Salad

At the centre of a party you have the brash, garishly dressed harpy in a spandex and lurex flesh-popping, bum-skirting bodycon dress. She’s swishing her long, over-straightened blonde hair in the hope that people, like magpies, will be drawn in by its glinting sheen. But she’s telling the story you’ve heard a hundred times.

The punchlines are obvious and overdone. It’s an opaque boast to show off her intellect and attractiveness. She’s hyperbolising, and the decibels are mounting, in order to suck more people in.

You draw near, but after a few superficial bites, you hit the bone. What appeared to be a sumptuous, resplendent, sticky chicken wing feast was just a scraggly bit of overhyped flesh, and you’re left with a sickly sweet taste, desperate for something more refreshing and with more interest.

That’s when you leave the centre of the room and go over to the quiet person in the corner: modestly dressed, elegant but not overstated, and initially slightly shy. But once you start talking, there’s no stopping - tantalising wit, layers of texture and depth, sweet enough but with refreshing zestiness that intrigues and keeps you going back for more. Guard this salad closely because when others' attention rapidly wanes they’ll be coming over here too. Food envy is not something to be treated lightly, so here’s the recipe:


Recipe

Ingredients (serves 4)

3 tbsp (60g) smooth peanut butter (unsalted preferably)

4 1/2 tsp (45g) honey

4 1/2 tsp sesame oil

4 1/2 tsp soy sauce 

3 tbsp lime juice

15g finely grated fresh ginger 

1 medium sized garlic clove, crushed

(optional) 1 small Thai red chilli, very finely chopped


230g red cabbage (approx 1 quarter of a cabbage)

1 red pepper

130g cucumber

3 spring onions

100g beansprouts

60g roasted and salted peanuts, crushed + 10g extra for serving

25g coriander, roughly chopped + 5g extra for serving


Method

  1. In a medium bowl, whisk together all the dressing ingredients until smooth and emulsified.
  2. Finely slice the cabbage horizontally (so the average piece is about 4cm long). Remove the stalk and deseed the red pepper, then slice finely horizontally.
  3. Slice the cucumber in half lengthways and, with a teaspoon, scoop out the seeds. Then slice finely lengthways and then in half horizontally to create matchsticks.  Finely chop the spring onions.  Then in a large bowl mix together the cabbage, pepper, cucumber, spring onions, crushed peanuts & roughly chopped coriander.
  4. Pour the dressing over, and mix through. Scatter with extra crushed peanuts and then the chopped coriander, and serve.  If you are making in advance, prepare the salad ingredients and dressing separately, and pour the dressing on just before serving.

HUNGRY FOR MORE?

Comment

Caramelised White Chocolate Cheesecake

5 Comments

Caramelised White Chocolate Cheesecake

IMG_1368-Copy.jpg

  Caramelised White Chocolate Cheesecake with Salty-Sweet Fudgy Biscuit Base & Blackcurrant Glaze

Caramelised White Chocolate Cheesecake


I’m at risk of sounding like one of those mindless click-bait buzzfeed articles when I say this, but I mean ever word: you’ve been eating white chocolate incorrectly your whole life.

Caramelised White Chocolate Cheesecake


Would you believe me if I told you that the innocent Milky Bar Kid’s saccharine white cocoa butter chocolate has a deeper, darker, more seductive side?

Caramelised White Chocolate Cheesecake

The corruption process is simple.  All you need is:

- heat

- good quality white chocolate

-a tray

Caramelised White Chocolate Cheesecake

After about 20 minutes, the heat will begin to convert the pool of glossy molten cocoa butter into white chocolate’s luscious evil sister.  I dare you to try it.

Caramelised White Chocolate Cheesecake

It’s pretty sublime on its own but, if you can resist eating it all, it works deliciously well in a cheesecake.  I pair it with a fudgy, salted, graham cracker-style base and an astringent blackcurrant glaze to cut through the sweetness.

Caramelised White Chocolate Cheesecake

Often cheesecakes call for a base simply made out of crushed store-bought cookies.  I’m no stranger to doing this myself, but I’m always left with a pang of guilt for cheating.  Not only does homemade biscuit base taste better, it’s chemical-free and you have much more control over the flavour balance – this one’s especially fudgy.

Caramelised White Chocolate Cheesecake

However, if you’re feeling lazy you can make the base using 400g digestive biscuits blitzed into crumbs with the 120g browned melted butter.  If you are a coeliac just use gluten-free digestive biscuits.

Caramelised White Chocolate Cheesecake

You can also use non-caramelised white-chocolate.  It will still taste delicious, just not anywhere near as ambrosial.

Caramelised White Chocolate Cheesecake

If you can’t get hold of any blackcurrants, feel free to use fresh or frozen raspberries or redcurrants instead.

Caramelised White Chocolate Cheesecake

This is best made the day before serving and kept in the fridge overnight.  In fact, the fridge works wonders.

Caramelised White Chocolate CheesecakeCaramelised White Chocolate Cheesecake

Ingredients

Salty-sweet, fudgy biscuit base

200g white spelt flour

60g light muscovado sugar

1 tsp bicarbonate of soda

1 tsp salt

60g unsalted butter, diced

70g clear honey

4 tsp vanilla extract

120g unsalted butter, for melting

Large baking tray, lined with baking parchment

20cm square tin (or round with similar capacity), lined with baking parchment

Caramelised white chocolate filling

300g good quality white chocolate, broken into pieces

180ml double cream

500g full fat cream cheese, at room temperature

100g caster sugar

4 eggs, at room temperature

1 tbsp vanilla bean paste (or the seeds of 1 vanilla pod)

Bone dry baking tray (preferably non-stick)

Sour cream topping

220ml sour cream

40g icing sugar, sifted

Blackcurrant glaze

200g blackcurrants

80g caster sugar

3 tbsp water

100g fresh blackcurrants to decorate (optional)

Method

Salty-sweet fudgy biscuit base

  1. Preheat the oven to 180˚C. Pour flour, sugar, bicarb, salt and diced butter into a blender and blitz until the mixture resembles damp sand. Alternatively, use your fingers to rub the butter into the other ingredients.
  2. Whisk together the honey, vanilla and milk. Stir this into the dry mixture to combine and form a paste-like dough.
  3. Spread the dough on to the baking tray in an even 0.5cm thick layer. Bake in the oven for 15-20 minutes until golden brown and cooked through.  If it doesn’t become dry and brittle after cooling, bake for a further 5 minutes.
  4. Brown the 120g of butter for melting by placing it in a pan over medium heat and allowing it to turn a golden brown before setting it aside to cool.  It should give off a wonderfully nutty aroma.
  5. Crumble the baked biscuit into a blender with the browned melted butter, and pulse until it turns to damp sand-like consistency. Tip this out into the lined cake tin and press down to form an even layer.  Place in freezer to set.

Sour cream topping

  1.    Whisk together sour cream and icing sugar until smooth. Store in the fridge until ready to use

Caramelised white chocolate filling

  1. Preheat the oven to 130˚C. Pour broken white chocolate on to the tray and place in the oven. Every 10 minutes remove the chocolate from the oven, stir with a bone dry utensil, and place back in the oven.  After about 30-40 minutes it will have taken on a beautiful honeyed caramel tone.    As ovens vary in character and different chocolate brands vary in ingredient quality, it may take longer.  The chocolate may also seize.  Don’t panic if this happens: just keep going until it turns golden (I’ll explain how to proceed with this in the next step).
  2. Increase the oven temperature to 160˚C. Place the double cream in a small pan over a high heat. Once it begins to boil, remove from the heat and pour into it the caramelised white chocolate.  Stir to combine until smooth. If the chocolate did seize in the oven, it will be lumpy.  If this is the case, pour the lumpy cream and chocolate mixture in a blender and blitz until completely smooth.  If a few recalcitrant lumps remain, simple sieve them out.
  3. Either using a stand mixer fixed with the beater or a hand held whisk, beat the cream cheese together with the caster sugar until completely soft and smooth. Beat in the cream and white chocolate caramel.  In a separate bowl, whisk together the eggs and vanilla.  Pour this into the cream cheese mixture and beat until completely smooth and glossy.
  4. Remove the cake tin with the biscuit base from the freezer, and pour into it the filling mixture. Bake in the oven for 1 ½ hours, checking after 45 minutes.  If it begins to go brown, cover with tin foil and continue to bake for the full time.
  5. Keeping the oven on, remove the cheesecake from the oven and allow it to cool for 10 minutes. Spread the sour cream topping in an even layer over the surface of the cake. Place the cheesecake back in the oven, switch off the oven and leave its door slightly ajar while the cheesecake sets inside for a further 1 ½ hours.
  6. When the cheesecake reaches room temperature, remove from the oven, cover the cake tin with cling film, and place it in the fridge to allow it to set over night, or place it in the freezer for a couple of hours.

Blackcurrant glaze

  1. Place 200g blackcurrants, caster sugar and water in a small pan over a high heat and stir until the sugar is dissolved. When it begins to boil, reduce heat slightly and allow it to simmer for 5-10 minutes or until it thickens to a viscosity like that of maple syrup.  Strain the mixture through a sieve and place the liquid back in the pan to simmer for a further 3 minutes.
  2. Allow the syrup to cool slightly then carefully pour it over the chilled cheesecake. Scatter with fresh blackcurrants and serve.

Caramelised White Chocolate Cheesecake

5 Comments

Sticky Glazed Carrot, Pomegranate, Orange, Lentil & Feta Salad

8 Comments

Sticky Glazed Carrot, Pomegranate, Orange, Lentil & Feta Salad

IMG_8334.jpg

I wandered into my favourite greengrocer yesterday in search of inspiration, and came out laden with half the store.  Amongst the wooden crates I found the most beautifully vibrant baby carrots and blushing, freckled pomegranate orb.

Sticky Glazed Carrot, Pomegranate, Orange, Lentil & Feta Salad - Recipe

Although lentils and carrots are usually associated with comfort and winter, I used fresh orange and pomegranate jewels to lift them to a lighter, more summery dish.

The carrots are poached in orange juice and maple syrup until juicy and softened and the liquid has reduced to a golden caramel.  They are then roasted until sticky, slightly charred and a little withered, but dense with succulence and depth of flavour. The caramel is turned into a citrusy dressing to drench the lentils, with the sweetness balanced with the salty kick of feta.

Sticky Glazed Carrot, Pomegranate, Orange, Lentil & Feta Salad - Recipe

Ingredients

200g puy lentils

2 tsp vegetable bouillon stock

1 litre boiling water

400g baby carrots

Juice of 3 oranges (15 tbsp)

5 tbsp maple syrup

¼ tsp salt

2 tbsp olive oil

1 ½ tsp lemon juice

1 tbsp pomegranate molasses

¼ tsp salt

2 large garlic cloves, crushed

2 oranges supremed (i.e. segmented with skin and membrane removed)

100g feta

140g pomegranate seeds (half a pomegranate)

20g fresh coriander, roughly chopped

Method

  1. Place lentils, stock and boiling water in a pan over a high heat and allow to simmer with a lid on for 30-35 minutes until fully cooked. They should be soft and no longer chalky, but definitely not mushy.  Drain them, and set aside in a bowl to cool.
  2. While the lentils are cooking, prepare the carrots: pour the orange juice into a large frying pan over a medium high heat, add the maple syrup and salt, and stir to combine. Carefully arrange the carrots in the pan and allow to simmer for about 30 minutes or until the carrots have softened and the liquid has reduced by about two thirds and become viscous and syrupy.  Remove from the heat.
  3. Preheat the grill to 230˚C. Remove the carrots from the frying pan (while preserving the syrup), arrange them on a baking tray and grill for 5 minutes (checking after 3 minutes) or until they are slightly charred.
  4. Into the pan with the remaining syrup, pour in the olive oil, pomegranate molasses, lemon juice, crushed garlic cloves and salt to make the dressing. Stir the mixture over a low heat until fully combined. Pour the warmed dressing over the bowl of lentils.
  5. To serve, carefully spoon the lentils and any non-absorbed dressing on to a platter, and scatter with pomegranate seeds and crumbled feta. Arrange the orange segments and roasted carrots over the top, and sprinkle with the chopped coriander.
Sticky Glazed Carrot, Pomegranate, Orange, Lentil & Feta Salad - Recipe

HUNGRY FOR MORE?

8 Comments

Cherry & Yuzu Frozen Yoghurt Almond Cookie Sandwich

10 Comments

Cherry & Yuzu Frozen Yoghurt Almond Cookie Sandwich

IMG_6945.jpg

(Affectionately known as Froyo Yoyos) Cherry & Yuzu Frozen Yoghurt Almond Cookie Sandwich

If something becomes a fad, I usually try to avoid it.  Cupcakes were once things of joy, their light, sweet, spongeyness perfuming the house with the scent of birthdays.  And there was always the hope of left over icing, not to mention the ease with which one could convince oneself that the perfectly domed surface was in need of decapitation, just to preview the crunchy golden coated delicate sponge, just in case the cupcakes weren’t guest-worthy.  But now those simple pleasures have been crushed for me as the once-a -year treat has lost its golden hued novelty.

Cherry & Yuzu Frozen Yoghurt Almond Cookie Sandwich

The single-concept shops dedicated to cupcakes are now a graveyard for the dying fad.  I walked past a well-known purveyor of cupcakes in the middle of an airless department store only last week, and watched as the woman behind the counter shuffled the gaudy treats into reverse rainbow order in an attempt to look busy.

Cherry & Yuzu Frozen Yoghurt Almond Cookie Sandwich

Frozen yoghurt is no longer a novelty, but for me at least it has not yet lost its appeal.  Some people (including me) are able to delude themselves that even with the marshmallow, cookie dough, caramel topping it’s a healthier version of their favourite ice cream.

Cherry & Yuzu Frozen Yoghurt Almond Cookie Sandwich

When the clouds deigned to expose a sliver of sunlight for a short while on Saturday, I decided to indulge in a little frozen yoghurt.

Cherry & Yuzu Frozen Yoghurt Almond Cookie Sandwich


Cherry & Yuzu Frozen Yoghurt Almond Cookie Sandwich

The cherries at my favourite fruit monger were so glossy and irresistibly crimson they were begging to be involved in my hoping-for-summer recipe.  I combined them with yuzu juice for a touch of astringency to cut through the sweet creaminess of the yoghurt. Then, to add a childlike allure, I sandwiched the frozen yoghurt between two discs of biscuit which I’d infused with almond extract to bring out the cherry flavour further.

Cherry & Yuzu Frozen Yoghurt Almond Cookie Sandwich

The yuzu juice provides a wonderfully tart citrusy note to the frozen yoghurt.  If you can't find it, substitute it with lemon or lime.

Cherry & Yuzu Frozen Yoghurt Almond Cookie Sandwich

I used an ice cream churner to make the frozen yoghurt smoother and the ice crystals finer, but if you don’t have one this stage can be skipped and the result will still be delicious.

Cherry & Yuzu Frozen Yoghurt Almond Cookie Sandwich

Of course, the cherry and yuzu frozen yoghurt can be enjoyed sans biscuit.  The biscuit is however, rather useful if you wish to turn it into a hand held treat, whether or not the sunshine lingers.

Cherry & Yuzu Frozen Yoghurt Almond Cookie Sandwich

Cherry & Yuzu Frozen Yoghurt Almond Cookie Sandwich


Ingredients  (makes 8-10)

Cherry and Yuzu Frozen Yoghurt

375g cherries, halved and pitted

125g caster sugar

250g full fat natural yoghurt (don’t use Greek)

1 tsp yuzu juice

6 drops of almond extract

1 medium sized (18cm x 28cm approx.) loaf tin, lined with cling film


Almond Biscuit

160g butter, at room temperature

2 egg yolks

10 drops almond extract

210g plain flour

50g sugar

1tsp vanilla extract

¼ tsp salt

1 large baking tray lined with baking parchment

4.5/5cm circular cookie cutter or wine glass


Method

Cherry & Yuzu Frozen Yoghurt

  1. Place cherries and sugar in a small pan over a high heat. Stir occasionally to prevent sugar from burning.  When enough liquid has run out from the cherries to coat the base of the pan and it begins to boil, reduce heat to medium.  Allow to simmer for 10 minutes until the liquid from the cherries has reduced and is just slightly thicker than maple syrup.
  2. Allow the cherries and syrup to cool then blitz them together with the yuzu, almond extract and yoghurt until smooth. If you are using an ice cream maker, chill the mixture and then churn according to the manufacturer’s instructions.  Otherwise, proceed to step 3.
  3. Pour the mixture into the cling film-lined loaf tin, and smooth the surface with a spatula. Place in freezer for 1-2 hours until solid.

Almond Cookies

  1. Beat the butter in a mixer (or by hand) until light and fluffy. Into this, beat the almond extract, vanilla extract and egg yolks.
  2. In a separate bowl, mix together flour, sugar and salt. Stir this into the butter mixture until a dough forms.
  3. Flatten the dough into a disk, wrap in baking parchment and place in freezer for 15 minutes (or fridge for 30 minutes).
  4. Preheat oven to 160˚C.
  5. On a floured surface, roll out the dough to 7mm thickness. Using the cookie cutter, cut the dough into the discs and place on lined tray.
  6. Bake for 7-10 minutes until cooked all the way through but still pale. Allow to cool.

Assembly

Remove the loaf tin containing the frozen yoghurt from the freezer. Using the cookie cutter, cut the frozen yoghurt into discs and sandwich each disc between two almond biscuits.  Store these in an airtight container and return to the freezer until ready to serve.

Cherry & Yuzu Frozen Yoghurt Almond Cookie Sandwich

10 Comments