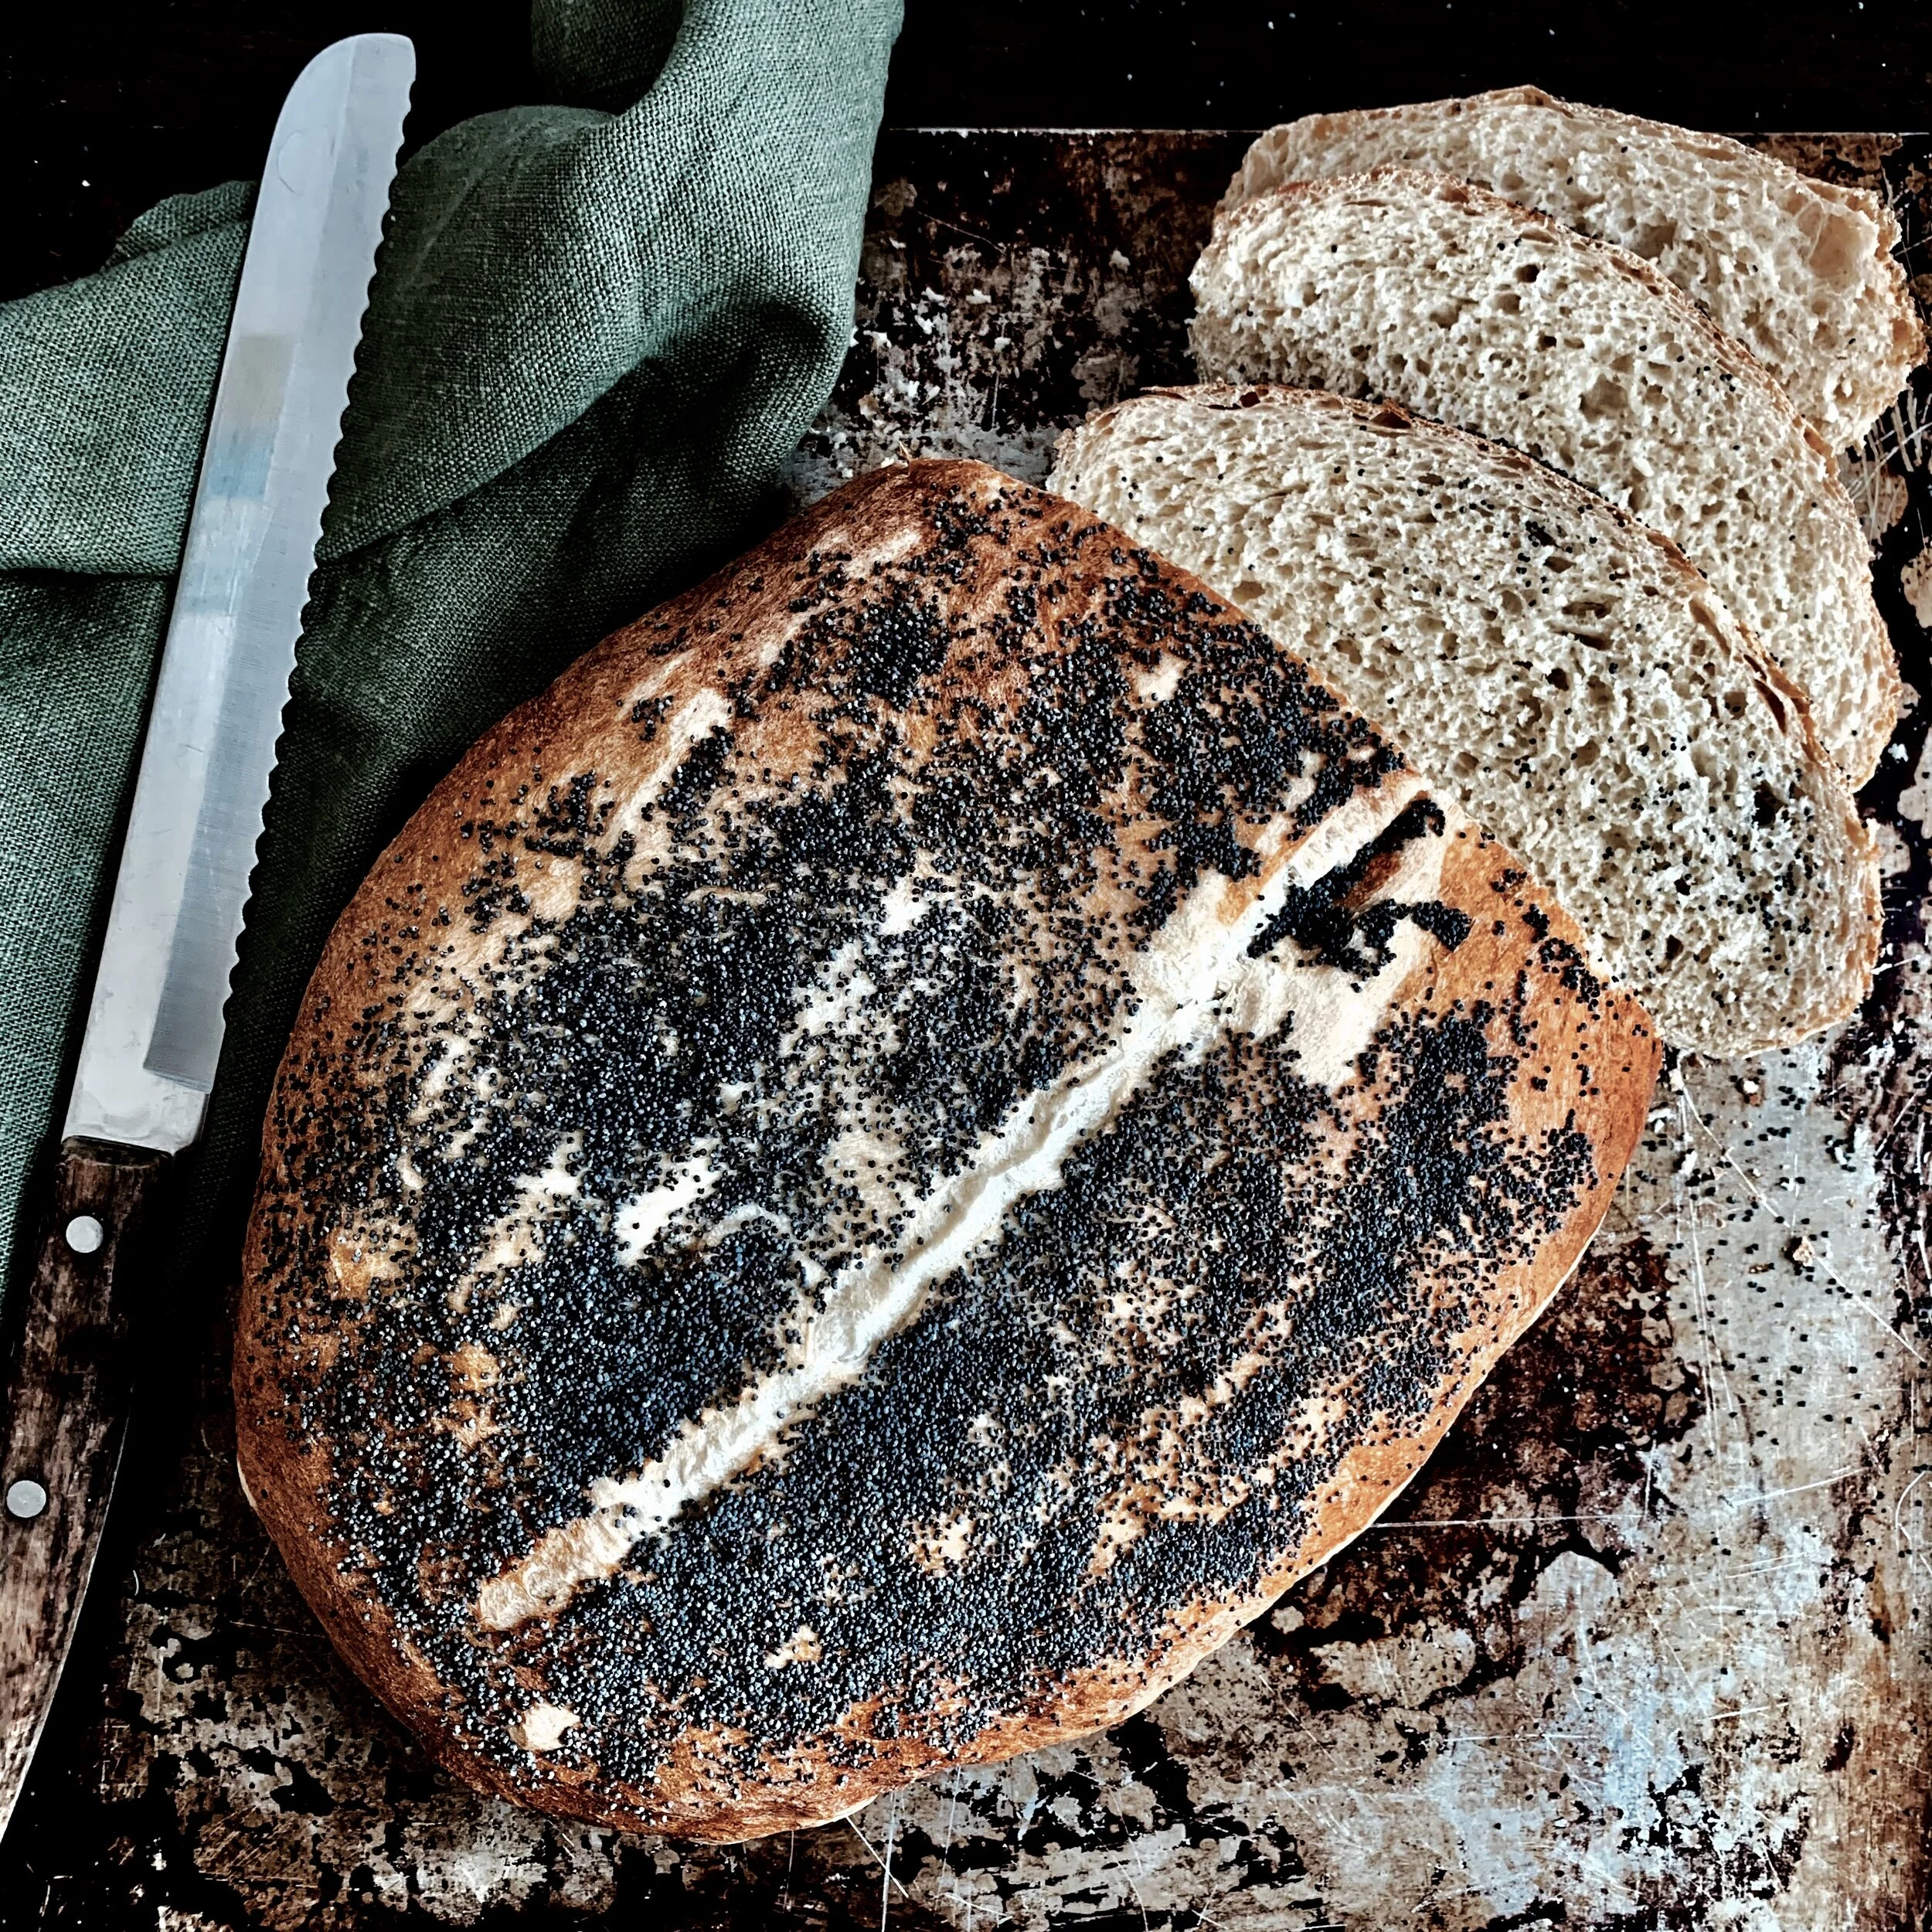
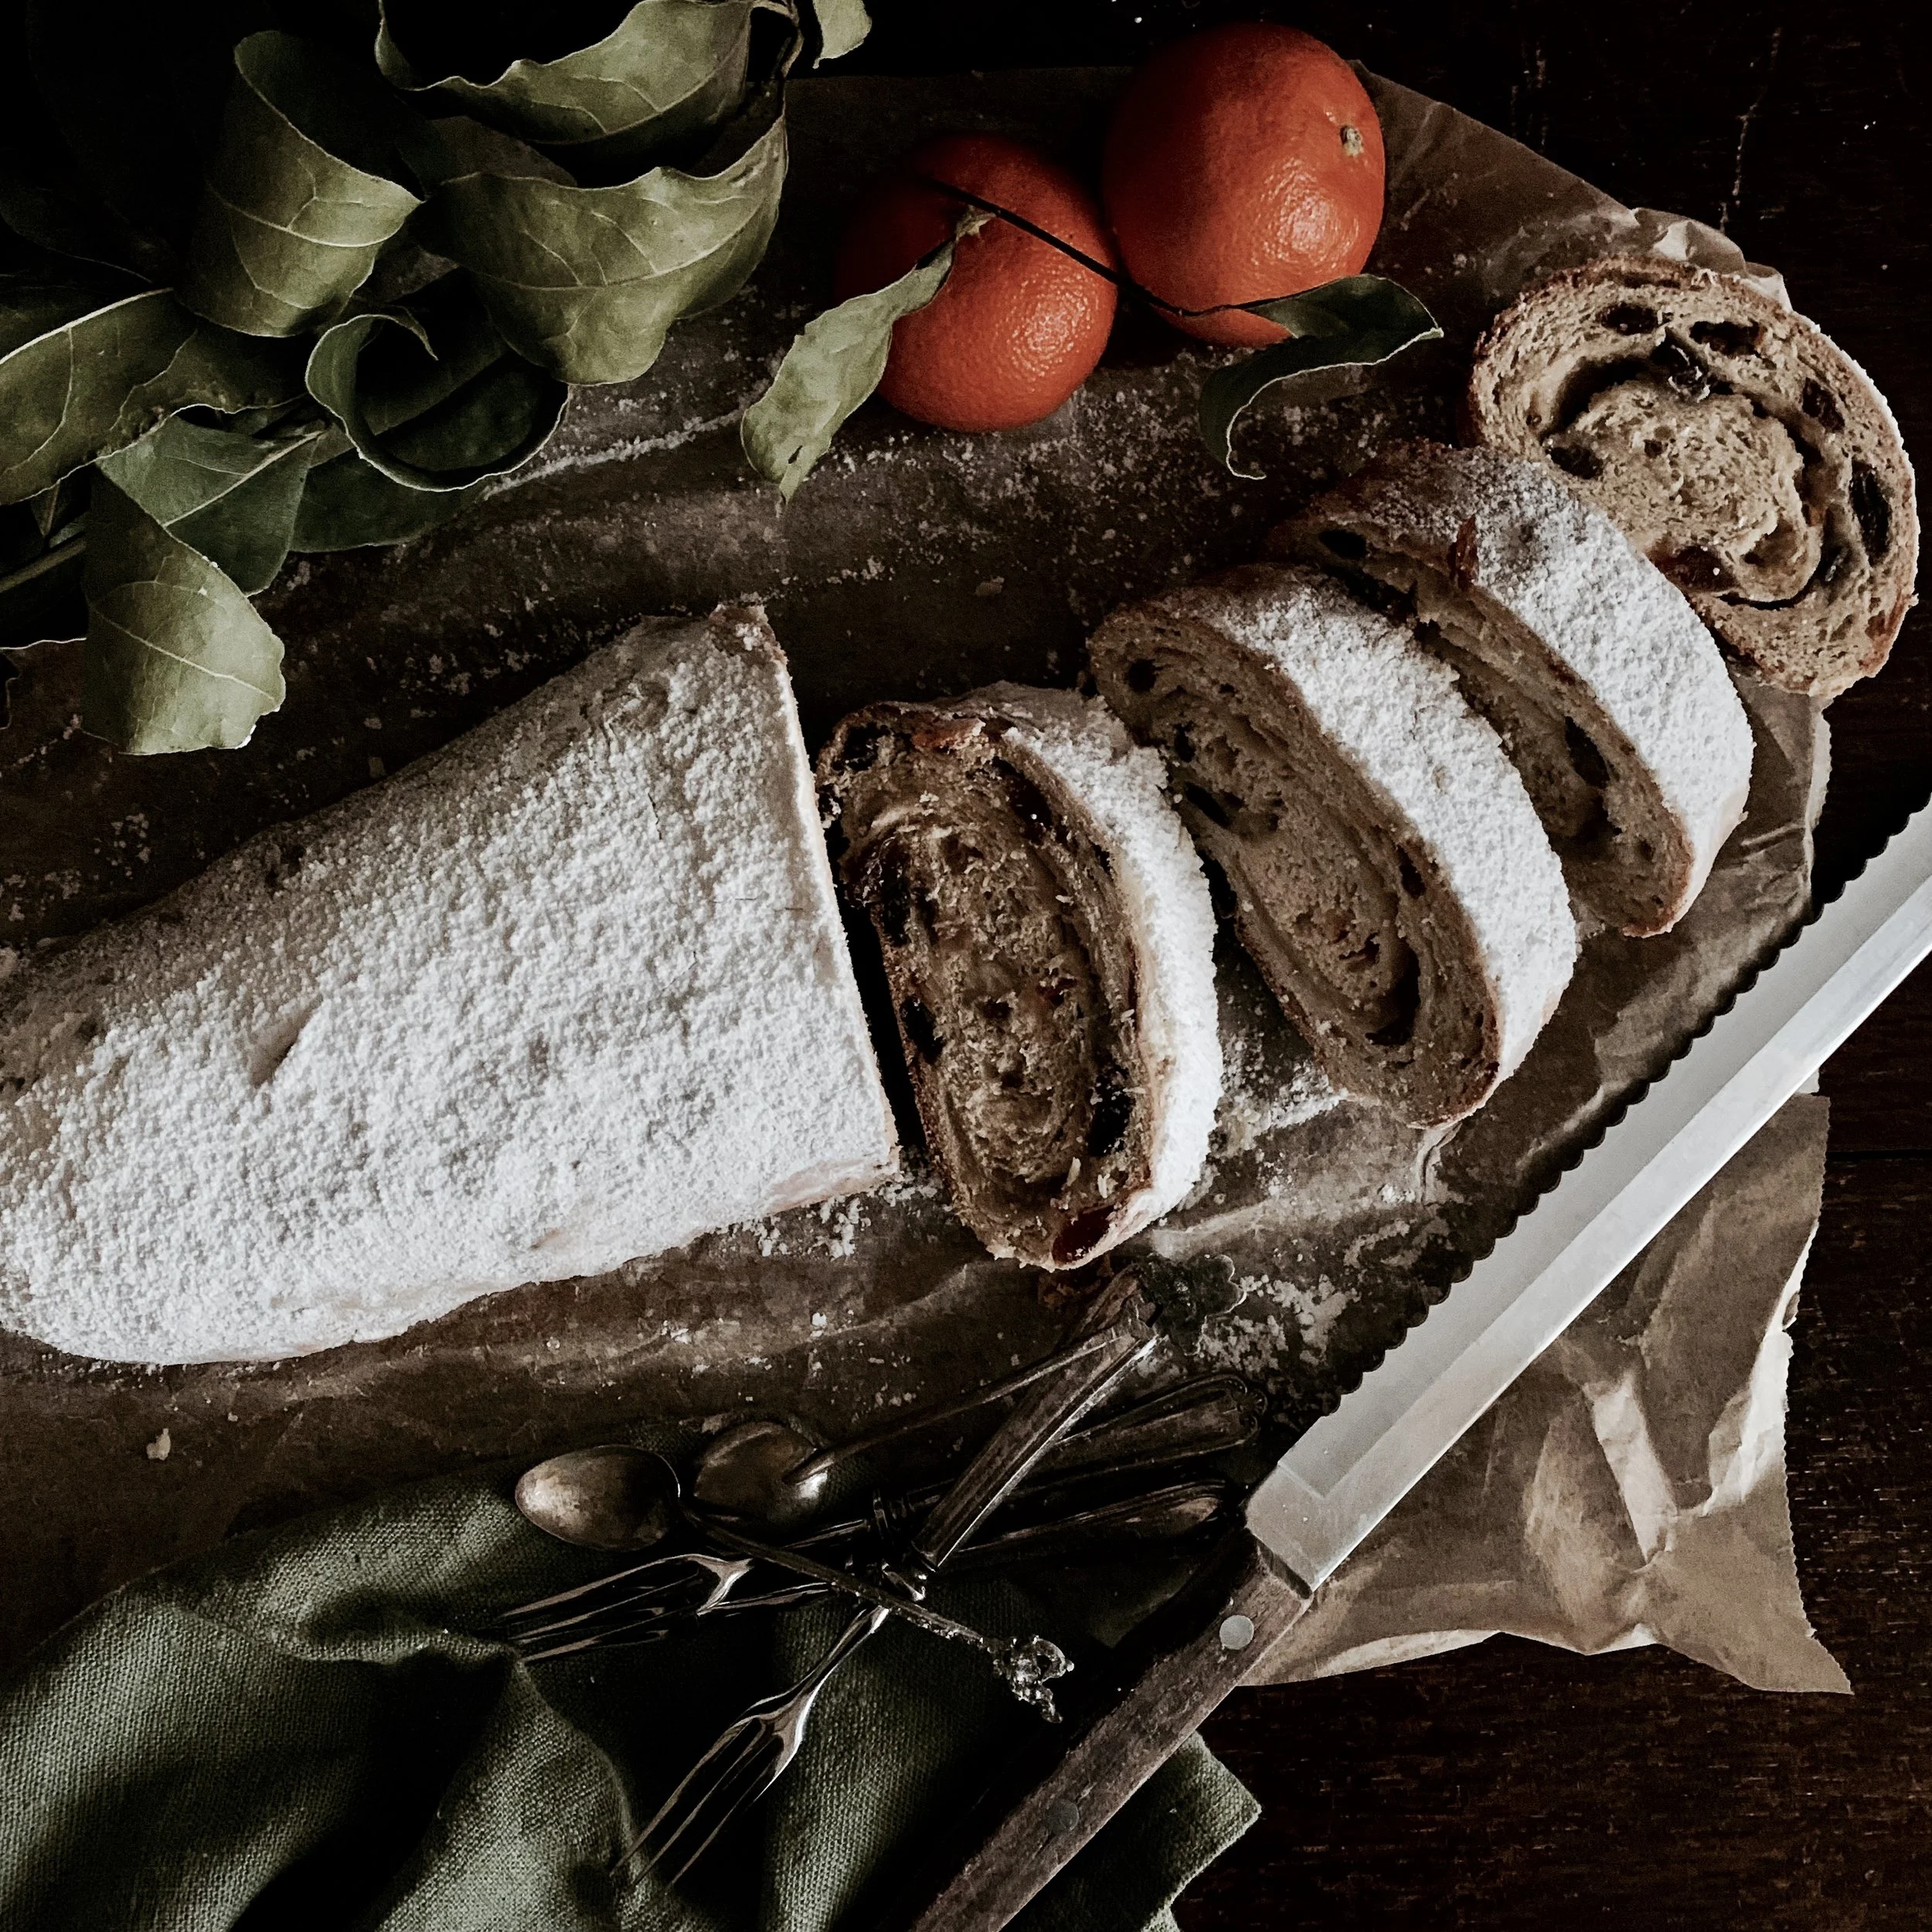
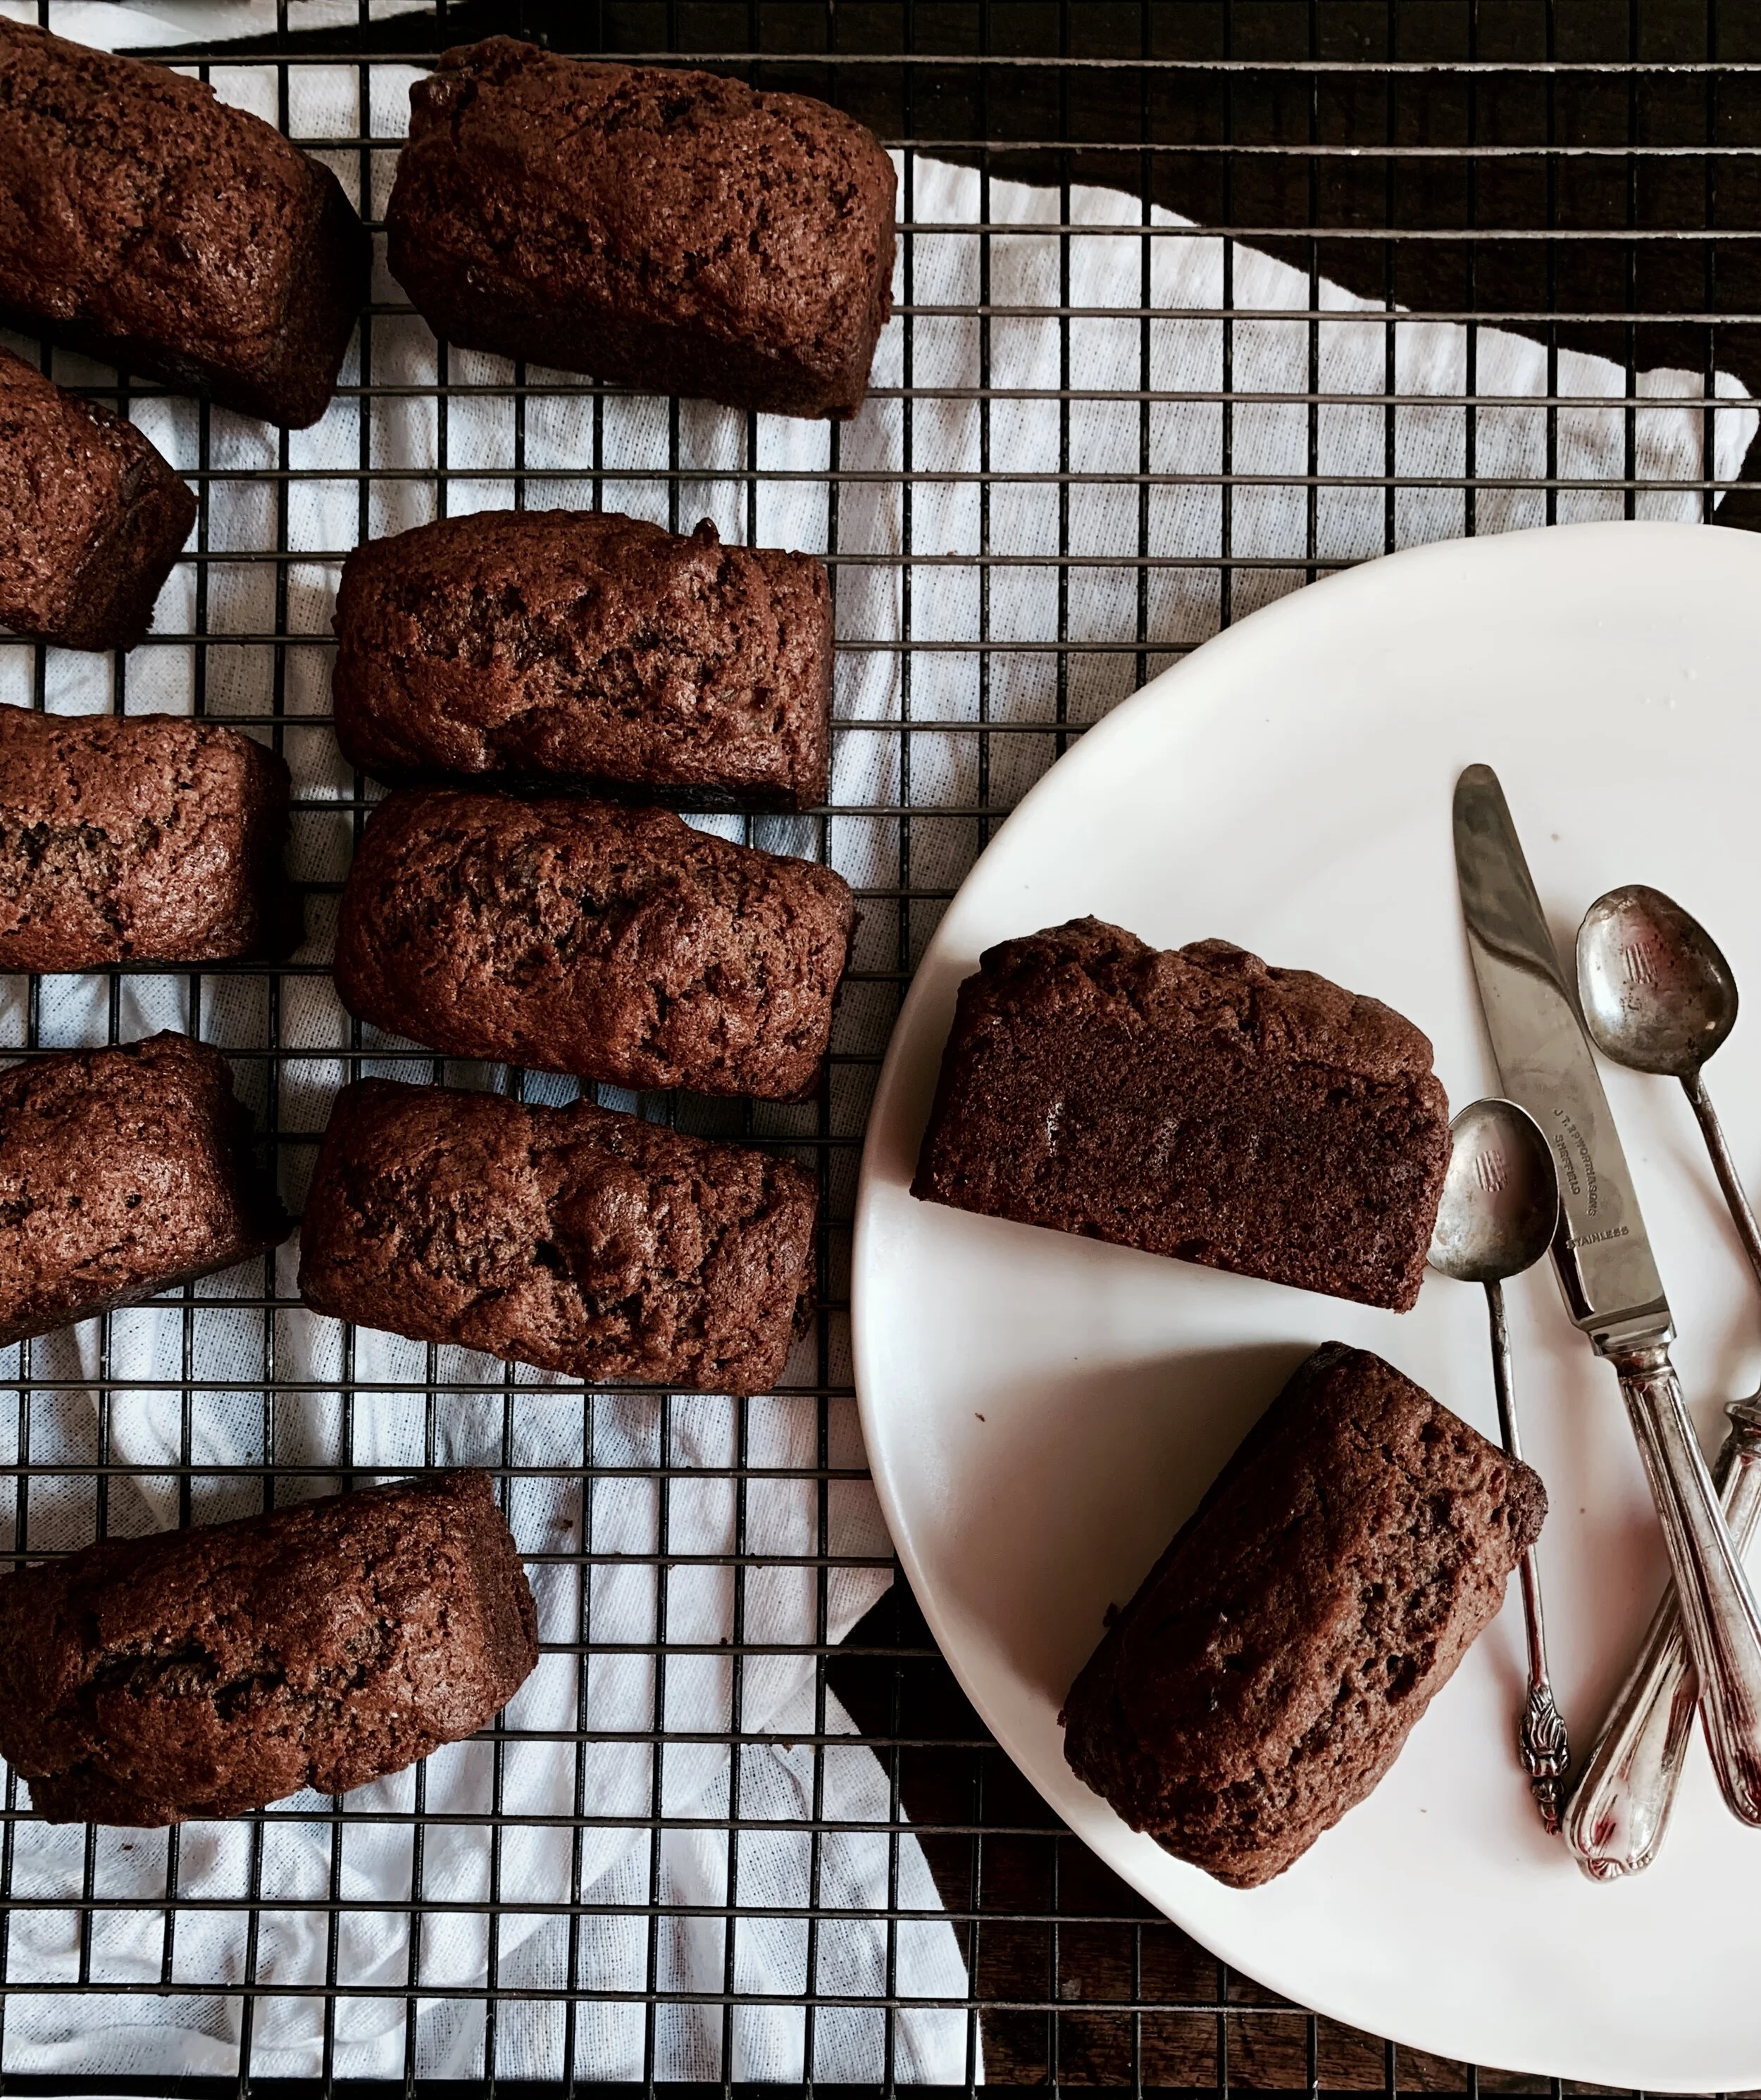
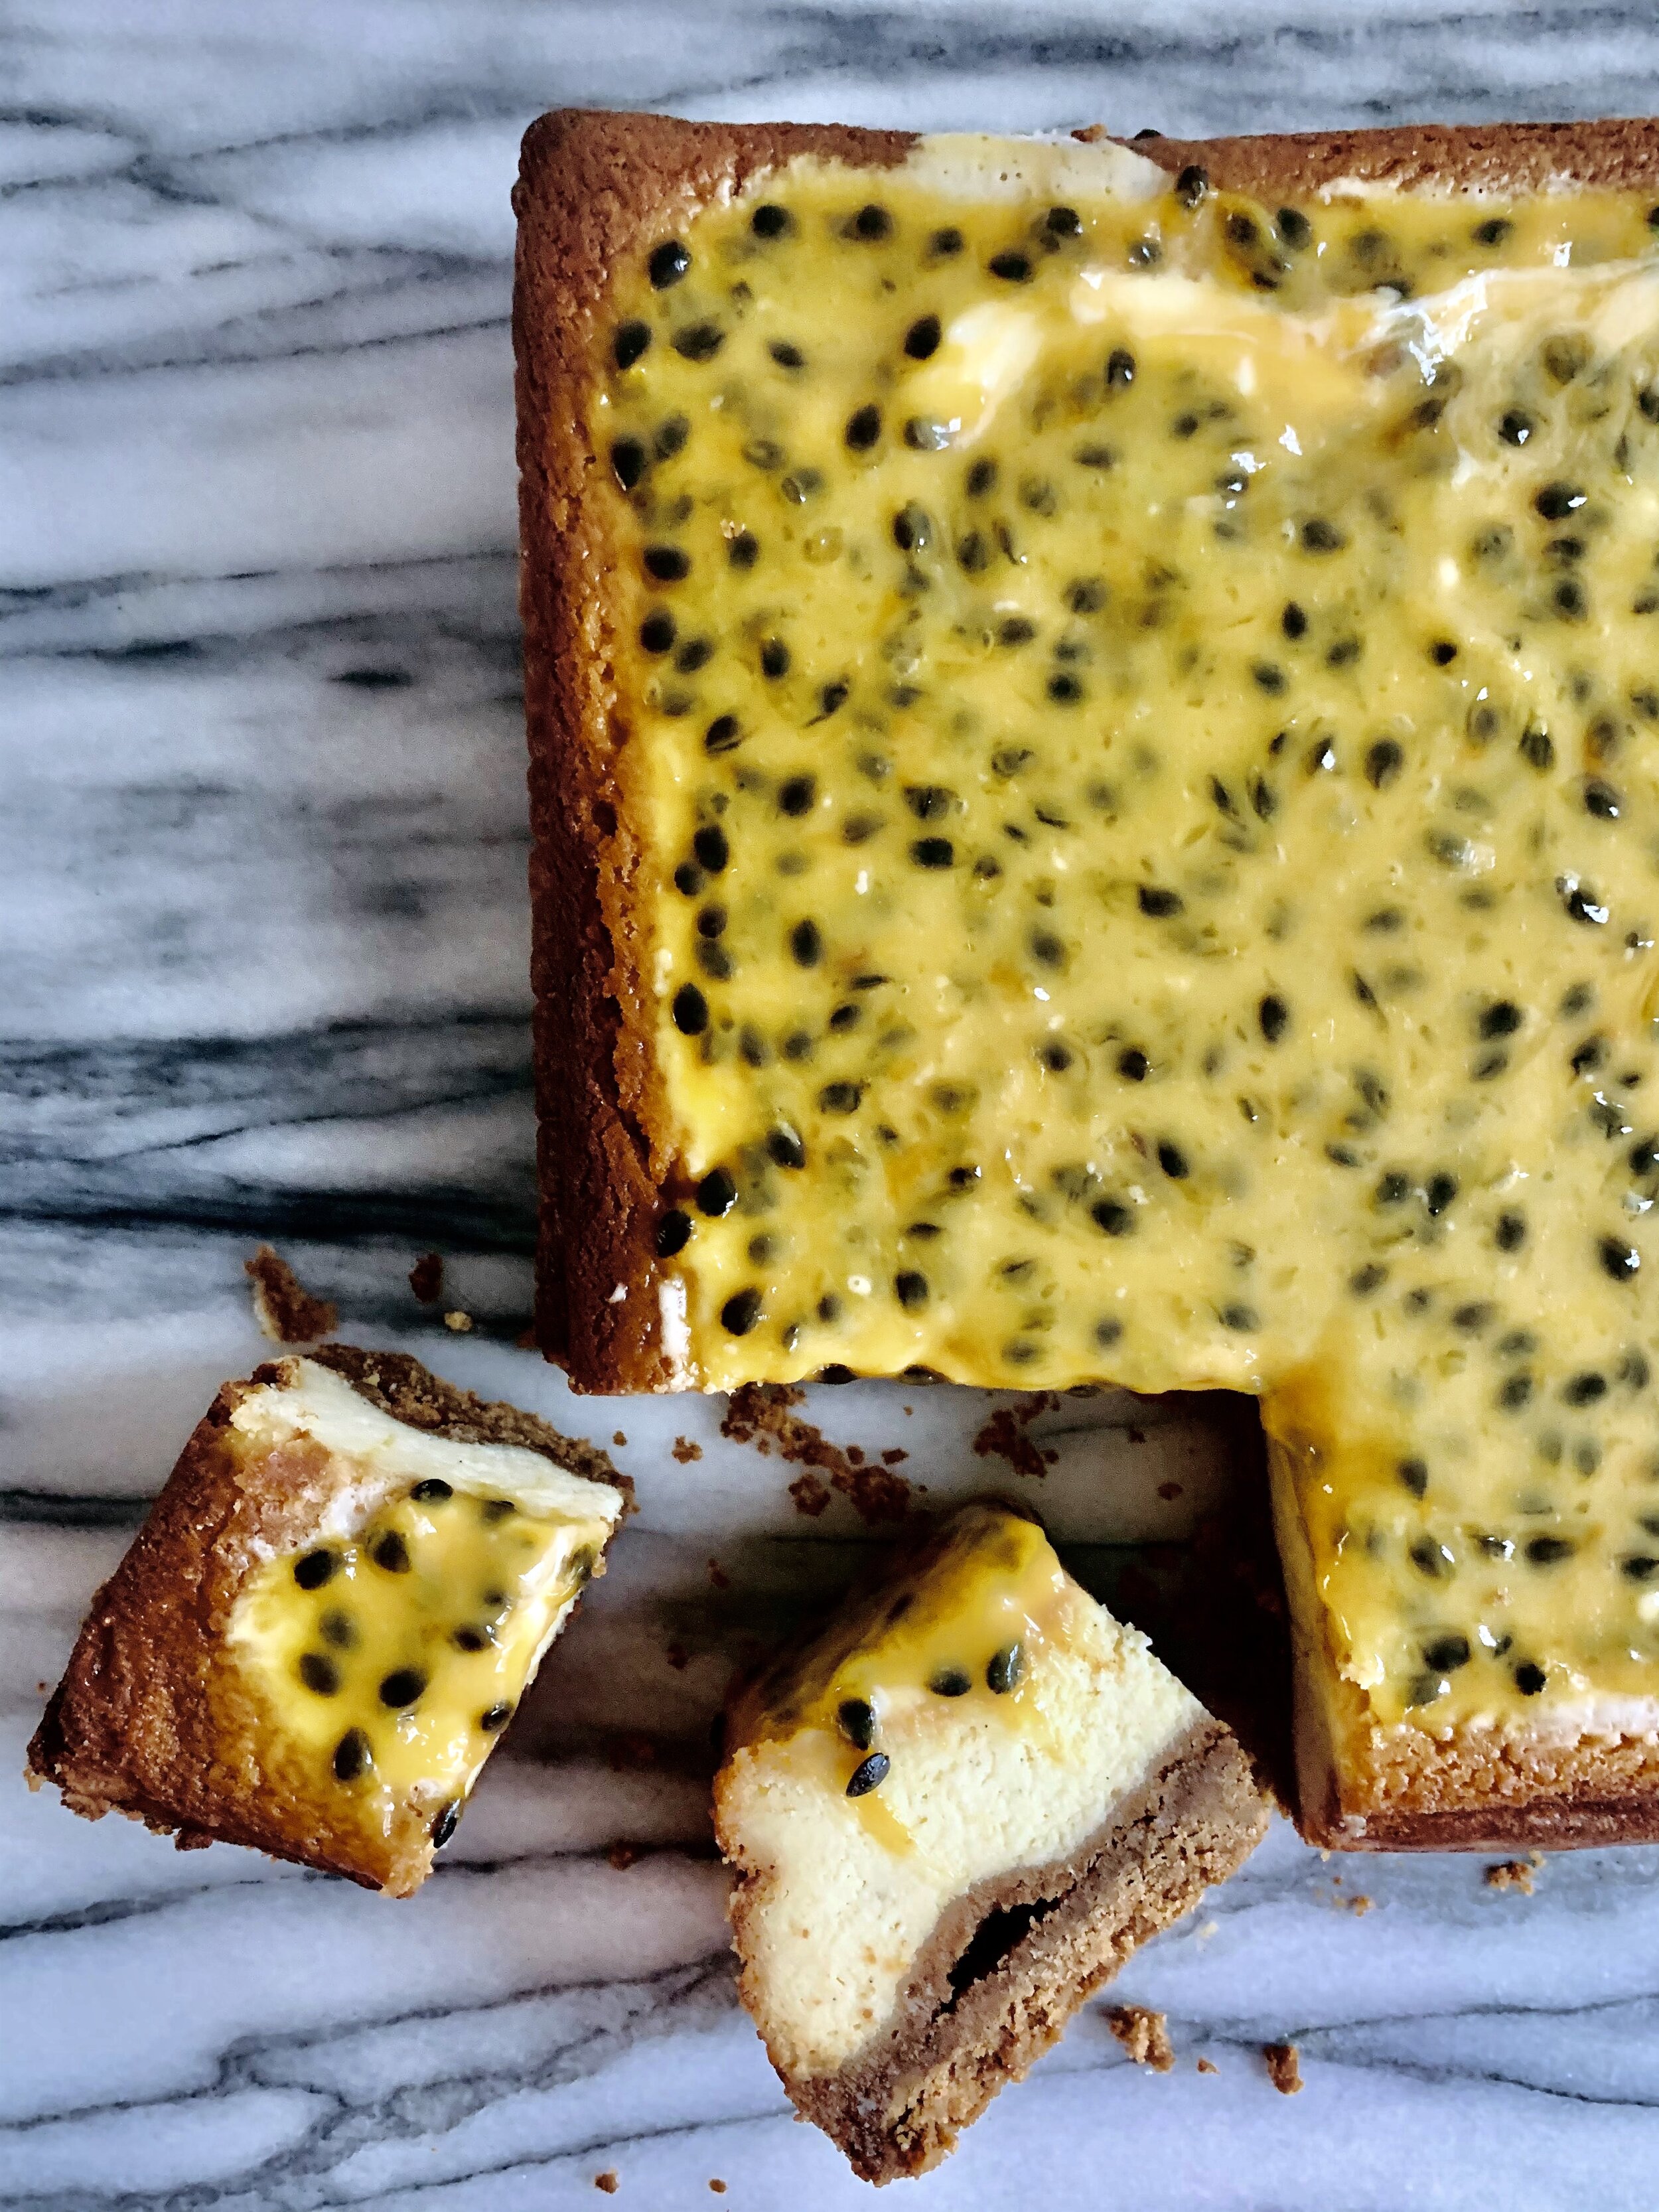
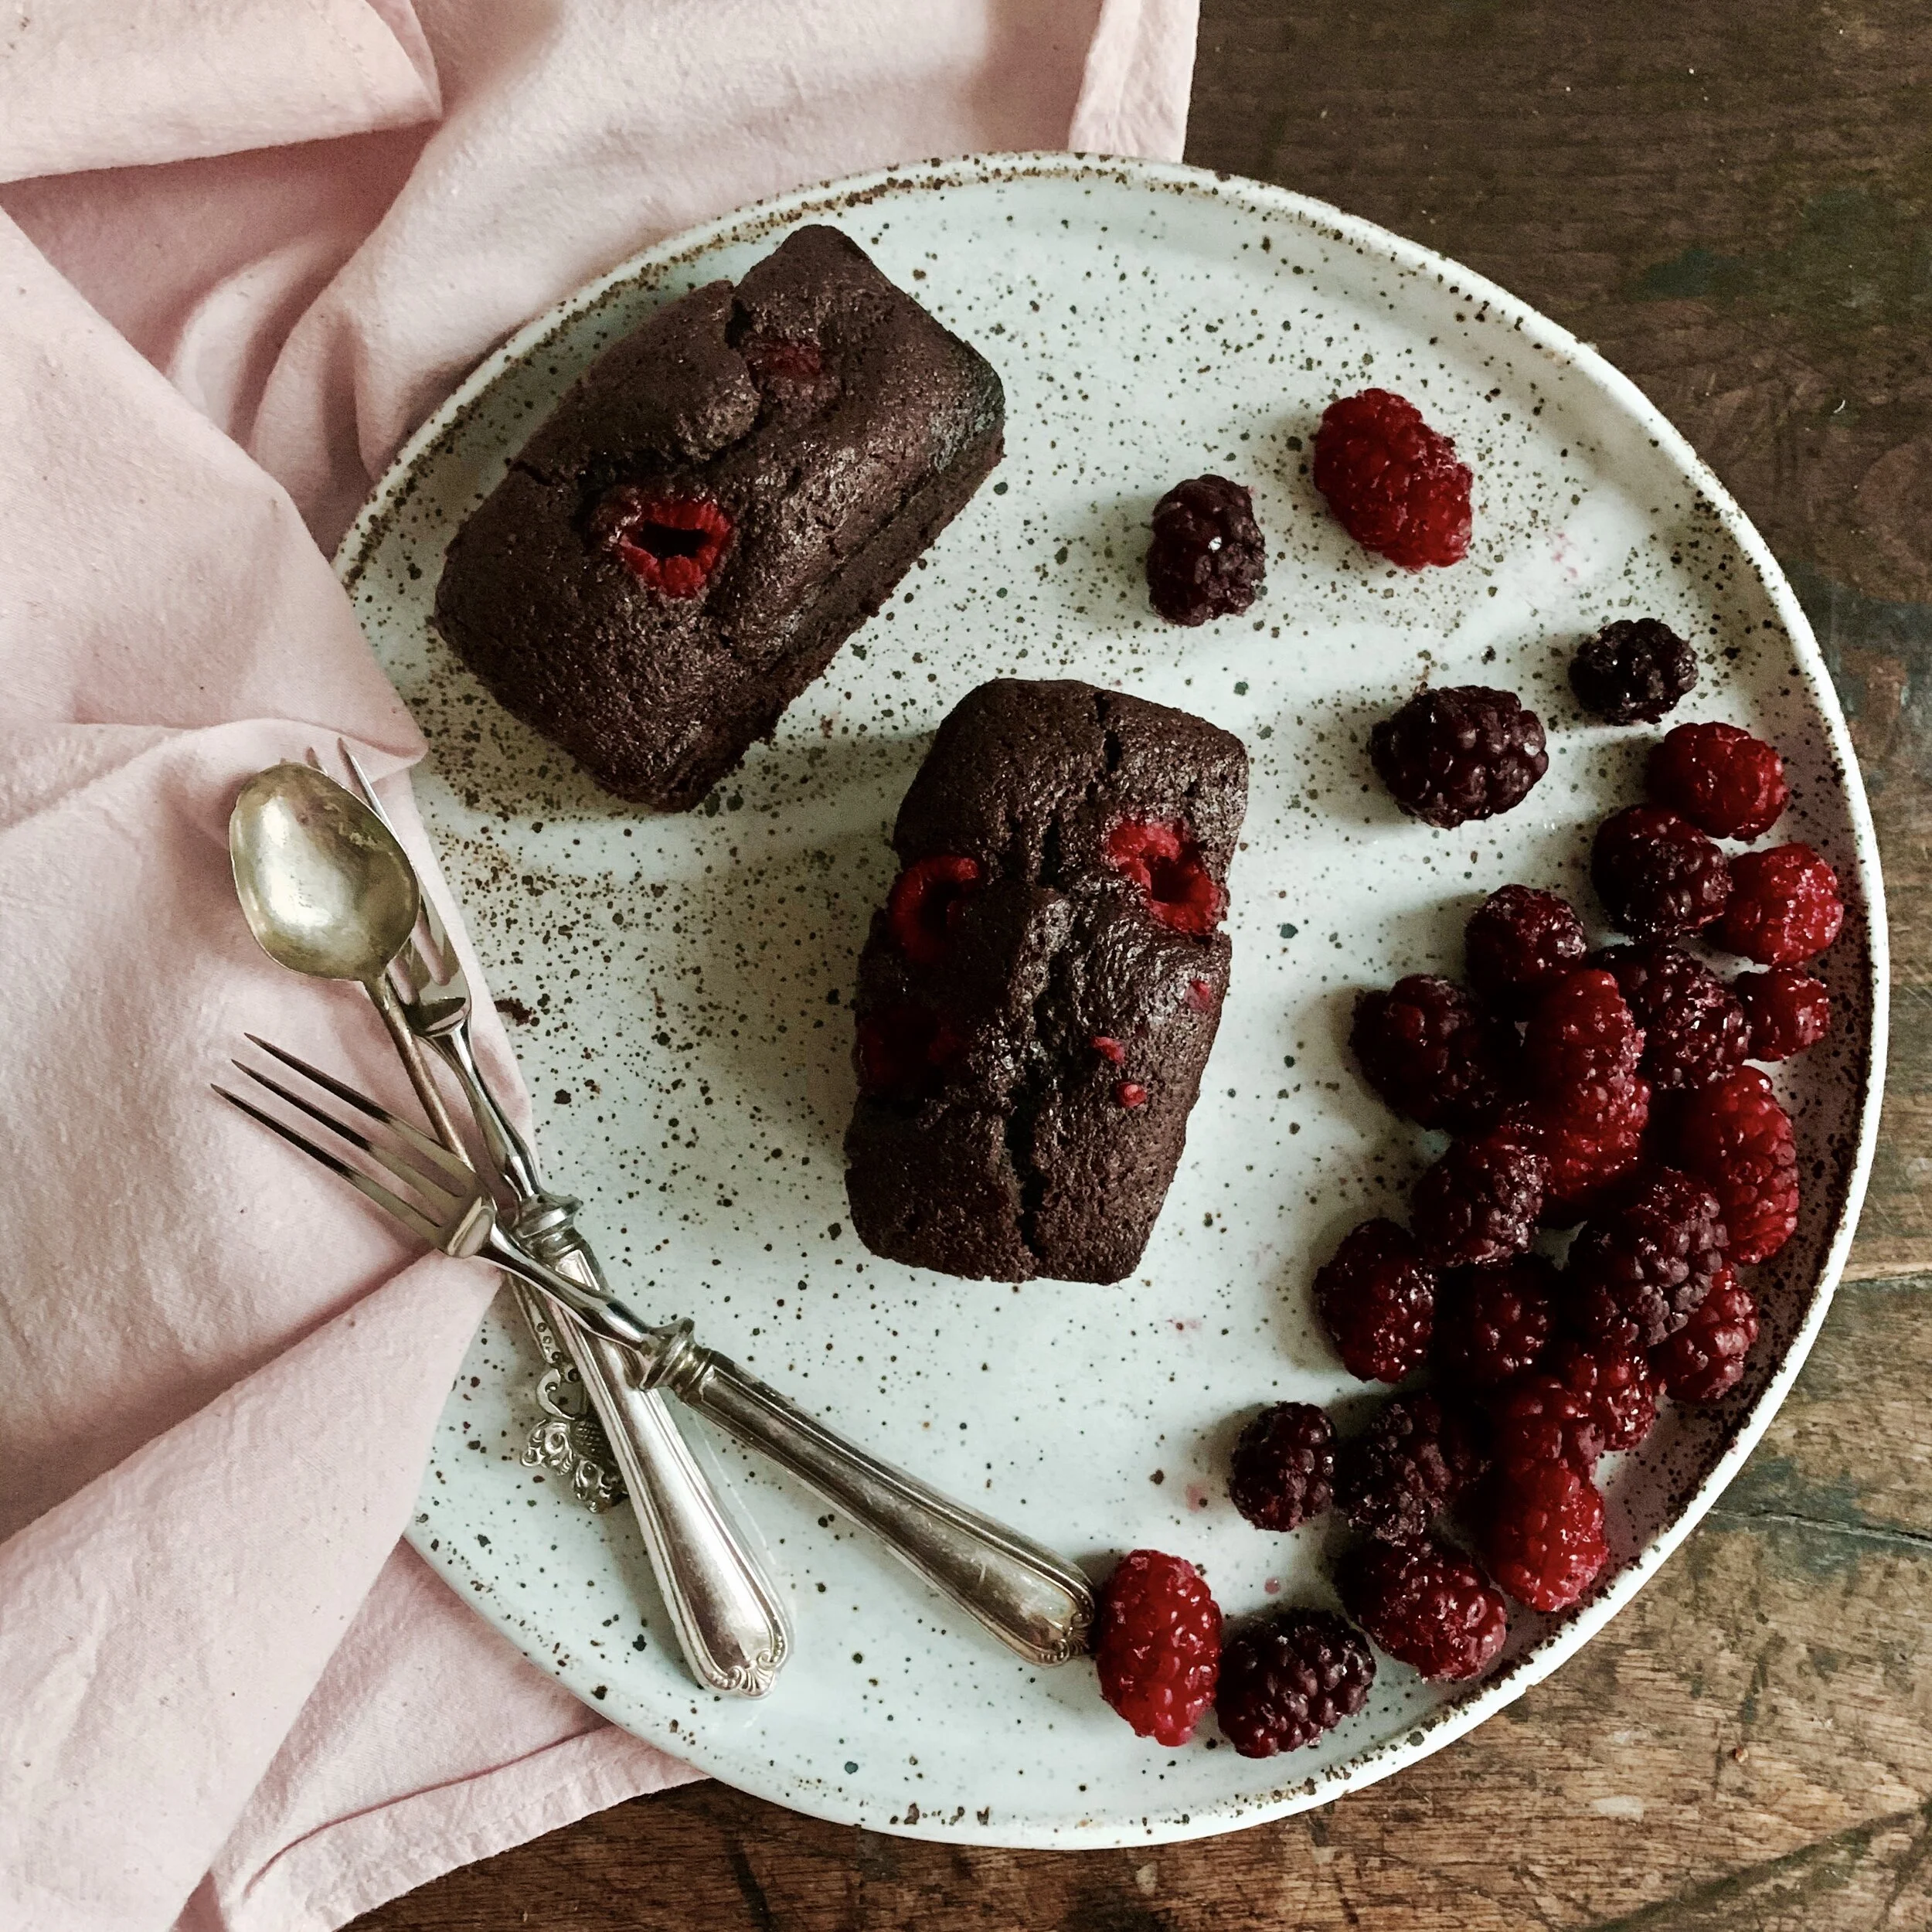
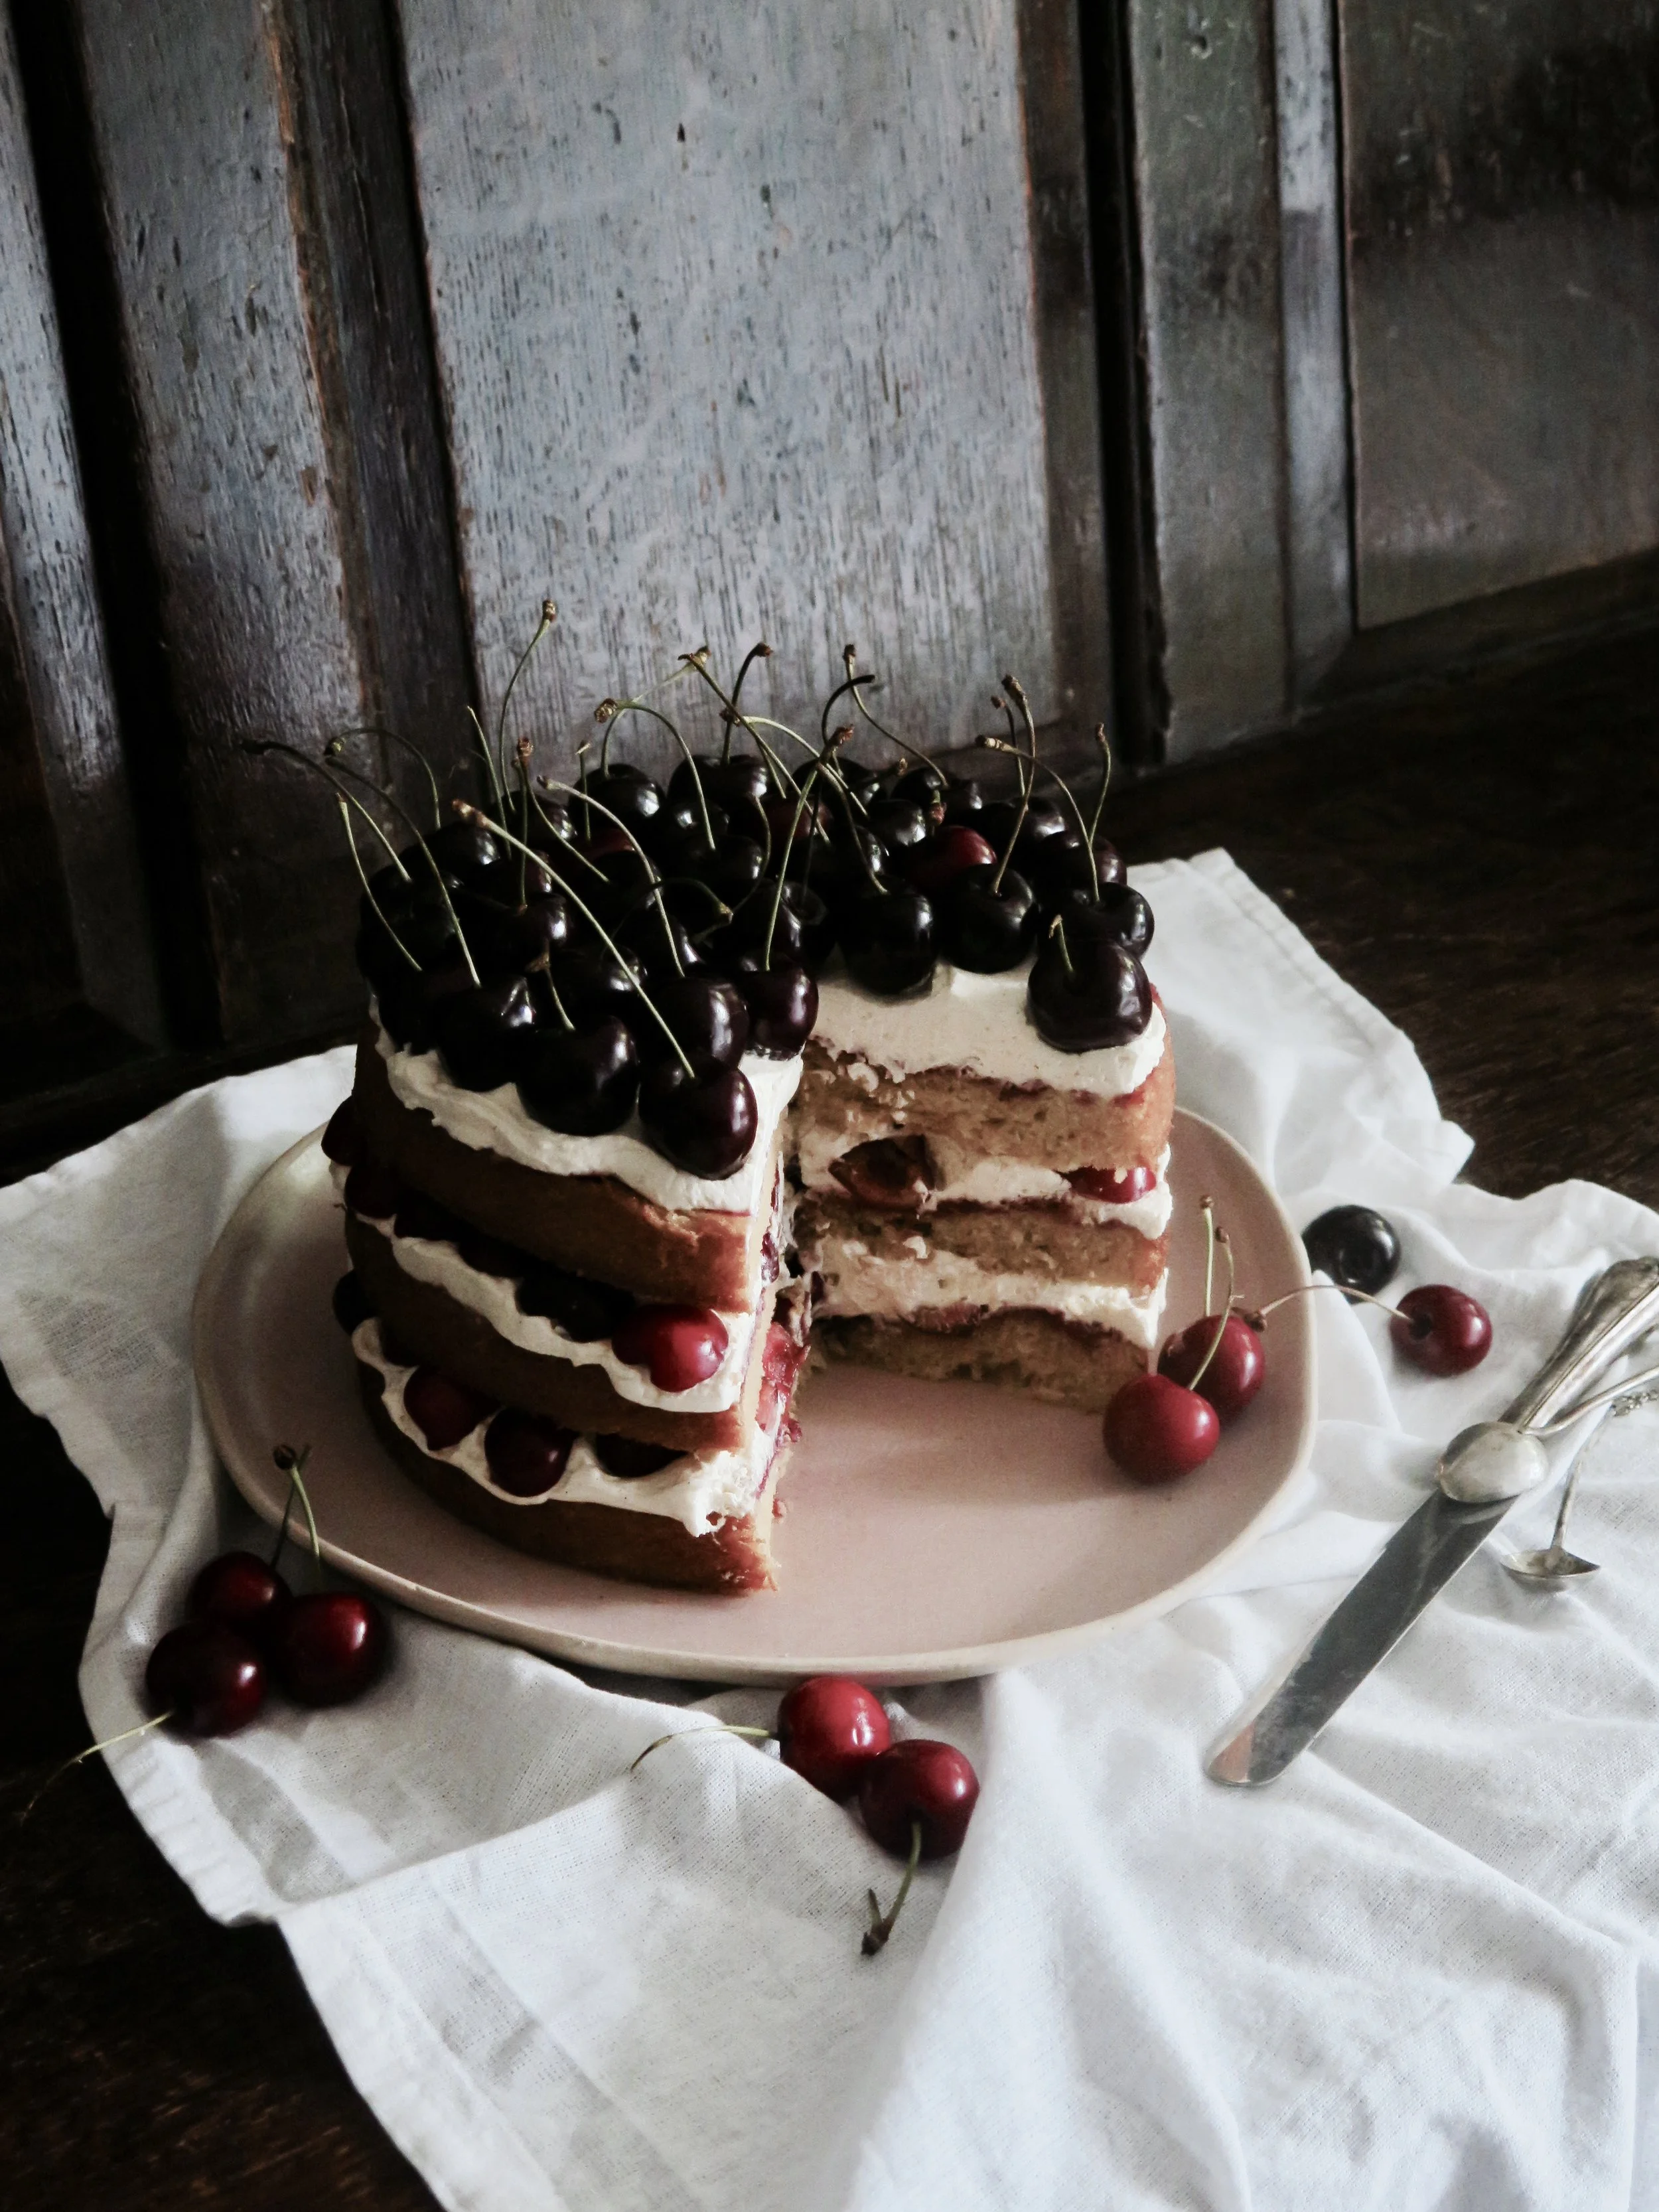
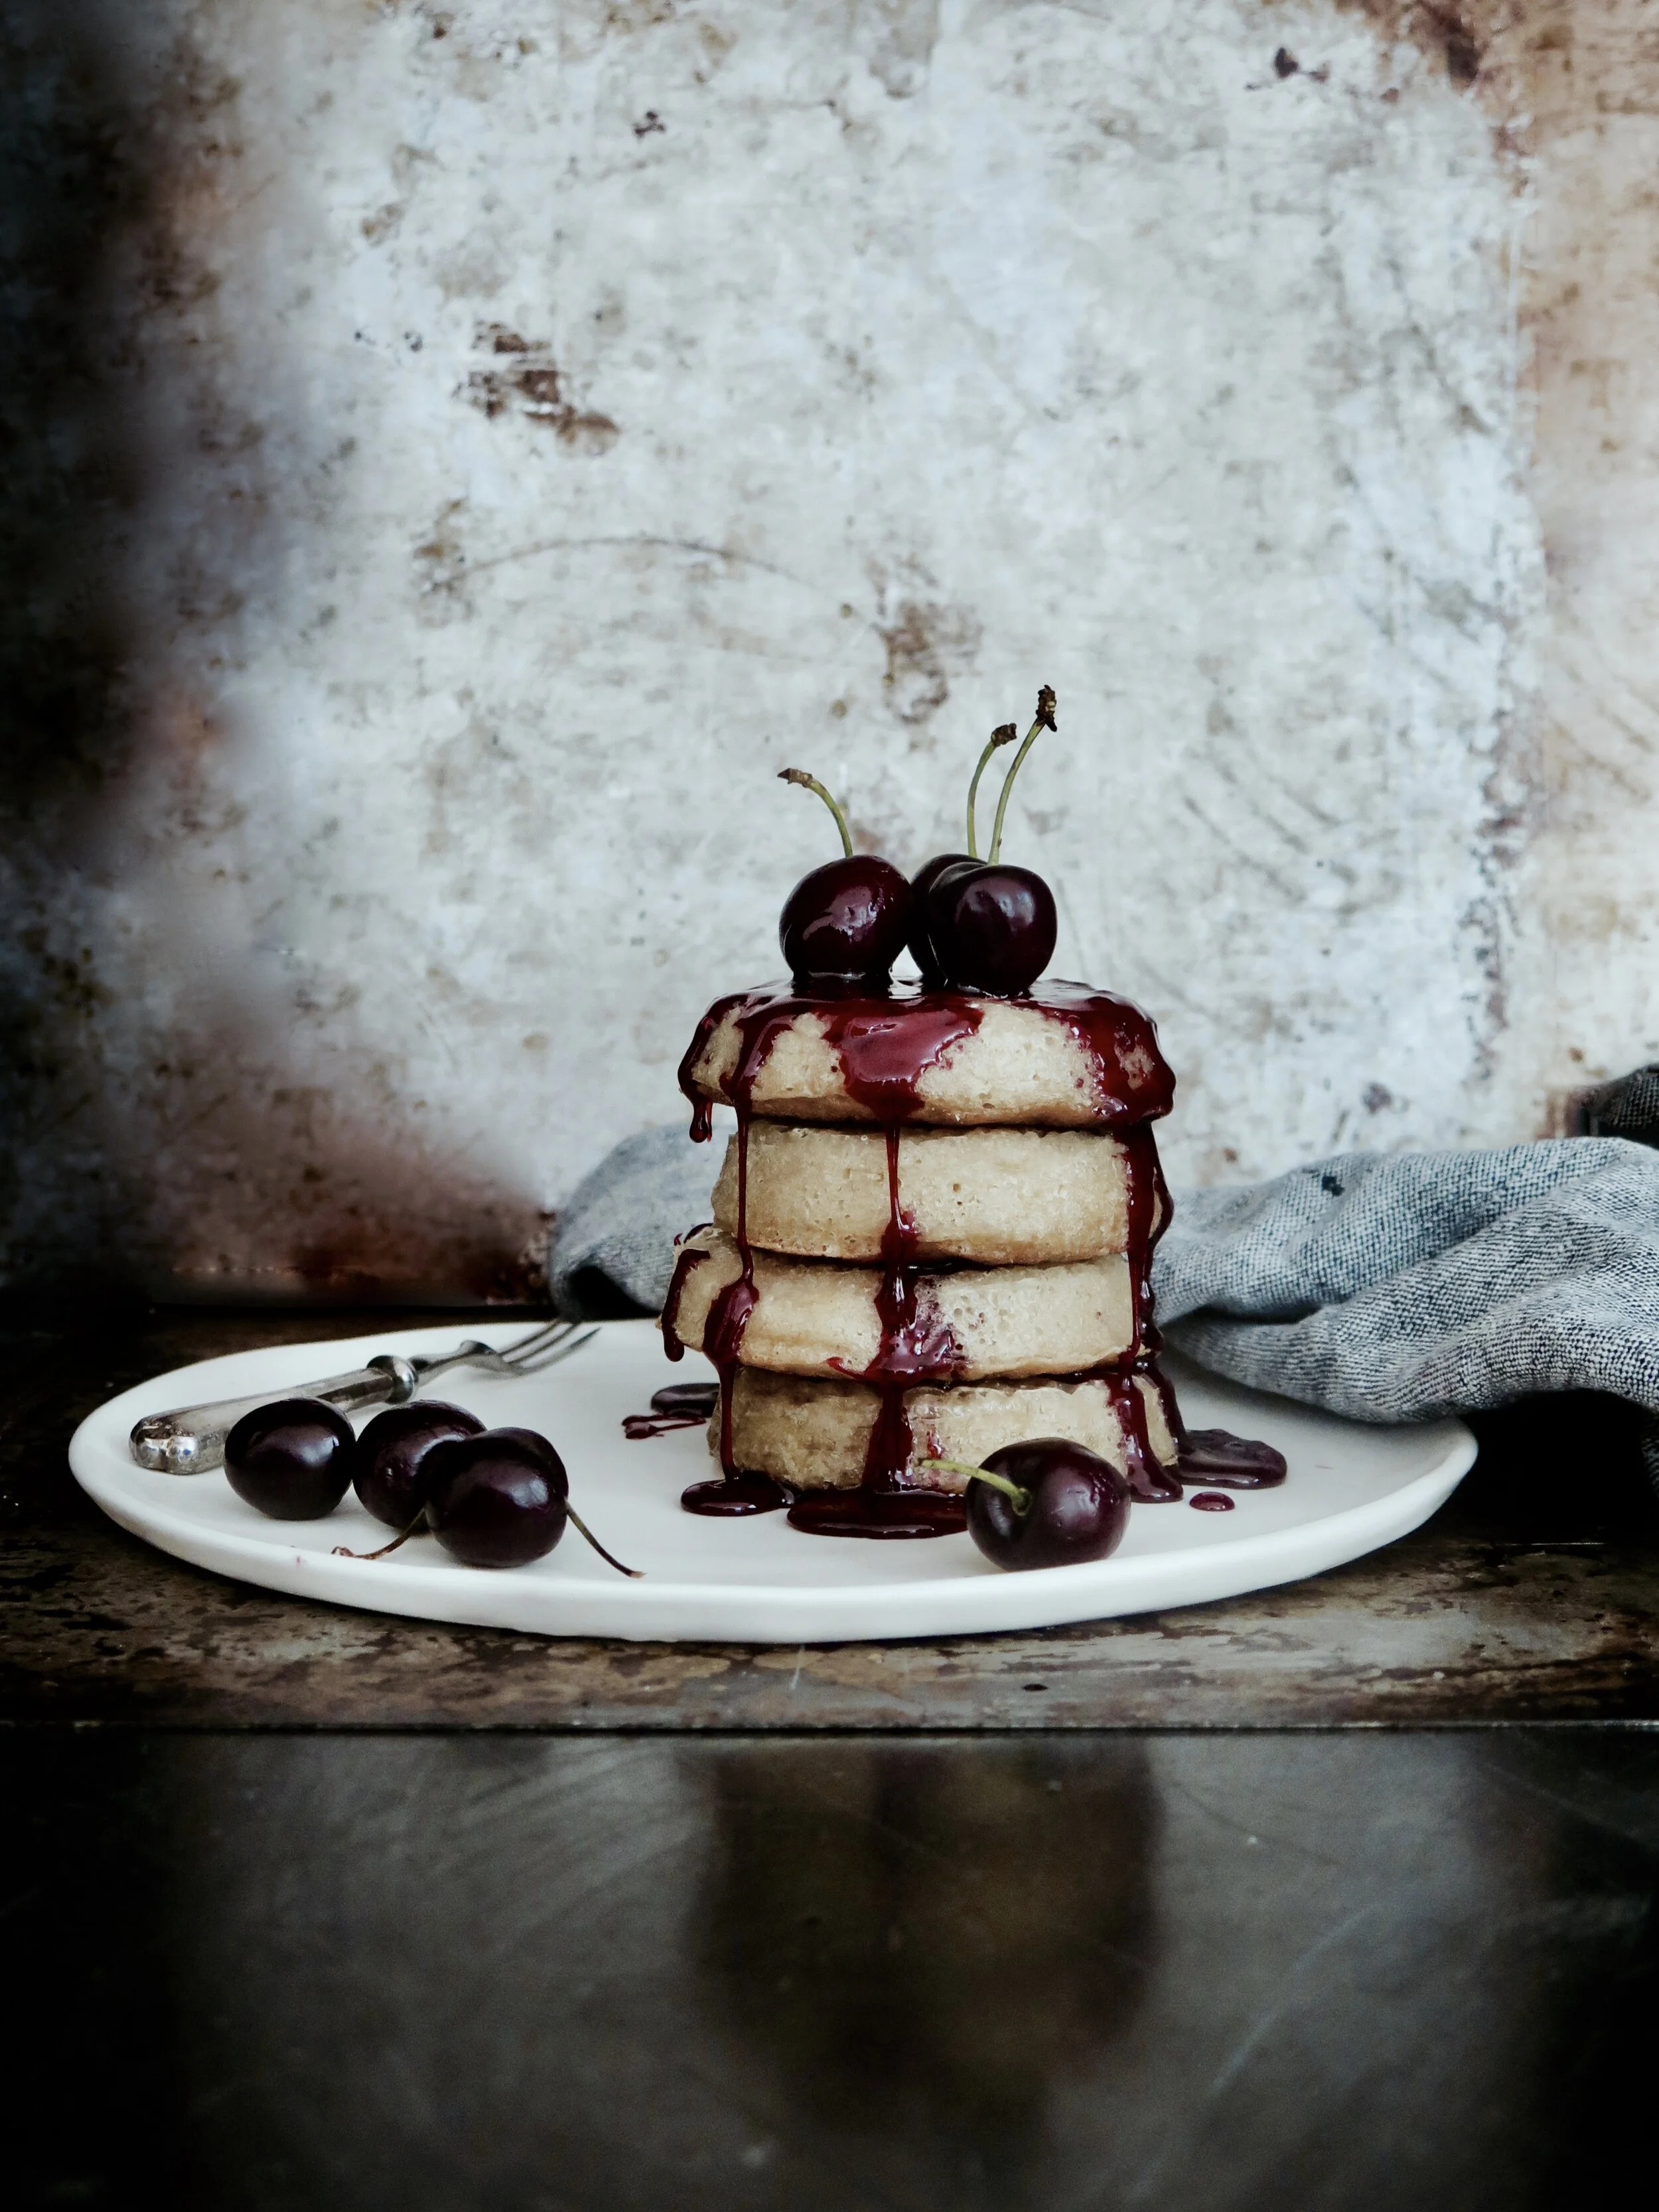
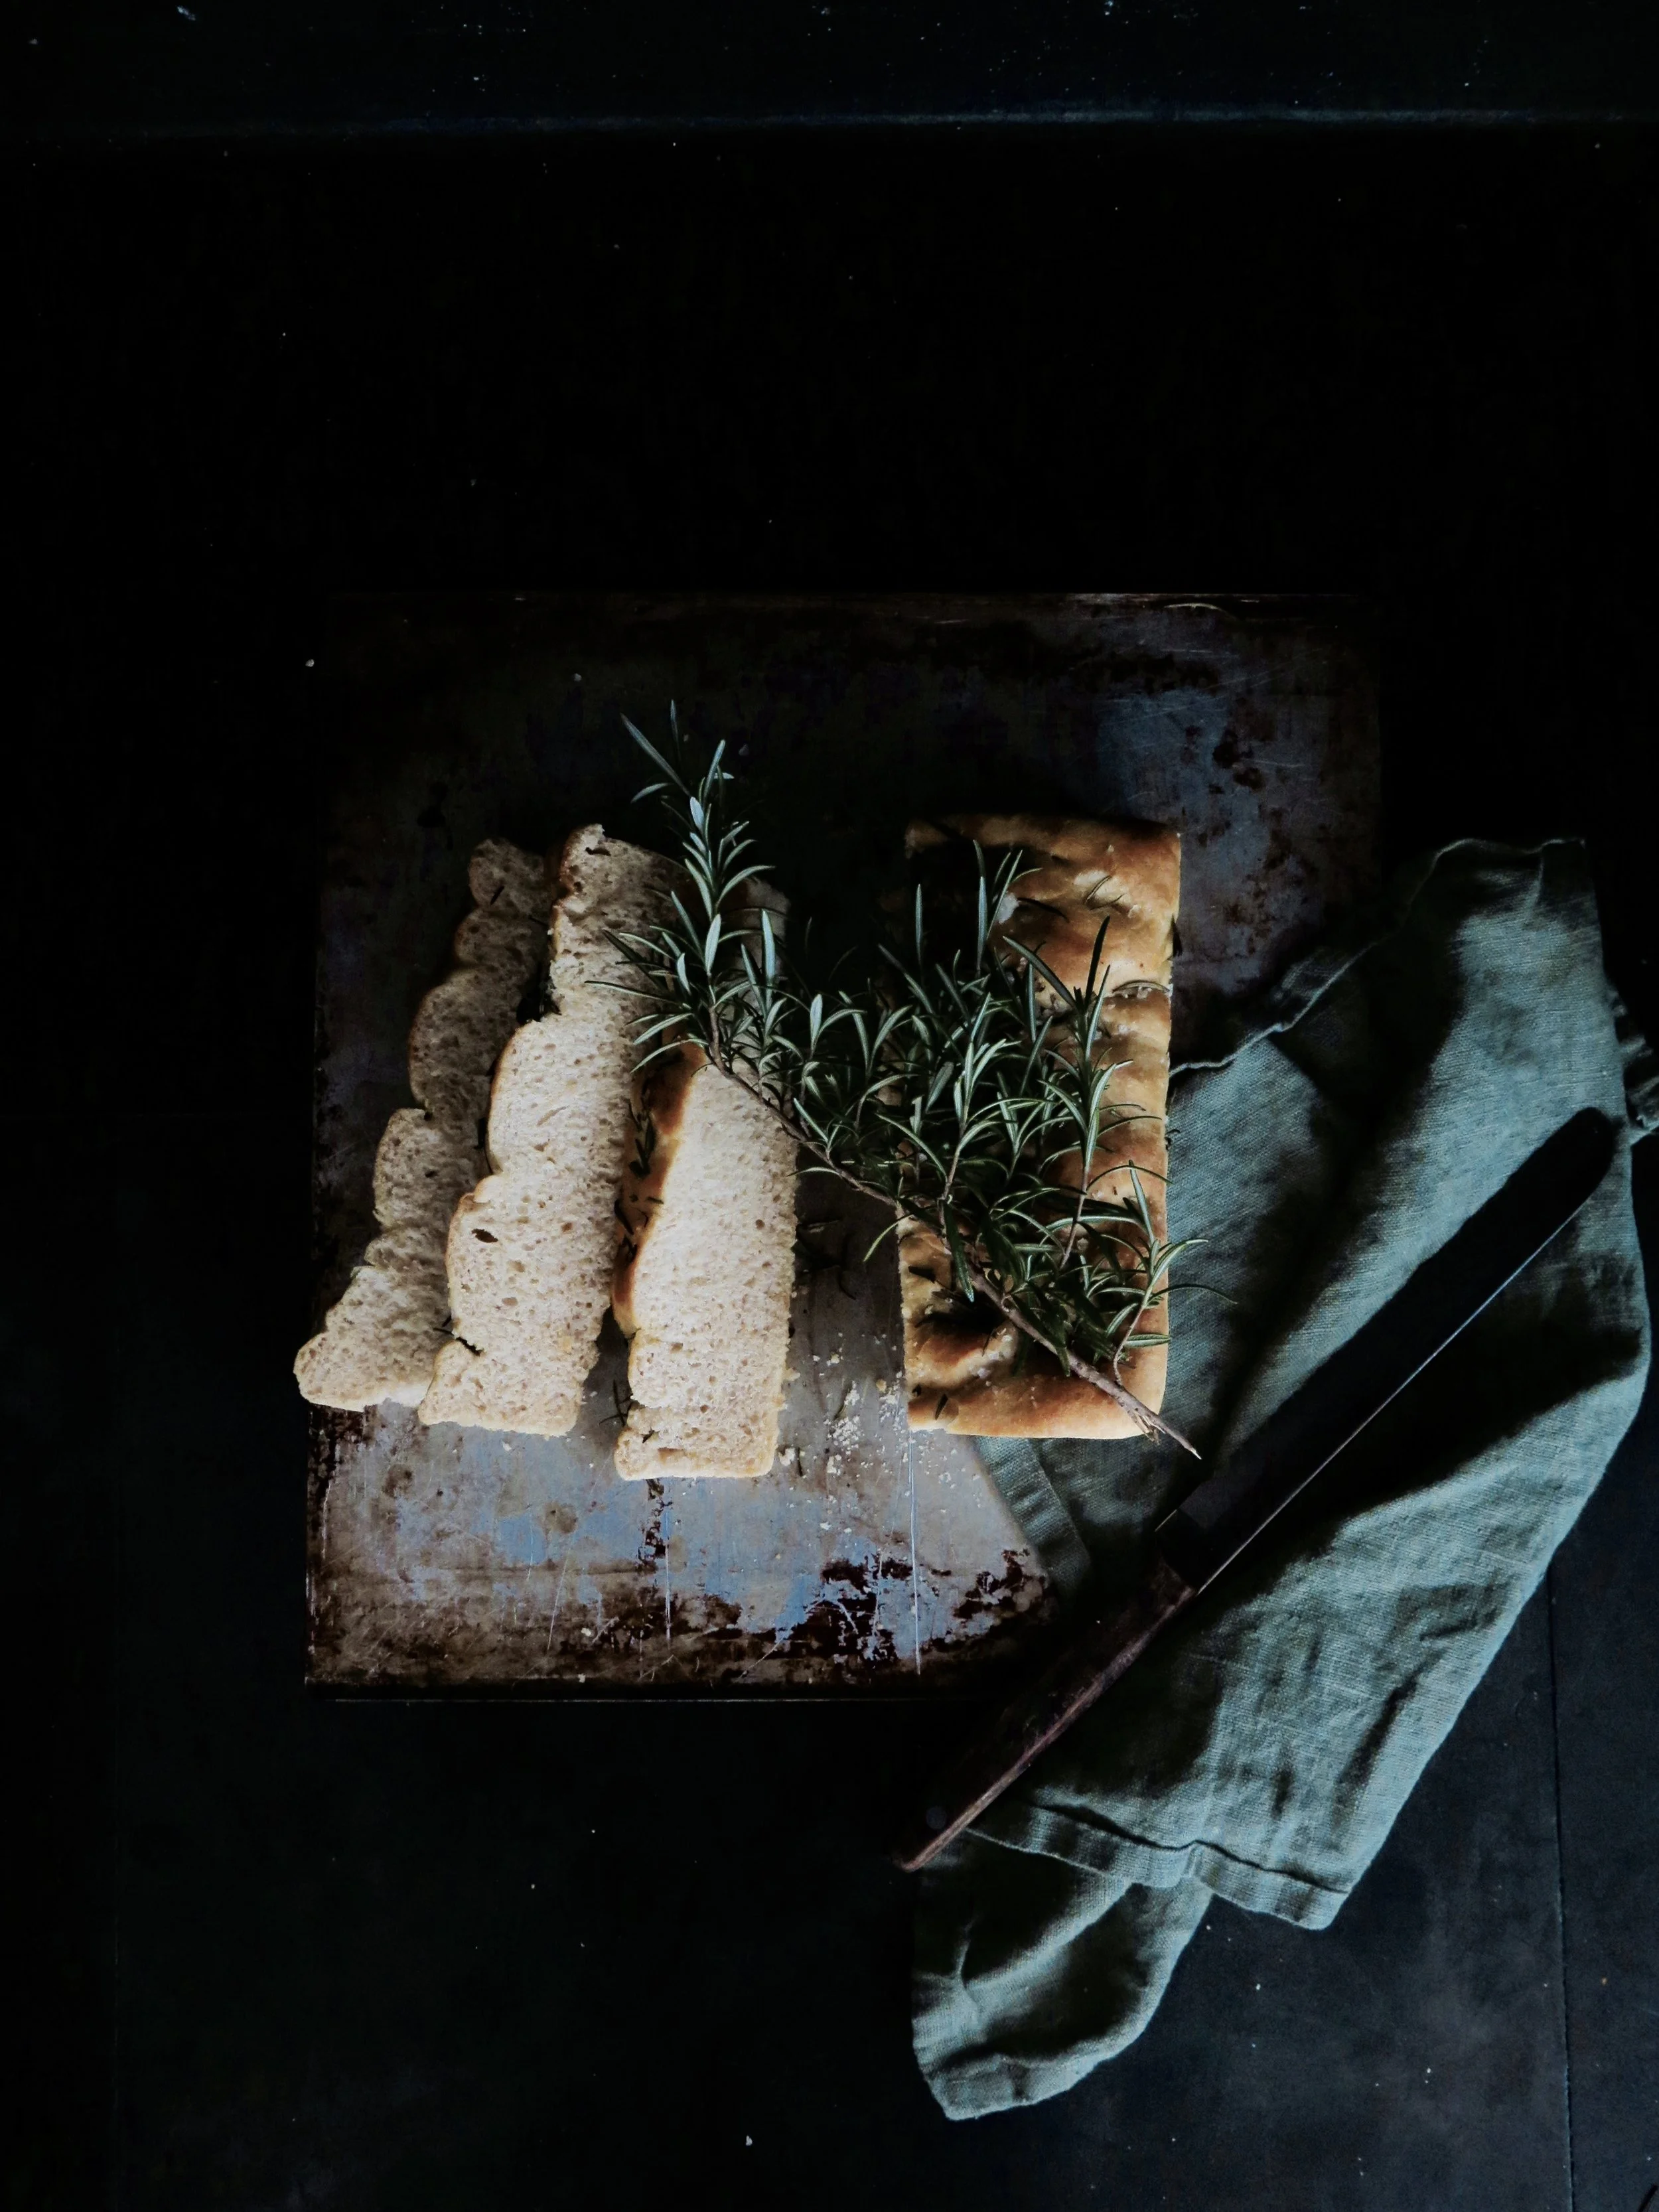
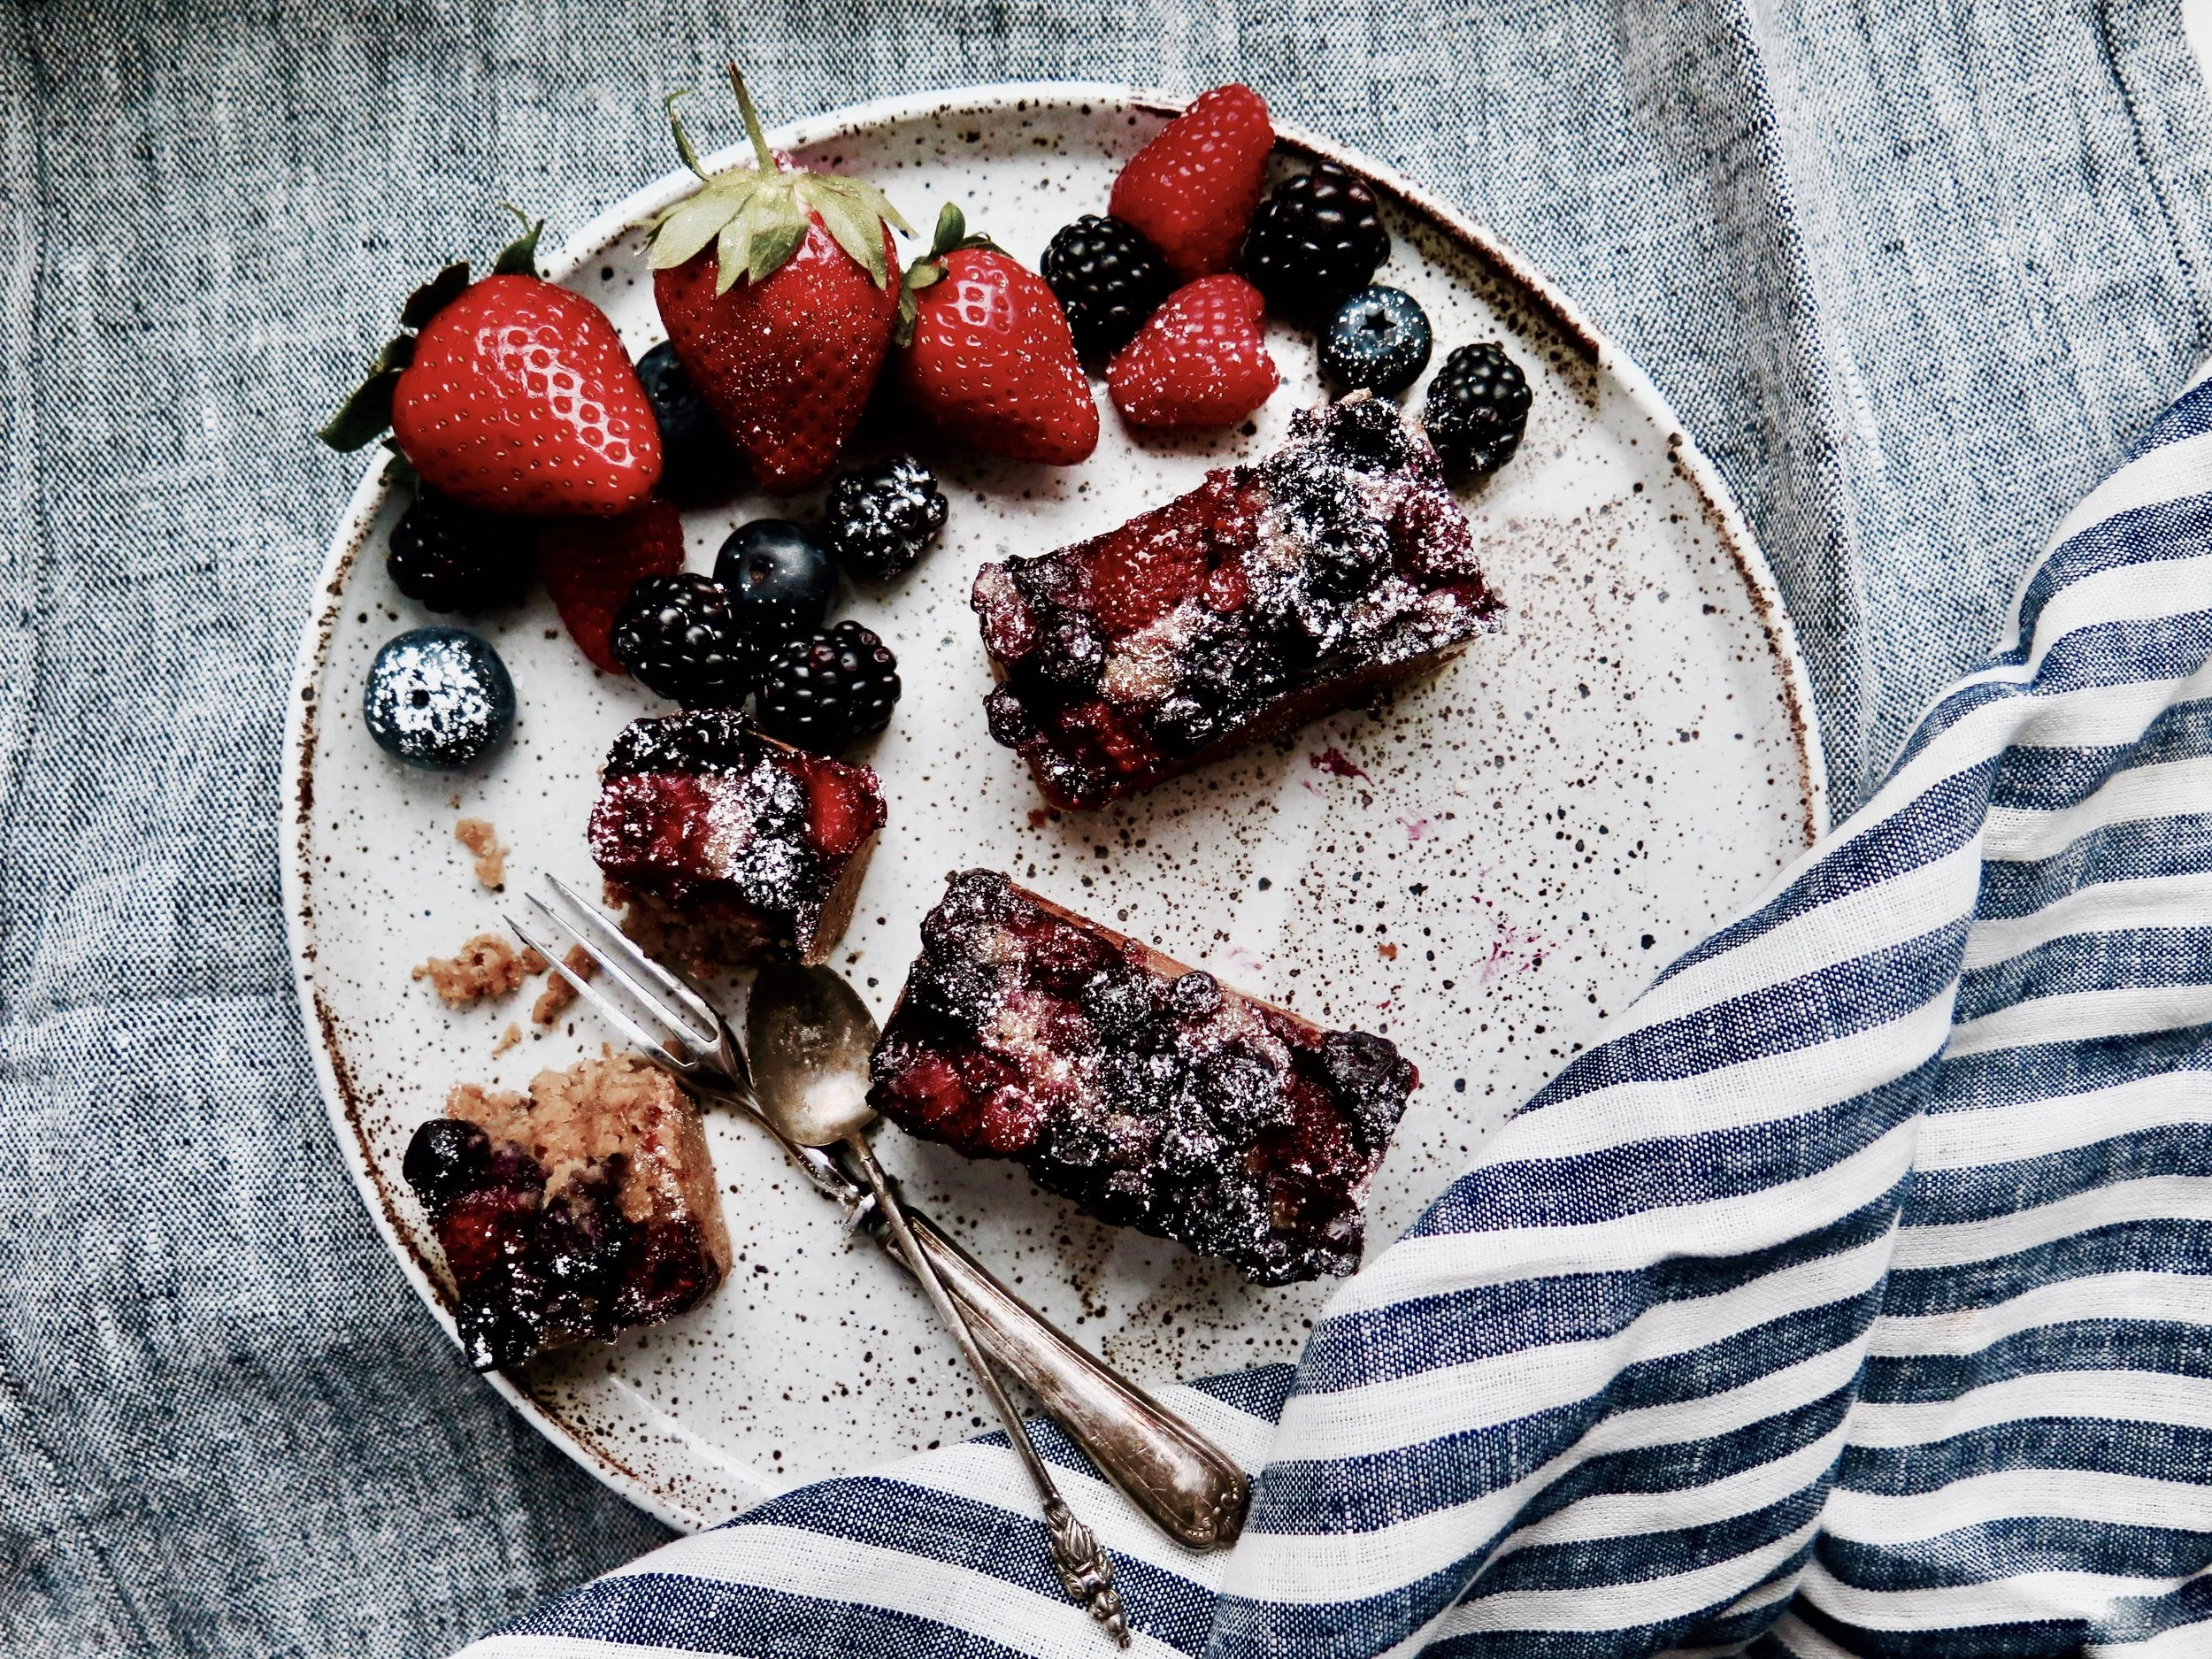
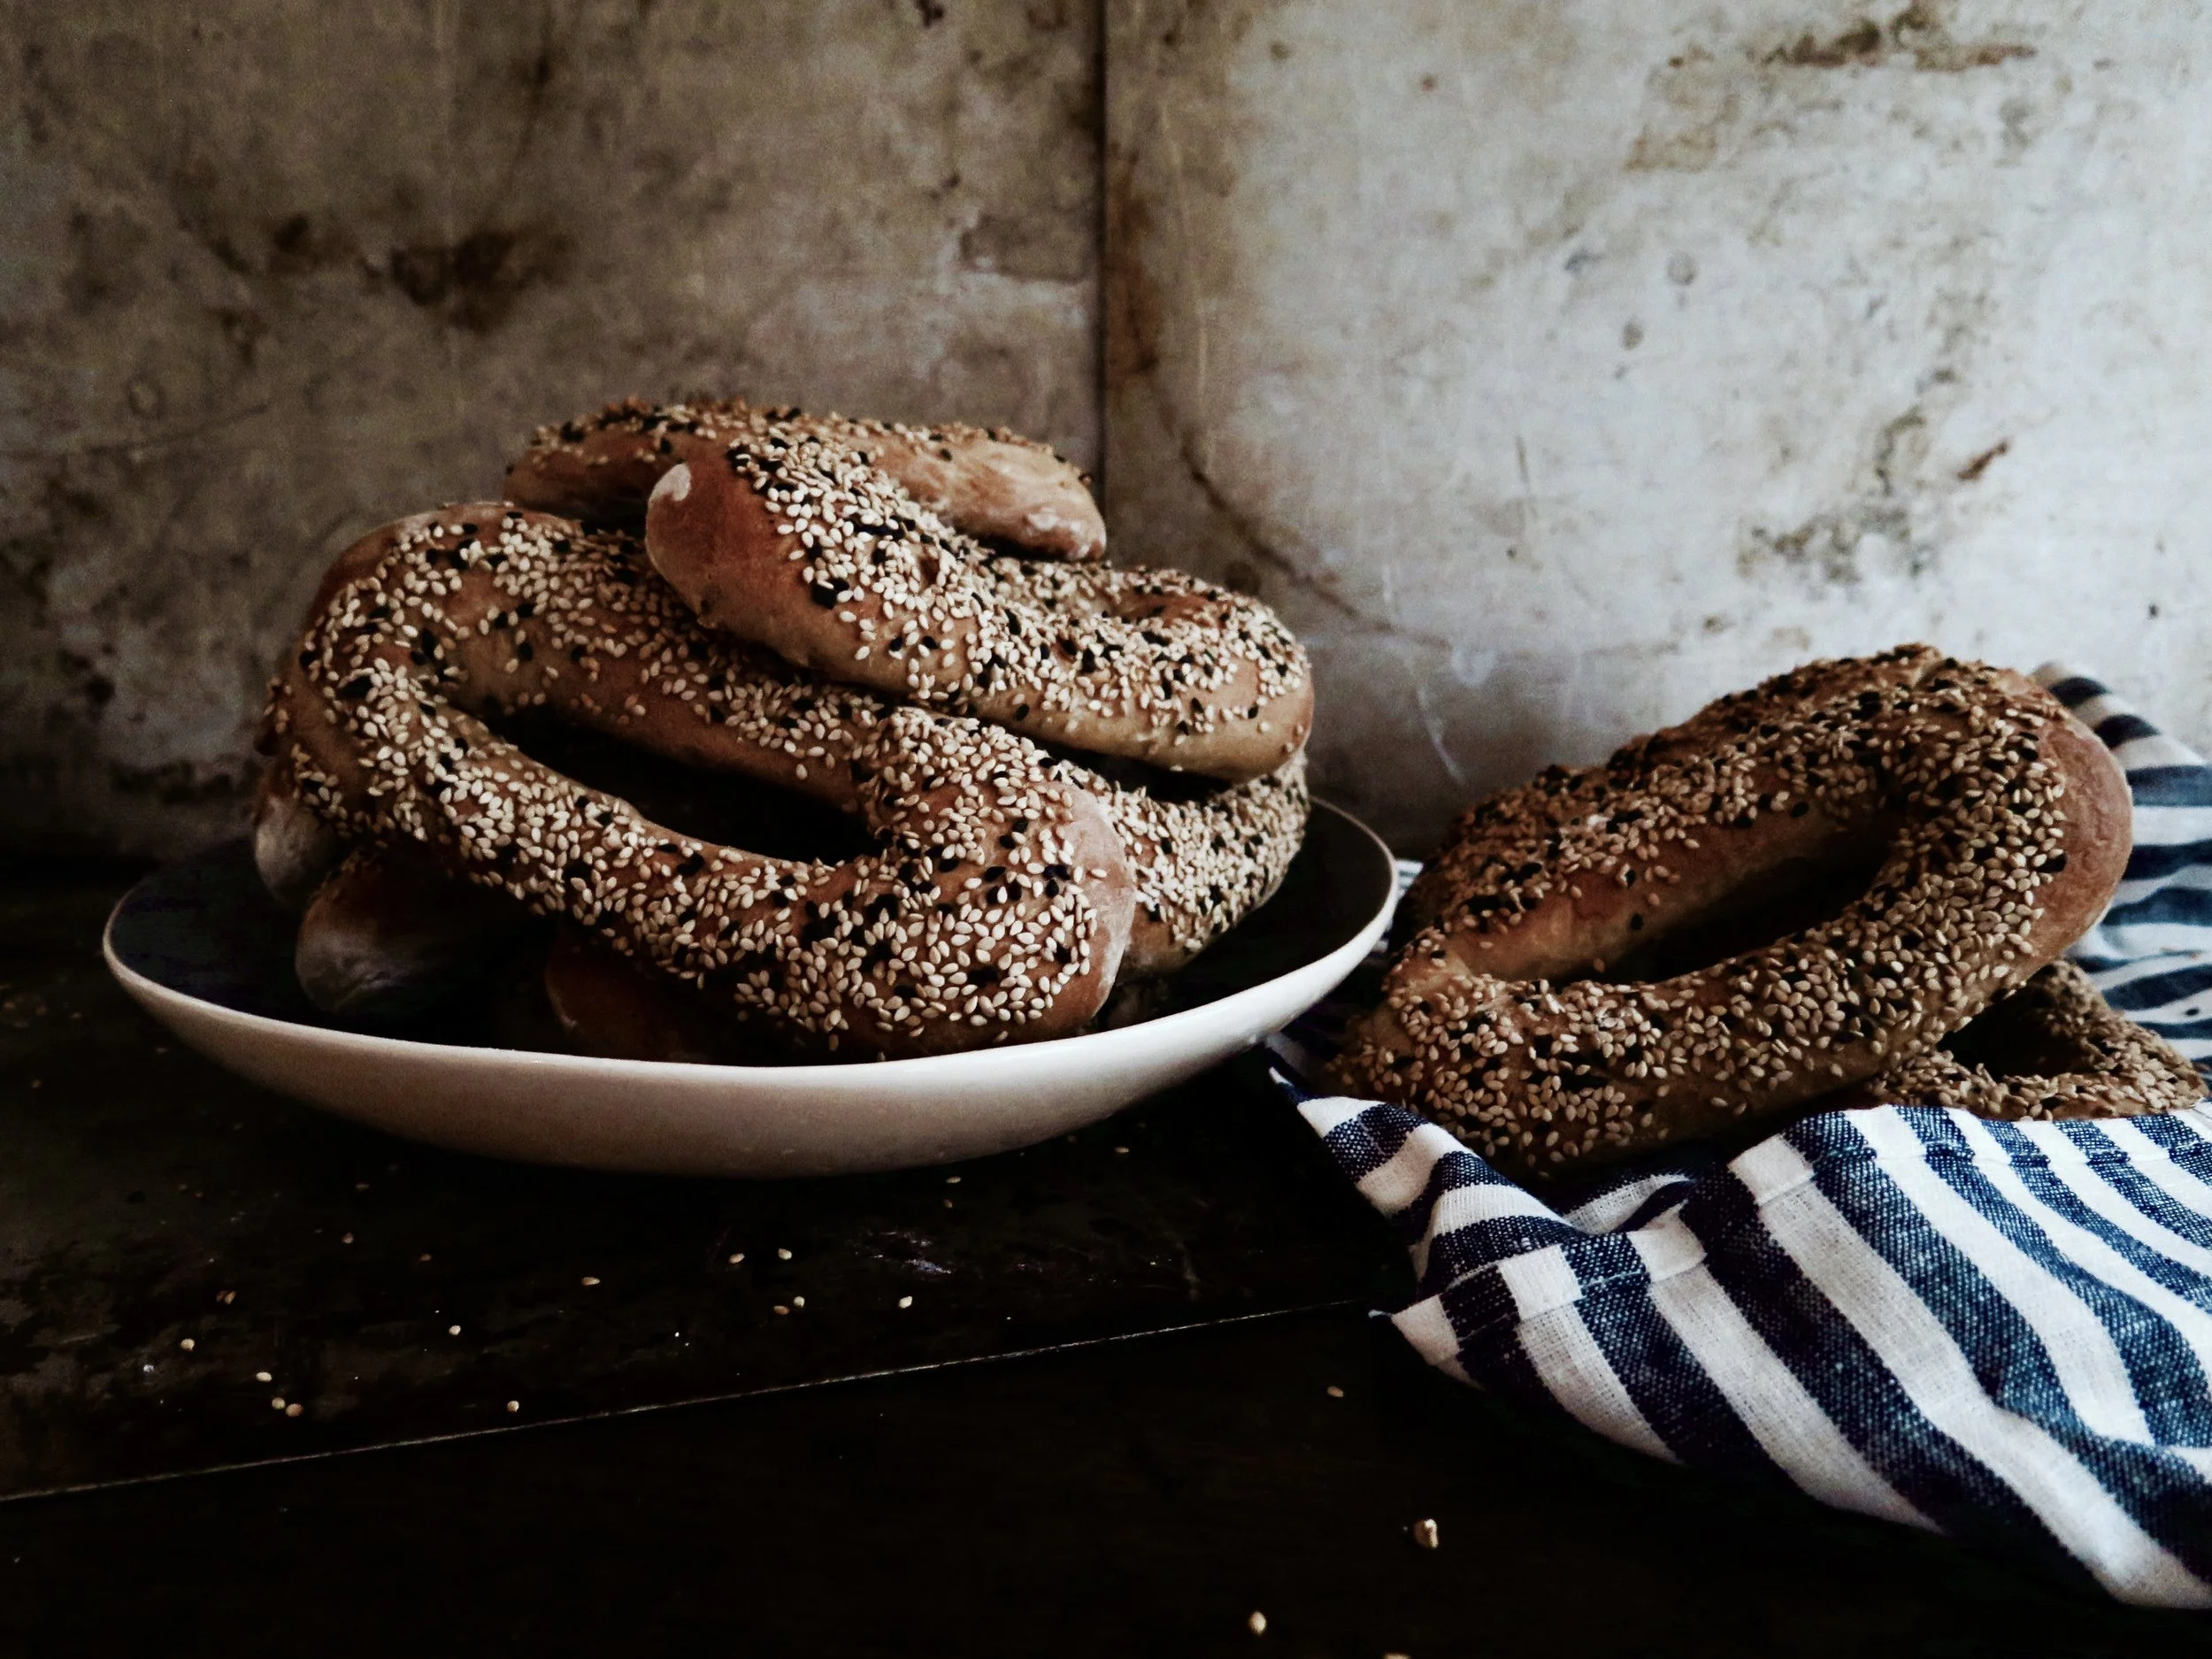
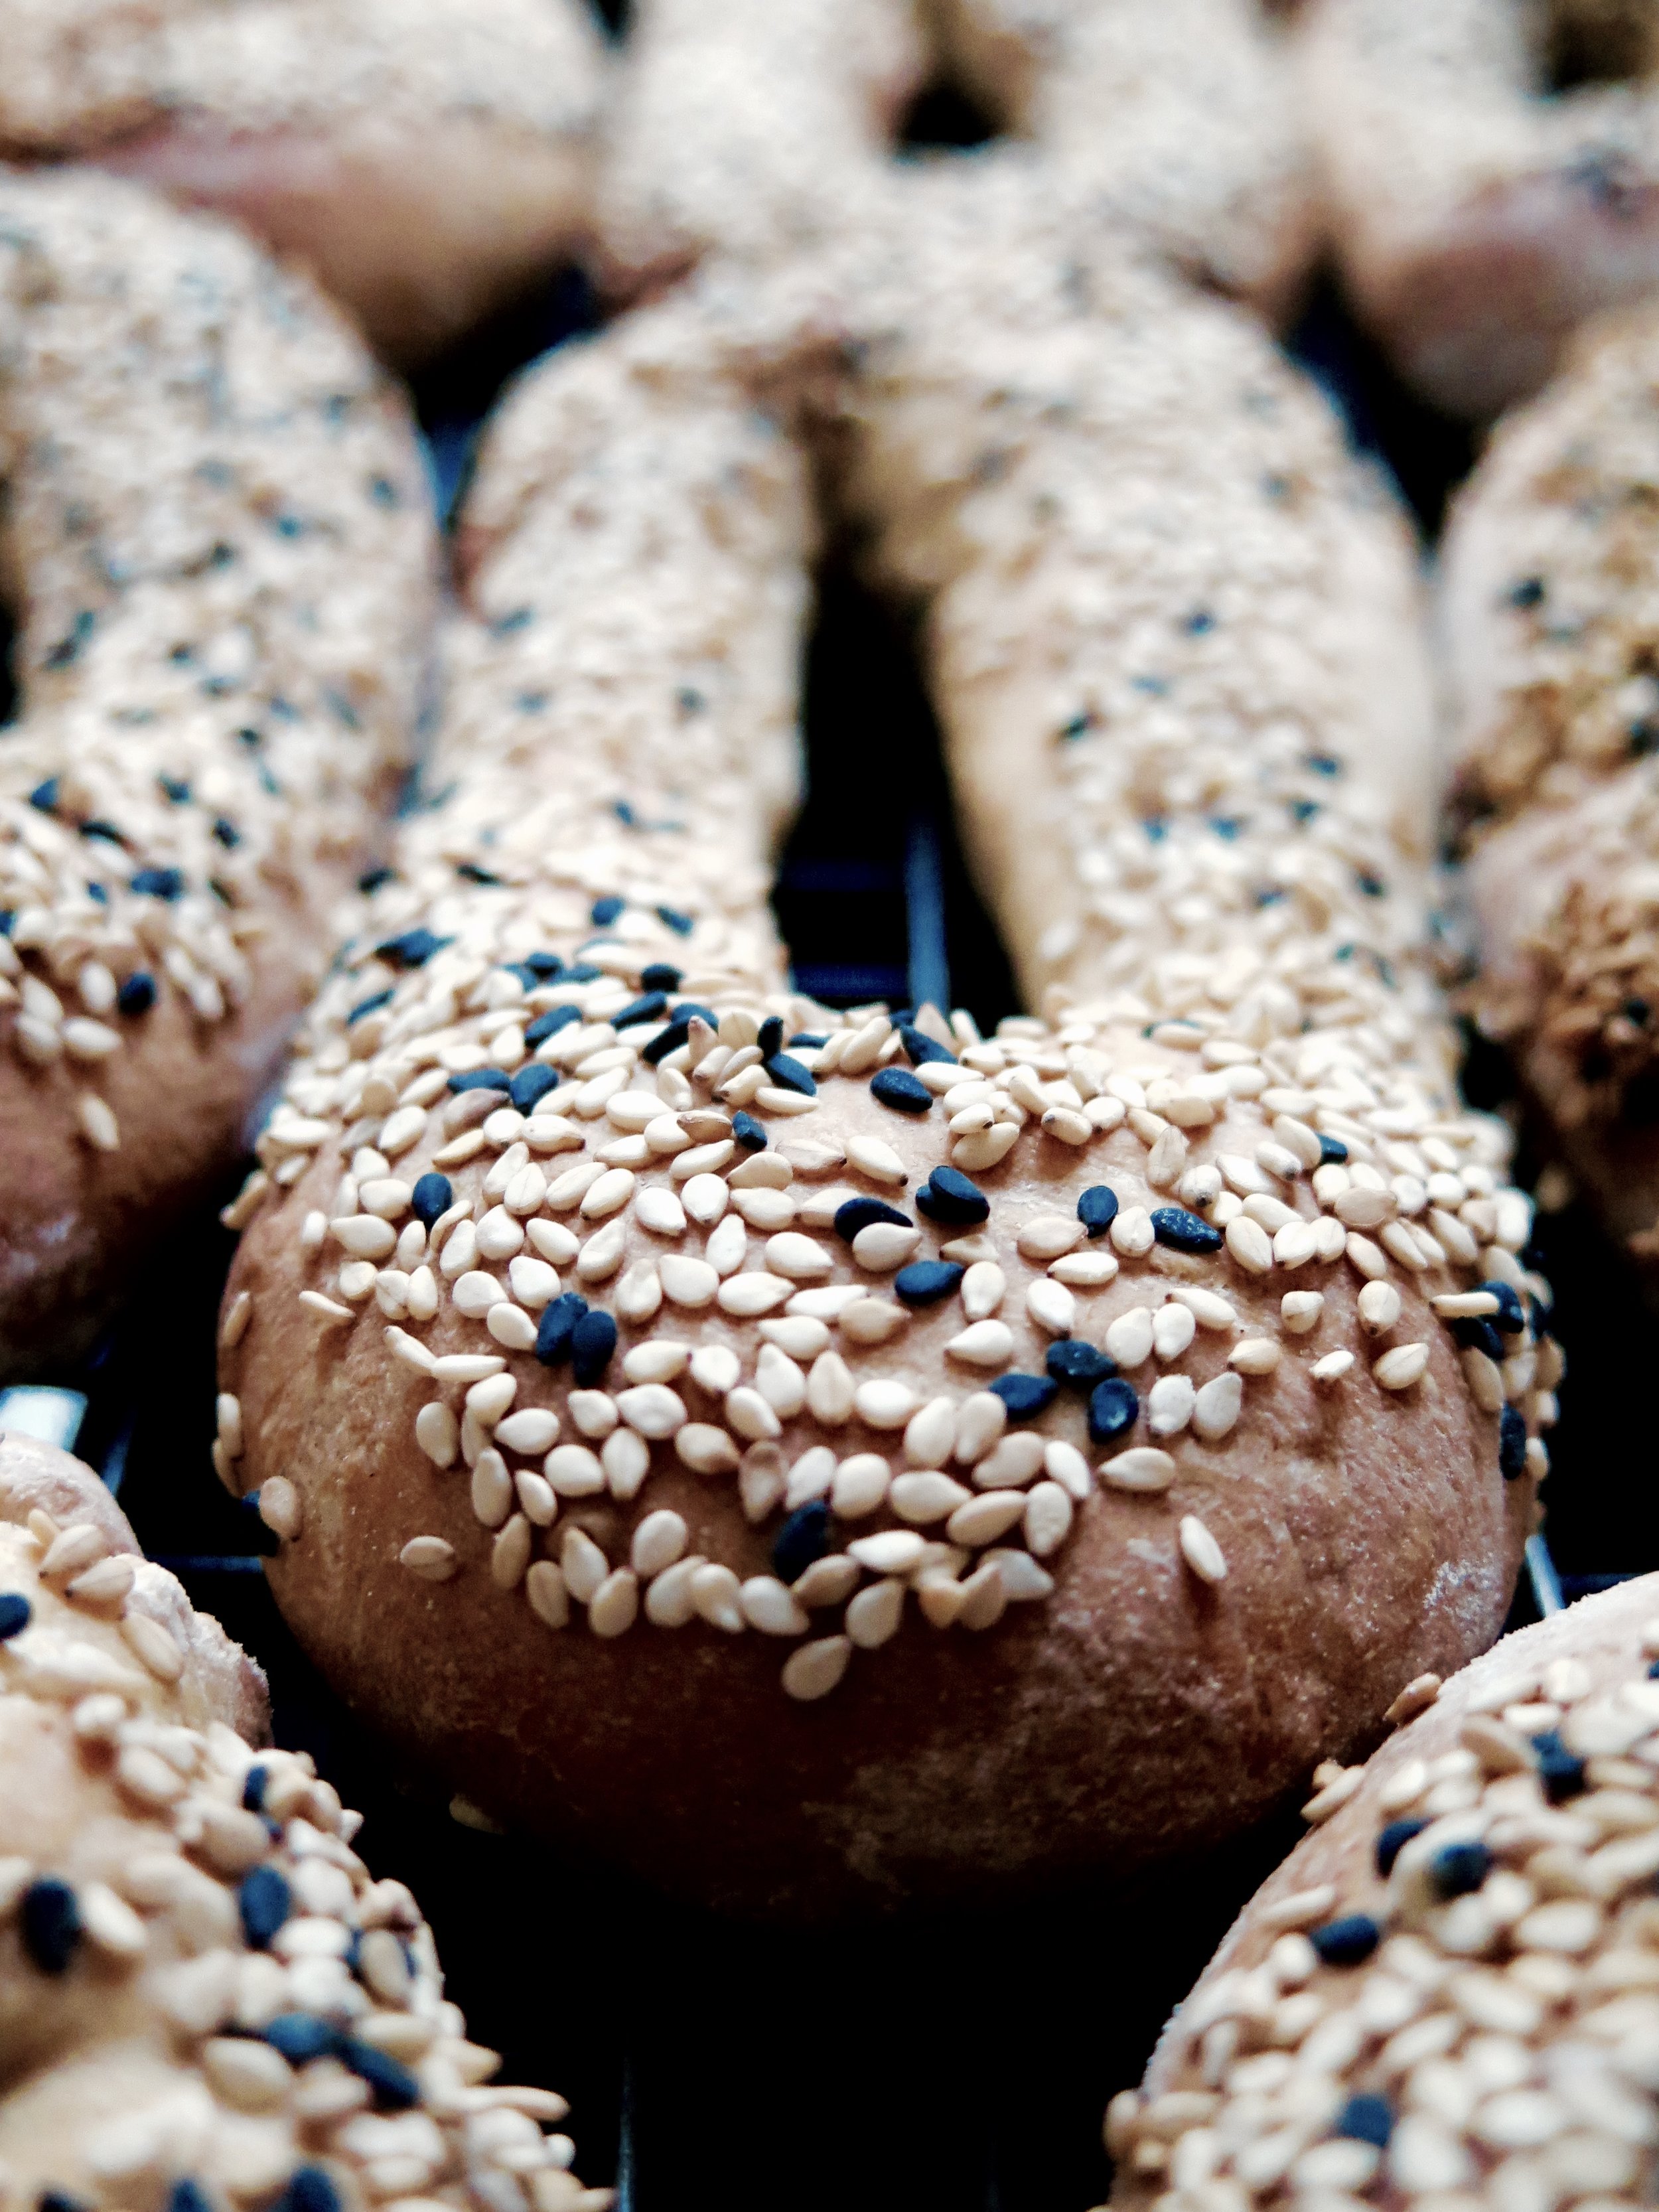
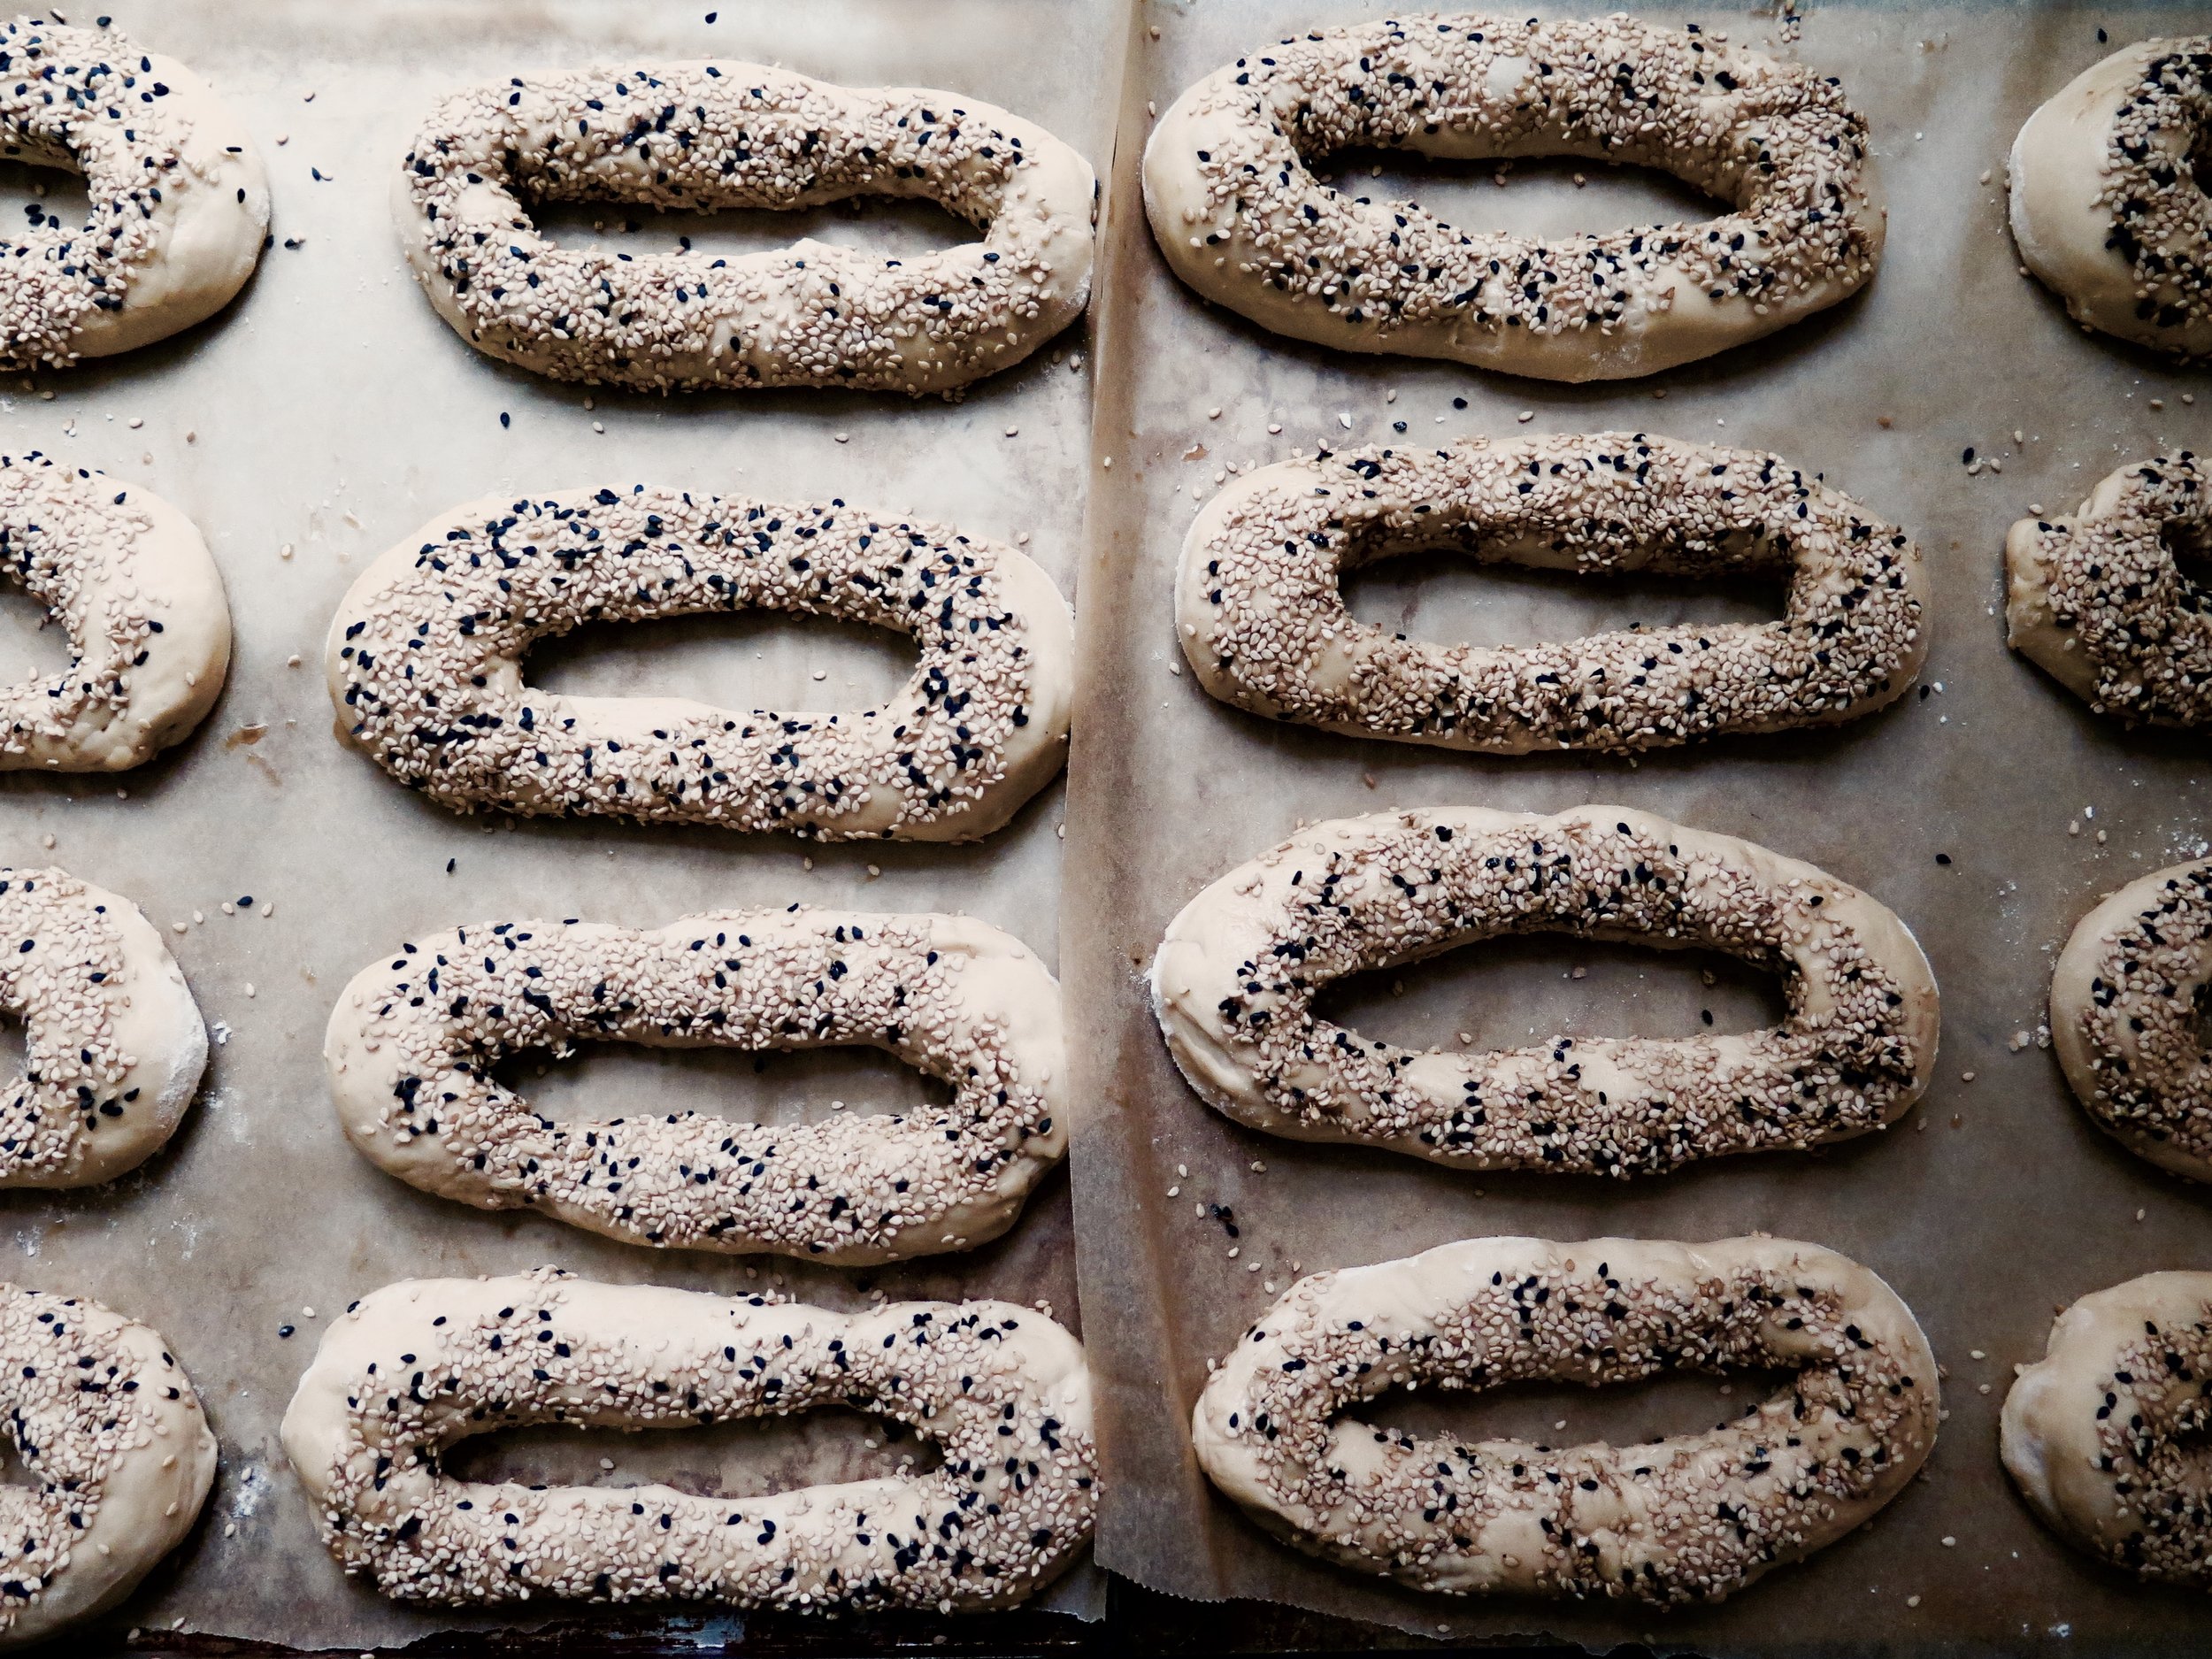
This bad boy is incredibly tender, with a lovely tanned, crunchy crust. You don’t have to put much effort in to reap the reward, and after one bite you’ll be lusting after the rest of the loaf. Please don’t be put off by the numerous stages – all you need is a patience and time.
Viewing entries tagged
spelt
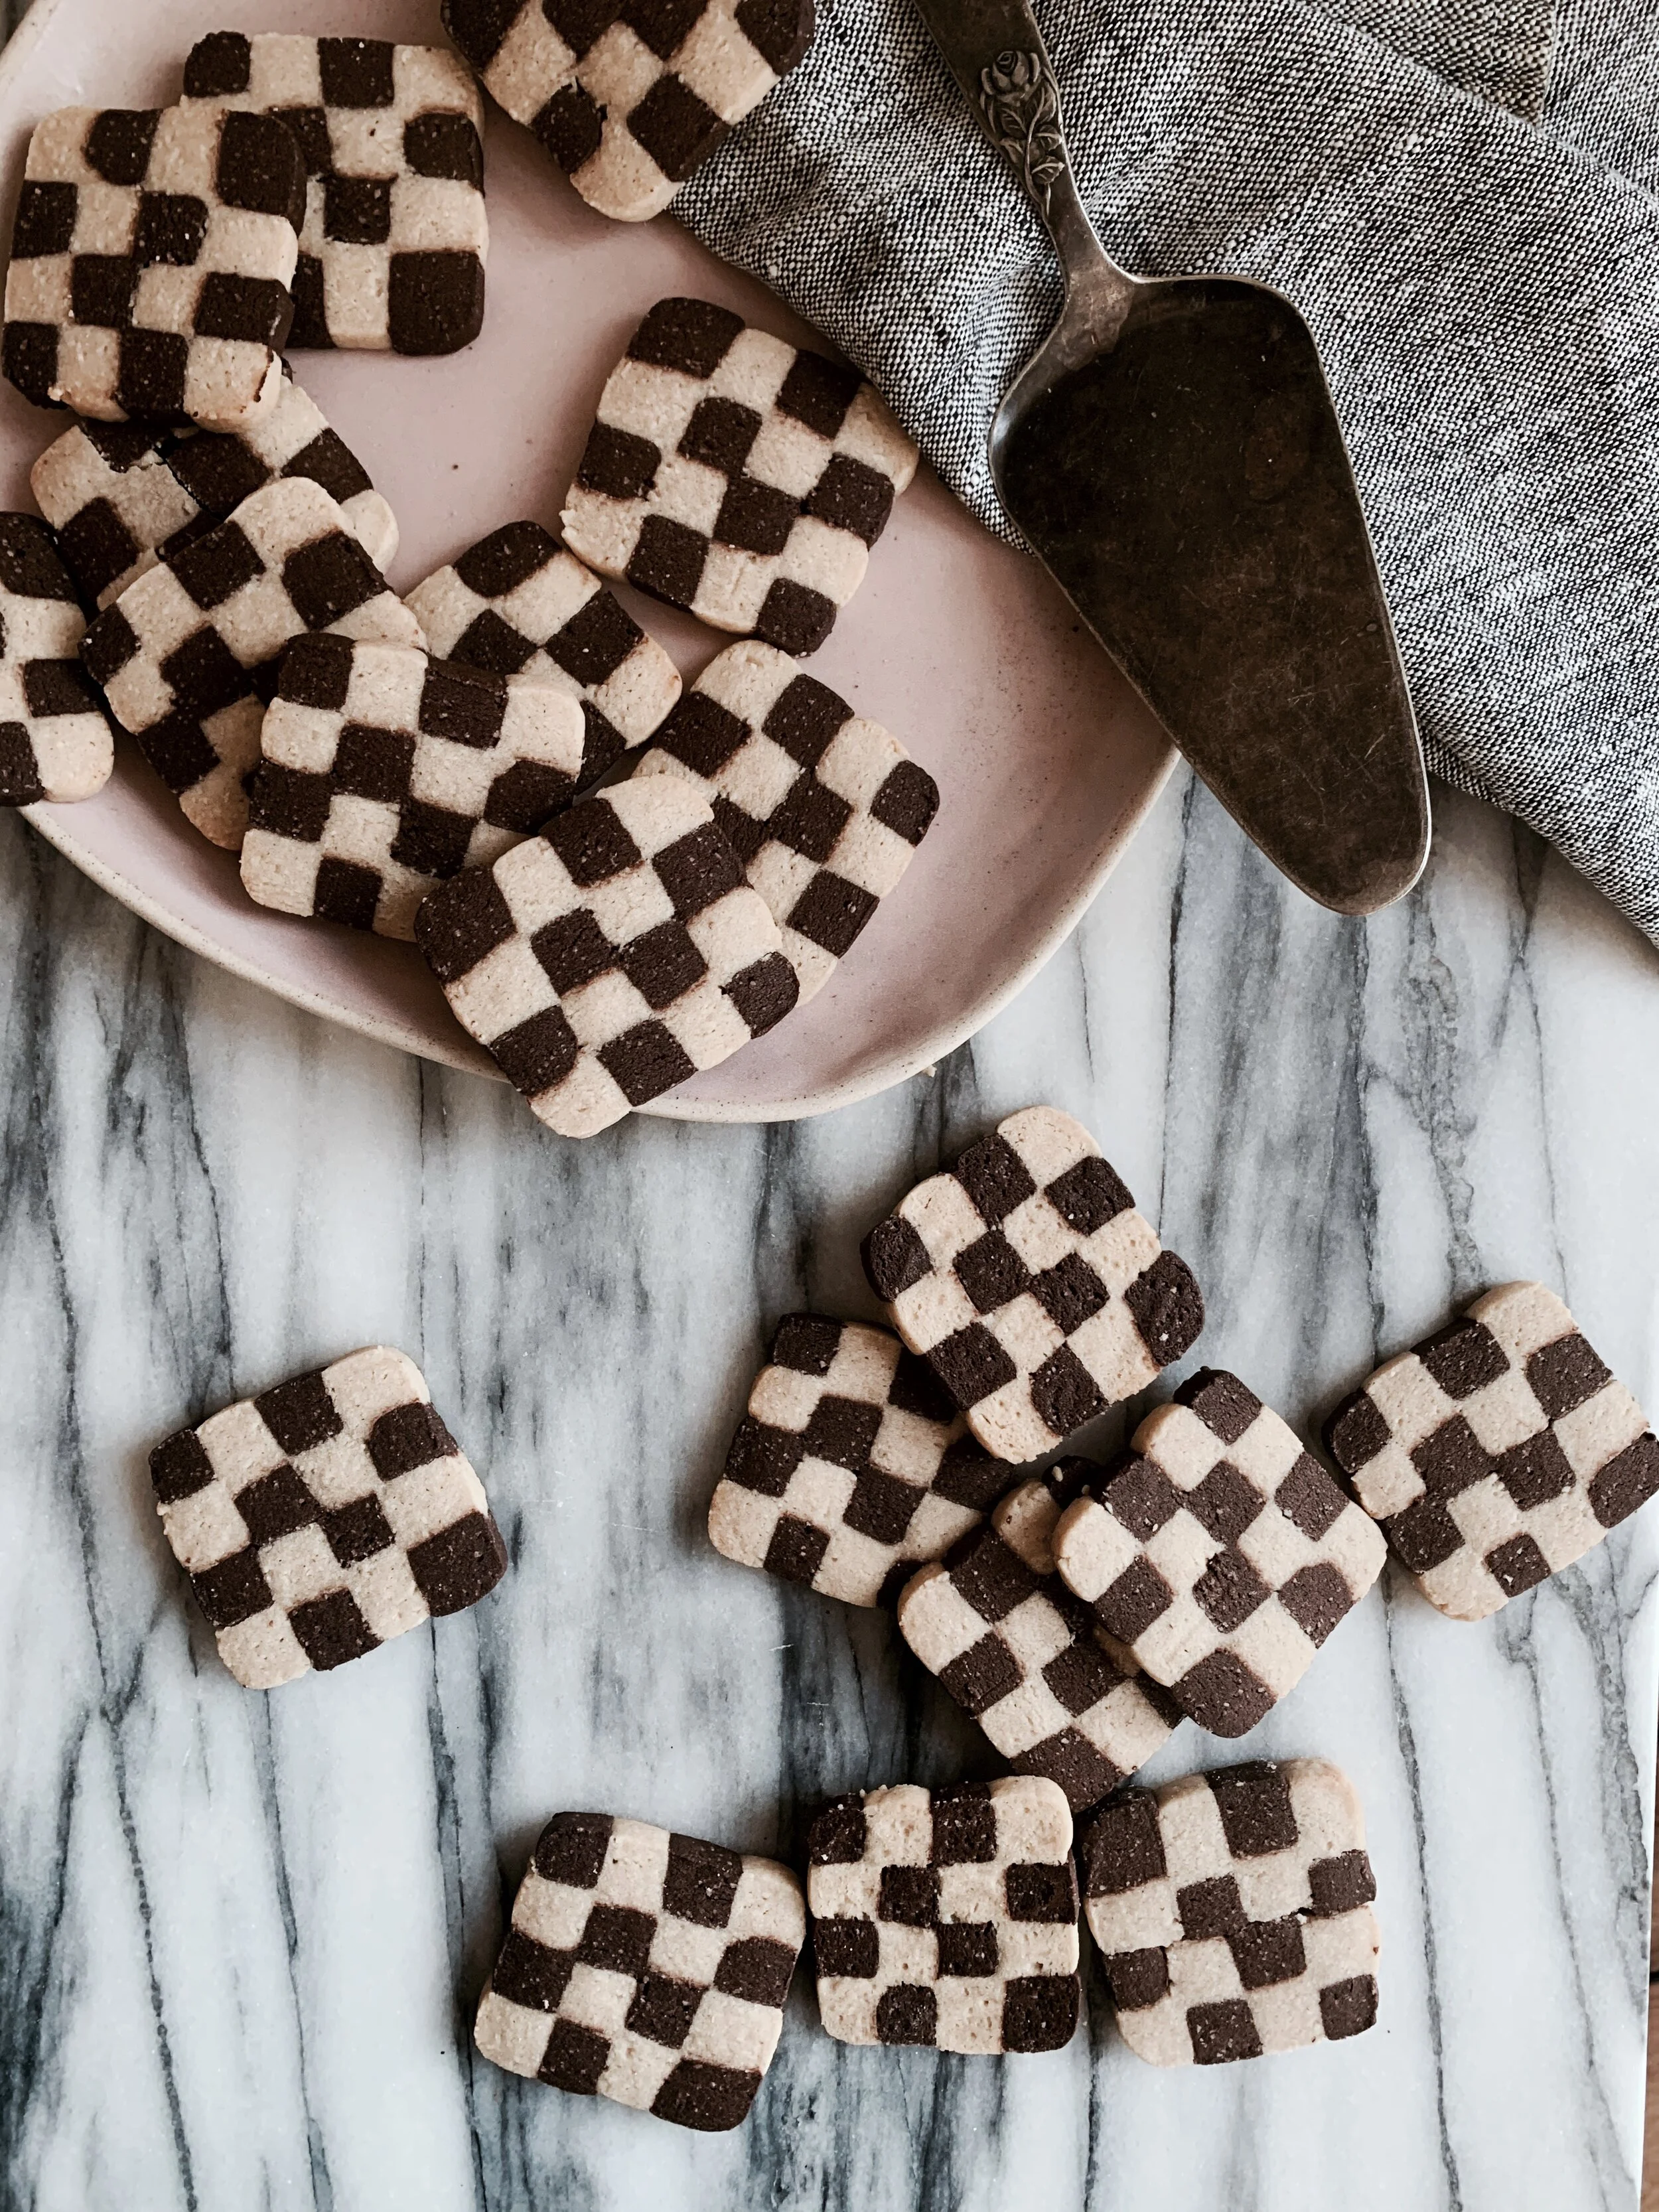
Checkerboard Cookies: This cookie is partially inspired my nostalgia for playdough, and partially by my extreme jubilation about the fact that Drag Race (both UK & US editions) has just started again (the cookies represent the Drag Race flags that Ru Paul holds, obviously). If you like either of those things, especially playdough, are feeling crafty, and/or are seeking some fun on day 323 of lockdown, then these cookies are for you.
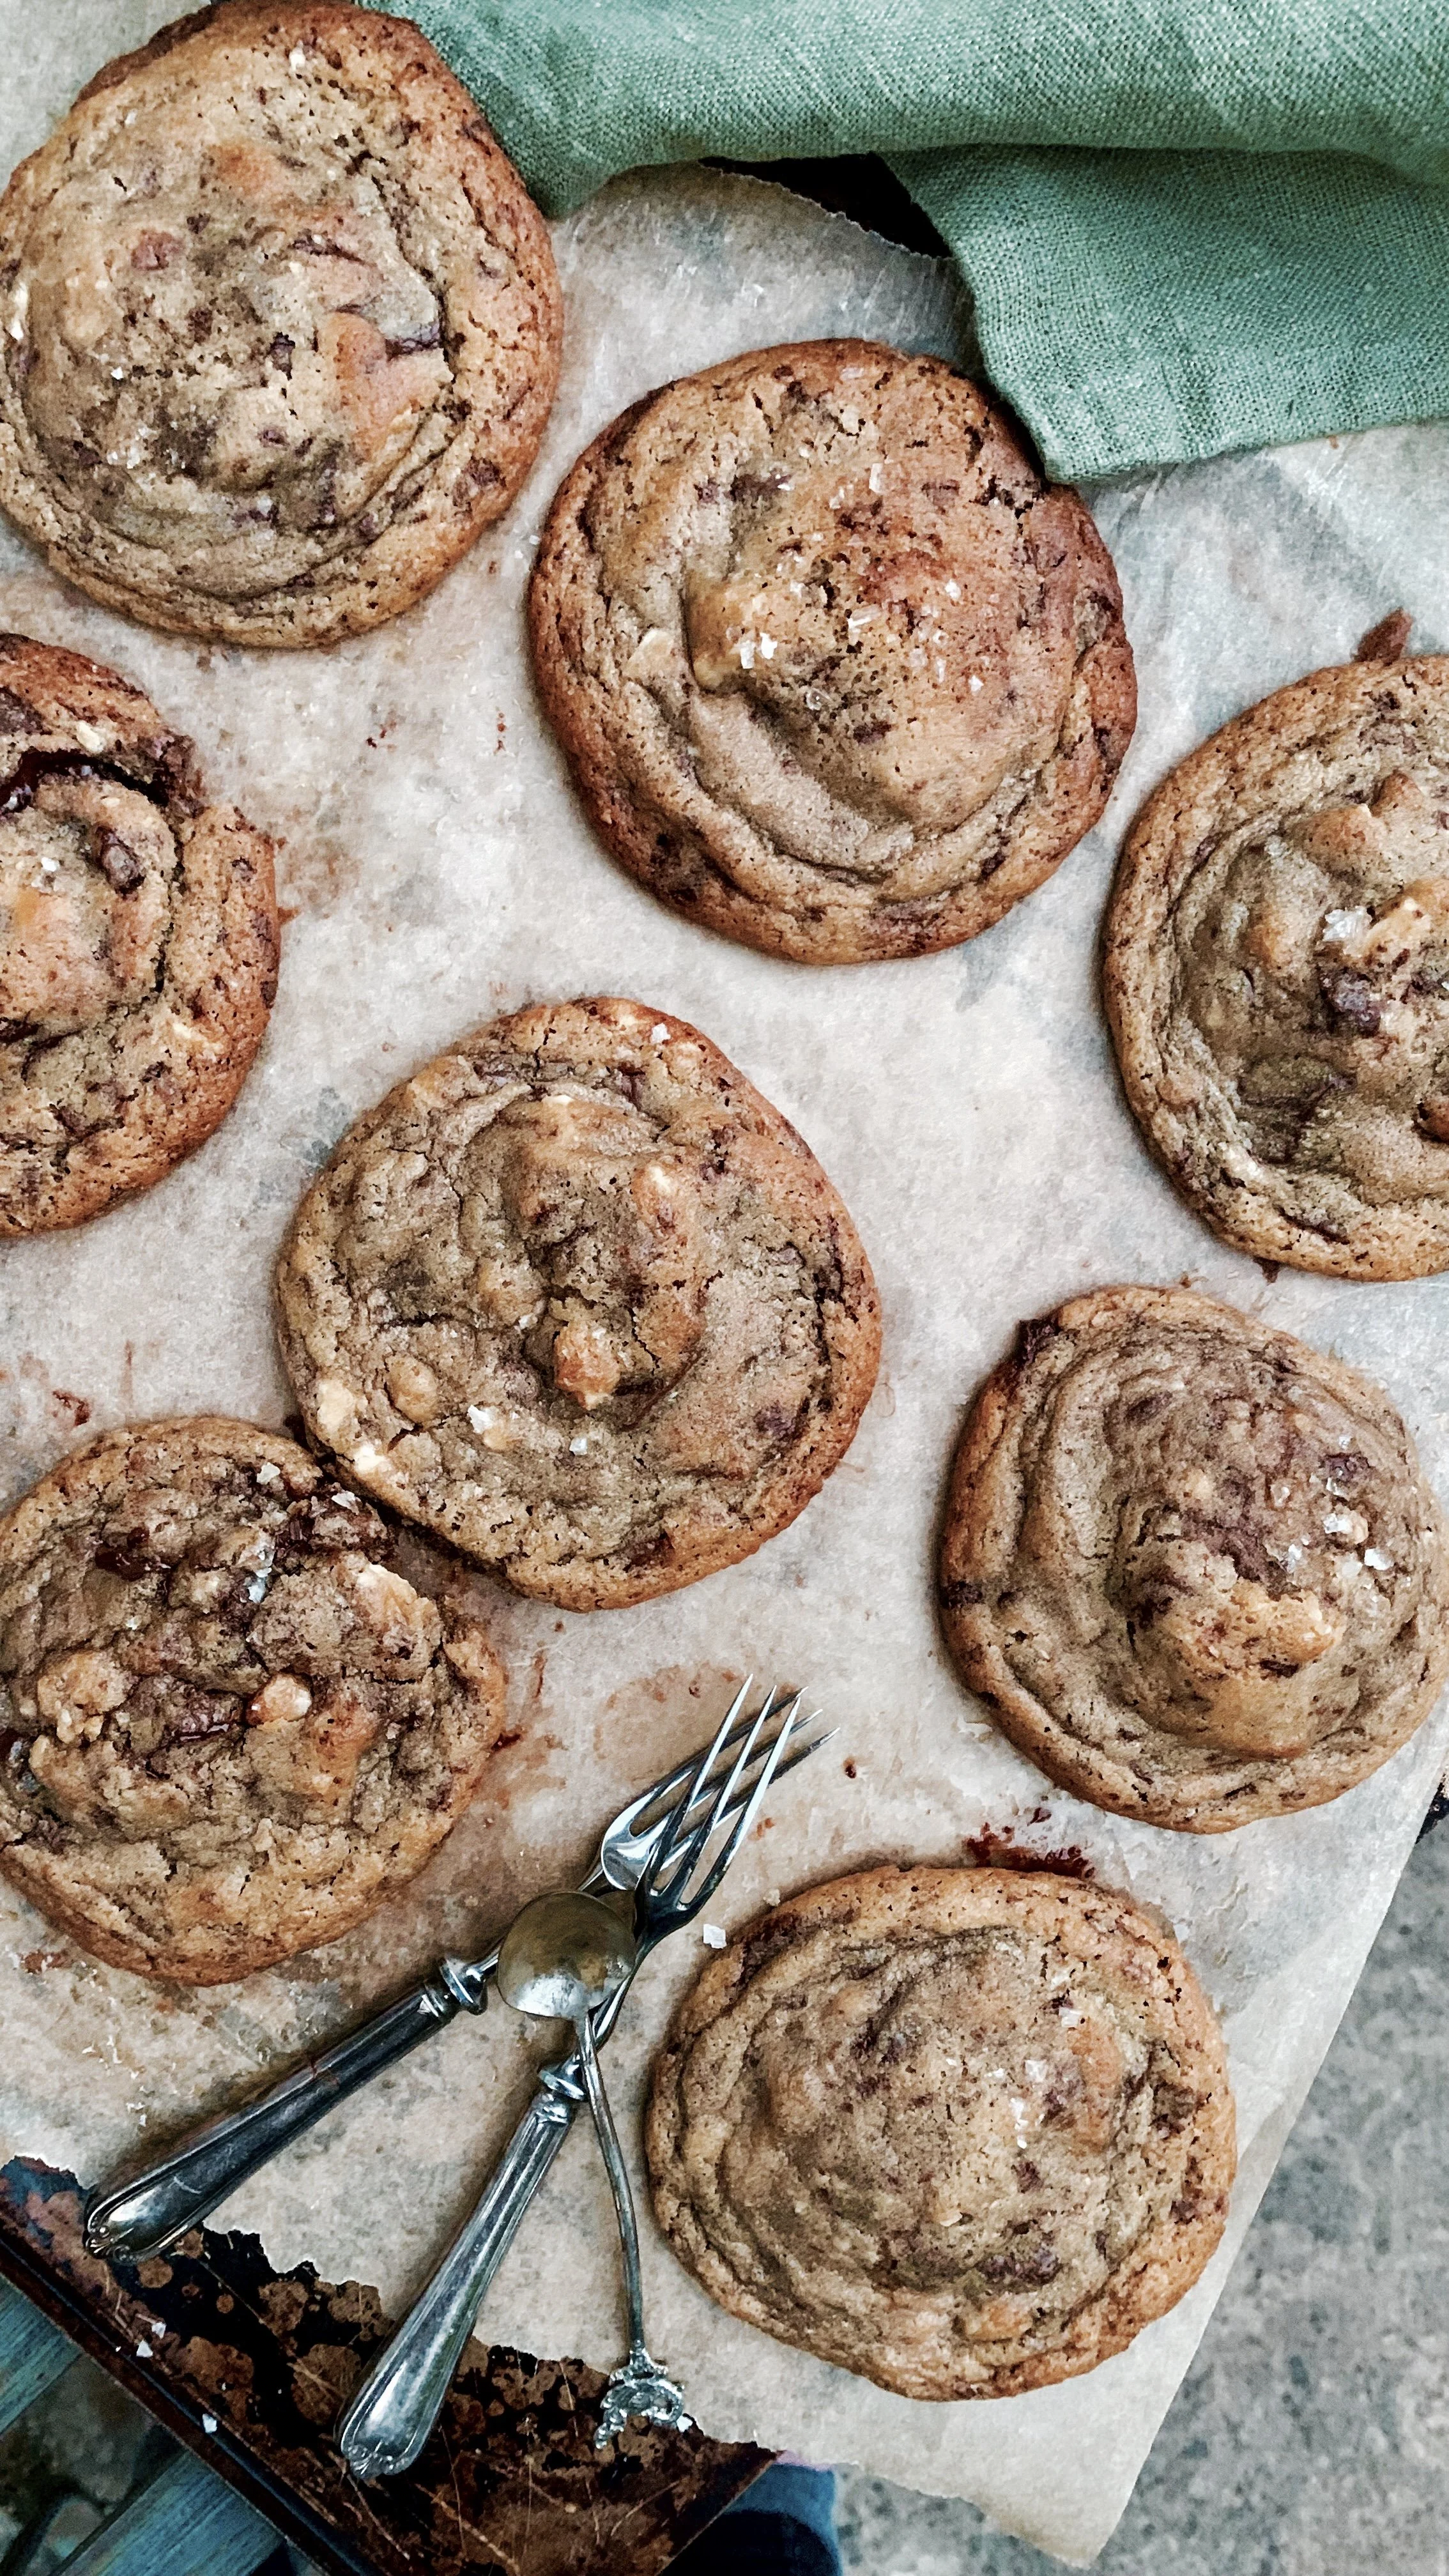
I don’t understand why there’s a “season” for pumpkin spice themed dishes when delicious pumpkin puree is available (from a can) all year round. In honour of this recent discovery, I decided to make these cookies. I was influenced by a recipe on Bon Appetitwhich incorporated pumpkin and various spices into a cookie. However - I was very disappointed by the result: the cookies were mean and thin, with root canal problem-inducing sweetness, overly egg-y, and totally lacking in the promised pumpkin flavour.
So, I made my own to tick the 3 commandments of cookies:
- Chewy
- Molten
- Thick
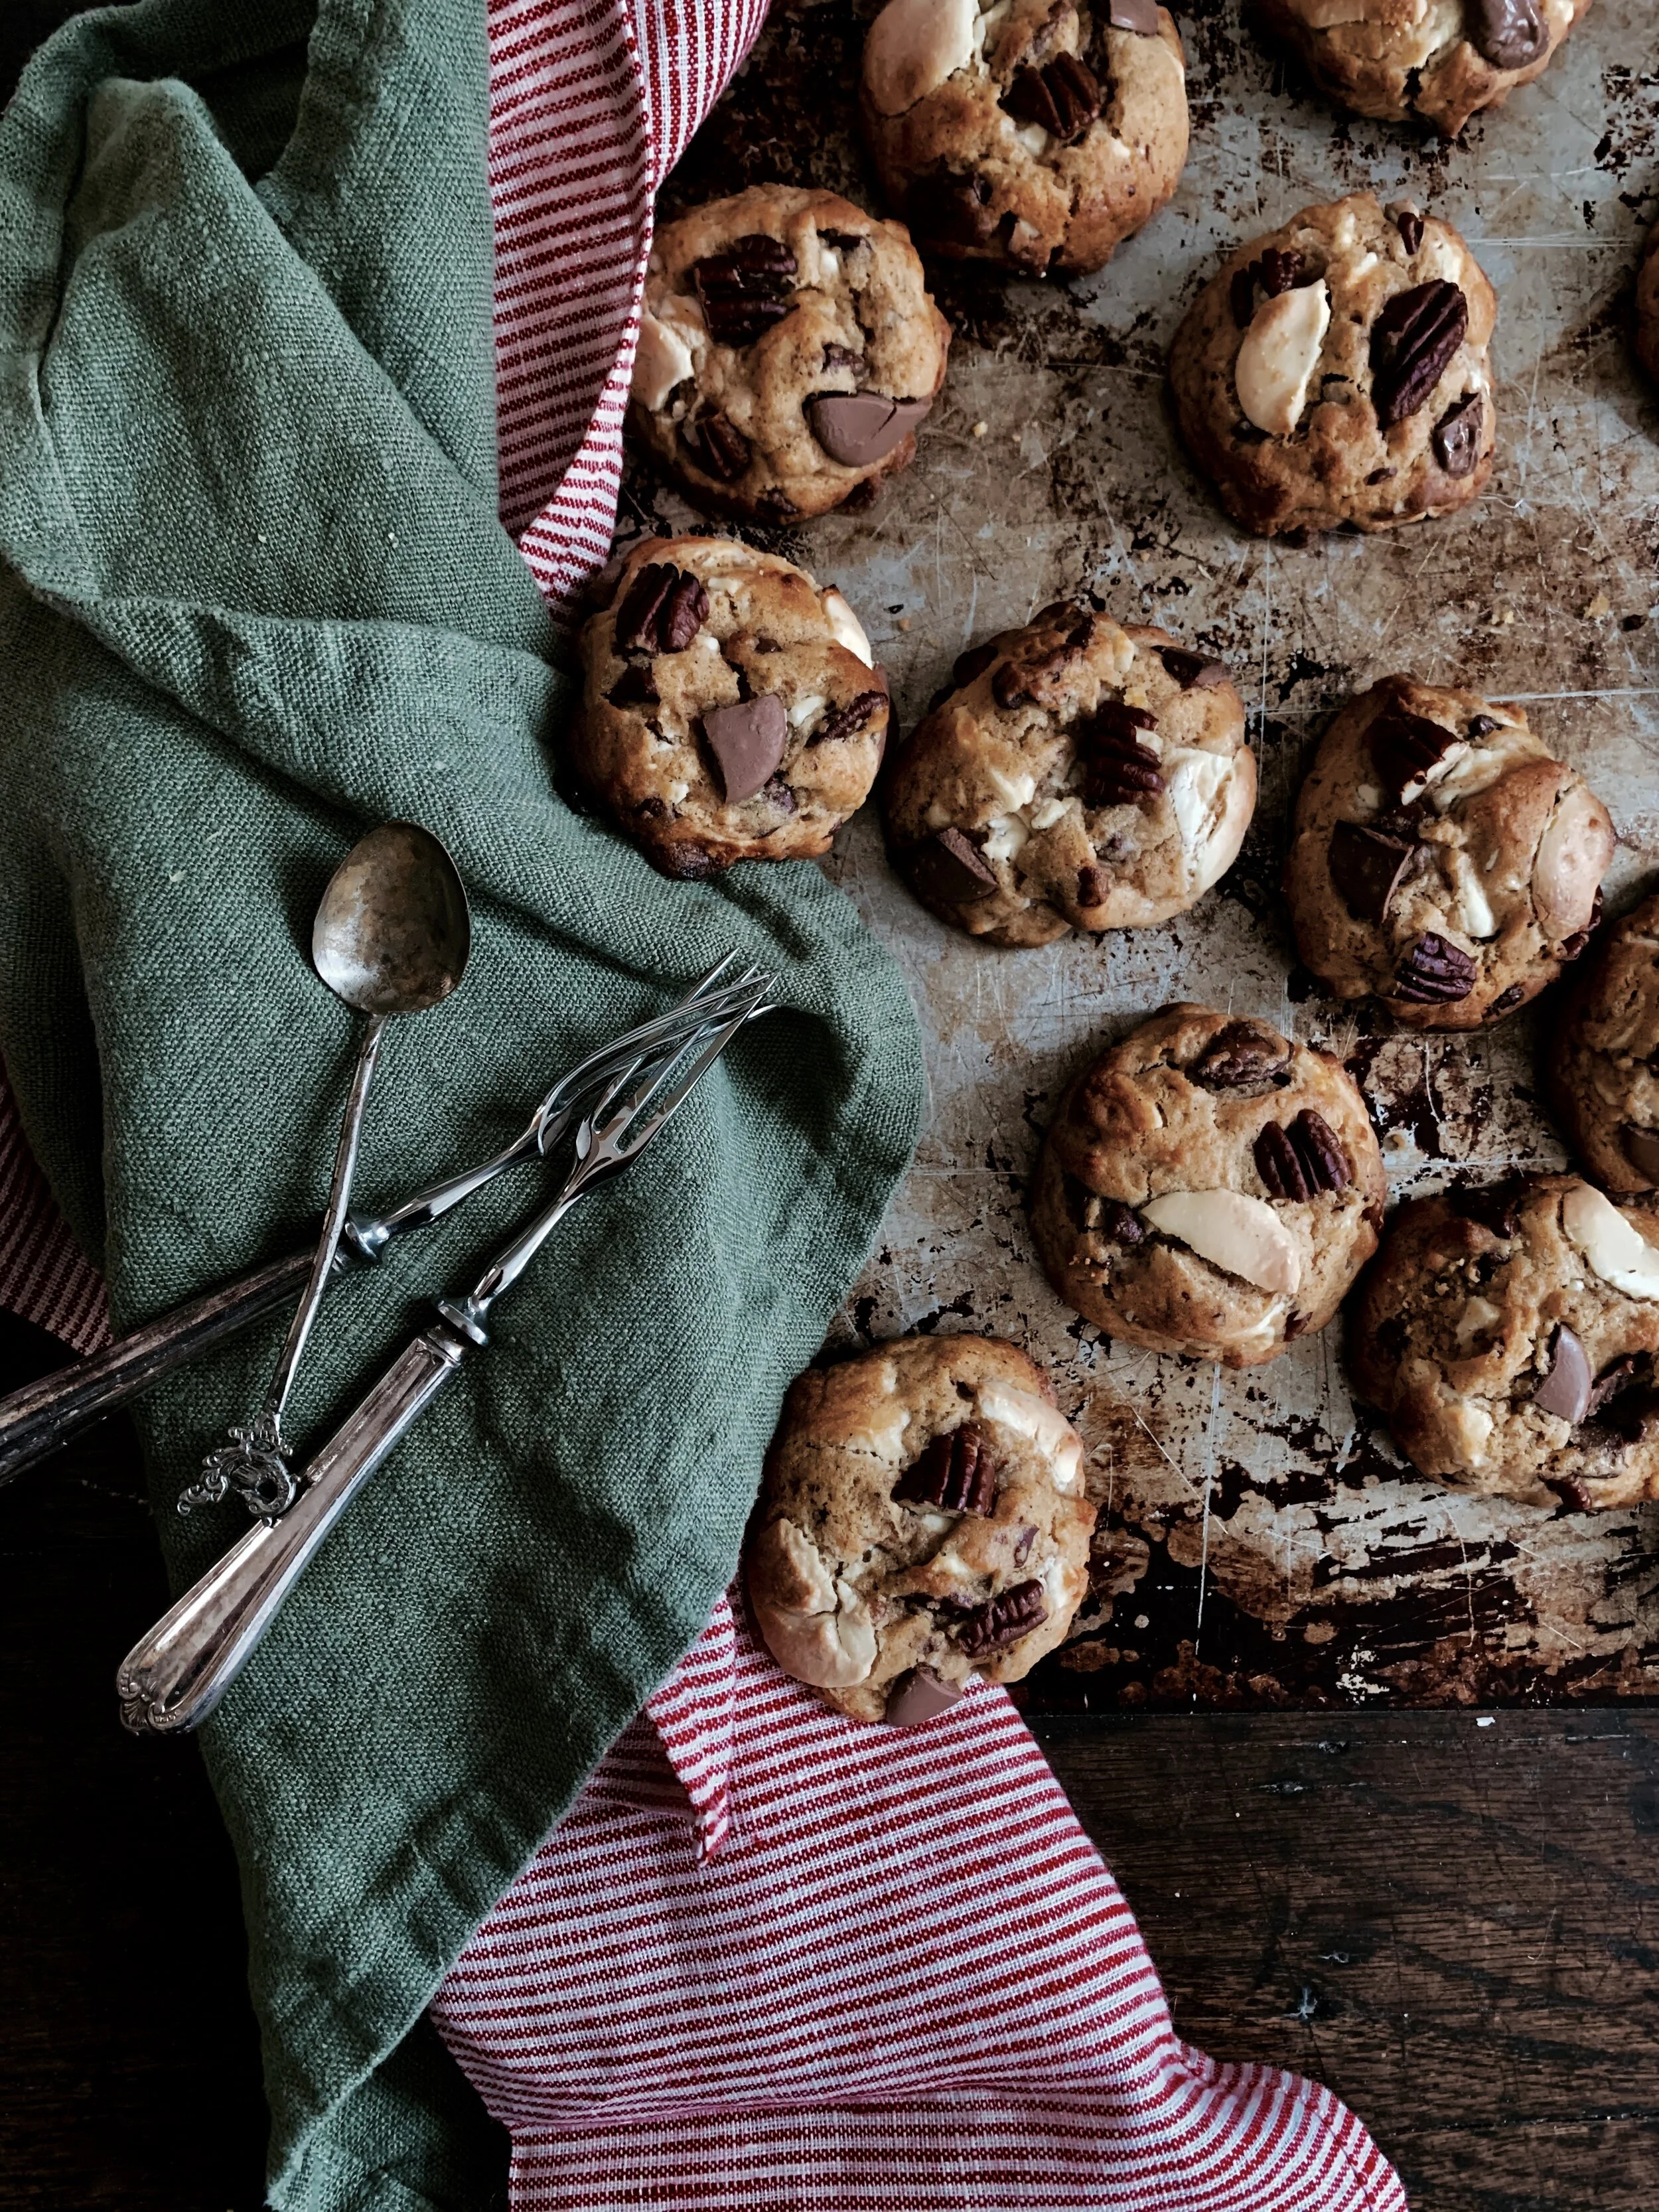
I radically amped up the amount of pumpkin, and reduced the sugar. I also added both white and milk chocolate, so that, upon baking, they caramelized, creating a sophisticated toffee flavour. The added crunch and maple-flavour of the pecans add some complexity, too.
NB If you would like a more savoury cookie, you could switch the milk and white chocolate for dark chocolate. And if you’d like to have a supply of cookies for emergencies, you can freeze the scoops of uncooked cookie dough and bake them when desired.
Pumpkin spice cookies (makes 20-22)
Ingredients
150 unsalted butter, softened
80g light brown sugar
70g caster sugar
1 egg
40g pumpkin puree
1 ½ tsp vanilla extract
½ tsp cinnamon
1 ½ tsp ground ginger
¼ tsp ground nutmeg
1/8 tsp mixed spice
220g plain flour
heaped ½ tsp baking powder
½ tsp salt
100g white chocolate + 30 g white chocolate for topping (I use buttons but you can chop up a bar or use chips instead)
50g milk chocolate, roughly chopped
50g chopped pecans, + 20g for topping
2 large baking trays, lined with baking parchment
Method
1) Put the unsalted butter, light brown sugar and caster sugar into the bowl of an electric mixer, fitted with the paddle, and beat until light and fluffy (about 5 minutes). If doing by hand, beat ingredients together with a spoon. Add the egg, pumpkin puree and vanilla extract, and beat until full combined.
2) Add the spices (cinnamon, ginger, nutmeg, mixed spice), flour, baking powder and salt to the wet ingredients, and very gently fold together until almost combined, leaving some flour still visible. Add the chopped milk chocolate, white chocolate and pecans, and very gently fold them into the cookie dough until combined.
3) Cover the bowl and refrigerate for minimum 1 hour and up to 24 hours (until you’re ready to bake the cookies).
4) Preheat the oven to 180°C. Then. either using an ice cream scoop, or a tablespoon, scoop the cookie dough into 40g dollops. I weigh each one to make sure they cook evenly, but if you can’t be bothered just estimate. Roll each into a sphere between your palms to ensure that they bake into near-perfect rounds. Place on the tray leaving about 4cm between each so that they have room to spread when they bake. Then, into each sphere, press a piece of white chocolate and a piece of pecan.
5) Place in oven to bake for 7-10 minutes, or until they are golden at the edges but still soft to the touch. Once they are removed from the oven, they will continue to cook on the baking tray so leave them to sit for a couple of minutes. Serve warm if you can’t wait, or keep them for up to 4 days in an airtight container. You can also freeze them in an airtight container for up to 3 months.
HUNGRY FOR MORE?
Crumpets are even better when home-made. Store-bought can be bland, powdery and stodgy. These, however, are fluffy and light, yet sturdy enough to provide an excellent foundation for several storeys of topping. Don’t be put off by the need for yeast - the whole process takes just over an hour and once you’ve made your own, it’ll be impossible to revert to store-bought.
These cookies are thick; they’re chewy; and they have a a molten Nutella centre with oozy chocolate and crunchy toasted hazelnuts. I’m not even going to feign modesty: these cookies are the apotheoses of cookies. Make sure you have at least two reserved per person because eating one is never going to be enough – be warned.
In my dictionary definition of cookie, I’m going to be demanding. It needs to be thic(ccc)k so that each mouthful contains some of the promised flavours, be they chocolate, nut, or candy. I want it crisp on the outside so that when broken, it gives way to a chewy cookie-dough goo. If there’s chocolate or caramel, they need to be molten. They also need to have enough salt to balance the sweetness and add depth of flavour.
And, after years of trials, the quest to create the perfect cookie becoming increasingly Sisyphean, I’ve done it. And you need to make them ASAP.
Here is a recipe for a focaccia that is not a futon i.e. mean, hard and thin. It’s the emperor of mattresses: the dimples are deep, the texture is soft yet springy, and there is no scratchy dryness that a futon focaccia may have but, rather, a balmy olive oil-enriched crumb.
Having had a few scarring experiences with the brittle, mouth-desiccating, hard mats that parade as focacce (even in their Italian heartlands), this recipe is not only sublime but a protest against my negative experiences.
And while I’m singing its virtues, I have to stress that it’s ridiculously easy to make. Bread-making has such a bad press in terms of time, effort and skill required, but it is all a conspiracy to get you to buy the overpriced, chemical–laden, factory produced supermarket types. All you need to do is hang around a bit and the yeast does all the work for you. Total contact time with focaccia is only about 15minutes - the rest of the time is just a matter of rising or baking (or eating).
I make this with spelt which lowers the GI and adds a little nuttiness. You can play around with the toppings: rosemary is traditional, but you can add caramelised onion, parmesan, olives, sun-dried tomatoes, sage…whatever you wish.
I like to make a lot in one go and freeze the loaves sliced, so you can dip into them when you please. But if you want to make fewer, just halve or third the ingredients.
Recipe - makes 3 loaves (or mattresses)
Ingredients
14g dried active yeast (2 sachets) or 25g fresh yeast
2 tbsp sugar
675ml lukewarm water
4 tbsp olive oil, for the dough + 3 tbsp for topping
1kg white spelt flour (or plain, if not available)
2 ½ tsp normal salt
1 tbsp coarse sea salt
4 sprigs of rosemary
3 x 25cm square cake/bread tins (or tins with the equivalent area), greased with olive oil
Method
1) If using fresh yeast, cream it together in a large bowl with the sugar until it turns to liquid. Then, stir in the water and oil. If using dried active yeast, mix it with the sugar and water, and let it sit in a warm place for five minutes to activate. Then, stir in the oil.
2) Into the wet ingredients, stir in the flour and salt –it should form a sticky, craggy mass. If you have a stand mixer, fit it with the dough hook and knead the dough for five minutes. If you are making the bread by hand, pour the dough on to a lightly floured board and knead until smooth and springy, so that it bounces back when pressed. I like to use the dough hook for most of the kneading, take it out when it's almost done and finish by hand.
3) Place dough in a lightly oiled bowl, cover with cling film and allow to rise for about 1 to 1 ½ hours until doubled in size.
4) Punch down the dough (so. much. fun.) and divide it into three. Stretch each piece of dough in its tin so that it is even in depth and reaches the sides (you may need to do a bit of pummeling to do this). Then, sprinkle over the rosemary and olive oil and dimple the dough with your fingers, pressing almost to the bottom of the tin. Allow to rise for a further 45 minutes to an hour until almost doubled in size.
5) Preheat the oven to 200C. Then, sprinkle the breads with coarse sea salt, and place in the oven to bake for 12-15 minutes, or until deep golden in colour and crunchy on top. Remove from the oven and place on a baking rack to cool. Best eaten on day of baking (which is usually inevitable as testament to their deliciousness). Or place in an air-tight box and freeze for up to 3 months.
HUNGRY FOR MORE?
The ideal combo of oatmeal, pancake and muffin. They’re protein and fibre-full and naturally sweet (no refined sugar), bursting with berries (zero dryness here) and filling. They’re quick to make, and super convenient as they can be made in advance, frozen and defrosted when cravings strike. They also look rather irresistible on any breakfast table, so great for when you have guests.
Do your ears hang low? Well, attached or unattached, furry or fuzzy, chunky or petite, this recipe is an ode to the earlobe.
Specifically, it is a celebration of stretched earlobes, whether those of an 85-year-old glamazon who refuses to compromise on opulence in pursuit of practicality or pain avoidance, and has transformed the once-small piercing pin pricks into gaping chasms by the weight of her bejewelled, solid gold hoops. Or the nonchalant indie who has plugged and gouged and strained their lobes to form human wind tunnels.
Like stretched lobes, these sesame studded bagels are not your standard chewy round.
They are a rare sight in the UK, only occasionally vaguely mimicked by the odd fougasse dangling in the windows of French bakeries. Though related to those that are more common sighted, Jerusalem bagels are elegantly elongated, less chewy, more fluffy, yet with a crusty exterior (I’m on the topic of bread now, not lobes). And the Jerusalem bagel is in no way a lesser version – being a rarer breed and a much more fun shape to nibble (yes, still on bagels), I actually prefer them. They are also easier to bake: the absence of the boiling stage means less room for error, and no witch-hunting of wet doughy rounds, bobbing up and down and falling apart in vats of boiling water.
If you are intimidated by bread-baking, do not be.
These are extremely simple, and though the process from flour to end-product takes a while, they are very undemanding in terms of action – the sesame seed dipping is, in fact, rather satisfying from a pre-school art class perspective. Feel free to halve the mixture if you want fewer bagels, though they are so delicious and addictive it’s probably not worth it.... Also, do have a play around with ingredients: you could try poppy, flax, sunflower, or nigella seeds, as well as sprinkling the bagels with cheddar cheese or parmesan if you aren’t vegan.
Makes 20
Ingredients
750ml warmed, unsweetened almond milk (can substitute with oat, or another neutral-flavoured, unsweetened plant-based milk)
21g active dry instant yeast (3 sachets)
60g caster sugar
500g strong white flour (+ extra flour for dusting surfaces)
500g white spelt flour
4 tsp salt
2 tsp baking powder
1 tbsp olive oil
100g white sesame seeds
15g black sesame seeds
4 tbsp boiling water
2 tbsp pomegranate molasses
1 tbsp agave syrup (or honey if you’re not vegan)
3 baking trays lined with baking parchment
Method
1) In the bowl of a mixer fitted with a dough hook, or in a large stand-alone bowl, stir together warmed milk, yeast and sugar. Pour in all the flour (apart from that to be used for dusting the surface), salt and baking powder and stir to combine into dough.
2) If using a mixer, knead the dough for about five minutes on a low speed with a dough hook. If making by hand, pour the dough onto a lightly floured surface, and knead by hand until soft, smooth and springy. It may be slightly sticky, but try to avoid adding too much flour as this will make the bagels dry and tough. Even if I use the dough hook, I take the dough out to knead by hand for the last minute.
3) Coat the inside of a bowl with the olive oil, place the dough inside and cover with cling film or a tea towel. Allow to rise in a warm place for about an hour, or until it has doubled in size.
4) When the dough has risen, punch it down and turn it on to a lightly floured surface. Divide the dough into 20 pieces. You can approximate this by quartering the dough and dividing each quarter into five pieces. Or you can weigh it: each piece should be about 85g. Then gently roll each into a ball. To make the Jerusalem bagel shape, take each ball of dough and press your thumb through the centre to create a hole. Whilst keeping the dough even in diameter, gently stretch the hole into an oval so the bagel is about 11 cm long. Place each back on the floured surface and allow to rest and rise for 15 minutes.
5) Preheat the oven to 200C. Make the topping by mixing the water, pomegranate molasses and agave/honey in a bowl. Then pour the mixture into a small tray or large flat-based bowl. On another tray, mix together the black and white sesame seeds (or whichever other seeds you are using). Taking each bagel lobe, dip it first (on one side only) into the water molasses mix, then into the sesame, so that one side is coated in sesame seeds. Then place it on the tray lined with baking parchment. If the bagel stretches a bit, that is fine. Repeat with the rest of the bagels, spacing them at least 3 or 4cm apart, and allow them to rest again for a further 10 minutes.
6) Place them in the oven to bake for 10-15 minutes until they are deep golden and crusty on the outside. Once baked, transfer the bagels to a baking rack to cool. They are best eaten on the day of baking (and it will be a miracle if they last beyond a day). However, if you want to save them for another time, you can freeze them as soon as they have cooled for up to three months in an airtight container.
HUNGRY FOR MORE?
...& 14 Thoughts from the Kitchen Sink
From the moronic to the morbid, here’s an insight into what happens when I bake and let my mind wander:
- Drowning in a vat of sticky bread dough would probably be the worst way to die.
- When you sieve icing sugar and it puffs into the air in clouds, how many calories are there in one mouthful of air?
- Why do so many obscure meats taste like chicken and not beef?
- What is the significance of sometimes craving baby food - especially rusks, and pureed apple and banana?
- Why do we delude ourselves that avocado on toast has been ‘smashed’? I’ve never seen anyone smash an avocado. I suppose ‘smeared’ doesn’t have the same ring to it.
- If I could subsist on one food for the rest of my life it would most likely be oats.
- Nandos’ ‘hot’ sauce is anachronistic. It was created about 20 years ago and people’s (i.e.my brother’s and my) tolerance for heat has gone up. They should downgrade it to ‘medium’.
- What was the exact moment when someone decided to put sugar, milk, butter and flour together to make the very first cake?
- How do you know nigella seeds are nigella seeds and not mouse droppings?
- If 2017 was the year of slime porn, why can’t 2018 be the year of dough porn?
- Earlier this year some pig farmers tried to halt the use of pig terminology as connotative of greed. Imagine if other farmers were to do the same: we couldn’t exclaim something was cheesy, or call people ugly cows, or ask people with whom we’re angry if they want beef, or complain that bland people are vanilla, or exclaim that someone is mutton dressed up as lamb, or taunt cowards as being chicken…
- How many times in my life has a waiter spat in my food on purpose?
- Why do I have six jars of preserved lemons in my cupboard when I only use a small shaving of one once a year?
- The smell of freshly baked bread should be a perfume.
That’s enough musing for one day.
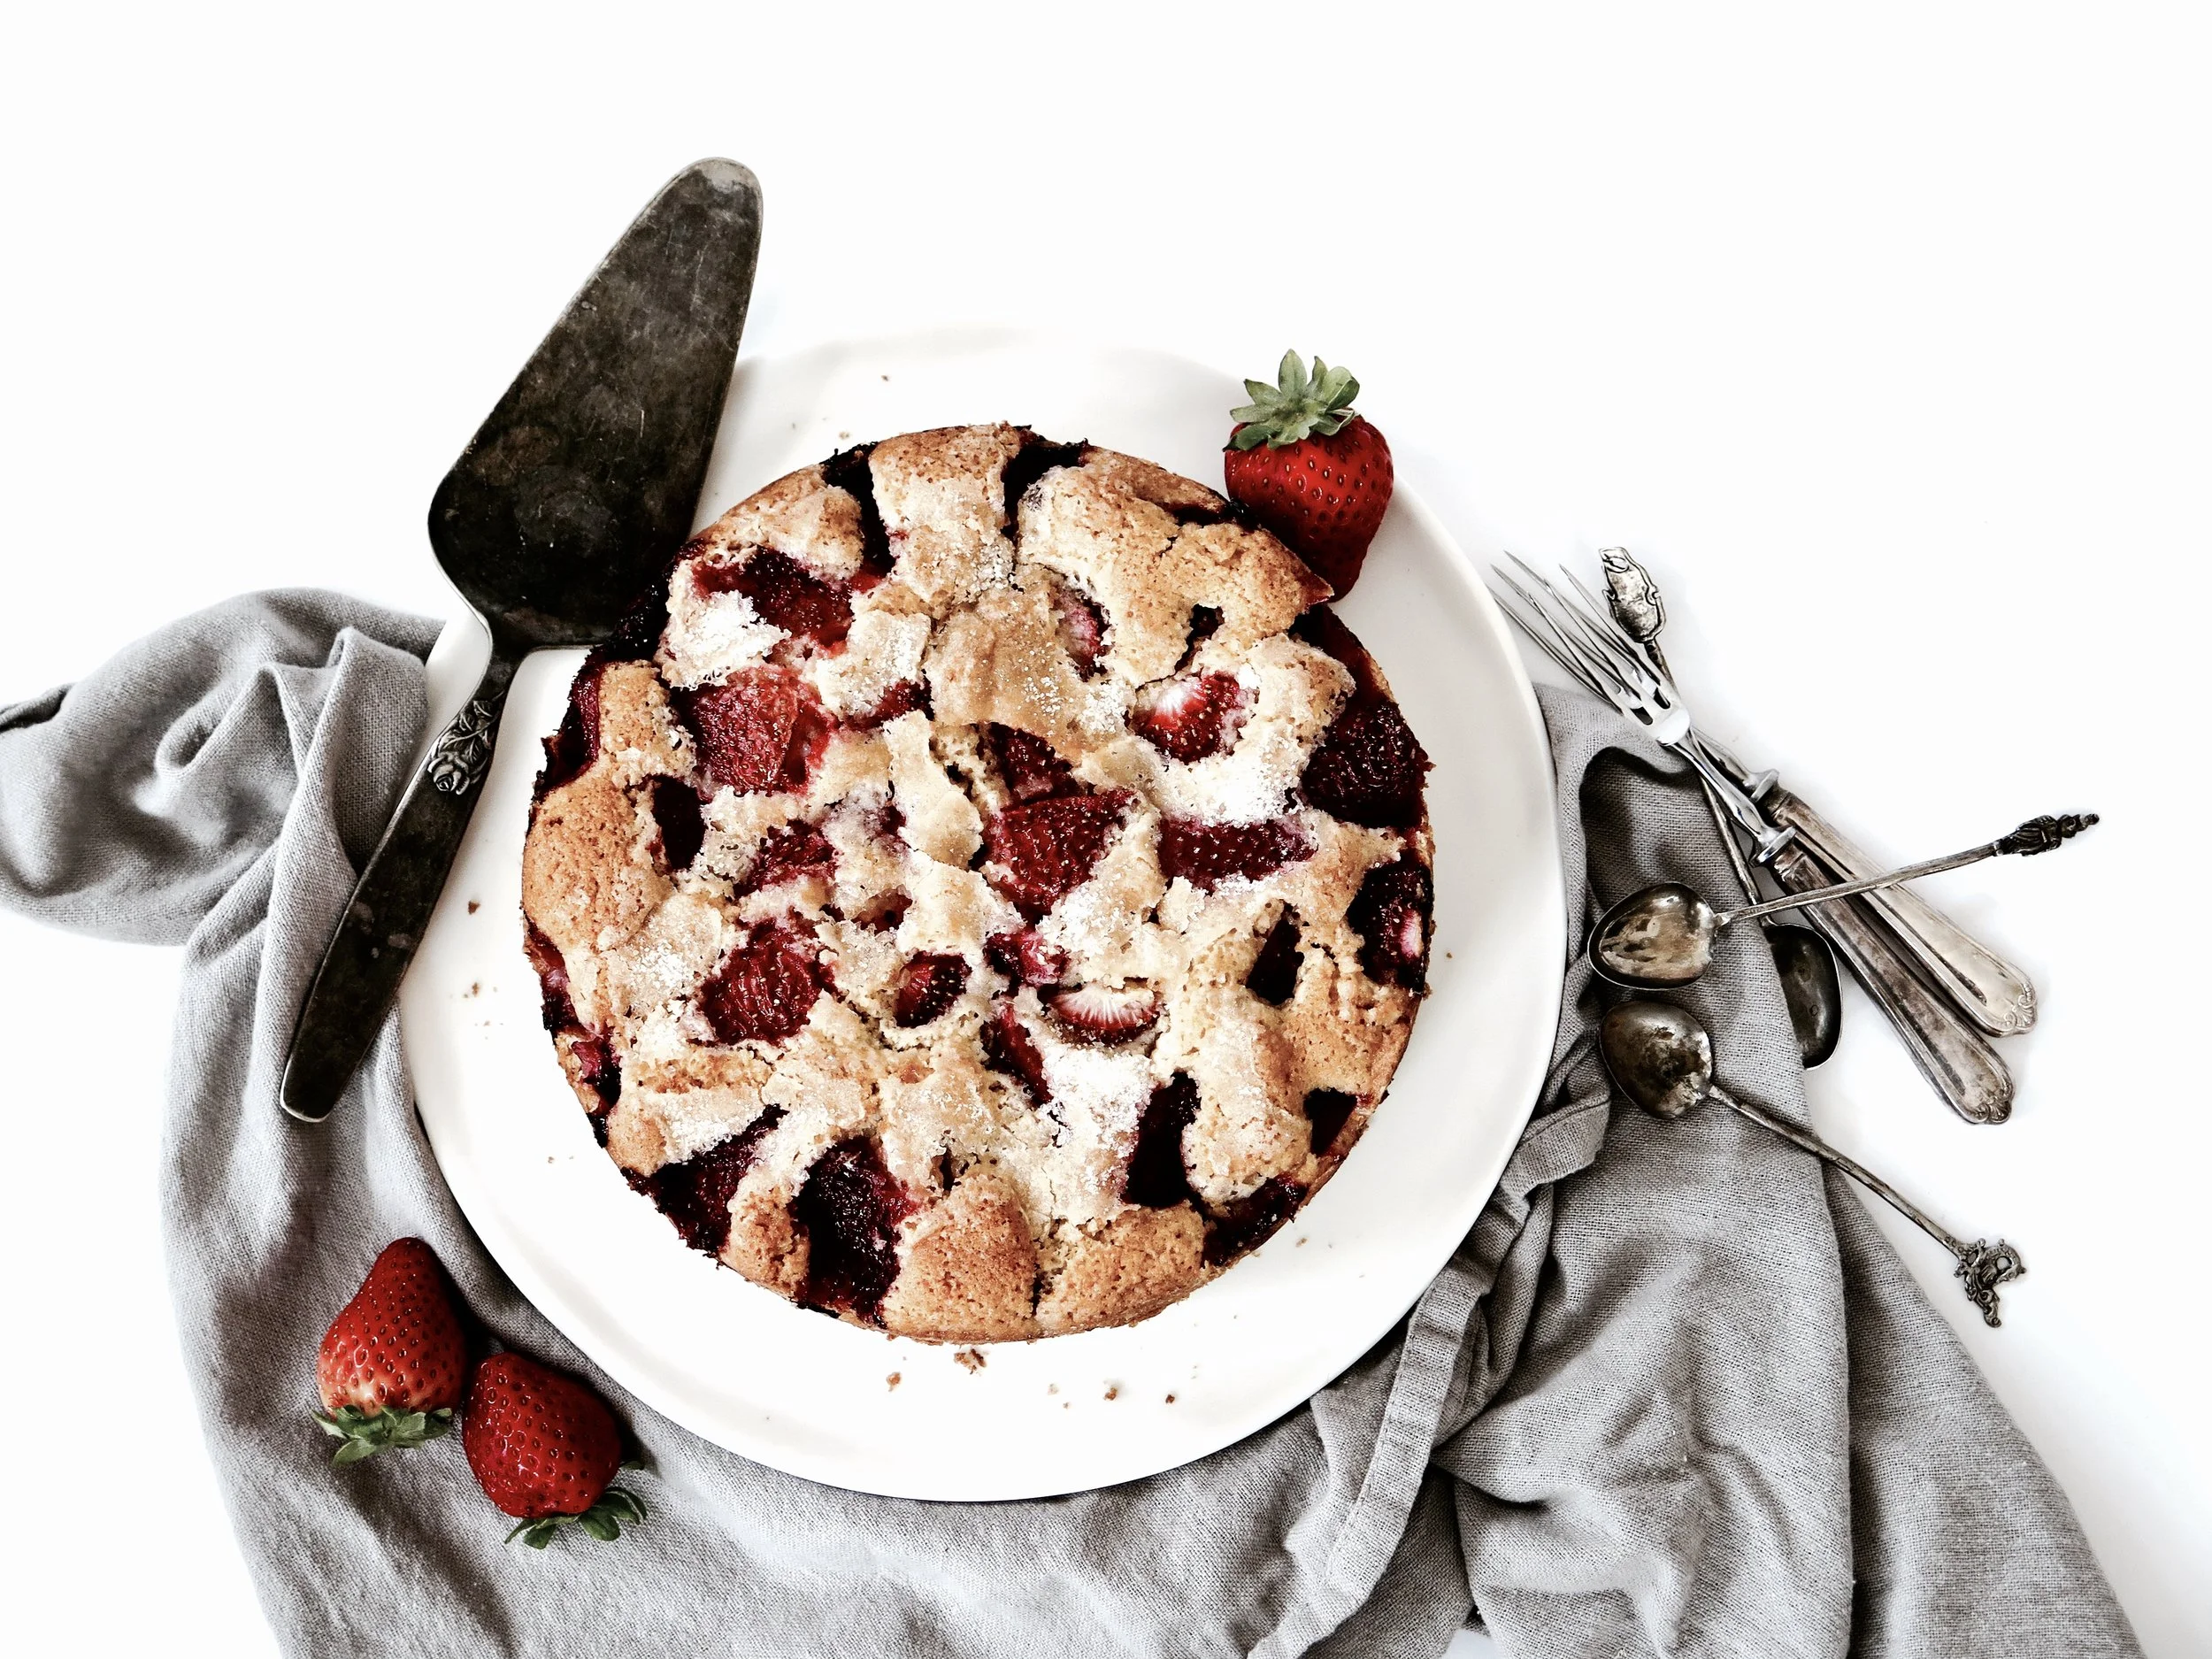
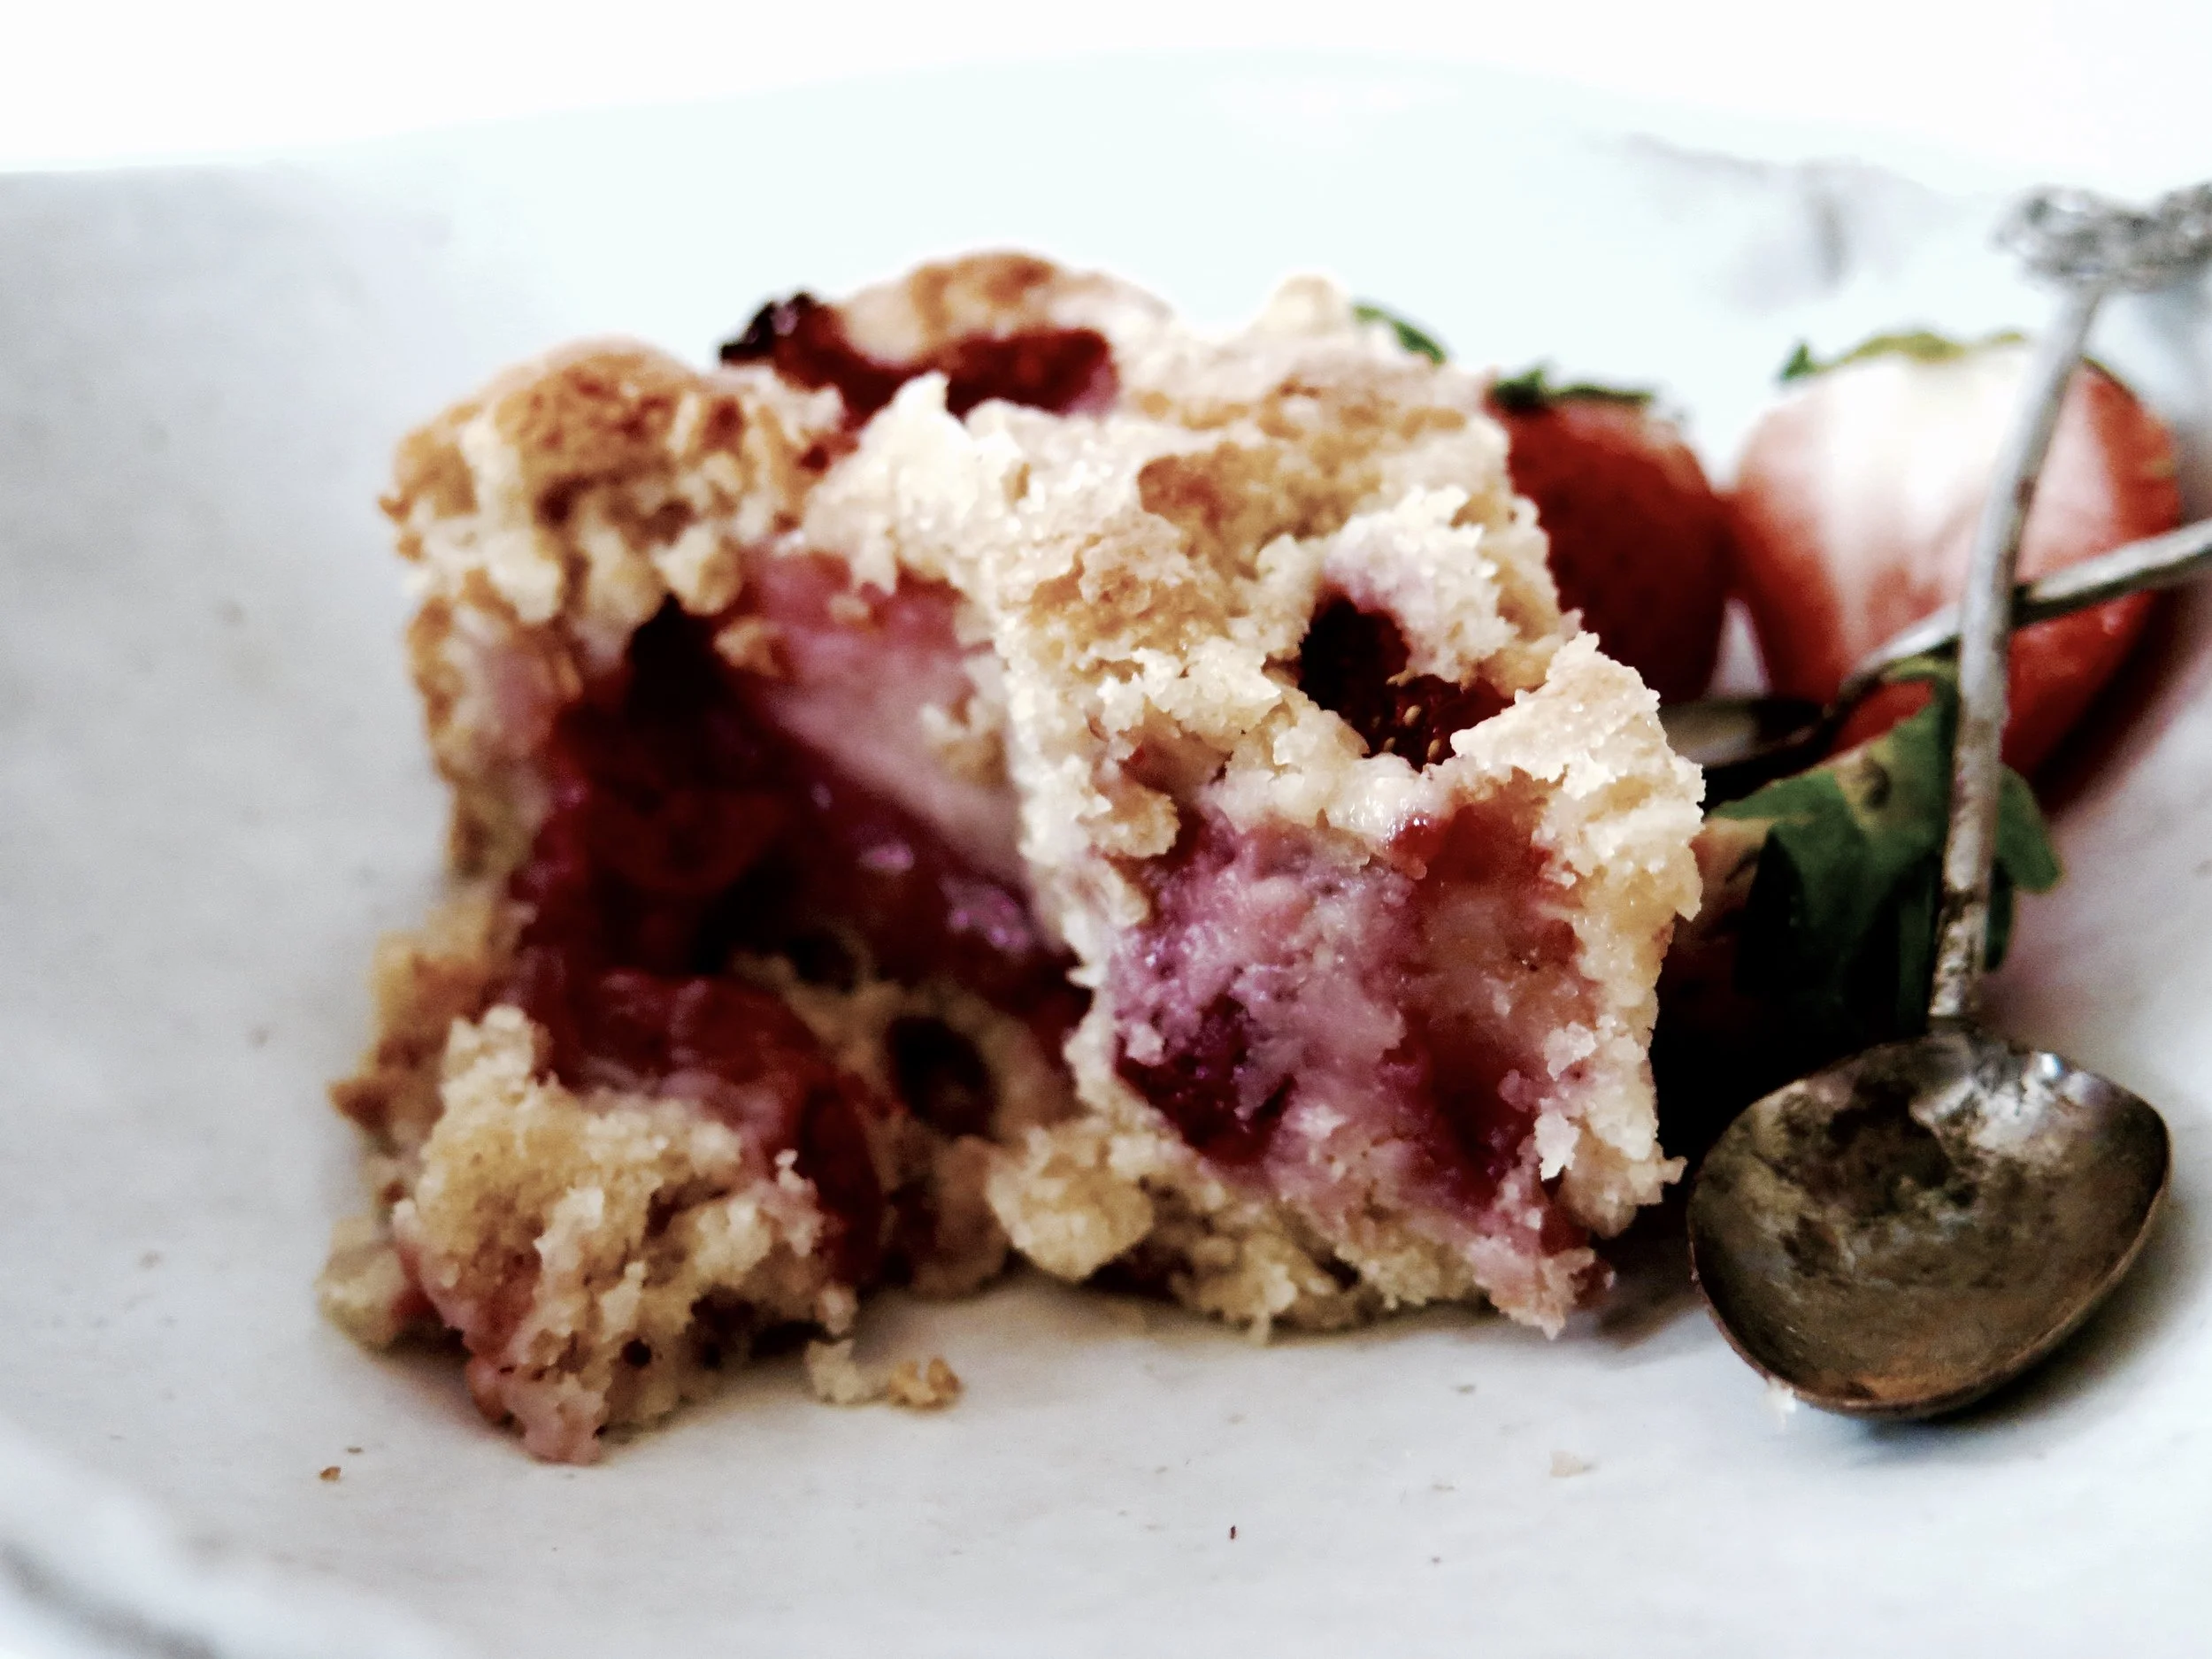
Here’s the recipe for an exceedingly luscious cake. It is succulent, and filled with roasted strawberries so that there is at least one deliquescing in every bite. The berries on the surface turn almost jam-like in the oven. Absurdly quick and easy to make, it is totally moreish.
NB. This cake can be made gluten-free by substituting the flour for gluten free.
Luscious Strawberry cake
Serves 6-8 (depending on level of greed)
Ingredients
85g unsalted butter, at room temperature
160g caster sugar + 2 tbsp for the topping
1 large egg
120ml milk
1 tsp vanilla extract
190g white spelt flour (or gluten-free equivalent)
1 1/2 tsp baking powder
1/2 tsp salt
400g strawberries, after having been hulled and halved
20cm diameter round springform cake tin, either totally lined with baking parchment (if you’re feeling lazy and you don’t mind crinkly cake sides), or thoroughly greased with butter and the base lined with a circle of baking parchment
Method
1) Preheat the oven to 180°C.
2) Either by hand or in a stand mixer fitted with the paddle, beat the butter and sugar together until soft, light and fluffy (which should take about three minutes). Then pour in the egg, milk and vanilla extract and beat to combine. It may look slightly curdled but that is not a problem.
3) Into the wet ingredients sieve the flour, baking powder and salt. Gently fold the dry ingredients through until the batter is smooth and fully combined. Pour into the prepared cake tin.
4) Arrange the strawberries cut side down in the batter. You make need to overlap some or push some down to fit them all in. Sprinkle the 2 tbsp of caster sugar over the top and place in the oven.
5) Bake for 45-55 minutes (depending on oven), checking after 30 minutes. You may need to cover the top with aluminium foil if the surface looks at risk of becoming too dark. When ready, the top should be a deep gold and a cake tester should come out batterless (moisture from the strawberries will prevent it from coming out totally clean).
6) Allow to cool on a wire rack and devour on the day, or within two days, of baking.
(Adapted from Smitten Kitchen)
HUNGRY FOR MORE?
A trip to Toronto when I was seven years’ old is anchored for me by one thing: not the CN tower, or Niagara Falls or my cousin’s wedding, but a visit to the farmers’ market, and in particular, a potentially life-changing stall. A tall, russet-cheeked man was in command, his floured apron stretched taught over his protuberant belly.
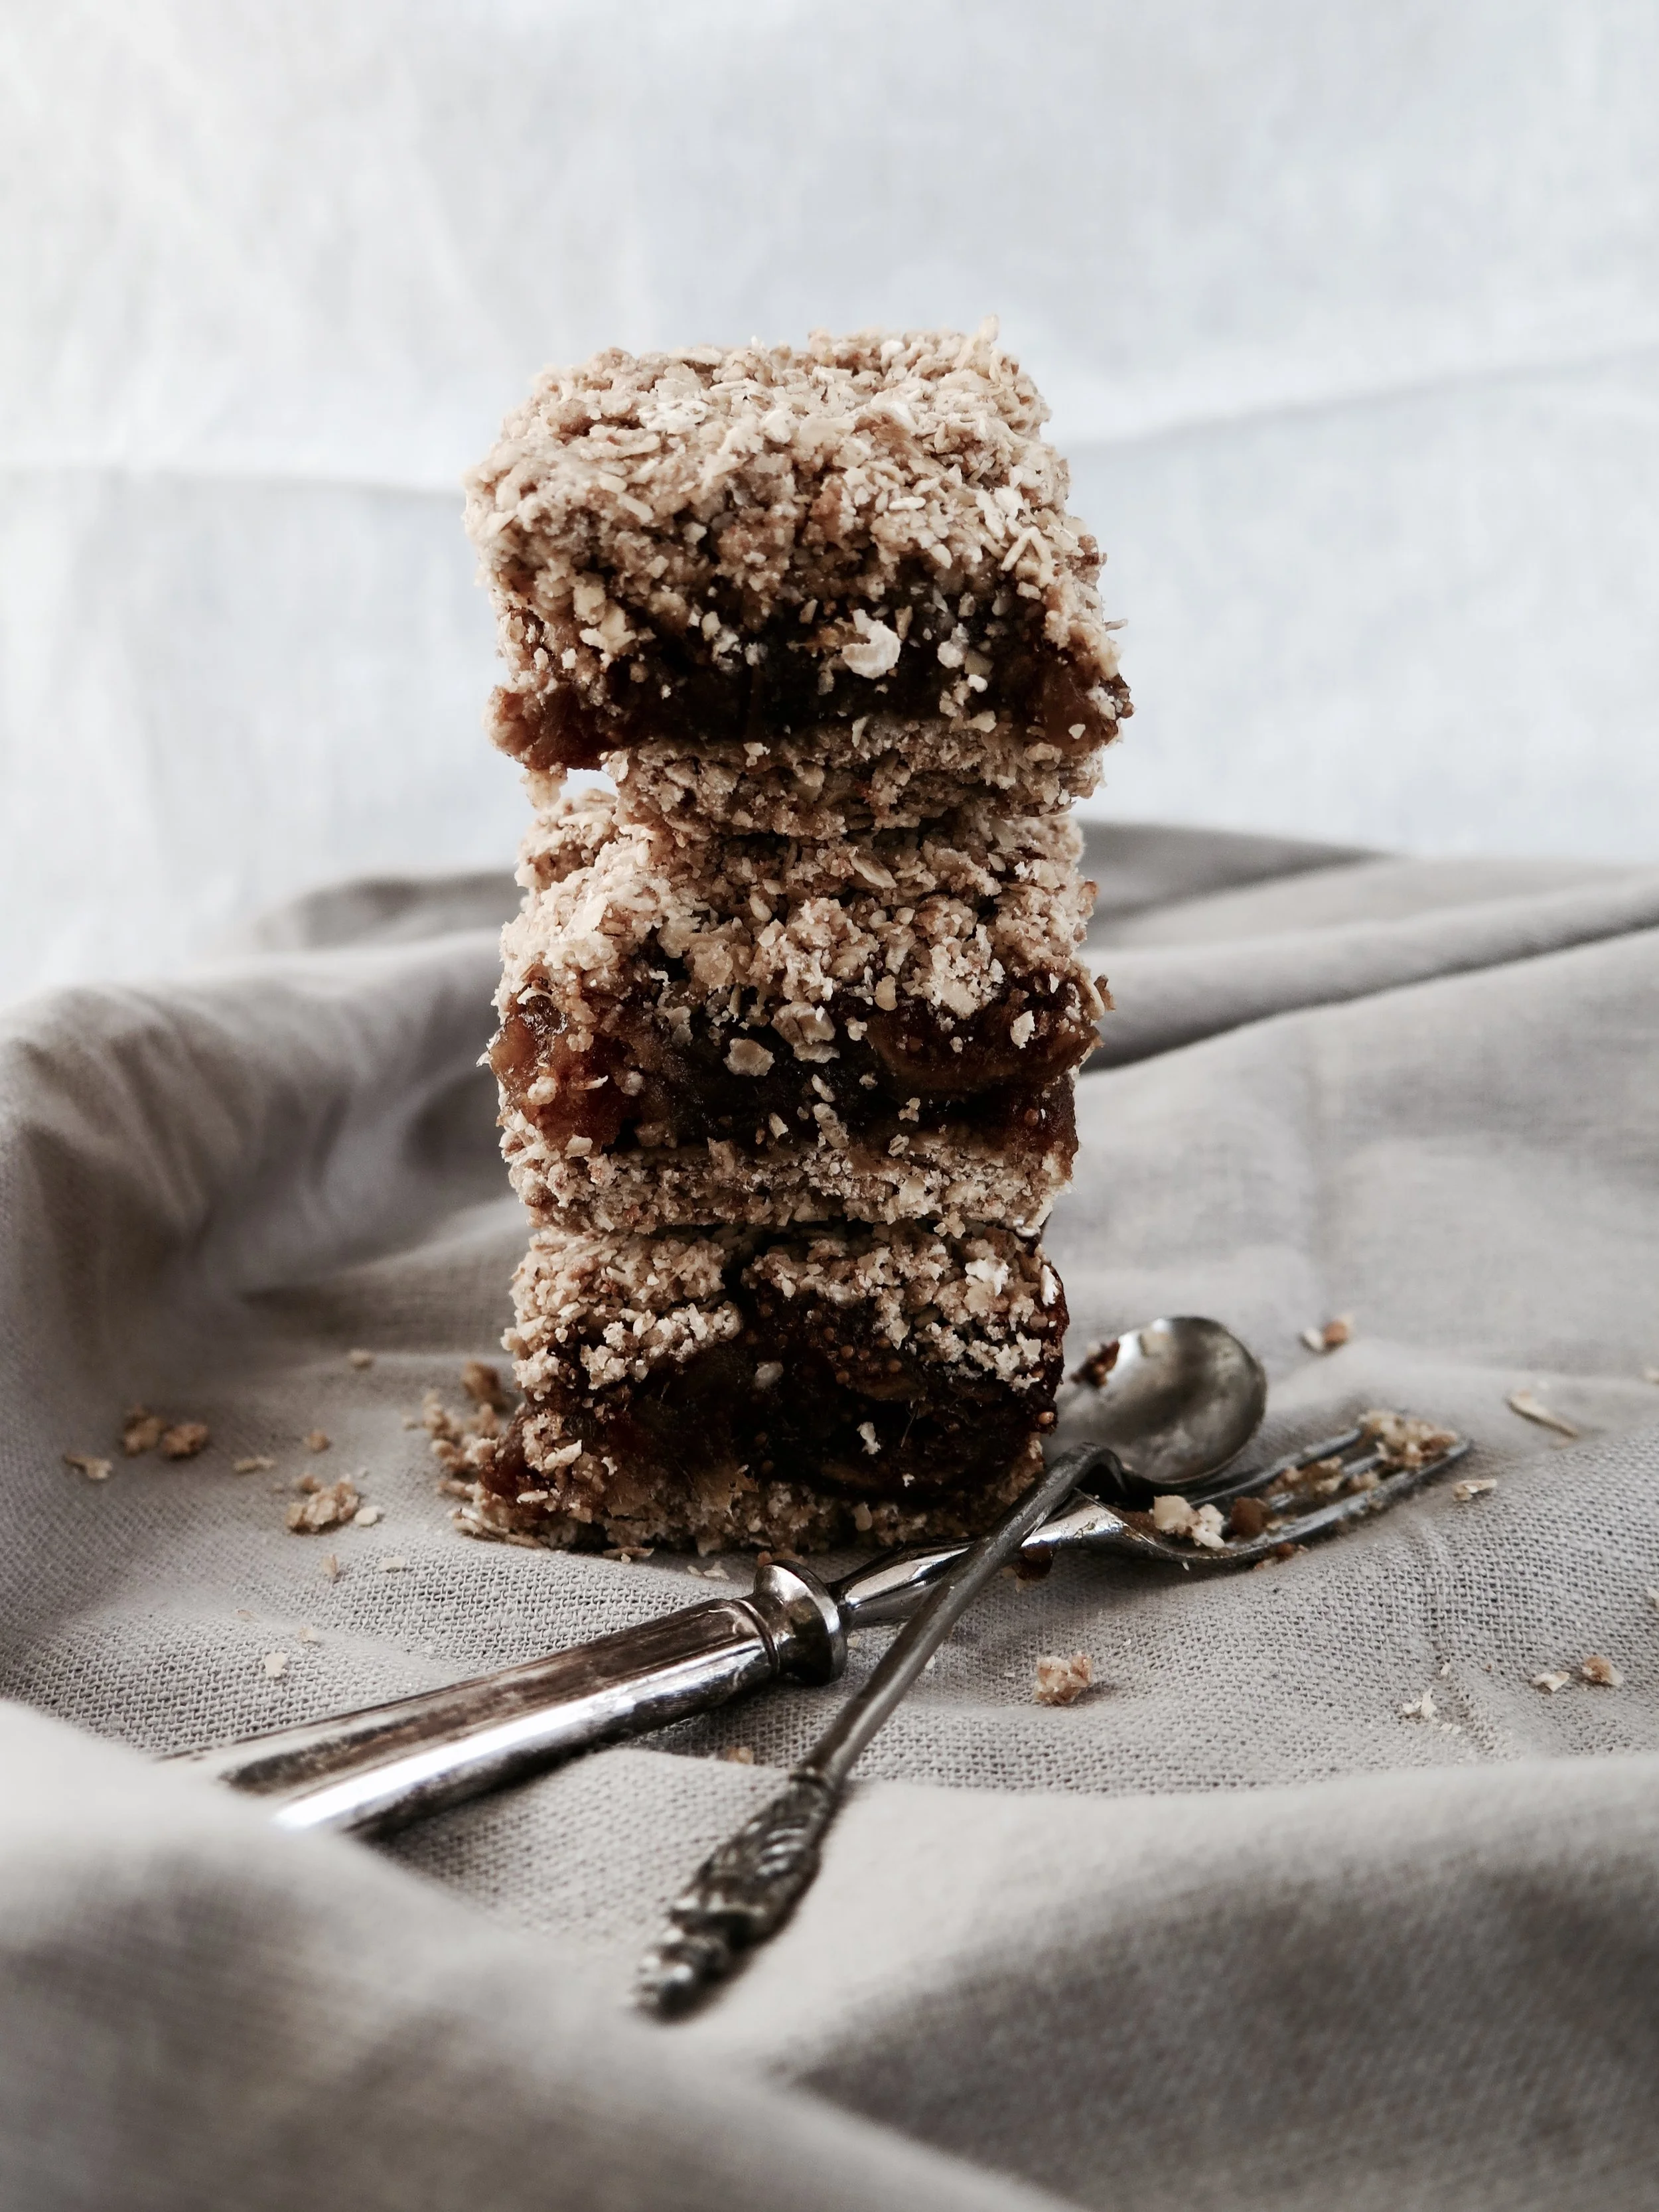
And on his table lay not the garish, sprinkle- speckled swirls that would have drawn a normal child. Instead, tray after tray of rubbly slabs of oat and date crumble bars were arrayed.
The date layer of the bars was jaw-clenchingly sticky, and thick – not like the mean, shop-bought equivalent. The oaty outer layers were both crunchy and then soft, golden and not overly sweet, allowing the natural date sweetness to shine through.
. For the last seventeen years I’ve been raiding bakeries and markets, seeking to relive the experience, but the date and oat crumble bars always disappoint – too saccharine, too solid, too floury. In between raids, I’ve been working on my own: these are the closest I have come to Toronto’s best kept secret. I added the crushed amaretti to give them a little twist. Feel free to leave the sugar out of the crumble if your palate is adjusted to the less-sweet.
It’s incredibly hard to resist them when they emerge from the oven golden and crisp, but I think they taste even better when they have cooled and the flavours are more distinct (or maybe try them both ways, just to be sure…).
NB. They can be made gluten-free by substituting gluten-free flour for spelt.
Ingredients
Date filling
400g medjool dates, pitted & roughly chopped (about 20)
3 tbsp fresh orange juice
120ml water
2 tsp vanilla extract
½ tsp mixed spice
½ tsp finely grated orange zest
Crumble
250g oats
120g butter
100g wholemeal spelt flour
50g dry amaretti biscuits
40g light brown muscovado sugar
¼ tsp mixed spice
½ tsp vanilla extract
¼ tsp salt
A square 20cm baking tin (or tin of equivalent area), lined with baking parchment, with sides and base fully covered.
Method
1) Preheat oven to 180°C
2) Place all ingredients for the date filling in a pot and place on a medium heat. Stir as the mixture begins to simmer. After about 5 minutes, when the dates have broken down into more of a paste and all the water has evaporated, remove from the heat and set aside.
3) Pour all the crumble ingredients into a blender and pulse until the mixture still has some texture and is slightly coarser than sand.
4) Pour 2/3 of the crumble mixture into the base of the tin, and, with your fingers or the back of a spoon, press the mixture down evenly across the base of the tin until firm and compact. Pour the date filling over and spread evenly across the base. Then pour over the remaining crumble mixture and press down until even and as compact as possible.
5) Place in oven to bake for 15-20 minutes until golden and firm to the touch.
6) Slice and allow to cool before devouring. Keeps well in an air tight container in fridge for up to 5 days, or in freezer for 2 months (also tastes delicious when frozen).
HUNGRY FOR MORE?
I feel immense joy when I see canapés floating along the horizon of a wine-soaked room. Salty, crunchy, flavour-filled bites to pop into your mouth and stave off hunger. But in reality, the canapés path is far more obstacle- laden. Here are a few of the typical scenarios that I have endured, or have watched others enduring:
- The hidden two- biter: where you hesitate over whether to put the whole thing in your mouth, decide to go for it and then have to find a way to swivel the thing around inside your cheeks until it becomes vaguely chewable, all while trying to hold down a conversation
- The crumbler – this one disintegrates before it even reaches your mouth. This doesn’t necessarily result in interrupted conversation, but ends up being problematic when you shake hands with someone and end up leaving a stick, flaky deposit in their palm
- The burner – you were warned about the heat but went for it anyway. If you were alone you would probably spit it out, but in the interests of politeness and retaining friends, you endure a scorched oesophagus
- The stringer – this is reserved for molten- cheese filled croquetas. Delicious, yes, but they leave the unsuspecting devourer s with frills around their lips reminiscent of Futurama’s Zoiburg.
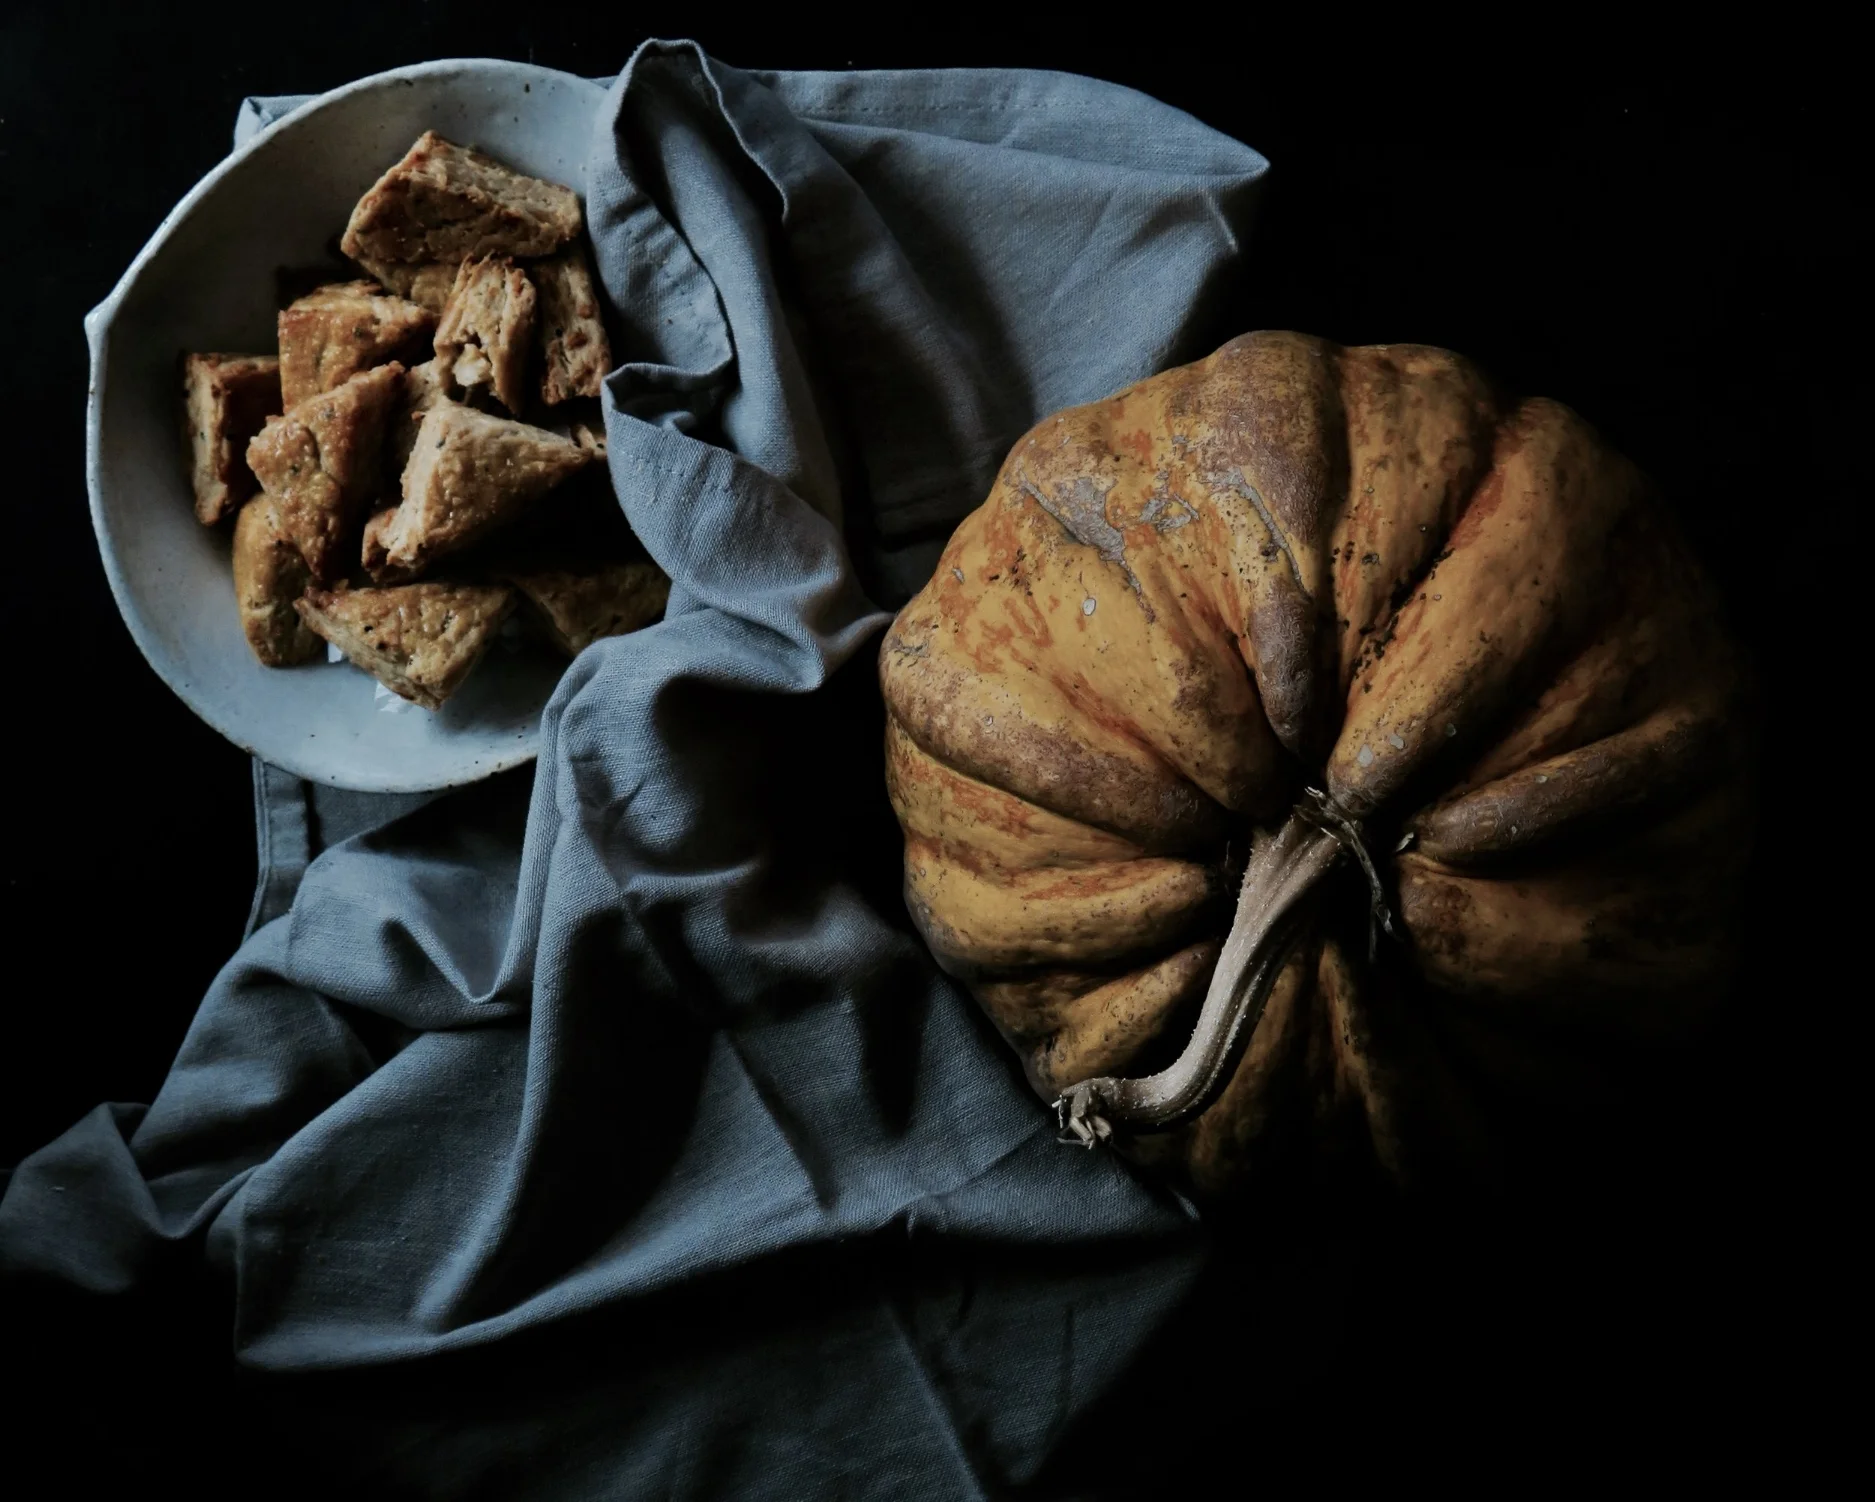
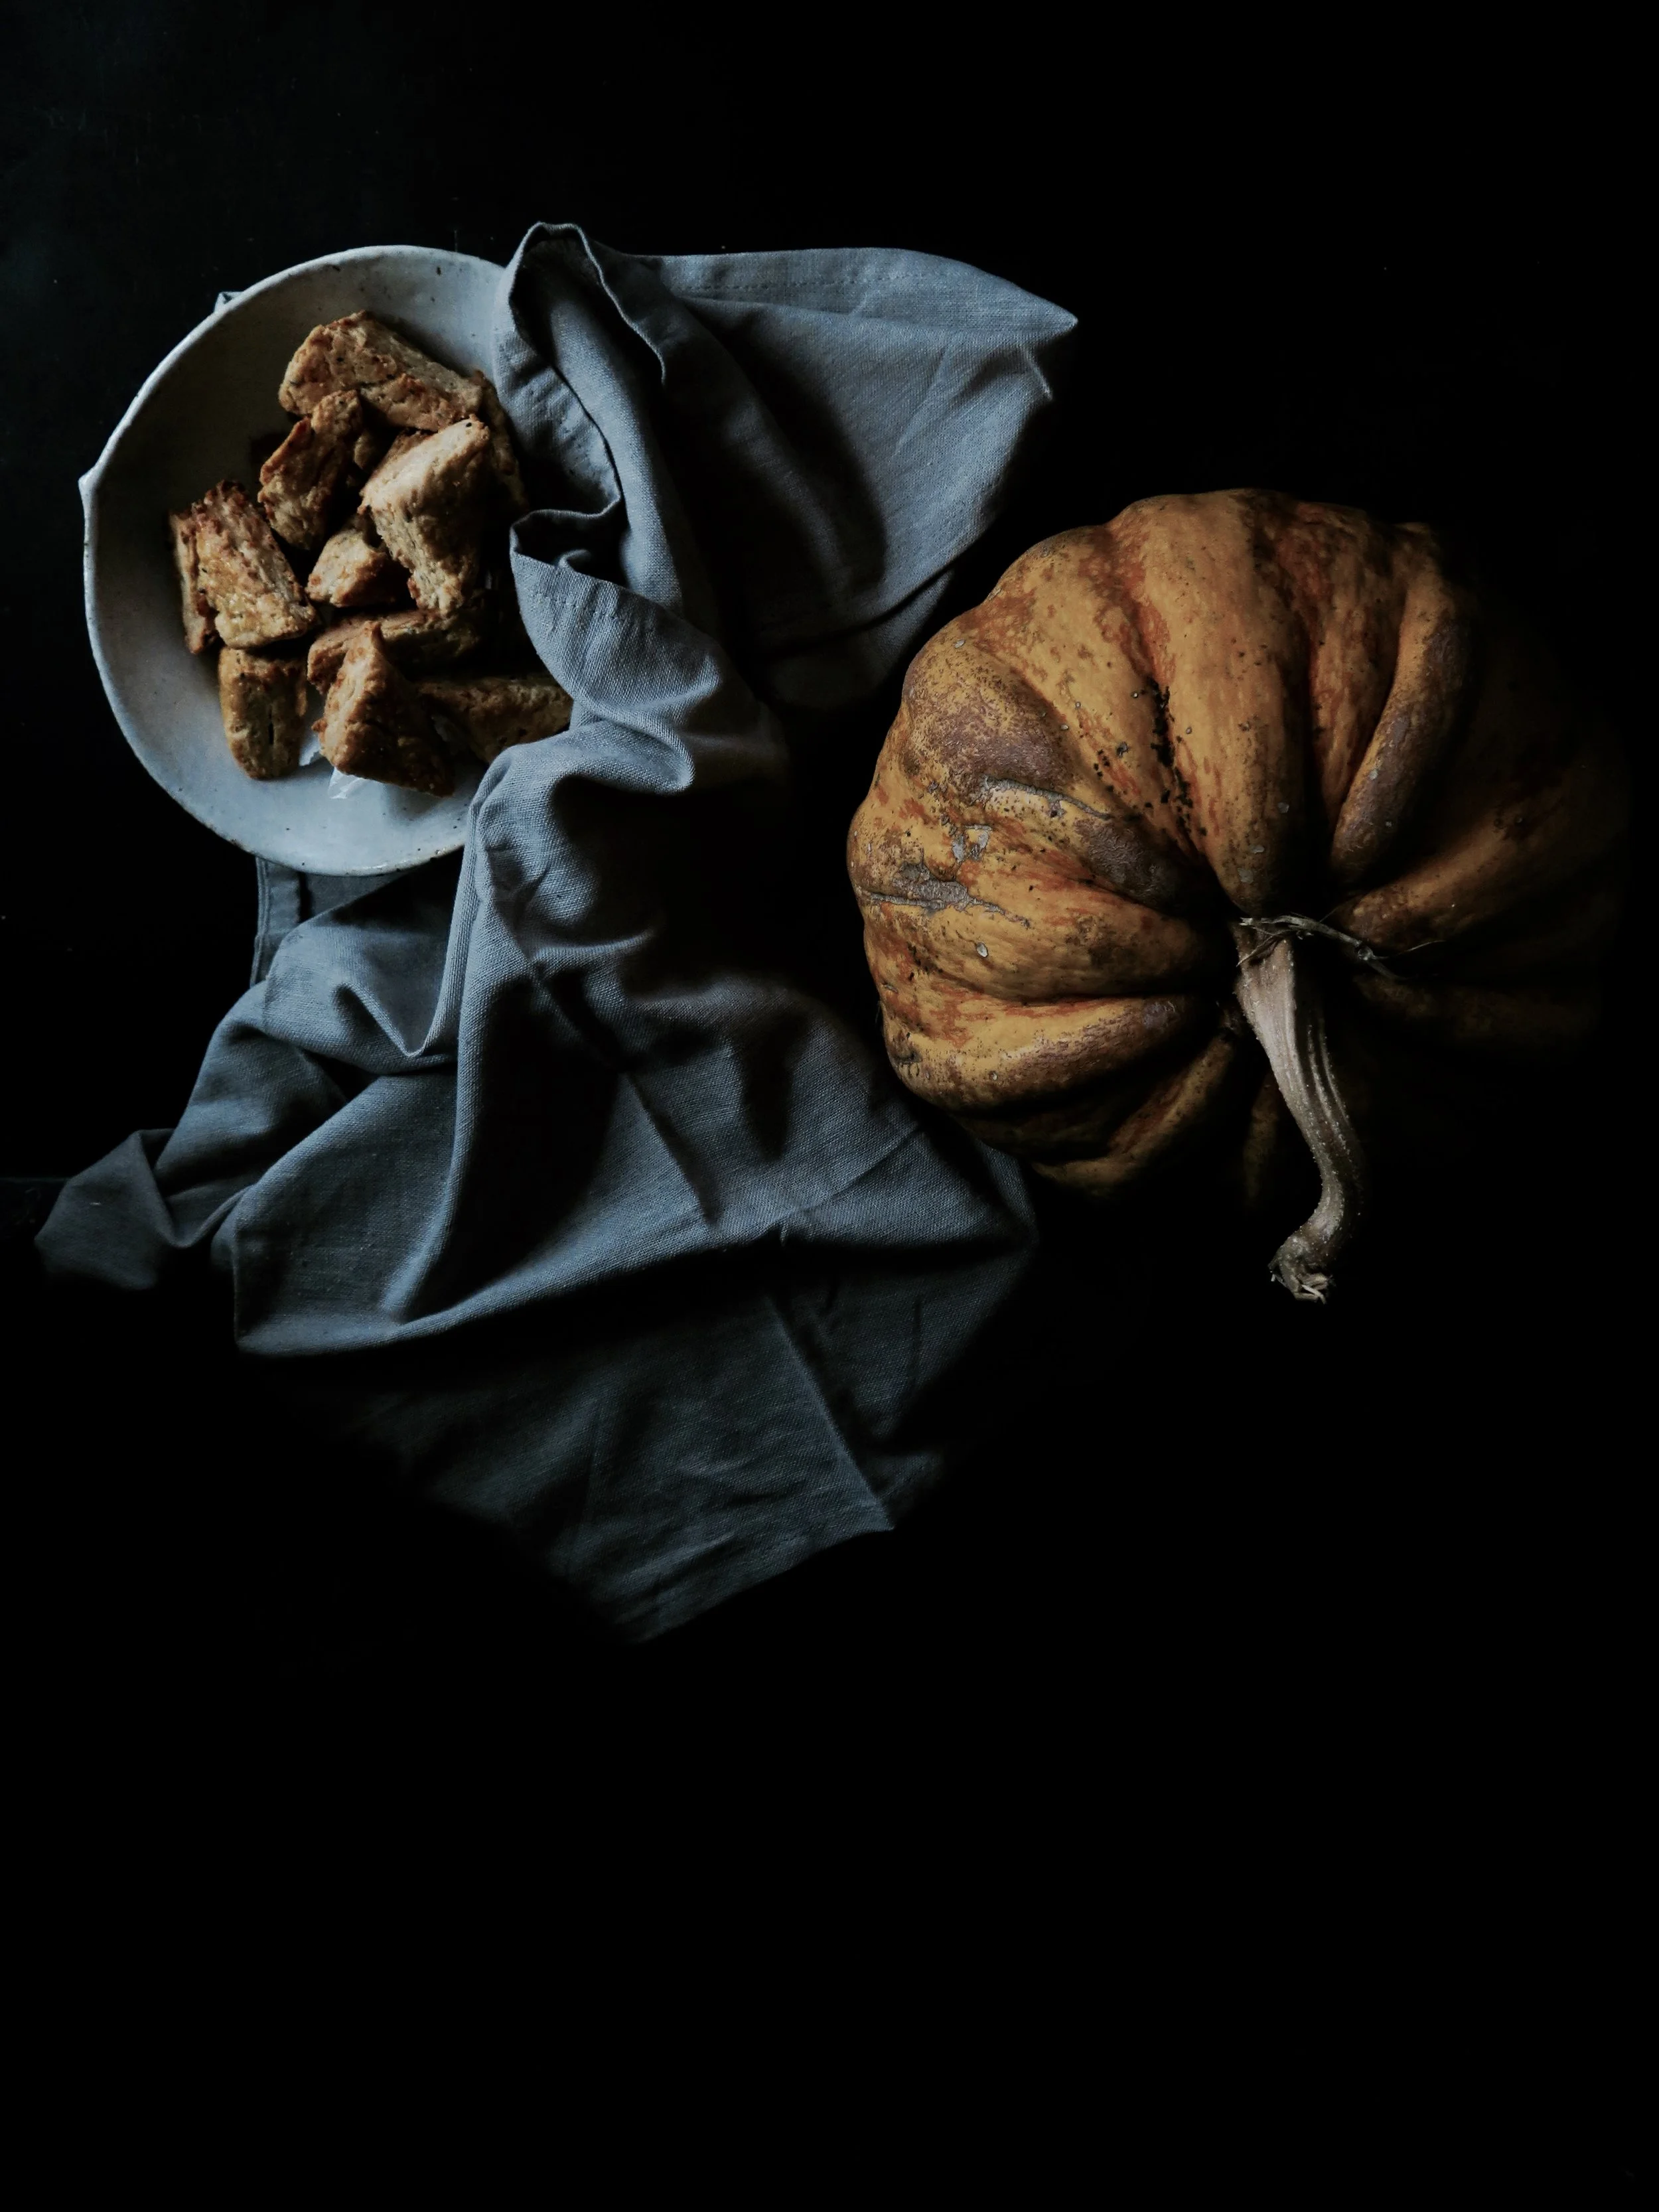
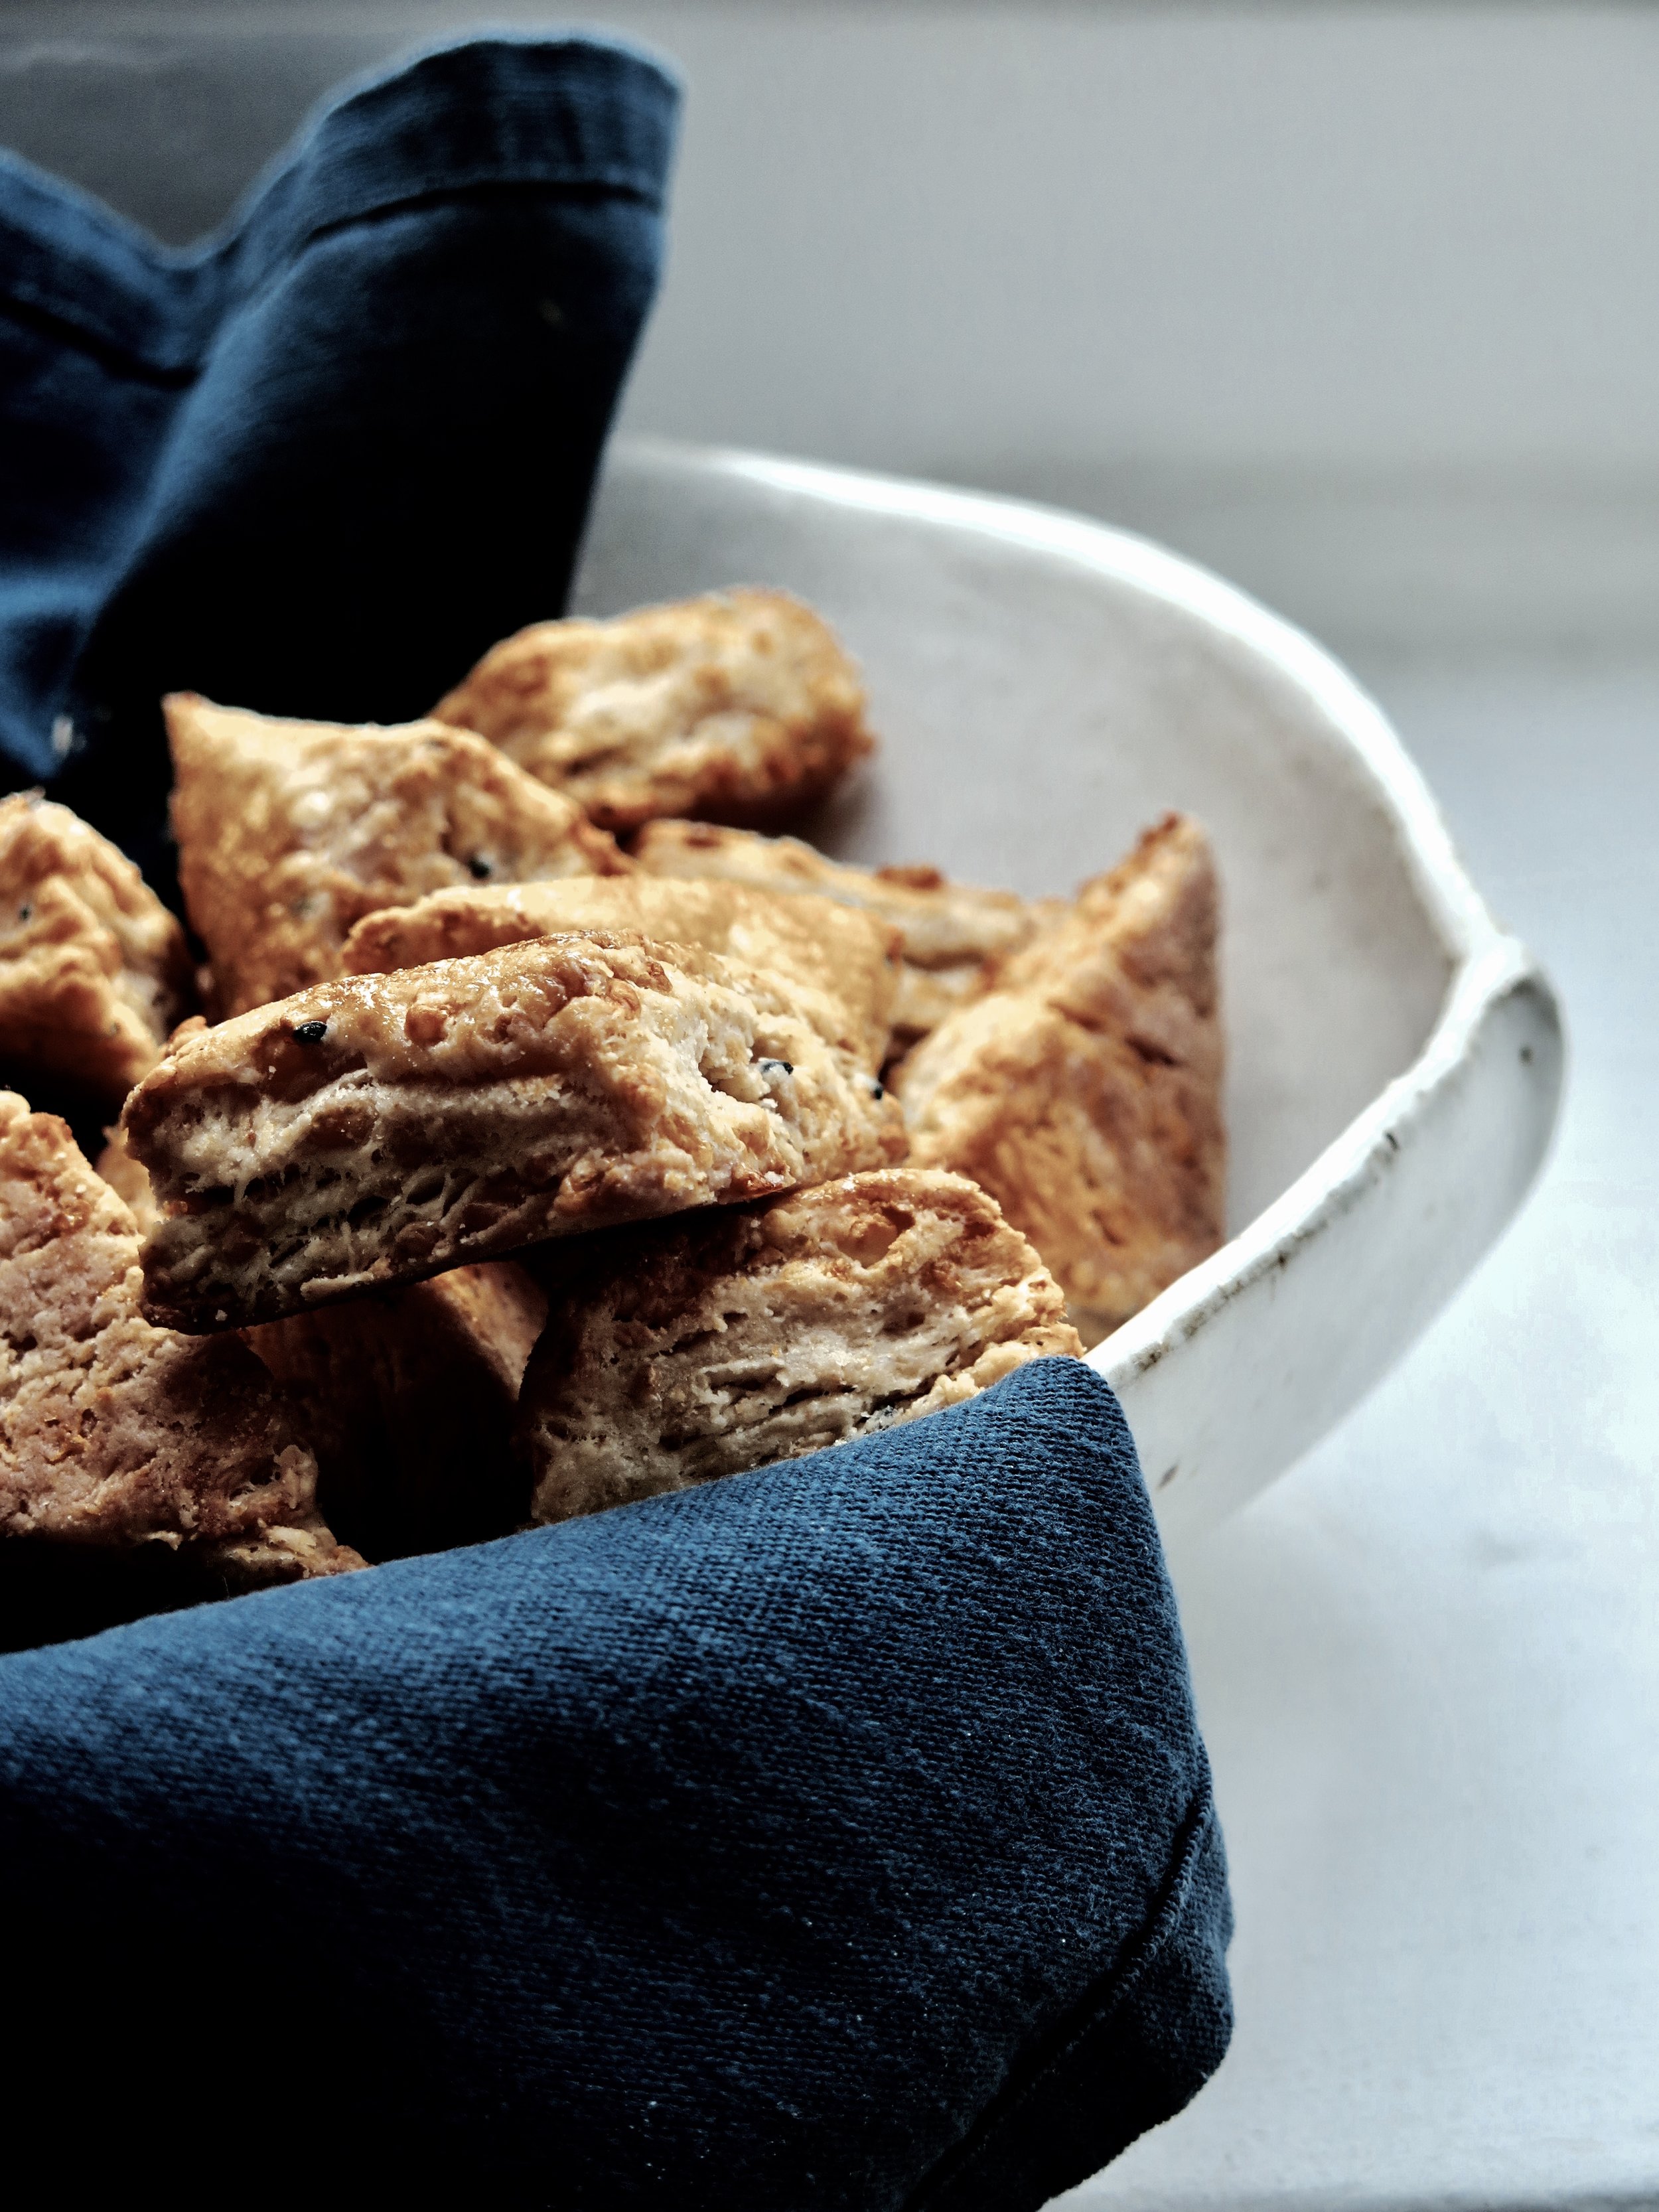
The following will help you steer clear of the above pitfalls: small, savoury and succulent, these are the perfect canapés. Indeed, they are suitable for consumption at any time. They are crisp on the outside and soft and light inside, flecked with molted feta and cheddar, and with a hint of the more exotic nigella seeds. This recipe makes 18 but I would urge you to double it as they are so addictive. They are also ridiculously easy and quick to conjure up.
NB. these can be made gluten-free by simply substituting spelt flour with gluten-free)
Mini Feta & Cheddar Spelt Scones (makes 18)
Ingredients
100g sour cream
2 tbsp milk
80g mature cheddar cheese, grated
80g feta, roughly diced into 0.5cm cubes
50g unsalted butter, cold and roughly diced into ¾ cm cubes
200g white spelt flour (can substitute with plain flour or gluten-free)
¼ tsp baking powder
¼ tsp salt
½ tsp nigella seeds
[optional: ½ tsp cayenne pepper]
1 egg, beaten, to glaze
1 large baking tray lined with greaseproof paper
Method
1) Preheat oven to 200°C. In a large bowl by hand, or in a food mixer fitted with a paddle, briefly mix together the sour cream, milk, cheddar, feta and butter. Pour in the flour, baking powder, salt and nigella seeds (and cayenne if using), and mix until just combined into a dough. You may need to knead the dough by hand very slightly for it to come together.
2) Place dough onto a floured surface, pat into a square and roll it out to roughly 2.5cm thickness. Slice the dough into nine squares, like a noughts and crosses board, and then slice the squares diagonally to form 18 triangles.
3) Arrange the triangles on the baking tray, leaving at least 3cm between them. Brush them lightly with the beaten egg and place in the oven to bake for 15-20 minutes until golden on the outside. They are best devoured immediately or on the day of baking.
Adapted from Honey & Co's "Food From the Middle East" recipe for Bouikos
HUNGRY FOR MORE?
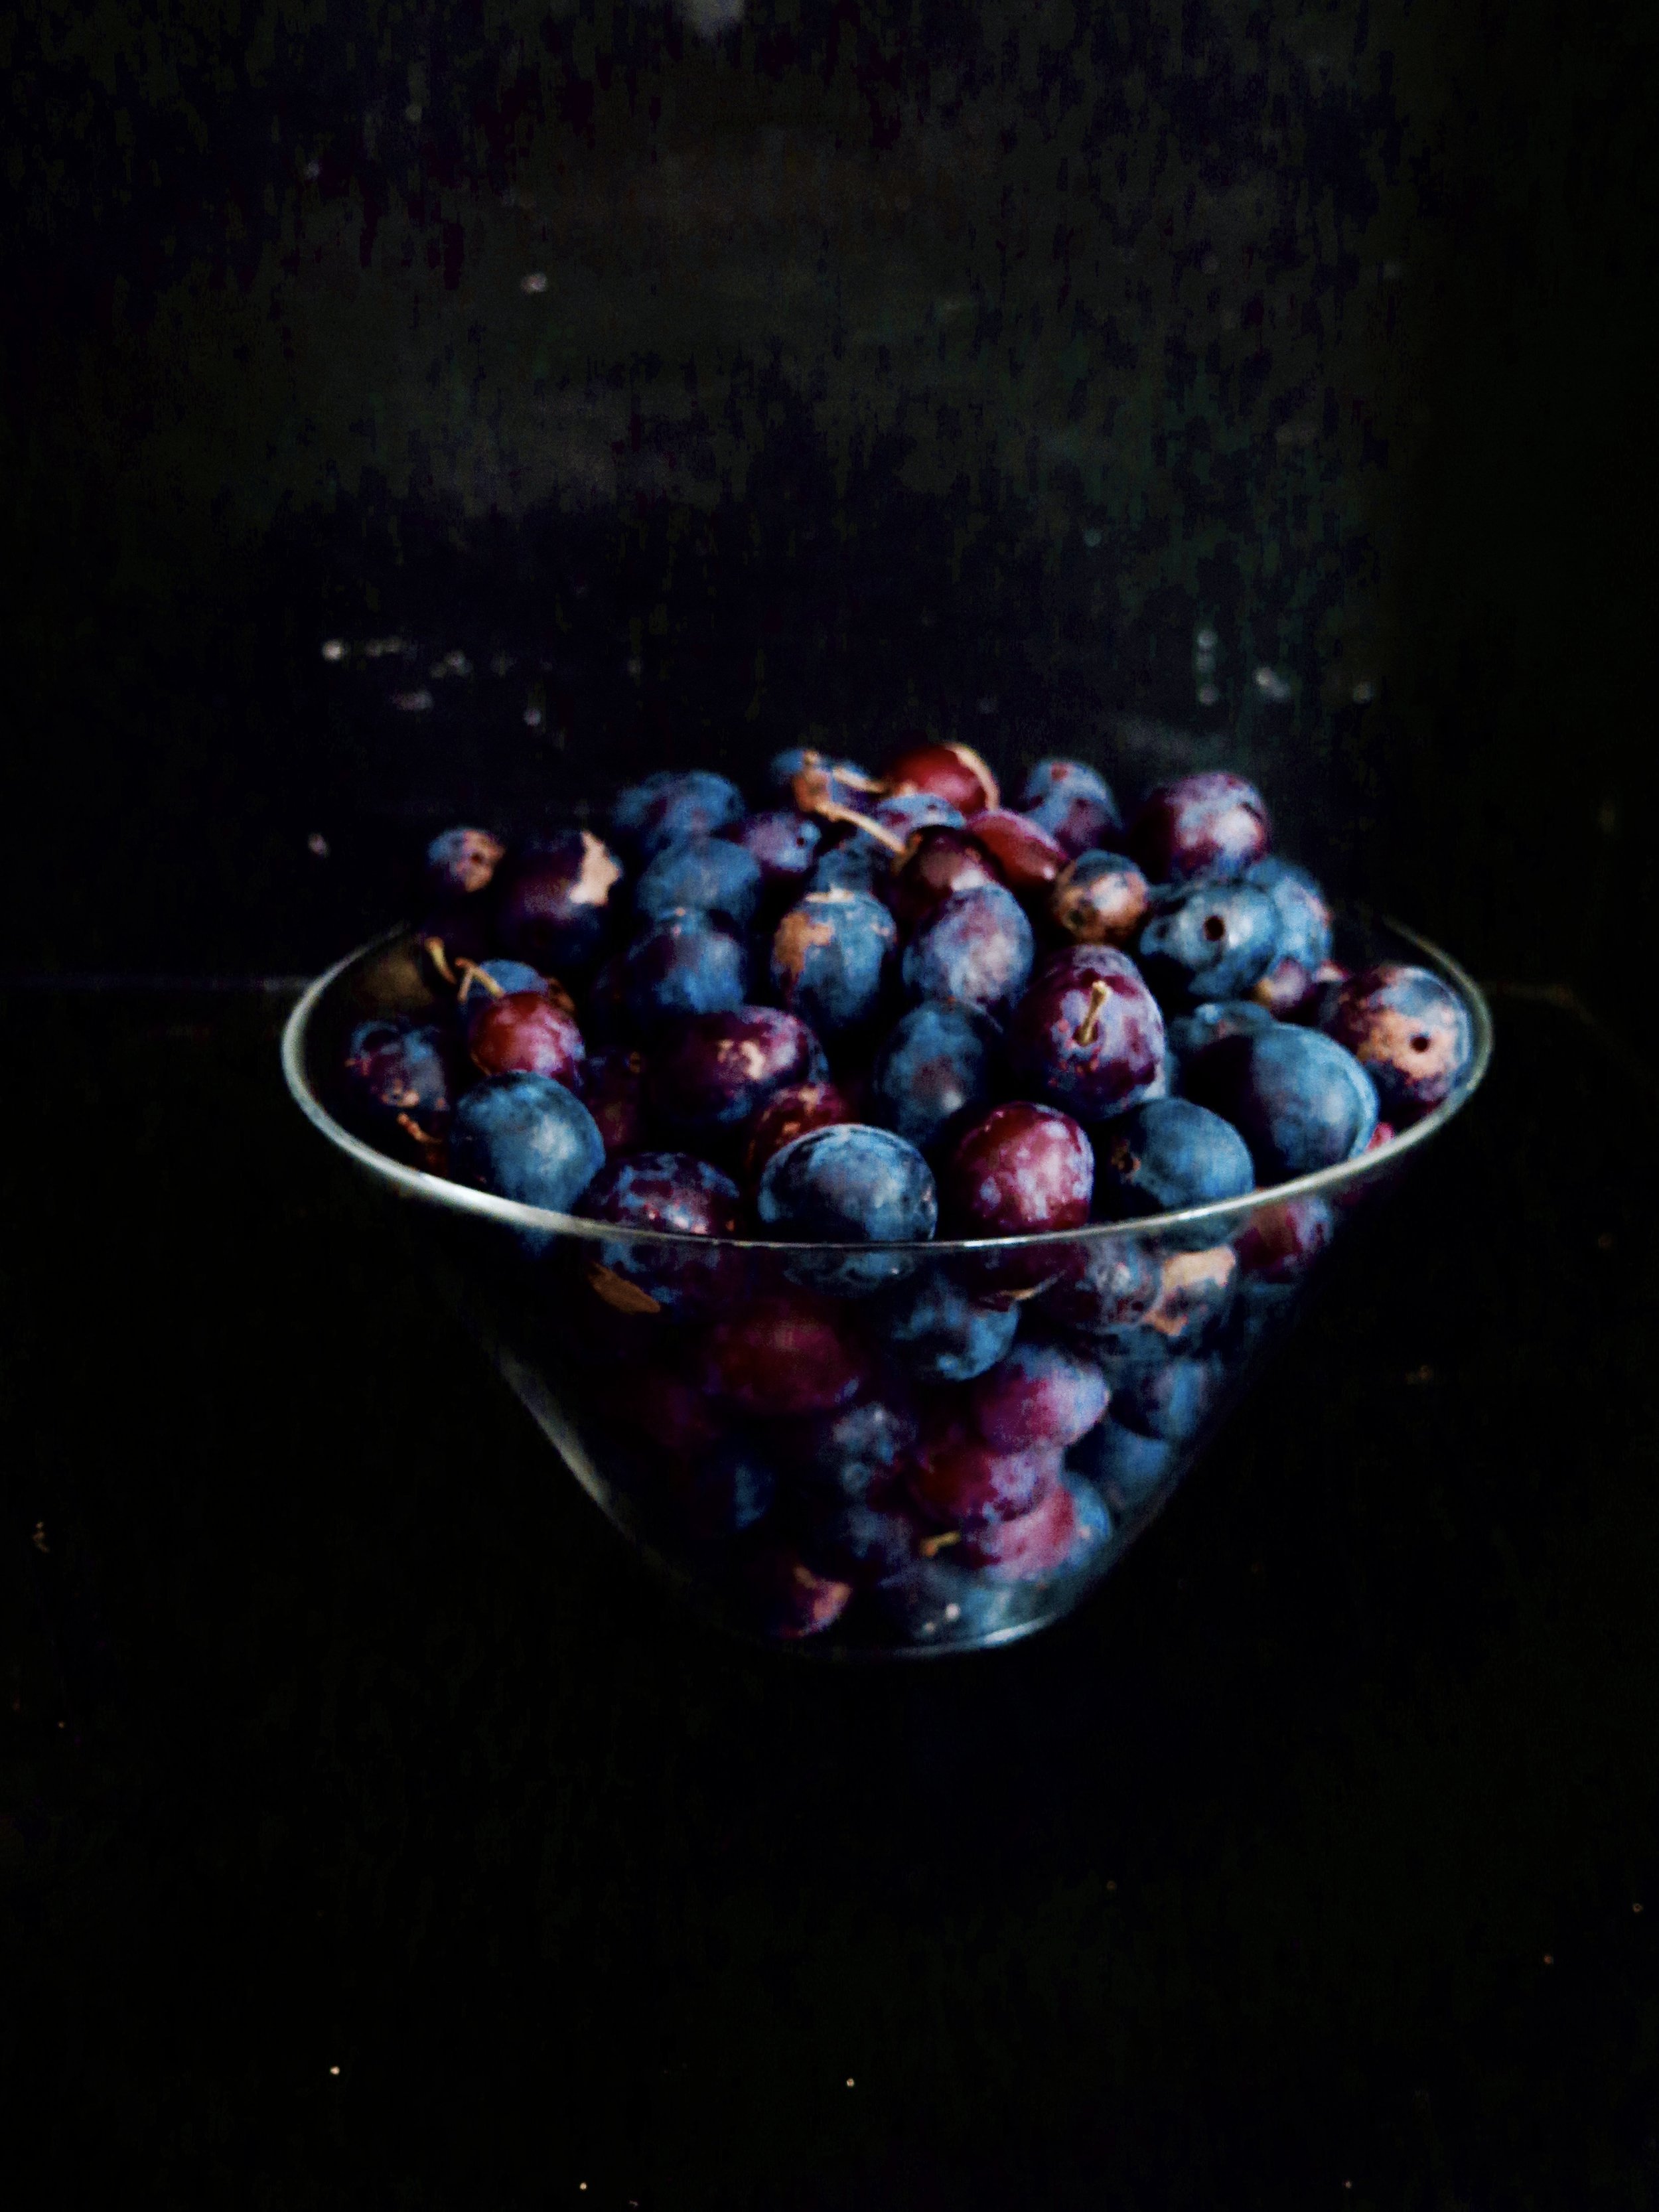
Adorned with dew drops of glaucous fruits, the damson tree was innocent in its fairy tale perfection. Plump and firm, tart and succulent they were ideal contenders for picking. There seemed at first glance to be very few, but as the minutes rolled by, our bags heavier and the ladder creaking, the tree continued to proffer its bounty. The result: 6kg of damsons and a swollen stomach from ones that never quite made it into the bag.
Our supply of sugar rather pitiful in the wake of the unsurpassed abundance, I heaved an Olympian quantity back from the supermarket. The one bag that decided to split has left a coating of sticky grit on any coins that I dig out of the corners of my bag.
Then on to the stove went the damsons, the heated sugar and a touch of water. They blistered, bubbled and broke out of their skins. The stones rose to the surface like witches on trial and had to be picked out one by one. Meanwhile the mixture boiled and thickened, giving off a foamy pink effervescence that I carved off as it supposedly tastes slightly bitter (although I rather enjoyed spooning it directly into my mouth). Then as it reached its rich amethyst depths and a satisfying viscose texture, I took it off and poured it into the sterilised jars: therapeutic and deeply satisfying…the first-time round.
But as I tried to leave the kitchen I was bludgeoned with another 3kg worth of damsons. I was pelted, too, with threats of waste and rotting fruit if I didn’t make jam immediately. The kitchen became heated with the upset from my father who had cultivated and nurtured the tree for years.
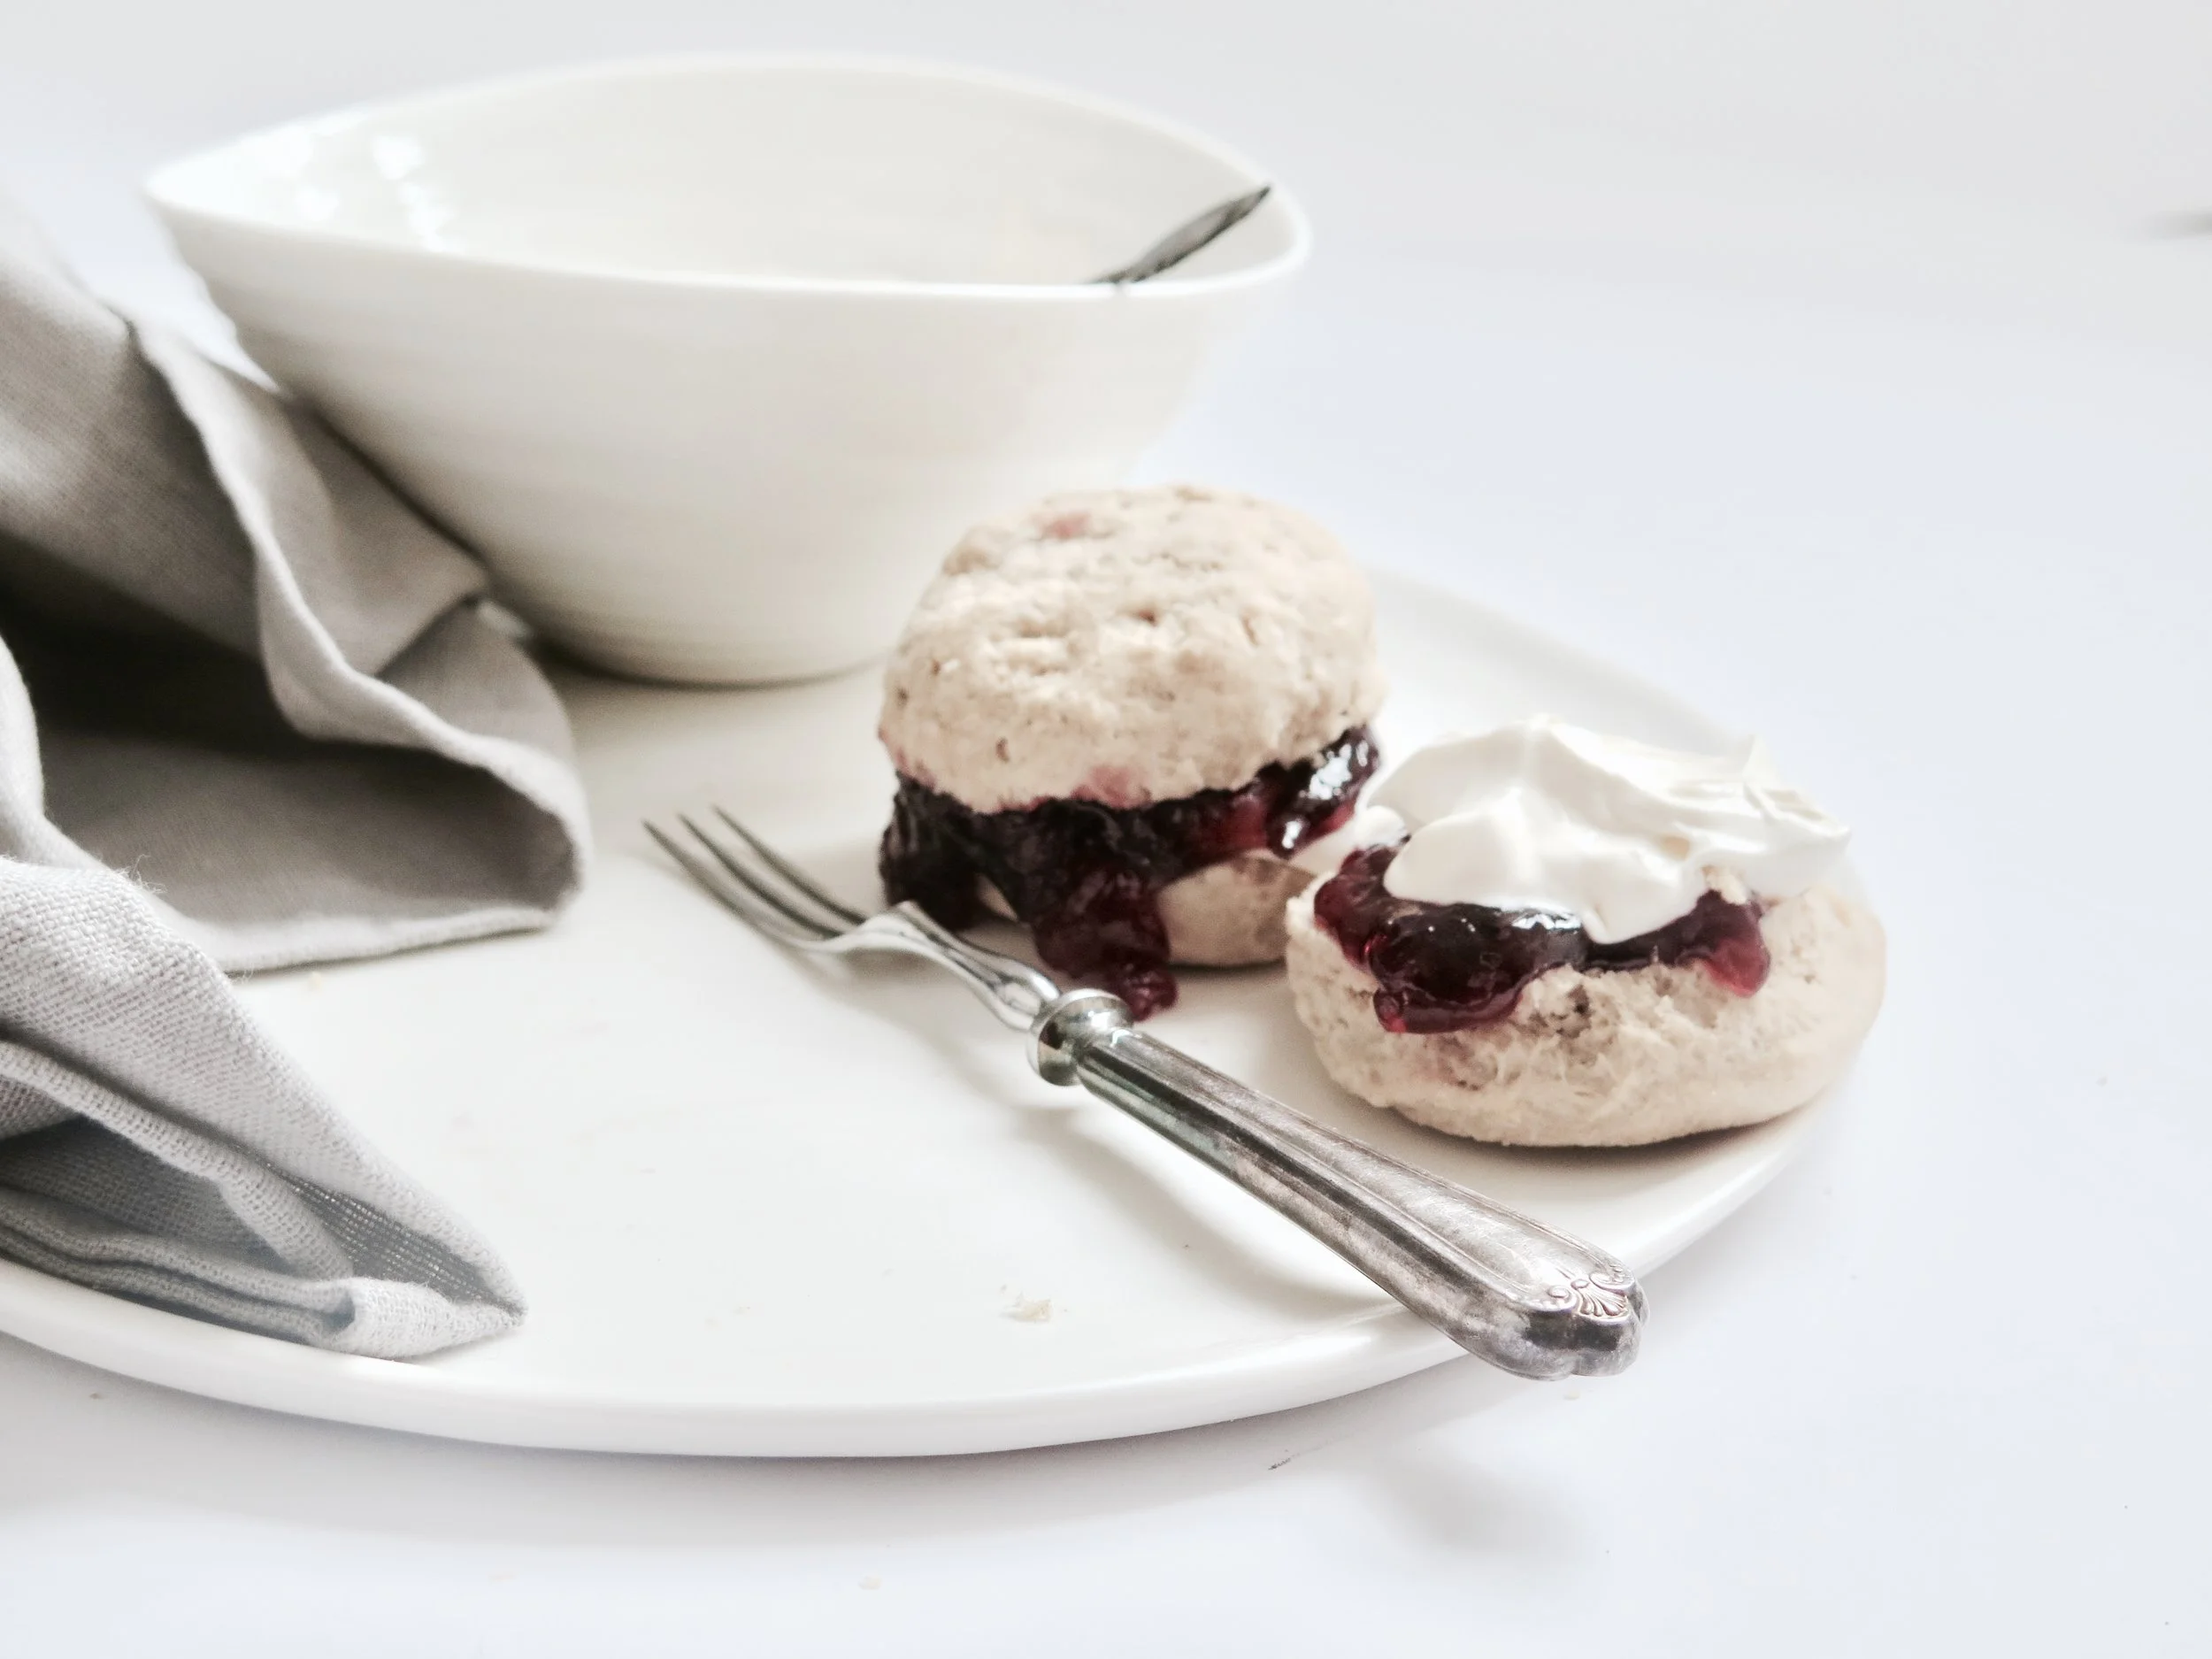
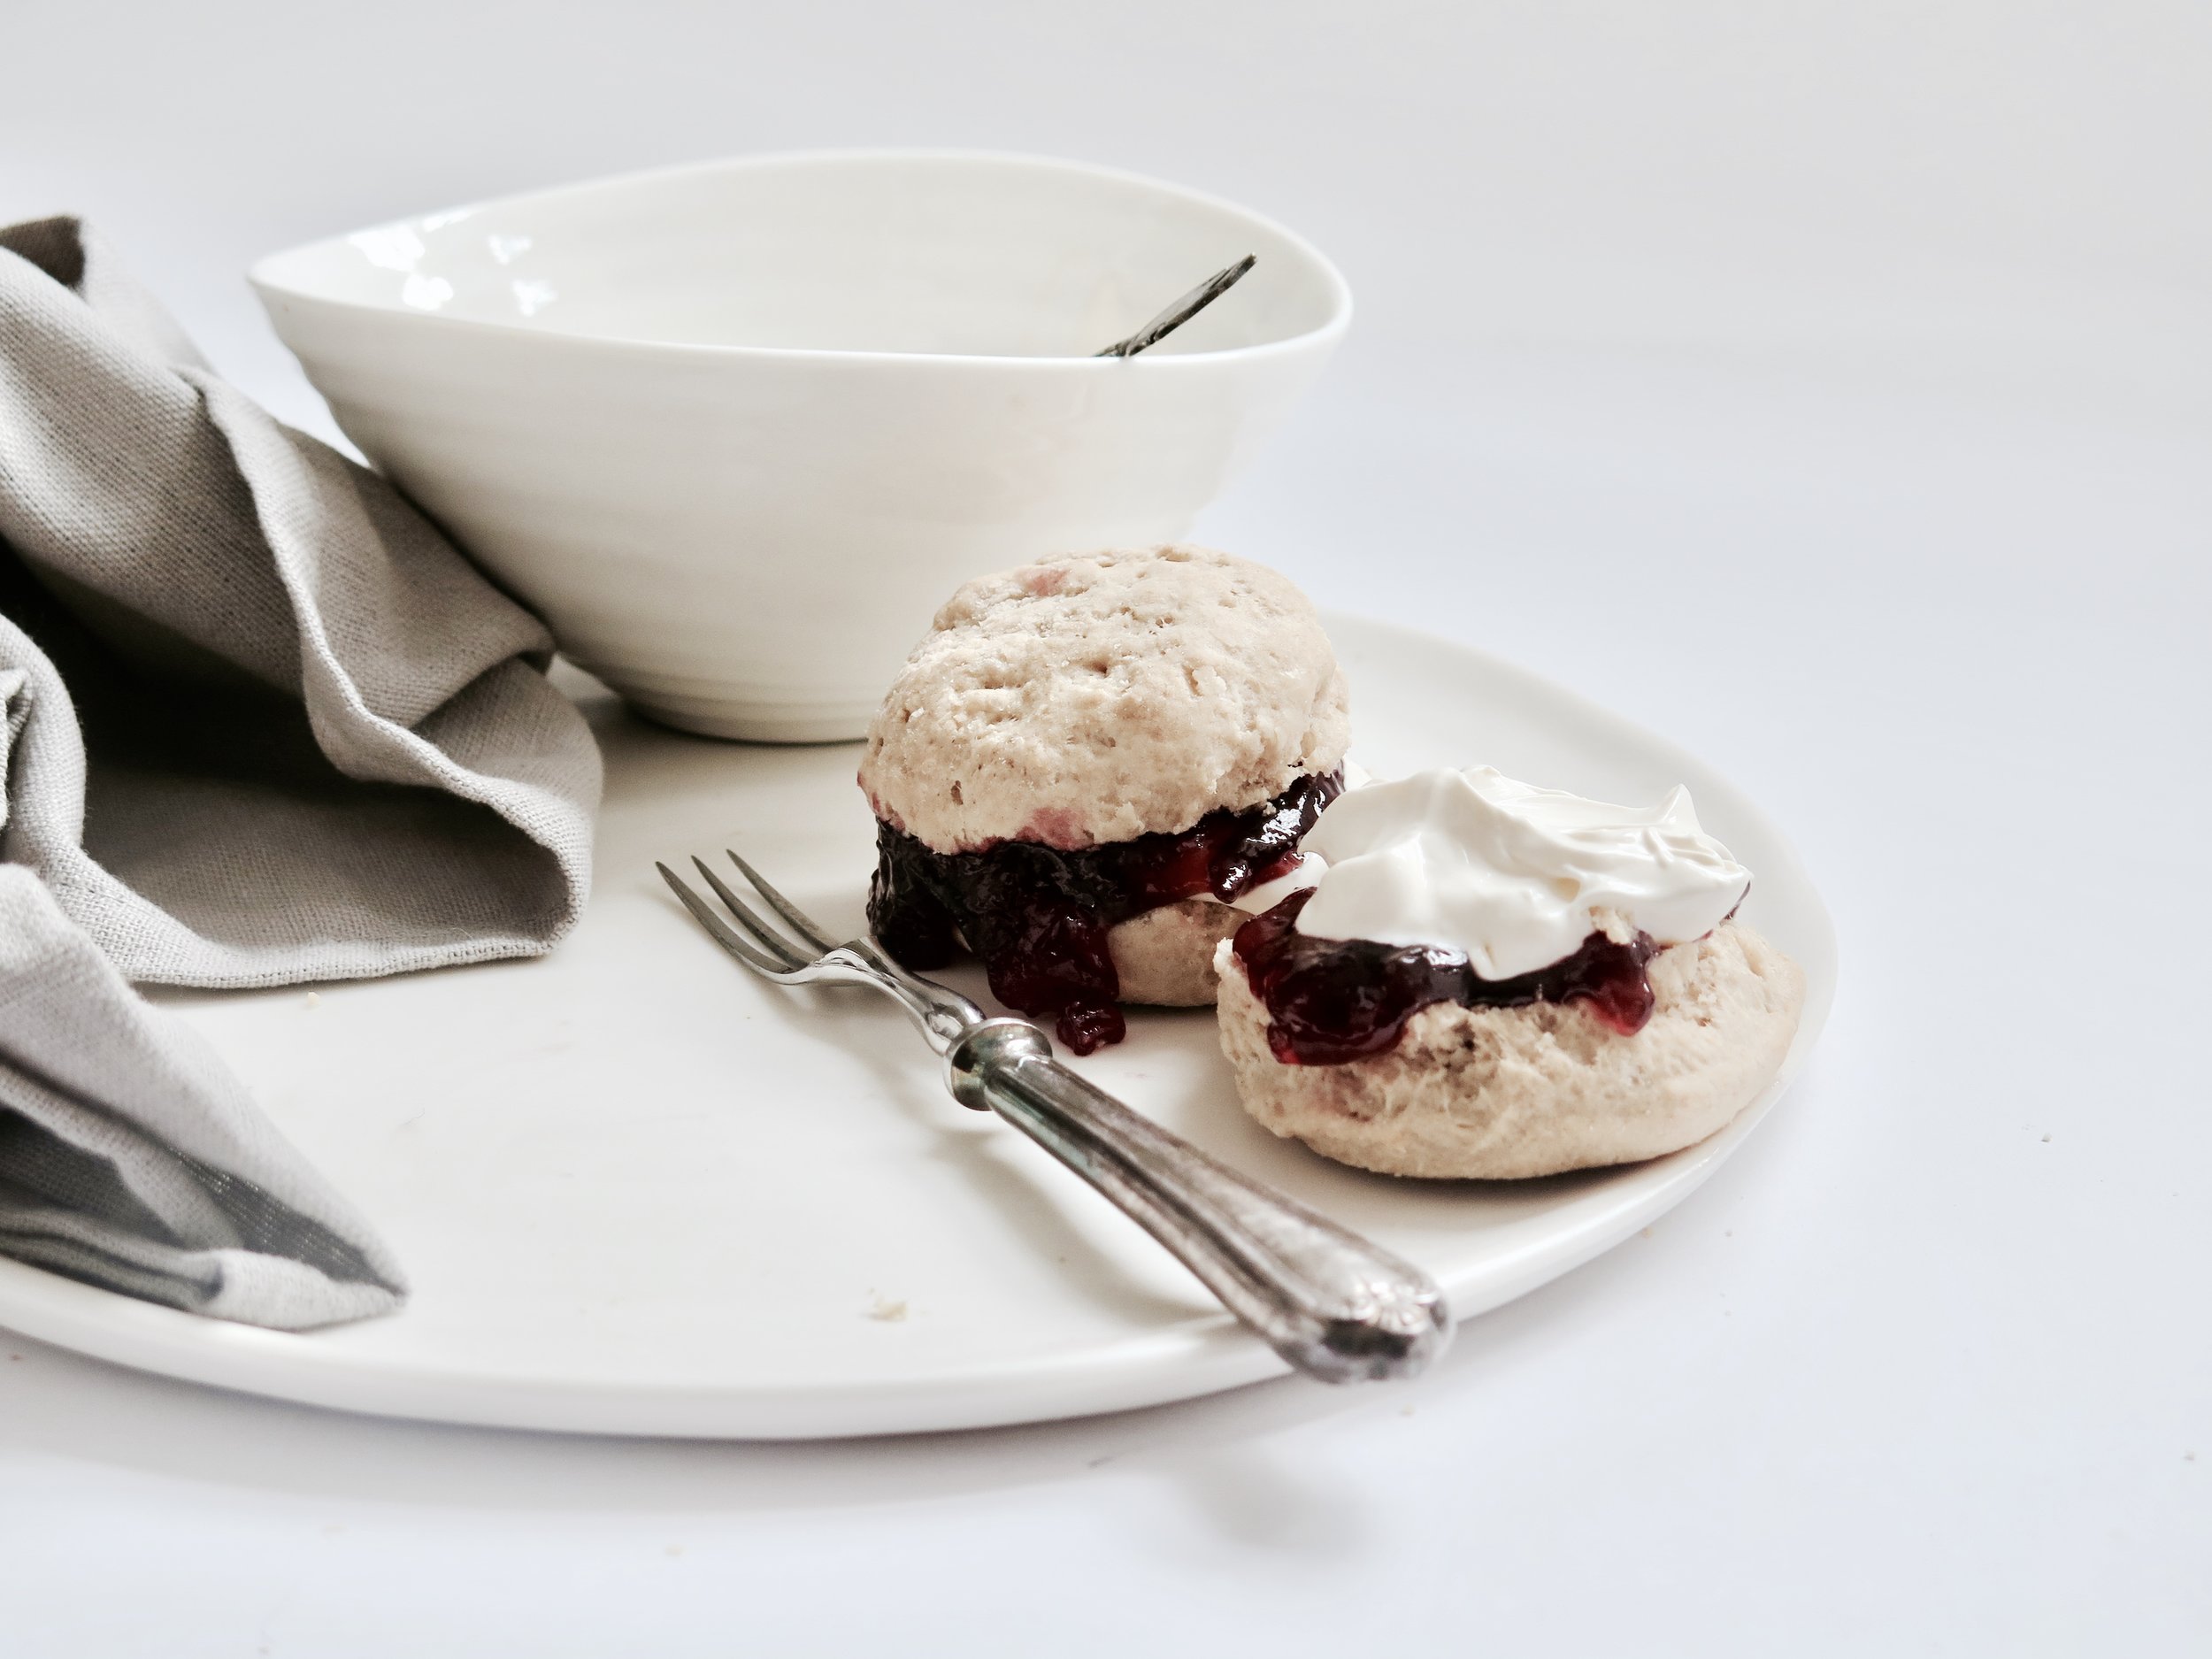
So, I gave in and became a slave to the damson tree once more, boiling, straining, stirring pouring. And now we have half a fridge thronging with jar upon jar of jam. And what does one do when he or she has a year’s supply of jam? Well, I find eating it straight from the jar perfectly acceptable, but others need a medium as an excuse. So I made scones. These are not the dry, stale and overly sweet ones that leave you desperately seeking a currant to relieve you from the accumulating doughy mass at the top of your palate. These are soft, light, moist and crumbly. Rustic in shape, they are best eaten immediately or on the same day (though it is unlikely they will survive longer).
Spelt Scone Recipe – makes 12
500g white spelt flour (can be substituted with plain)
4 ½ tsp cream of tartar
2 tsp bicarbonate of soda
(optional: 2 tbsp sugar if would like them sweet)
1/2 tsp salt
125g cold unsalted butter, diced
300ml milk
1 egg, beaten, for egg wash
6cm round cookie cutter
Large baking sheet, lined with baking parchment
Method
1) Preheat the oven to 220°C.
2) Into a large bowl sift all the dry ingredients. Add in the butter and with fingertips rub it into the dry ingredients until like damp sand. Pour in the milk and very gently fold in until just combined (there may still be pockets of flour).
3) Turn the dough out onto a floured surface and knead it lightly for about 10 seconds. Roll out to a 3cm thickness and then cut out as many scones as possible. Lightly re-knead the scraps of dough and roll out once more to cut out the last remaining scones. Space them out on the tray and blush with the beat egg. Place in oven to bake for 8-10 minutes until they are shiny and golden.
Damson Jam Recipe (makes about 3kg, 9 jars)
NB. This recipe can be adapted for any number of damsons by maintaining the ratio
2kg damsons (slightly under-ripe and not too soft)
2kg sugar
200ml water
9 jam jars, sterilised
Method
1) Pour sugar into an over proof dish and place in oven heated to a low temperature (around 120°C) while the damsons are prepared. Place a couple of small plates into a fridge to cool – these will be used to check the jam’s consistency later.
2) Grease a large stainless-steel pot with butter to prevent the fruit from sticking. Then pour in the damsons and water and stew over a medium-low heat, stirring gently until the damsons’ skins break. Pour in the warmed sugar and stir over medium-low heat until the sugar has dissolved.
3) Increase the heat to medium-high and allow to boil (controllably), stirring occasionally to prevent the fruit from sticking. After a few minutes, as the fruits break down, a pink foam will rise to the surface. Using a slotted spoon, siphon this off into a bowl. If some remains it won’t ruin the jam, it just doesn’t taste as pure as the rest. Then, as the stones begin to rise up, siphon off those too.
4) After about 15 minutes of boiling, when all the stones have been removed, pour a teaspoon of the liquid onto a cold plate. Let it sit for about a minute then tilt the plate, if the liquid is no longer watery, with a viscosity between a sauce and a jam, and wrinkles when pushed with the finger, it is set. For the more scientifically-minded, it should be 105°C on a sugar thermometer. Pour the jam into the sterilised jars and allow to come to room temperature before sealing them with lids.
HUNGRY FOR MORE?
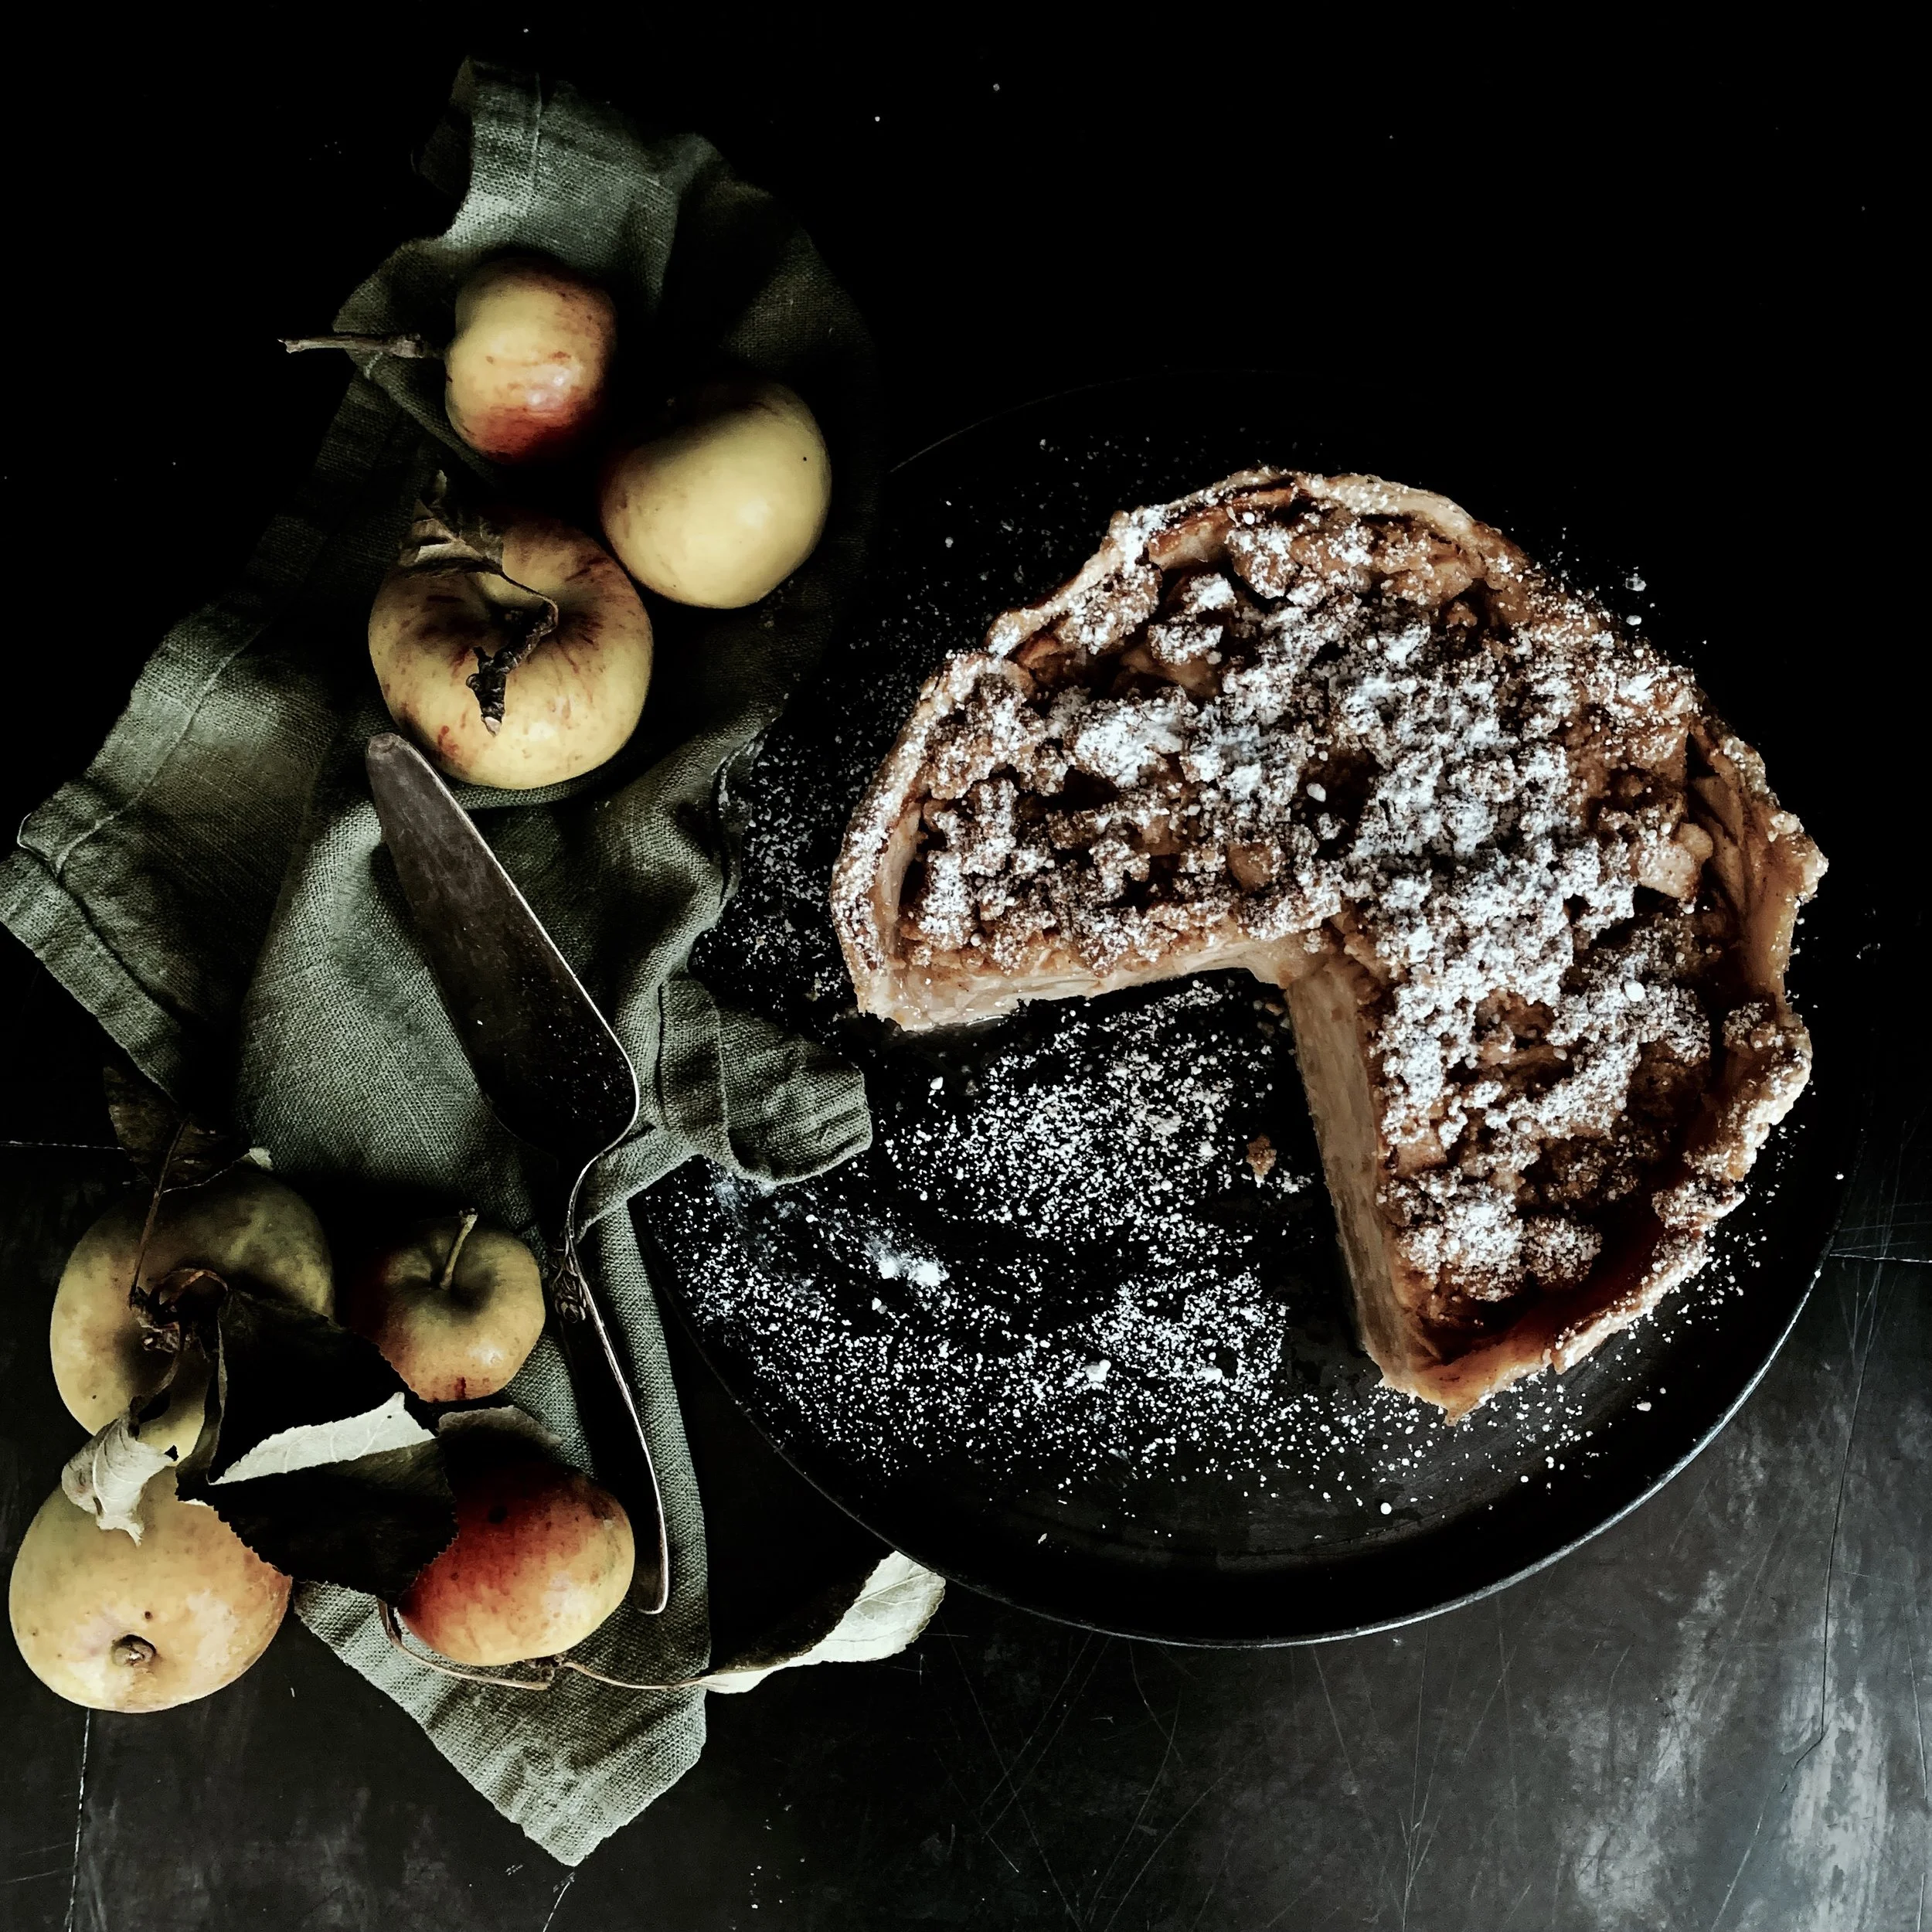
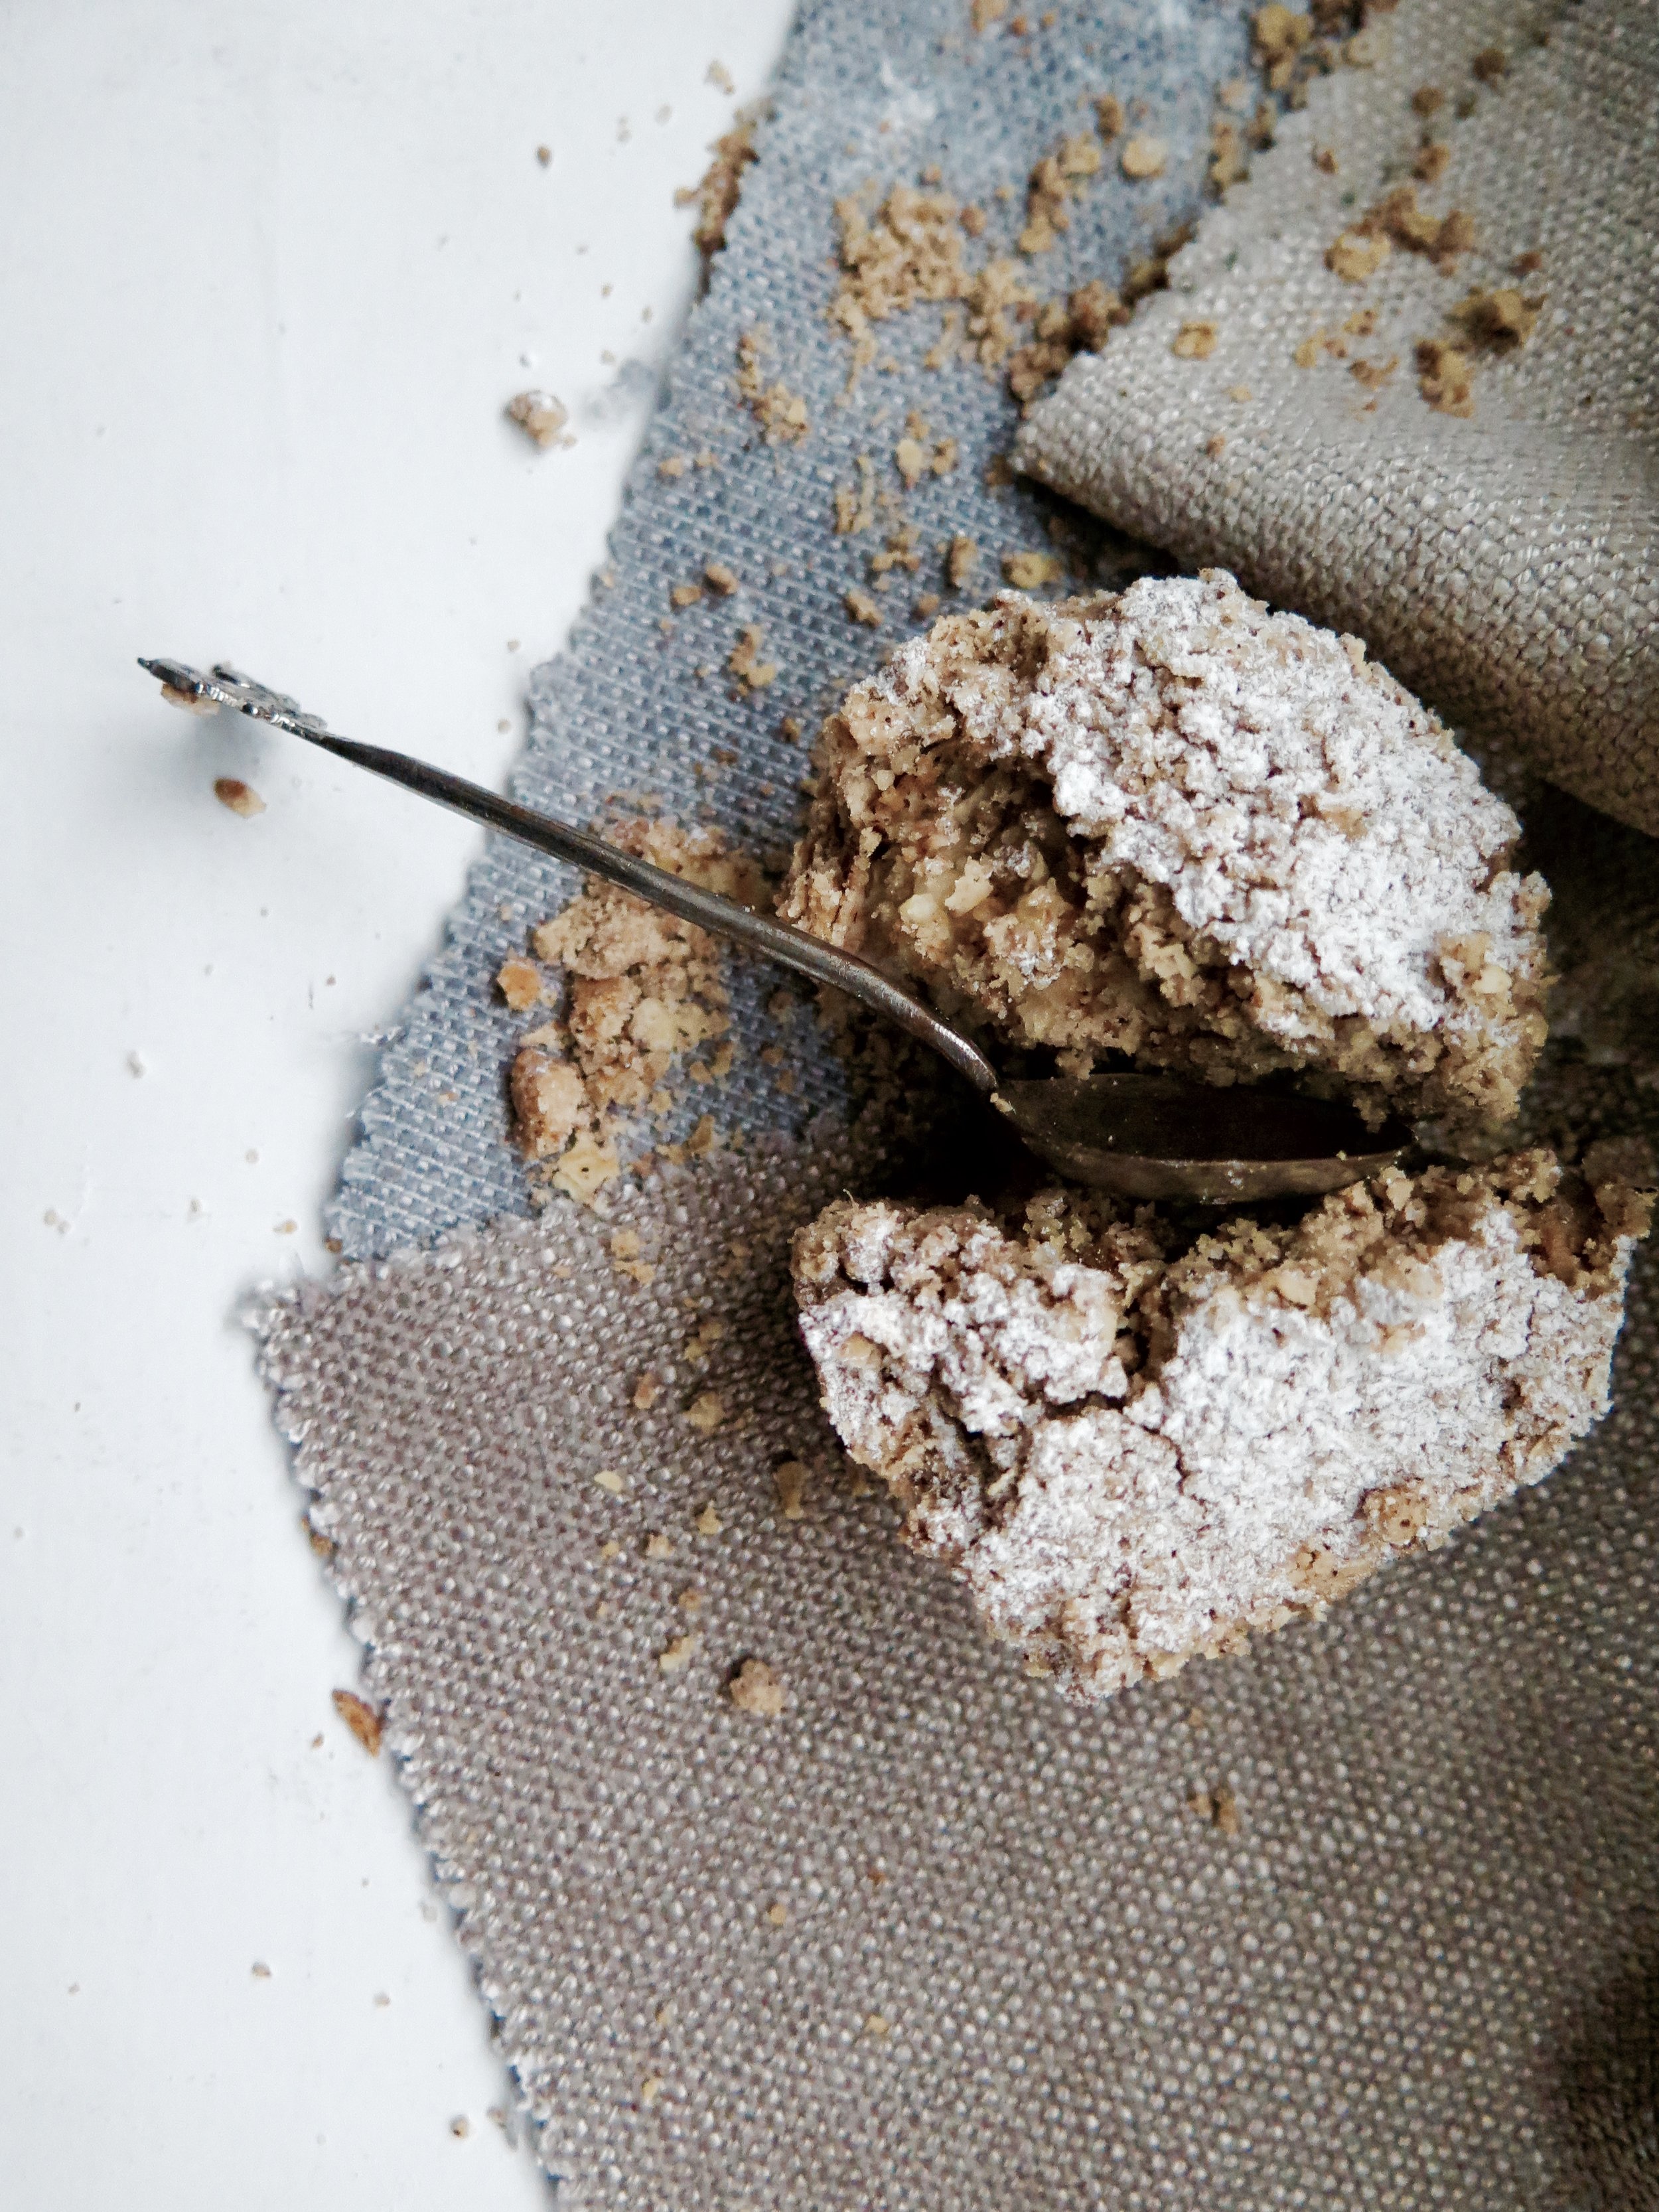
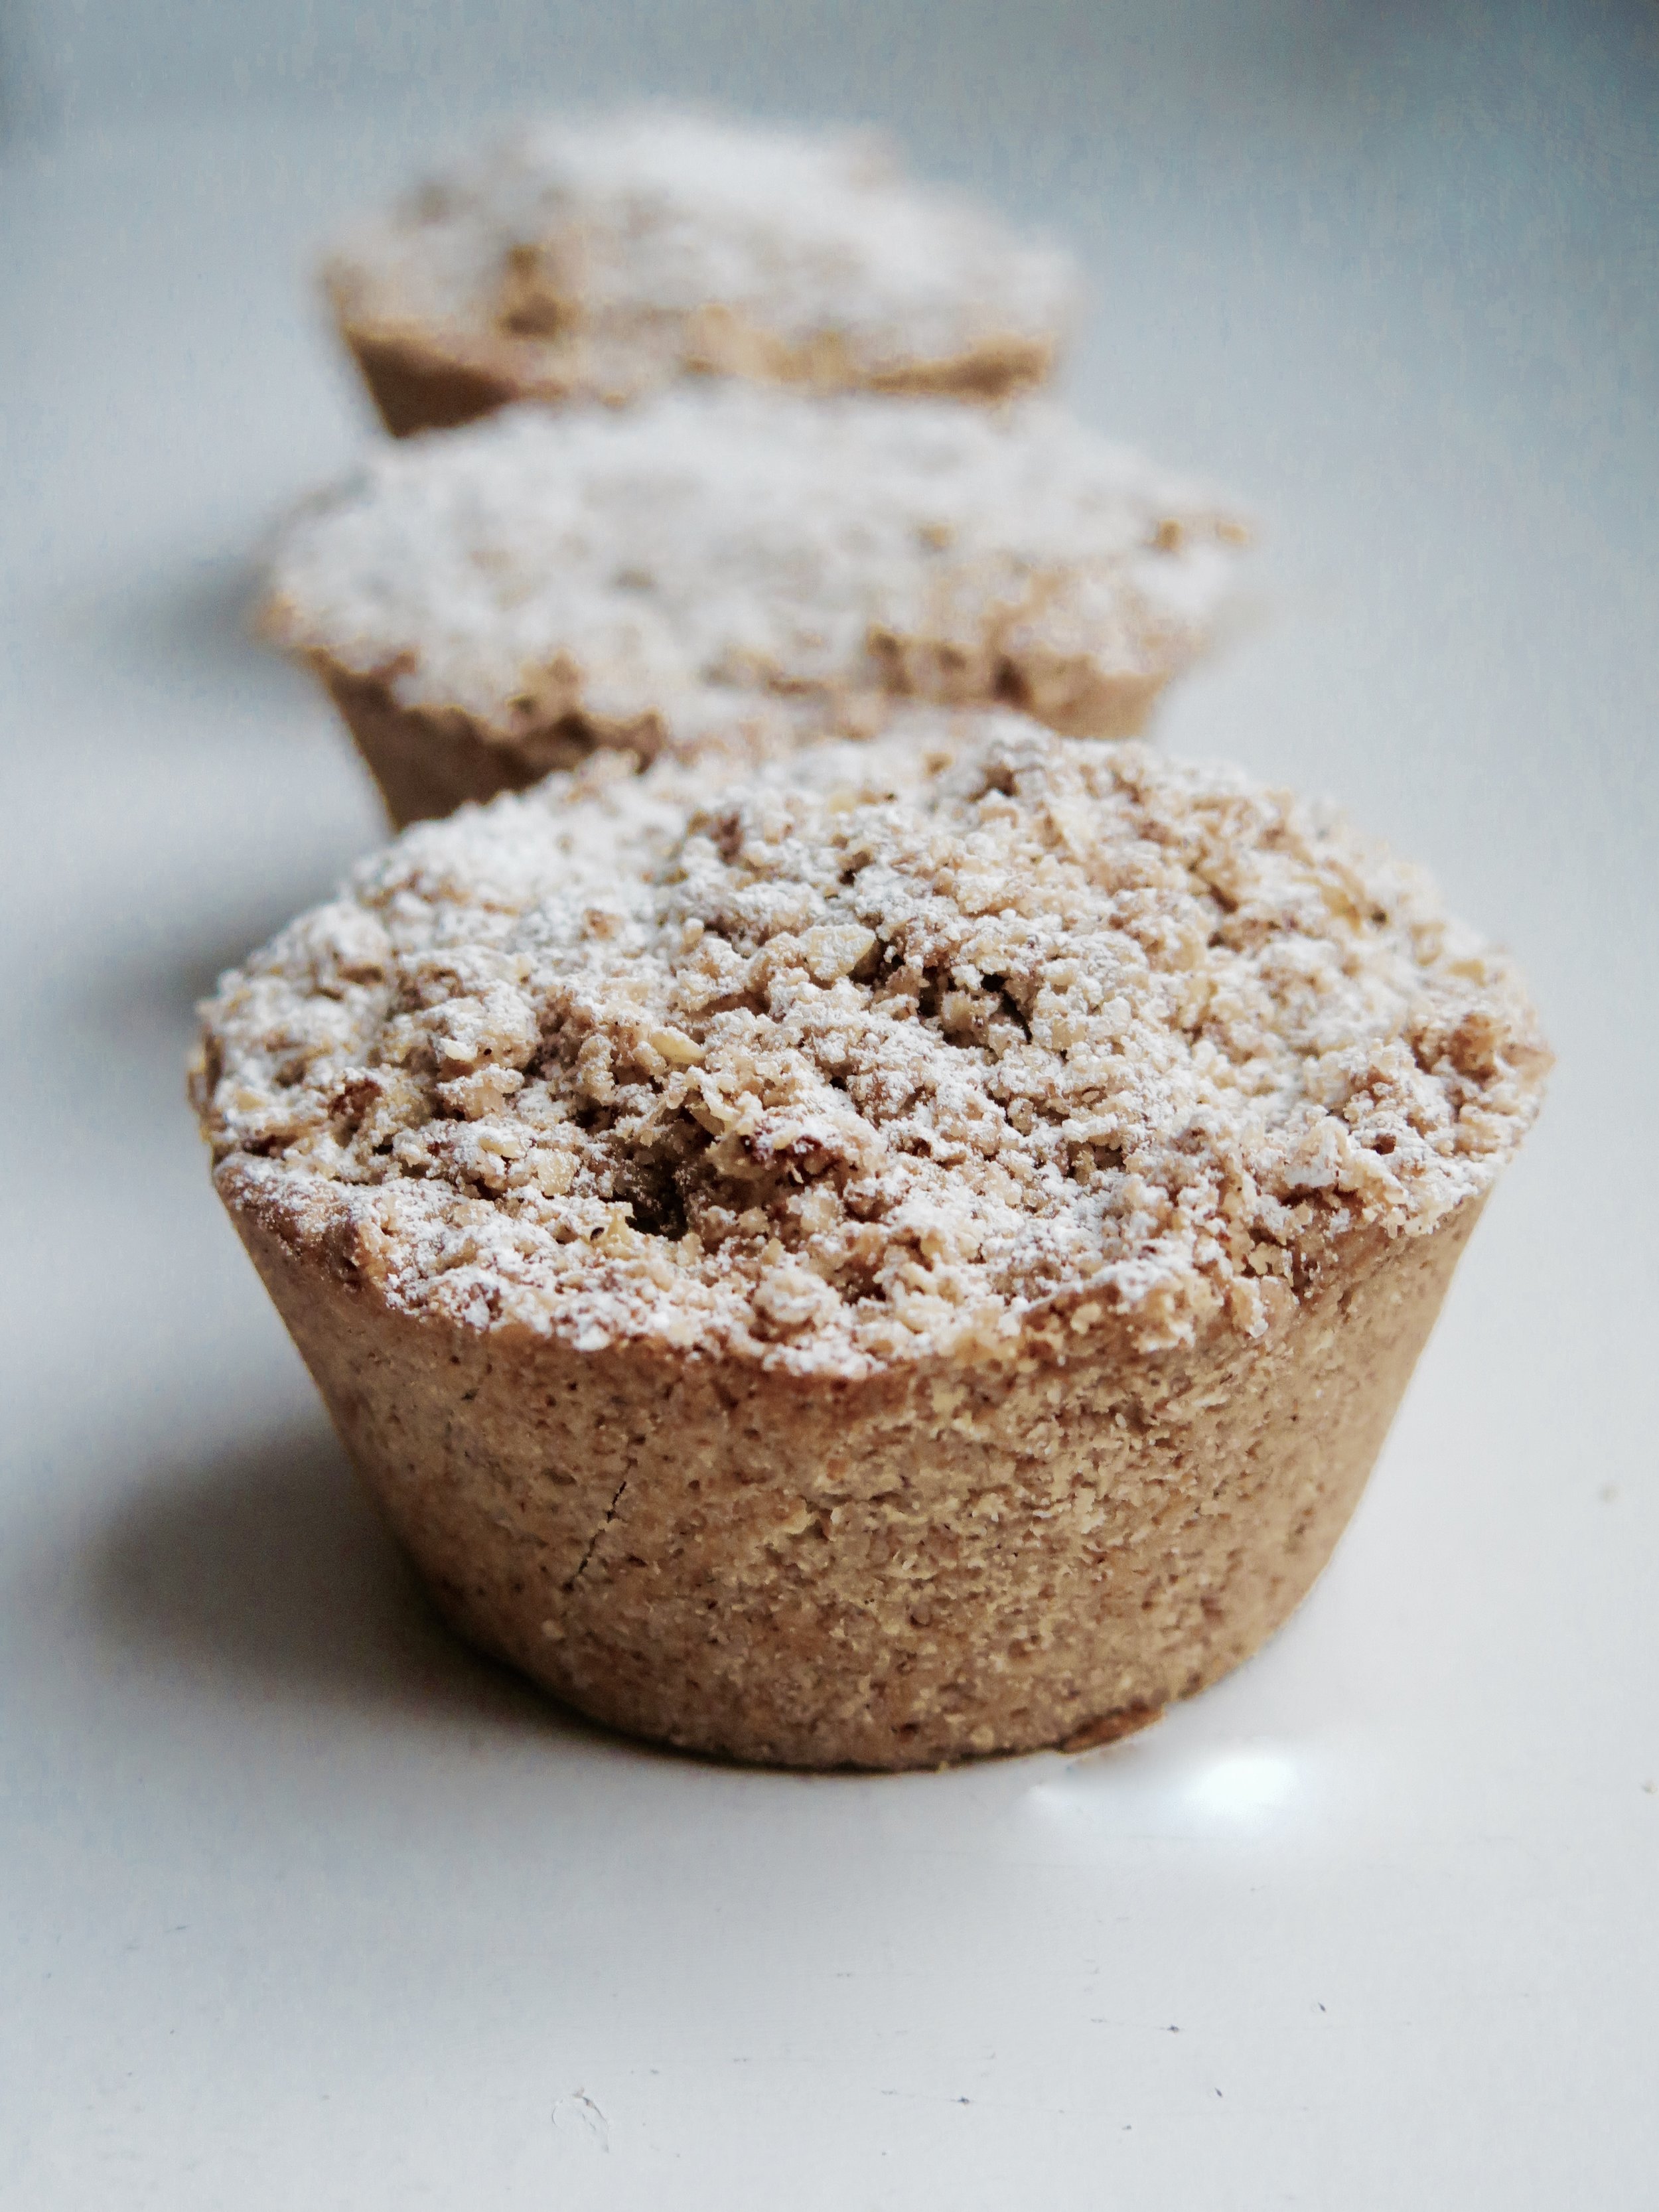
This is the cinnamon apple crumble pie 2.0. Tried, tested, and enhanced...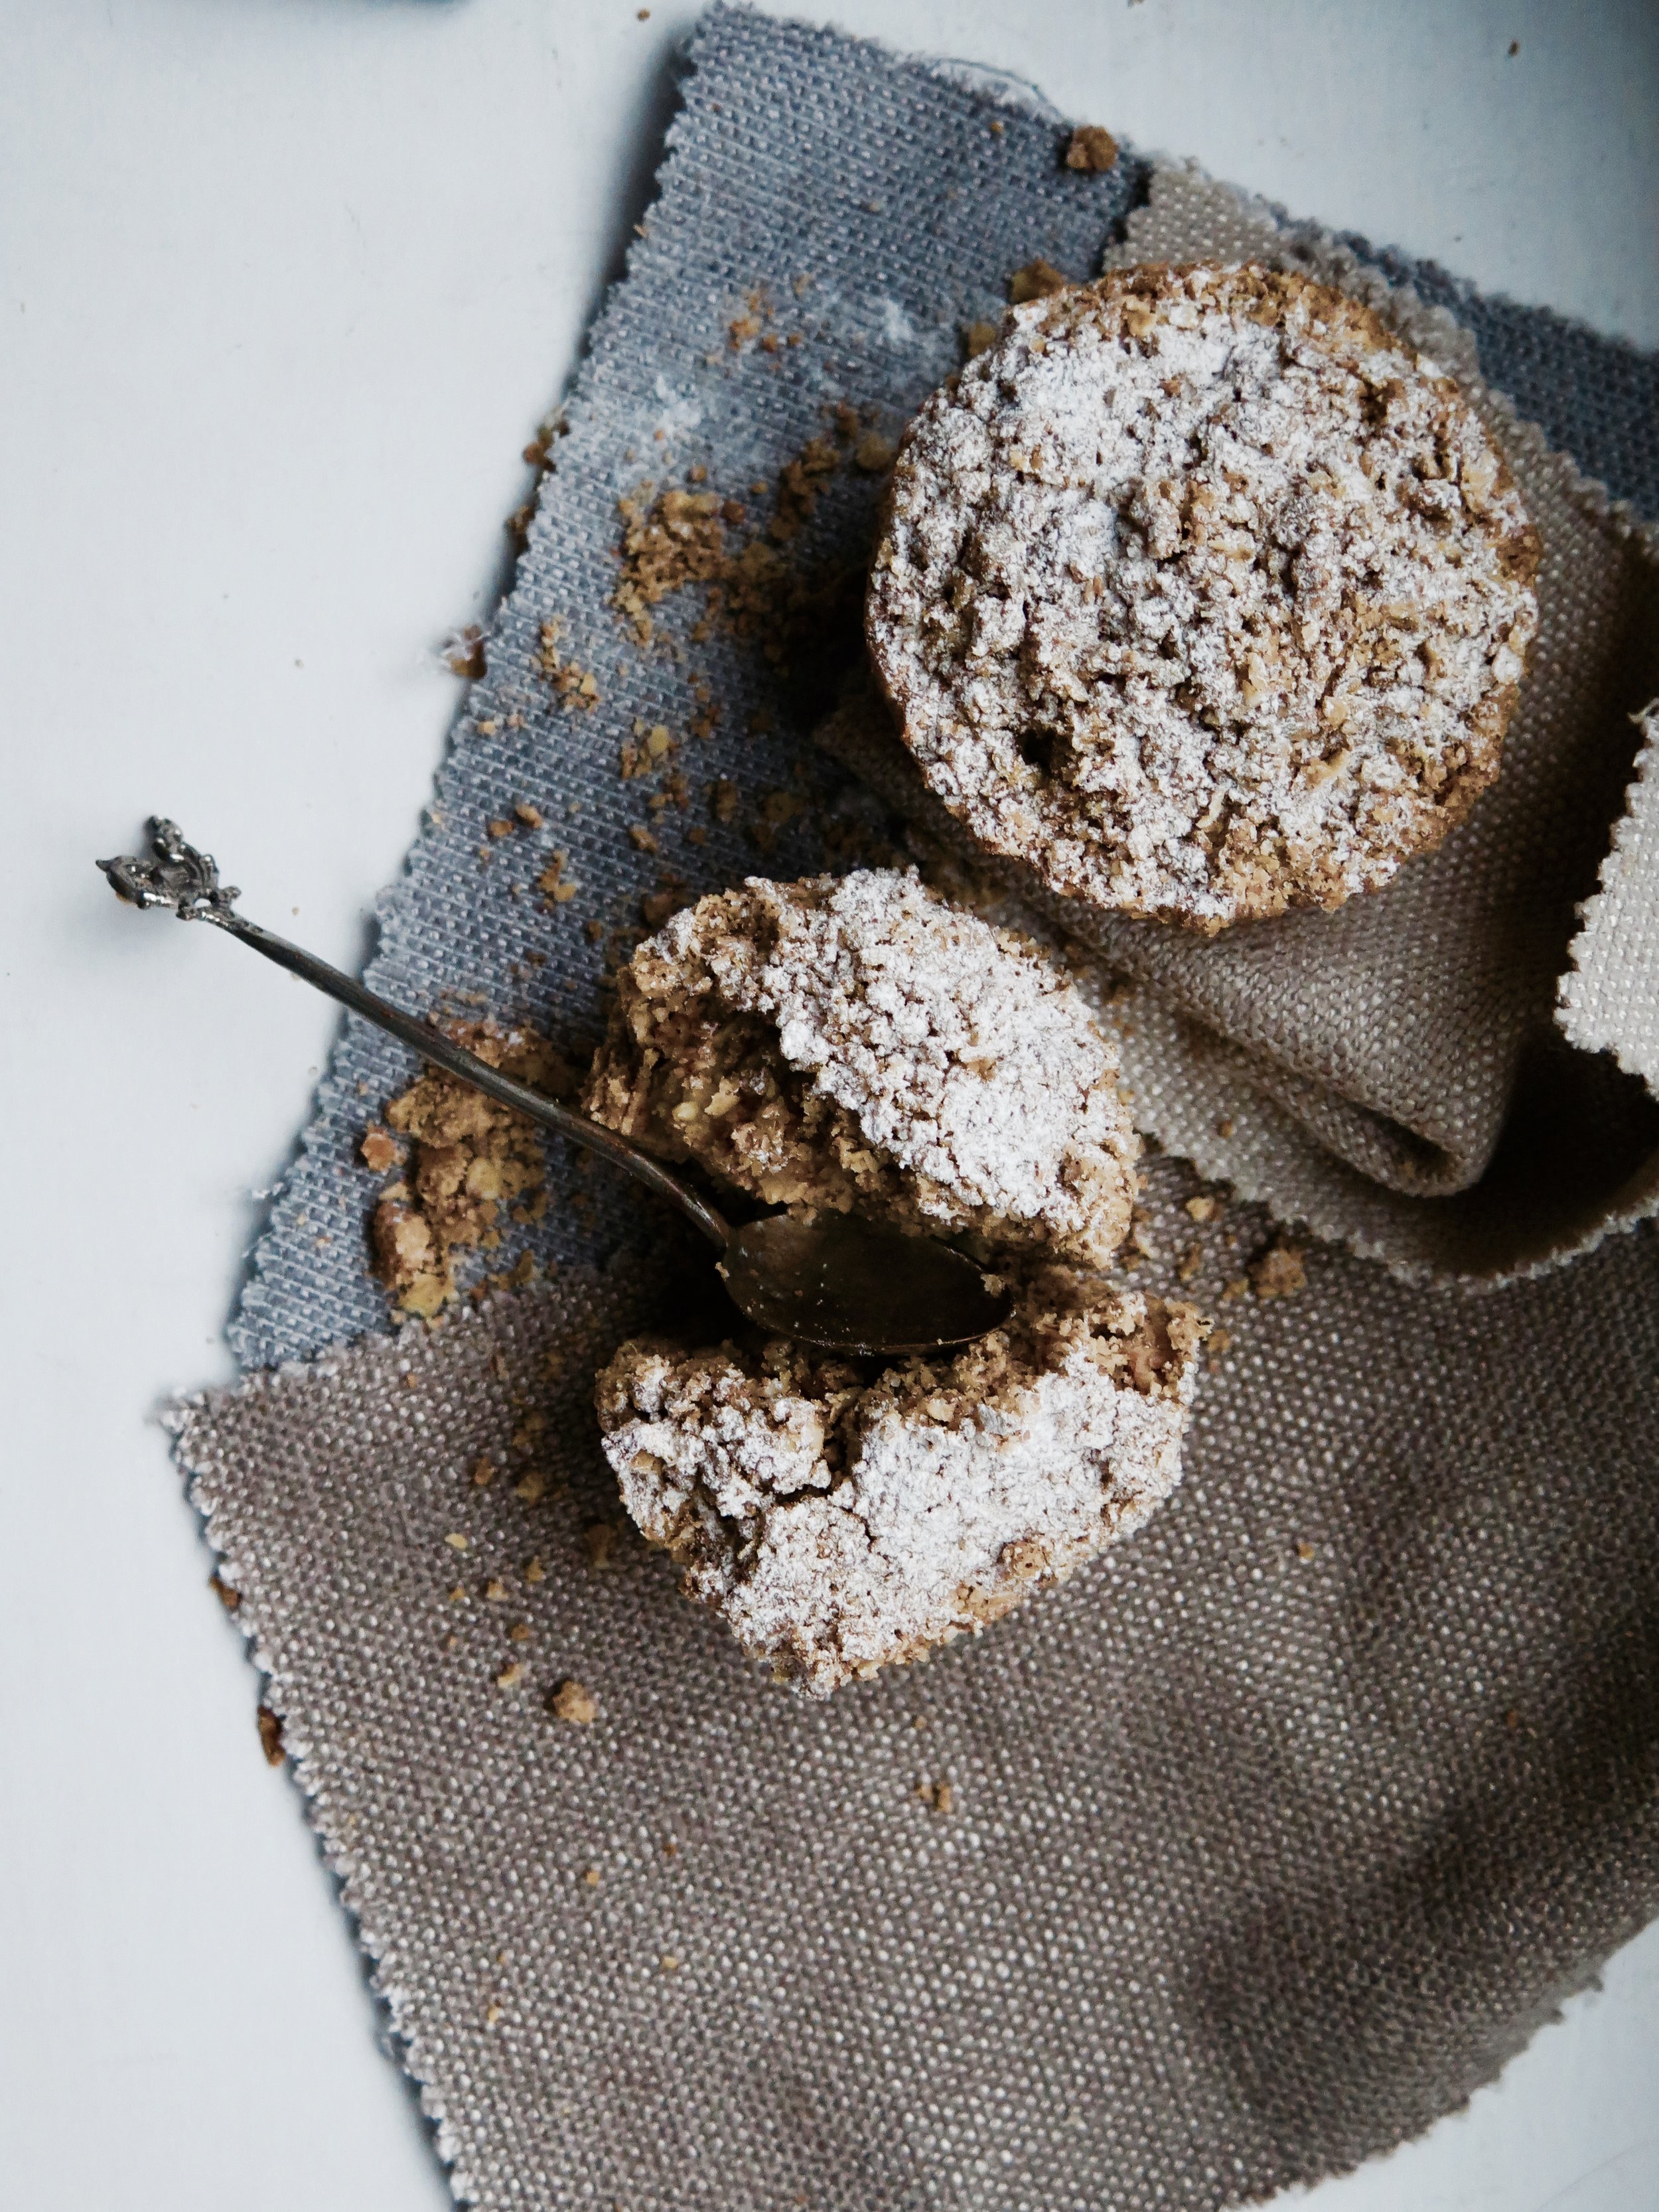 Soft, crunchy, crumbly, fresh, sweet, and on the cusp of sour – the Gail’s Bakery apple crumble cake is what I crave. It’s the ultimate winter treat, although I gaze longingly through the bakery window at them year-round.
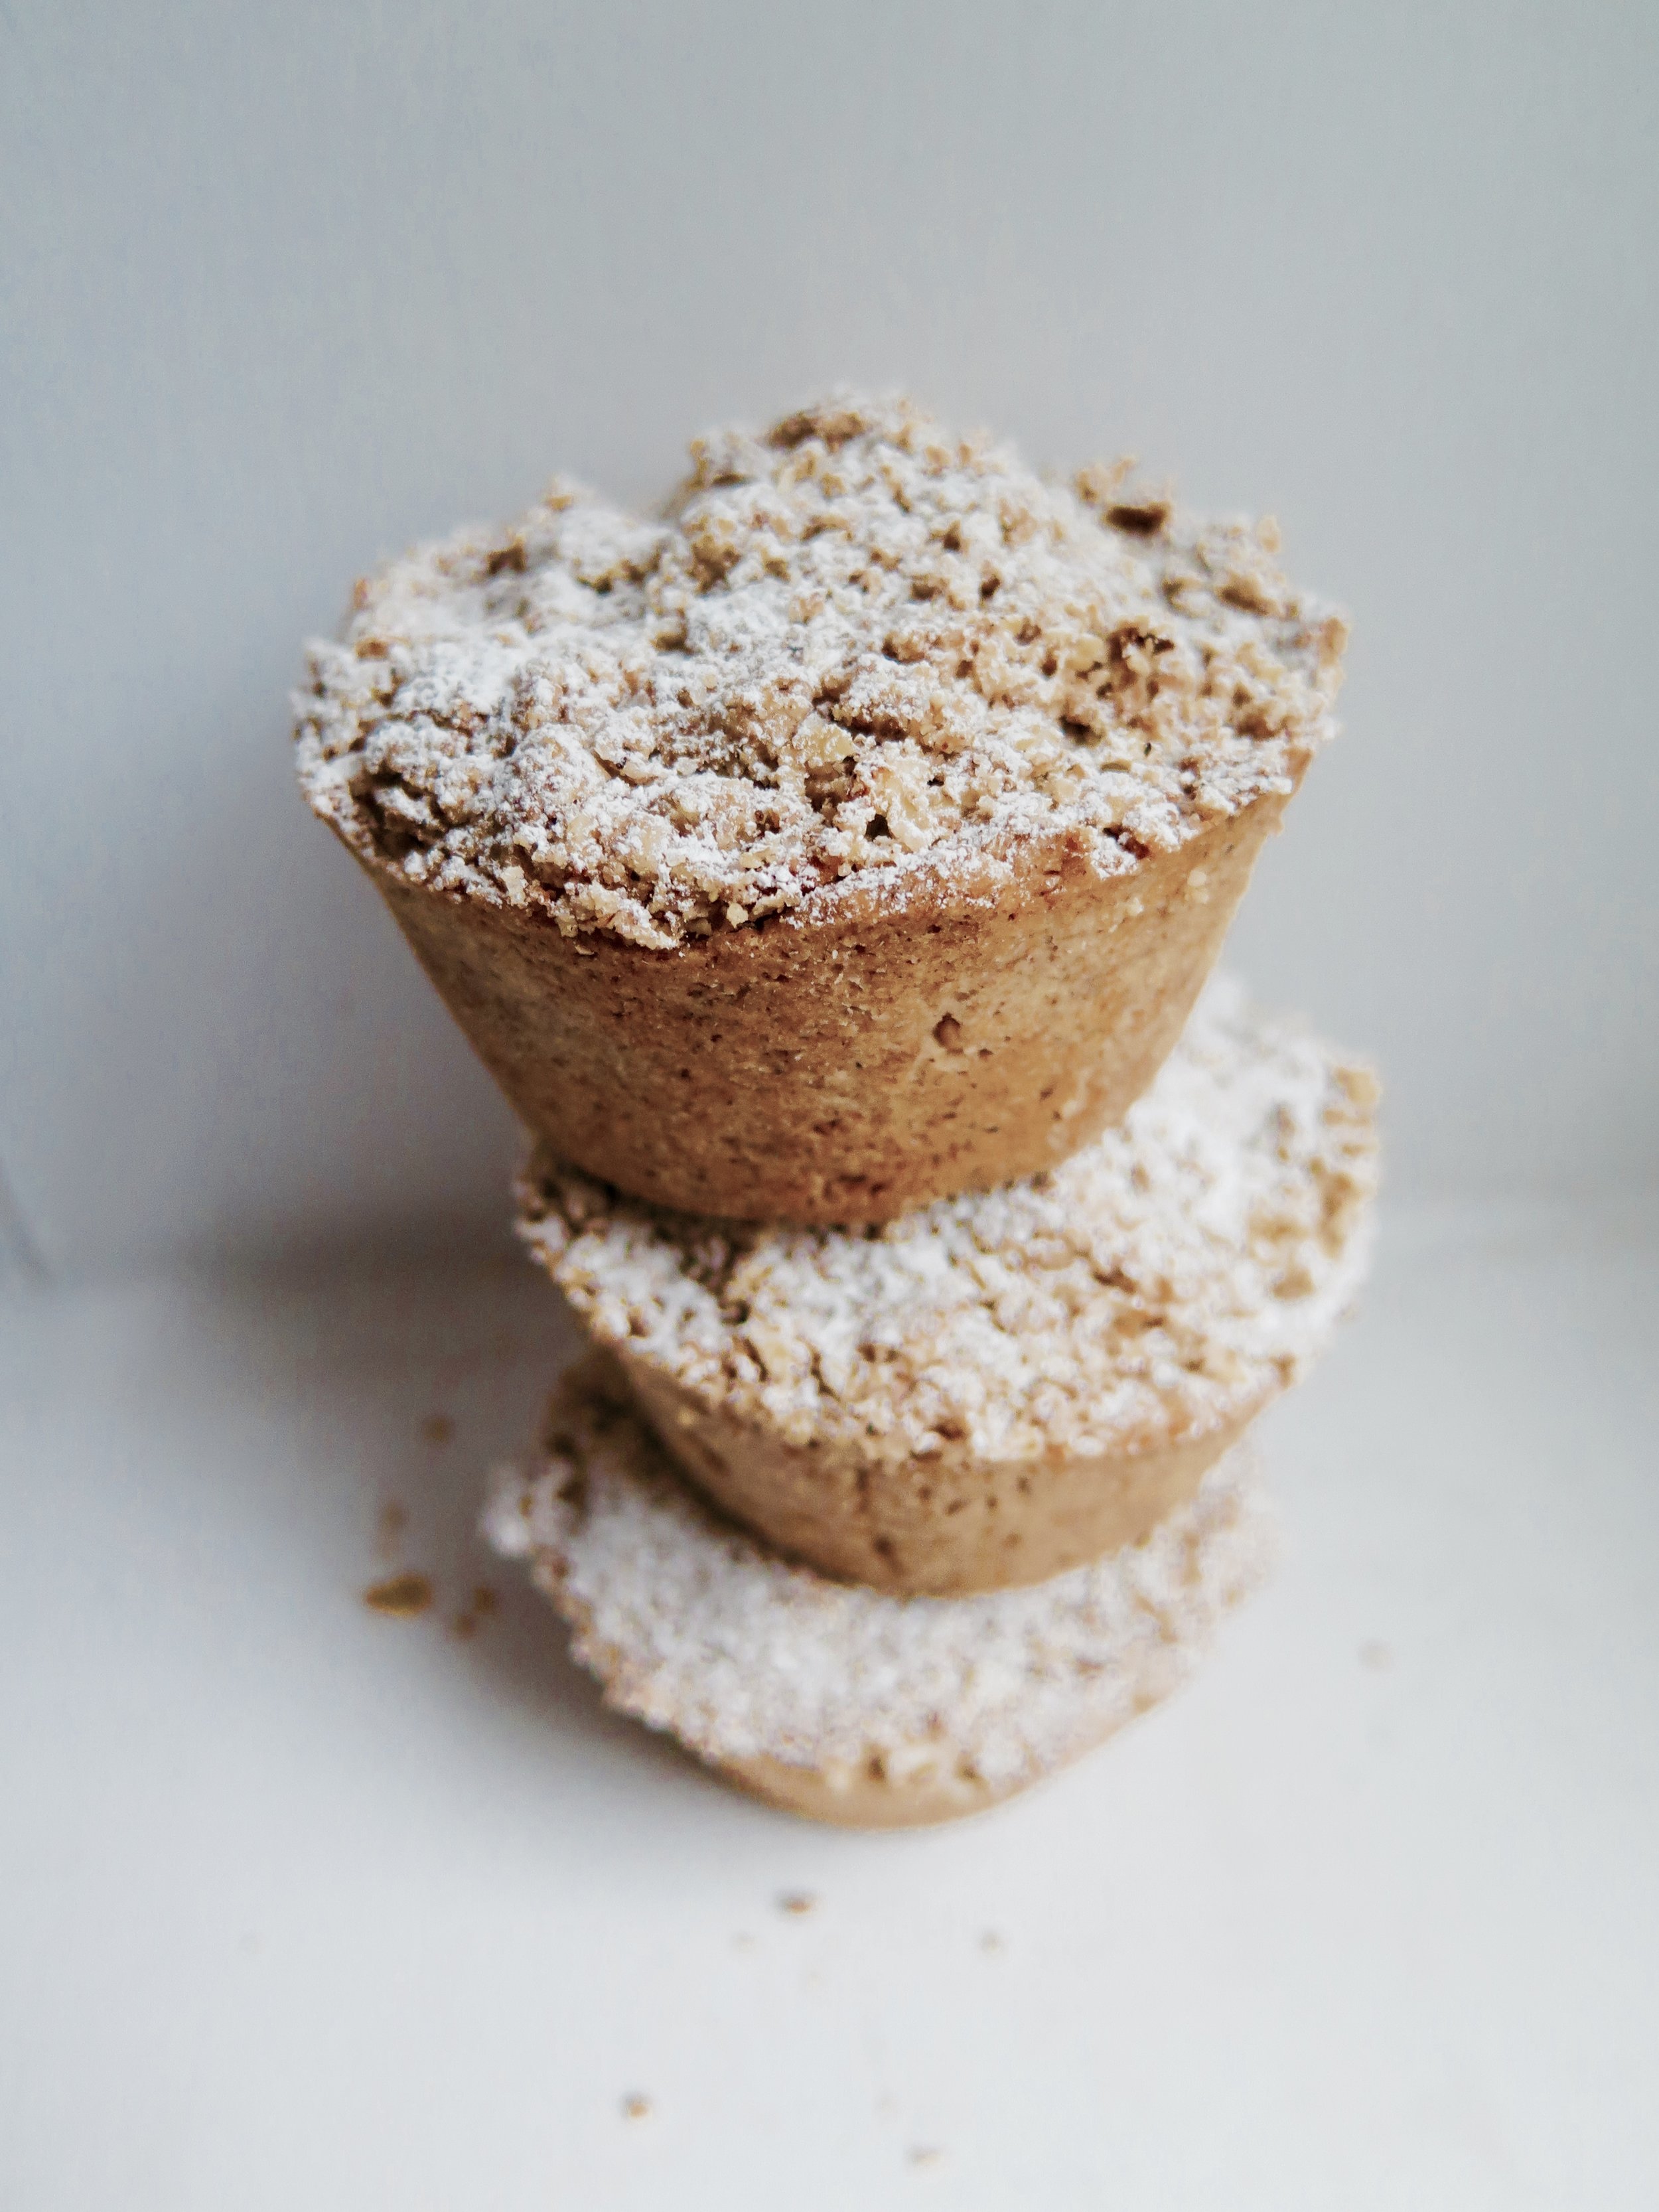
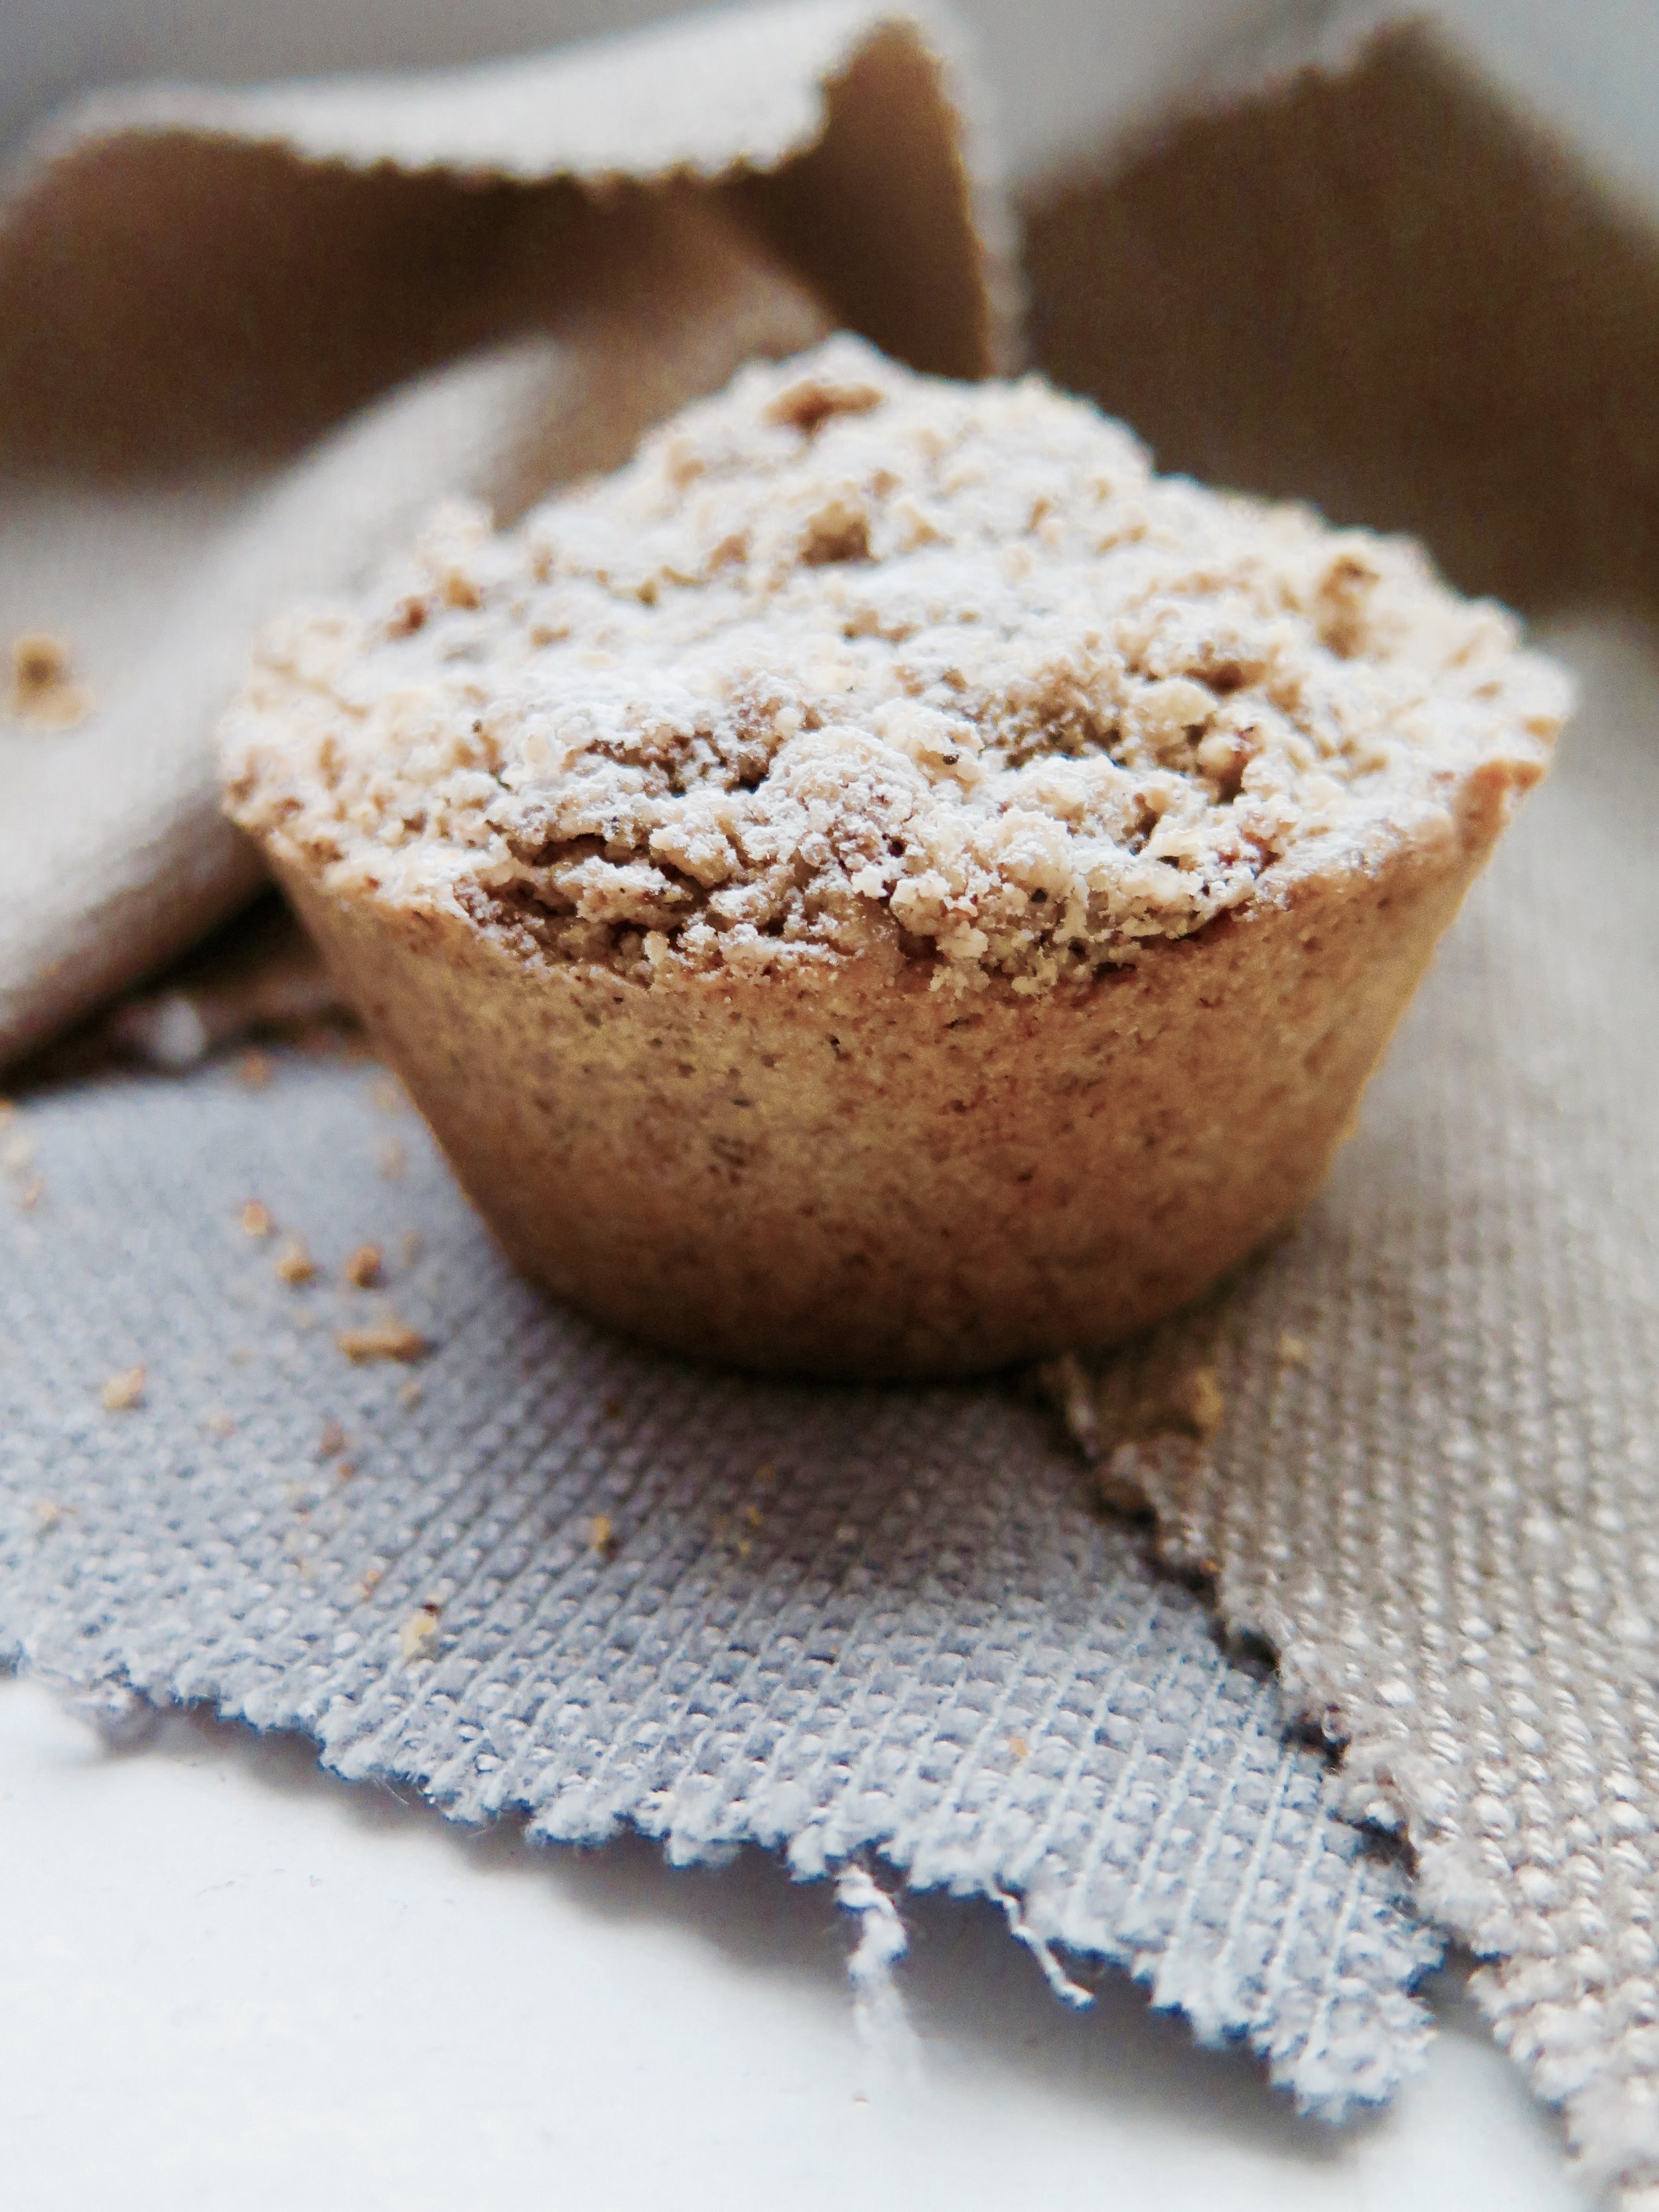 I bought the Gail’s Artisan Bakery Cookbook a few months ago in the hope that they had divulged the secret of their signature apple crumble cake. They hadn’t.
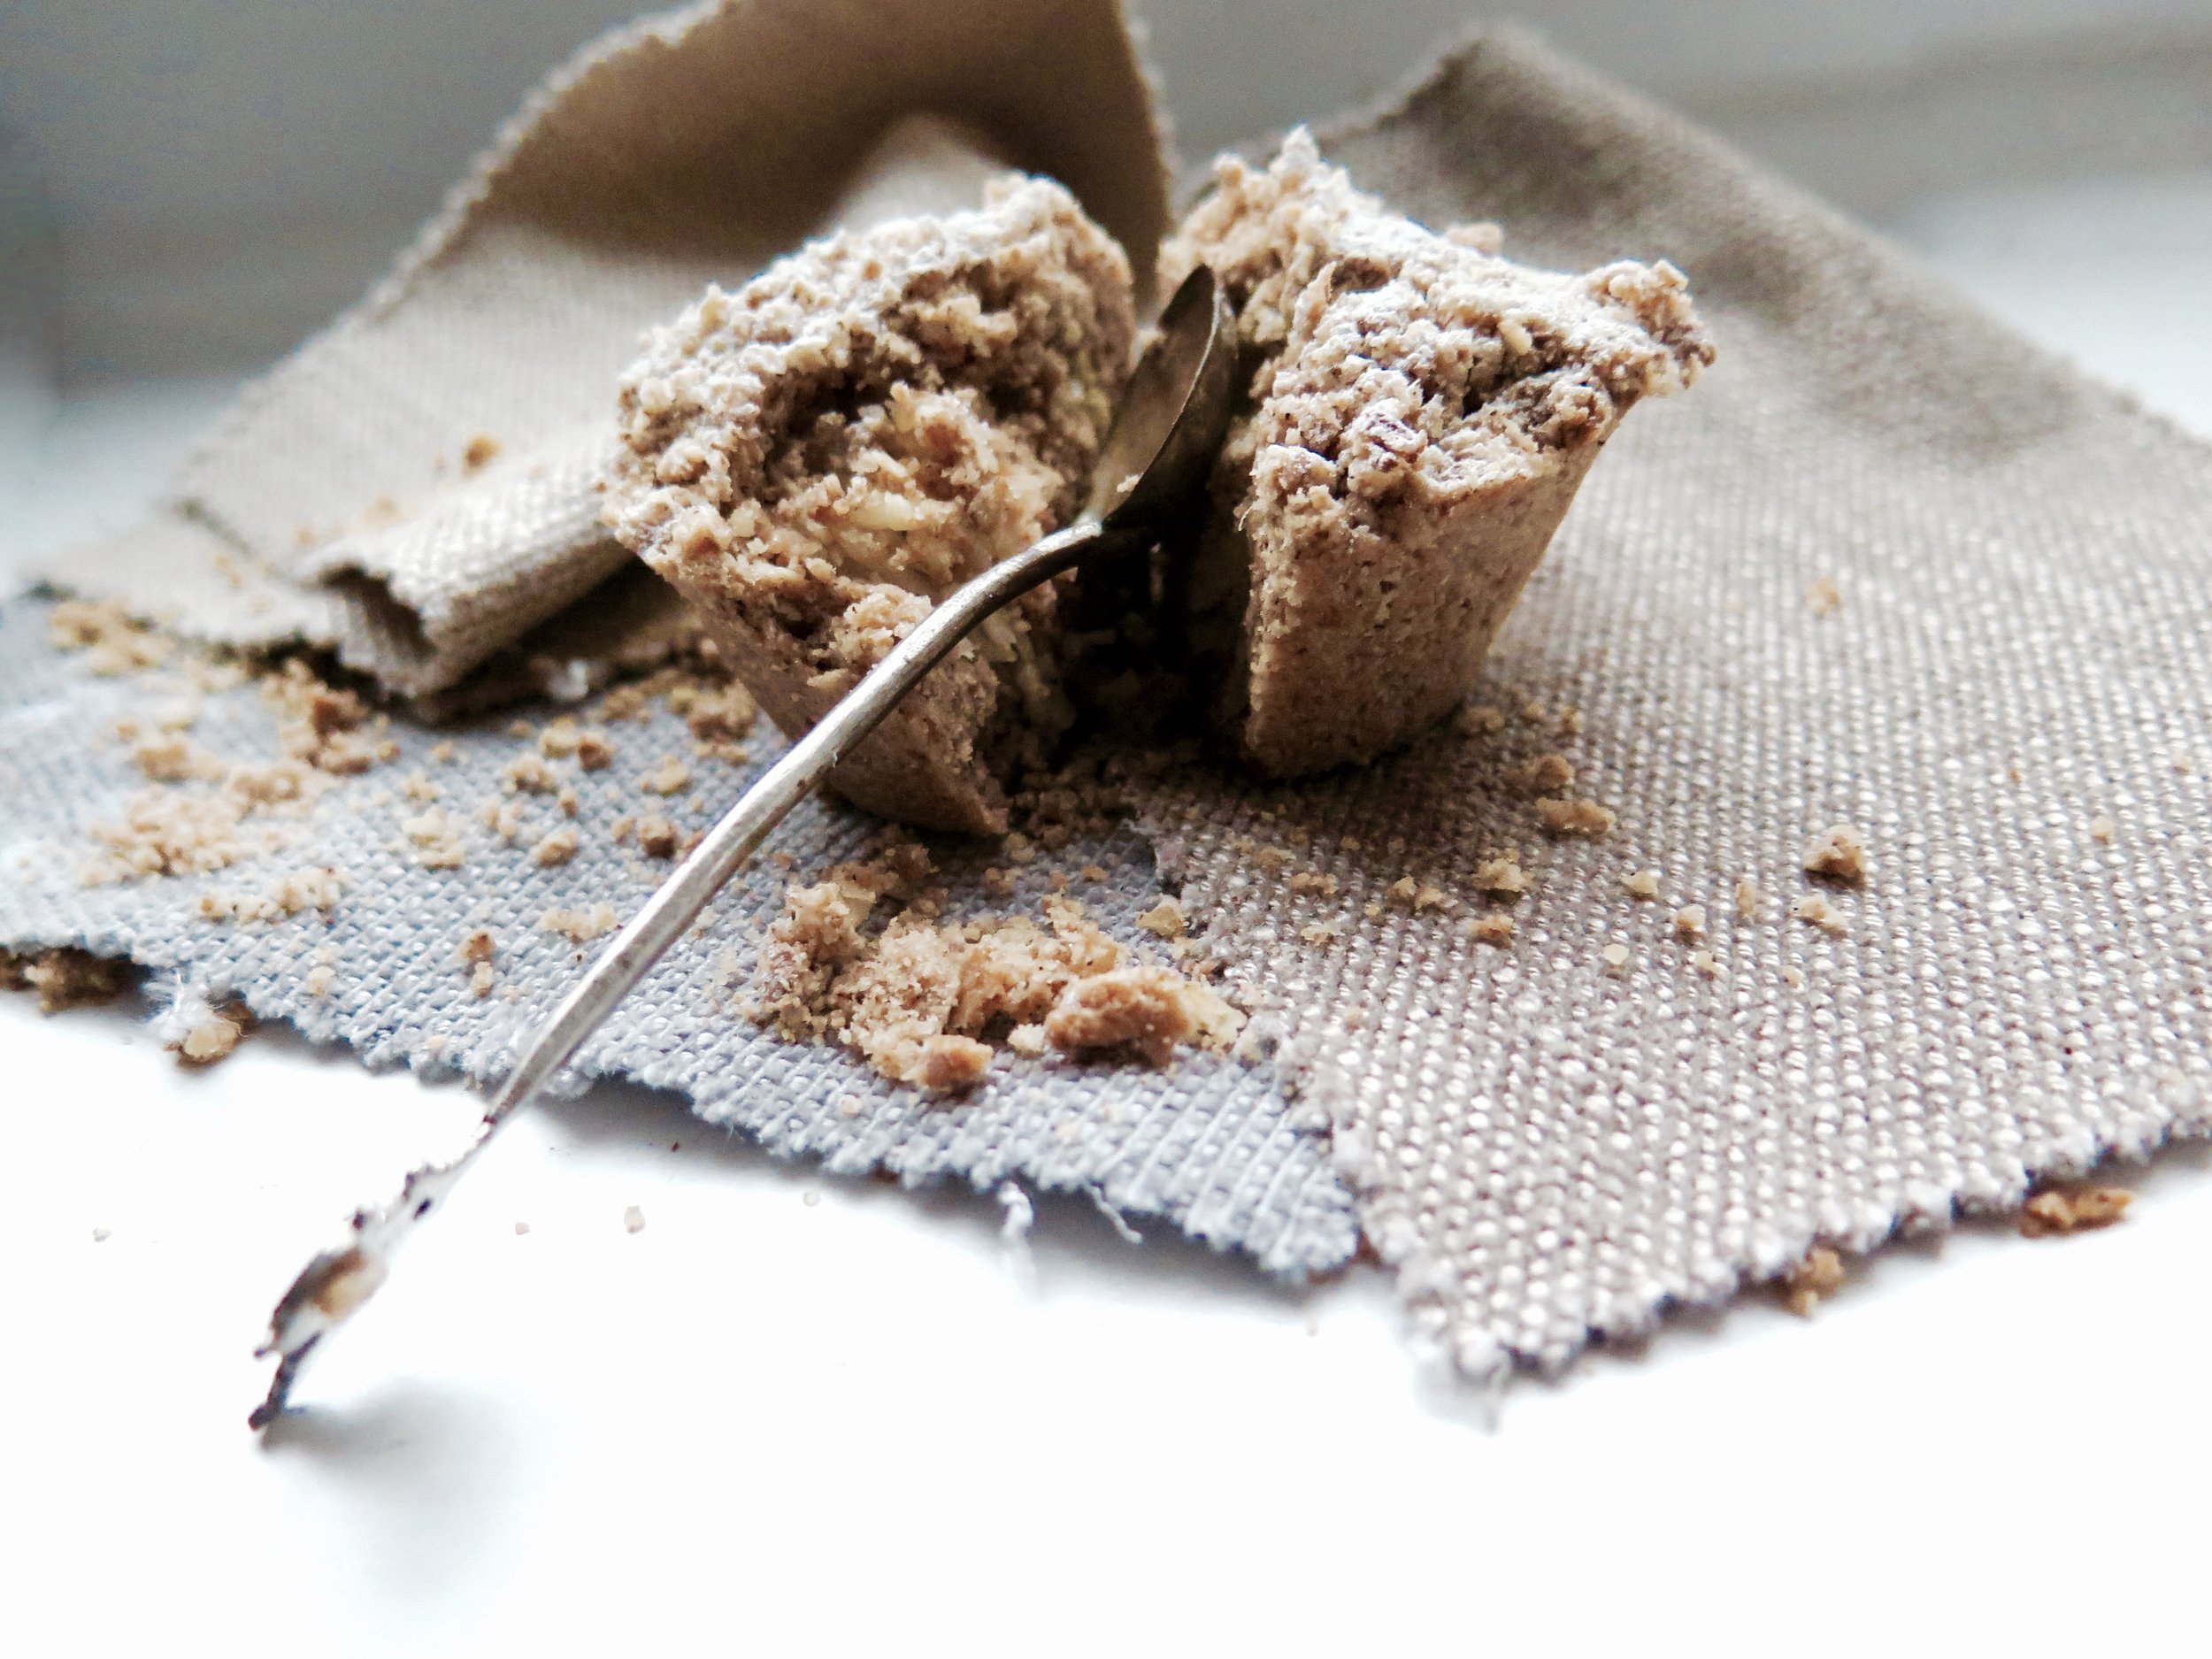
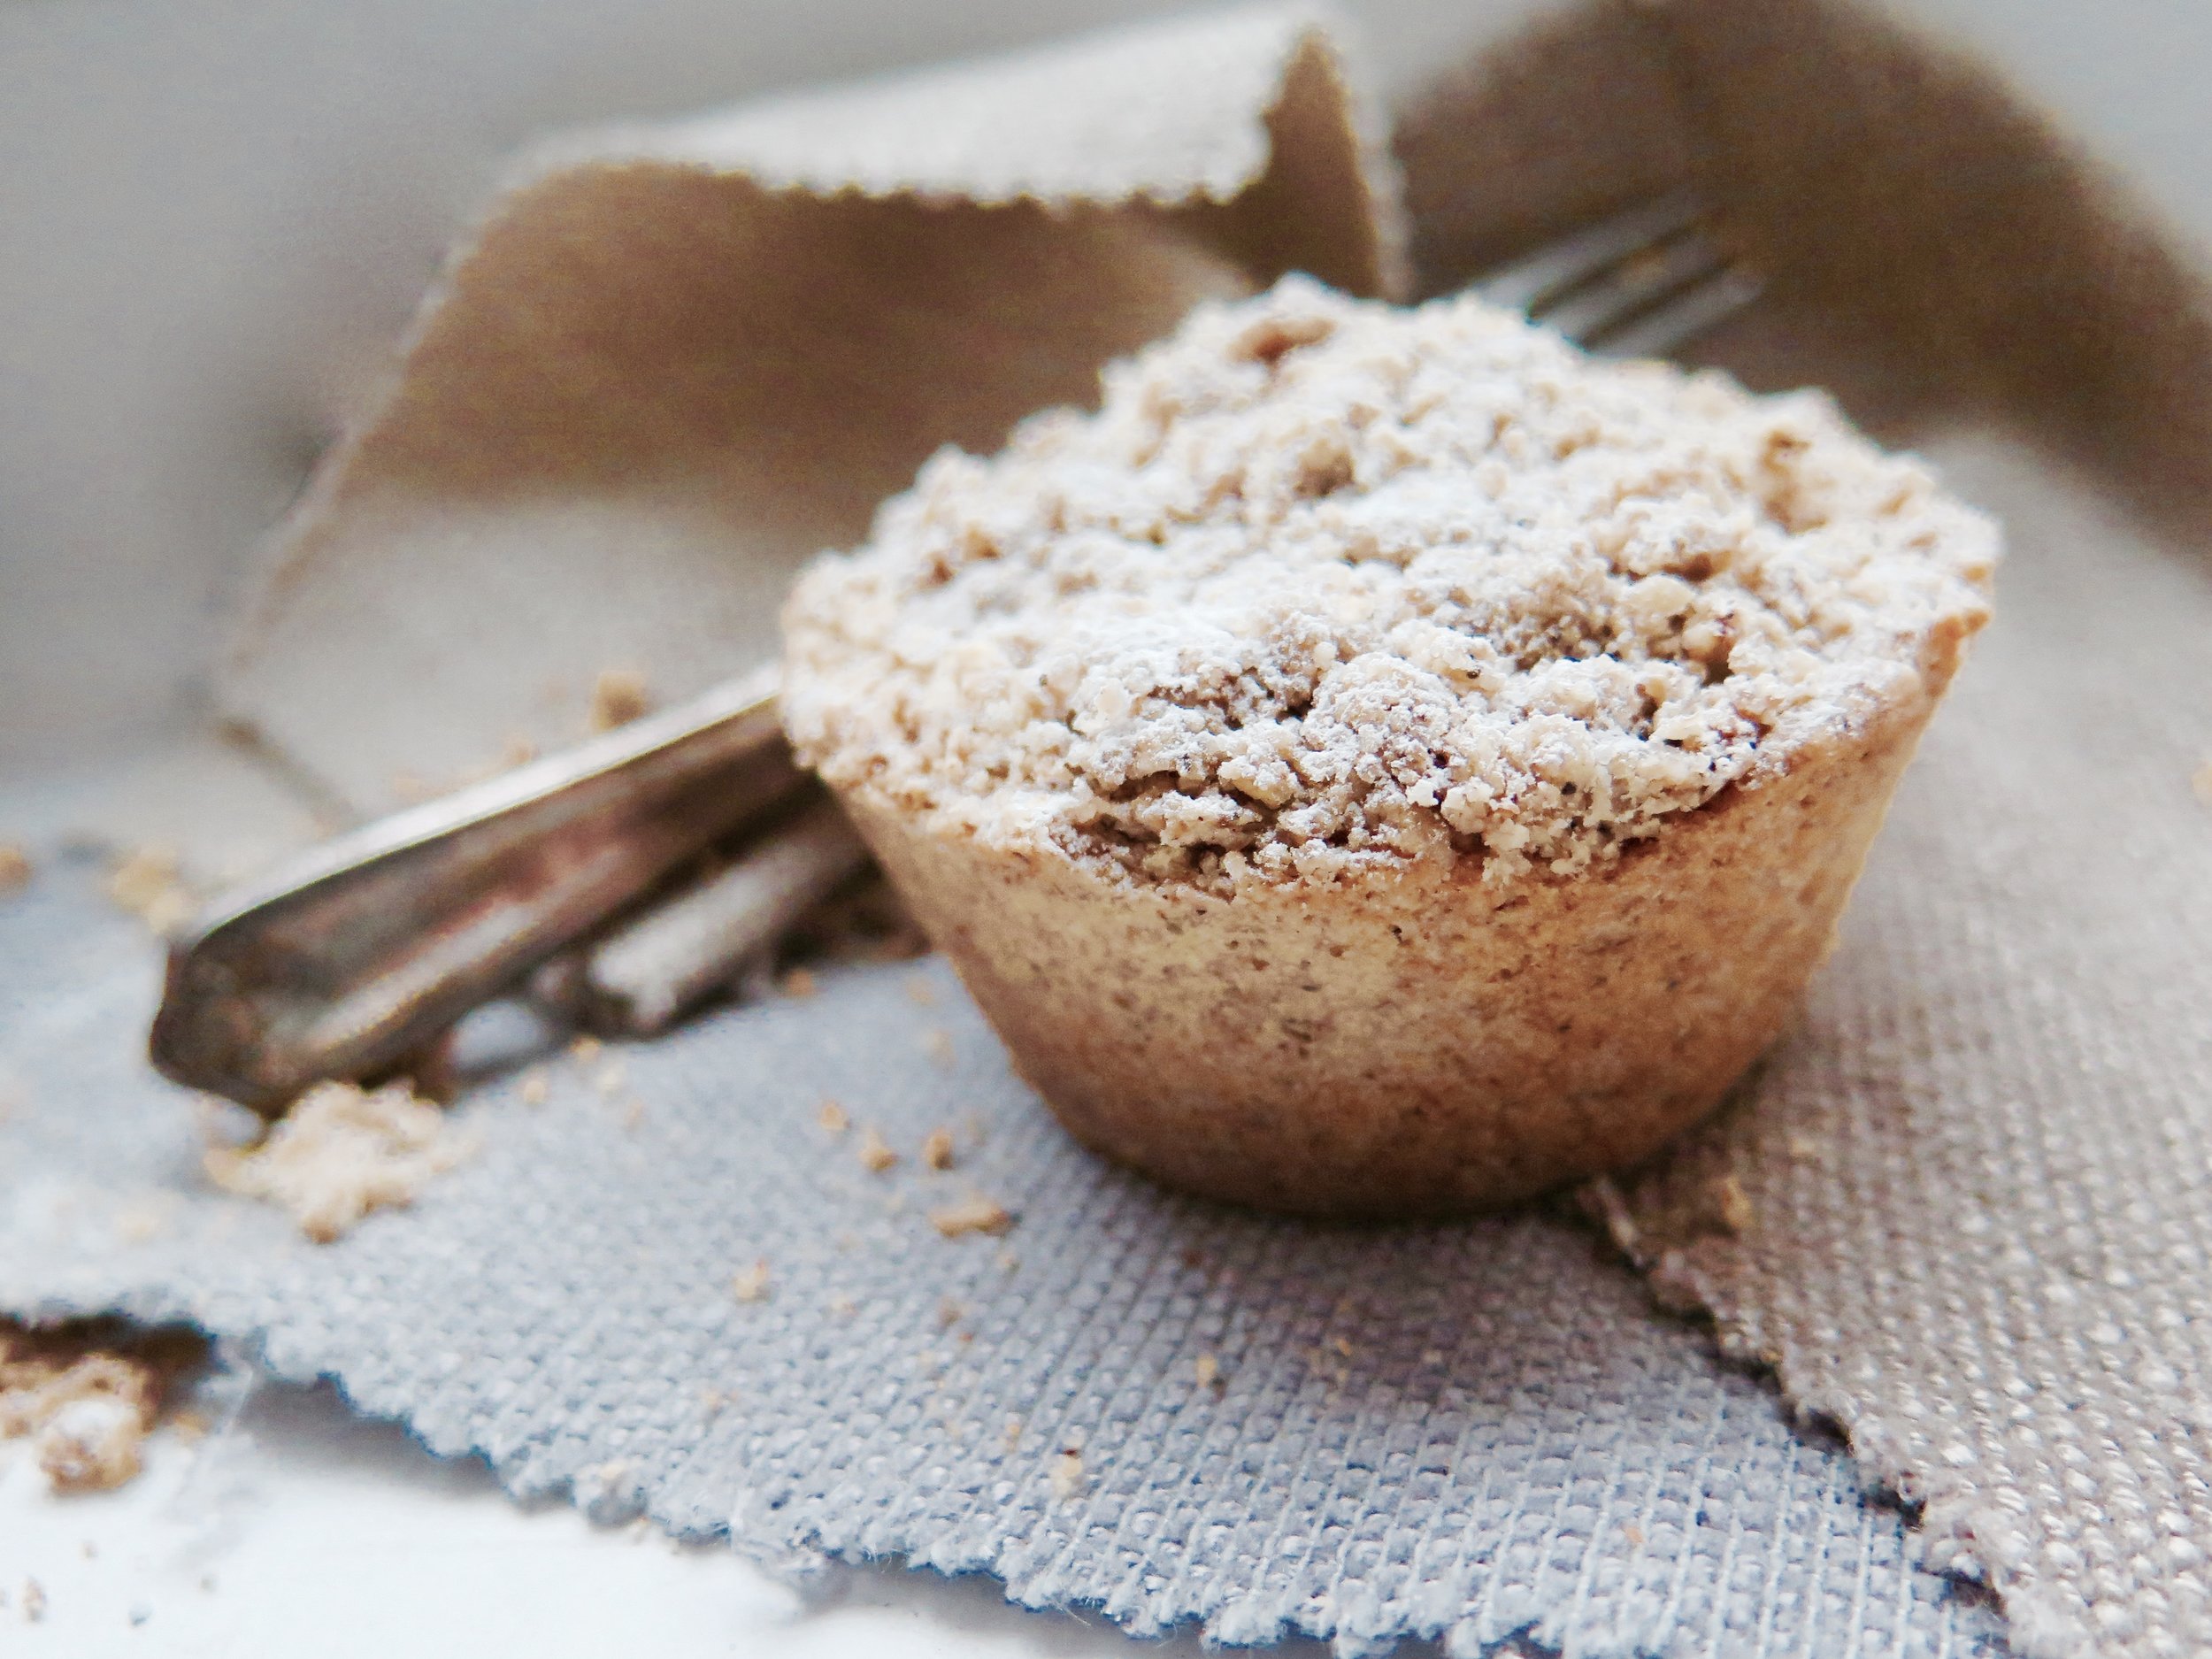
As a result I’ve just had to develop my own recipe – more wholesome, with more cinnamon and less sugar, I’ve heard they may even be superior…
Ingredients
(Makes 15)
Pastry
320g (11.3 oz) wholegrain spelt flour
110g (3.9oz) icing sugar
2 tsp cinnamon
½ tsp salt
165g (5.8oz) butter, roughly chopped into cubes
1 large egg, beaten
Apple Filling
700 (1lb 5oz) grams of peeled, cored and coarsely grated Bramley apples (about 3 large apples)
70g (2.5oz) caster sugar
Crumble topping
80g (2.8oz) wholegrain spelt flour
45g (1.6oz) oats
45g (1.6oz) caster sugar
50g (1.7oz) butter
2 tsp cinnamon
¼ tsp salt
15 hole muffin/cupcake tin, greased (usually they come in 12s, in which case you will need 2 x muffin trays
Method
Pastry
- In a blender, blitz together dry ingredients. Then add in the butter and pulse until the mixture resembles damp sand. Pour in the egg and continue to pulse until the mixture clumps together into a dough. Avoid mixing it more than necessary.
- Flatten the dough roughly into a disc and wrap in cling film or baking parchment. Chill in the freezer while you make the other elements.
Apple Filling
- Place all ingredients in a pan and stir over a high heat for about 5 minutes until the apple turns soft but some texture still remains. Strain the mixture using a sieve, pressing down to get rid of excess liquid (about 250ml, which incidentally tastes like a delicious mulled cider). Set aside to cool.
Crumble
- Place all ingredients in a blender and pulse until the mixture resembles damp sand.
Assembly
- Preheat an oven to 180˚C.
- On a floured surface, roll out the chilled pasty to a thickness of 0.5cm. Cut the pastry into circles with an area similar to that of the muffin tin holes (about 8-10cm), and press each circle in the holes. You may need to patchwork the pieces together.
- Prick the pastry lining the muffin holes with a fork, and bake in the oven for 8-10 minutes, or cooked through and beginning to golden slightly.
- Take the tin out of the oven and spoon 2tbsp of the cooked apple into each pastry shells. Top the cakes by spooning a few tablespoons of the crumb topping over each cake, patting it down and then sprinkling the rest of the mixture over. I like to clump some of it together before scattering it over in order to add further texture and rustic appeal.
- Bake in the oven for 8-10 minutes until the crumble topping is golden and crisp. Serve hot or cold.
Afternoon tea. What do you think of when someone says those words? Tiers of fluffy isosceles sandwiches, miniature entremets layered with fruit, caramel, and chocolate, and maybe a scone glistening with strawberries. Crisp napkins, high ceilings, the tinkling of fine bone china…
Near where I live there is an Austrian tea room. The window is filled with garish glace cherry- adorned, deflated pastries, crusted squiggles of festering cream, and opera cake melding into a brown sludge. It opened 60 years ago, and the décor and pastries appear not to have been refreshed since.
Inside, it is dark and cramped, and the airless atmosphere is thickened with hot breath and the oversweet smell of fat and sugar.
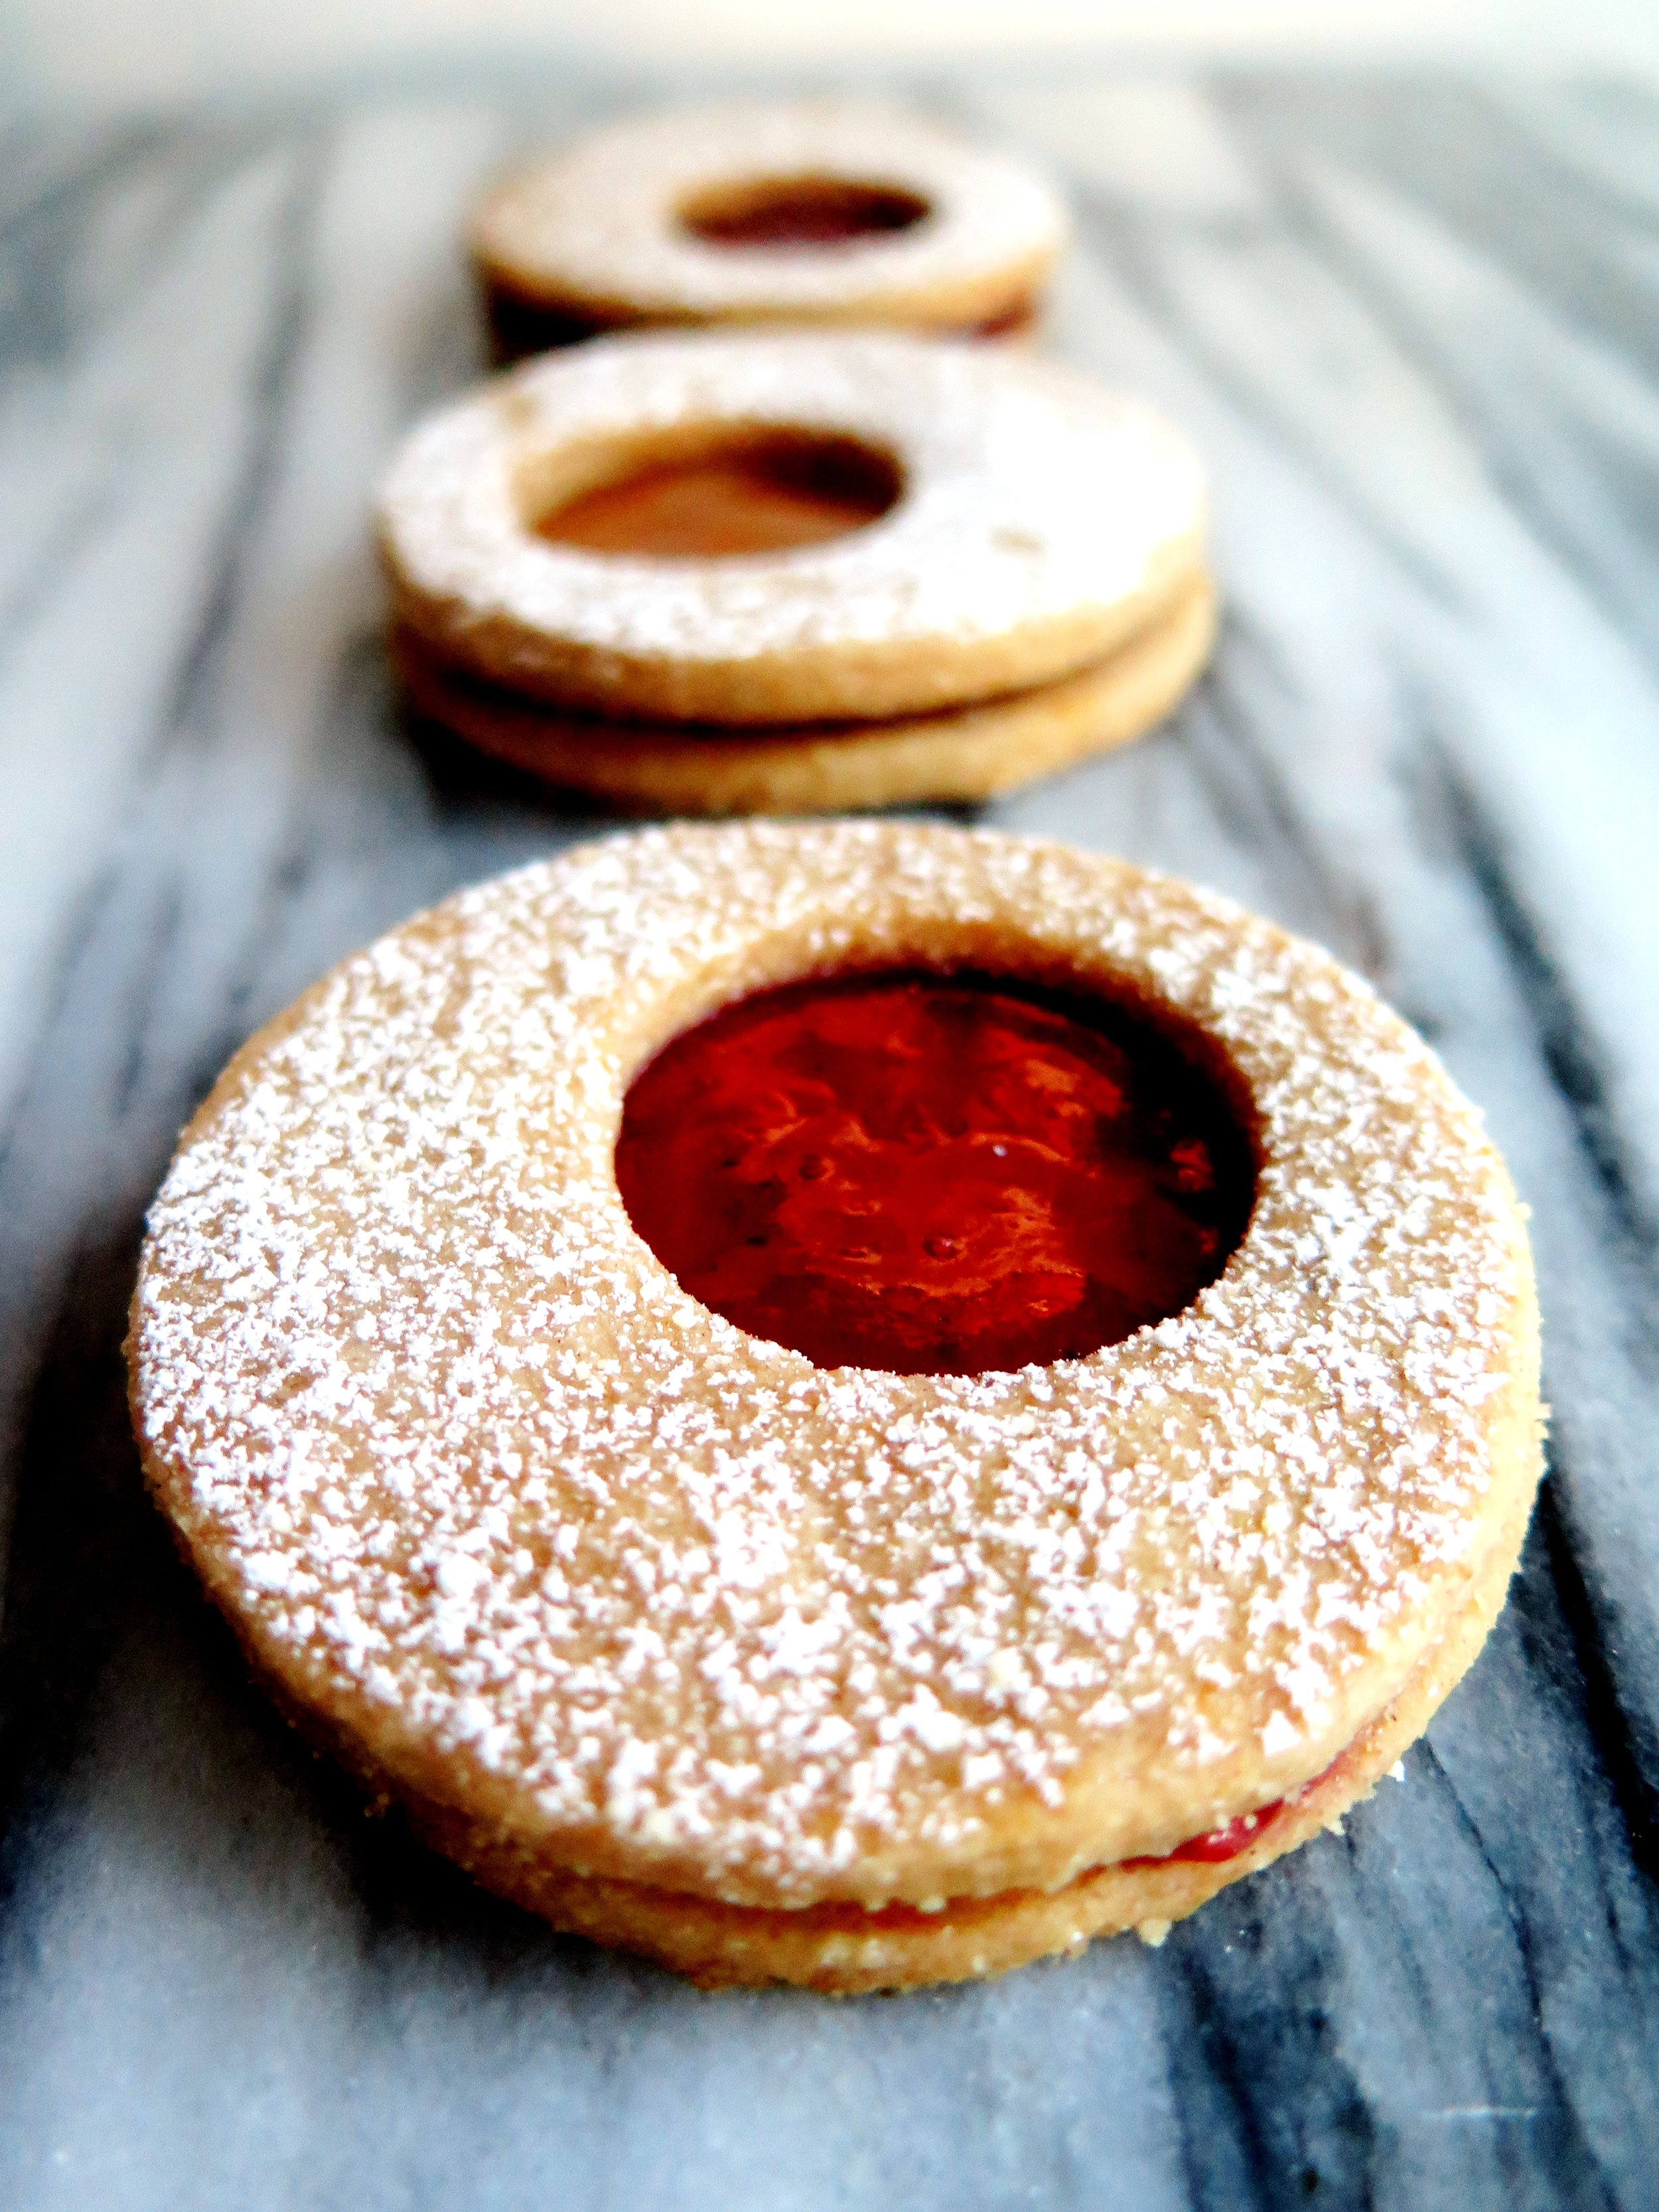
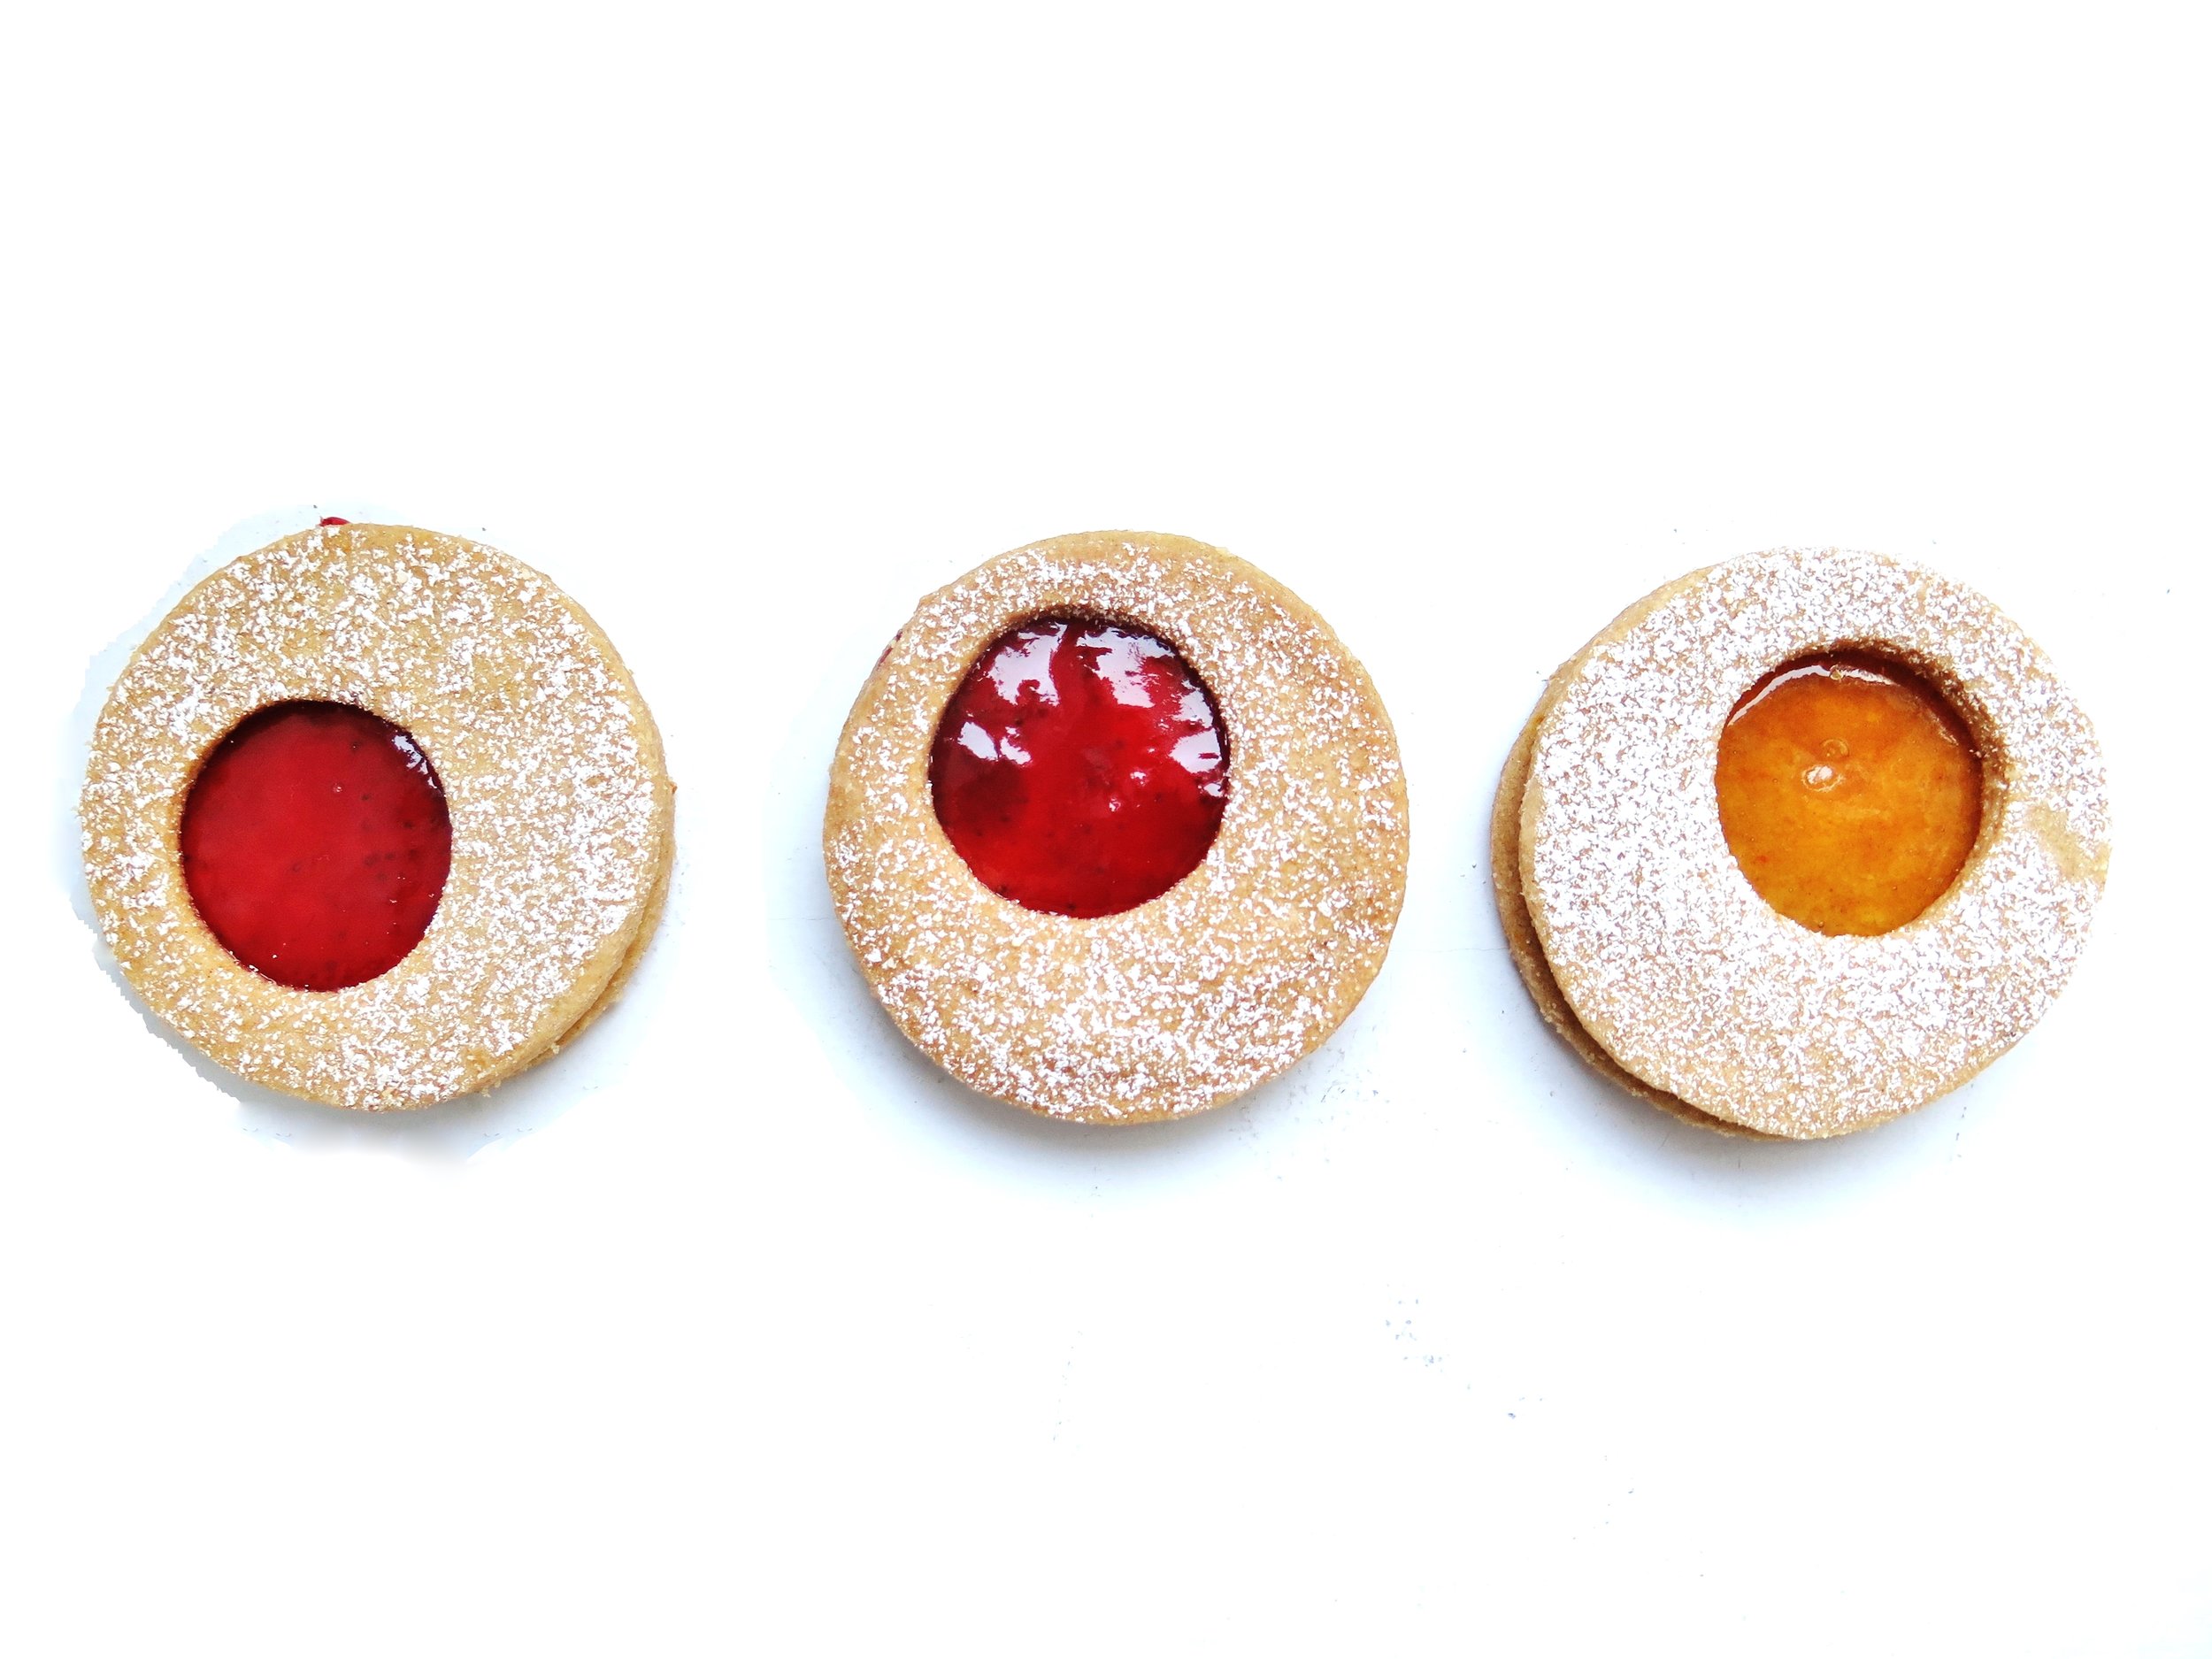
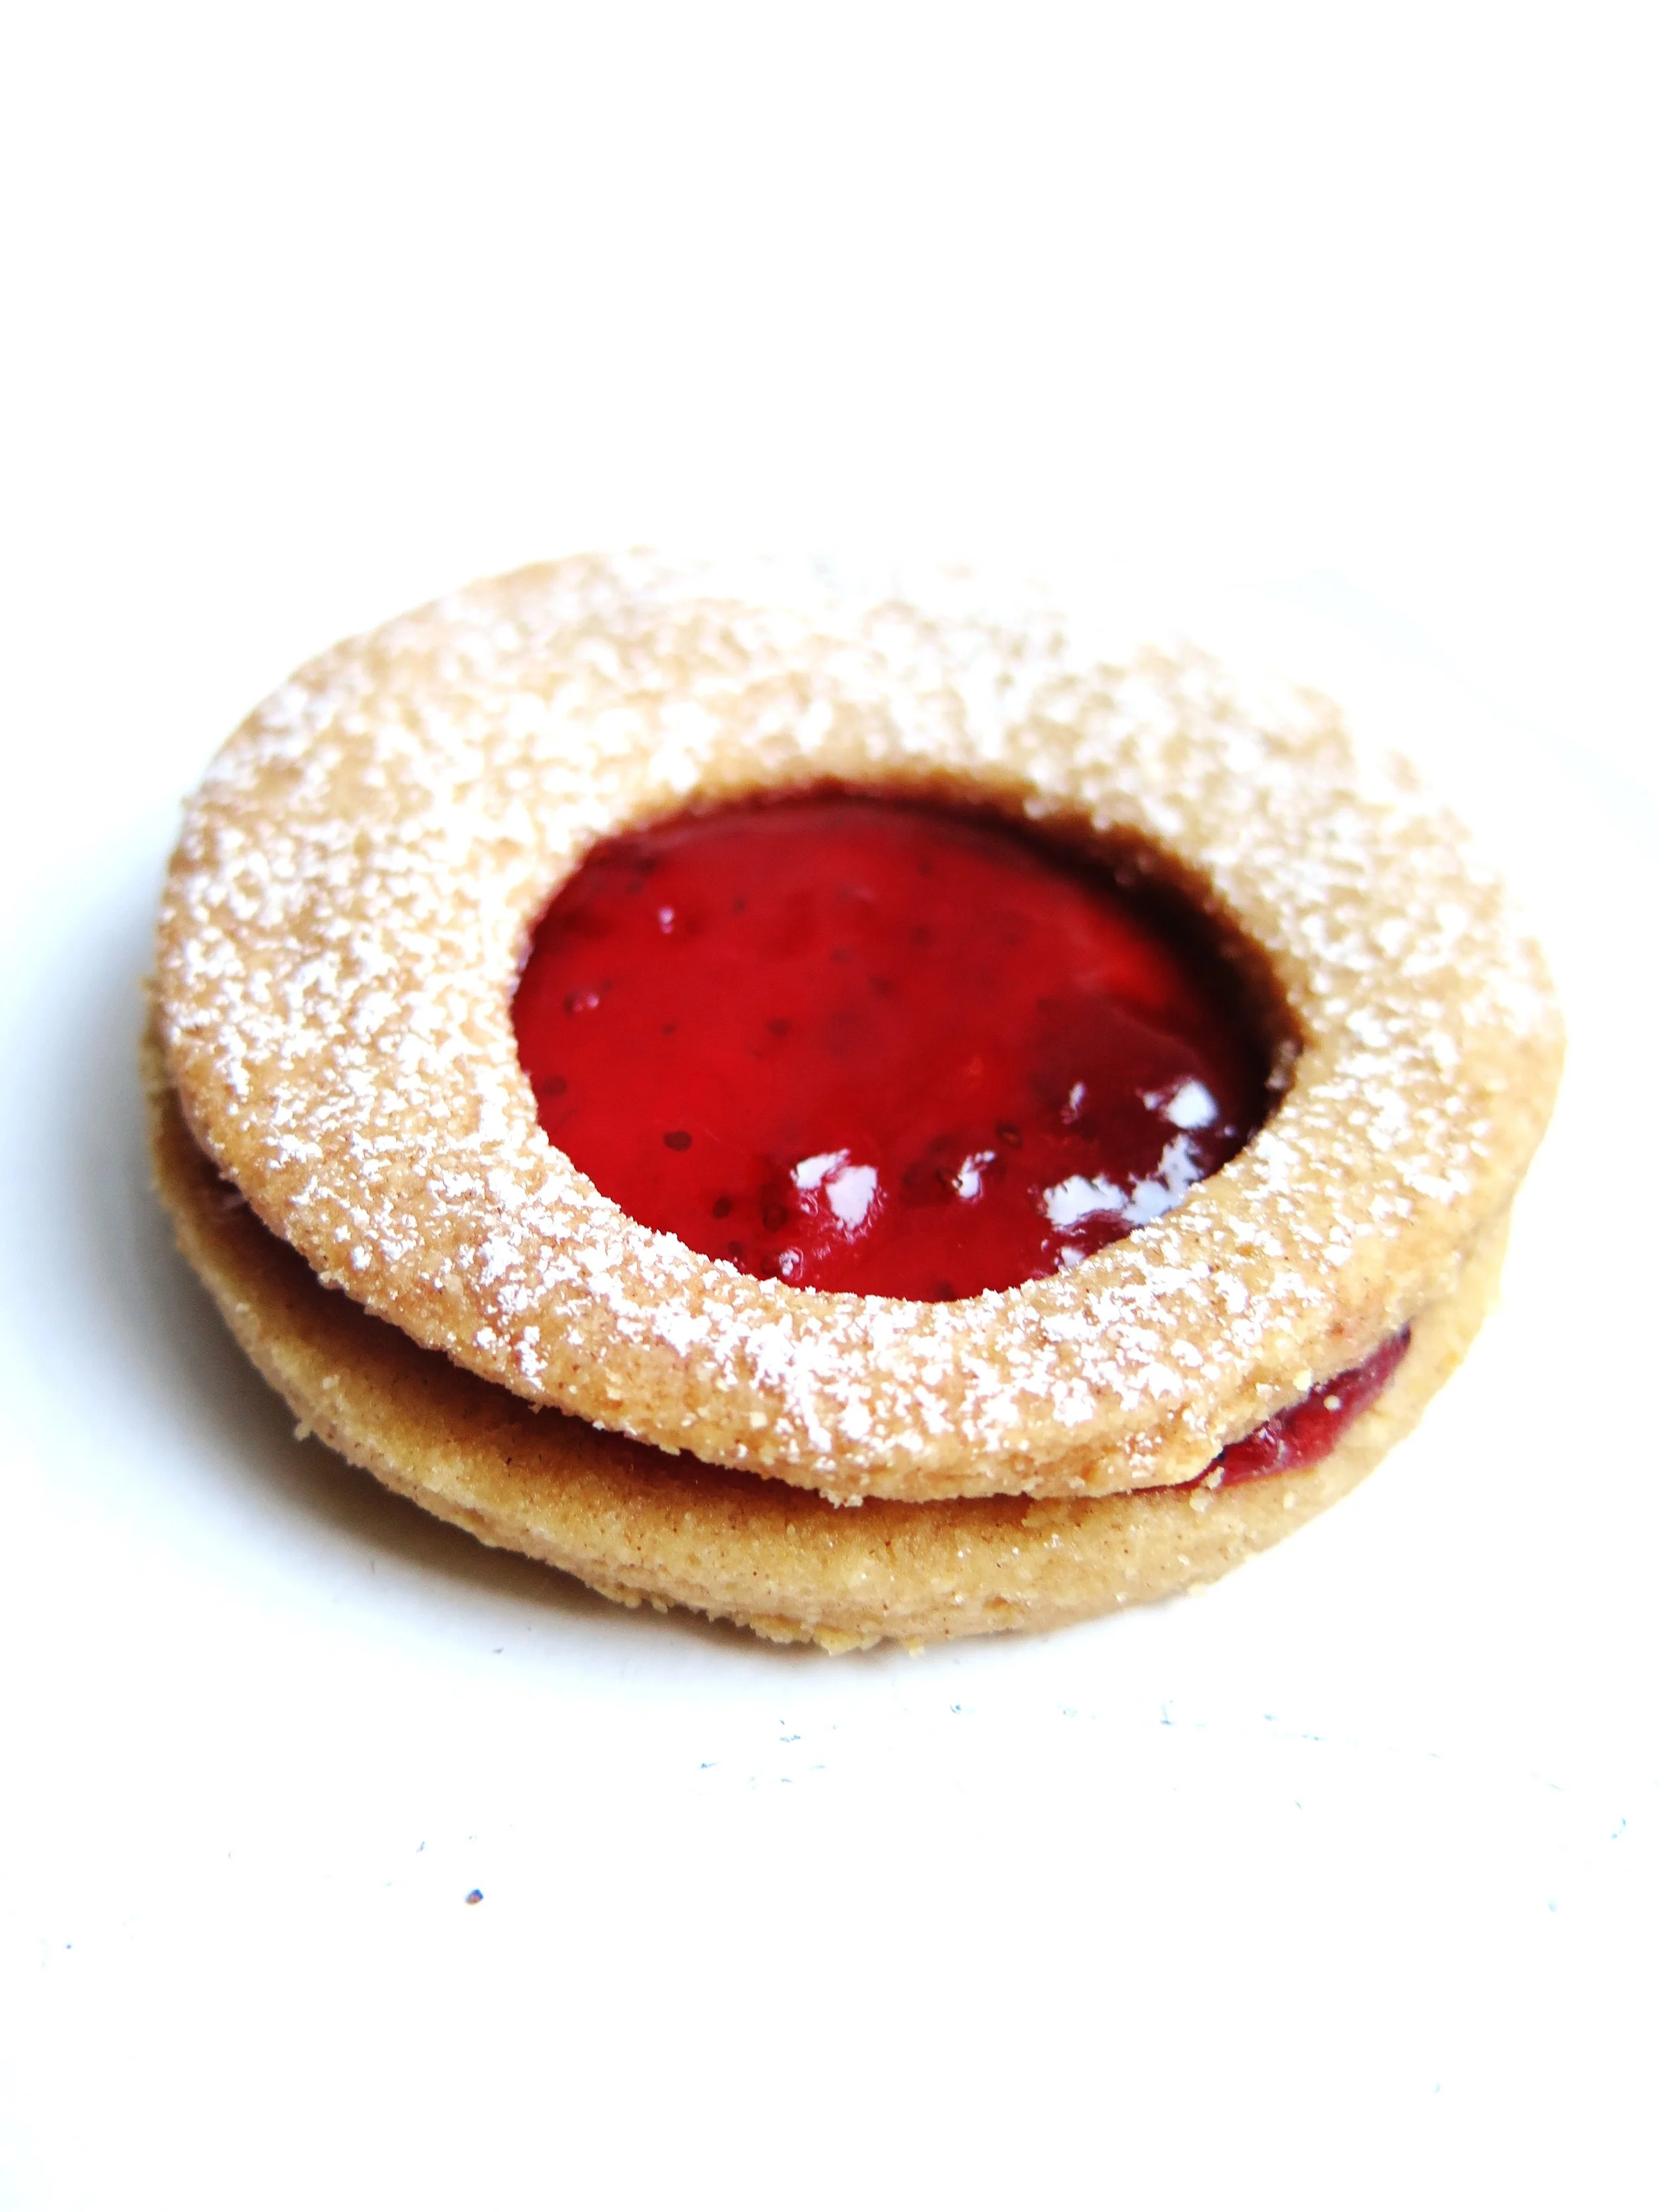
Their Linzer biscuits, however, remind me of Jammie Dodgers – those jam-filled, shortbread biscuits of my childhood that only other people’s mothers allowed – and inspired me to re- interpret them.
These have a slight Moroccan edge: spiced, delicate with a slight chewiness, filled with the tangy conserve of your choice.
I like marmalade for the tart/bitter contrast against the sweetness of the pastry, but strawberry also works well. Of course, you can go for any shape, but I am rather taken by the cog-like –quirky take on a Jammie Dodger look.
Ingredients
290g (10.125 ounces) white spelt flour (or plain flour if unavailable)
140g (5 ounces) ground almonds
100g (3.5 ounces) caster sugar
¼ tsp salt
2 ½ tsp cinnamon
¼ tsp ground cloves
¼ tsp almond extract
1 tsp grated lemon zest (about ½ lemon)
1 tsp grated orange zest (about ½ medium orange)
225g (8 ounces) unsalted butter
200g (7 ounces) marmalade or jam of choice (I used marmalade and strawberry)
30g (1 ounce) icing sugar
Large and small cookie cutters (I used 7cm and 3.5cm diameter rings)
2 large baking sheets, lined with baking parhcment
Method
- Pour flour, ground almonds, caster sugar, salt cinnoman, cloves,orange and lemons zest, and almond extract into a food processor and pulse until fully combined. Add in the chopped butter and pulse again until the mixture forms a damp sand-like texture. Keep pulsing until it clumps tighter to form a dough.
- Divide the dough into two rounds and flatten both onto sheets of baking parchment, wrap them and place them in the freezer for about 20 minutes or the fridge for an hour.
- Preheat the oven to 160˚C (325˚F). Remove the disks of dough from the freezer/fridge – if they are too firm to roll, let them sit for a few minutes. Ona thoroughly floured board, roll one disk out to a 3mm (1/8 inch) thickness. Cut out as many cookies as possible and set aside the scraps. Space the disks out on the baking trays as you go. Repeat with the second disk and use the smaller cutter to cut out small holes from the rounds. Press together the accumulated scraps and roll out again. Make sure there are an equal number of whole circles to circles with a cut out circle. A tip to avoid the cutter sticking in the dough is to dip it in flour first.
- Place the trays in the oven and bake for 12- 15 minutes until the cookies are golden but still soft to the touch – they will continue to cook as they cool. When cool, for aesthetic effect, sieve the icing sugar onto the rounds with the circles cut out of them. Then spread a teaspoon of the jam/marmalade onto the complete circles, and lightly press the cut-out layer on top. Devour, delicately, of course…
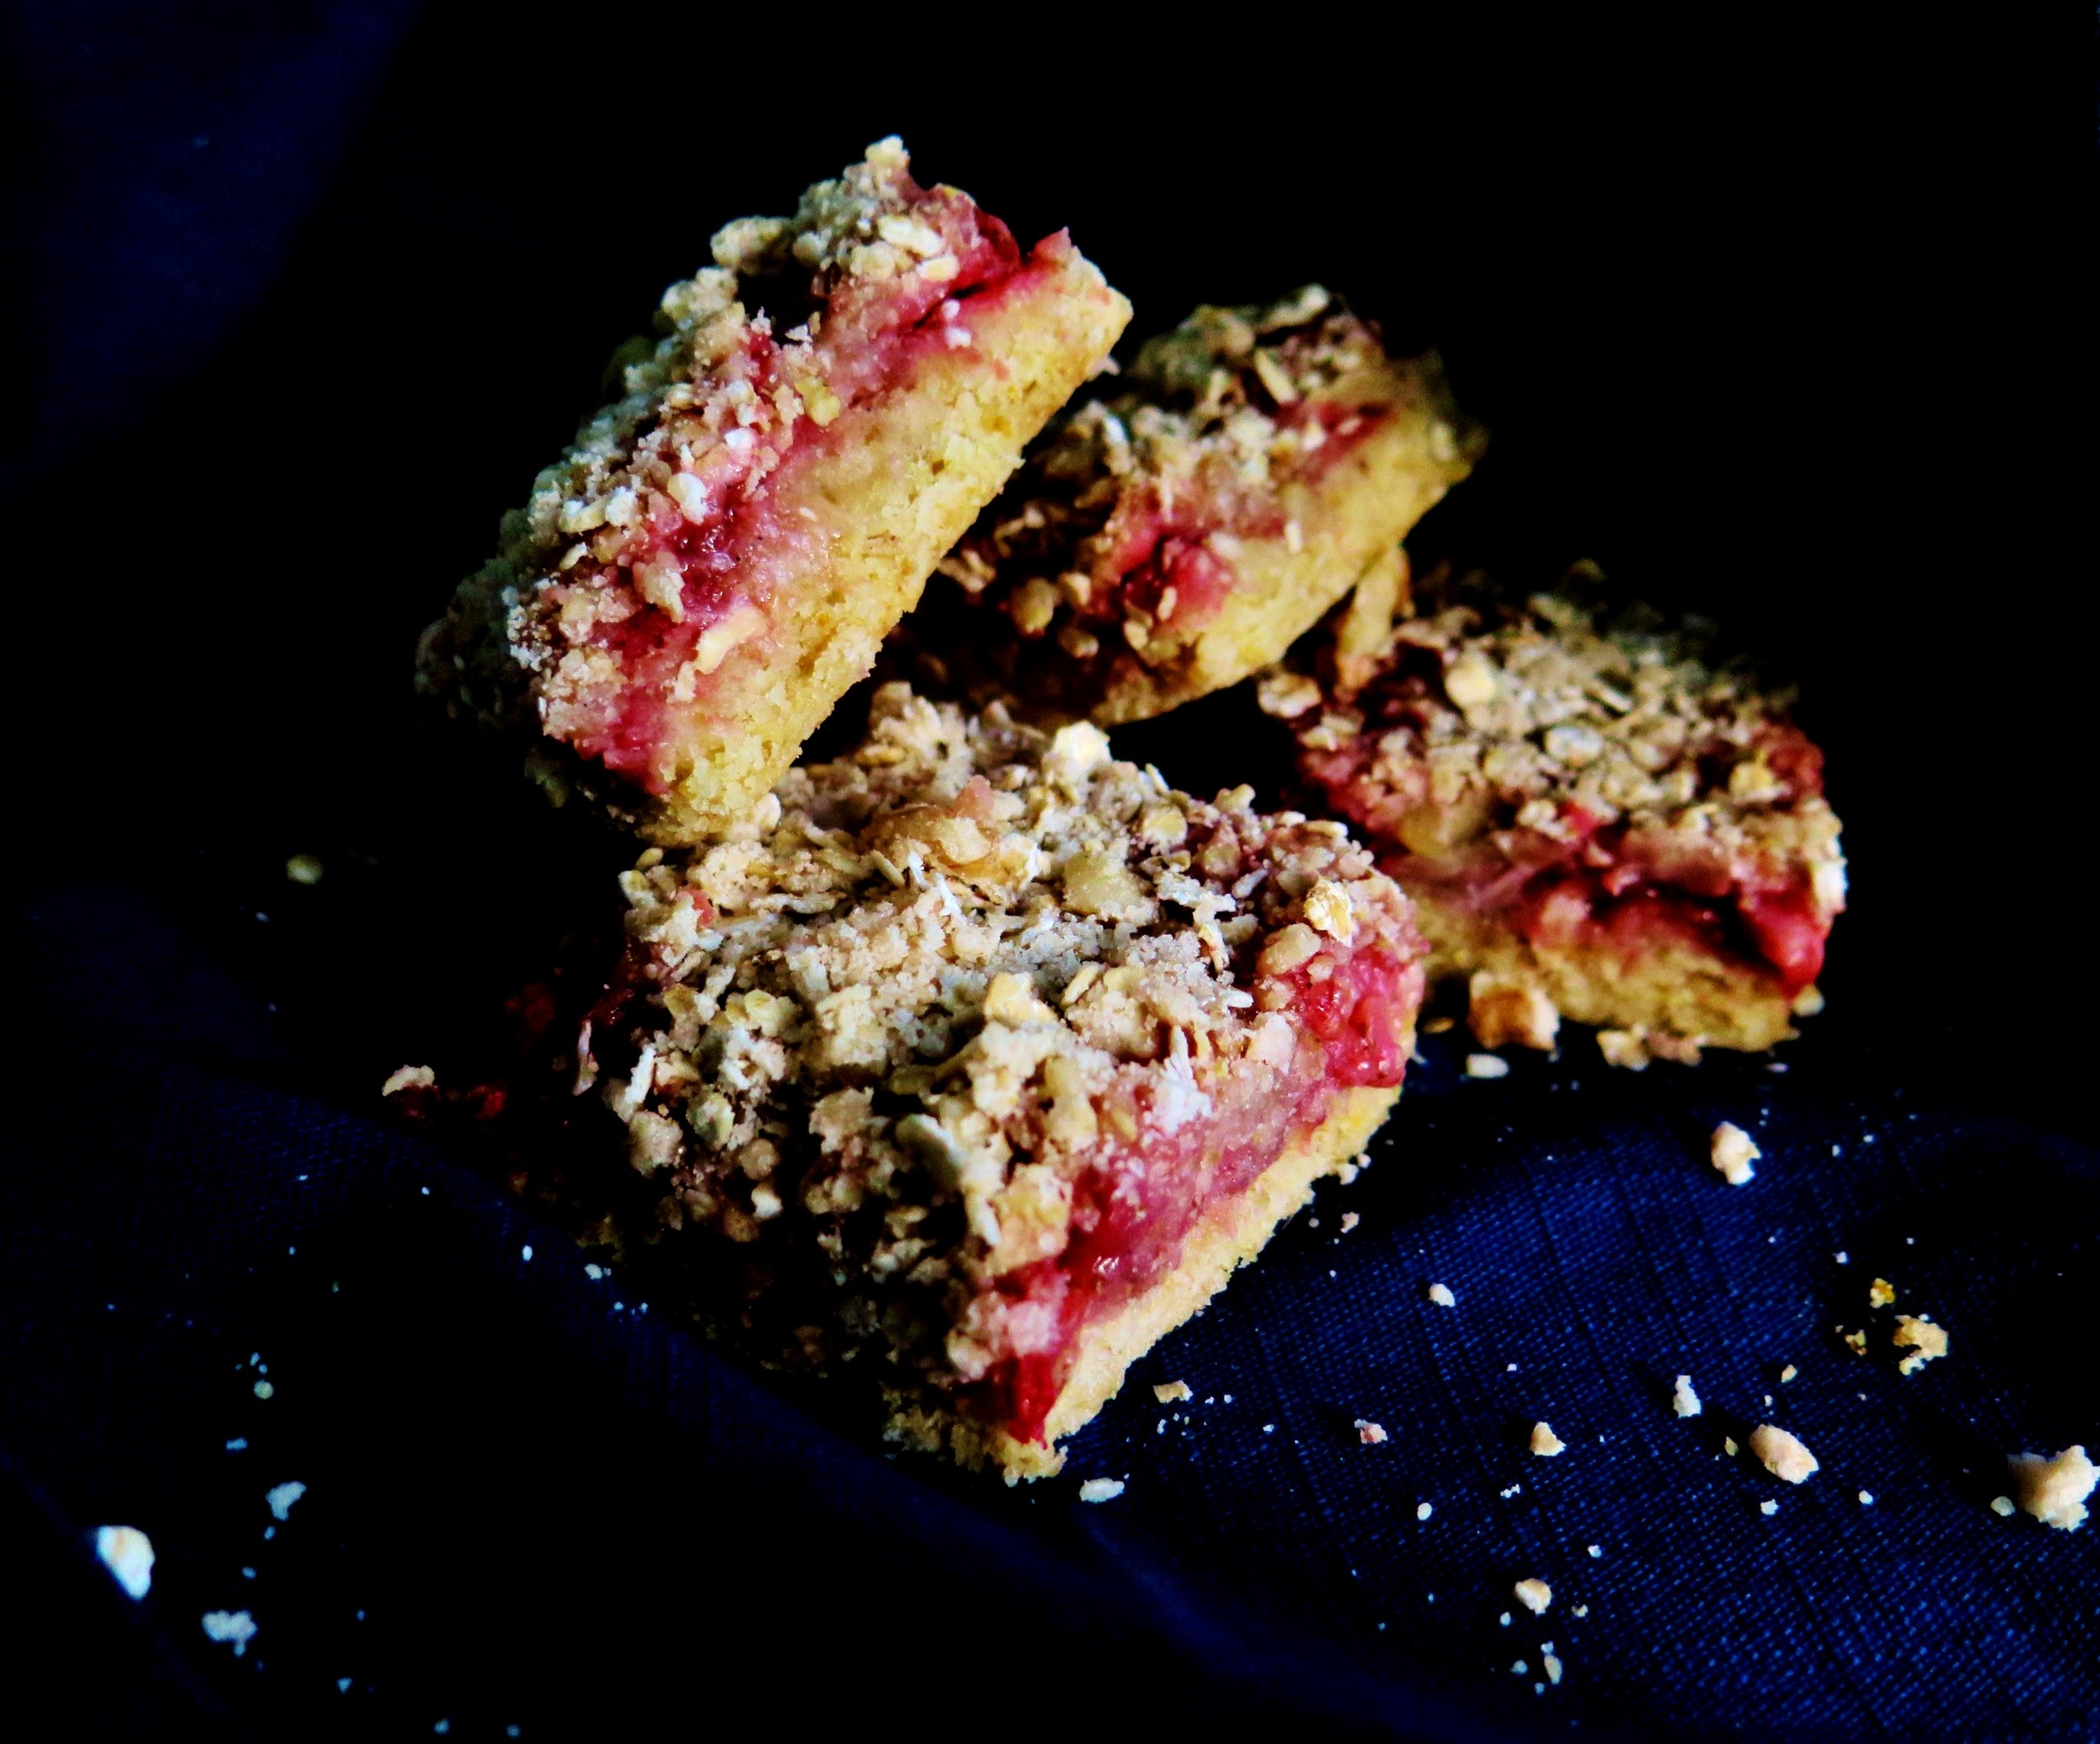
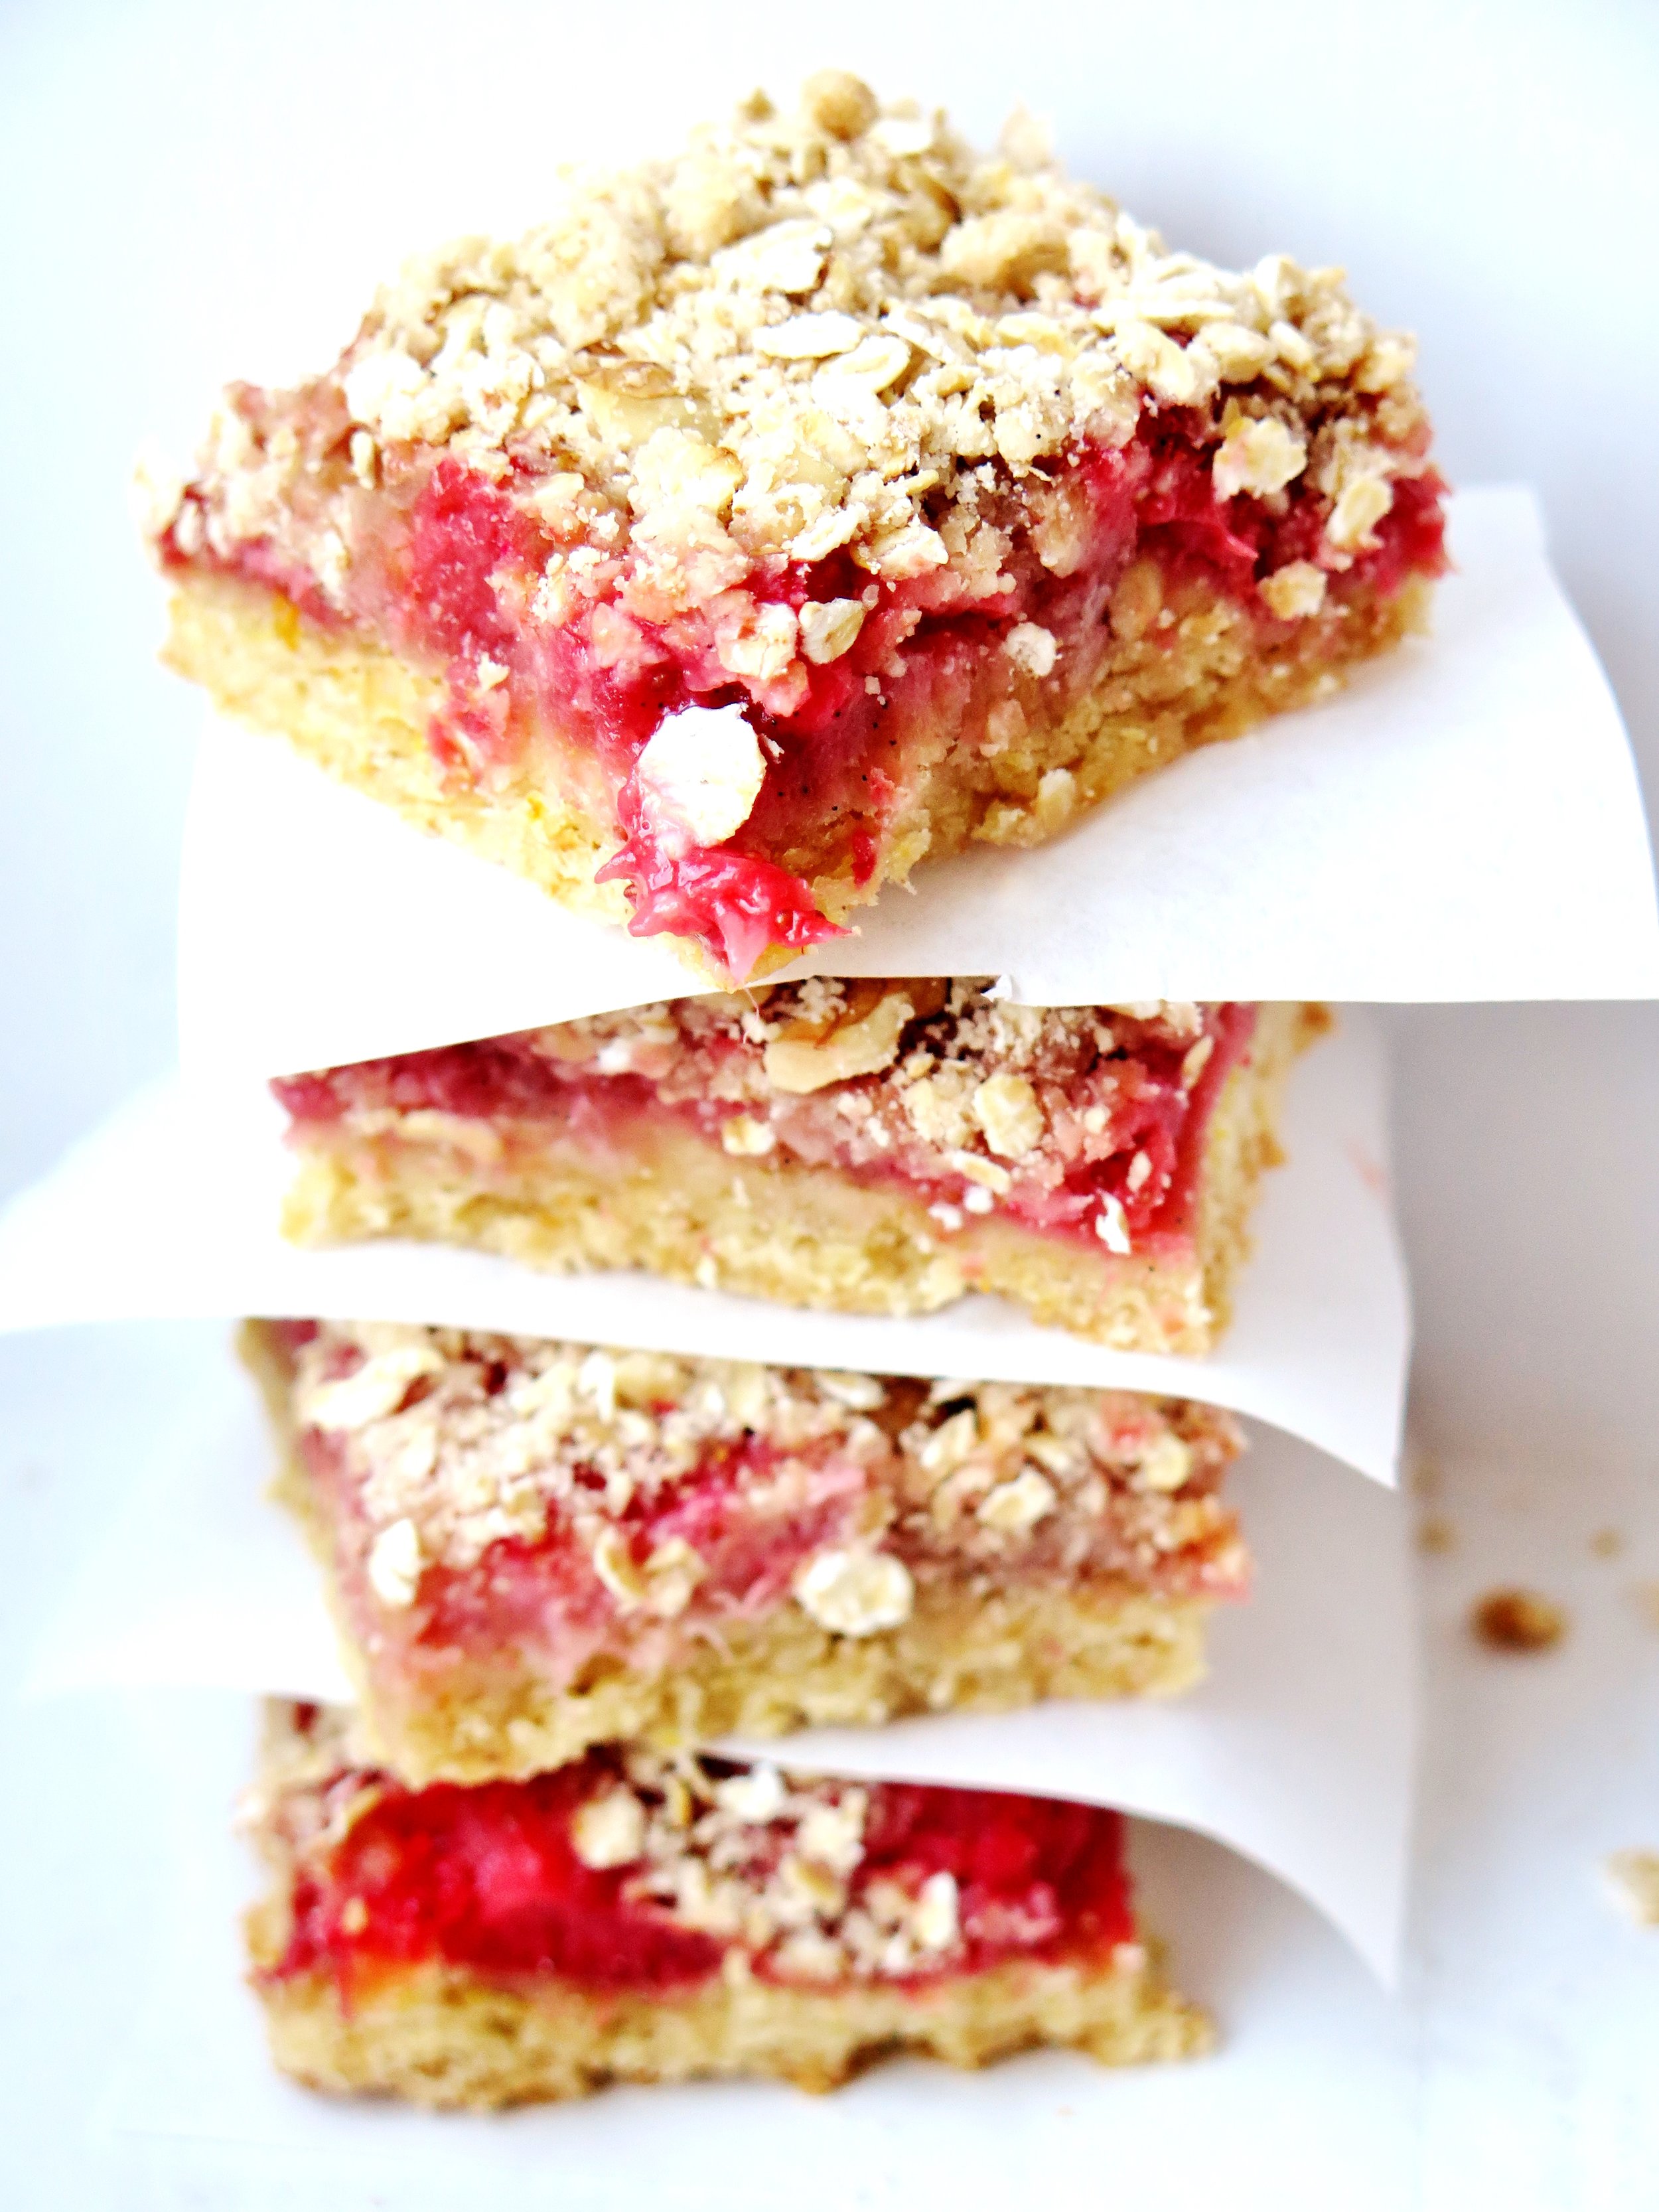 What’s your crumble-to-fruit ratio? If you’re the kind who favours a preponderance of stewed fruit with an insubstantial fairy dusting of oaty-flour, turn away now. If you lean towards the lavish when it comes to crumble proportion - good. Read on…
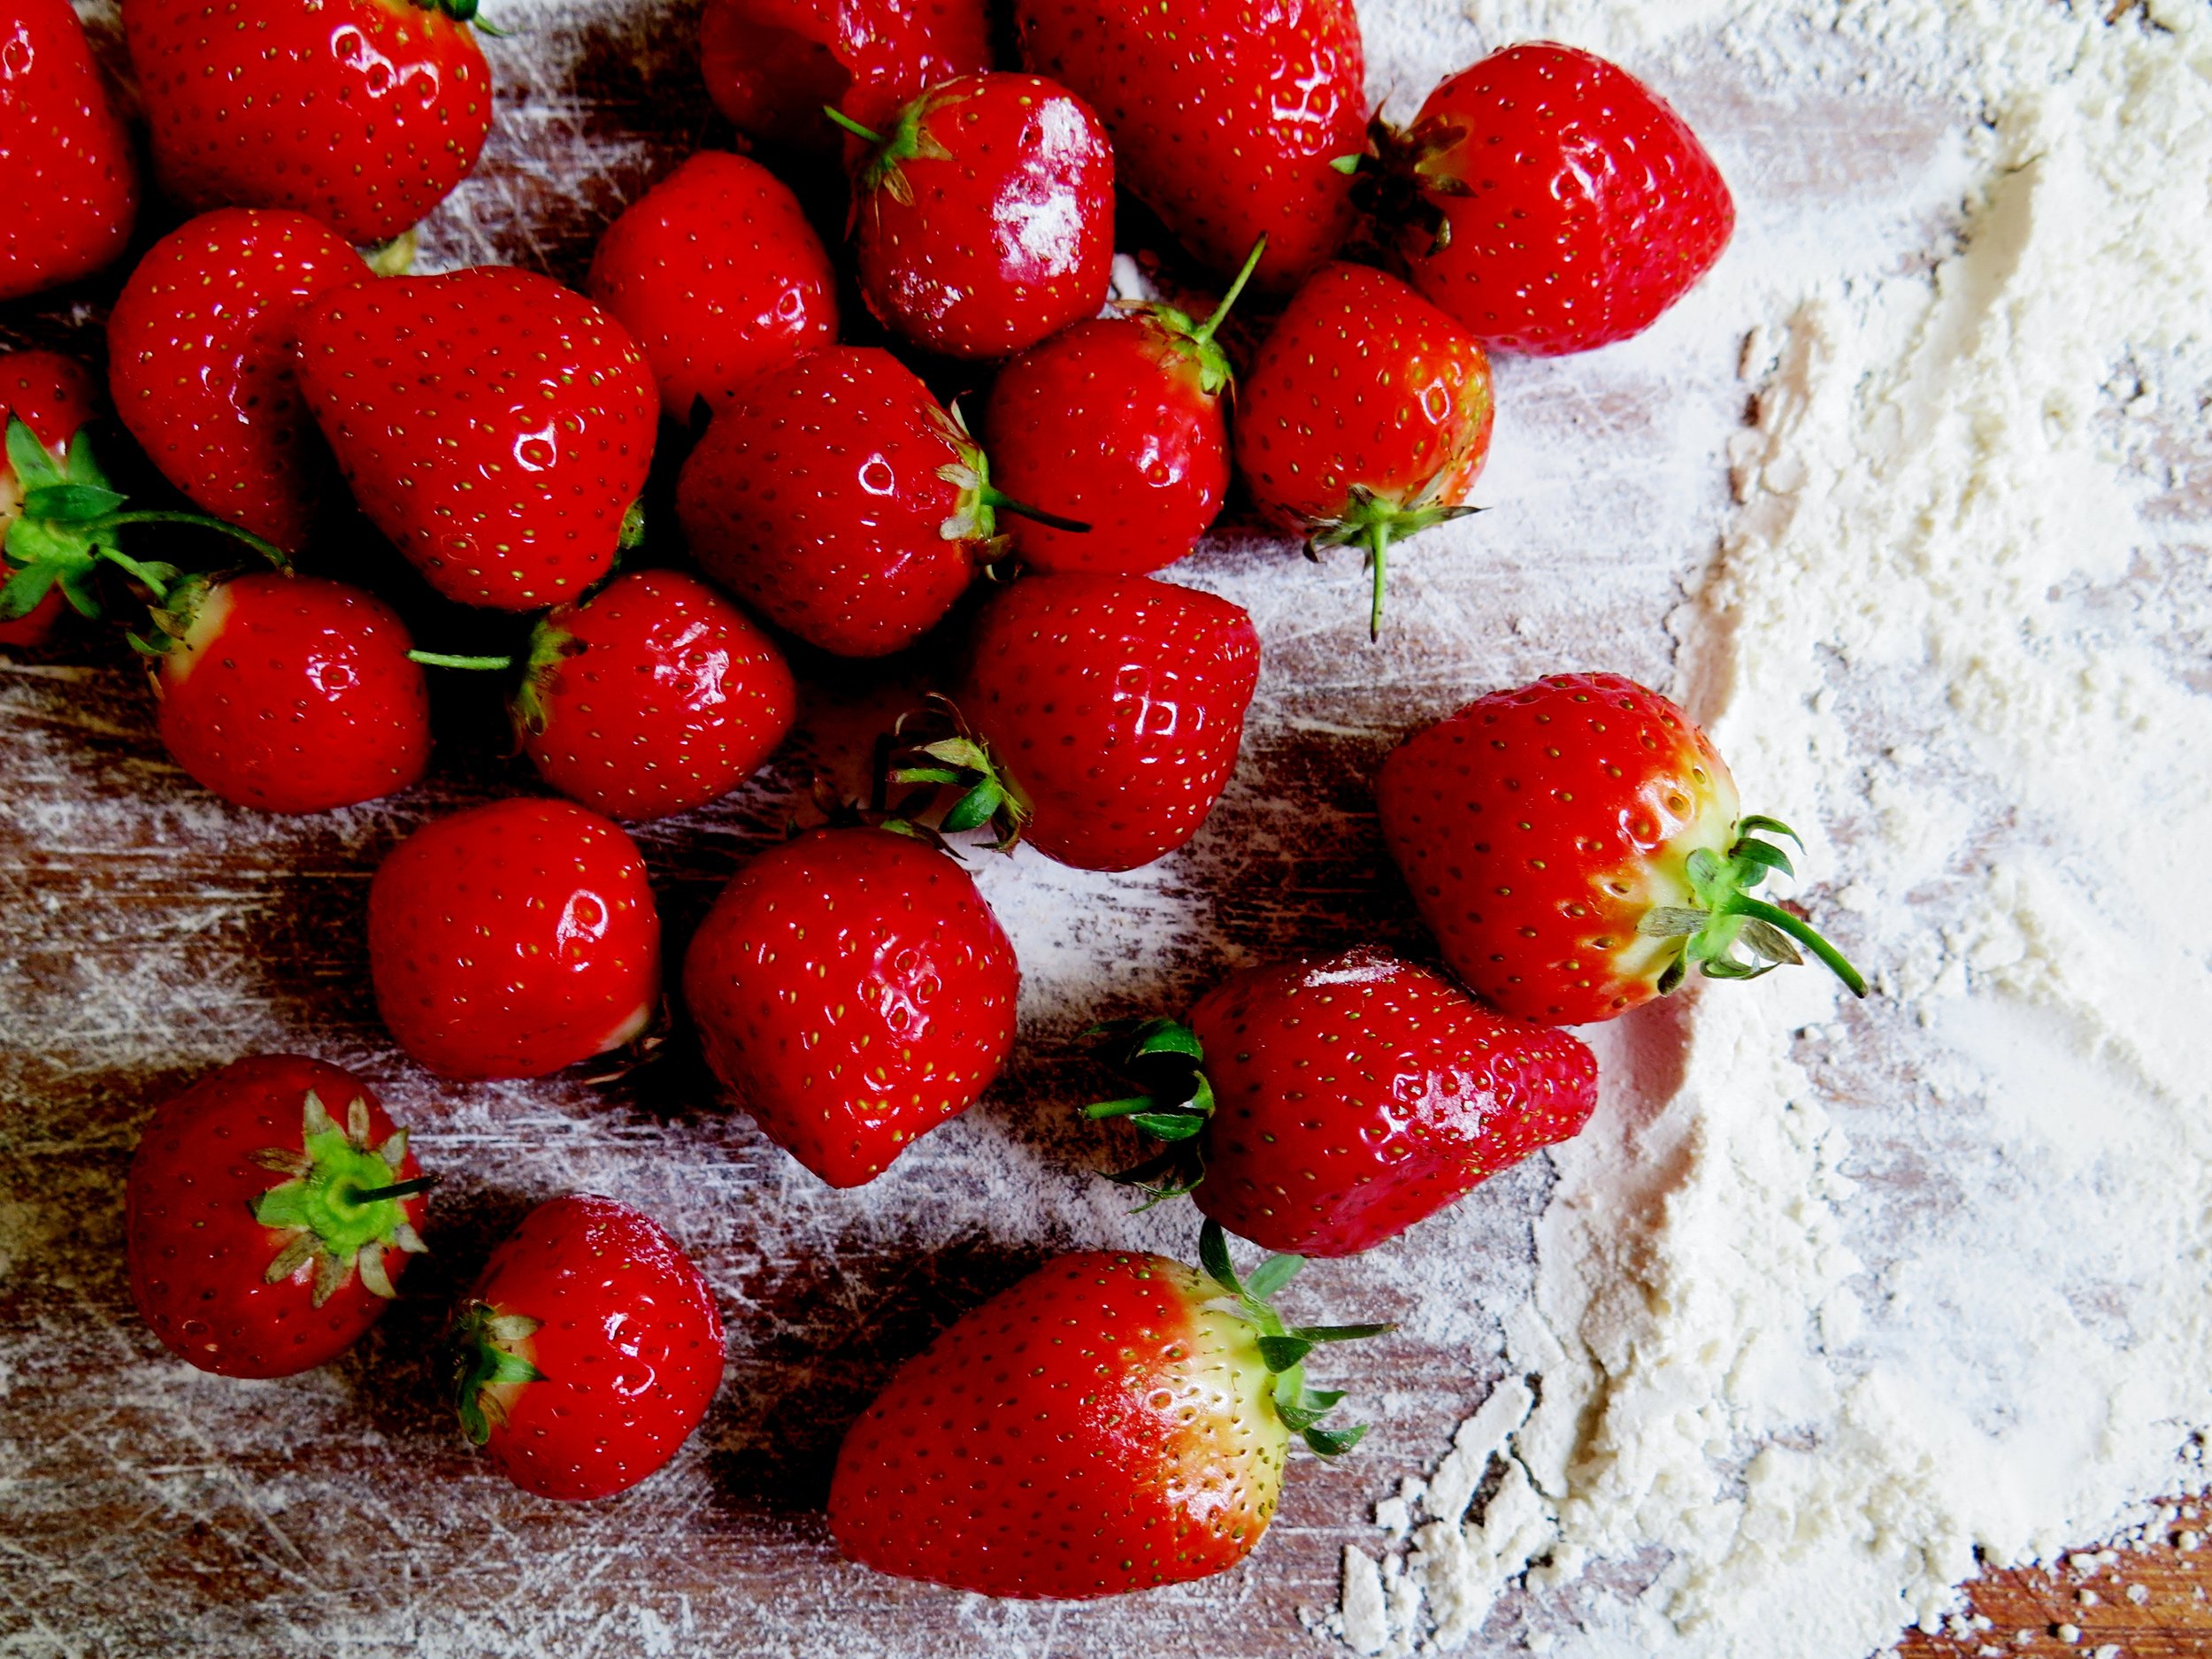
I have experienced many a crumble: from damson to mulberry to cherry to apple, from autumn to winter to spring to summer. But regardless of the lusciousness of the interior, the crumbles that garner the most attention, that leave people scratching way at the remaining crumbs that have become forged to the side of the pan in yearning for more, are the ones with a superabundance of crumble topping.
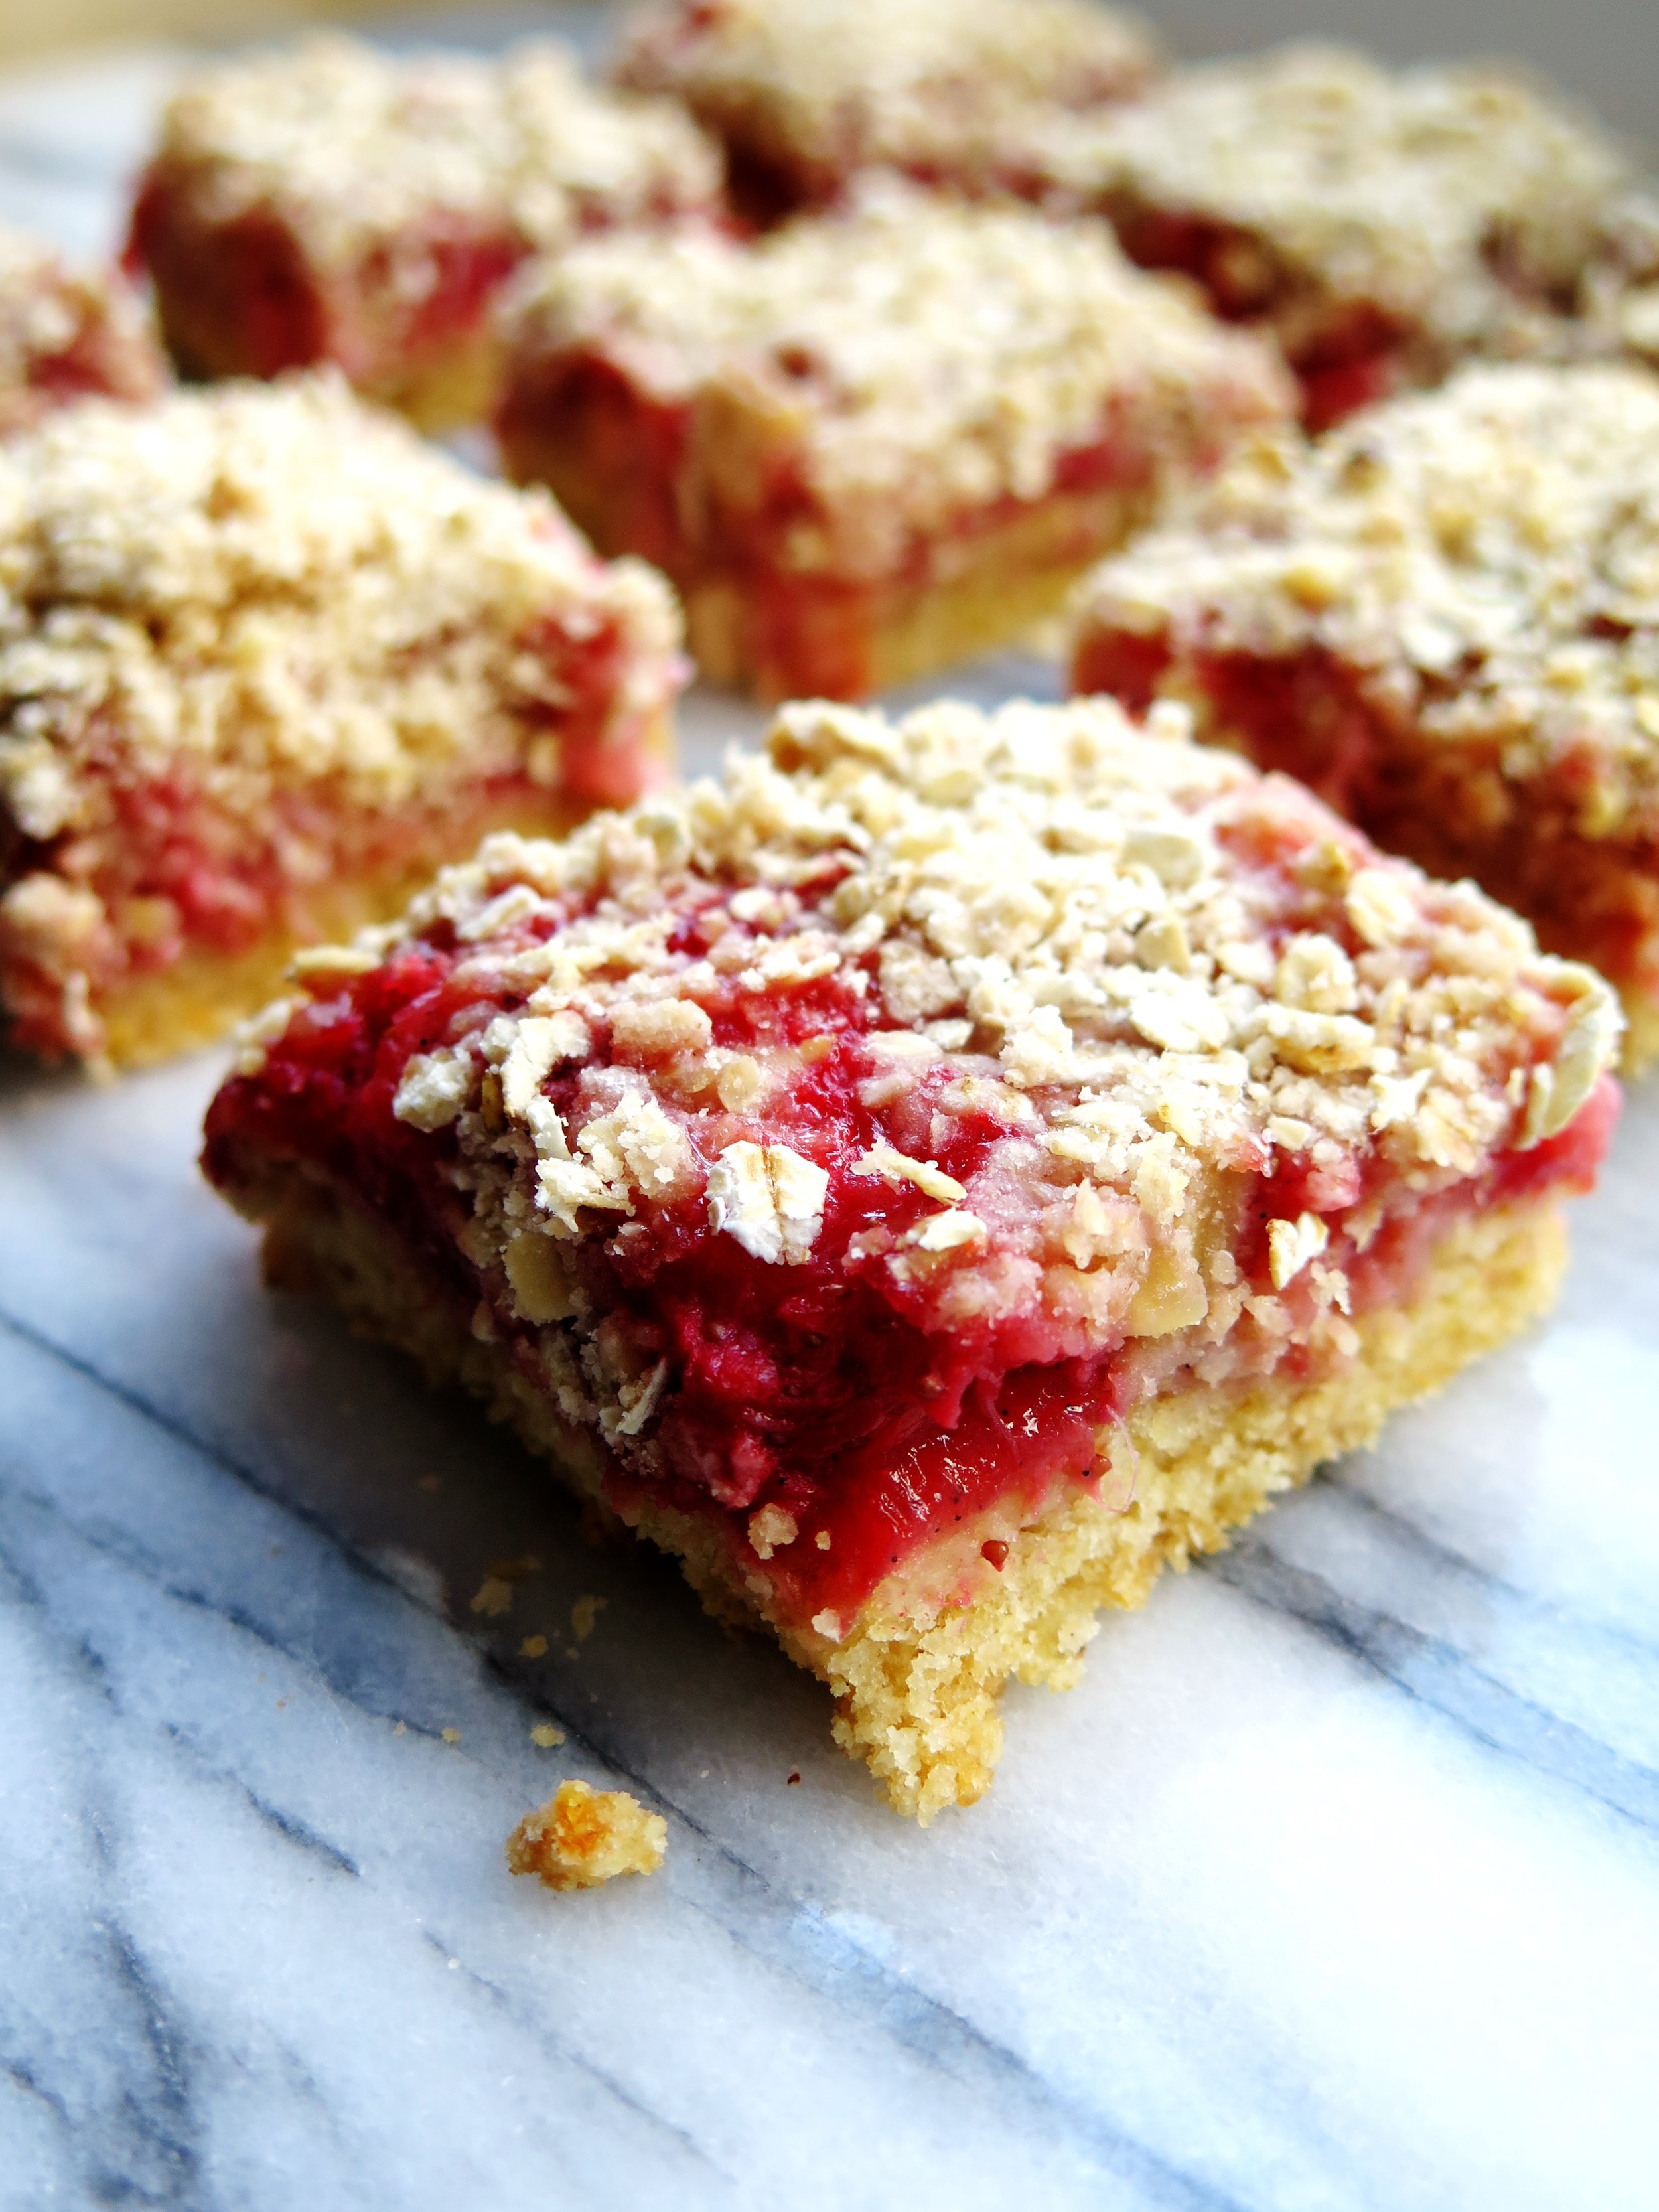
Crunchy, nutty, warming and eminently comforting – this is what a good crumble should be. Enough so that you don’t worry about rationing the crumble in your bowl to suit the amount of fruit – enough so that every mouthful has a good proportion of both.
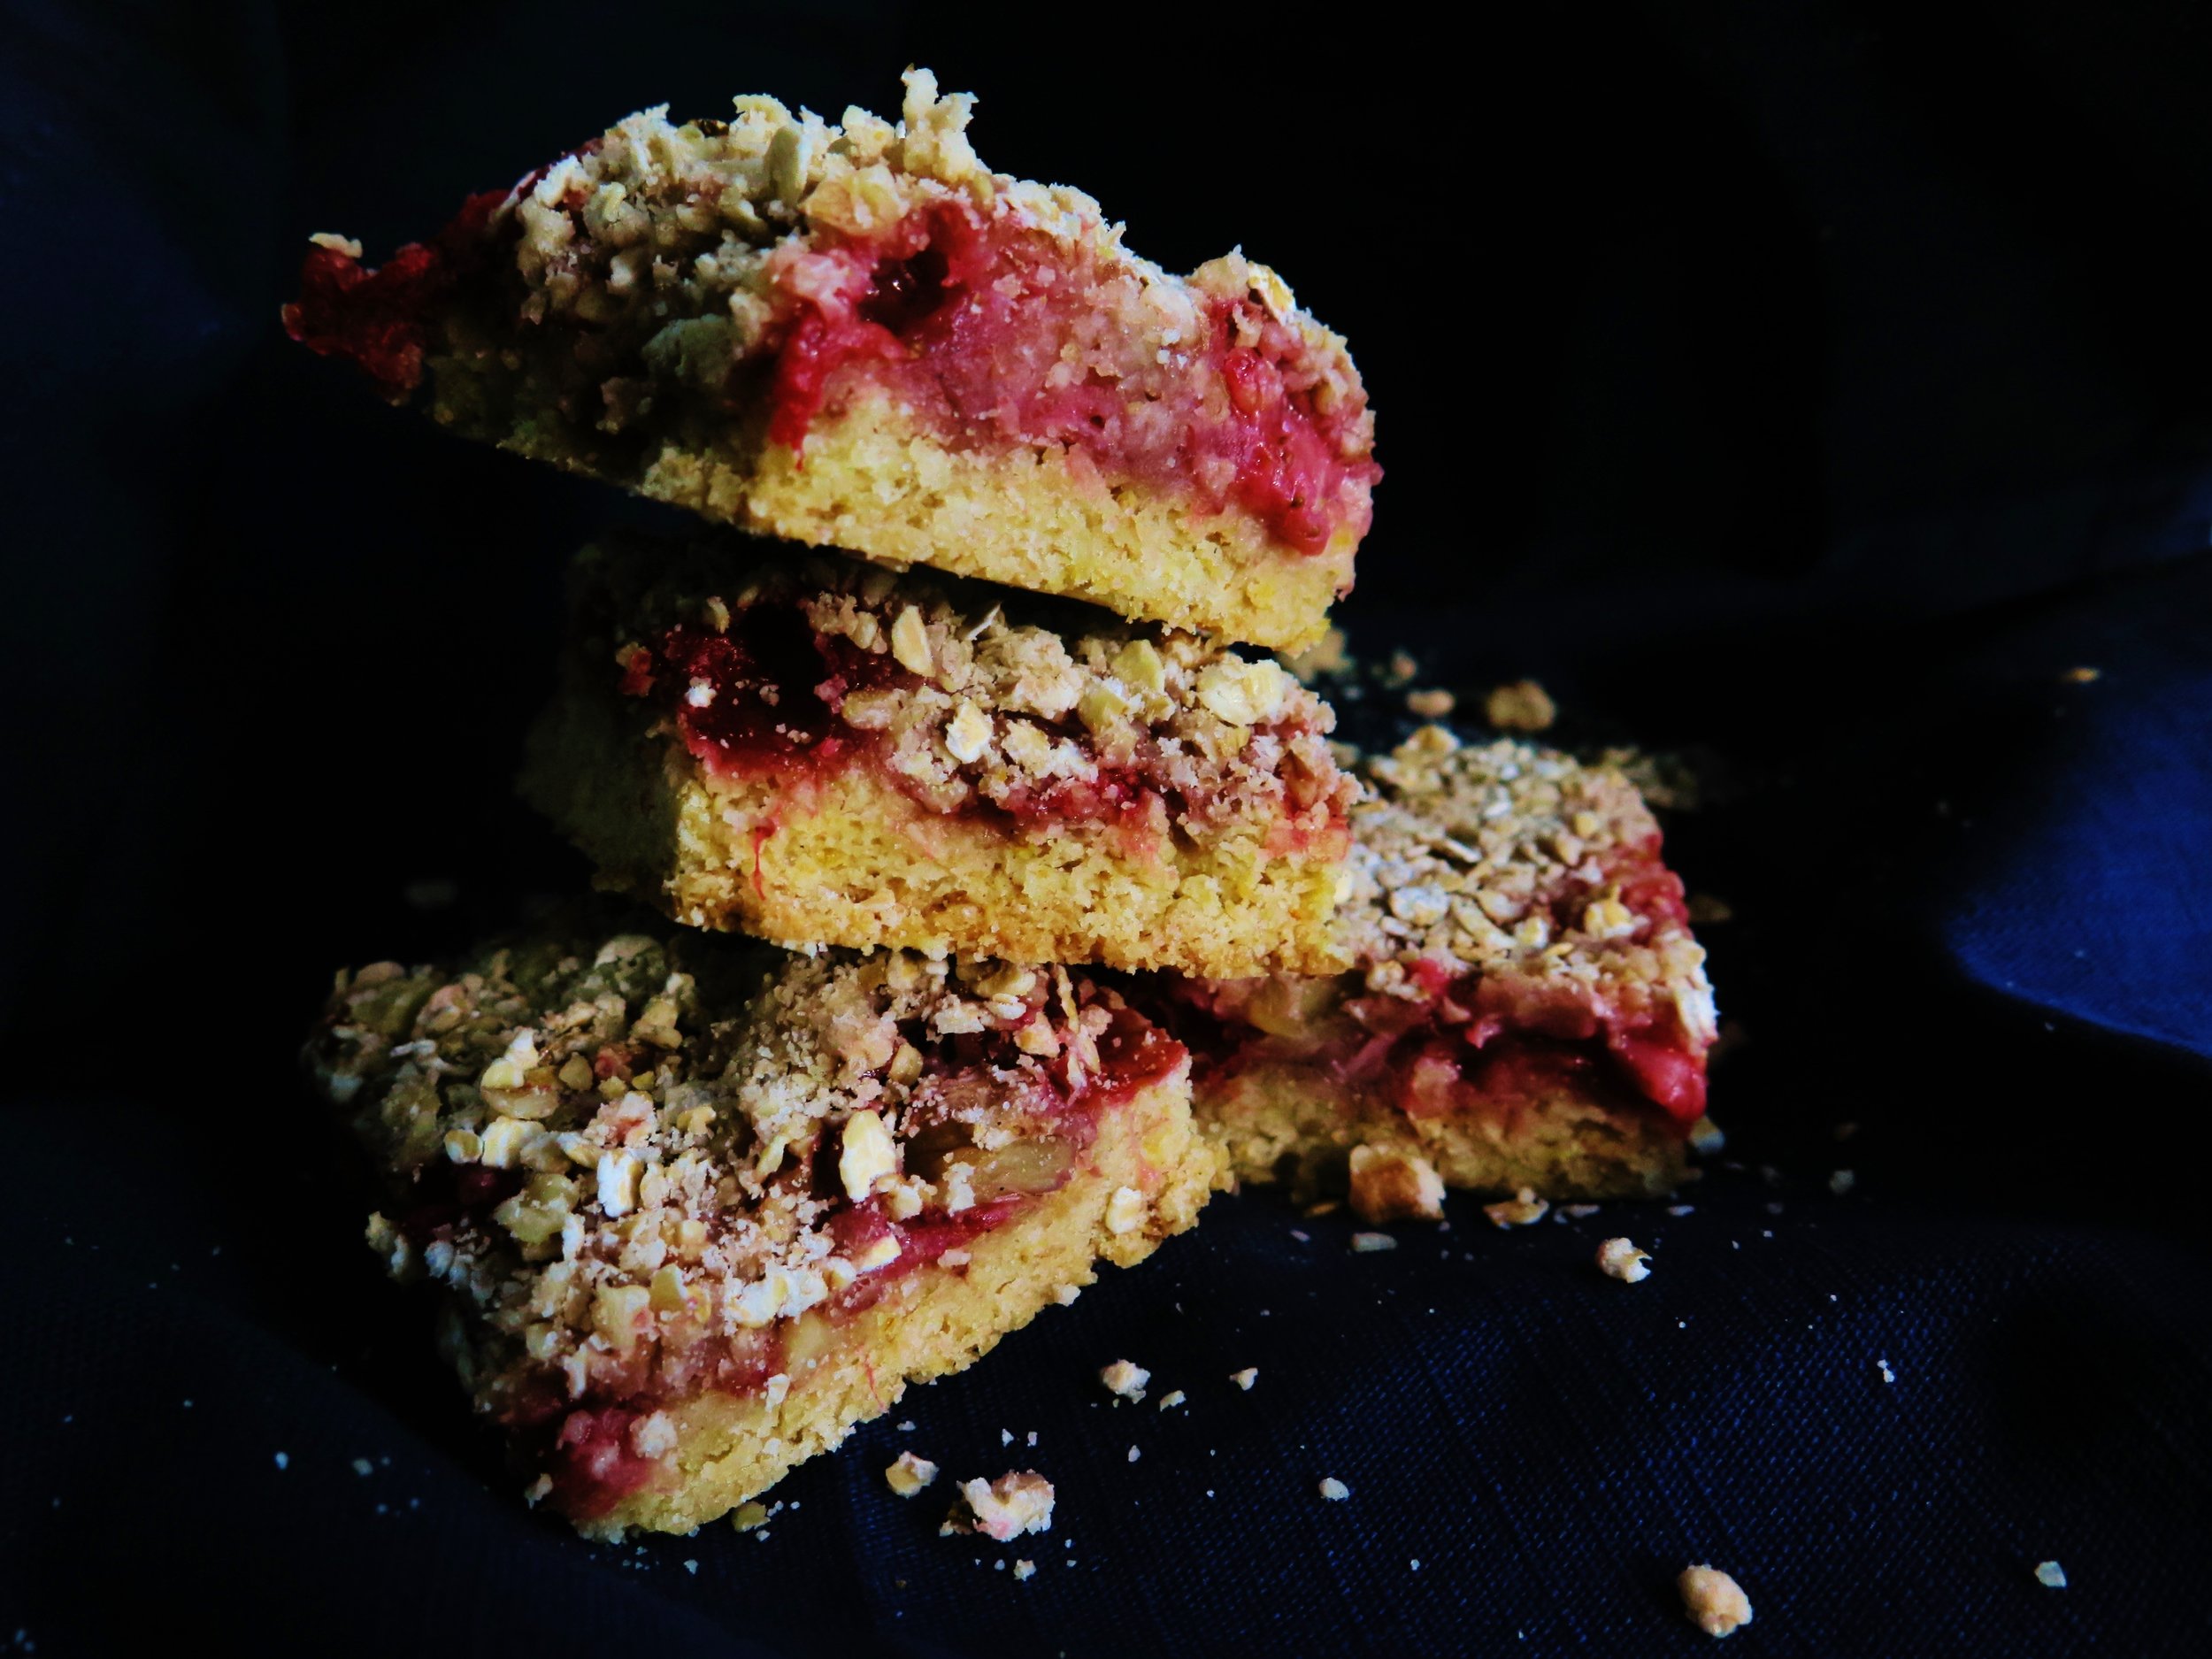 A good crumble, as with so many things, should leave you wanting more.
But what if you don’t want to have to face the risk of eating the whole pot by mistake – or at least you if do want to be able to eat the whole lot, do so in a more measured way?
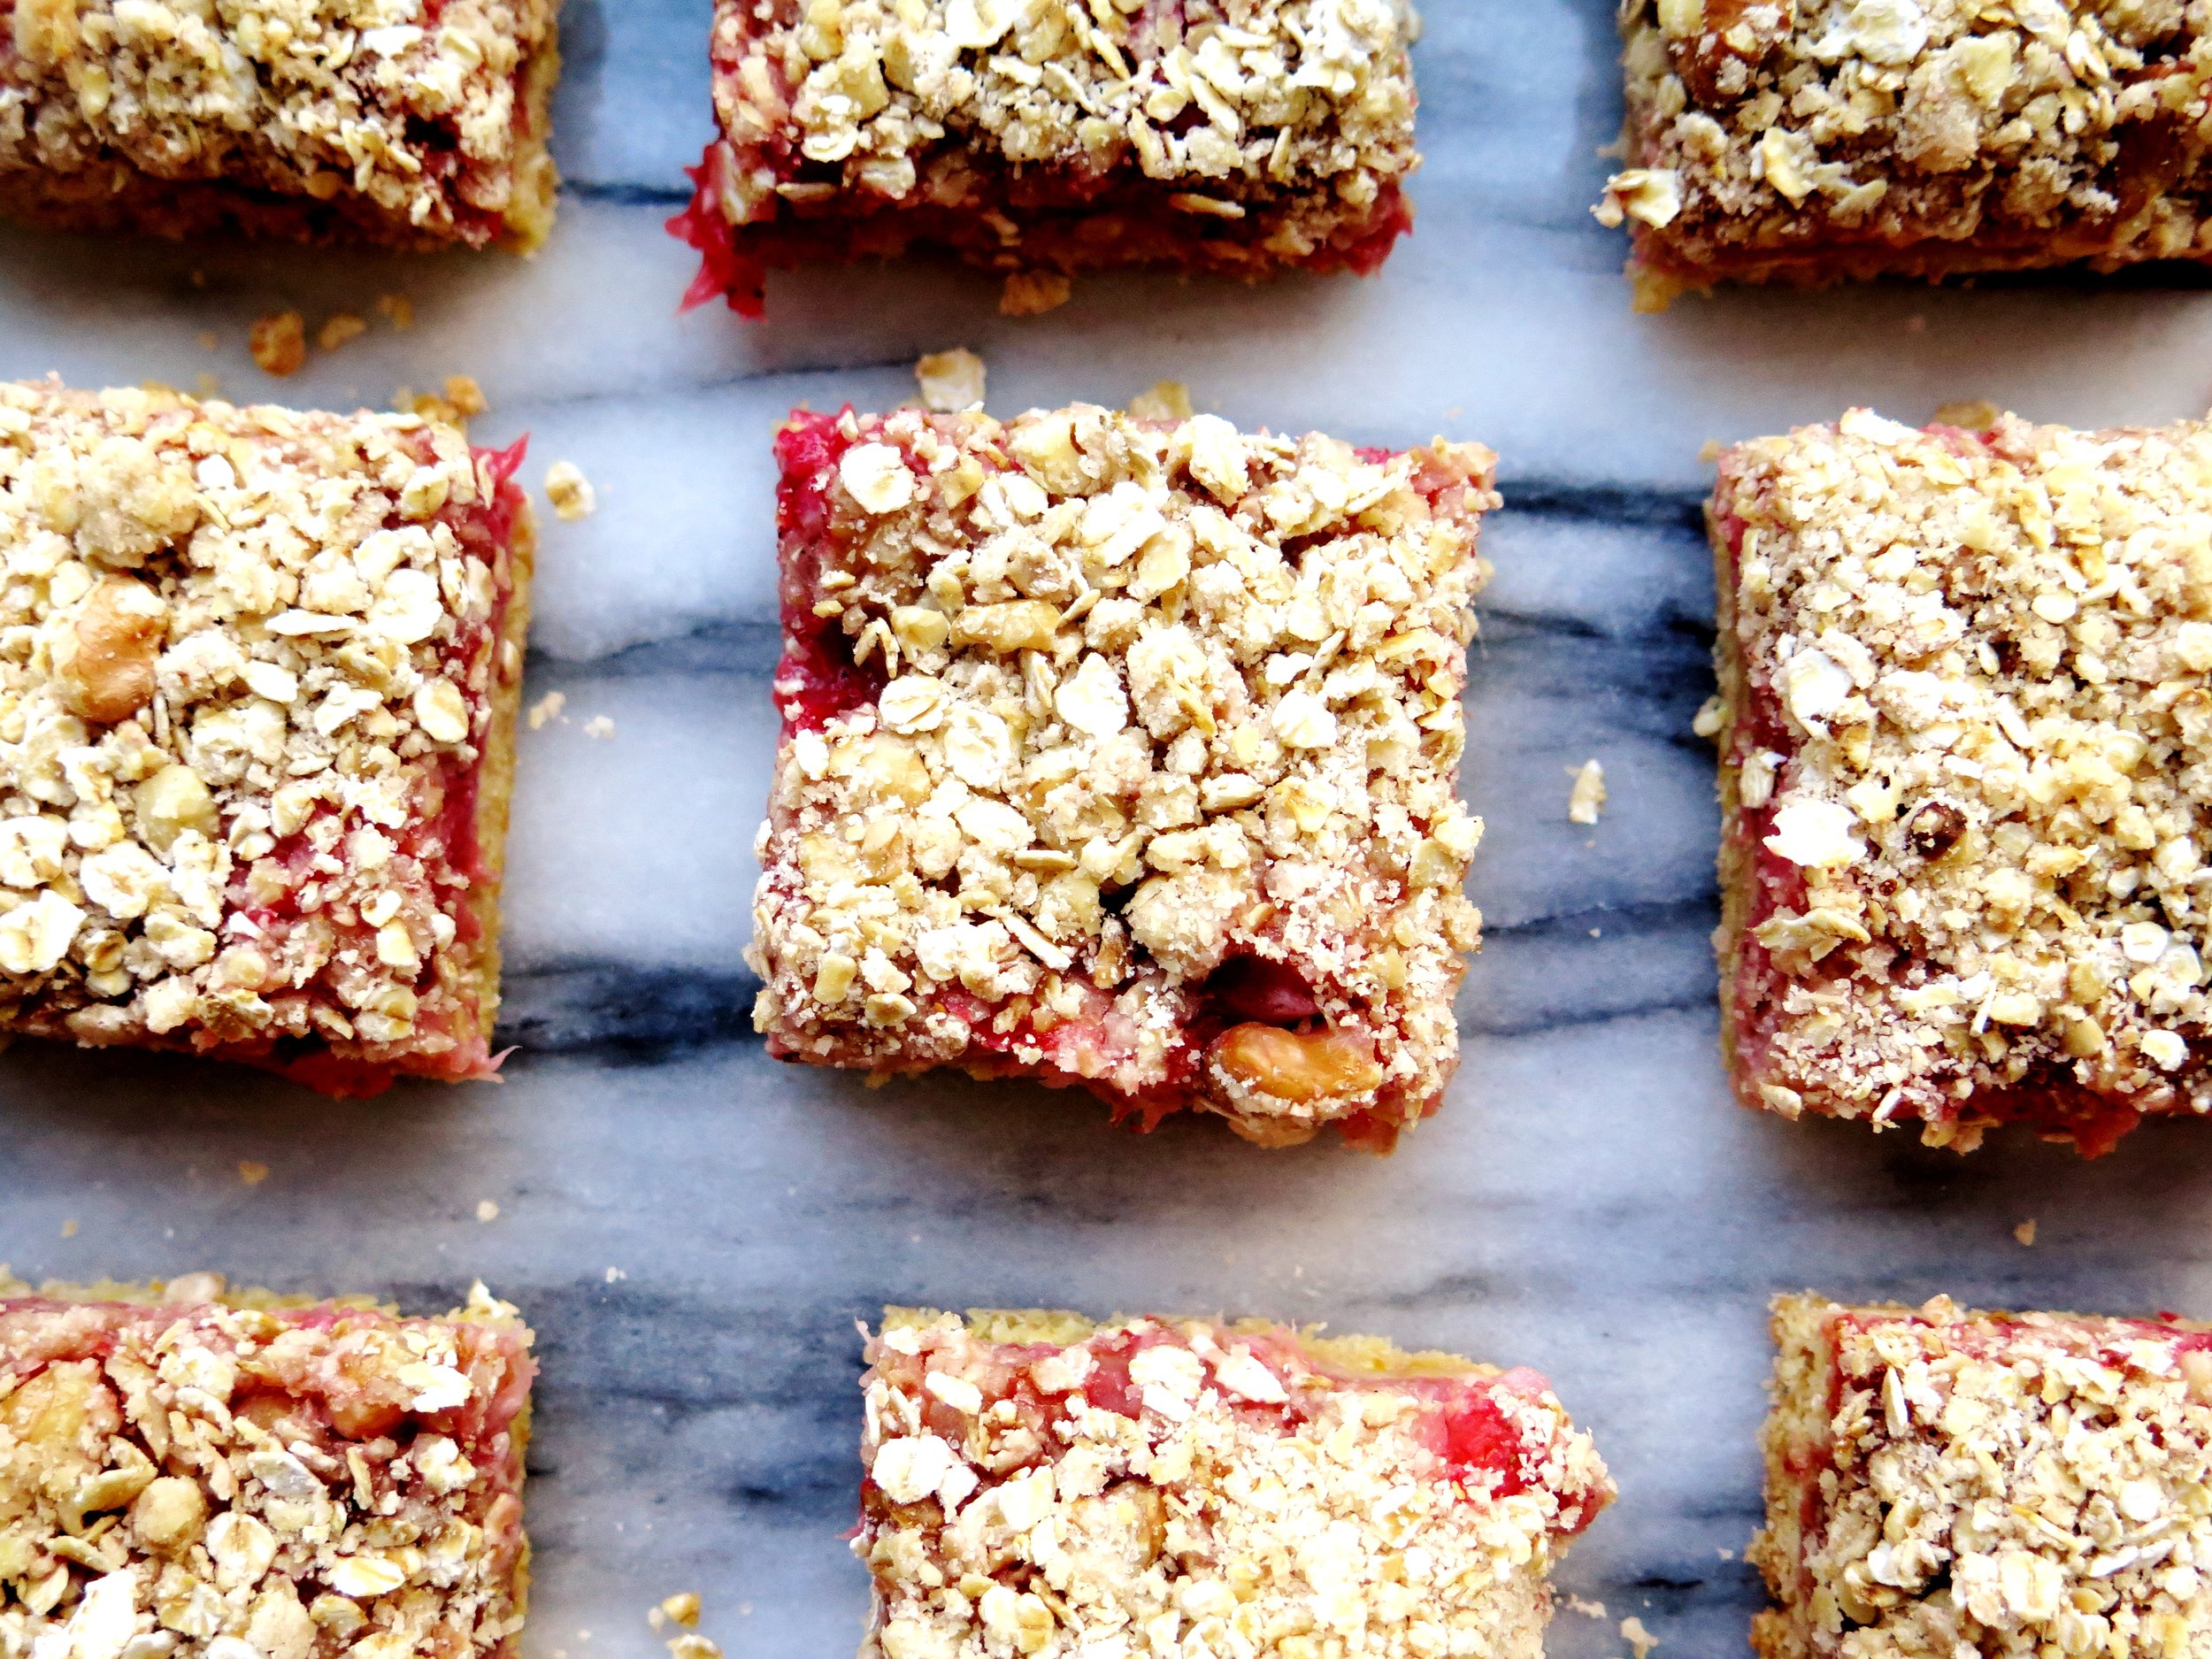
What if you want to extend the experience beyond the comfort of your kitchen i.e. a portable crumble?
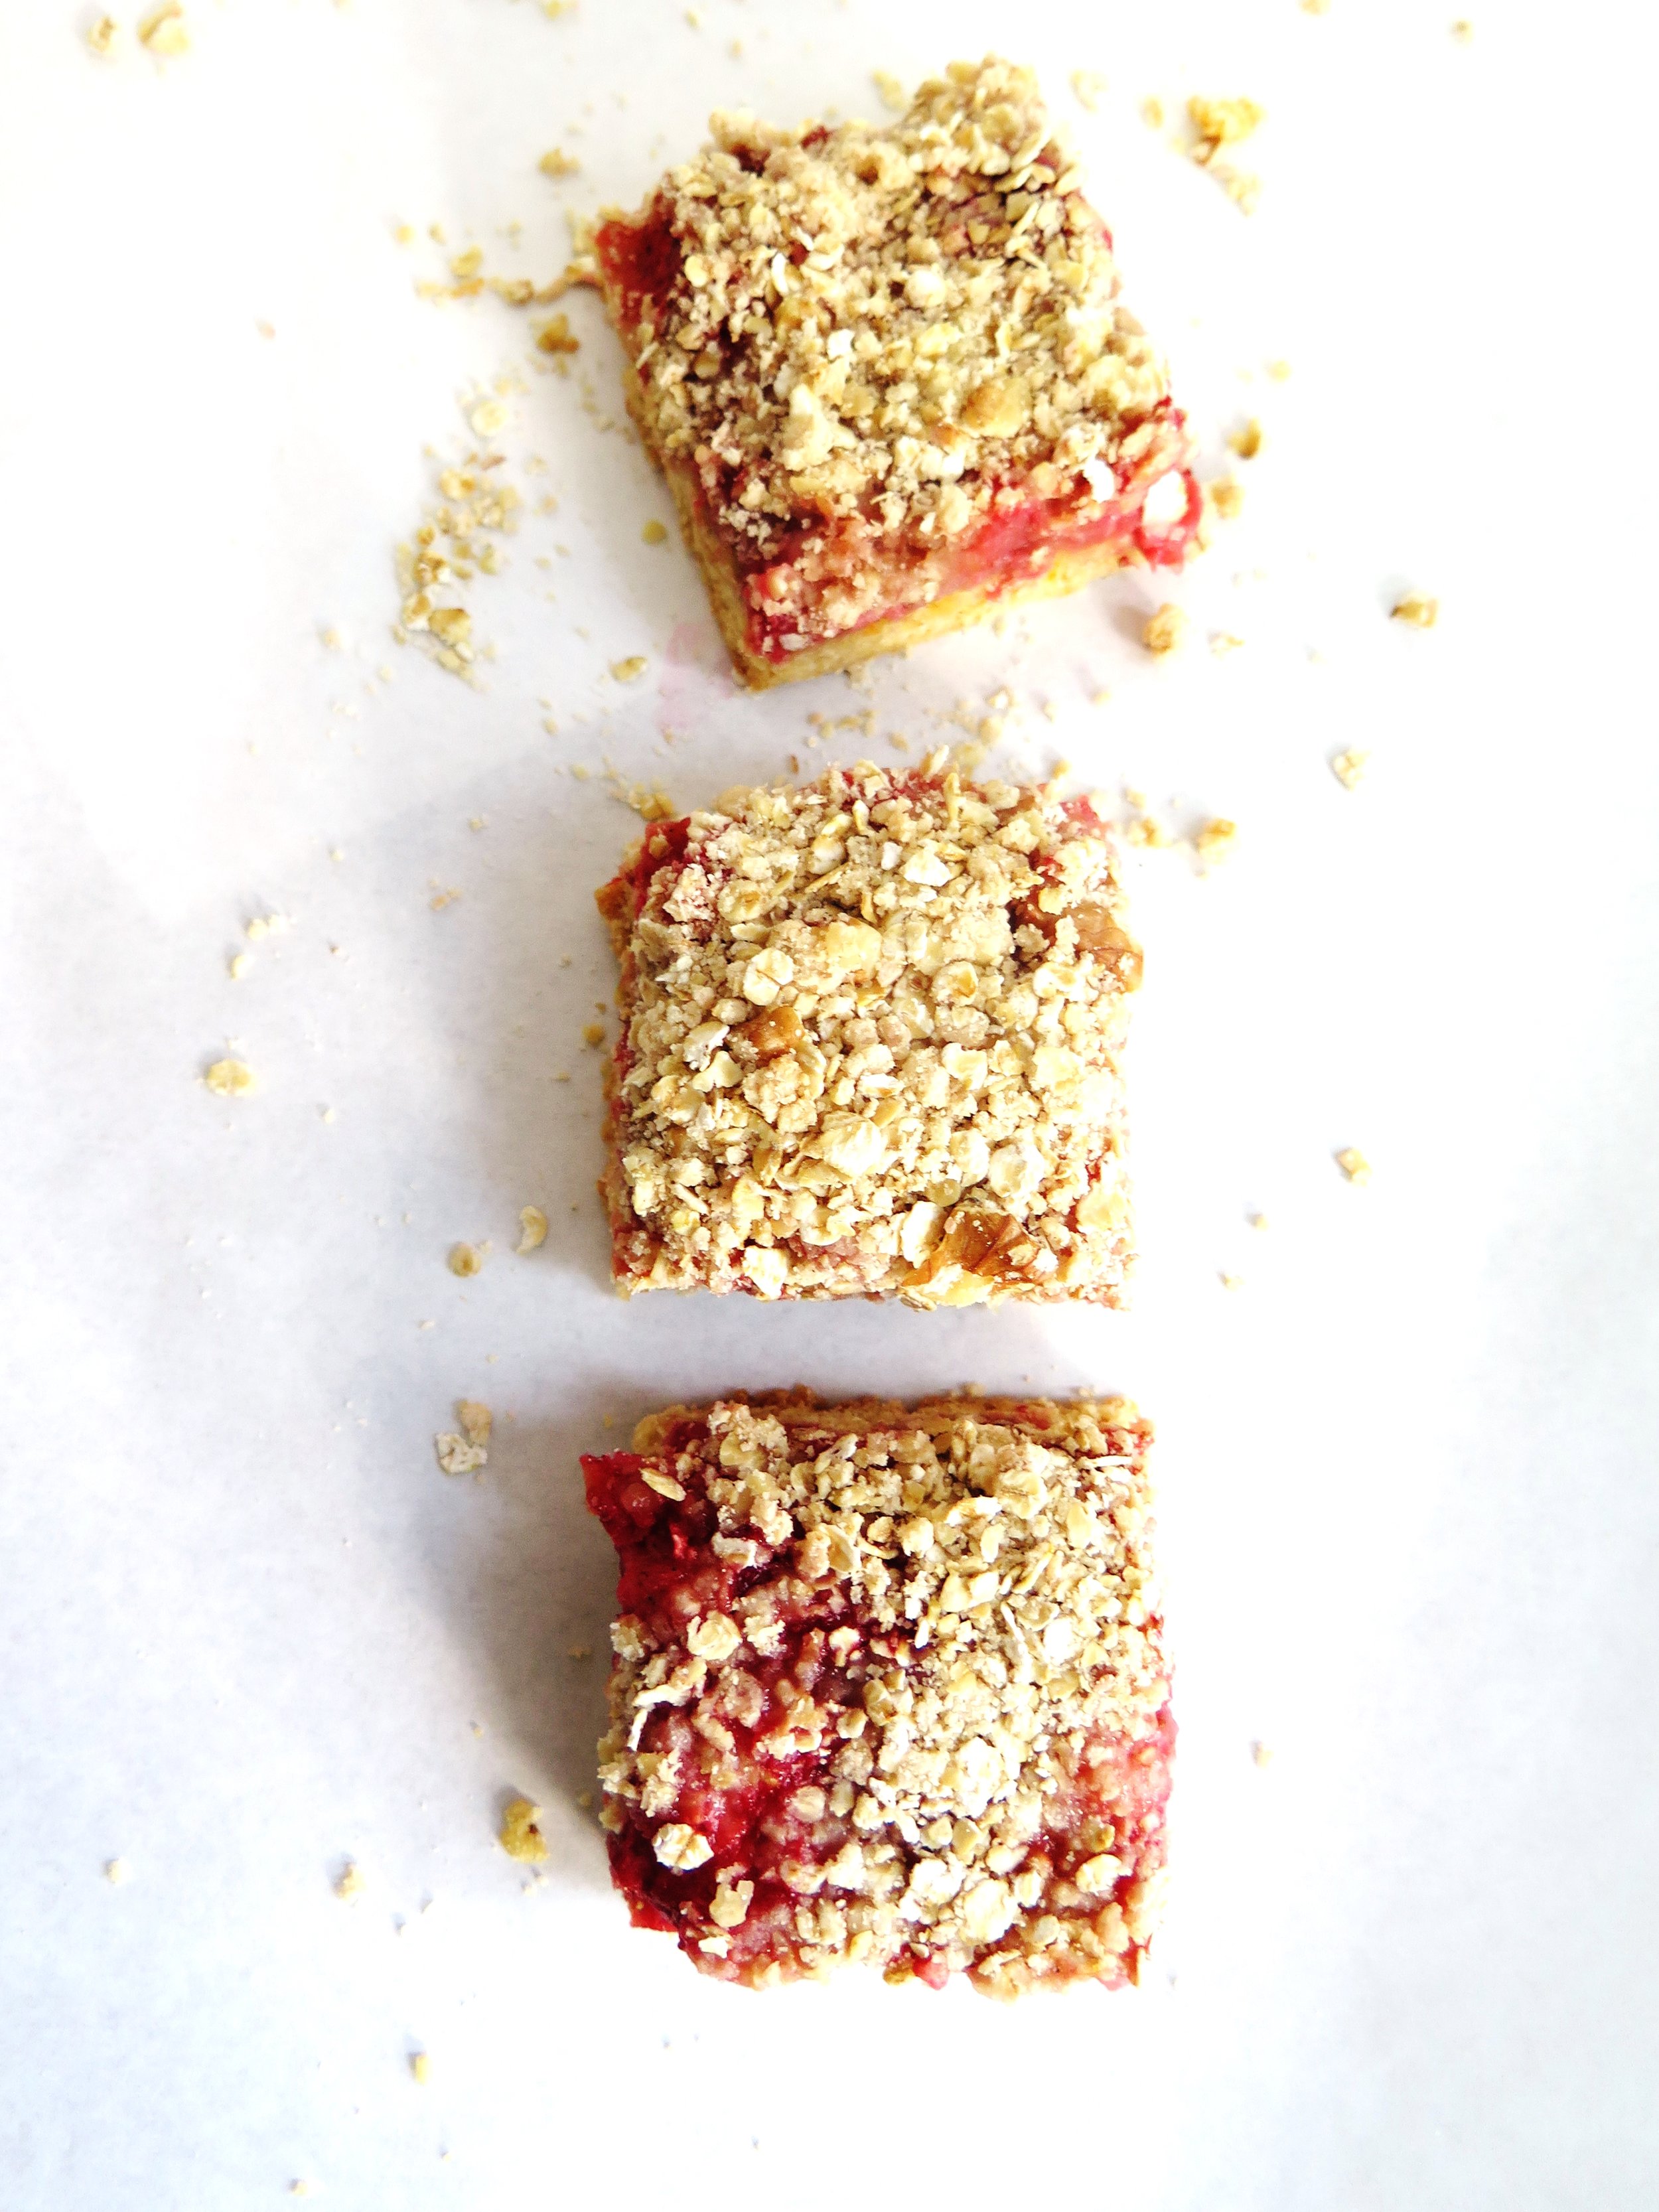
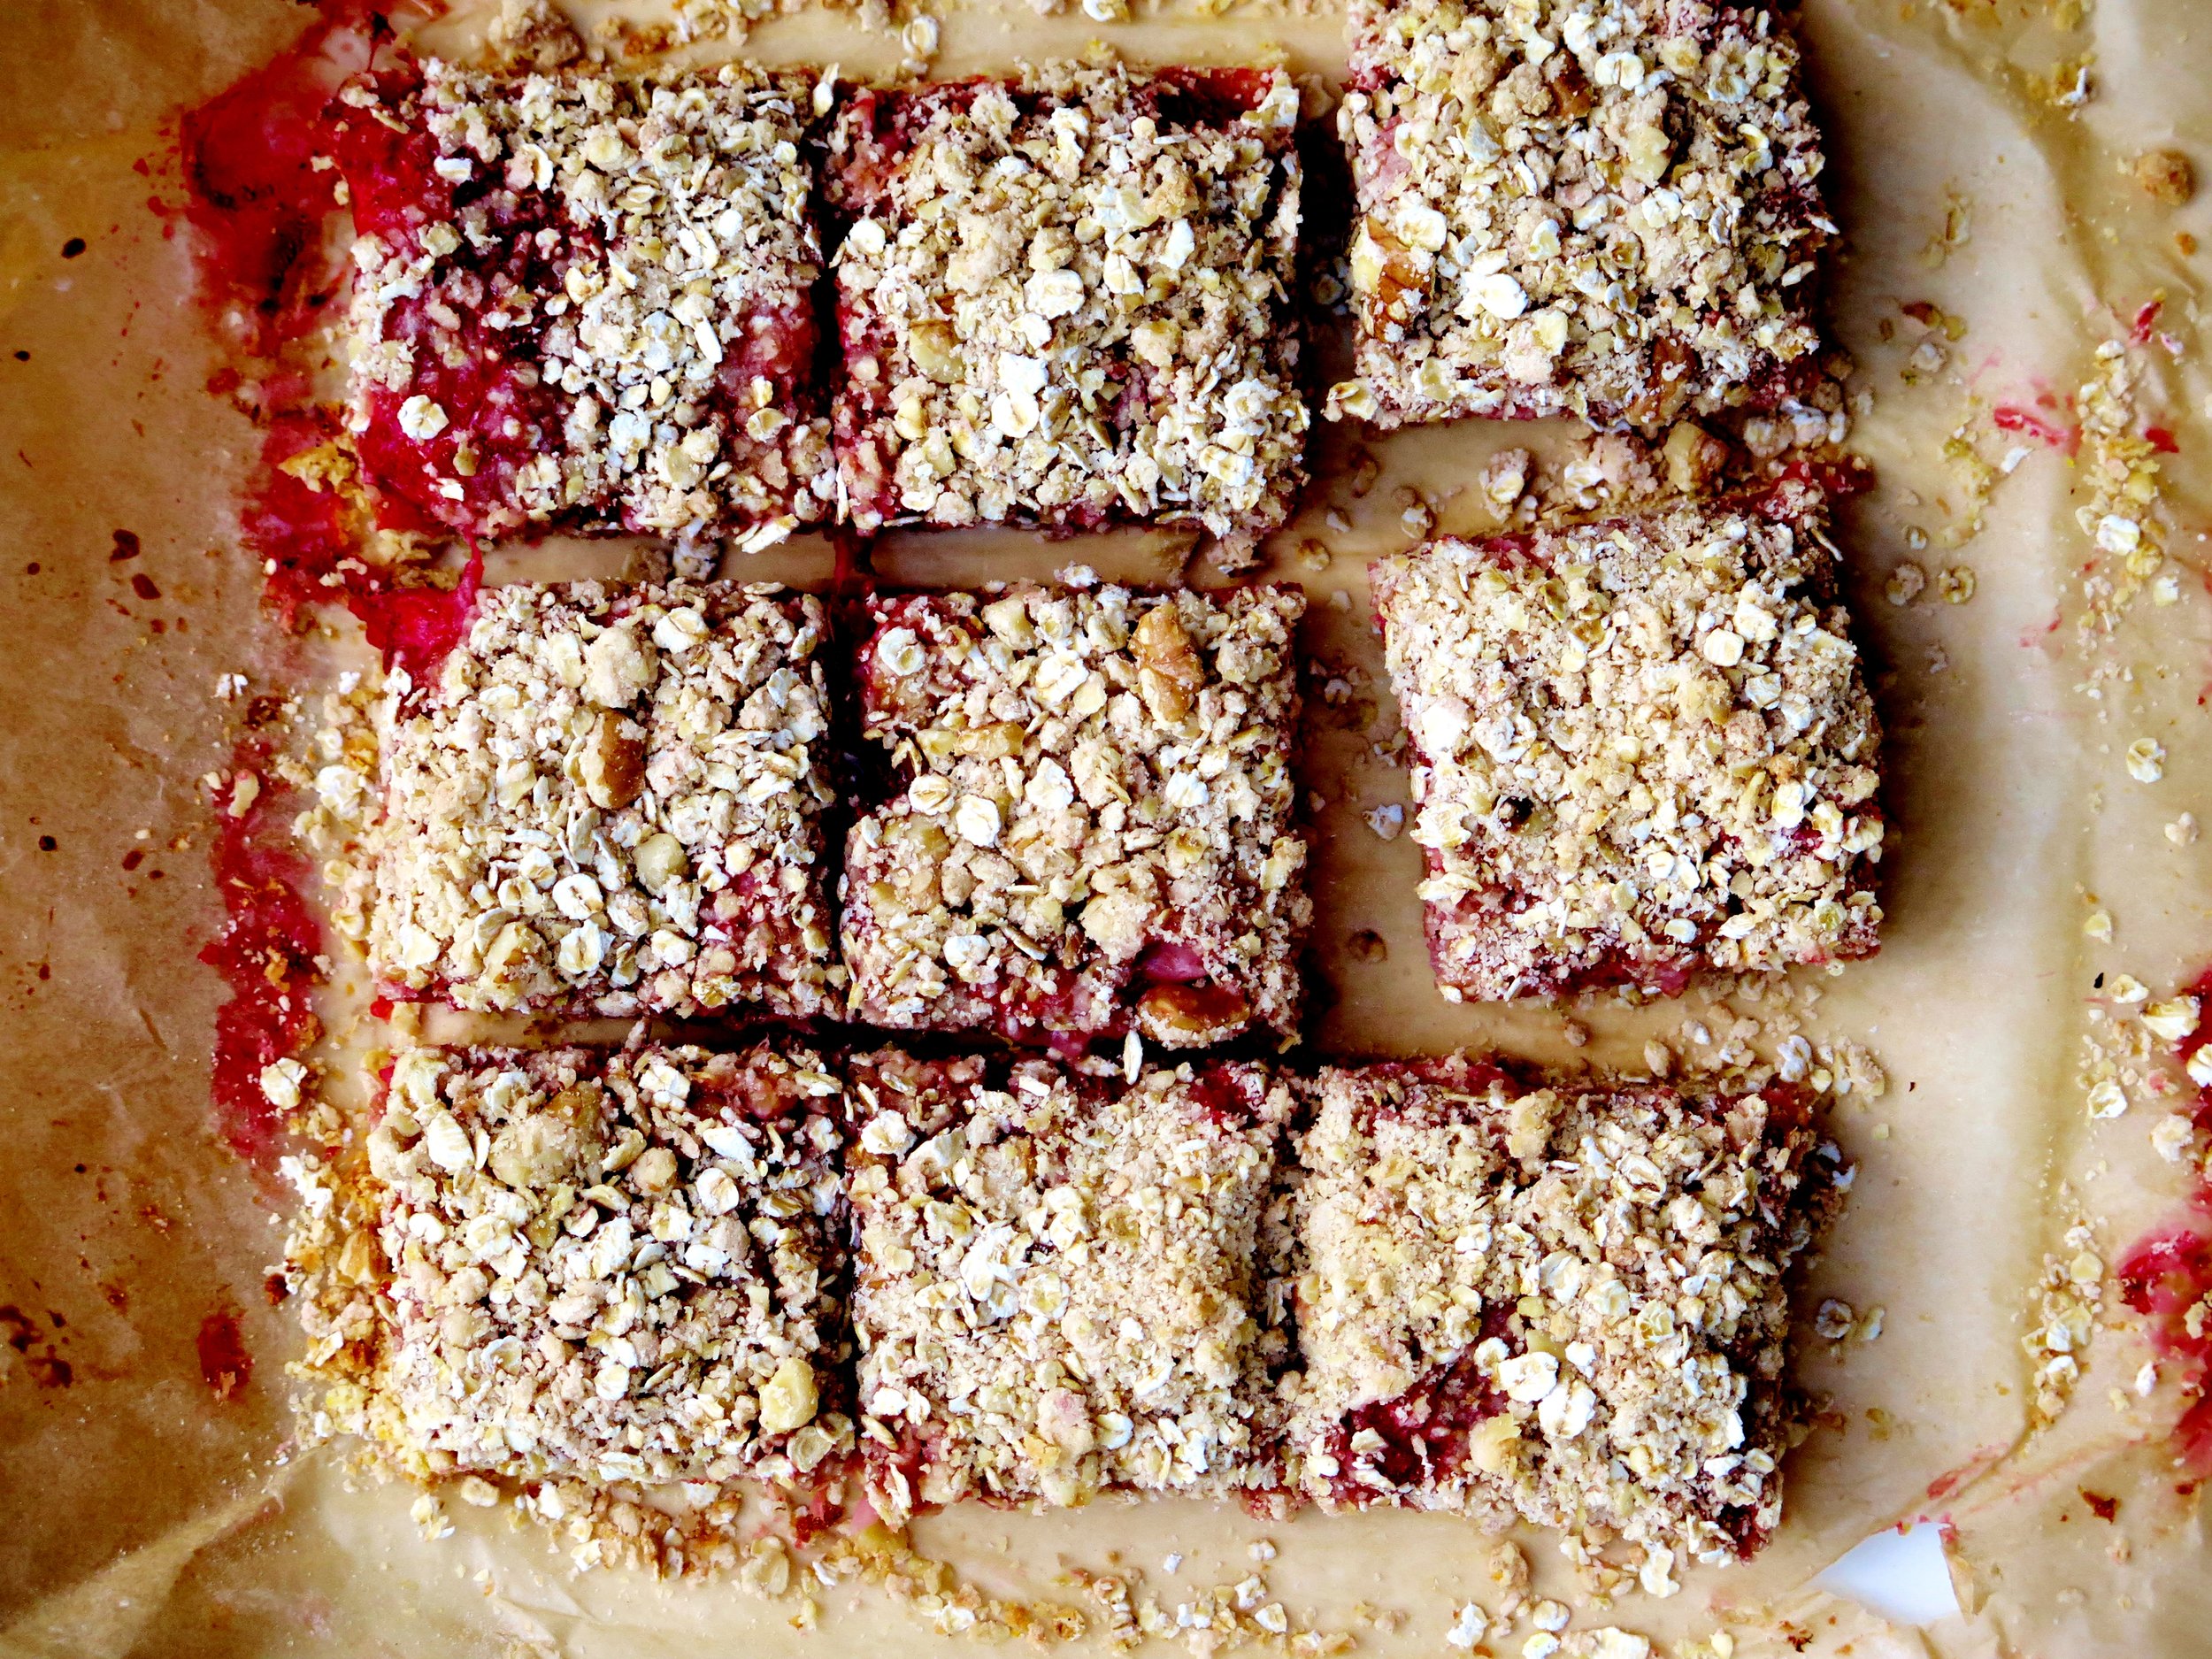
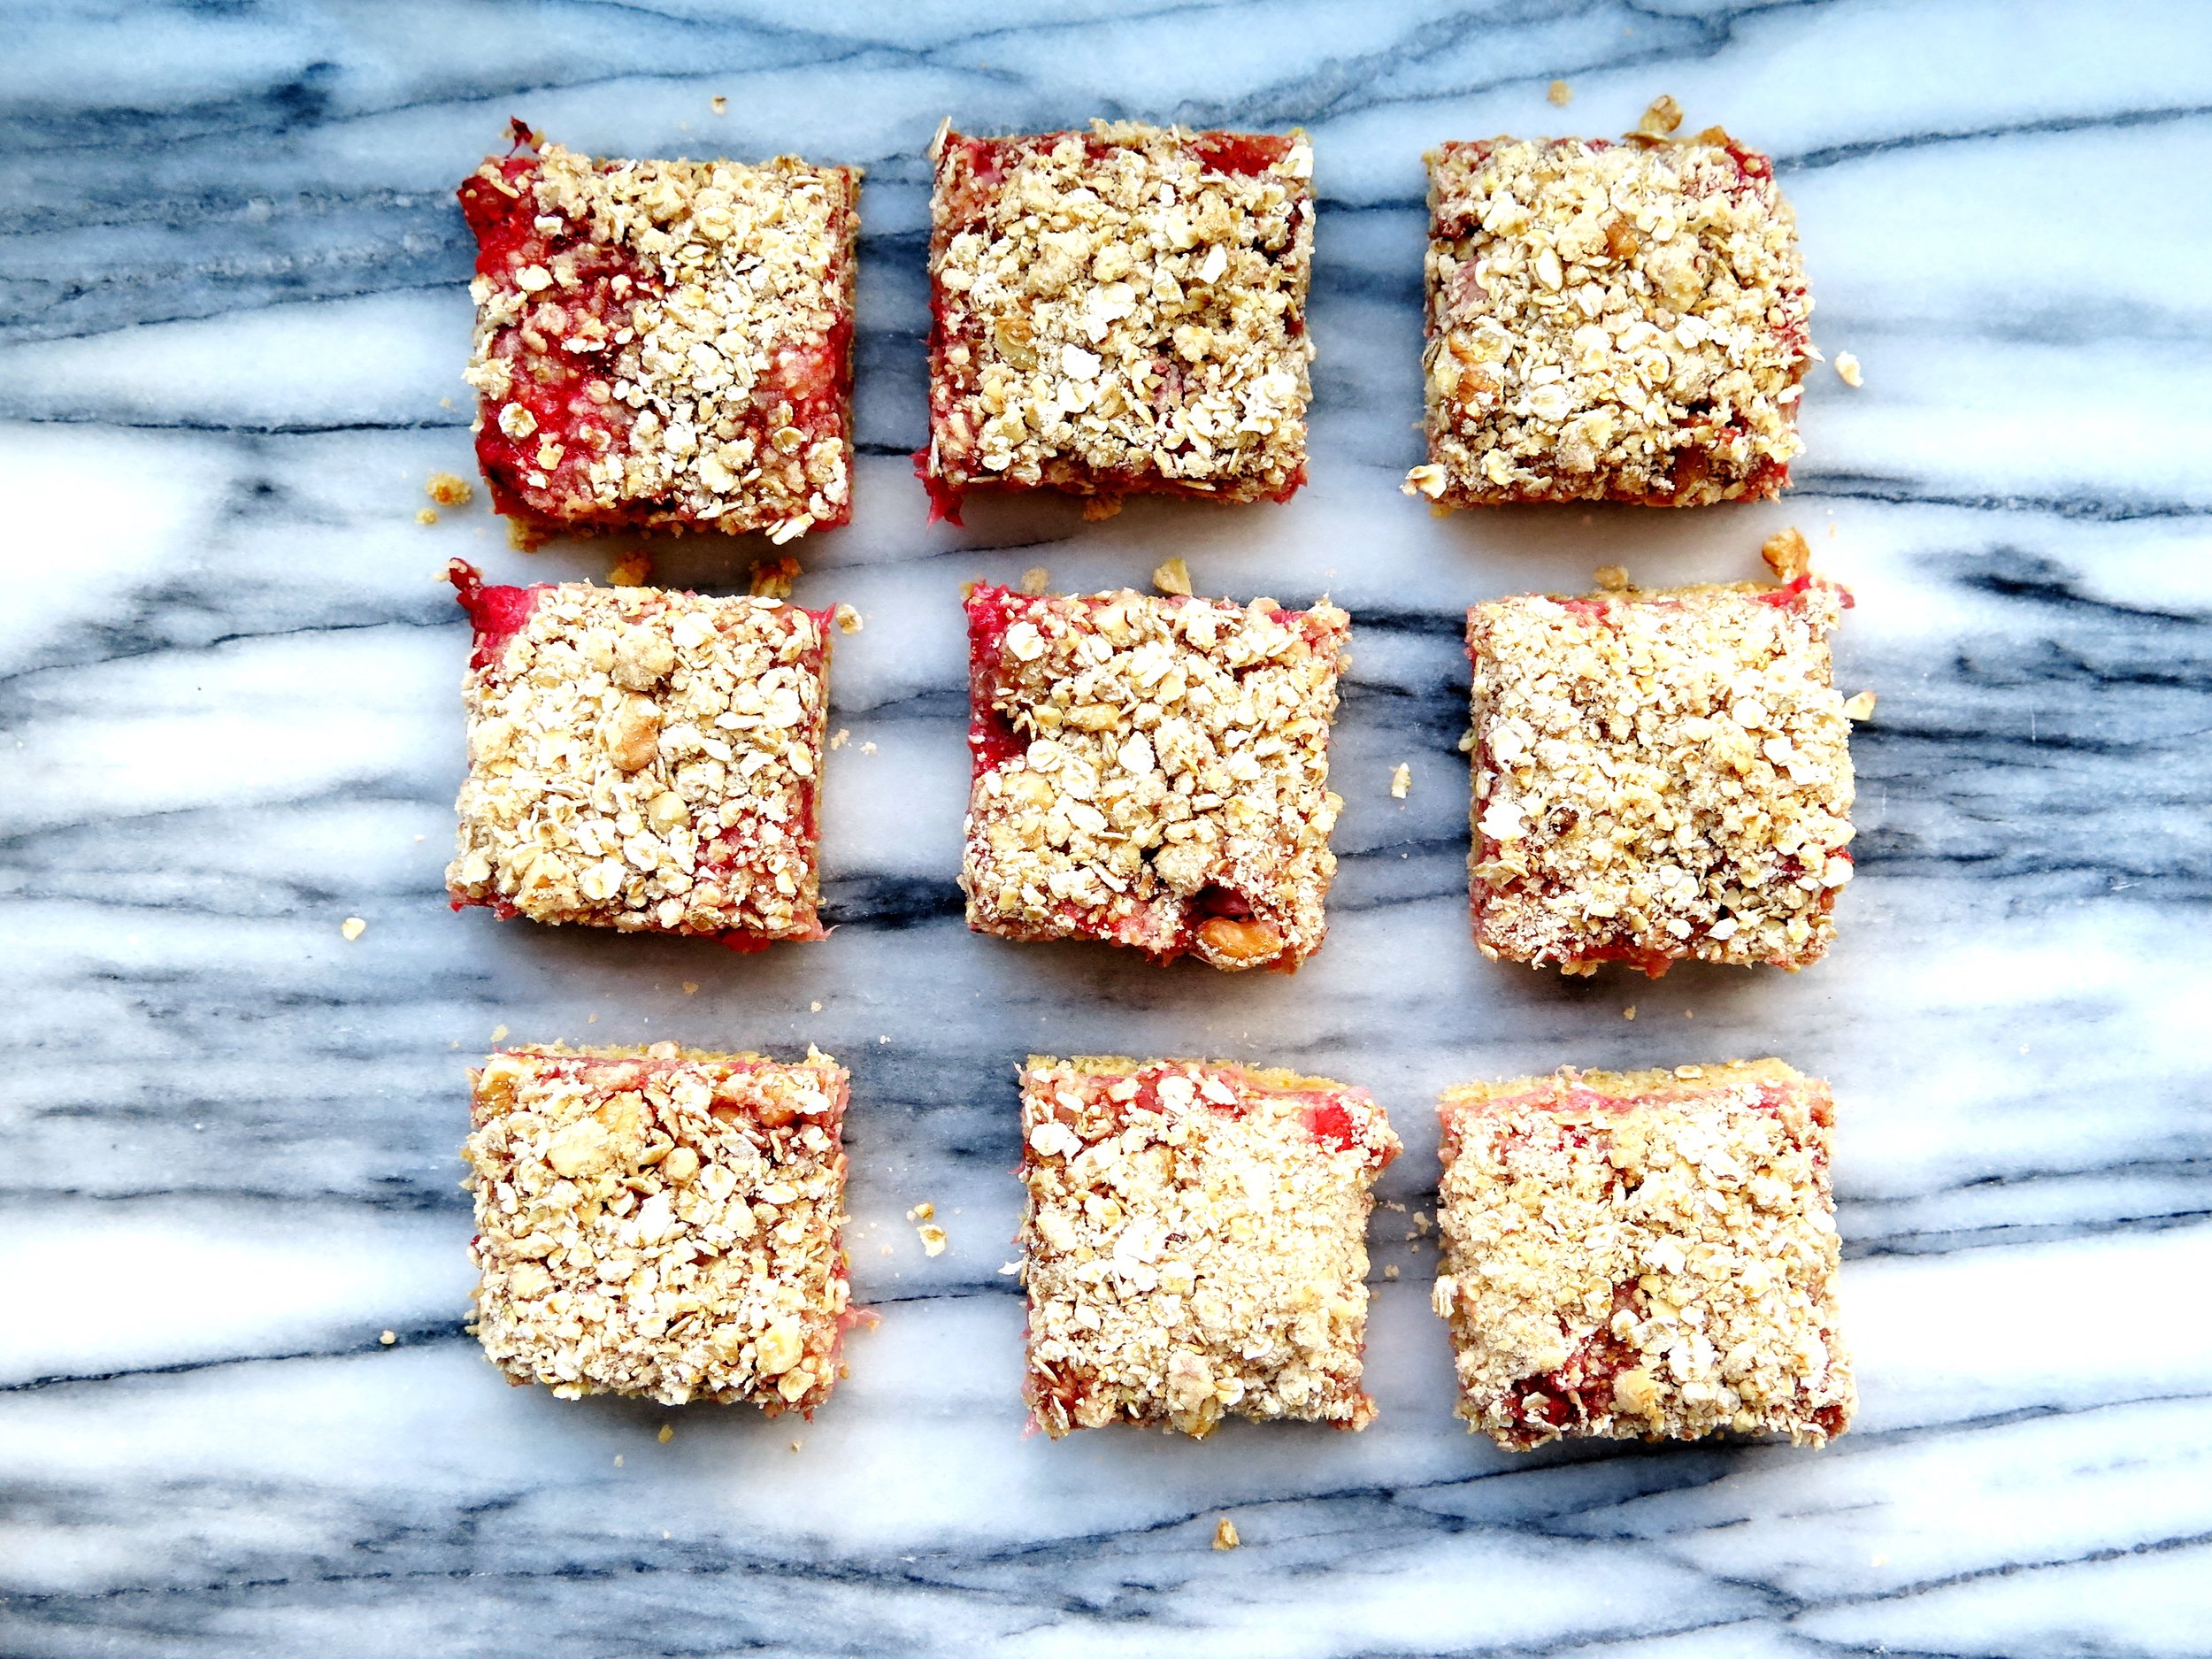
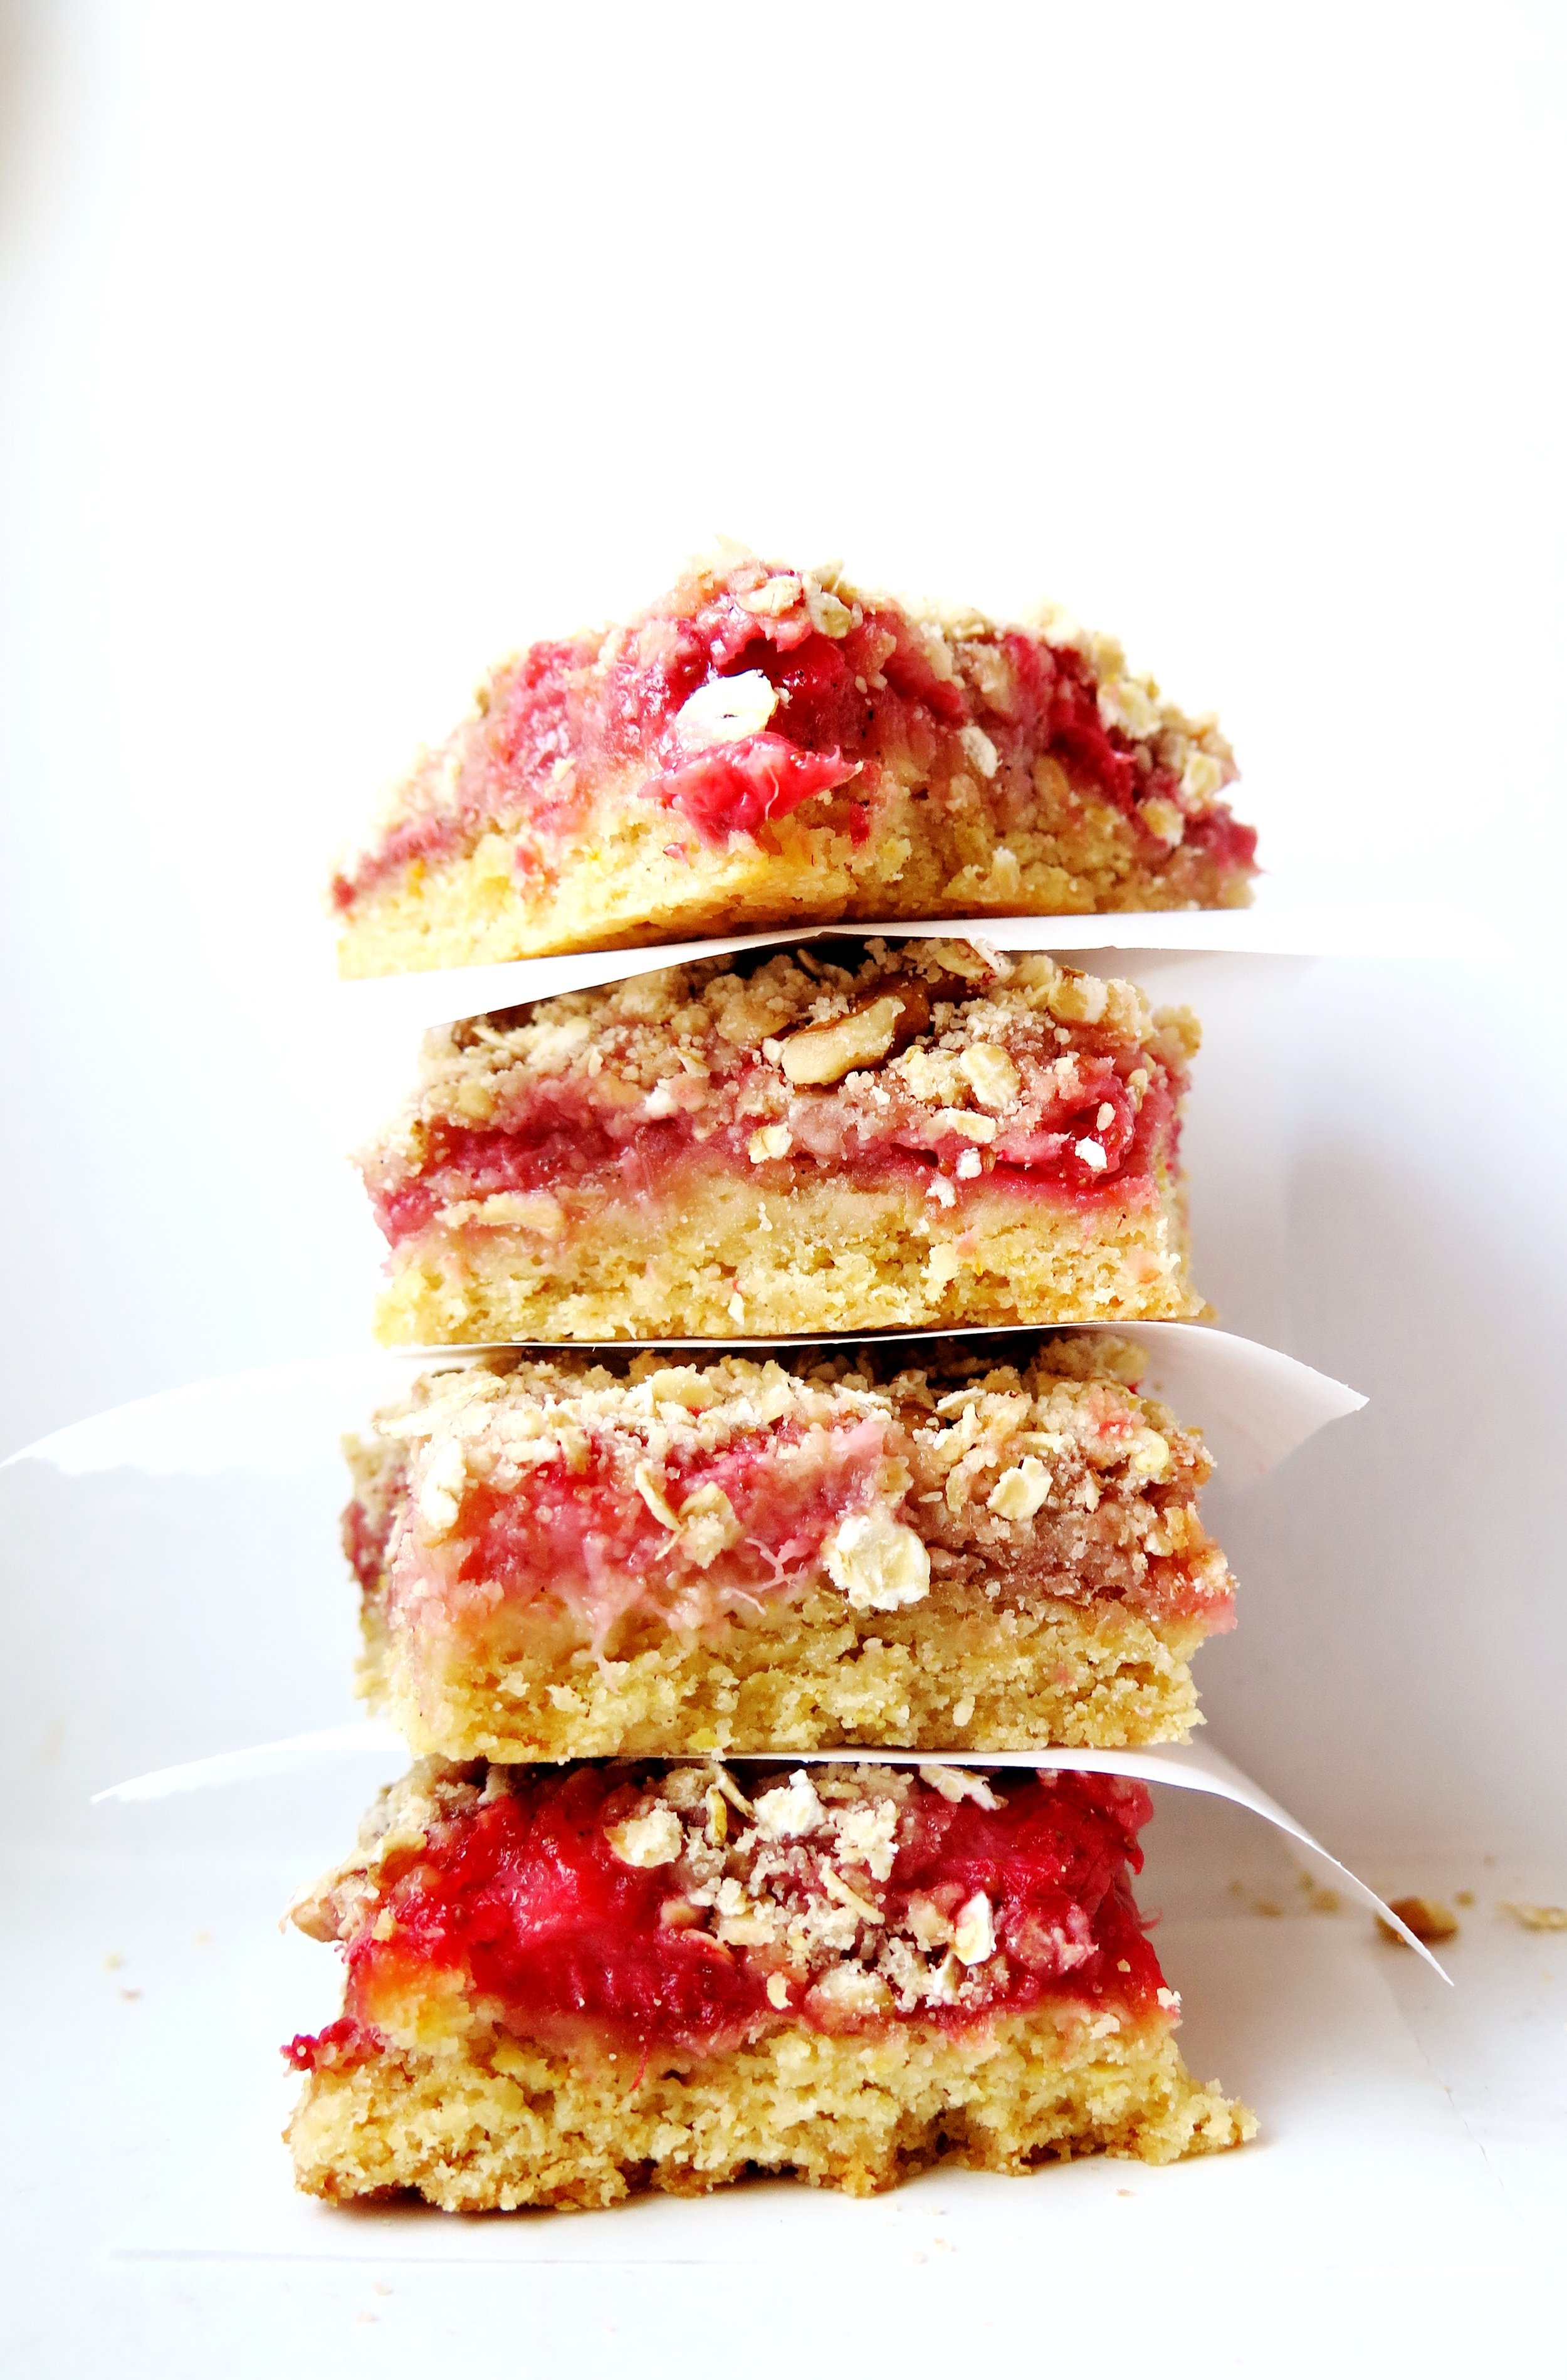
Try these – fruity, nutty, fresh, and summery, with a subtle tang and not overly-sweet. They are extremely quick and easy to make and, more importantly, the crumble–to-fruit ratio is verging on perfect…
Ingredients
Base
115g sugar
½ tsp baking powder
210g white spelt flour (substitute any flour of your choice: plain, gluten-free or otherwise)
115g unsalted butter, roughly chopped
½ egg
¼ tsp salt
Finely grated zest of 1/2 orange
Juice of ½ orange
2 generous cups of strawberries, quartered
1 tbsp sugar
2 tbsp cornstarch
1 tsp vanilla bean paste (substitute with 1 tsp of vanilla bean extract if unavailable)
Crumble topping
20g unsalted butter
40g sugar
70g oats
30g finely chopped walnuts (remove if allergic)
50g white spelt flour (substitute with any flour of your choice, plain, gluten-free or otherwise)
Pinch of salt
20cm x 20cm tin lined with baking parchment (or a pan of similar area)
Method
- Preheat oven to 190˚C. Pour sugar, baking powder, flour, salt, and zest in a blender and pulse to combine. Add butter and egg, and pulse until fully combined and has reached a slightly clumpy, damp sand consistency. Pour this into the lined baking pan, and press down to create an even base layer.
- In a bowl, stir together chopped strawberries, orange juice, orange zest and cornstarch. Sprinkle evenly over the base layer (including the fruit juices.)
- Make the topping by pulsing together the butter, sugar, oats, flour and salt until fully combined and sand-like in texture. Stir in the walnuts, then sprinkle the mixture over the strawberries.
- Bake in oven for 30 – 40 minutes until the top is golden brown and the base is cooked through. Make sure to check after 20 minutes - you may need to cover the crumble with tin foil to prevent the top from catching (depending on your oven’s temperament). Once cooked, remove from the oven and slice into squares. Eat immediately or later.
Is it just me, or is anyone else sick of logging on to Facebook, innocently hoping to drain away half an hour of one’s day (minimum) by looking at pictures of people one may or may not have half met once trying to prove how much fun they are having by posting pictures of themselves with friends/family, strained smiles stretched across their faces, and who are clearly not that immersed in the fun as they have had to spend half an hour trying to get one decent picture out of the hundred they’ve taken to emblazon it across their Facebook wall and maybe, just maybe, turn it into a cover photo?
And then – BAM - your gaze is diverted,
and you are staring down into the depths of a garishly coloured plastic bowl filled with some unidentifiable artificial gunk, pink fleshy hands massaging some other substance into it to form some putty-like emulsion which is then mushed and squeezed and squidged into a plastic mould, whizzed up, and extruded through a bag and…… oh look, it’s that Gooey Oreo, Jellied Eel and Green Marshmallow Mini Coffee Cup that “you’ve always wanted to make for your slumber party with the gals”.
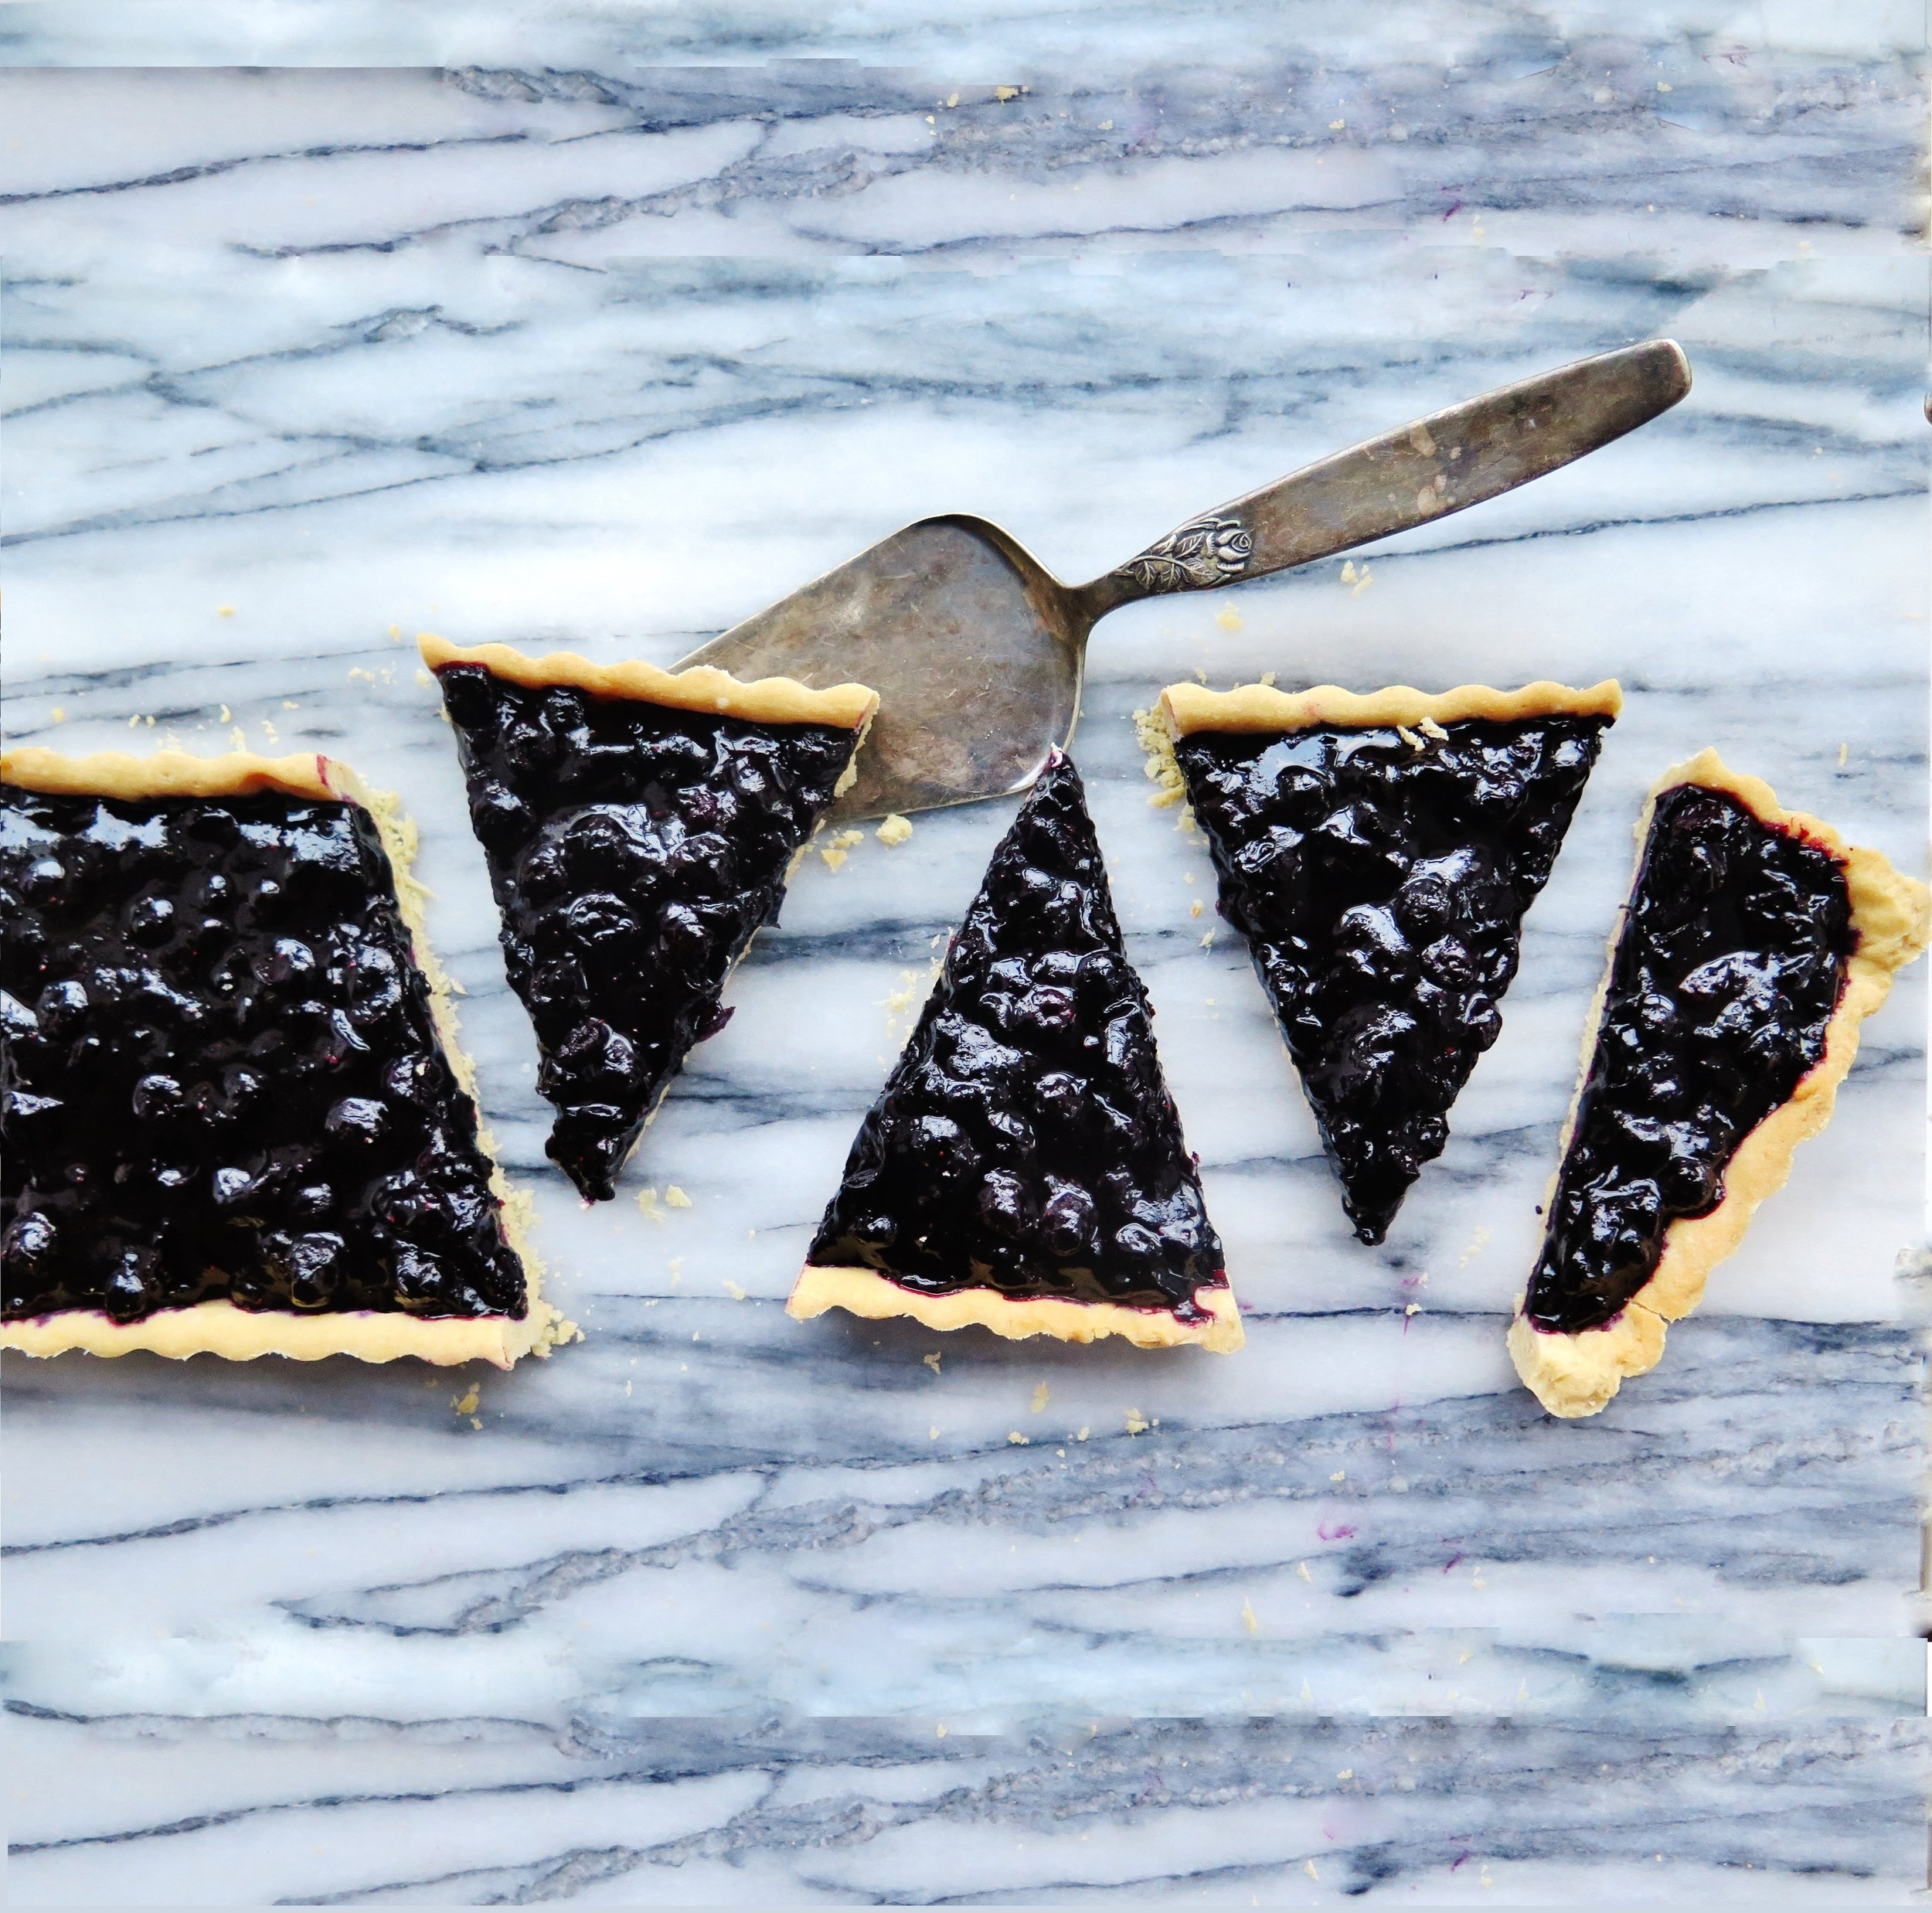
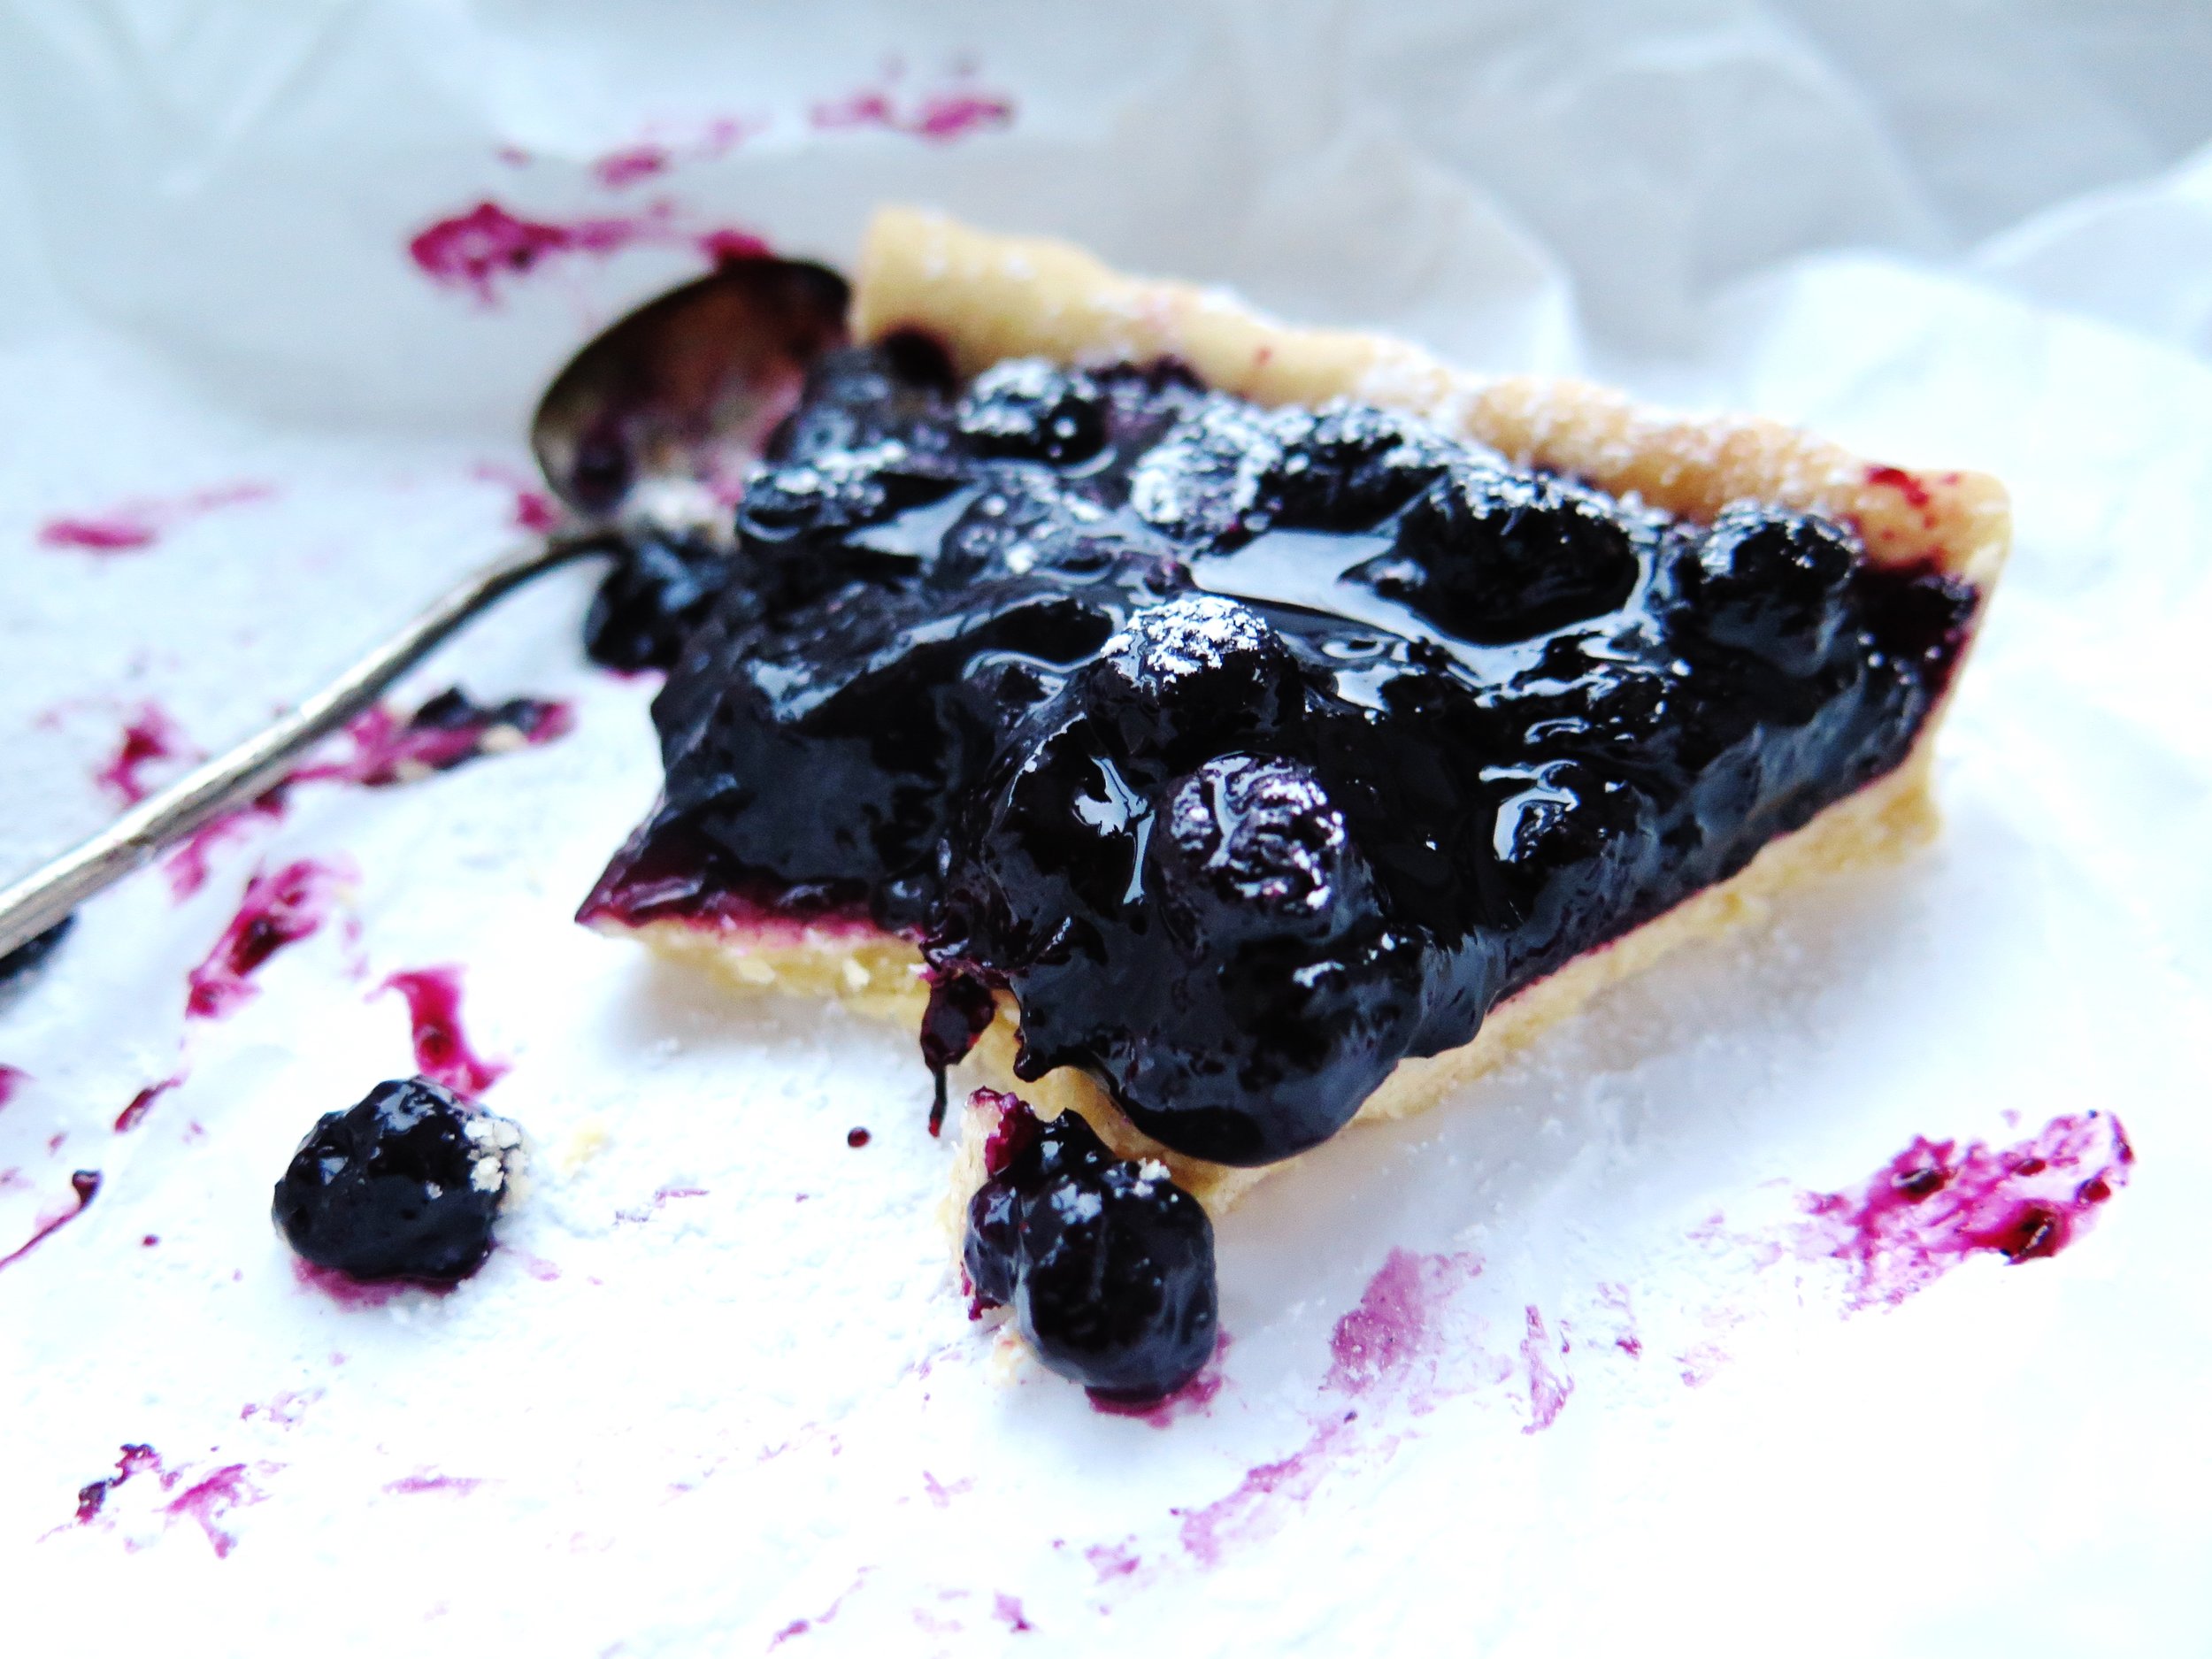
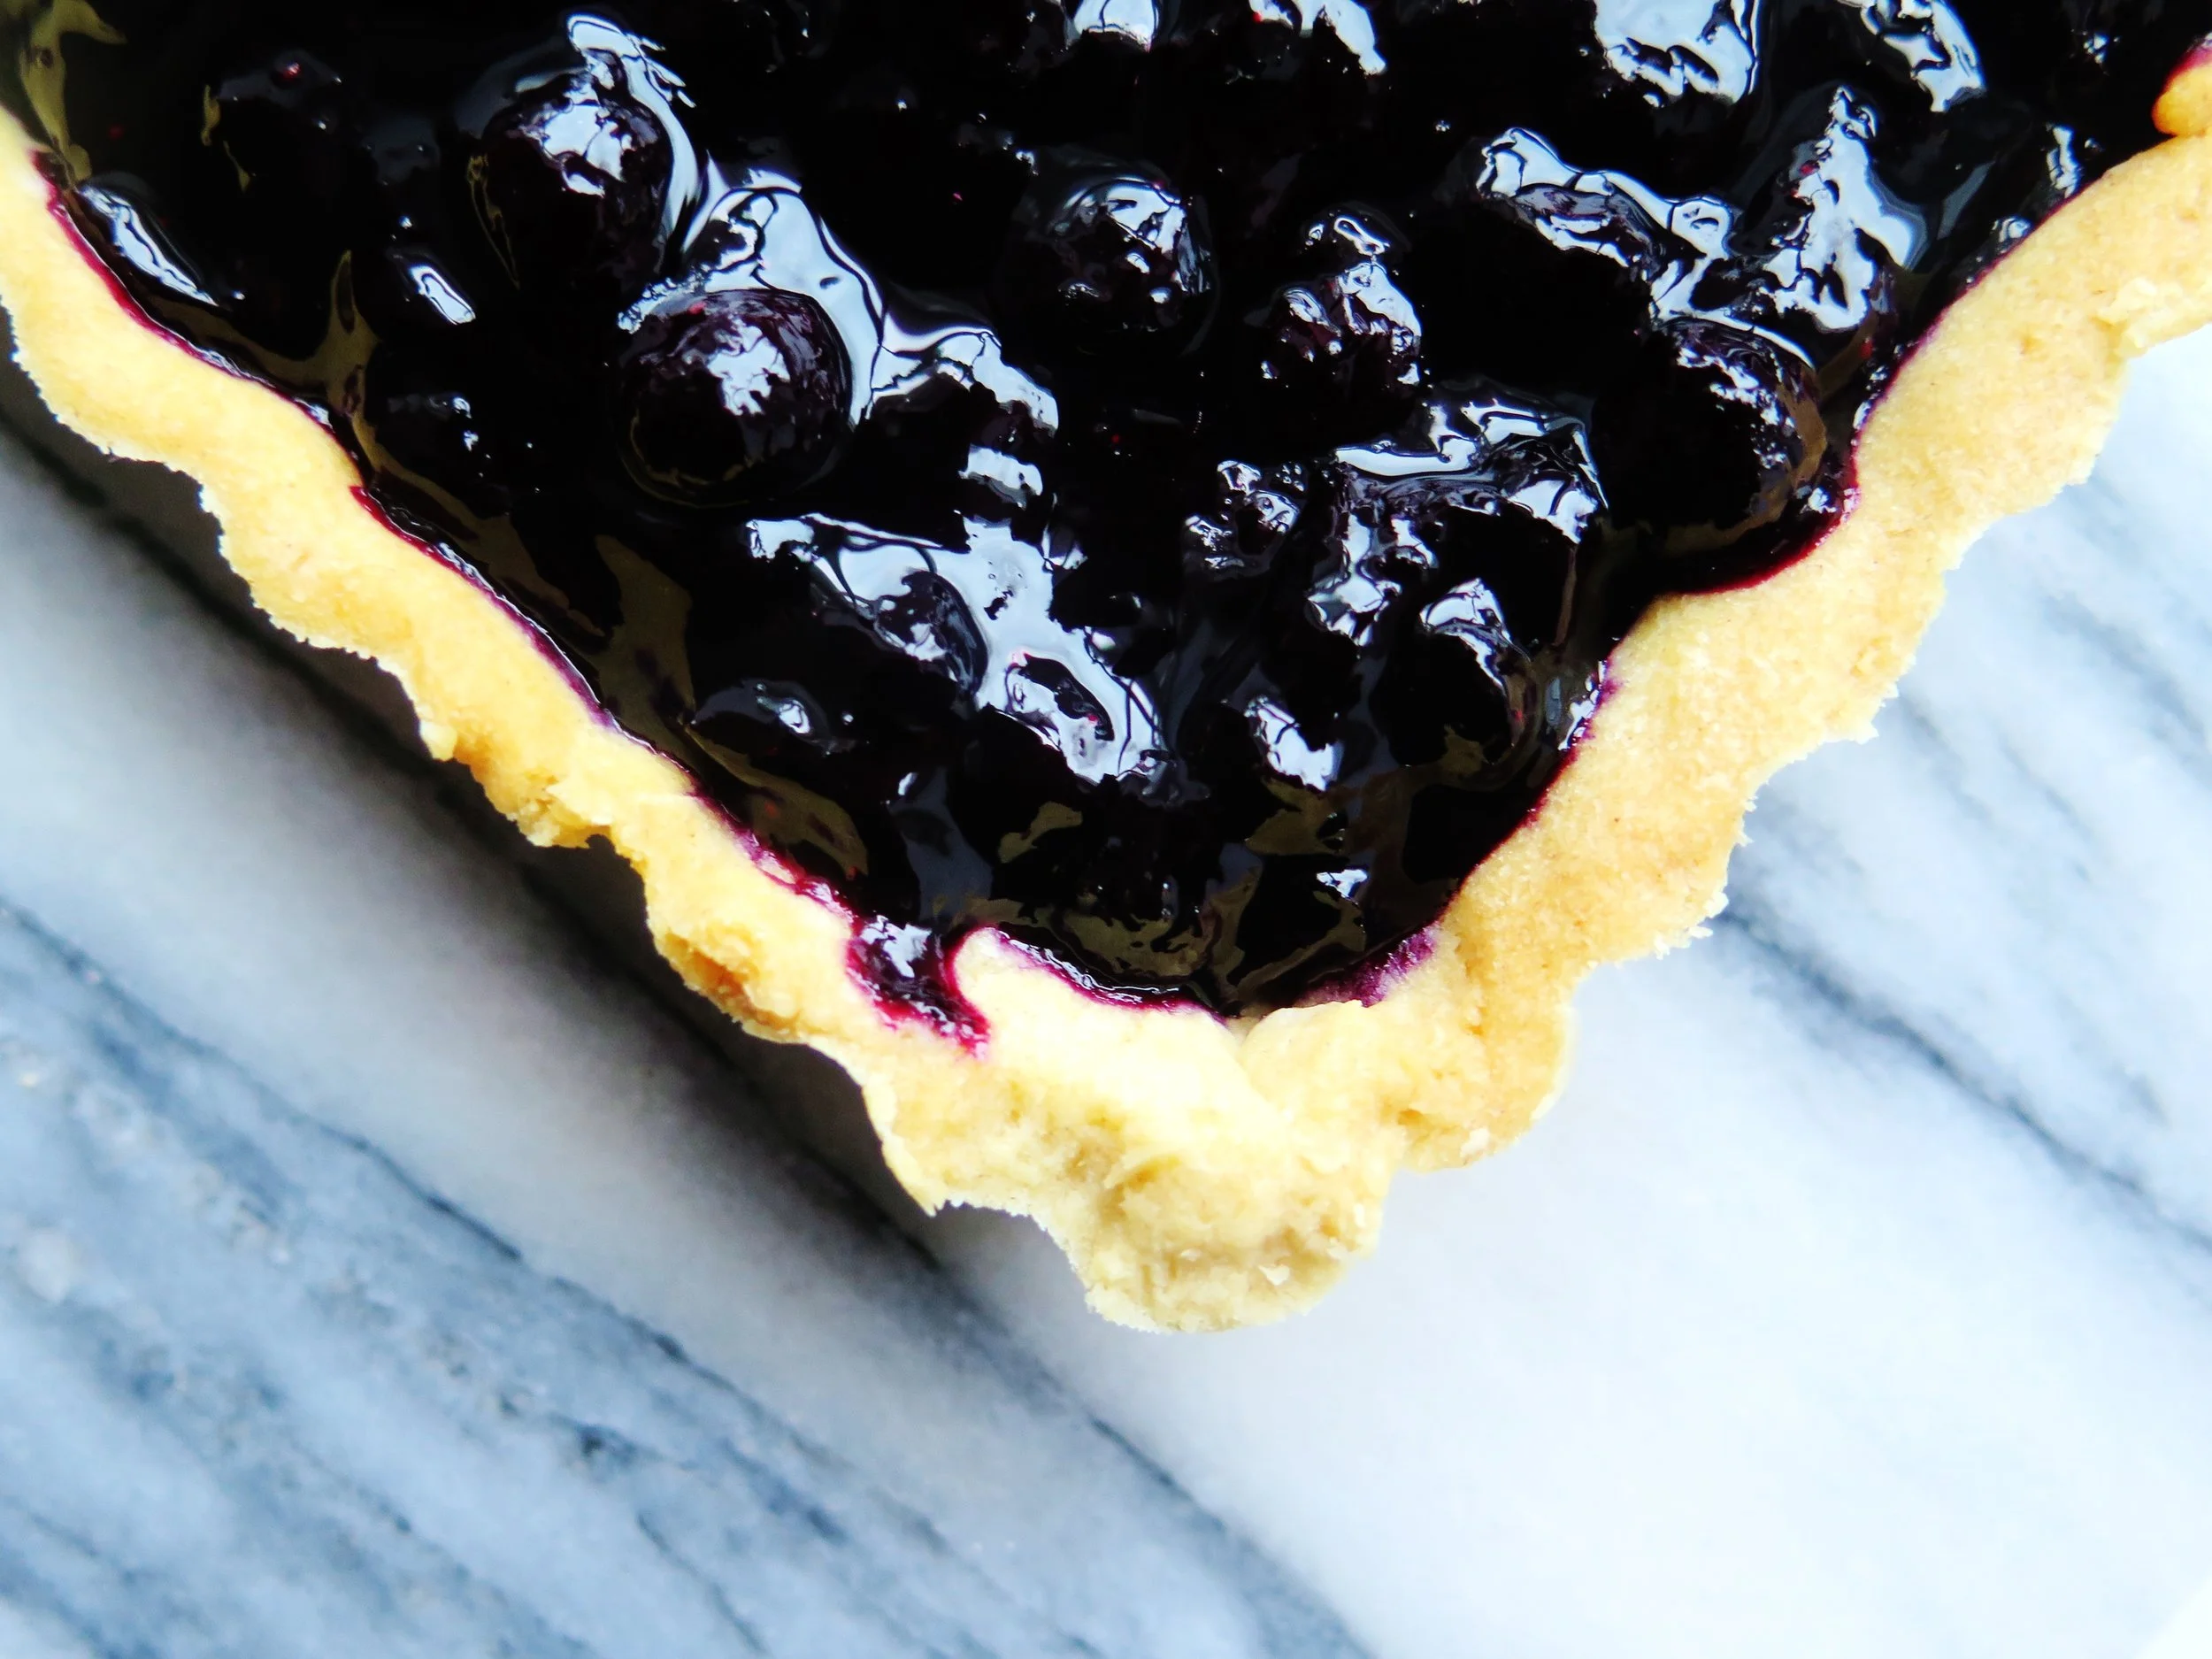
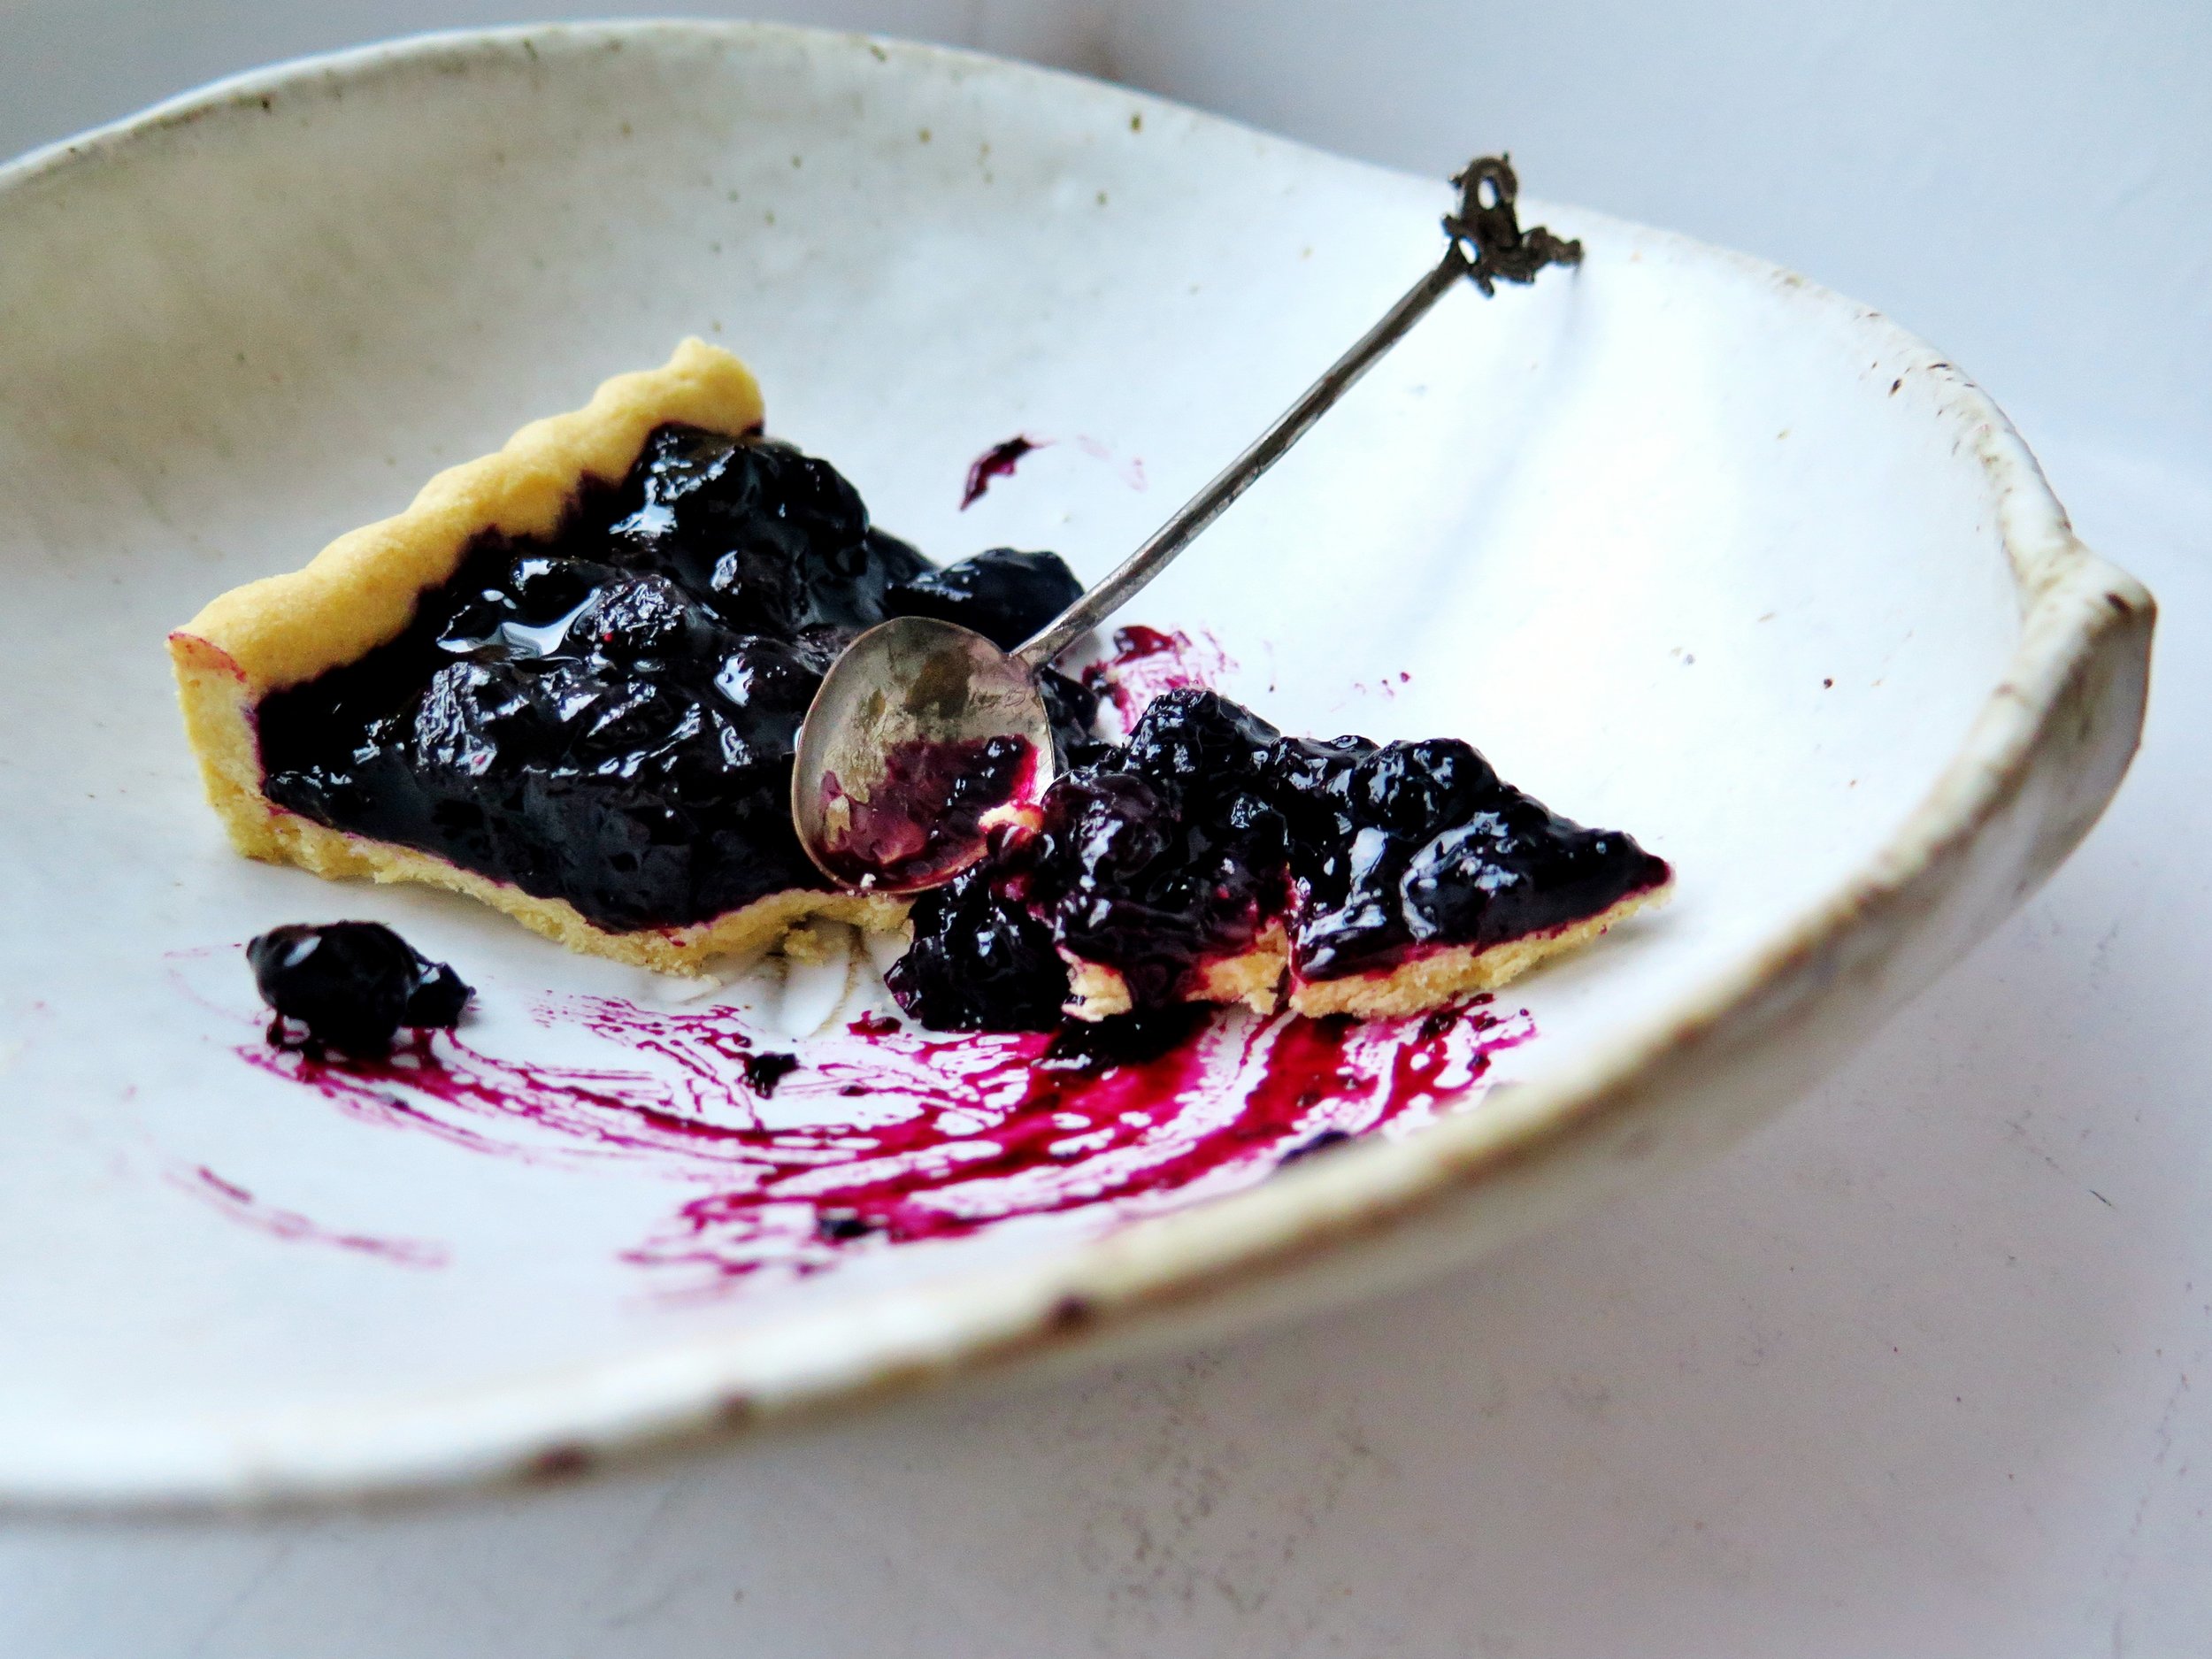
Here’s an antidote. It is simple yet sophisticated, humble yet sumptuous, tangy but not cloyingly sweet, and light yet not so light when you’ve had 4+ pieces….
Ingredients
Pastry
200g white spelt flour (can be substituted with plain flour)
100g butter, roughly cubed
2 tbsp icing sugar
¼ tsp salt
1 small egg, beaten
12 x 36cm tart tin, greased and dusted with flour
Blueberry filling
800g frozen blueberries
250g caster sugar
1 tsp cinnamon
½ tsp nutmeg
2 tbsp cornflour
Zest of ½ medium sized orange
Method
- Place flour, butter, icing sugar and salt in a food processor, and blitz until it resembles damp sand. Pour in the beaten egg, and pulse until the mixture combines to form a soft dough. Remove from the processor, wrap in baking parchment and place in the fridge for half an hour (or freezer for 10-15 minutes) – this will prevent the dough from shrinking when it bakes.
- Preheat the oven to 180˚C. Lightly dust a surface with flour and roll out the dough in a rough rectangle to 0.5cm thickness. Roll the pastry around a rolling pin and transfer to the tin, pressing it into the fluting (if, indeed, your tin is fluted). Run a knife along the top edge of the tin to remove excess pastry. Prick the base of the pastry a few times with a fork, and place back in the fridge for 30 minutes (or freezer for 10 minutes).
- Prepare the pastry for blind baking by lining the inside with a sheet of tin foil and filling it with baking beads to weigh it down while it bakes and to prevent it from shrinking. Place in the oven for 15-20 minutes until the pastry is dry and beginning to turn golden. If it is cooking too slowly, you can remove the beads and tin foil after 15 minutes and continue to bake. Remove from oven and set aside to cool.
- To make the spiced blueberry filling, place a large pan over a high heat and pour in all the ingredients. Stir continuously until the sugar is dissolved in the juice that runs off the blueberries. When the mixture begins to boil, reduce the heat to medium-high and allow to simmer for 20-30 minutes, stirring occasionally to prevent it from catching, until the liquid is almost completely reduced and with the viscosity somewhere between a syrup and a jam. Allow to cool to room temperature, then pour into the pre-baked pastry case.
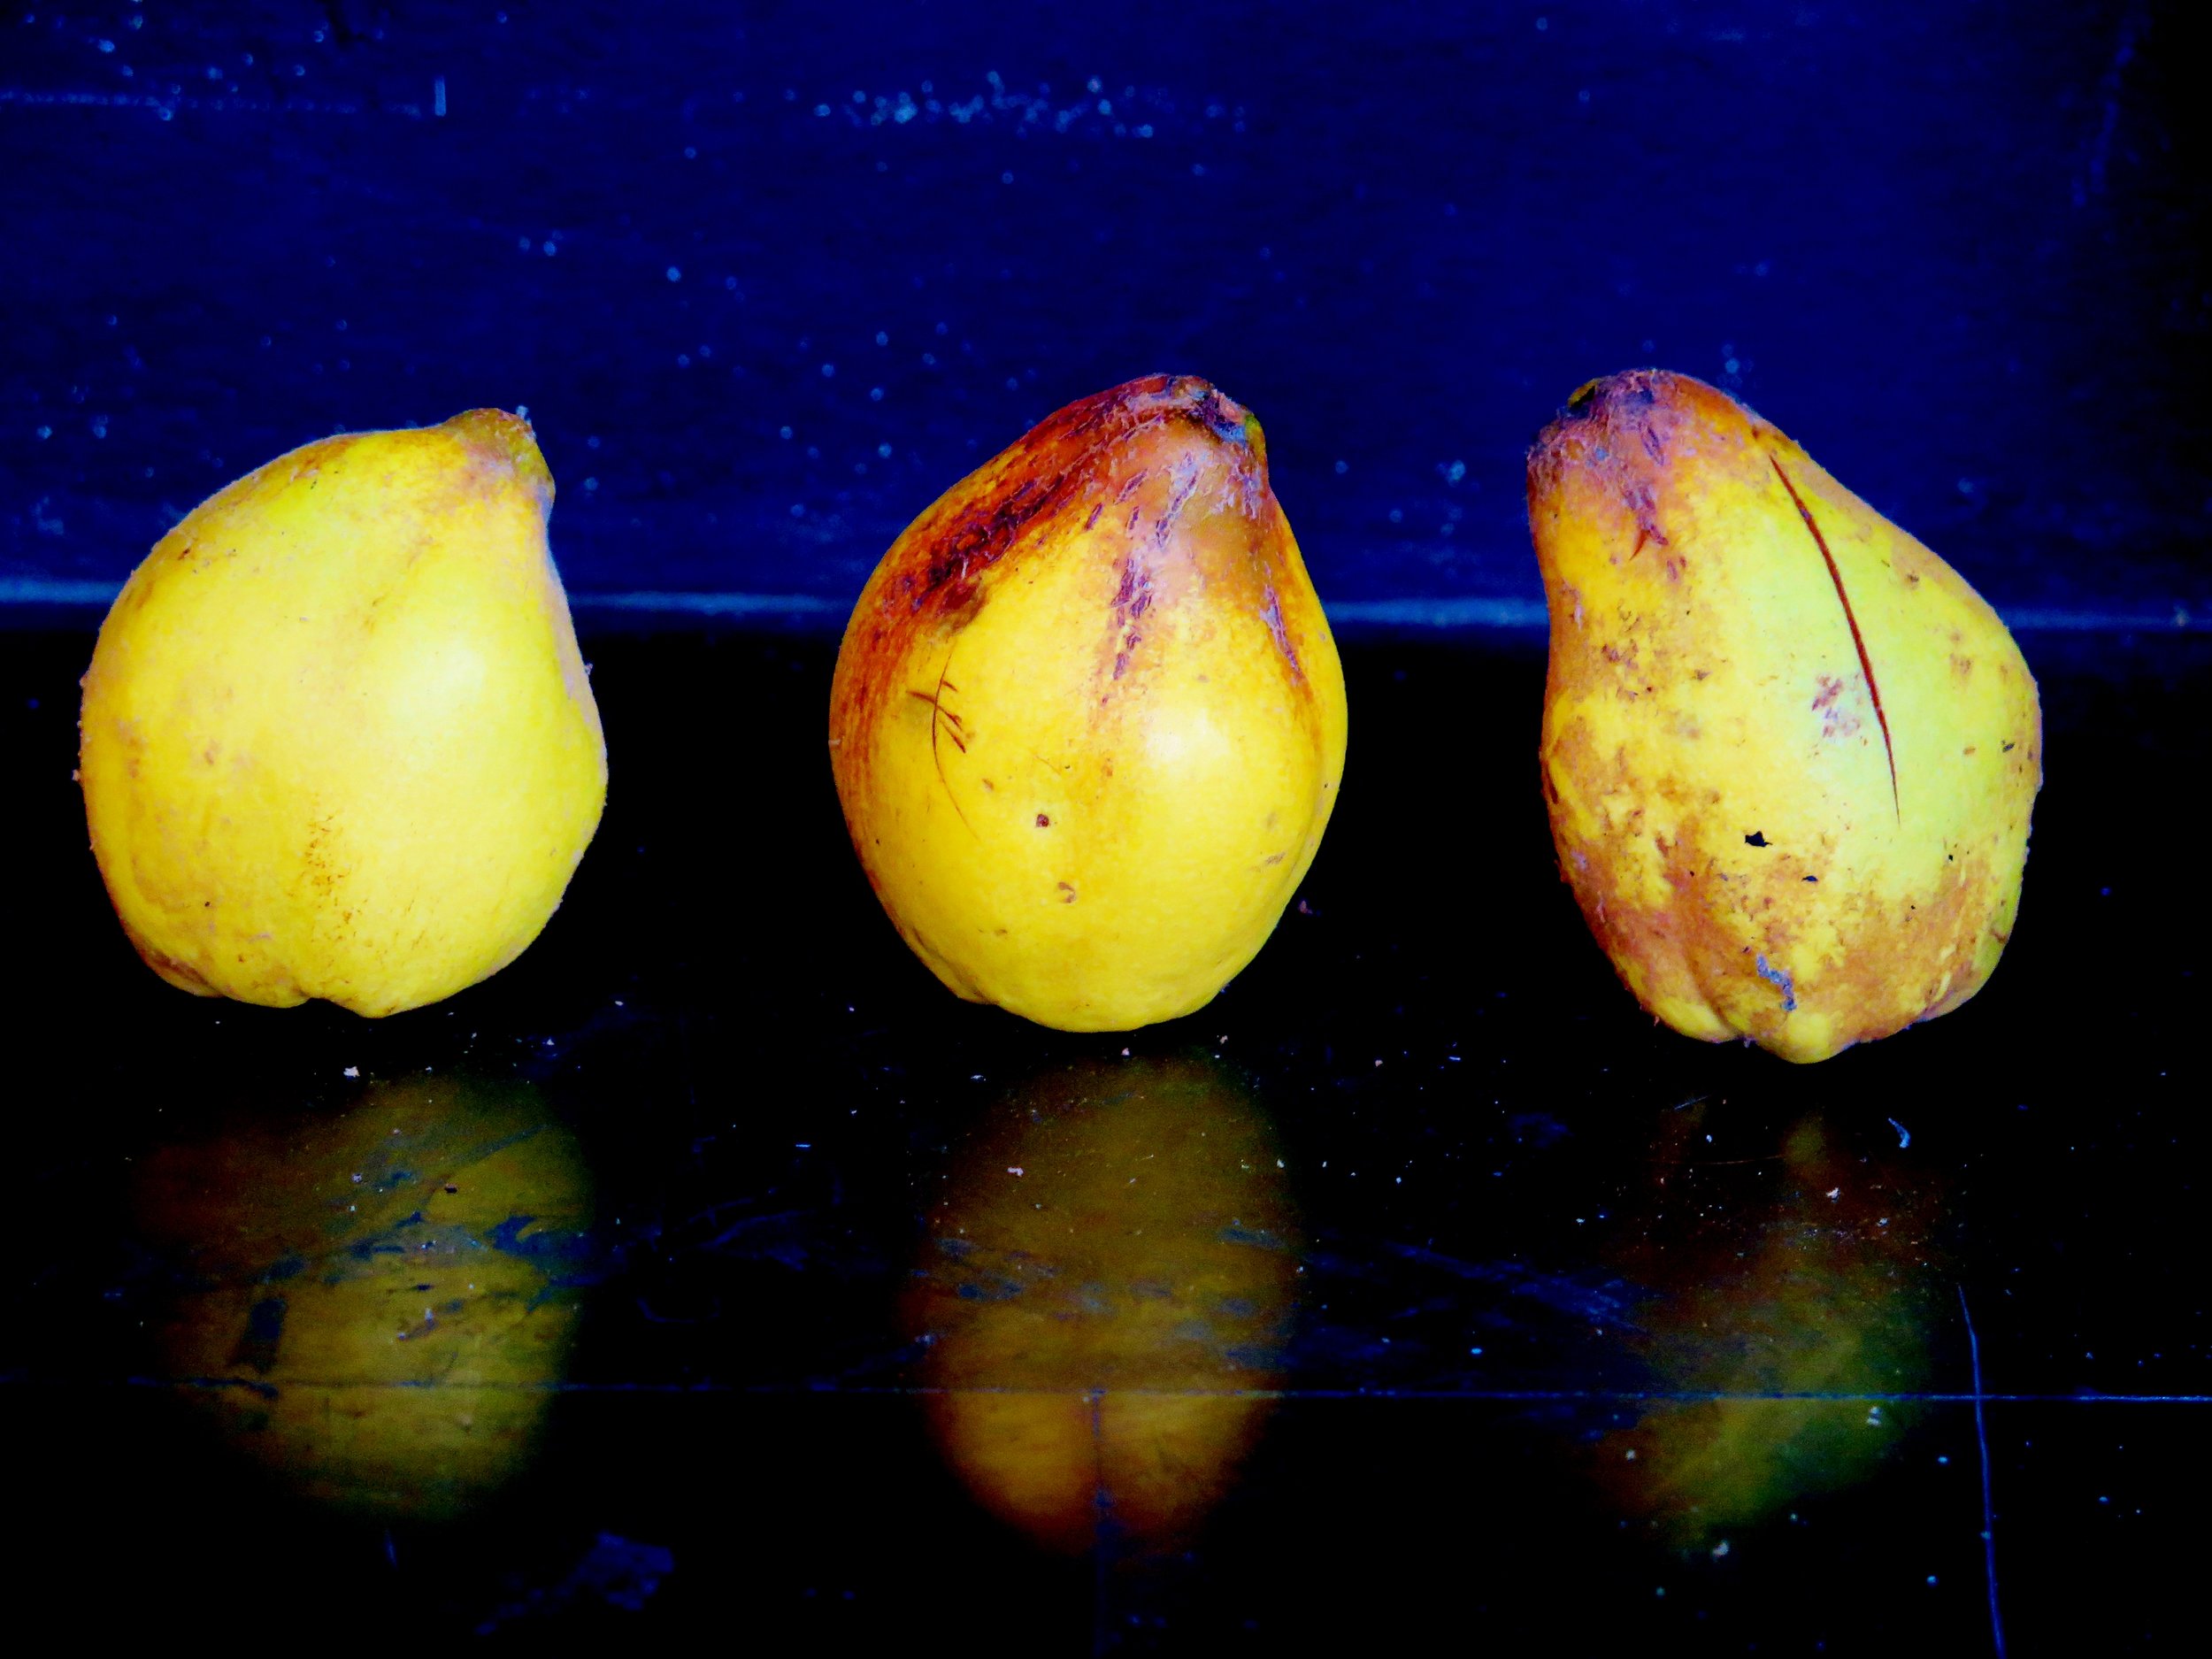
The scent coming from the paper bag was soft and sweet, and old fashioned rose-like, and when I turned out its contents, eight yellow, somewhat misshapen apple-pears tumbled out.
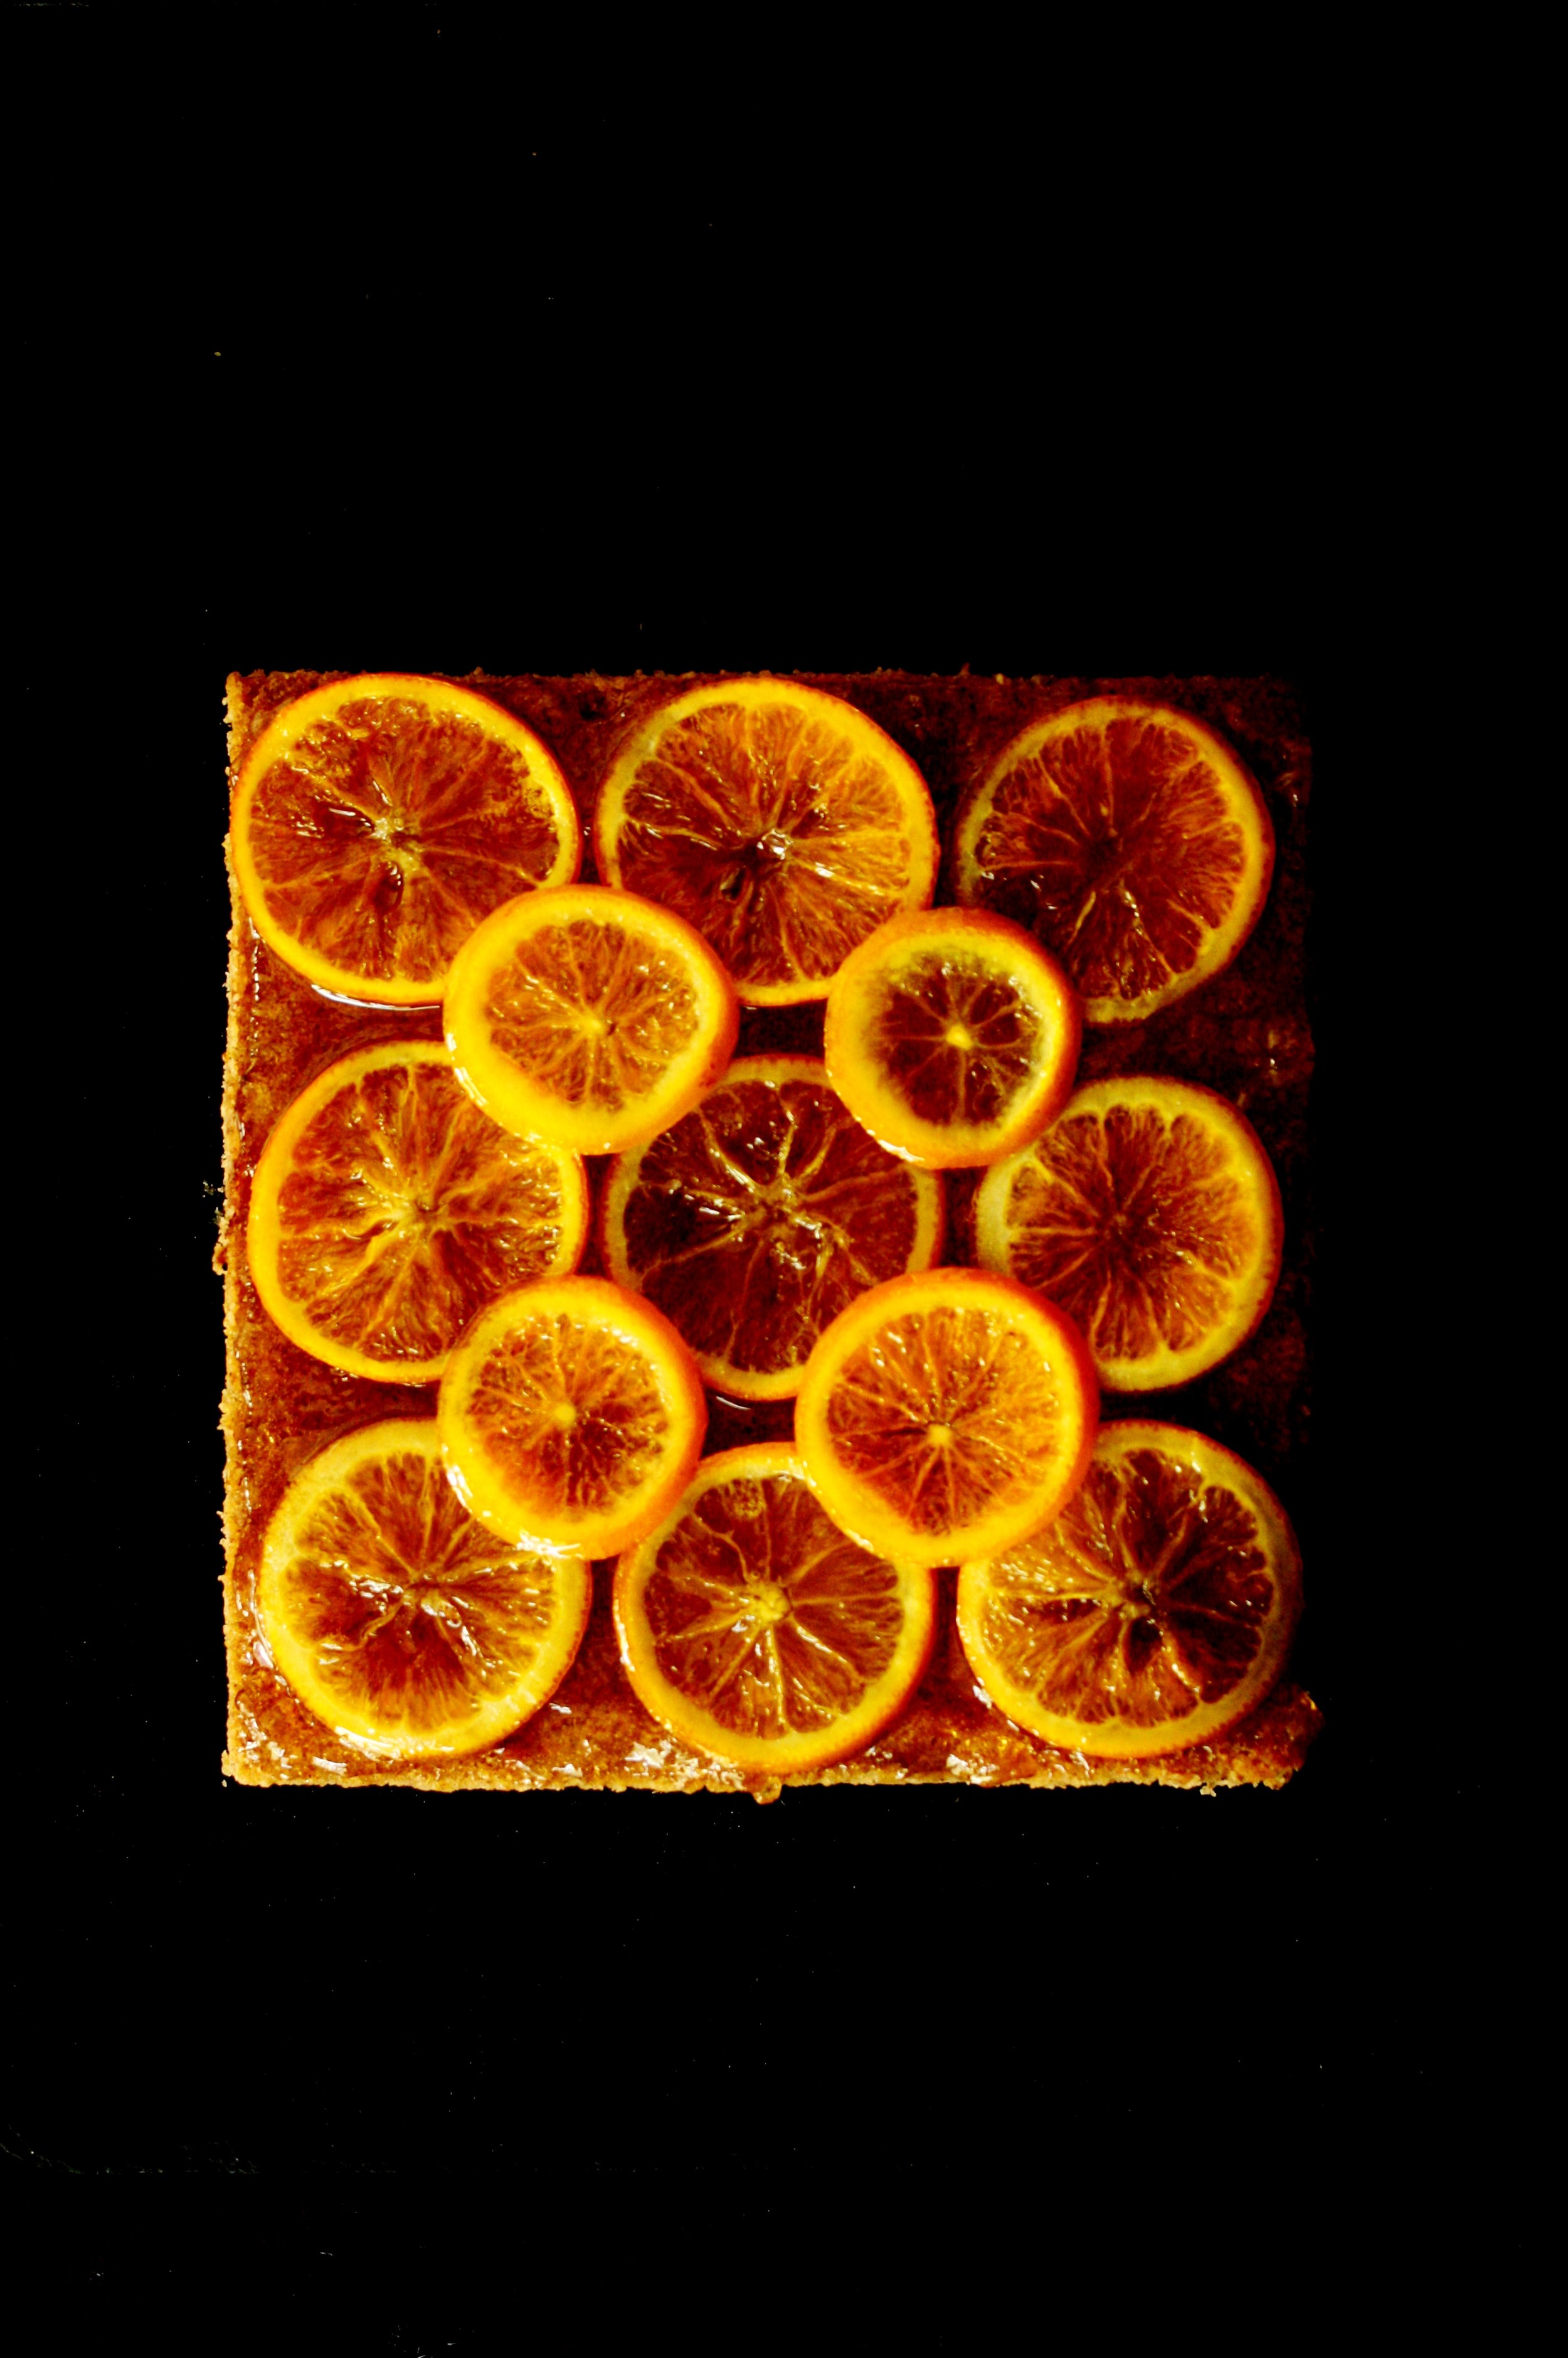 These quinces were the unwanted fruit of an unappreciated tree in someone else’s garden. Beguilingly biblical in appearance, their uncompromising hardness metamorphoses into something utterly different after cooking.
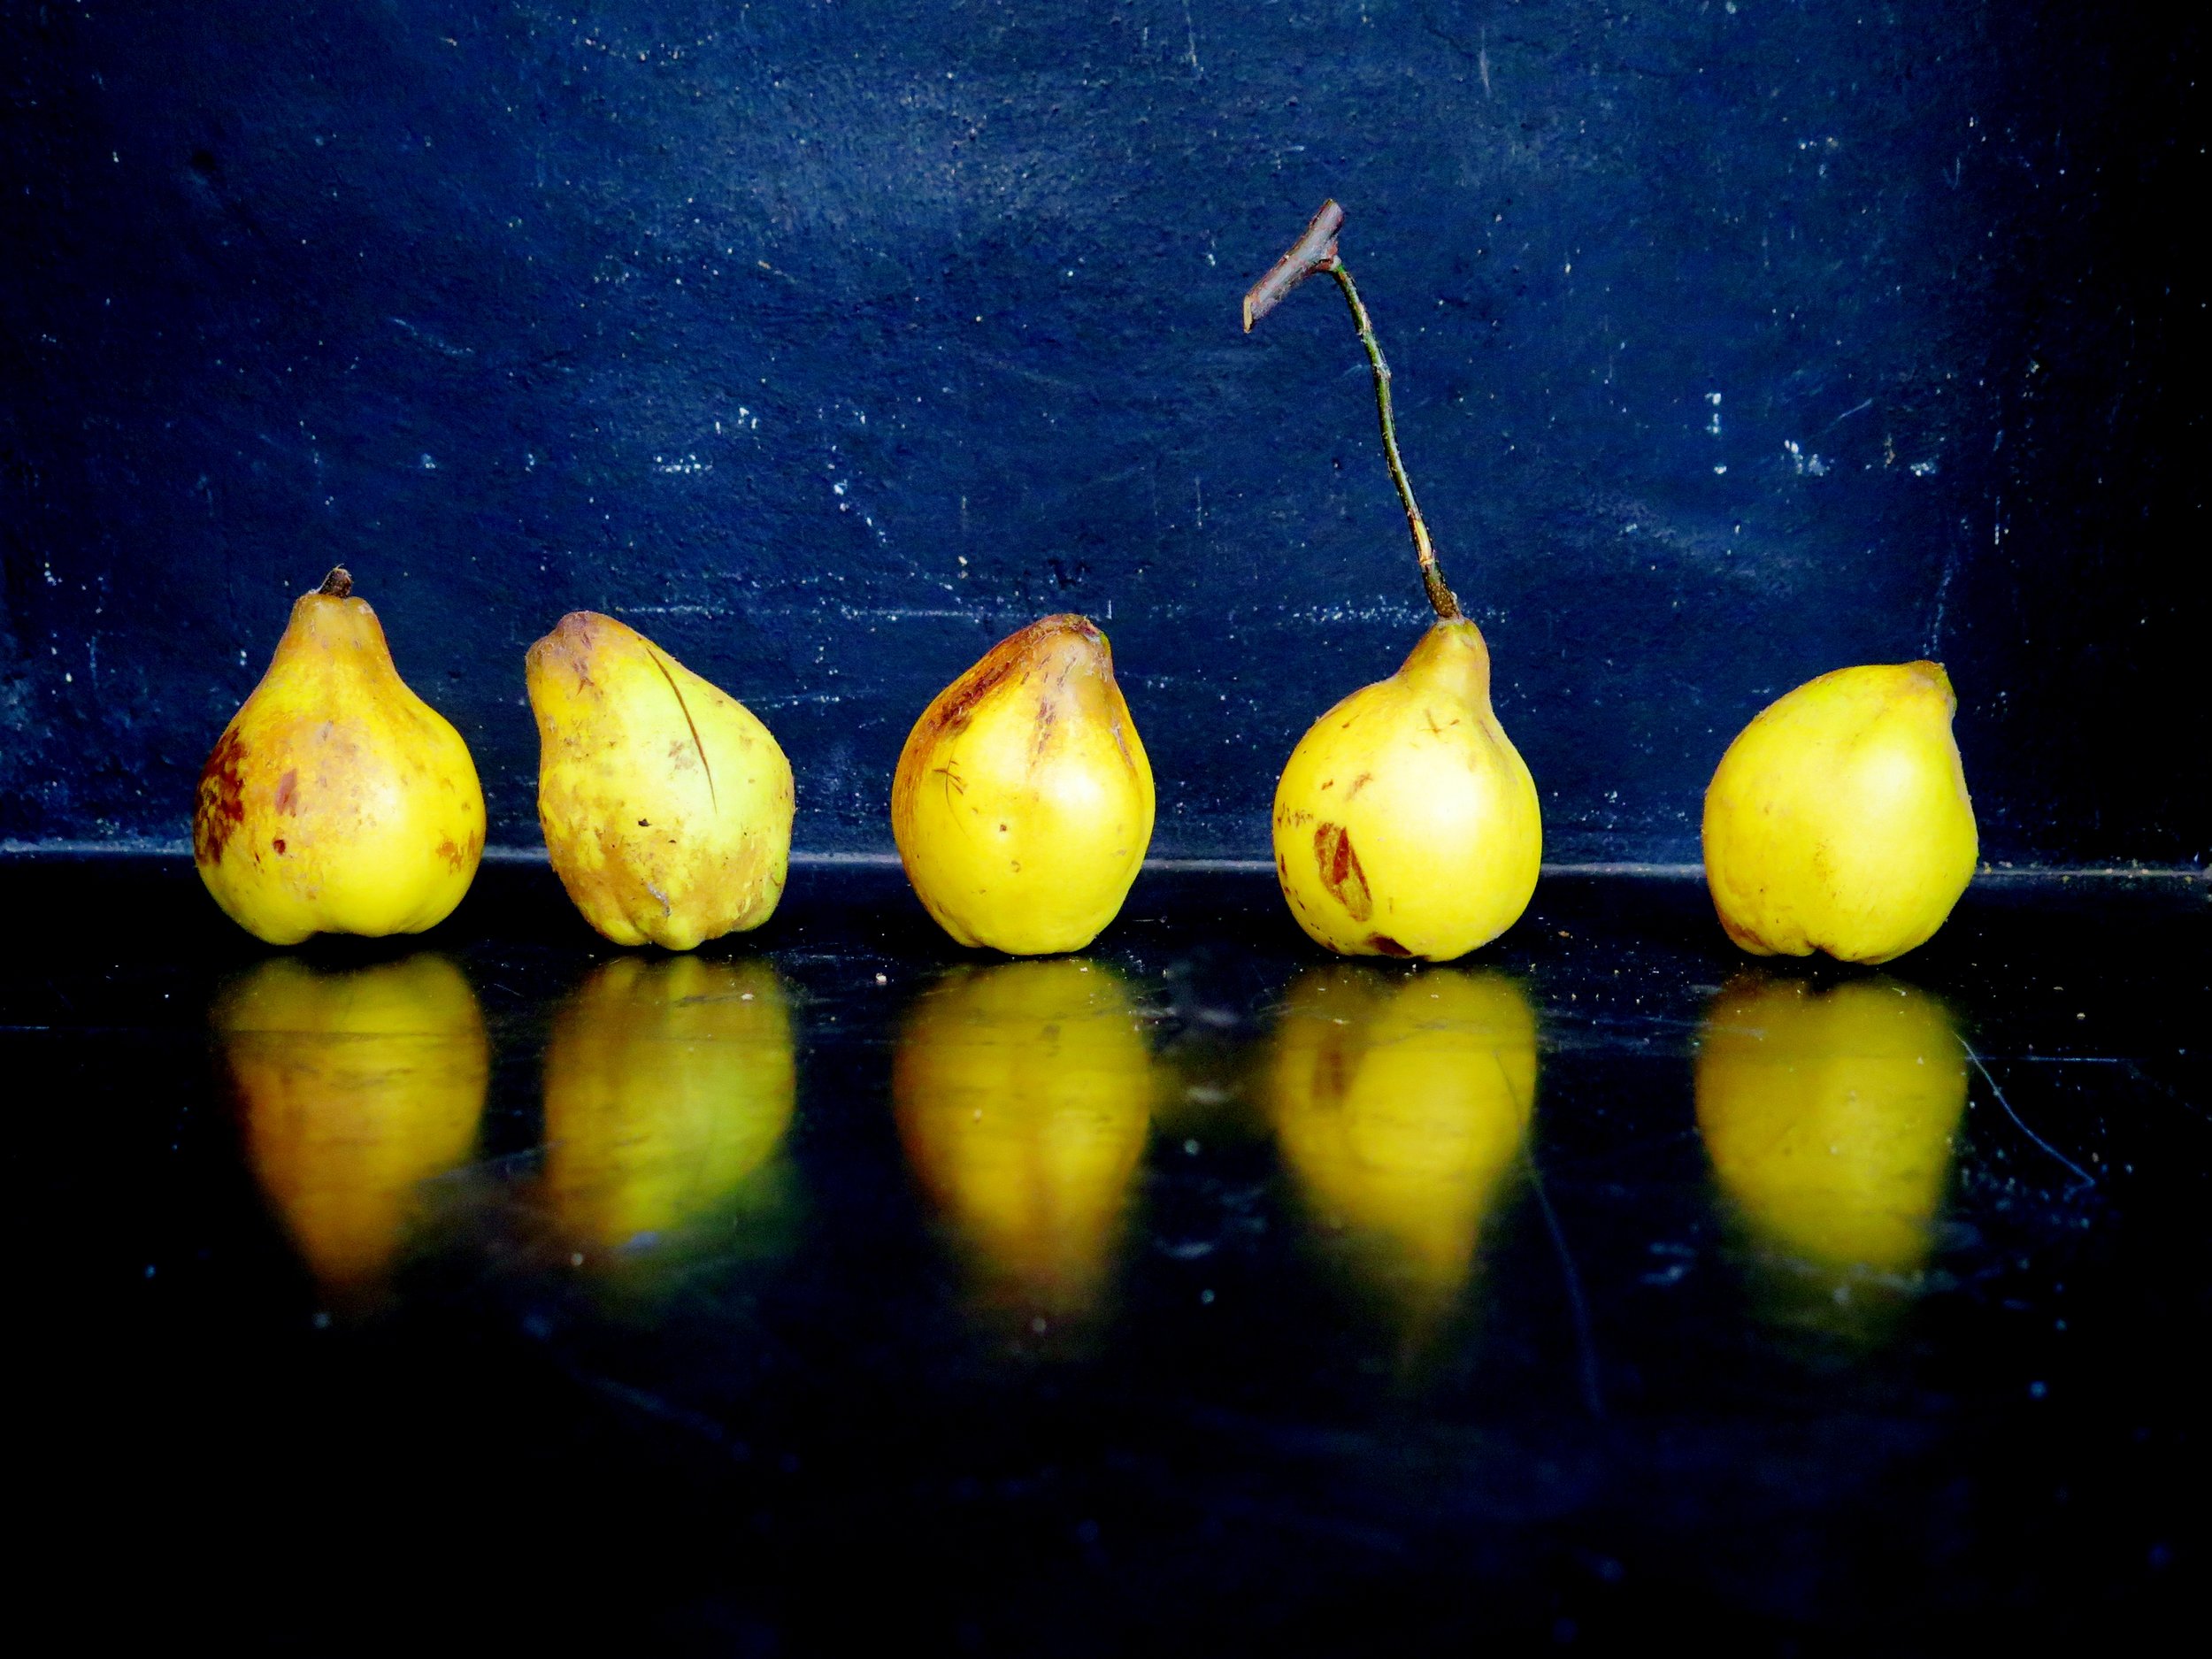 Originally referred to as the Kydonian melon, and mentioned in 6th Century BCE Greek poetry, the quinces we recognise today are believed to have been indigenous to Kydonia on the island of Crete. The Ancient Greeks dedicated the quince to Aphrodite, goddess of love and beauty, who was often represented with the golden apple of Hesperides in her right hand – that apple, in all likelihood, a quince. Indeed, quinces symbolised love and fertility, and Plutarch refers to the ancient wedding ritual whereby a bride would take a bite from a quince before retiring to the bridal chamber with her husband – possibly to freshen her breath, too.
 The path of the wedding procession of Helen and Menelaus was said to have been strewn with quinces, myrtle leaves and crowns woven from violets and roses. The fruit was also said by Pliny to have warded off the malign influence of the evil eye, and its medicinal value as an aid to digestion was also noted.
The Byzantines made wine from quinces as well as kydonaton, a thick quince jelly, probably the ancestor of French cotignac or condoignac, a delicacy made with honey, wine and spices that was considered a worthy gift for kings.
 Apicius, the first extant Roman cookbook writer, of the first century CE, preserved quinces whole in honey diluted with a spiced wine reduction, and also combined them with leeks, honey, and broth in hot oil in a dish known as Patina de Cydoniis. In the 4th Century CE, Palladius, an agriculturist and writer, composed a recipe for baked quince strips, possibly the first stirrings of membrillo, the Spanish quince gel that we know today.
During the 16th and 17th centuries, cooks in England prepared many variations of quince preserves which they called quidoniac, quiddony or paste of Genoa. Often the preserve paste was thick enough to be moulded into animal or flower shapes. Nowadays, many cultures use quinces in their cuisine: in India, a quince sambal is made by making a puree out of quinces, onions, chillies, orange juice and salt. In Iran, quinces are sometimes cored and stuffed with minced meat, and Moroccan tagines often include quince along with dried fruit and spices.
Despite its pertinence in history and mythology the quince has rather fallen out of fashion. Now the prized aphrodisiac and breath-freshener has been reduced to an unloved (except by the cognoscenti), knobbly peculiarity. I hereby am starting a quince appreciation campaign and when life gives you quinces, make membrillo, and with the membrillo make Tarta de Santiago.
Membrillo is the rose-tinted translucent and slightly grainy gel that miraculously results from boiling quinces with water, sugar and citrus. Its perfumed exoticness makes one think of orange groves and balmy breezes, and when combined with the citrus infused almond cake and pastry layers, one is transported right to the Alhambra.
Recipe
Ingredients
Pastry
150g white spelt flour (substitutable with any flour of your choice including gluten-free to create a gluten-free dessert)
40g caster sugar
1 ½ tsp ground cinnamon
½ tsp salt
Grated zest of ½ unwaxed orange
100g butter, roughly chopped into small cubes
1 egg yolk
25cm x 25cm square tin (or round tin with similar dimensions) at least 8cm deep, lined with greaseproof paper
Filling
250g quince paste (membrillo)
2 tbsp lemon juice
Grated zest of ½ unwaxed orange
Grated zest of ½ unwaxed lemon
65g ground almonds
Cake layer
150 ground almonds
100g caster sugar
1 tsp ground cinnamon
½ tsp salt
Grated zest of 1 unwaxed orange
Grated zest of 1 unwaxed lemon
150g butter, melted and allowed to cool slightly
100ml triple sec
3 eggs
Optional candied orange decoration
Follow instructions from my recipe for Citrus Syrup-Soaked Cake
Method
- In a blender, blitz together sugar, cinnamon, flour, salt and butter until the mixture resembles damp sand. Add in the egg yolk and blitz until the mixture comes together into dough. Flatten into a disc, wrap in greaseproof paper and chill in a freezer for 15 minutes or refrigerate for ½ hour.
- On a well-floured surface, roll the dough out to a 3mm thickness and transfer to the tin to line the base. Refrigerate while you prepare the filling.
- Preheat oven to 180°C. To make the filling, place the quince paste (membrillo), lemon juice and zest in a small pan over a medium heat and stir until smooth and fully combined. Remove from the heat and stir in the ground almonds. Remove the tin from the fridge and spread the quince mixture evenly over the pastry. Refrigerate once more.
- To make the cake layer, whisk together ground almonds, sugar, cinnamon, salt and zest in a bowl. In a separate bowl, whisk together melted butter, triple sec and eggs. Pour the wet ingredients into the dry and whisk until combined in a loose paste.
- Remove the tin from the fridge and pour the cake layer mixture over the quince layer. Bake in the preheated oven for 35-40 minutes until golden brown, springy to touch and a skewer comes out clean. Allow to cool before serving.
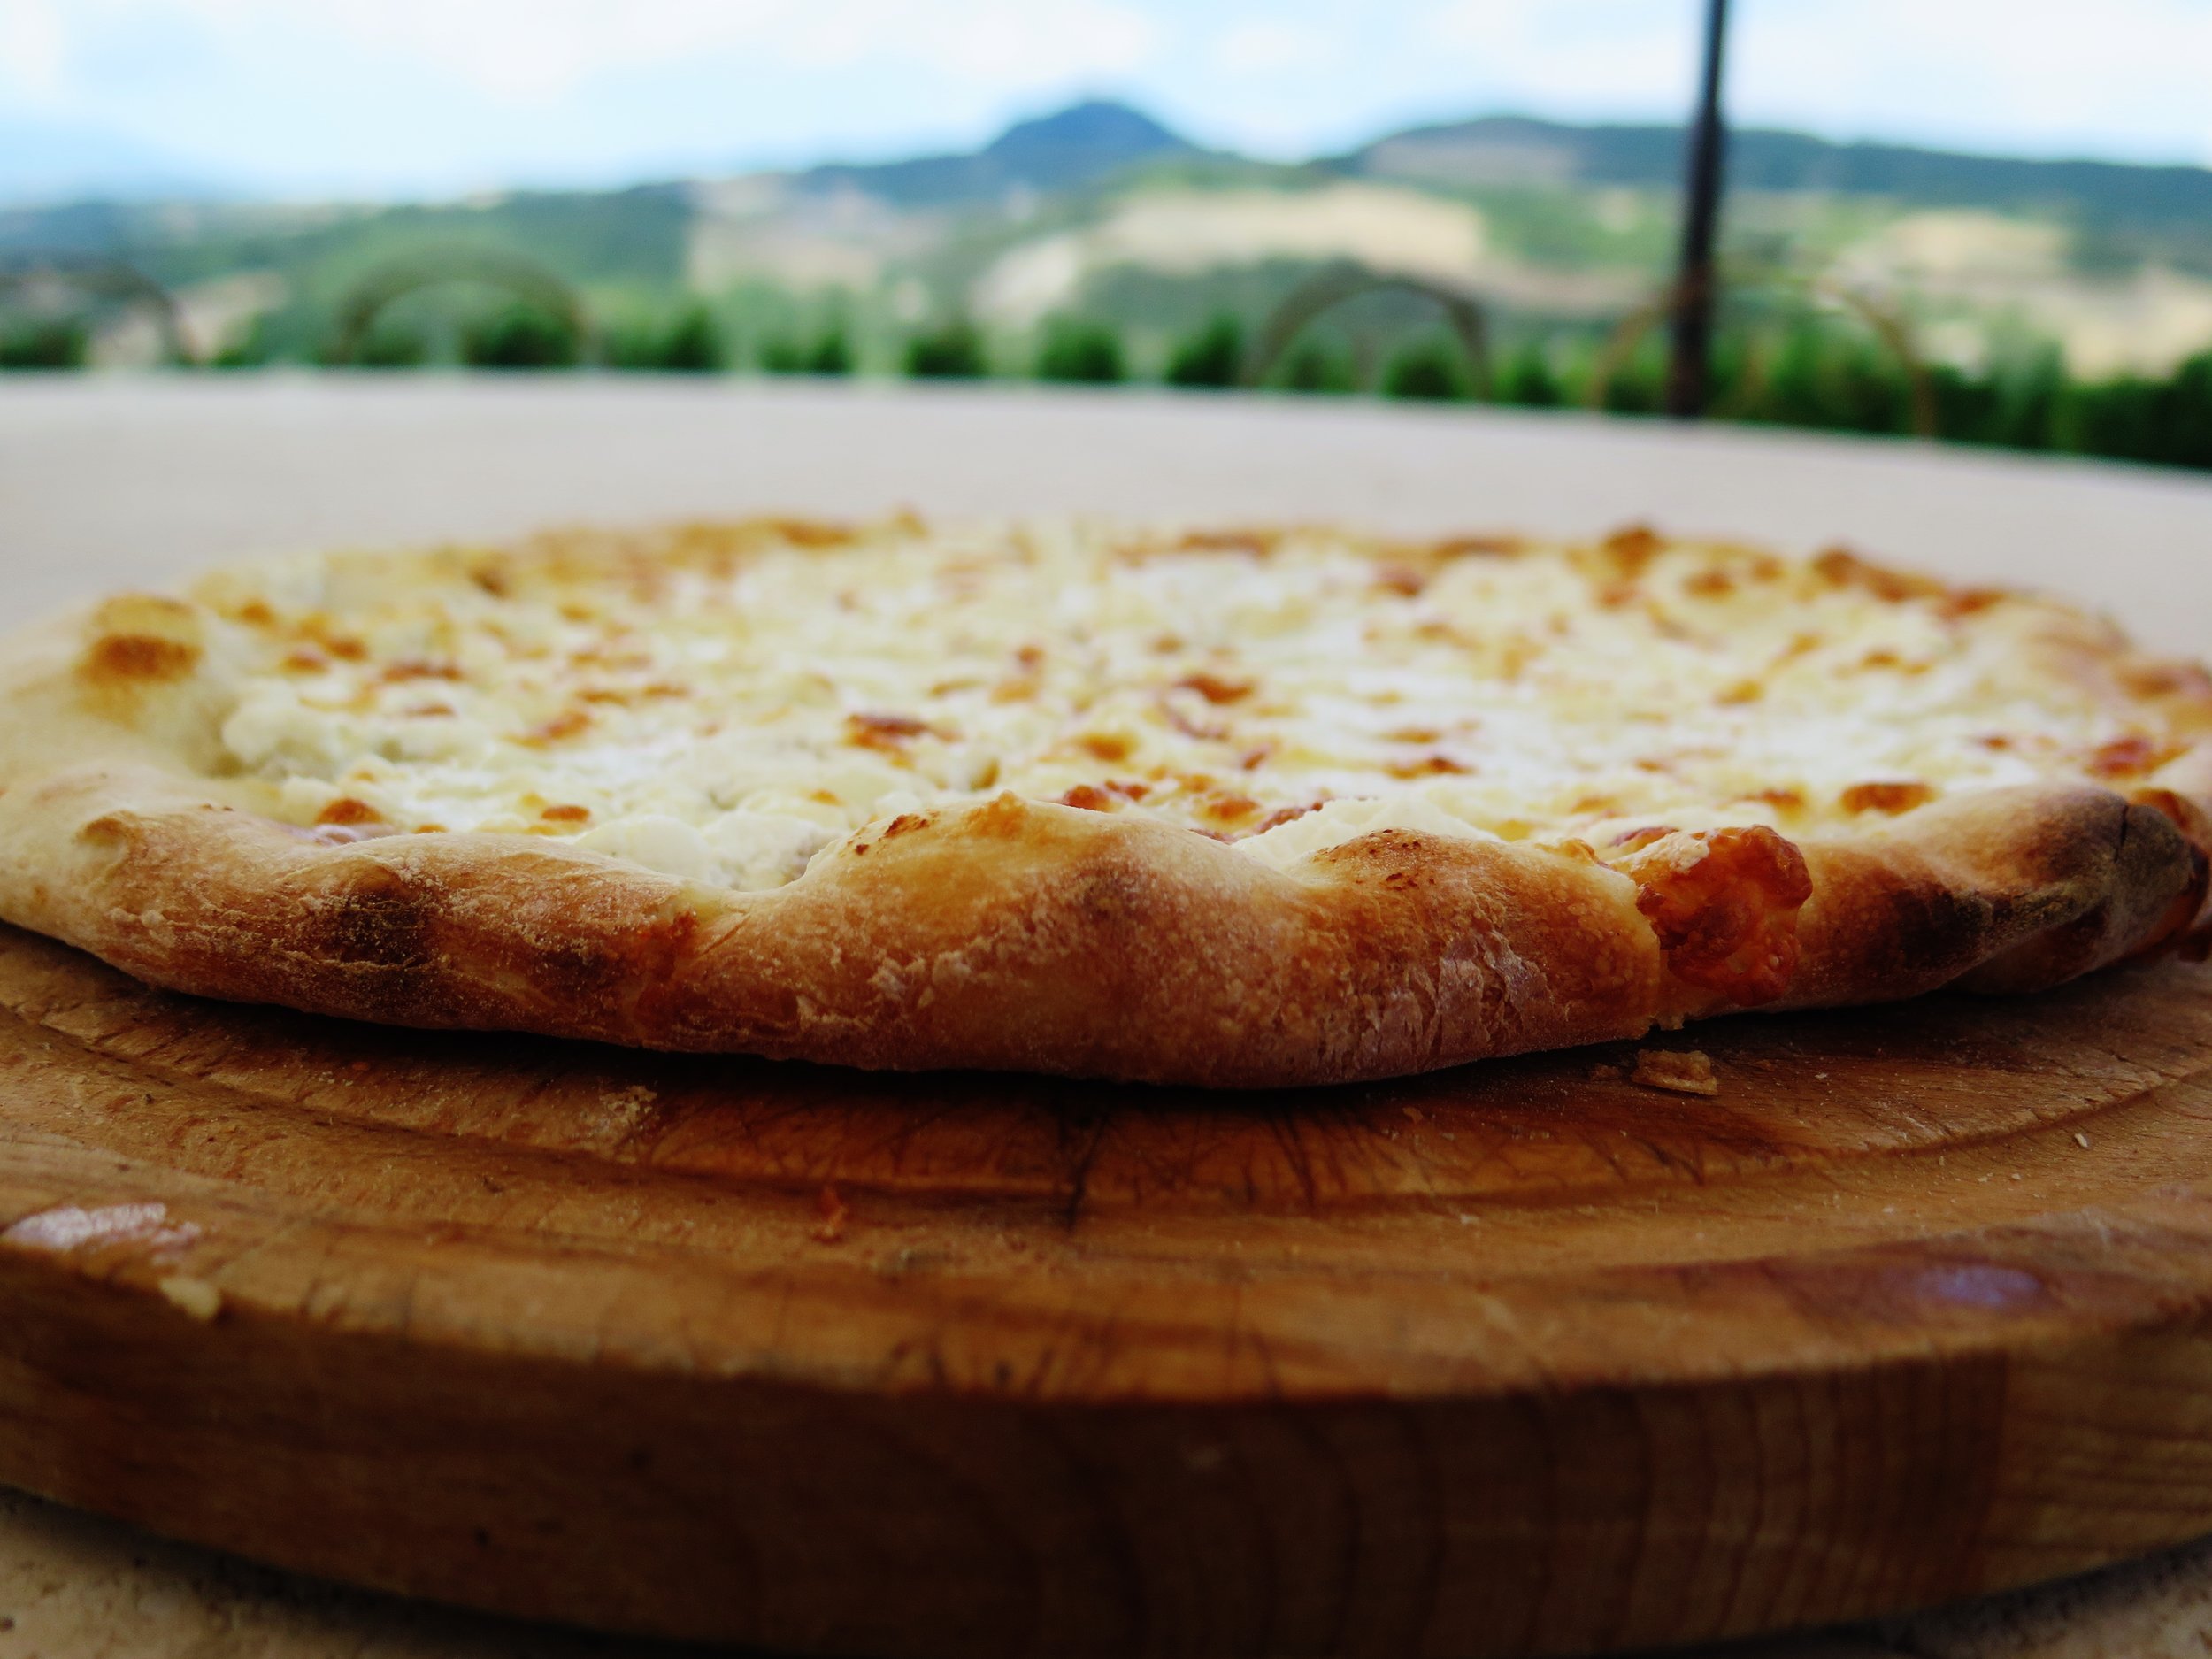
 Pizza is in his DNA. Five generations of golden, thin, crispiness. One recipe.
The pizza oven is raging, rapidly devouring its feed of dry wood and spitting out sweet nutty smoke.
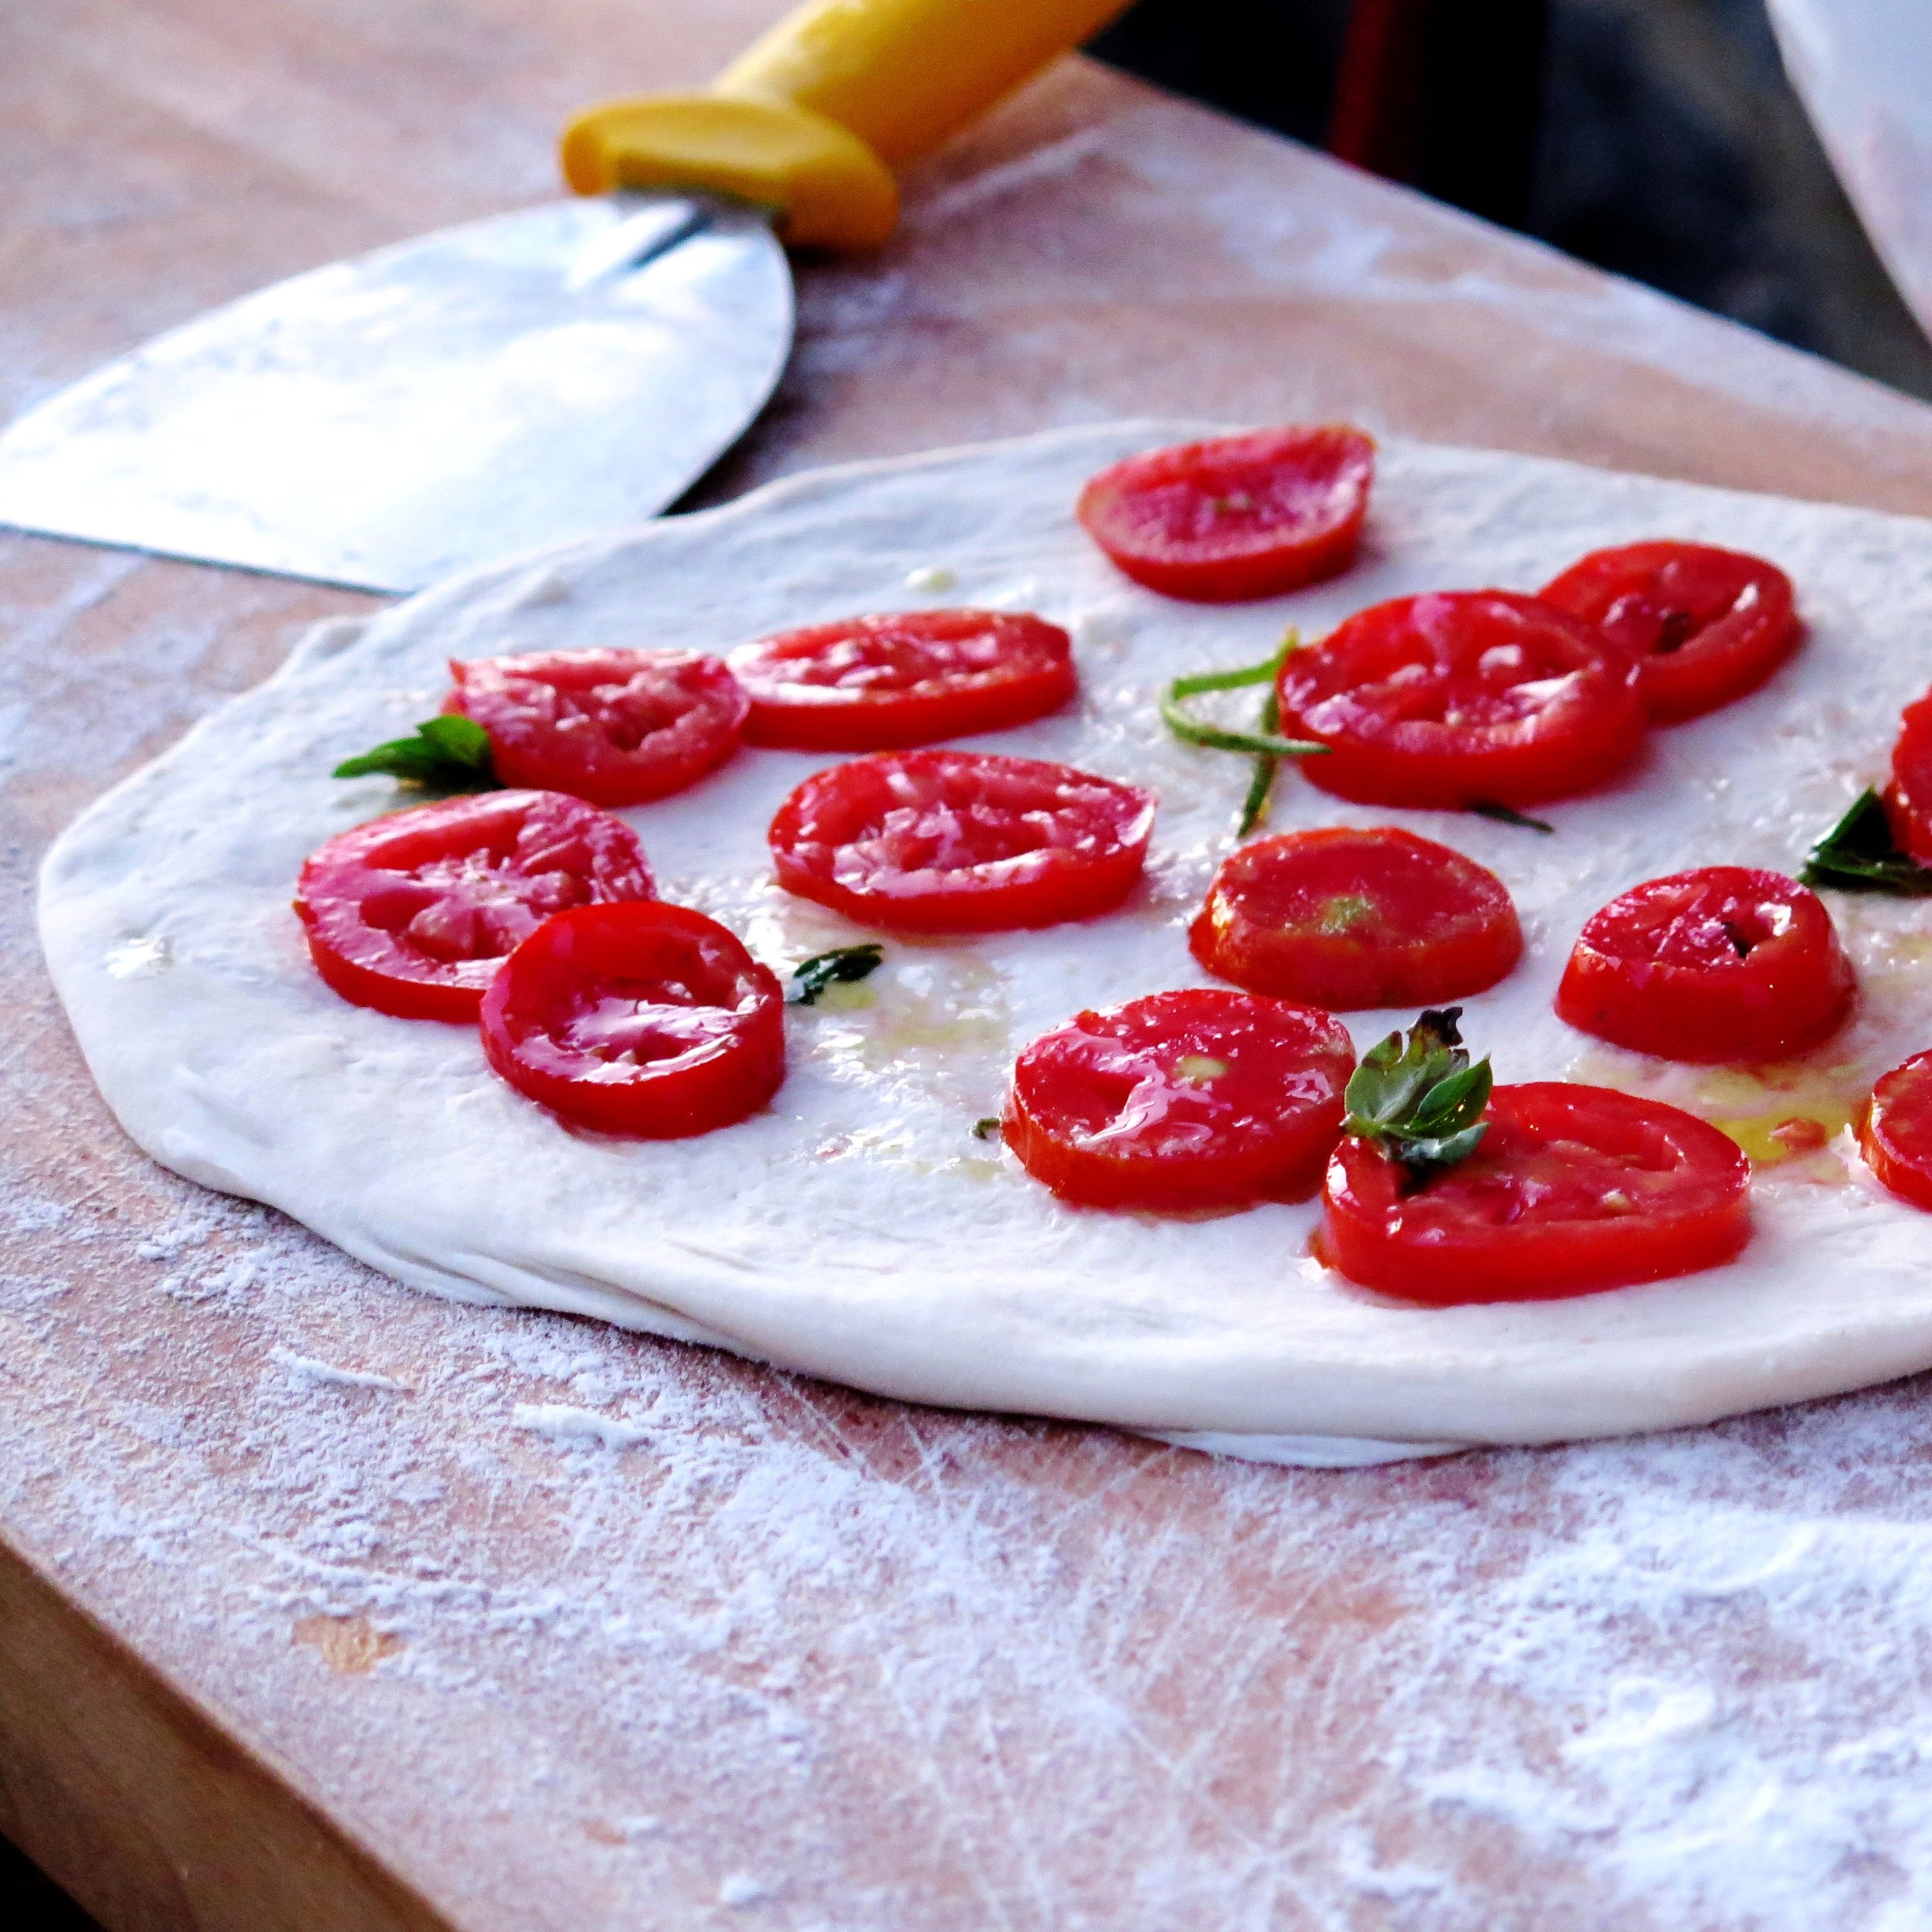
He comes every summer in his Ape brimming with plump mushrooms of dough.
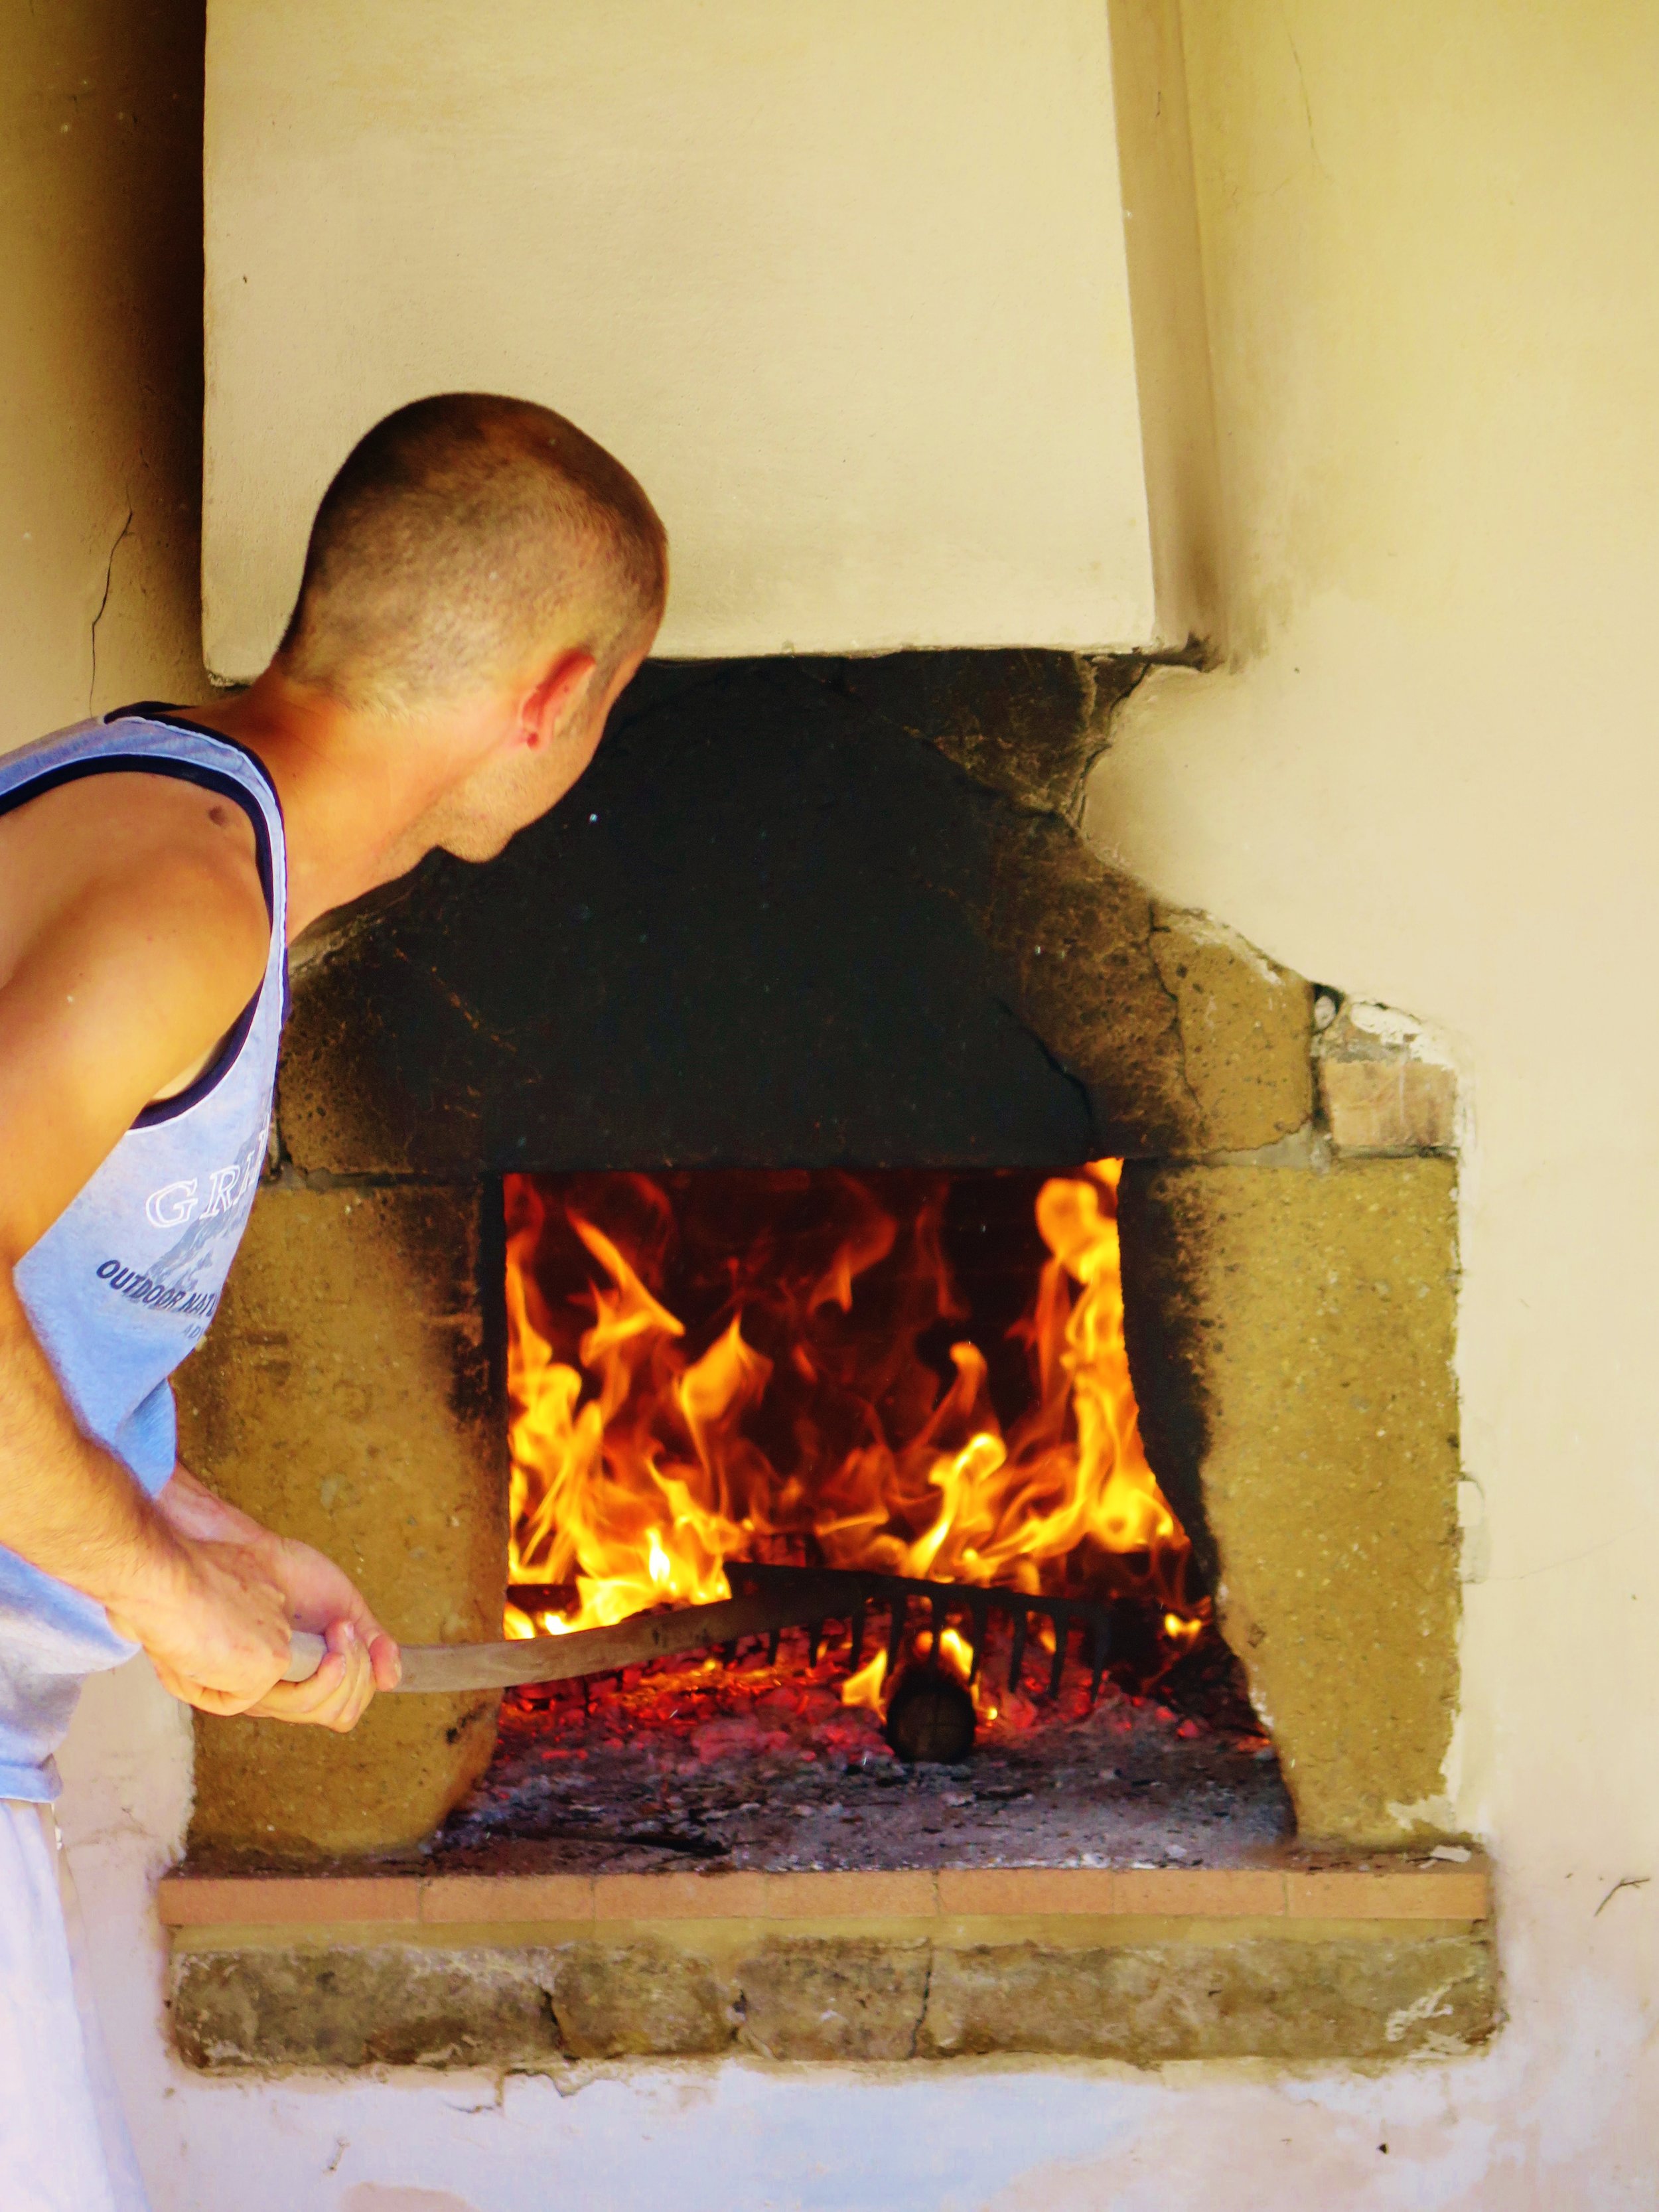
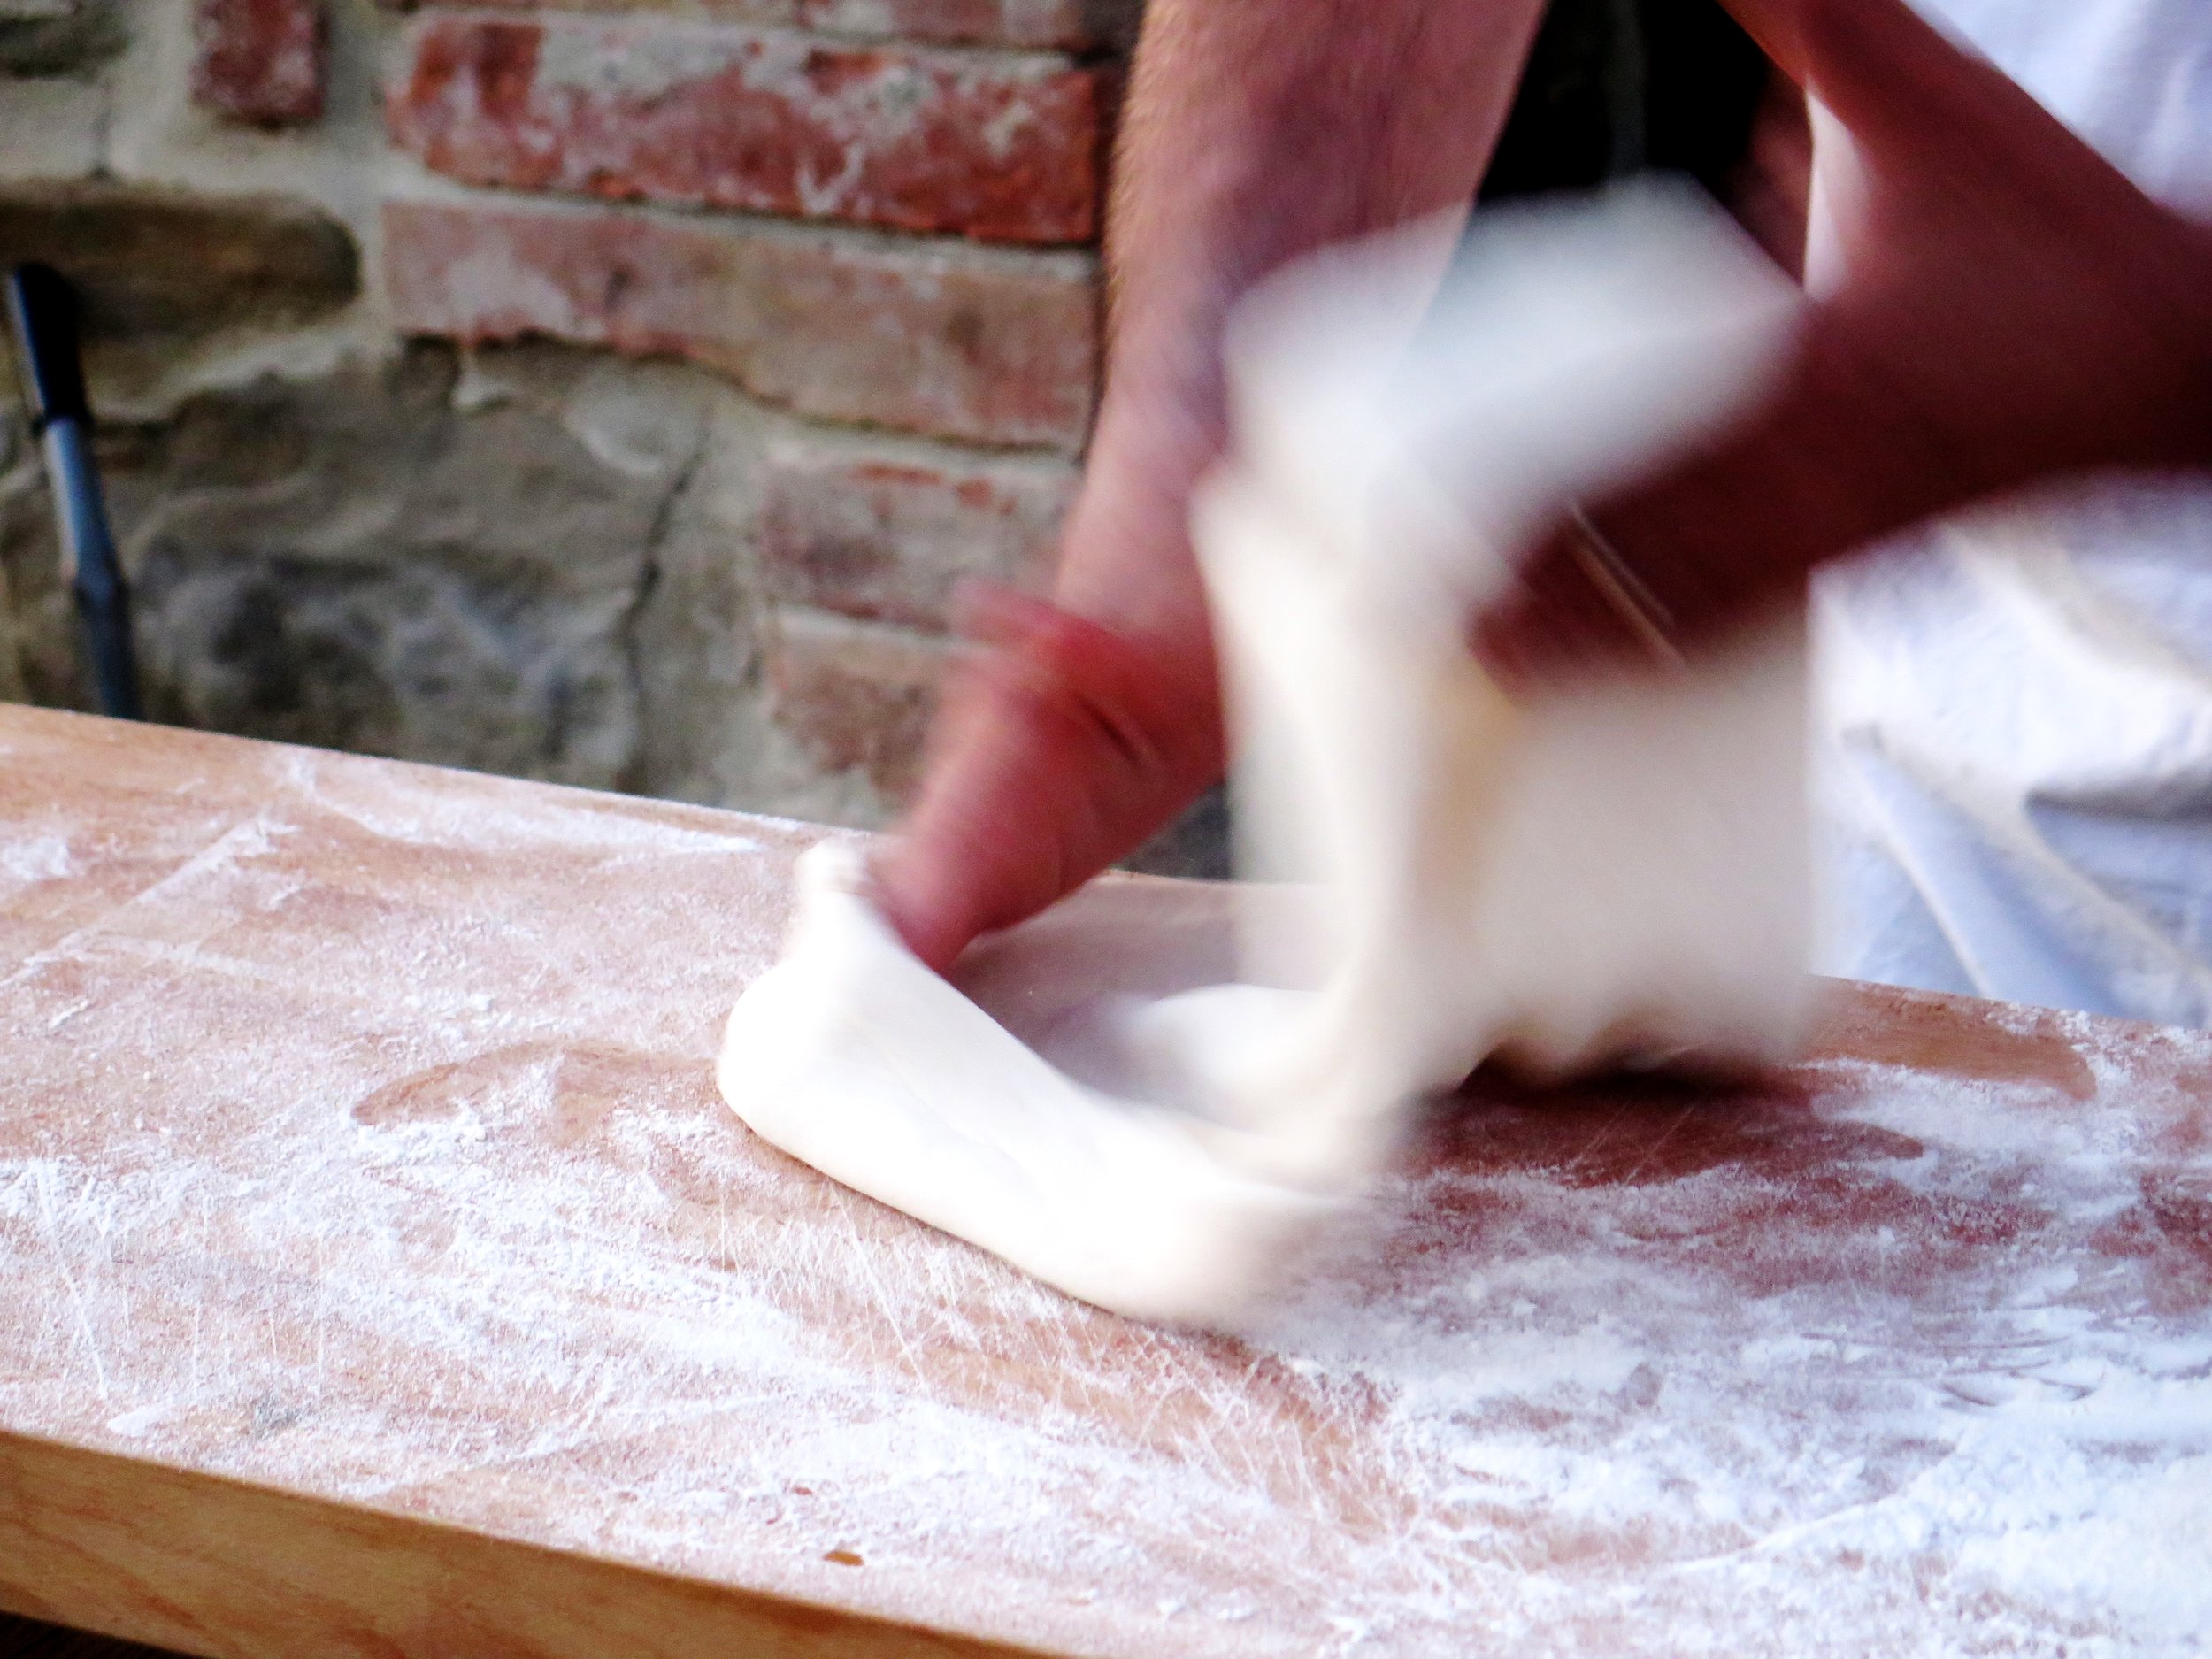
A light sprinkle of flour on a wooden board, and he gets to work.
With wrist flicks and little rotations the round becomes a disc, airborne momentarily to ensure evenness.
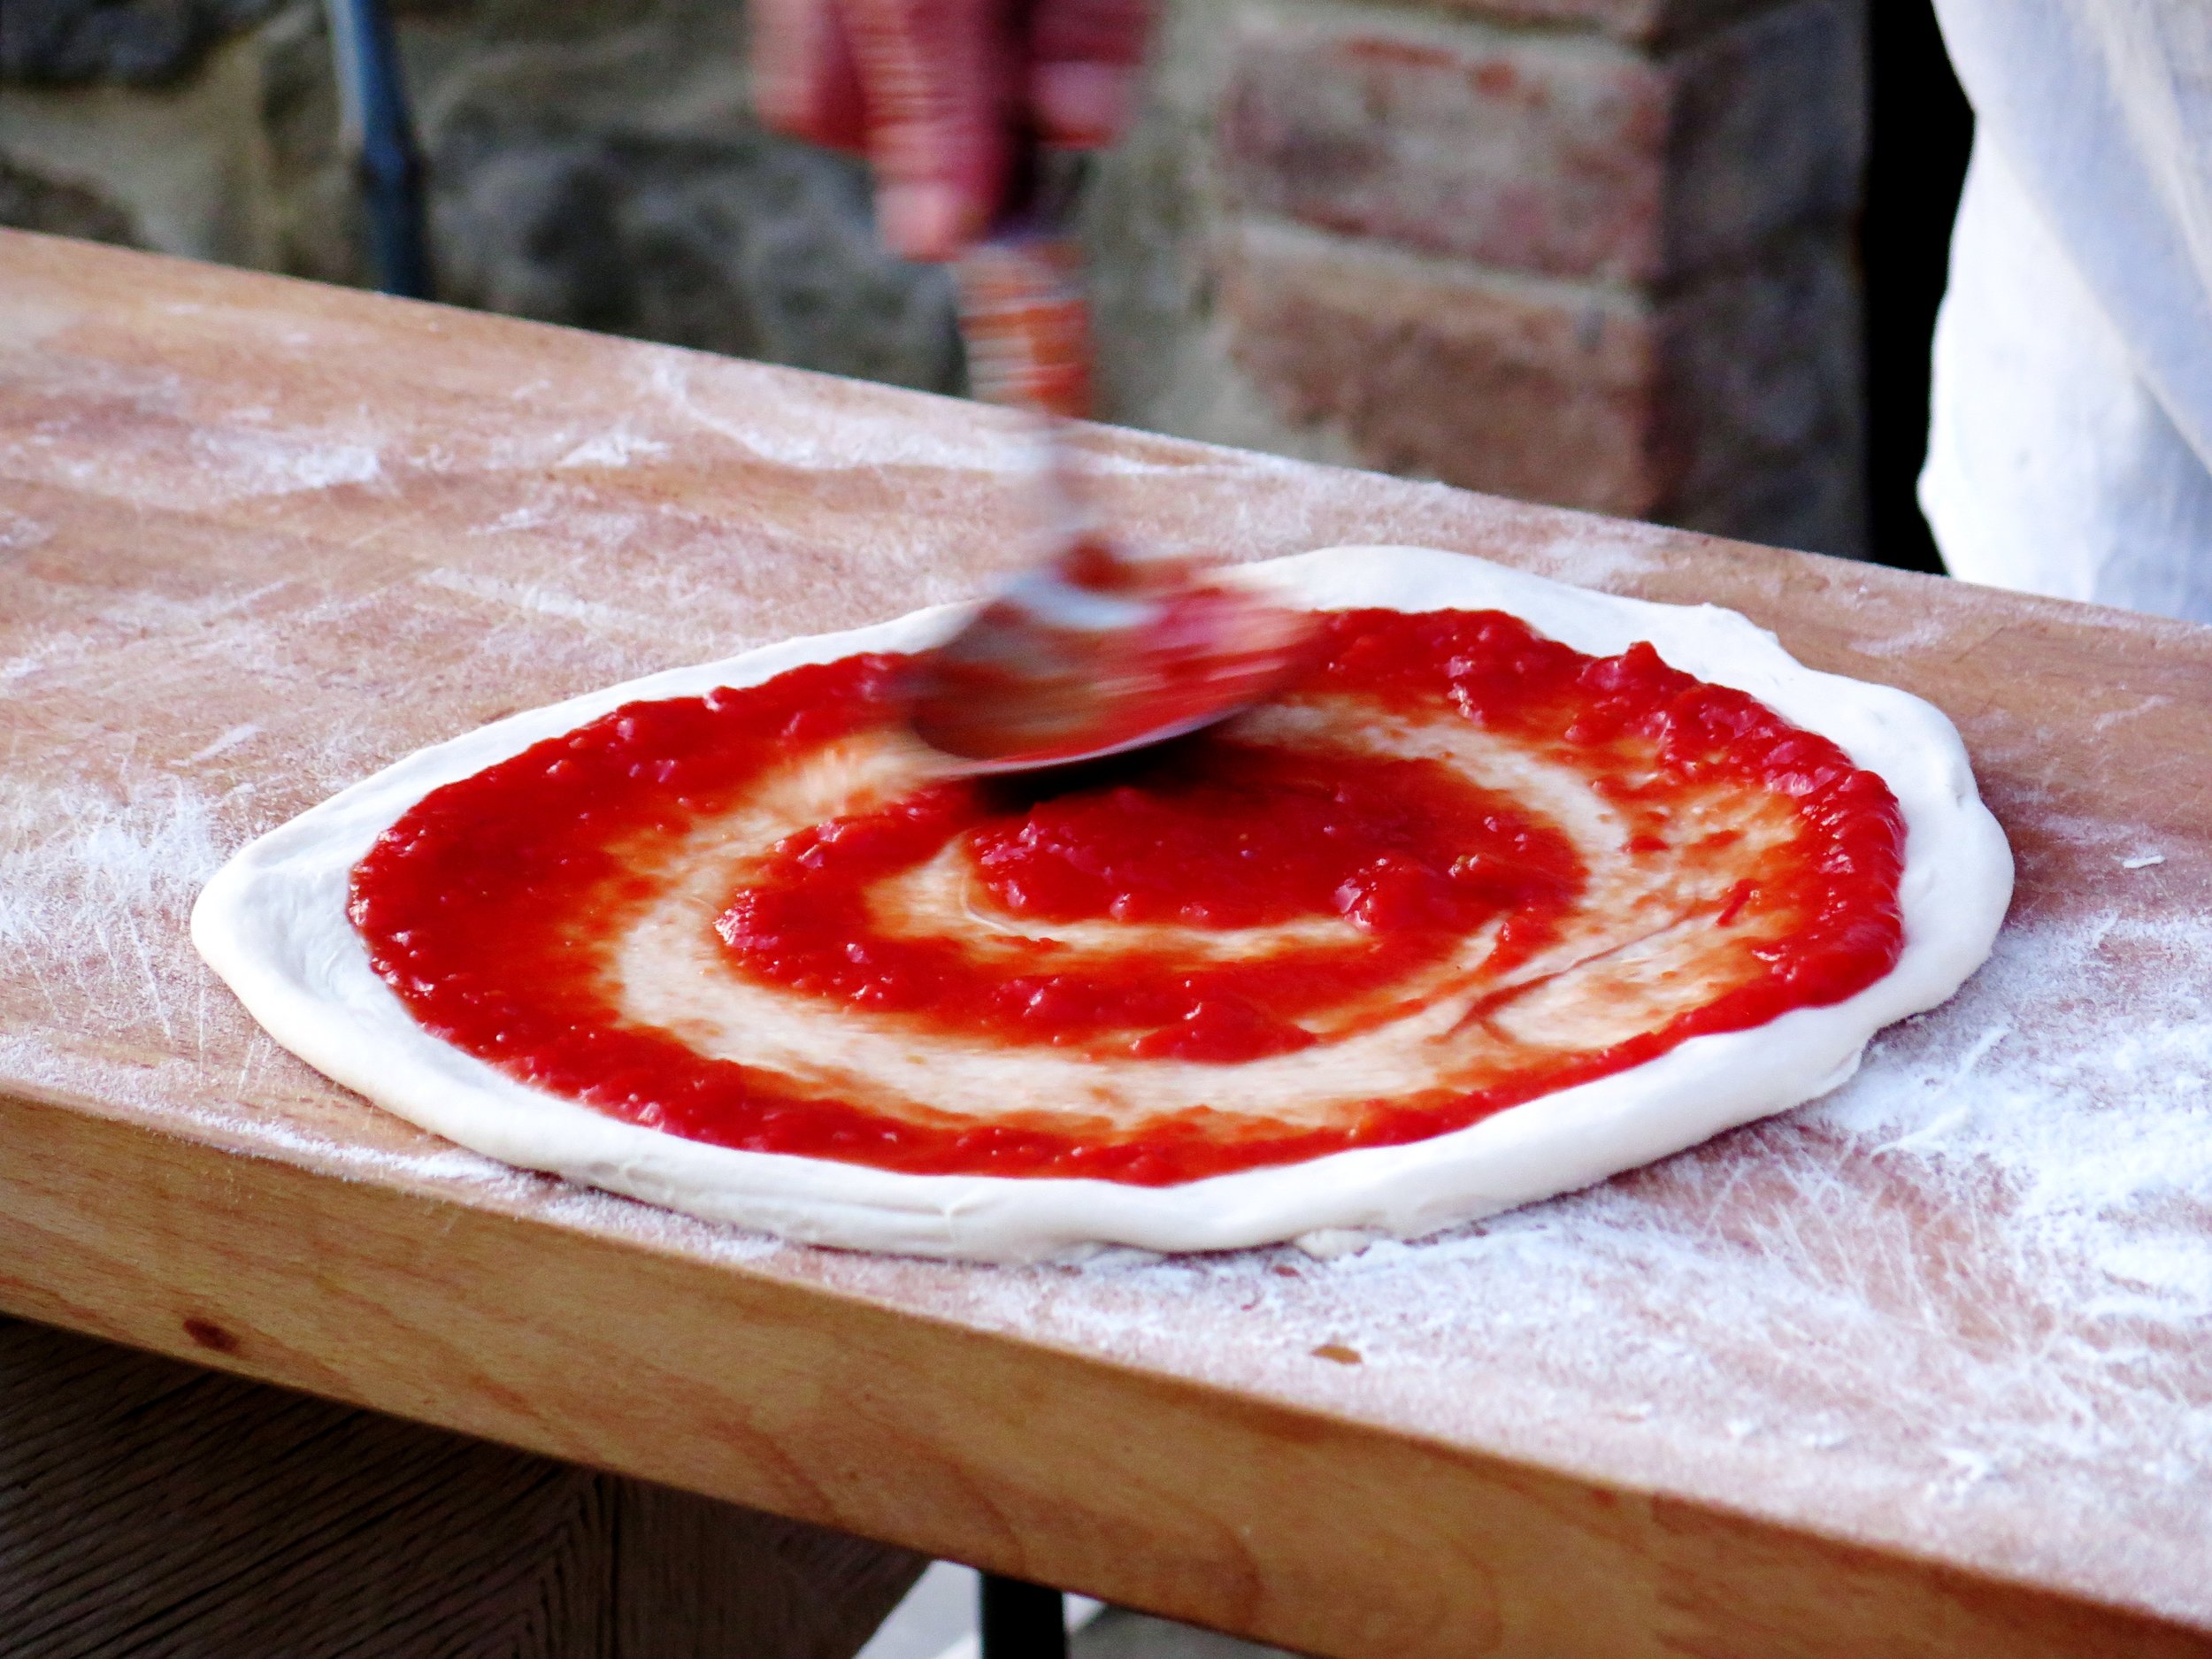
A careful spiral of passata with the back of a spoon,
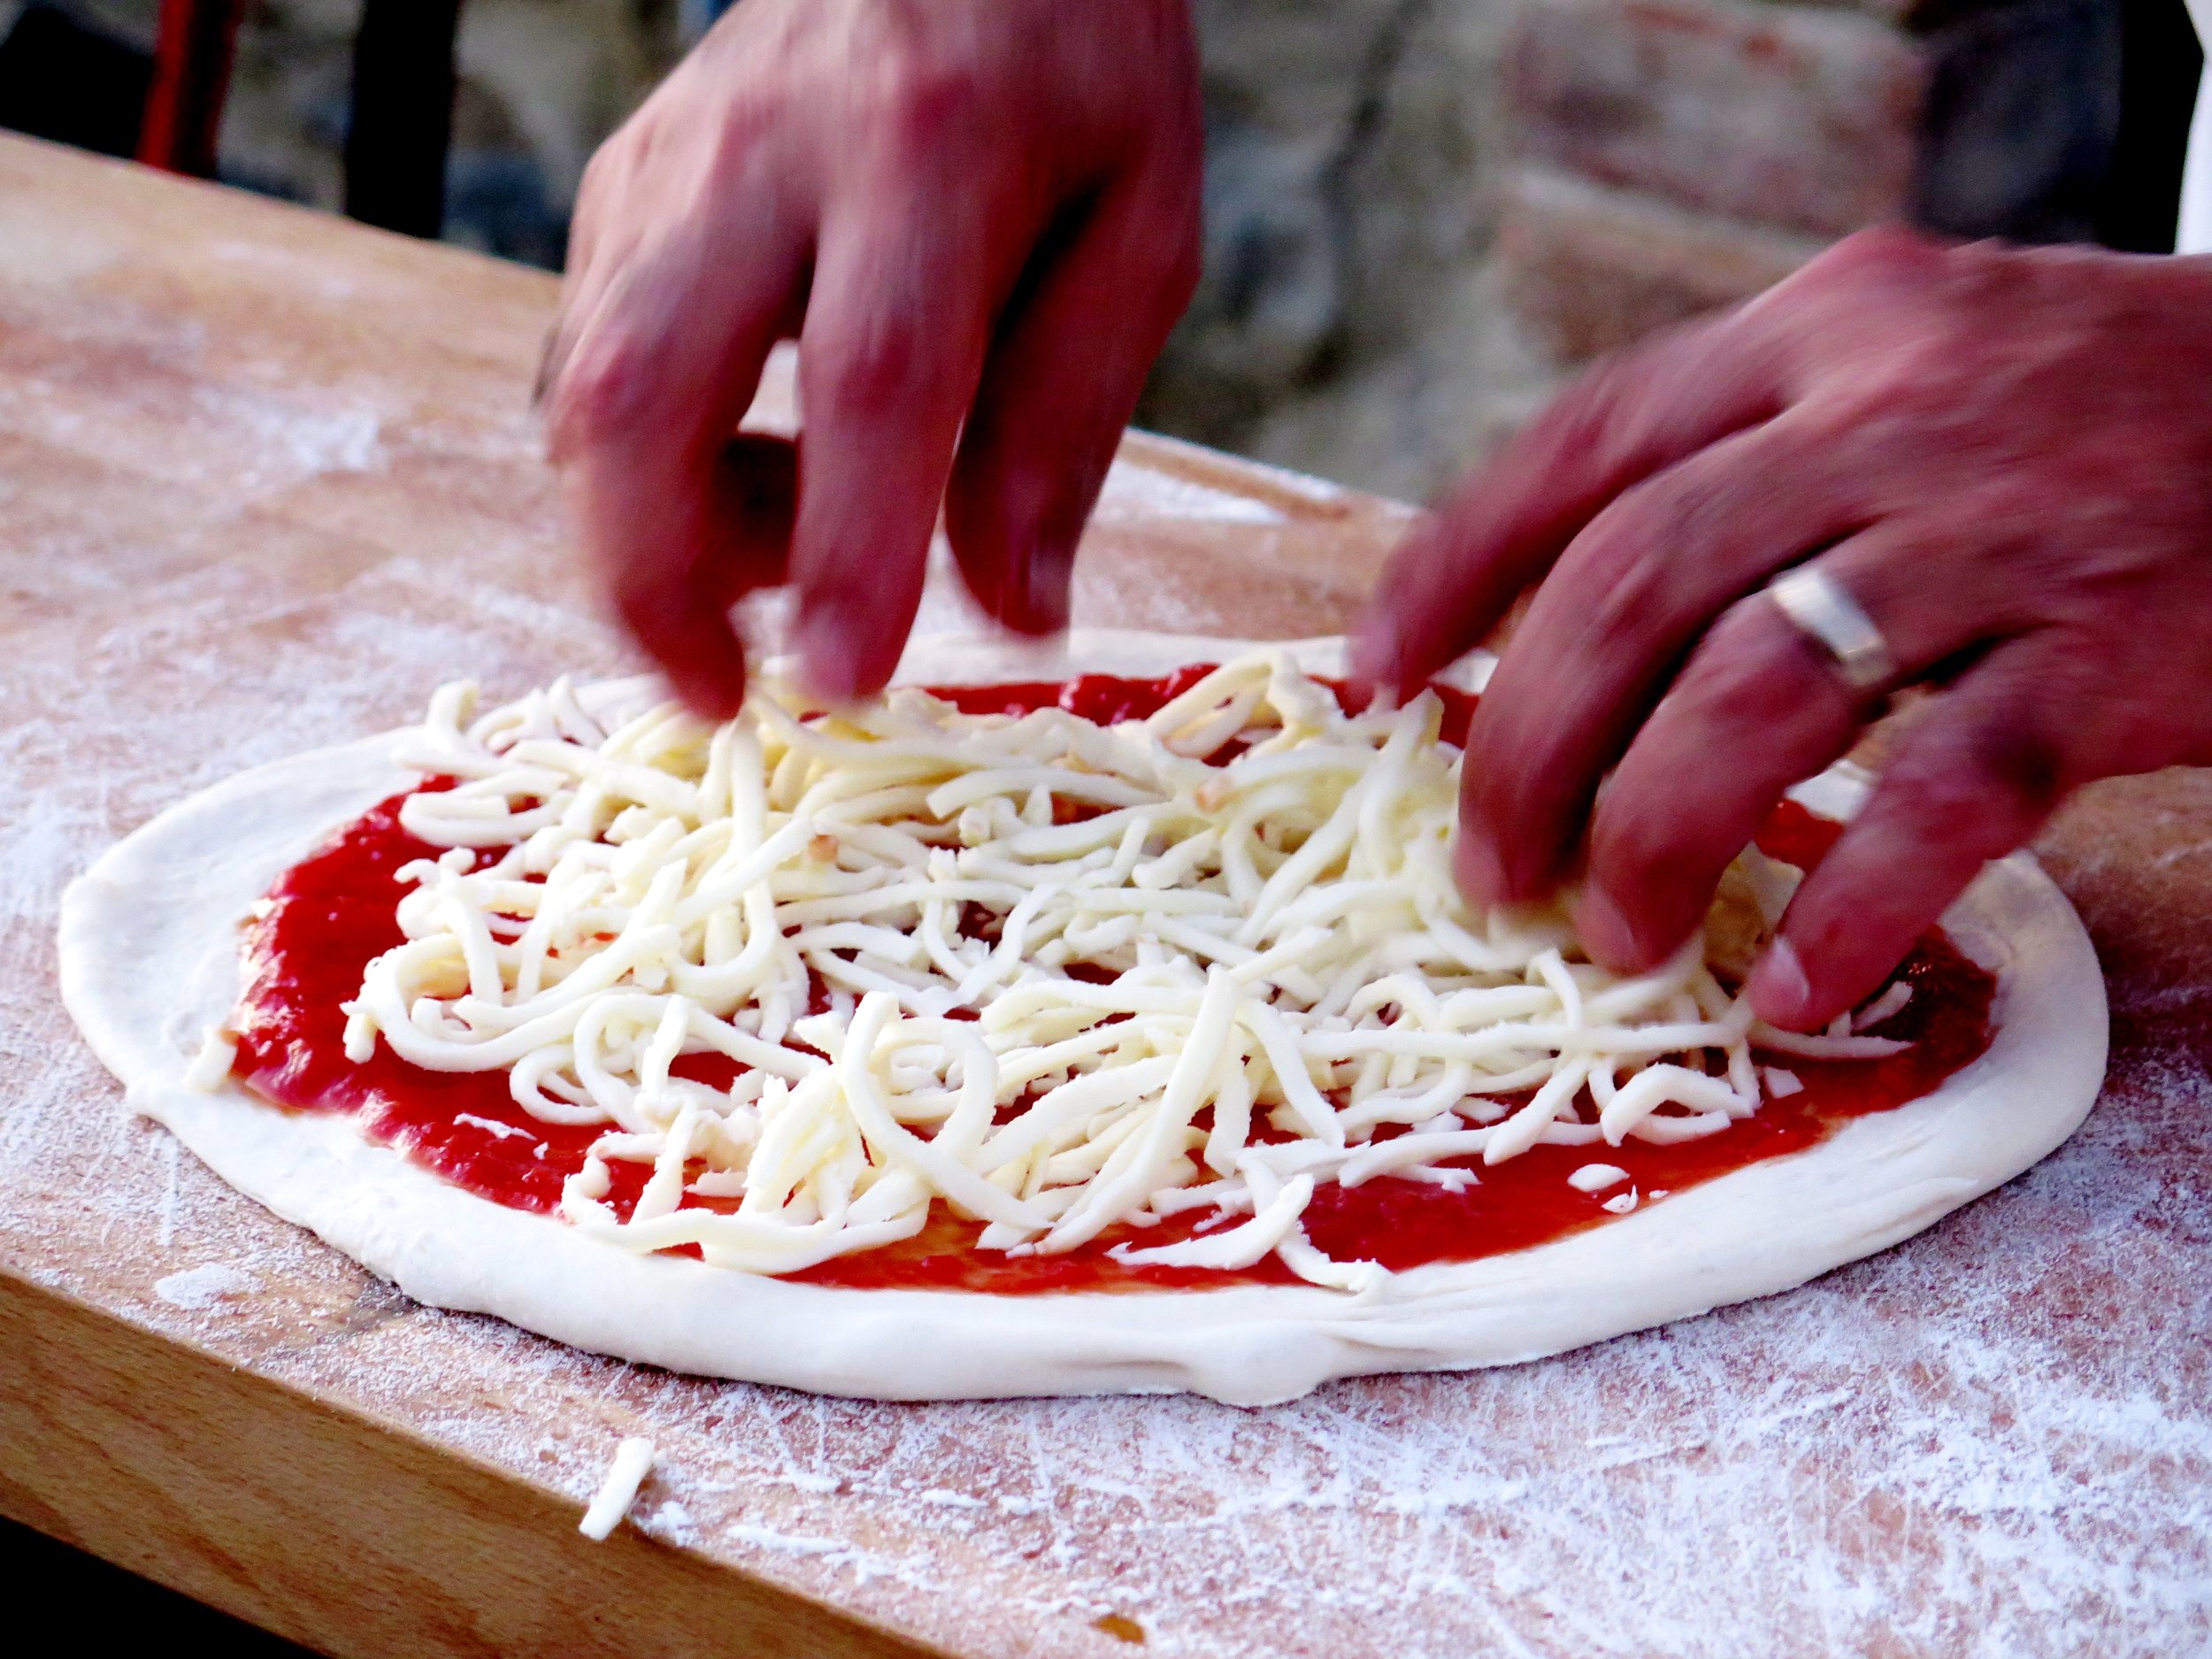
a shower of mozzarella,
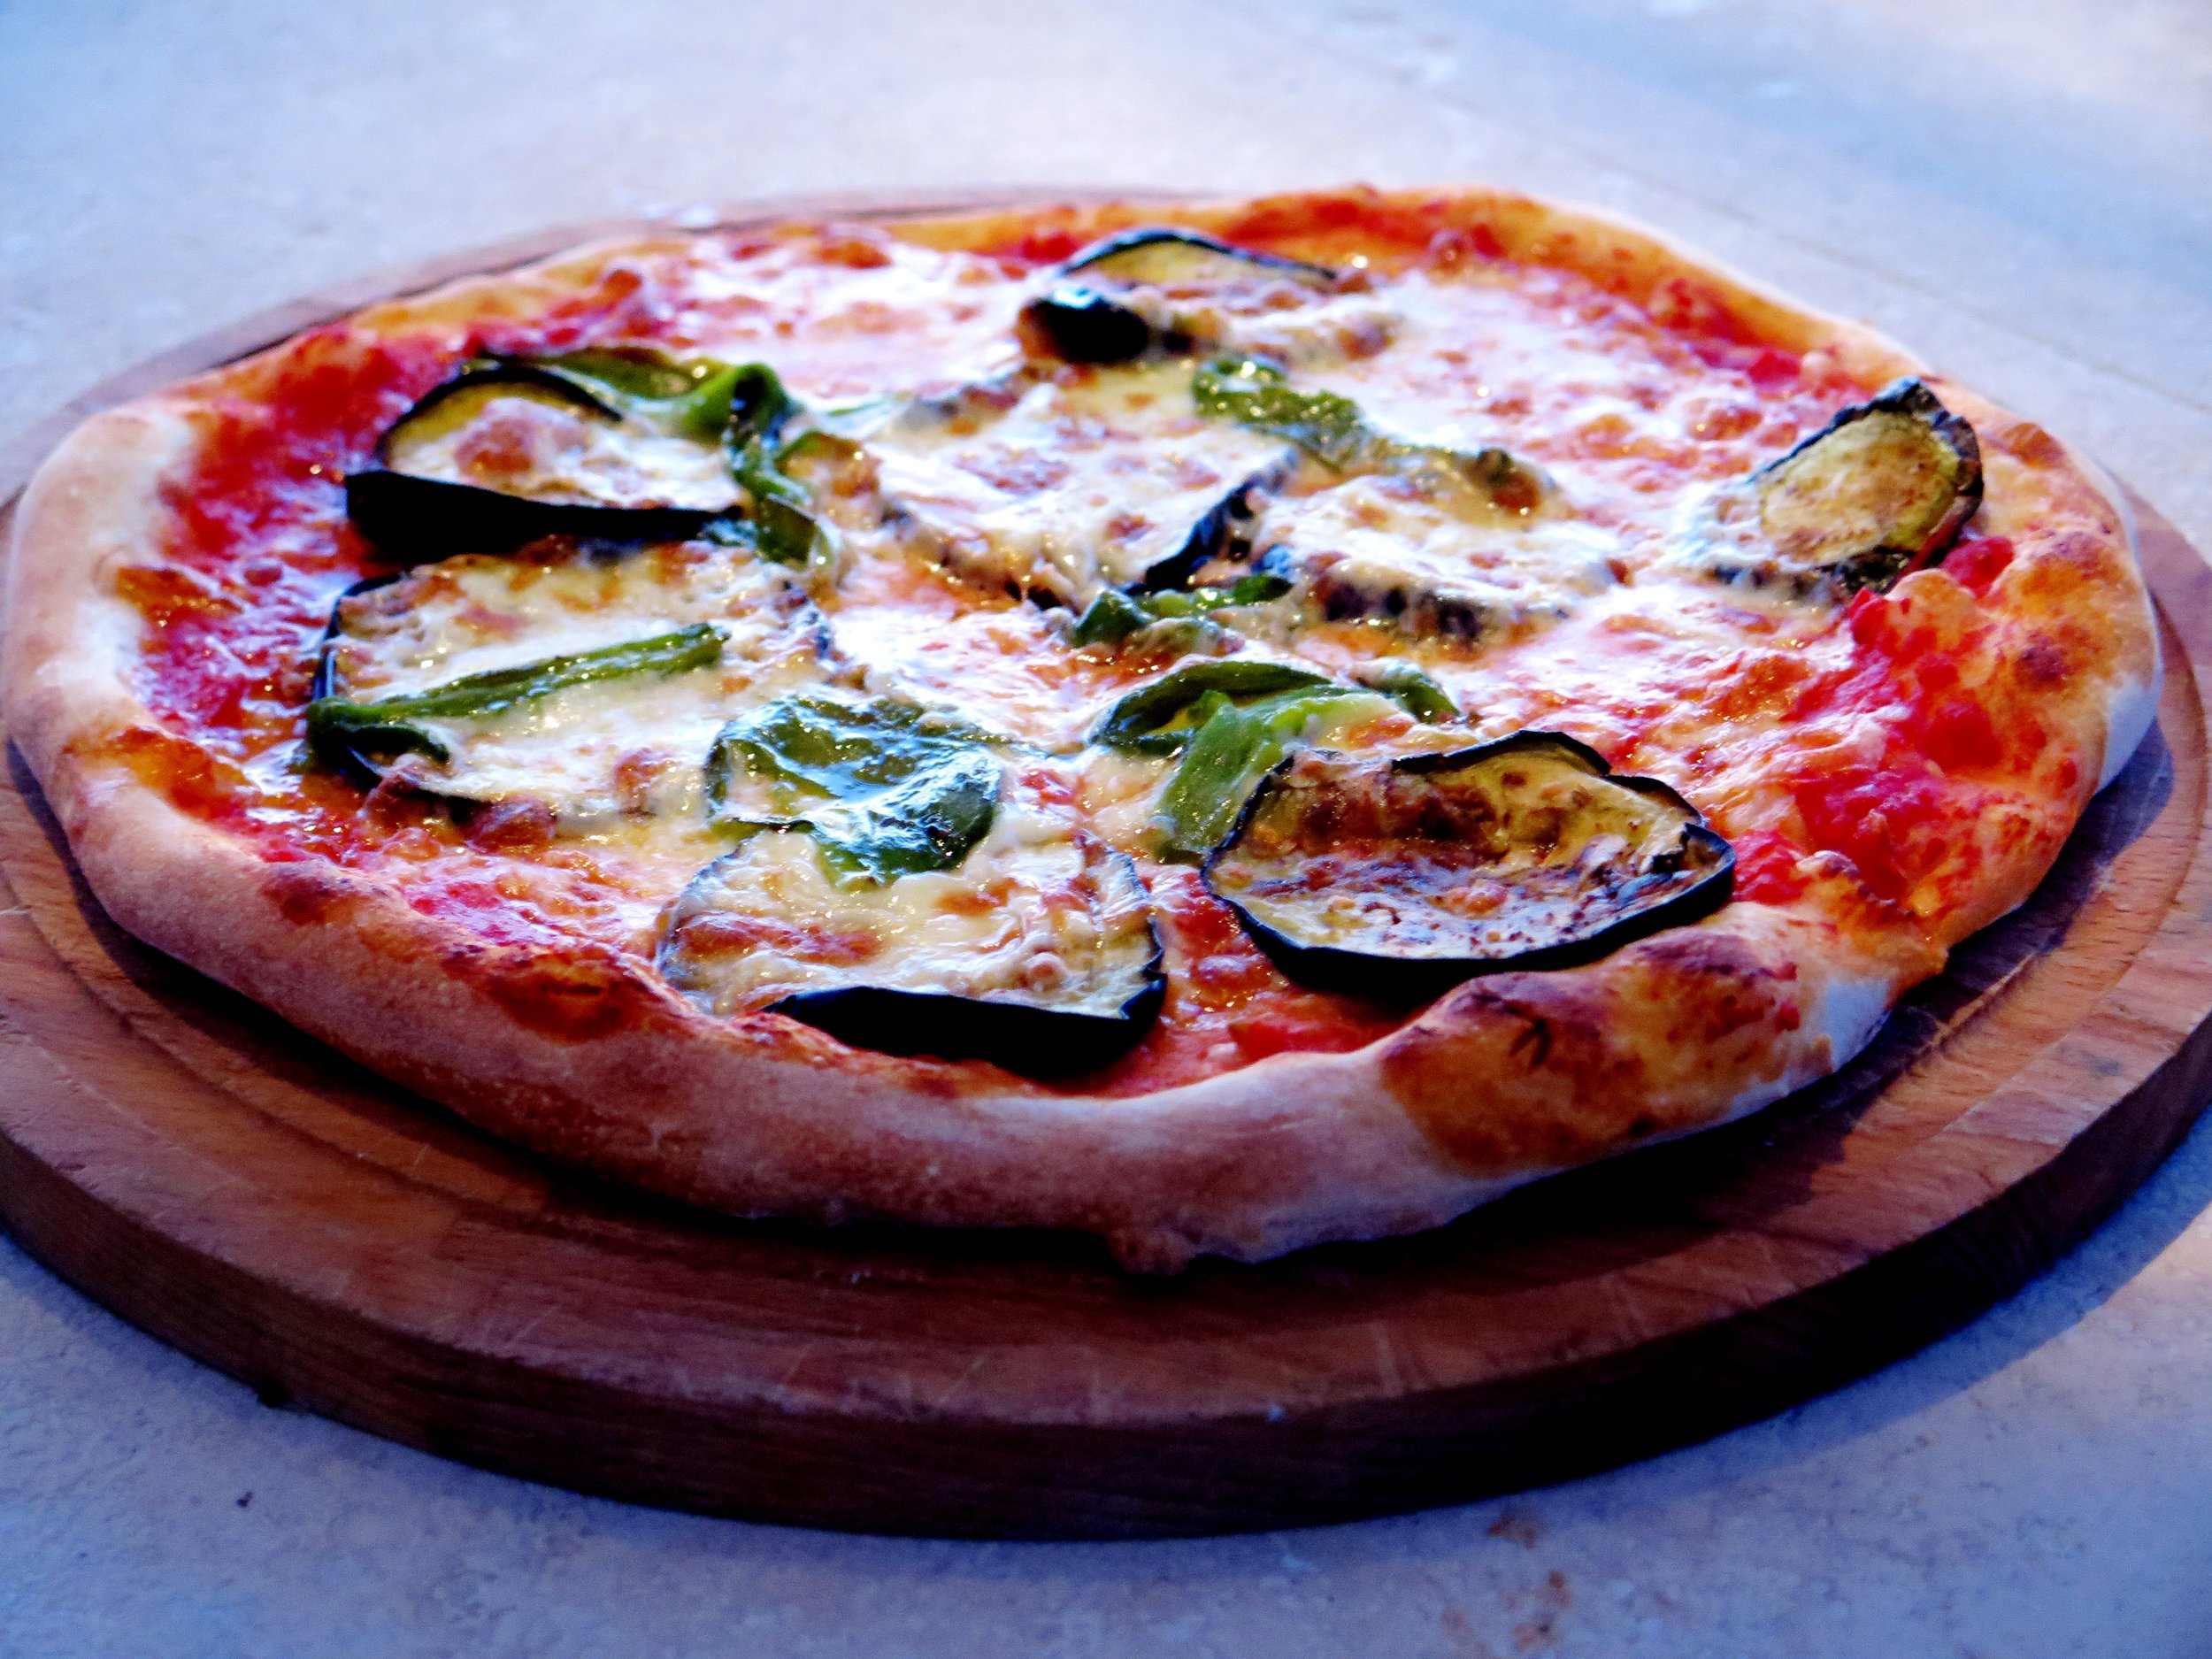
and a scattering of whatever’s in the garden: fiori di zucchini, melanzane, pepperoncini…
The flurry of flour continues into the night.
The dinner table is a moderation-free zone.
He only stops when even the strictest of eaters has lost count of the number of pizzas (not slices) he/she has consumed, and physical incapacity is the only limitation.
He doesn’t even really stop there: a couple more are sent to the table per domani.
A pizza “hangover” ensues along with the inevitable promises of “never again” “not for another year”.
But as soon as I hit London soil again I want to relieve that pizza-lover’s fantasy and so I make these.
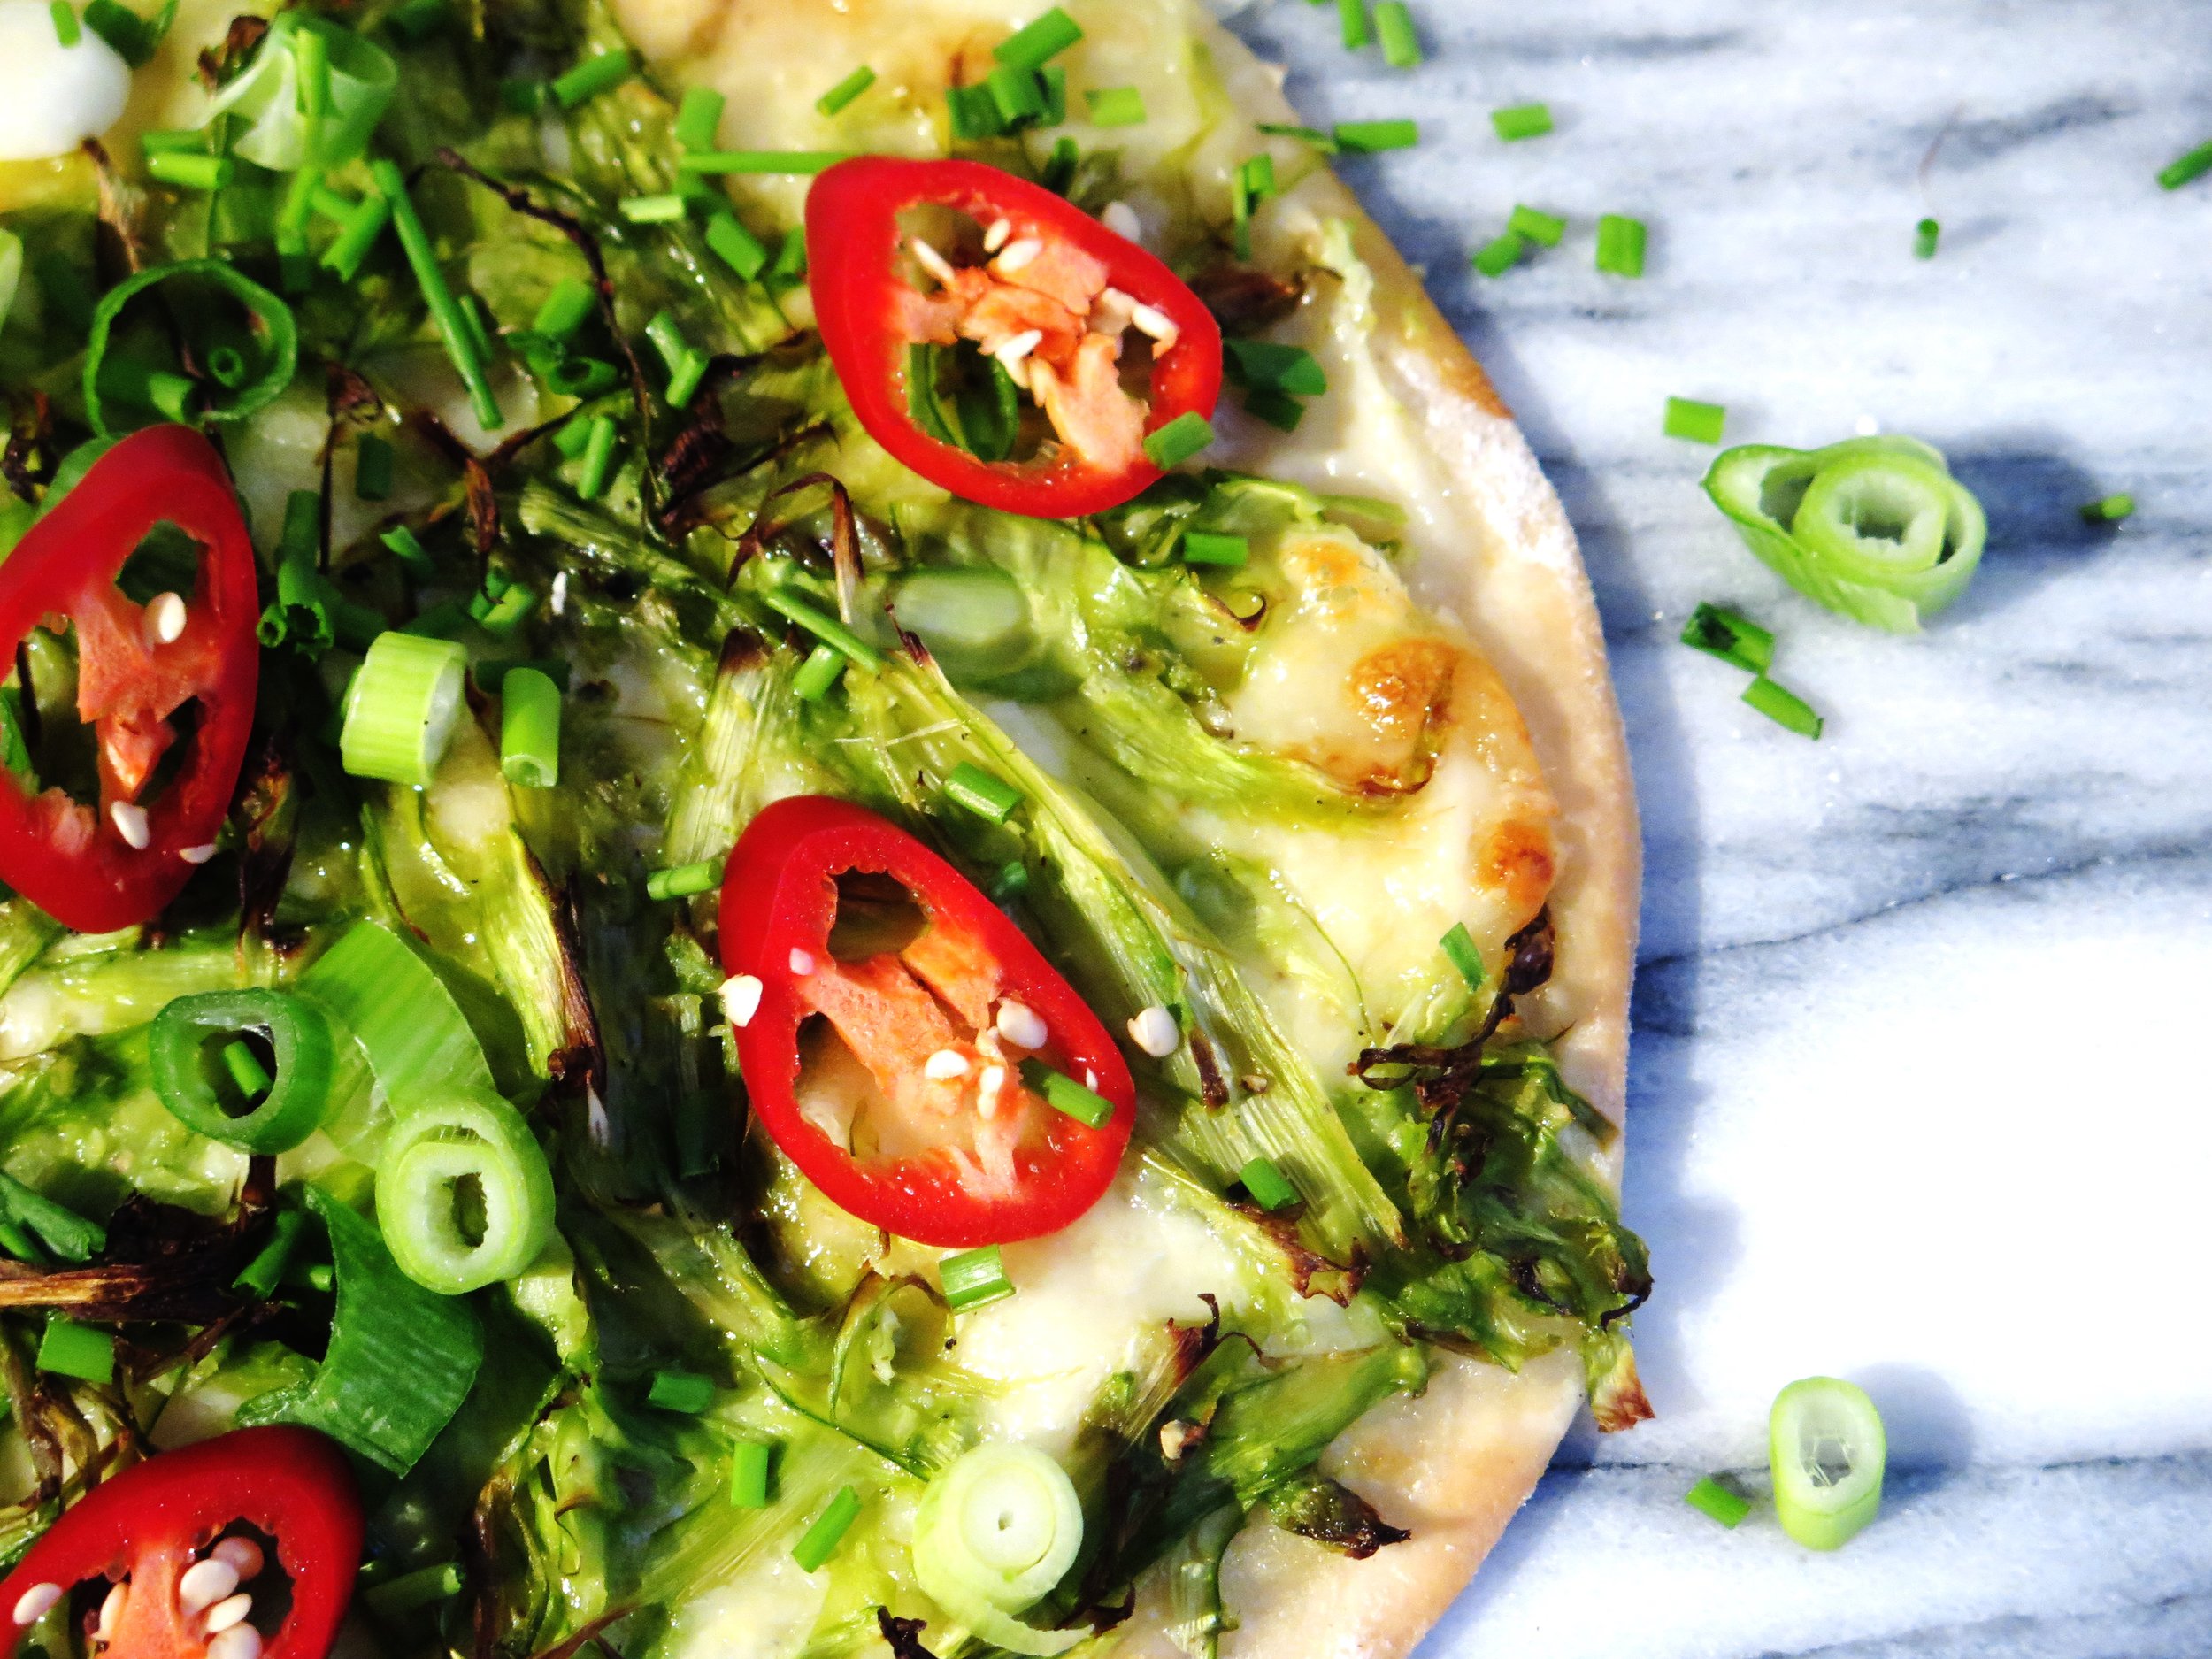
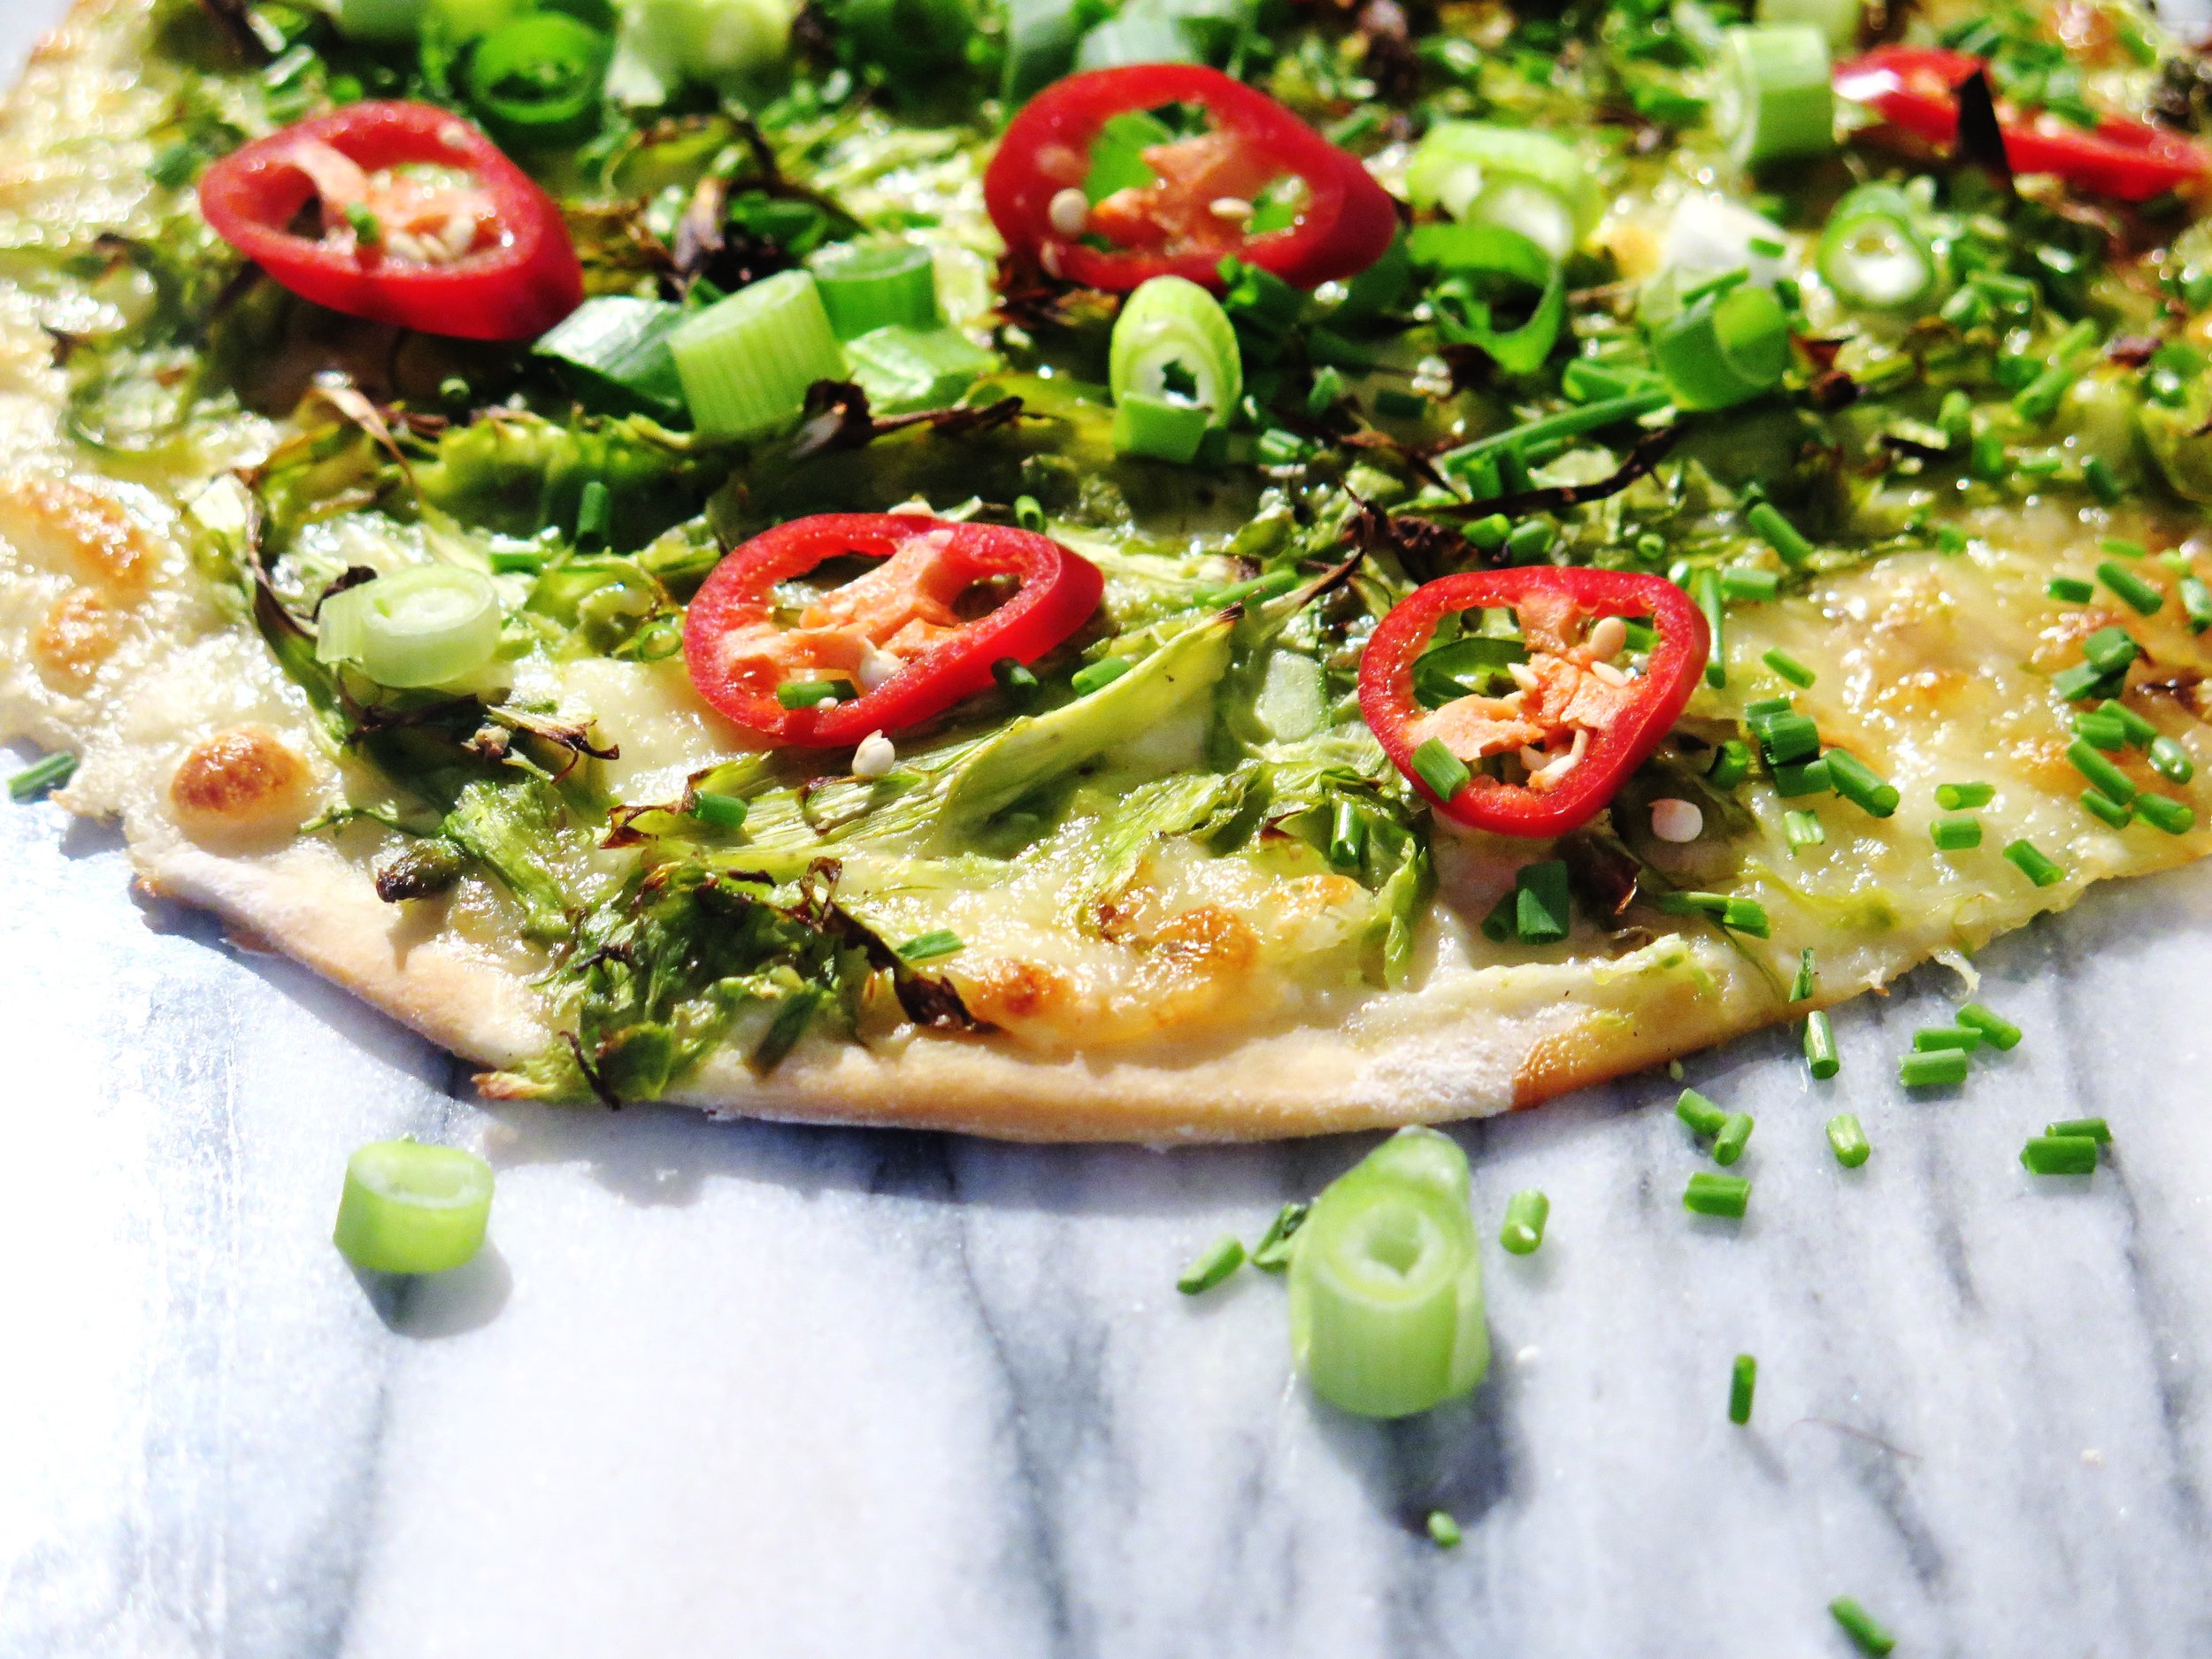
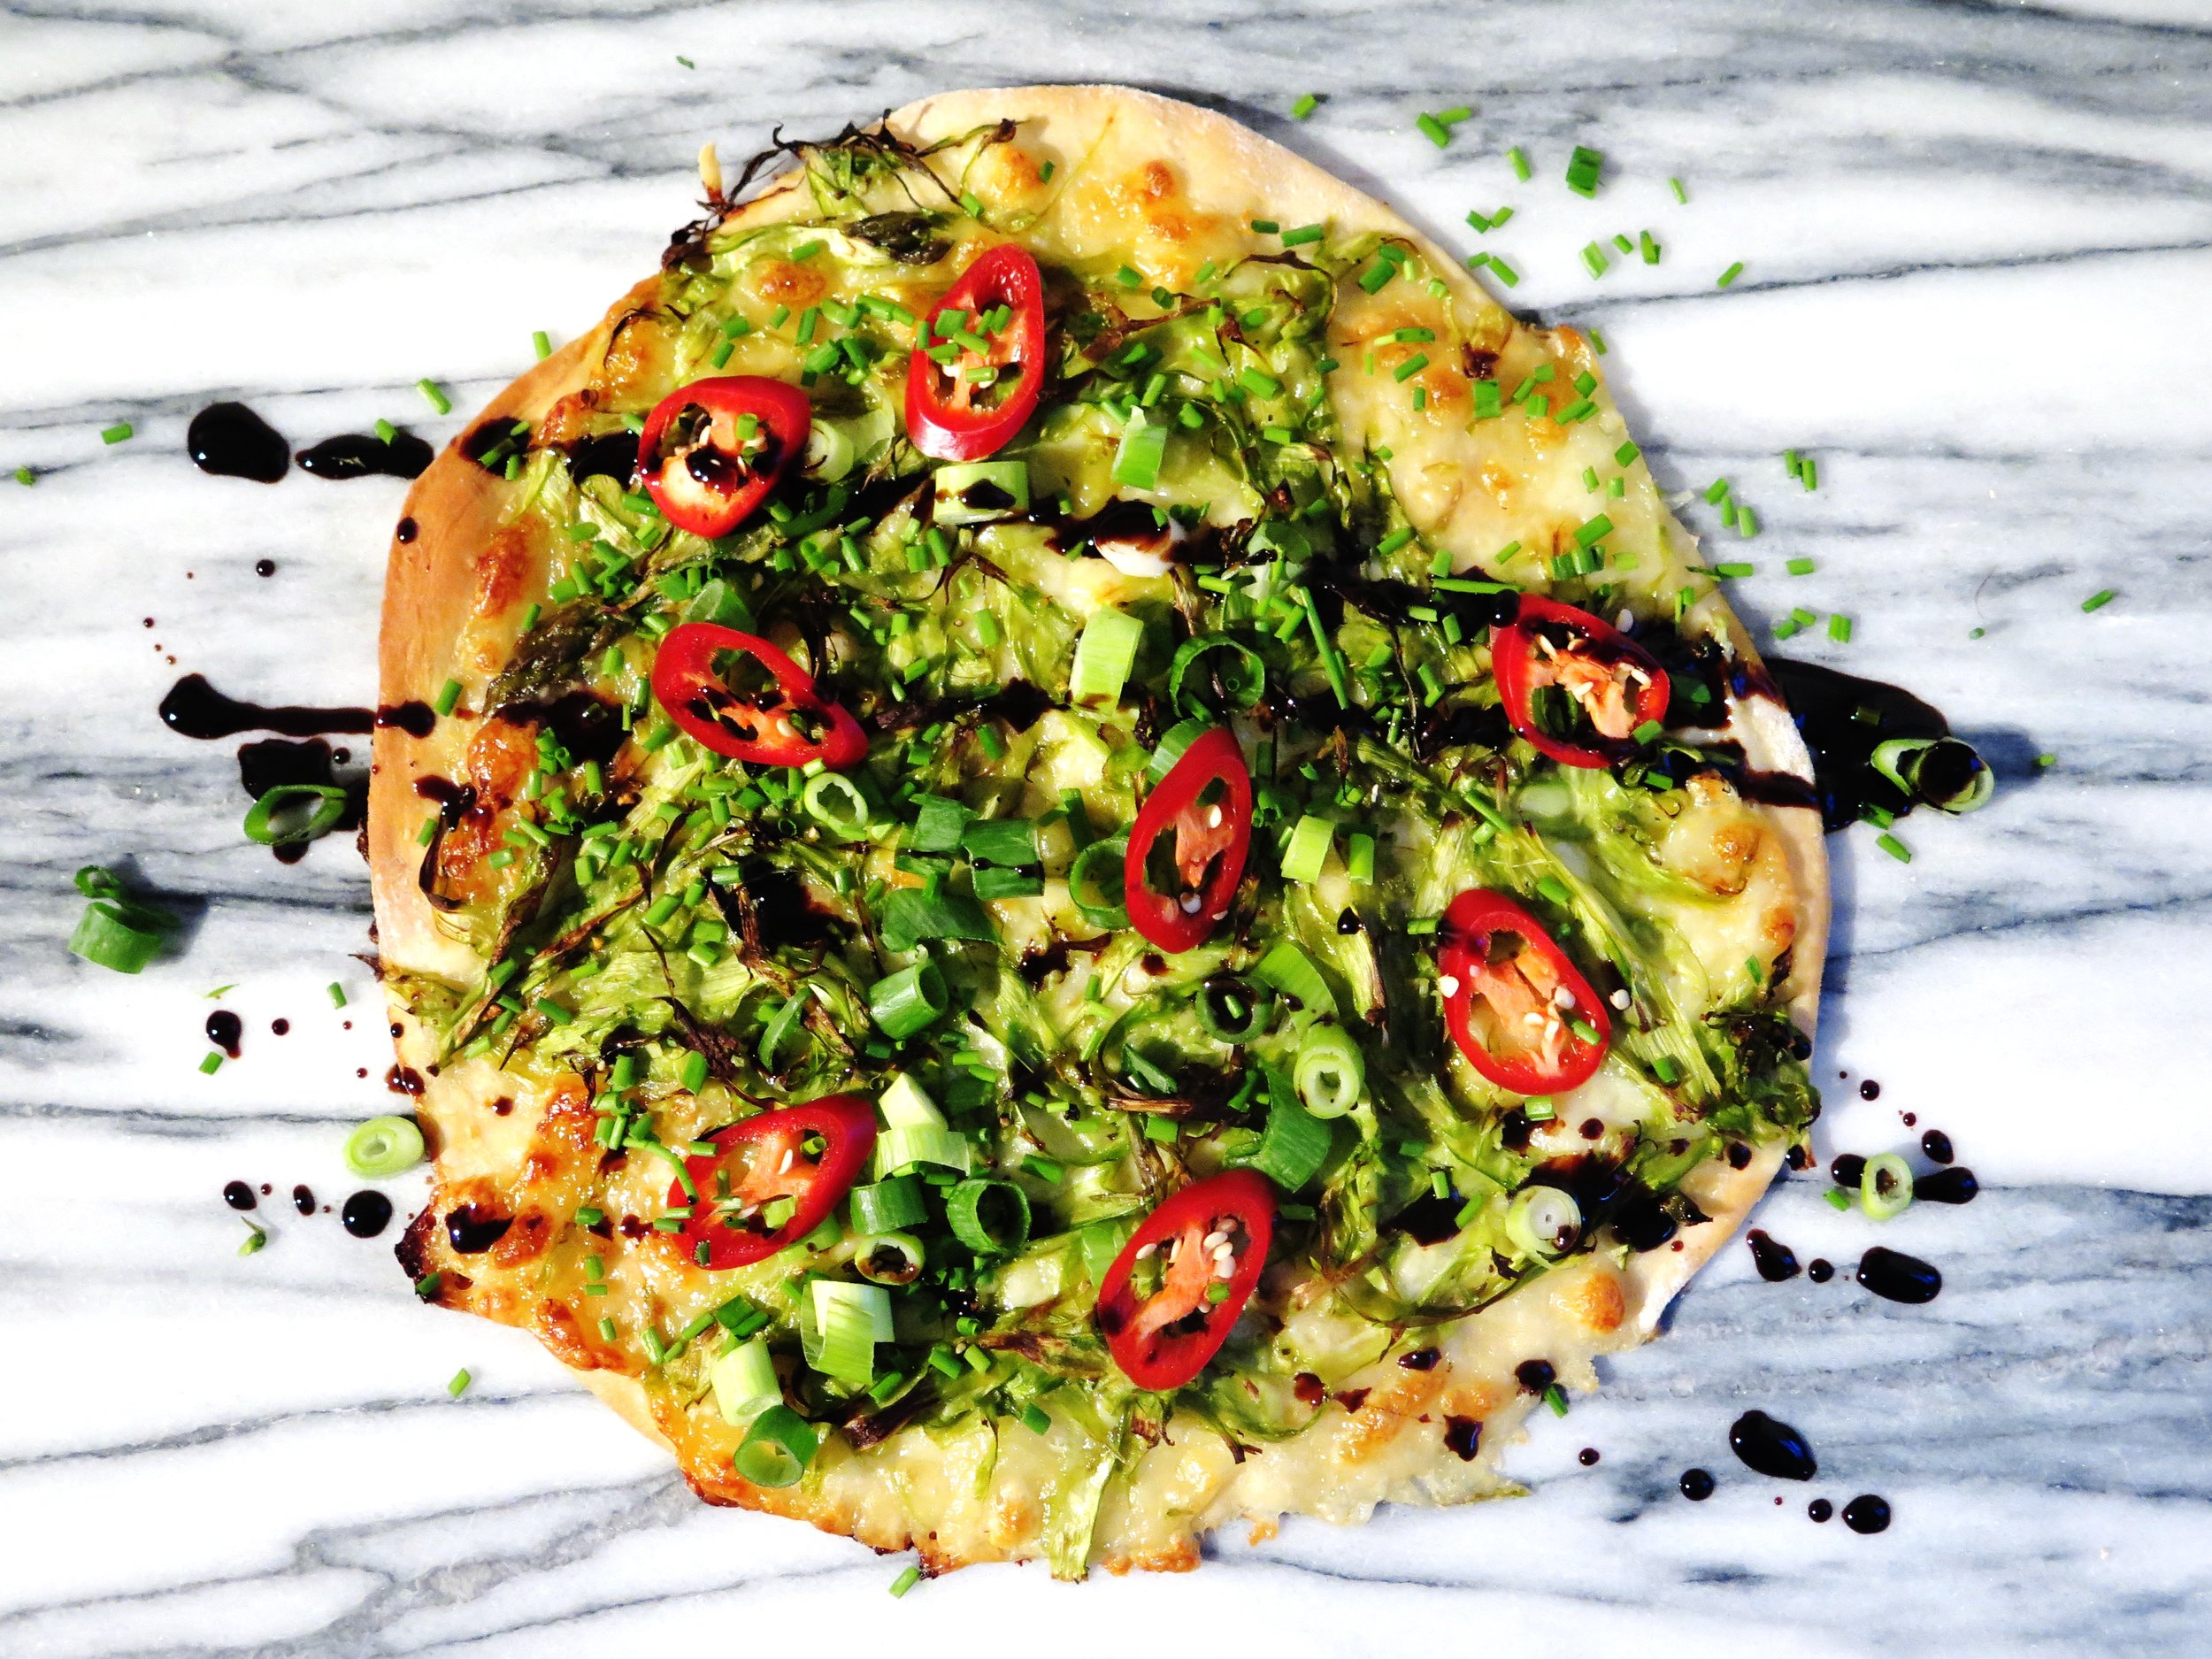
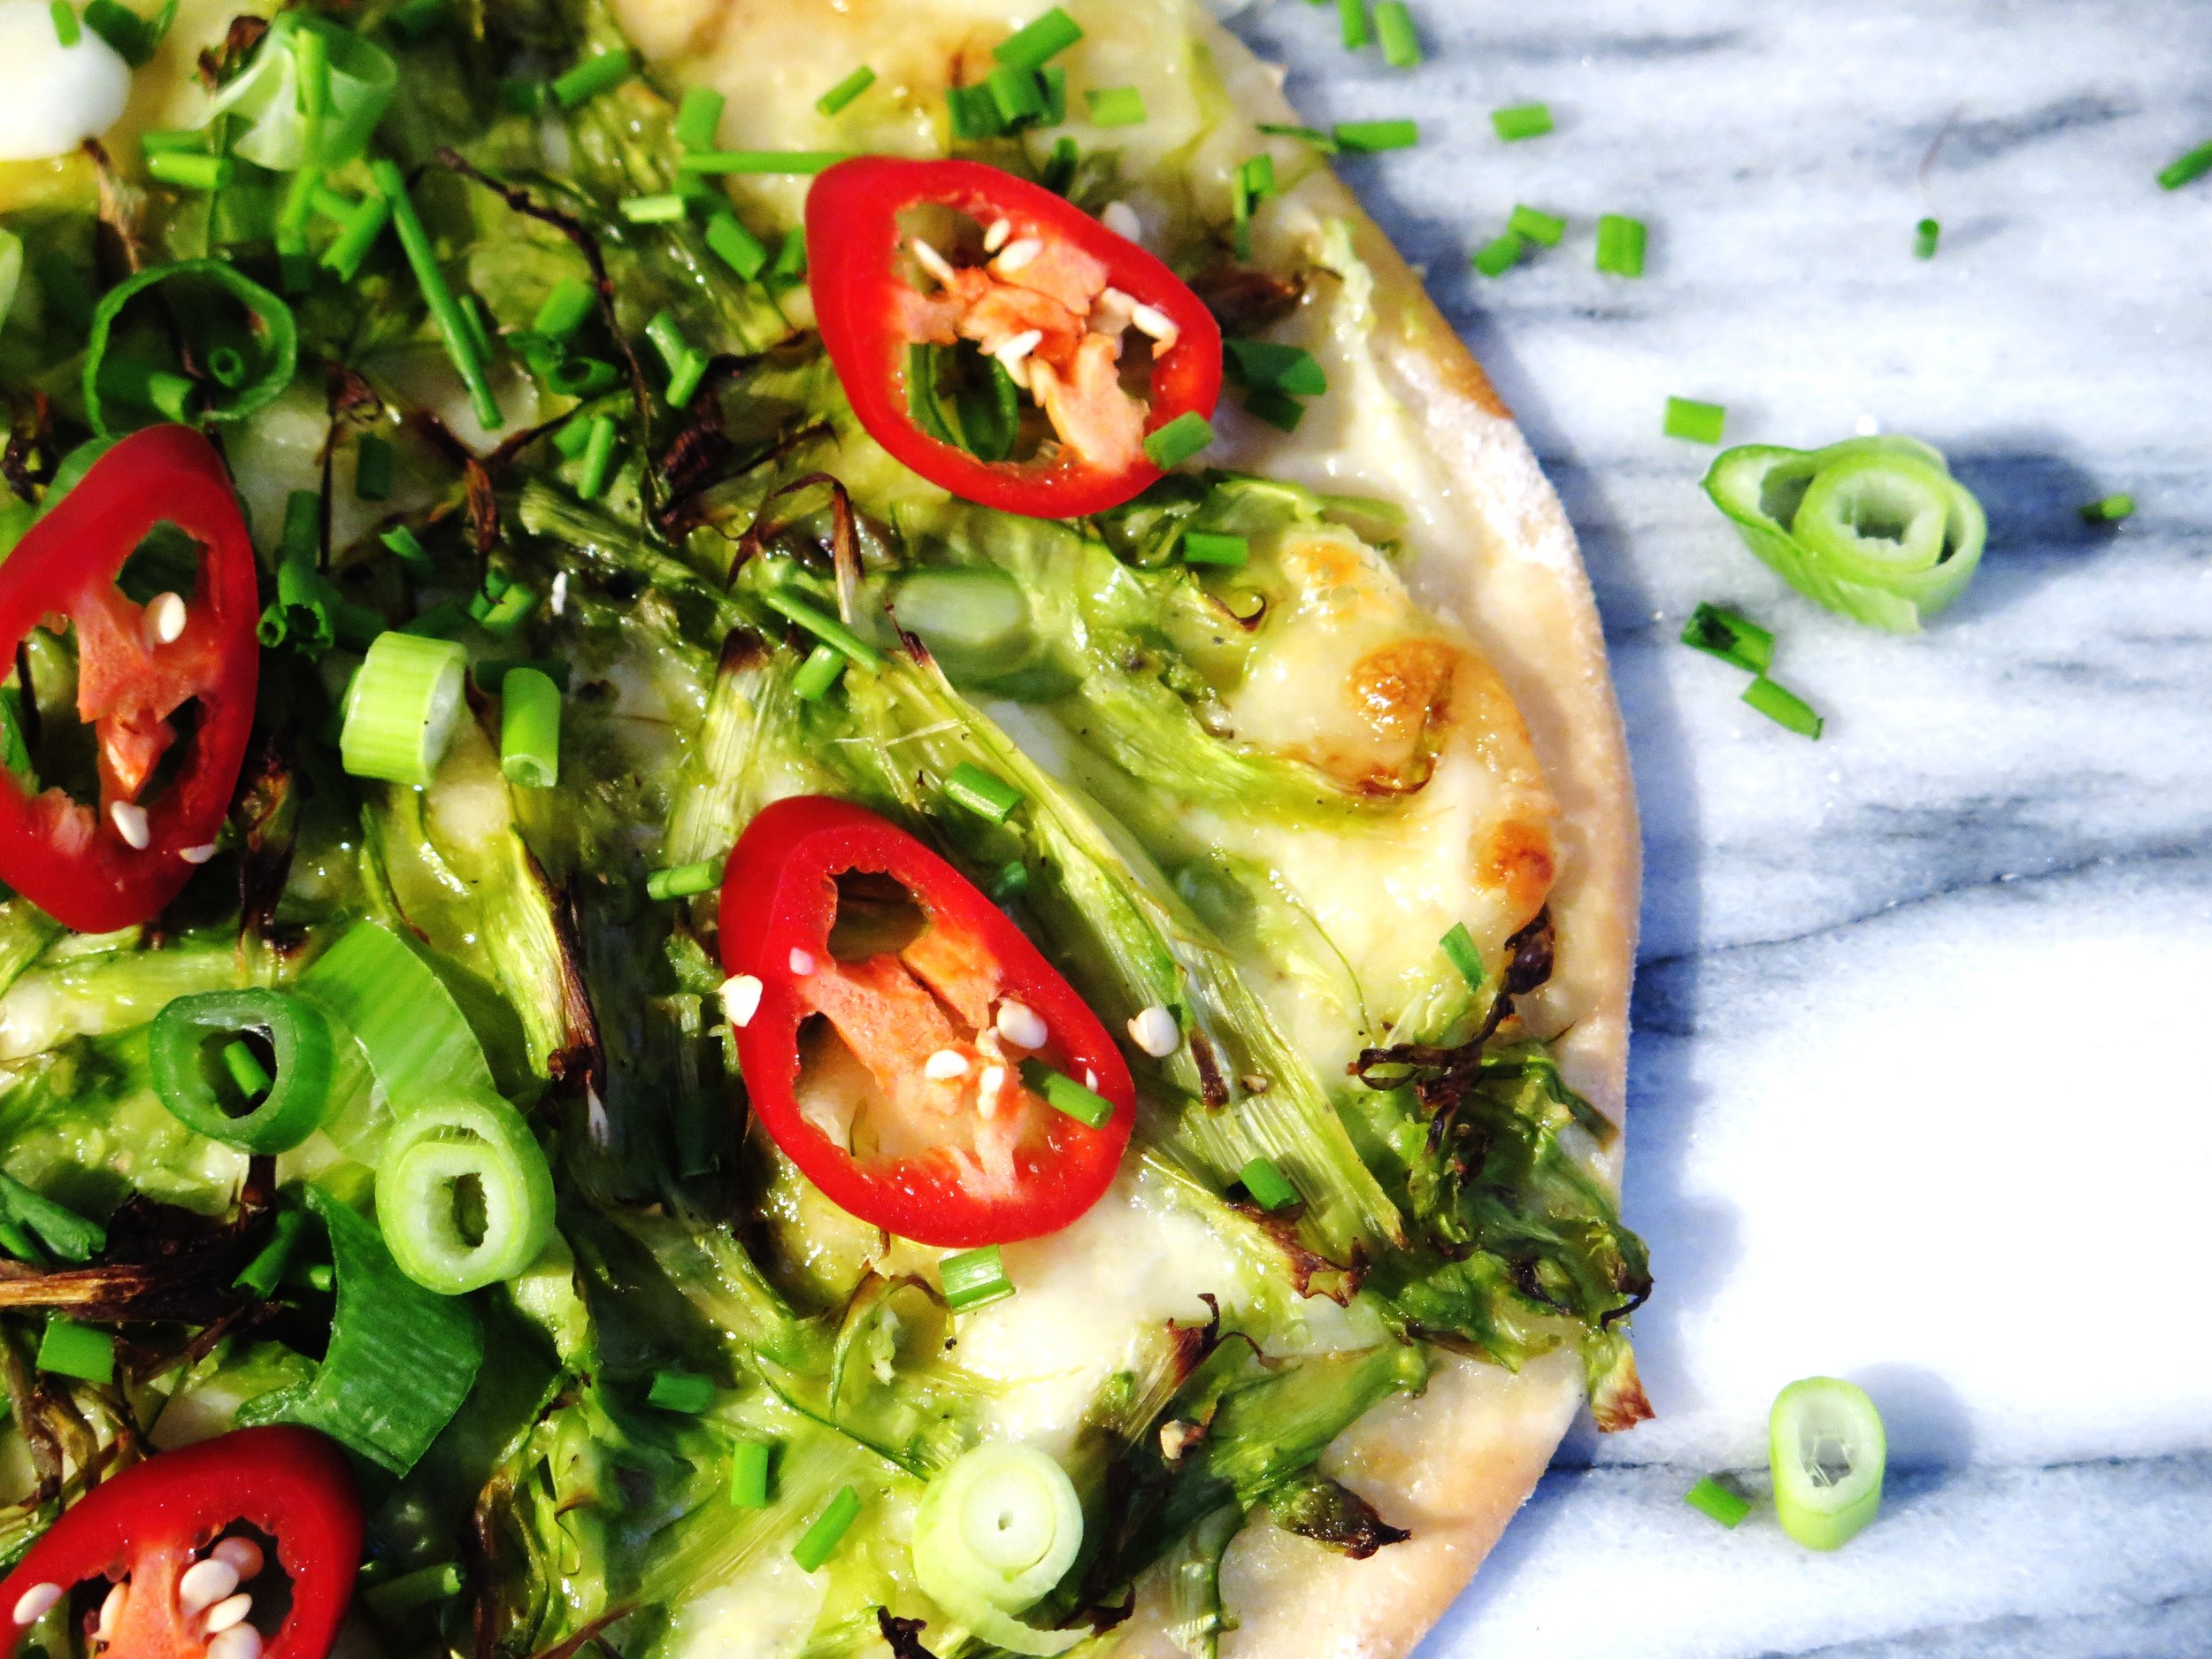
They’re crisp, thin, verdant, and fresh.
I don’t believe in barren crusts or meanness so the ingredients are abundant and go right up to and beyond the edge of the base.
I use spelt instead of plain flour (as usual) to reduce the GI level and add a nuttier more complex flavour to the dough.
The added bonus of this recipe is that it is ridiculously quick. Kneading is kept to a minimum (5 minutes) and the rising time is the shortest you’ll ever find for pizza dough – ½ hour.
The balsamic-maple reduction is optional but I include it to add extra caramelised sweetness, extra tang and a touch of drama.
Ingredients – makes 4 pizzas
Base
250ml warm water
3 tsp dried yeast (fast active yeast)
500g white spelt flour
1 ½ tsp salt
1 tbsp olive oil
Topping
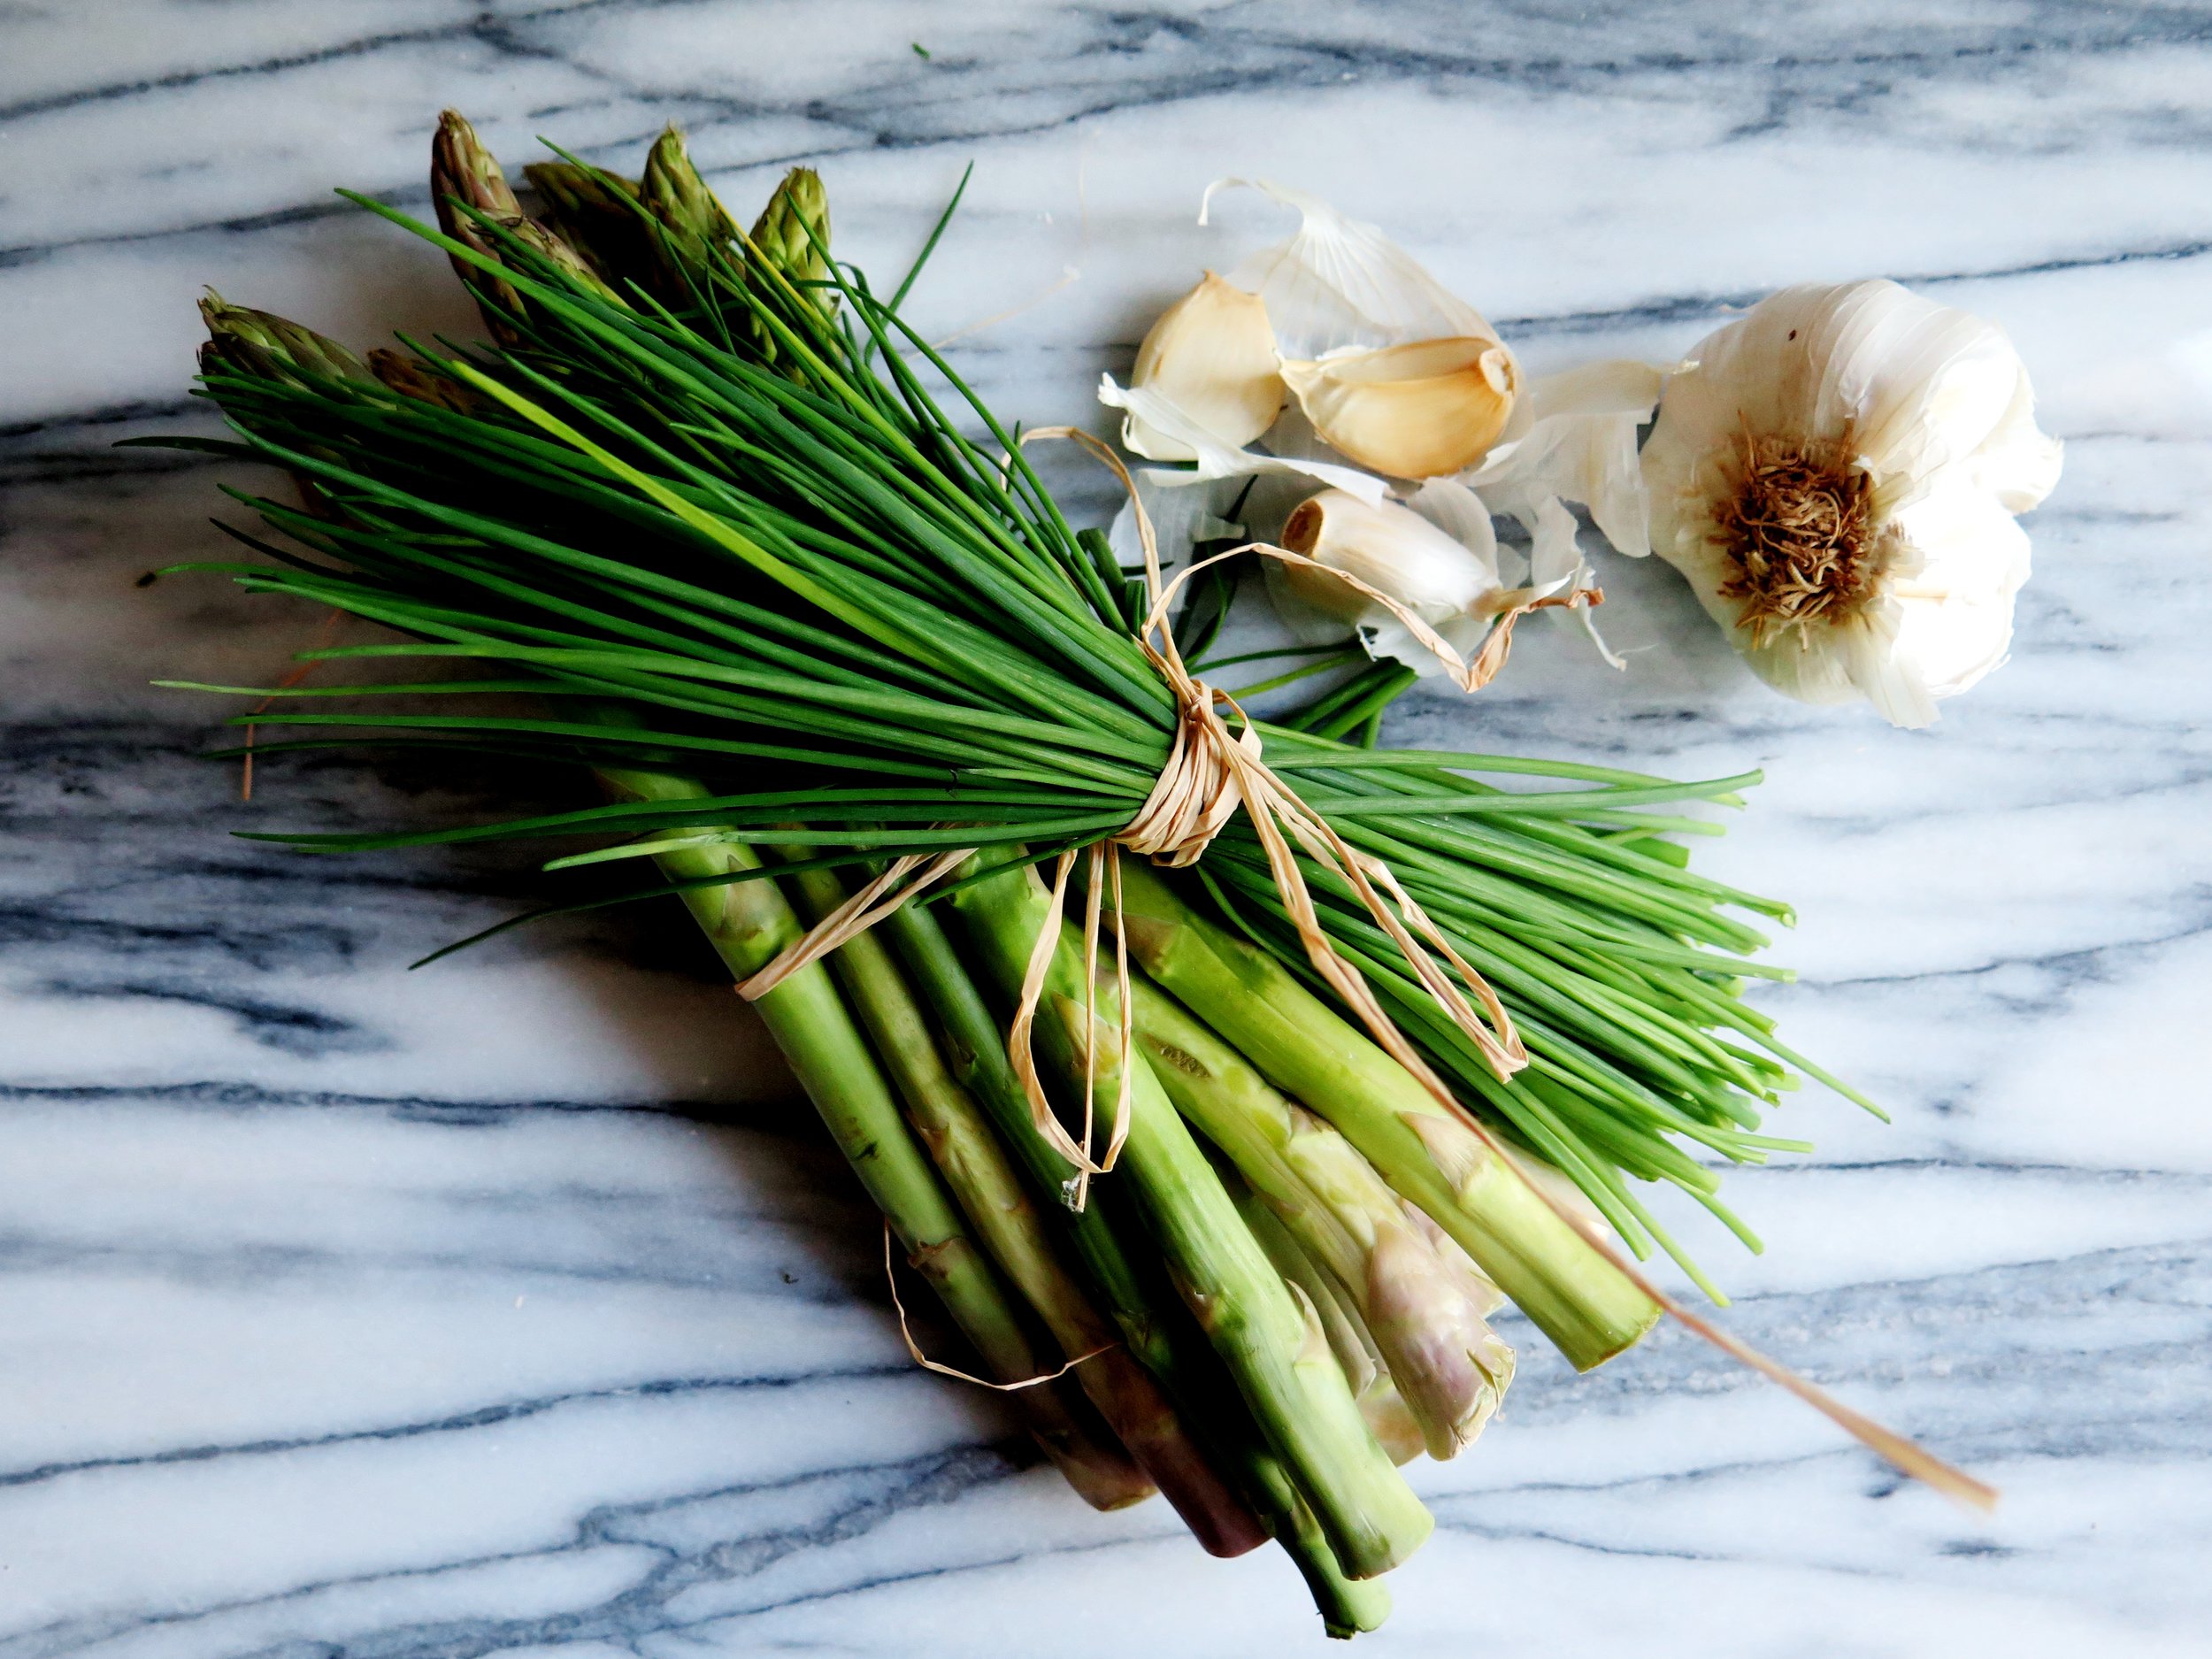
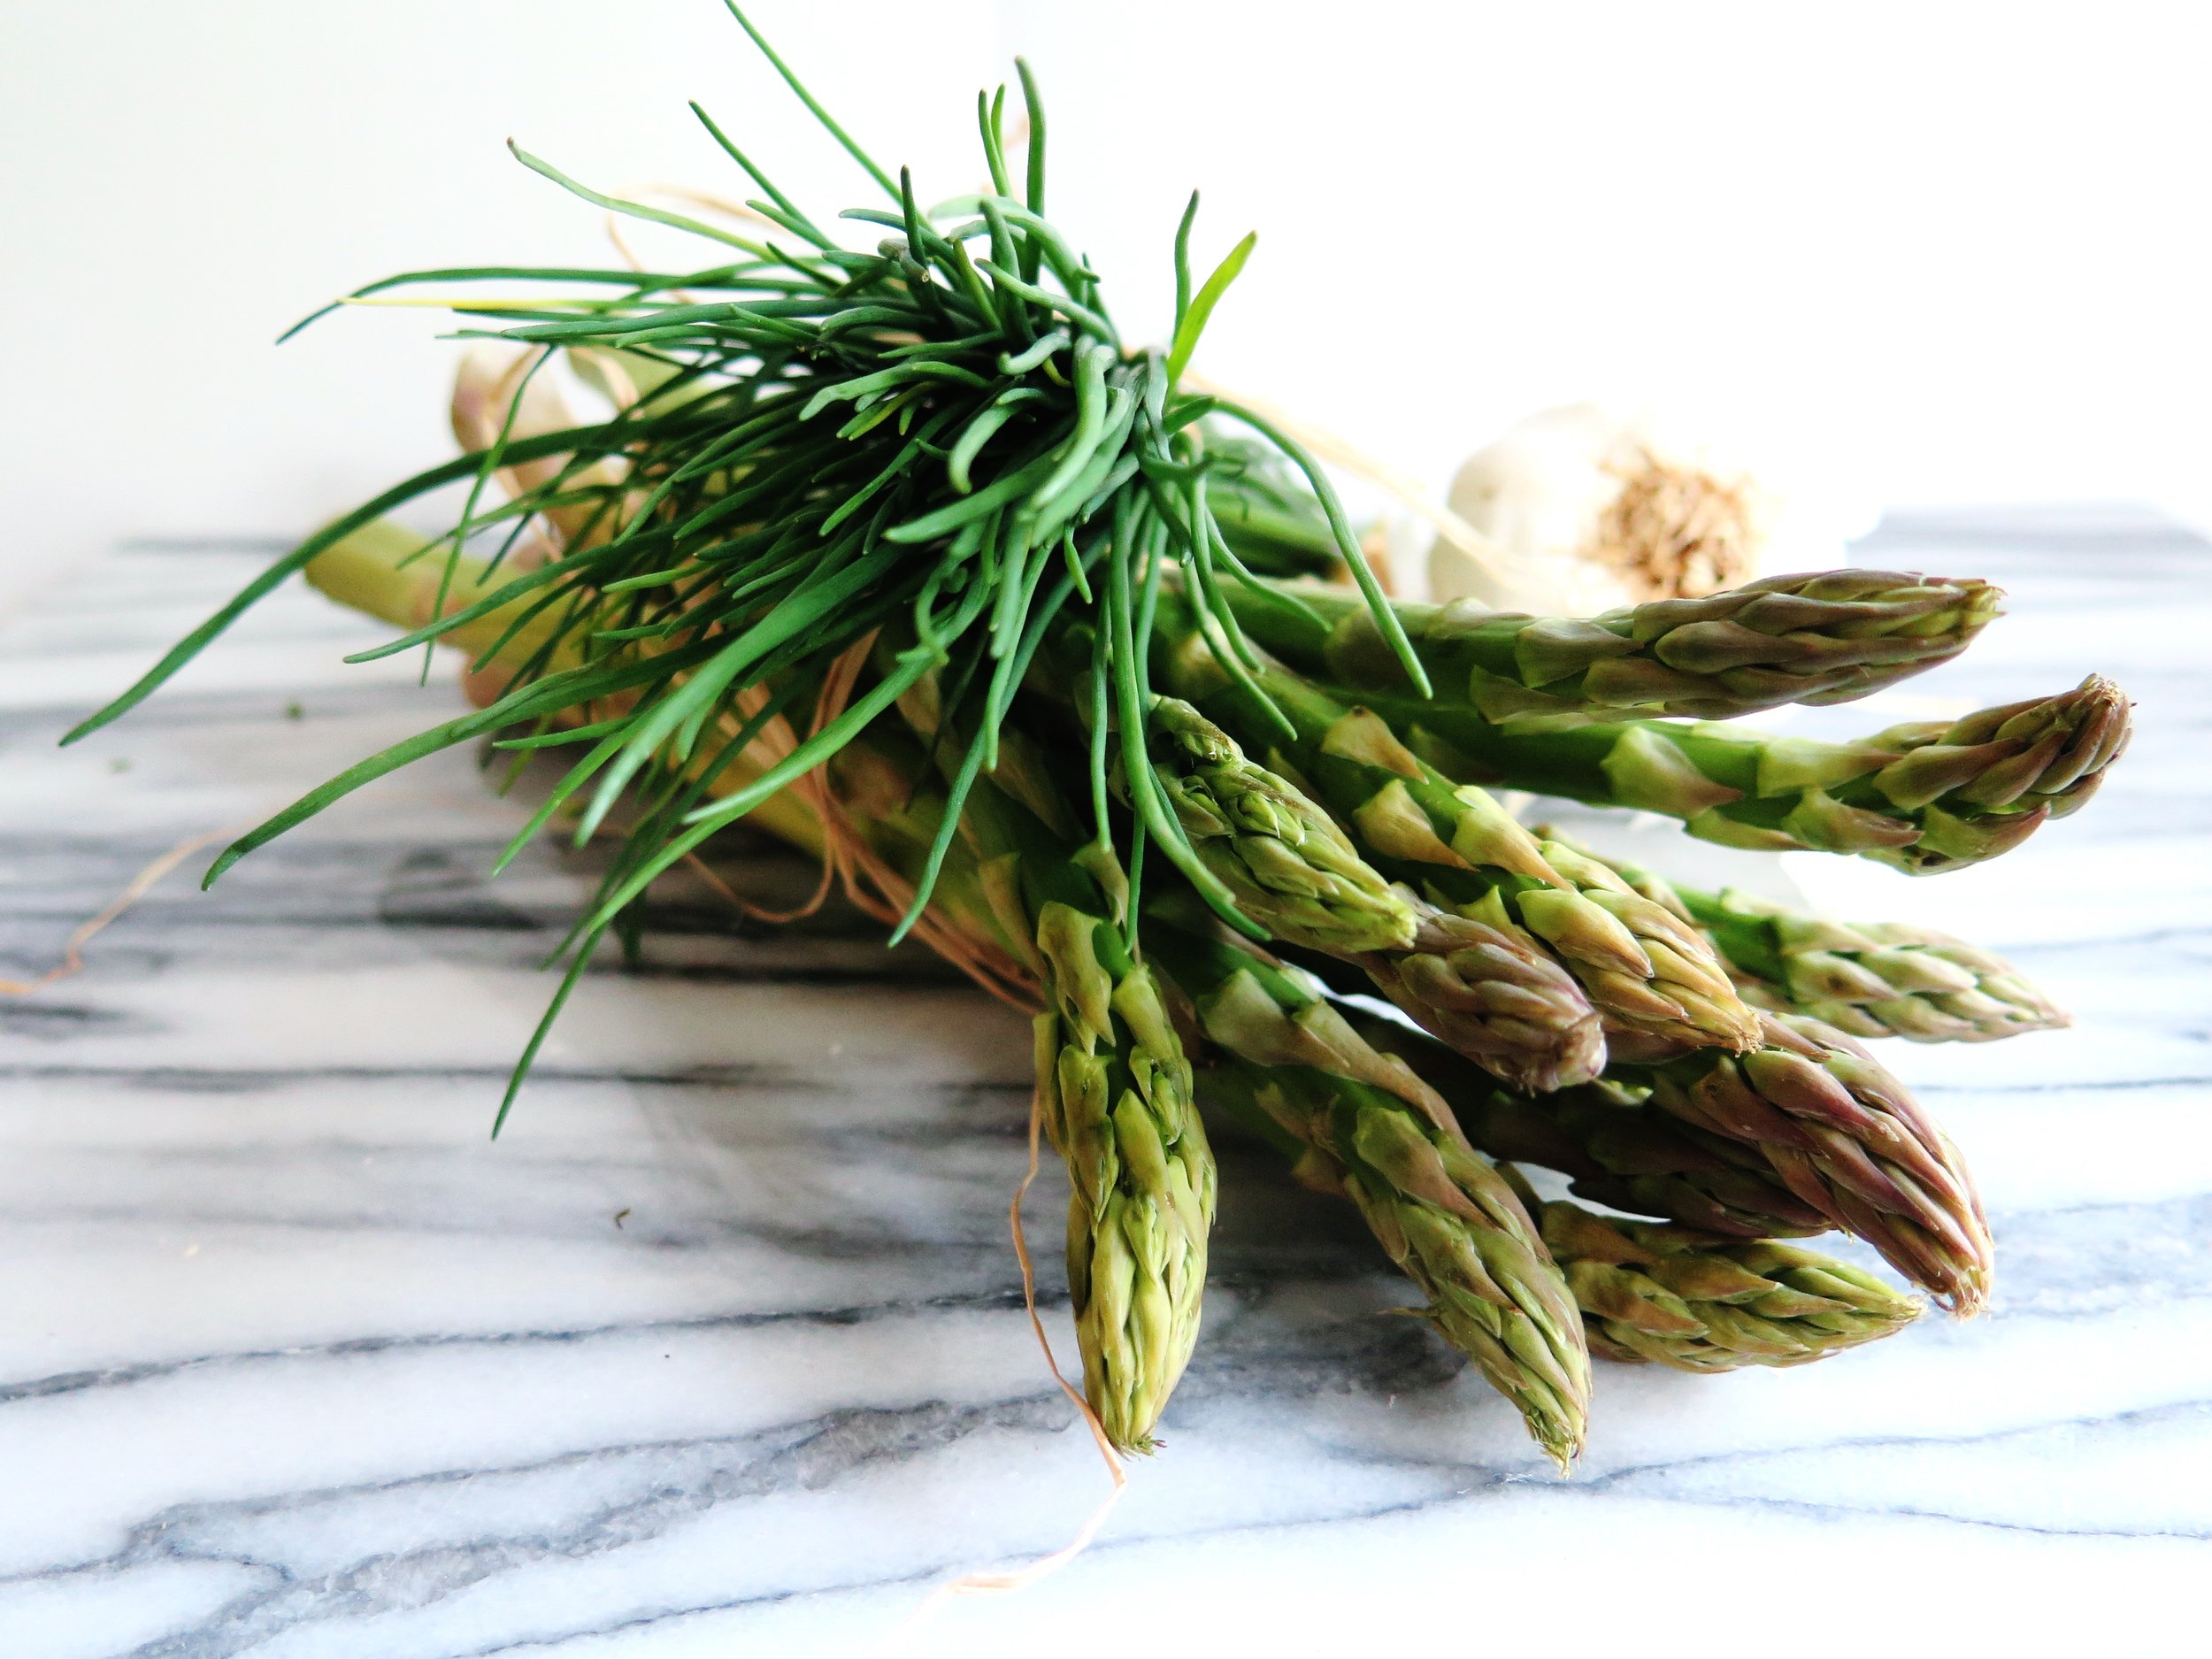
750g asparagus
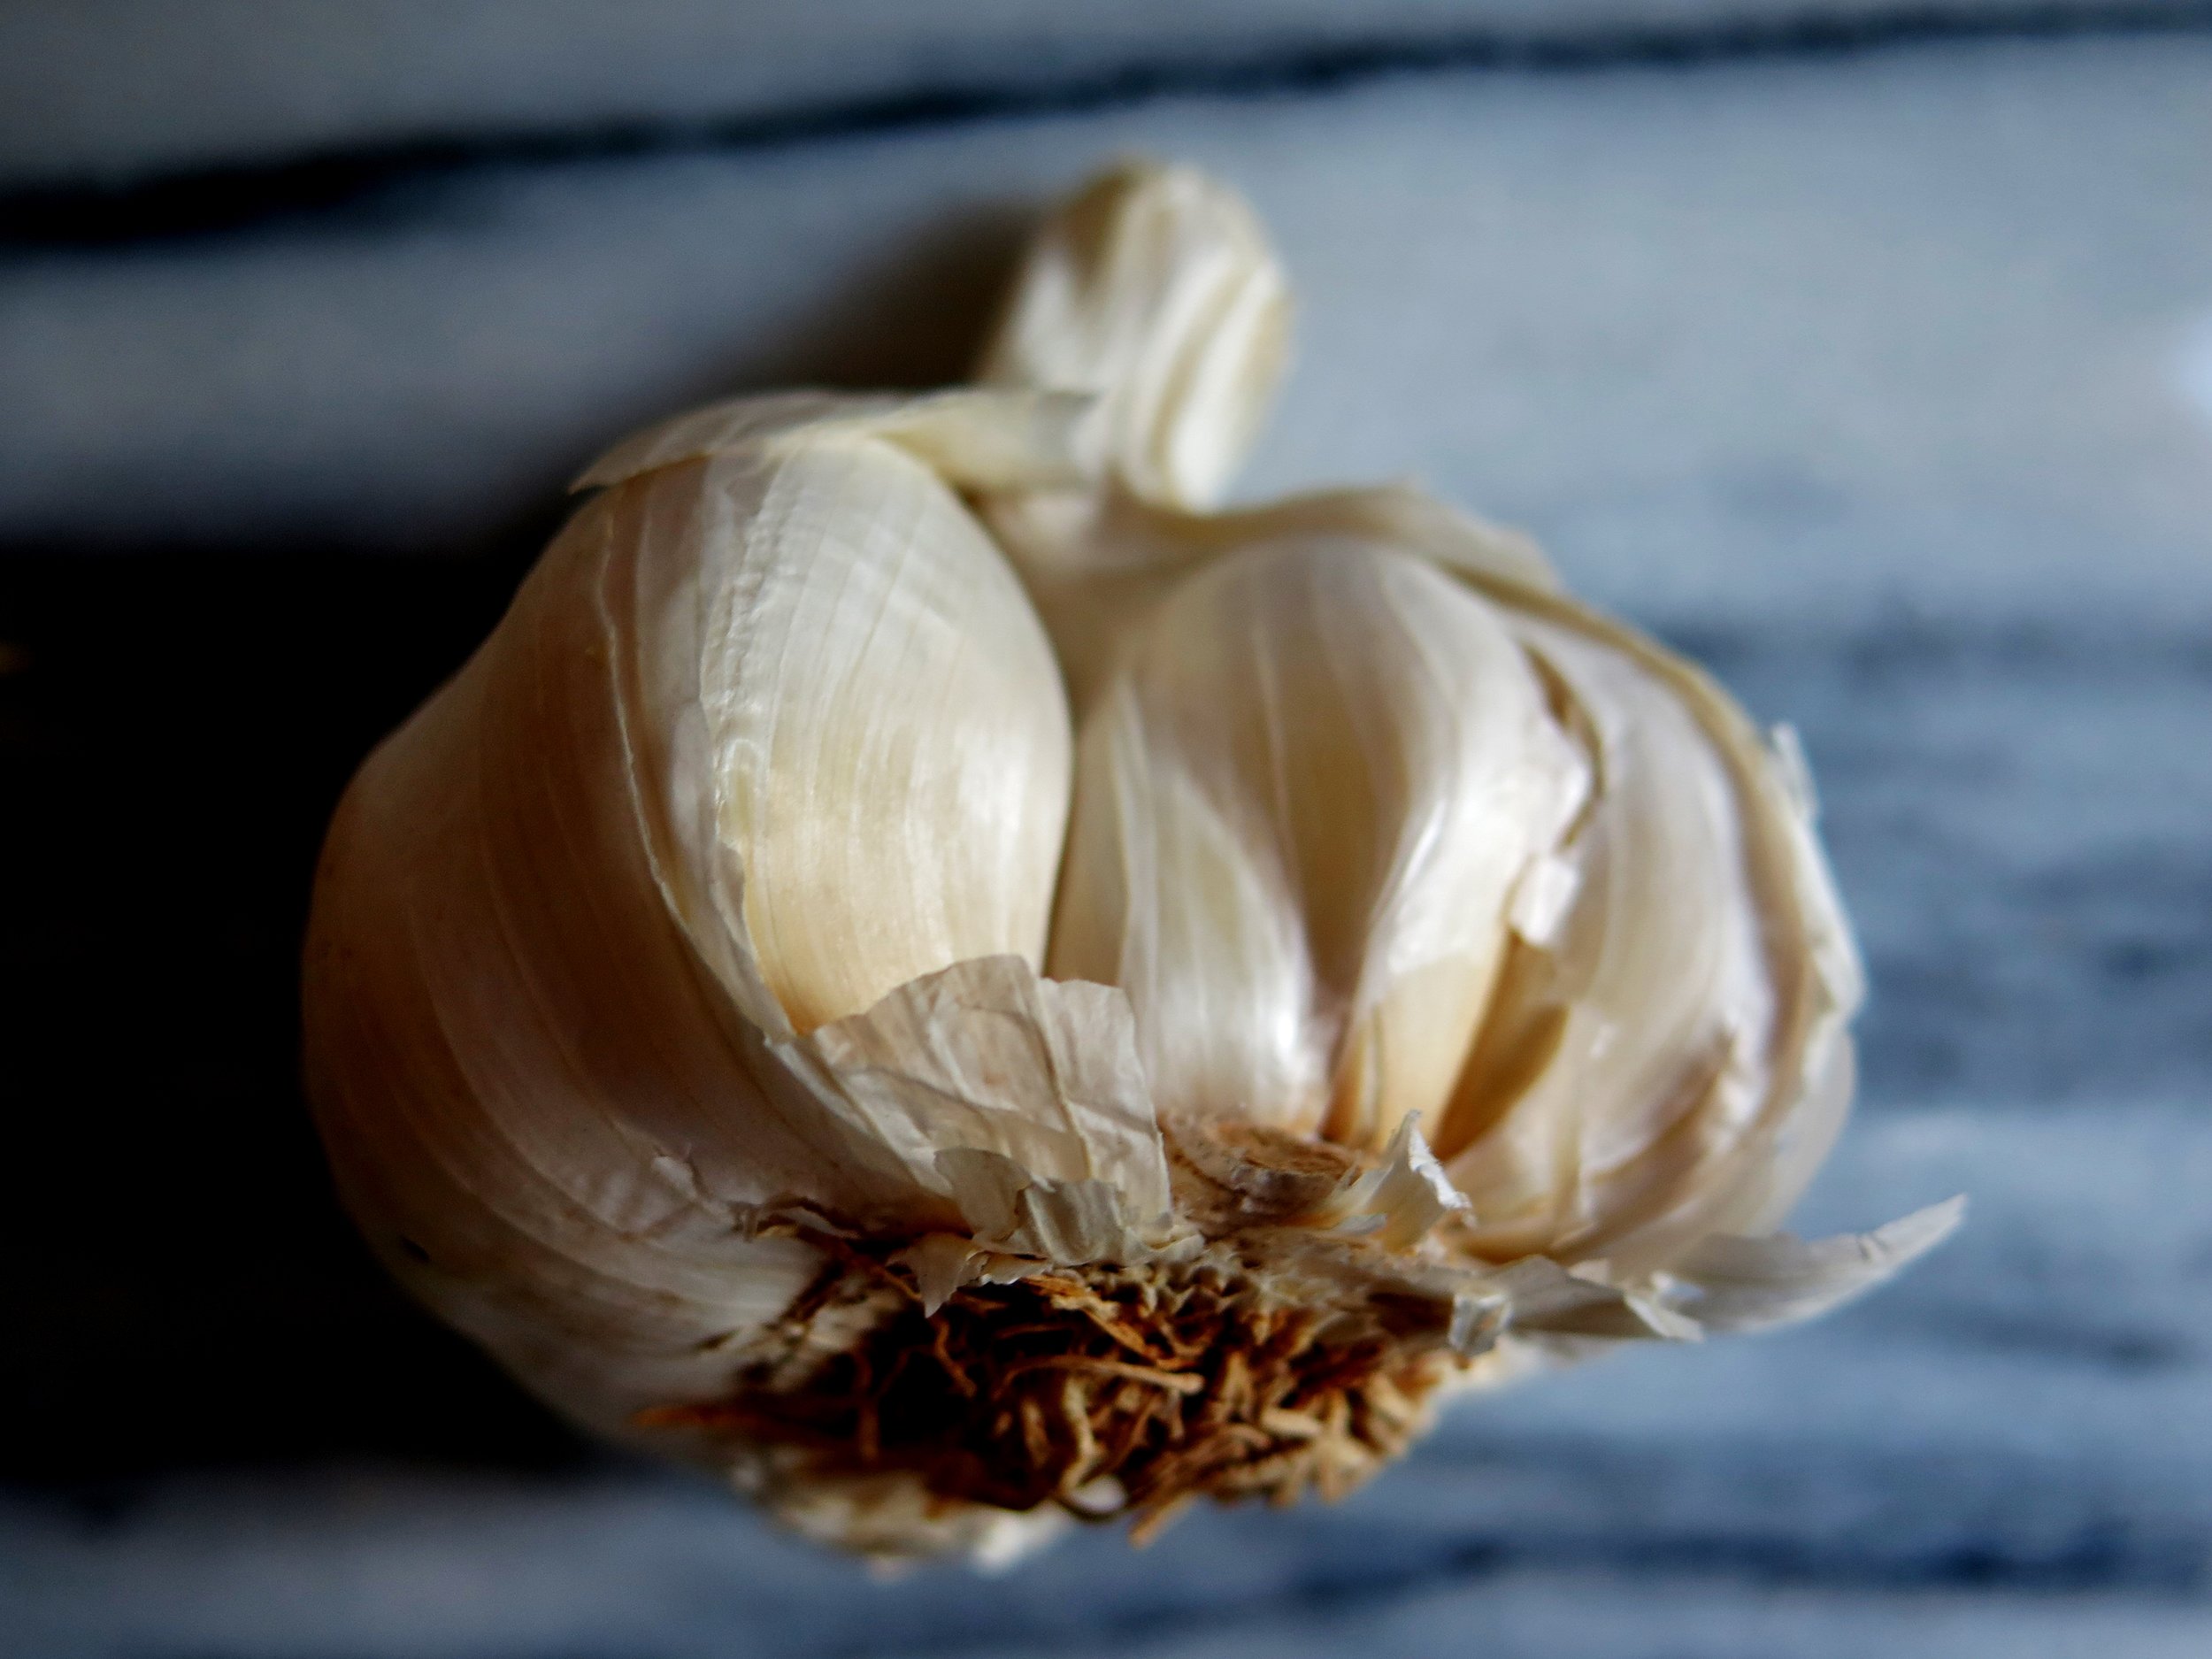
30g garlic cloves, peeled and crushed
1 tbsp olive oil
1 1/4 tsp salt
Grated zest of ½ lemon
A few grinds of Pepper
400g mozzarella (4 balls), chopped finely into cubes
100g parmesan, grated
3 spring onions, thinly sliced
Small bunch of chives, finely chopped
2 red chillies (optional), finely sliced
2 large baking trays or 4 medium baking trays, greased and dusted with flour
Maple Balsamic Reduction (optional)
120ml balsamic vinegar
2 tsp maple syrup
Method
- Heat oven to 120˚C for 5 minutes then switch it off.
- In the bowl of a mixer (or large bowl if making by hand) pour in warm water and sprinkle yeast over it. Allow to stand for 5 minutes for the yeast to activate.
- Stir in flour, salt and oil. Knead by hand for 5 minutes on a lightly floured surface, or in a machine fitted with a dough hook for 5 minutes until the dough is smooth and when you press your thumb into it, it bounces back up.
- Divide dough into two and place each half in a lightly oiled bowl. Cover with cling film and place in warmed oven. Allow to rise for 30 minutes or until doubled, then remove from oven and preheat it to its highest temperature, usually 250˚C.
- While the dough is rising, use a vegetable peeler to shave the asparagus: place the asparagus flat on a surface, and holding it at the woody end, shave it from above the woody end to the top of the spear. I sometimes use the ends to make a stock for asparagus risotto.
- Place the ribbons in a bowl and mix with garlic, oil, salt, lemon zest and pepper.
- Once risen, divide each half into two and roll out each quarter into a 0.5cm thick disc. Place on tray and scatter each disc with mozzarella, parmesan, and shaved asparagus. Bake in oven for 15-20 minutes until golden and bubbling.
- Once baked, scatter with spring onions, chives, and chillies, if using. Drizzle with balsamic reduction, if desired, and serve immediately.
Maple Balsamic reduction
- Boil balsamic and maple syrup together over a high heat for about 5 minutes until it thickens slightly to consistency more like that of pure maple syrup. Allow to cool for 1 minute, and drizzle over pizzas.
Adapted from The Smitten Kitchen Cookbook
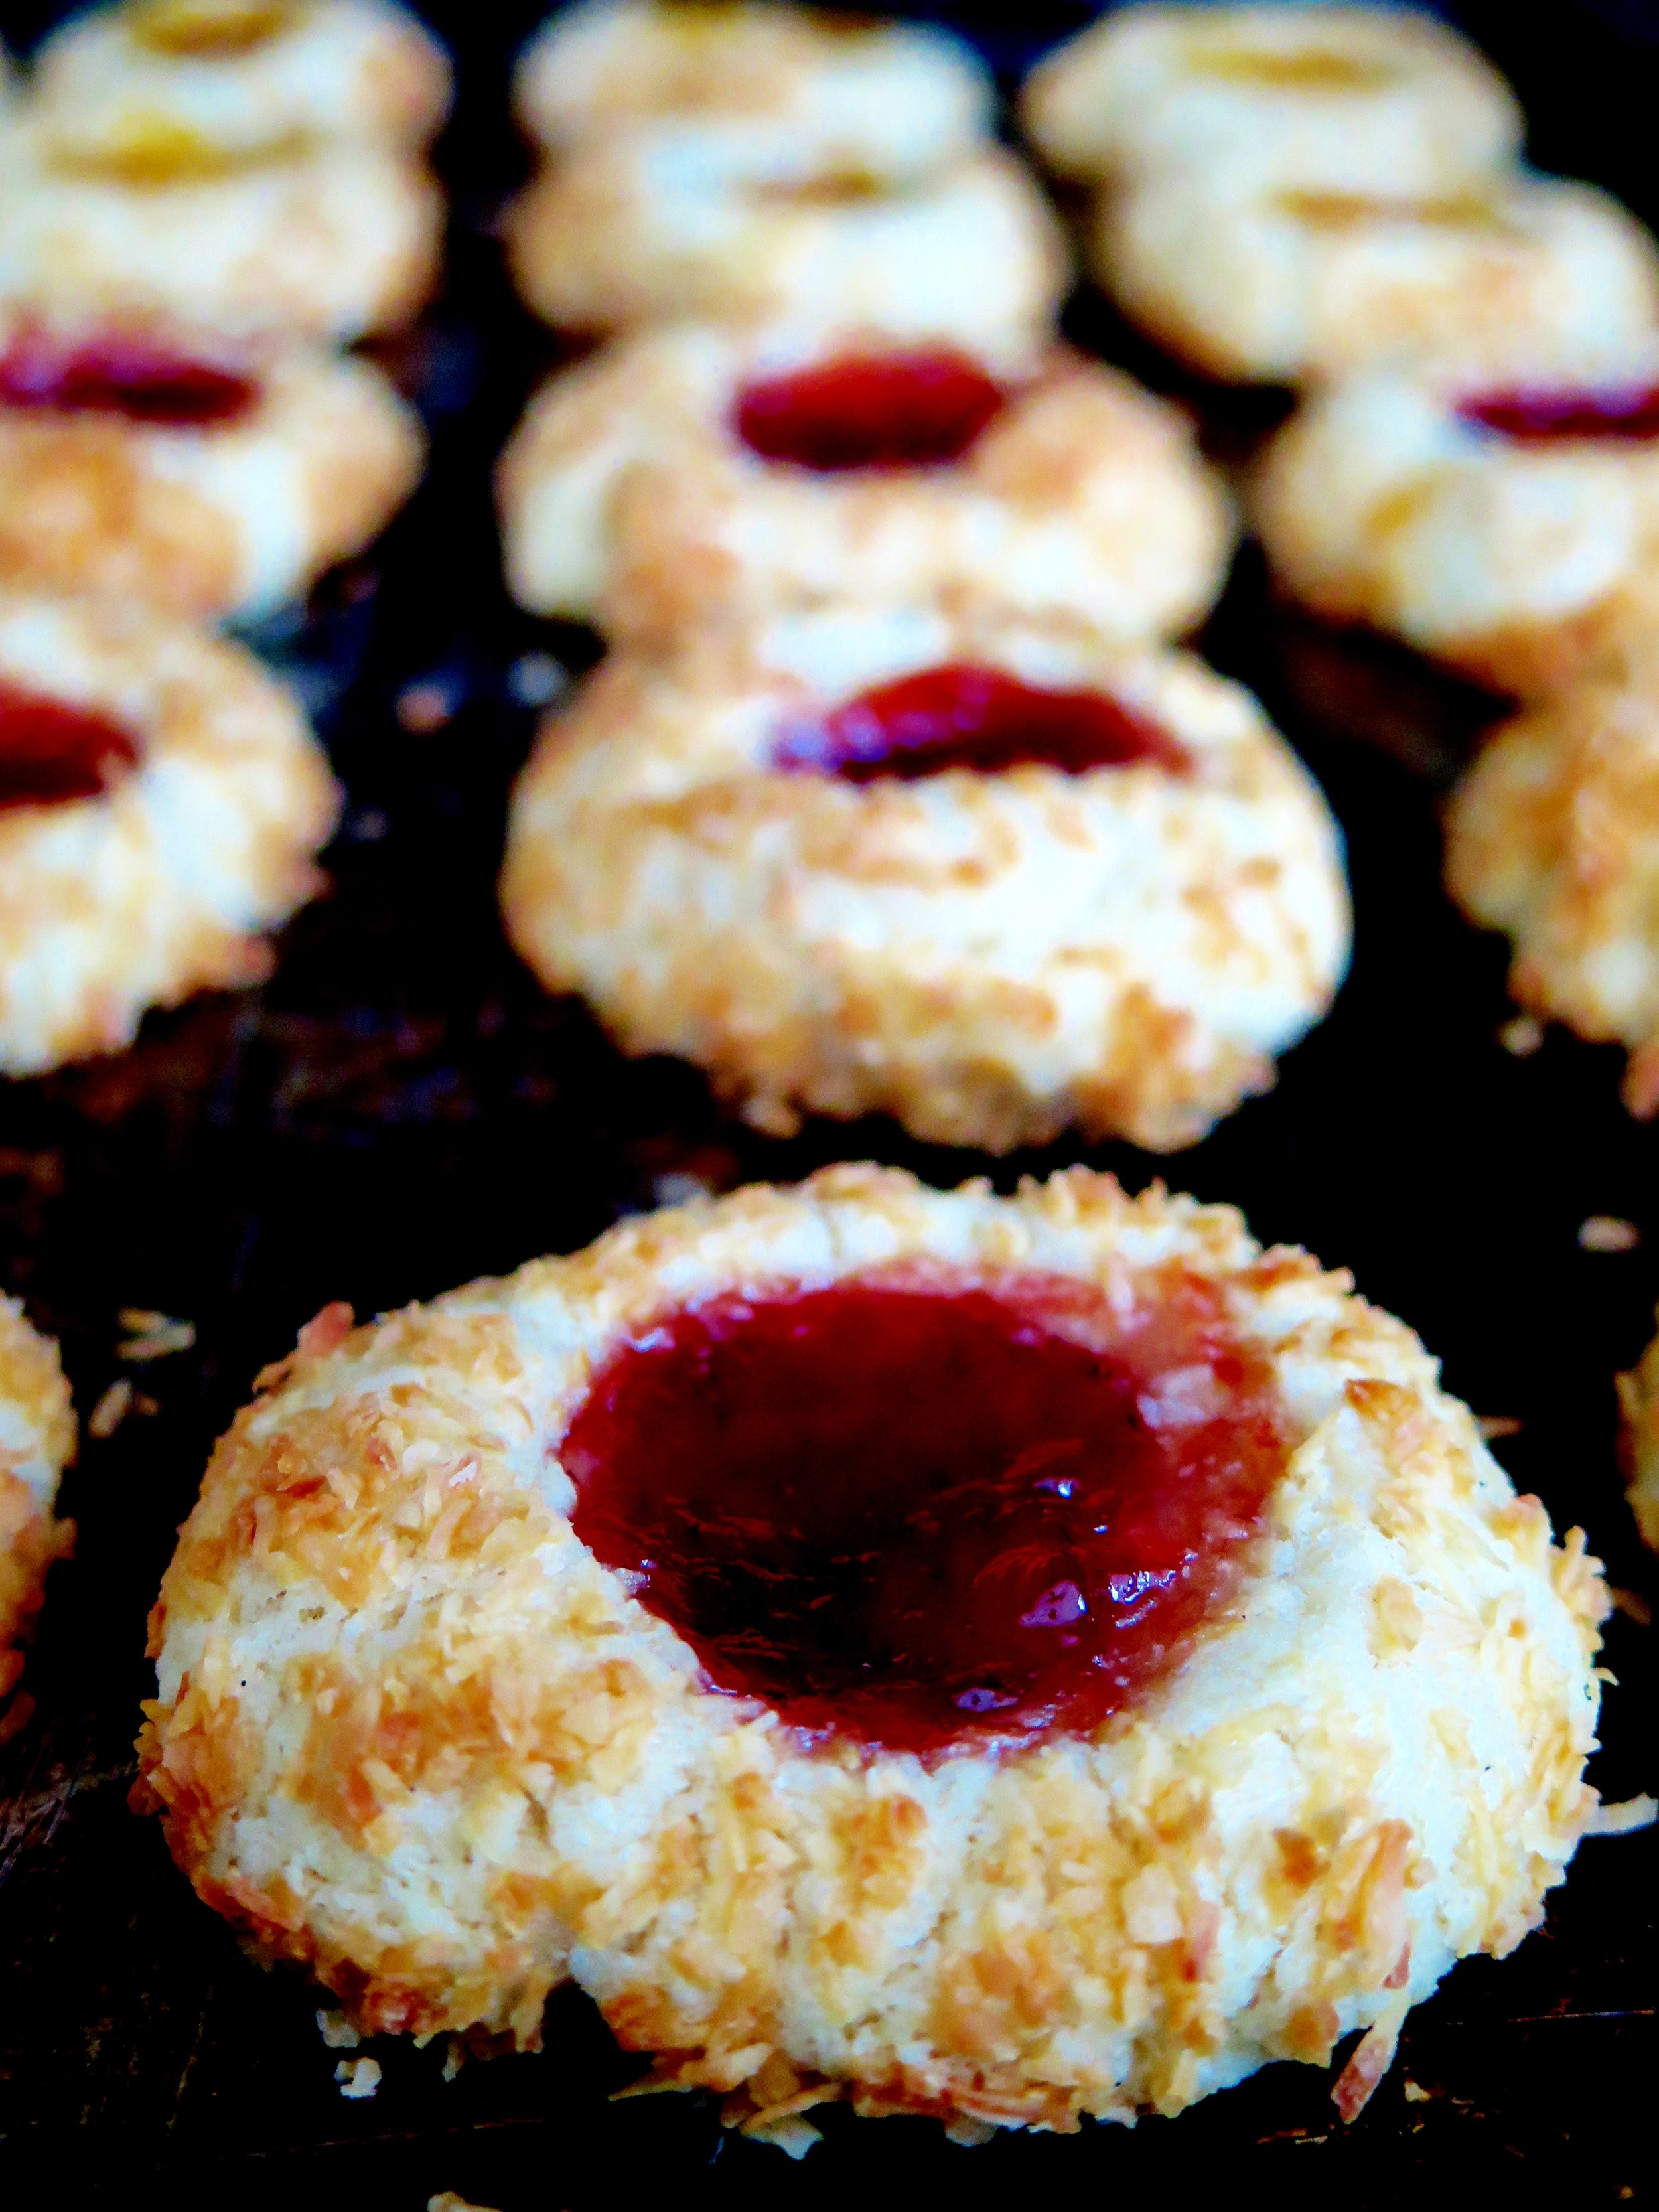
 Standing on a dining room chair to reach the kitchen counter top, swamped by my grandmother’s floral apron, and covered head to toe in drifts of white flour, at three years’ old I felt important and grown up. But first my grandparents and I would visit art galleries, going for afternoon tea (lemon cake for me, always), sitting on the top deck of the bus, drawing, painting, drinking more tea, and then, finally, at the end of the day, my grandmother would let me help her bake her oat and ginger cherry-bejewelled cookies – what I knew and still know as “Granny Biscuits”. They are still in ready supply whenever I visit my grandmother’s house, and are as chewy, oaty and delicately sweet as they’ve ever been.
My grandfather possessed a dangerously sweet tooth, and, as I’ve previously mentioned, was inclined to satisfy this without regard for moderation. He would sneak into the larder and consume an entire box of glace cherries.
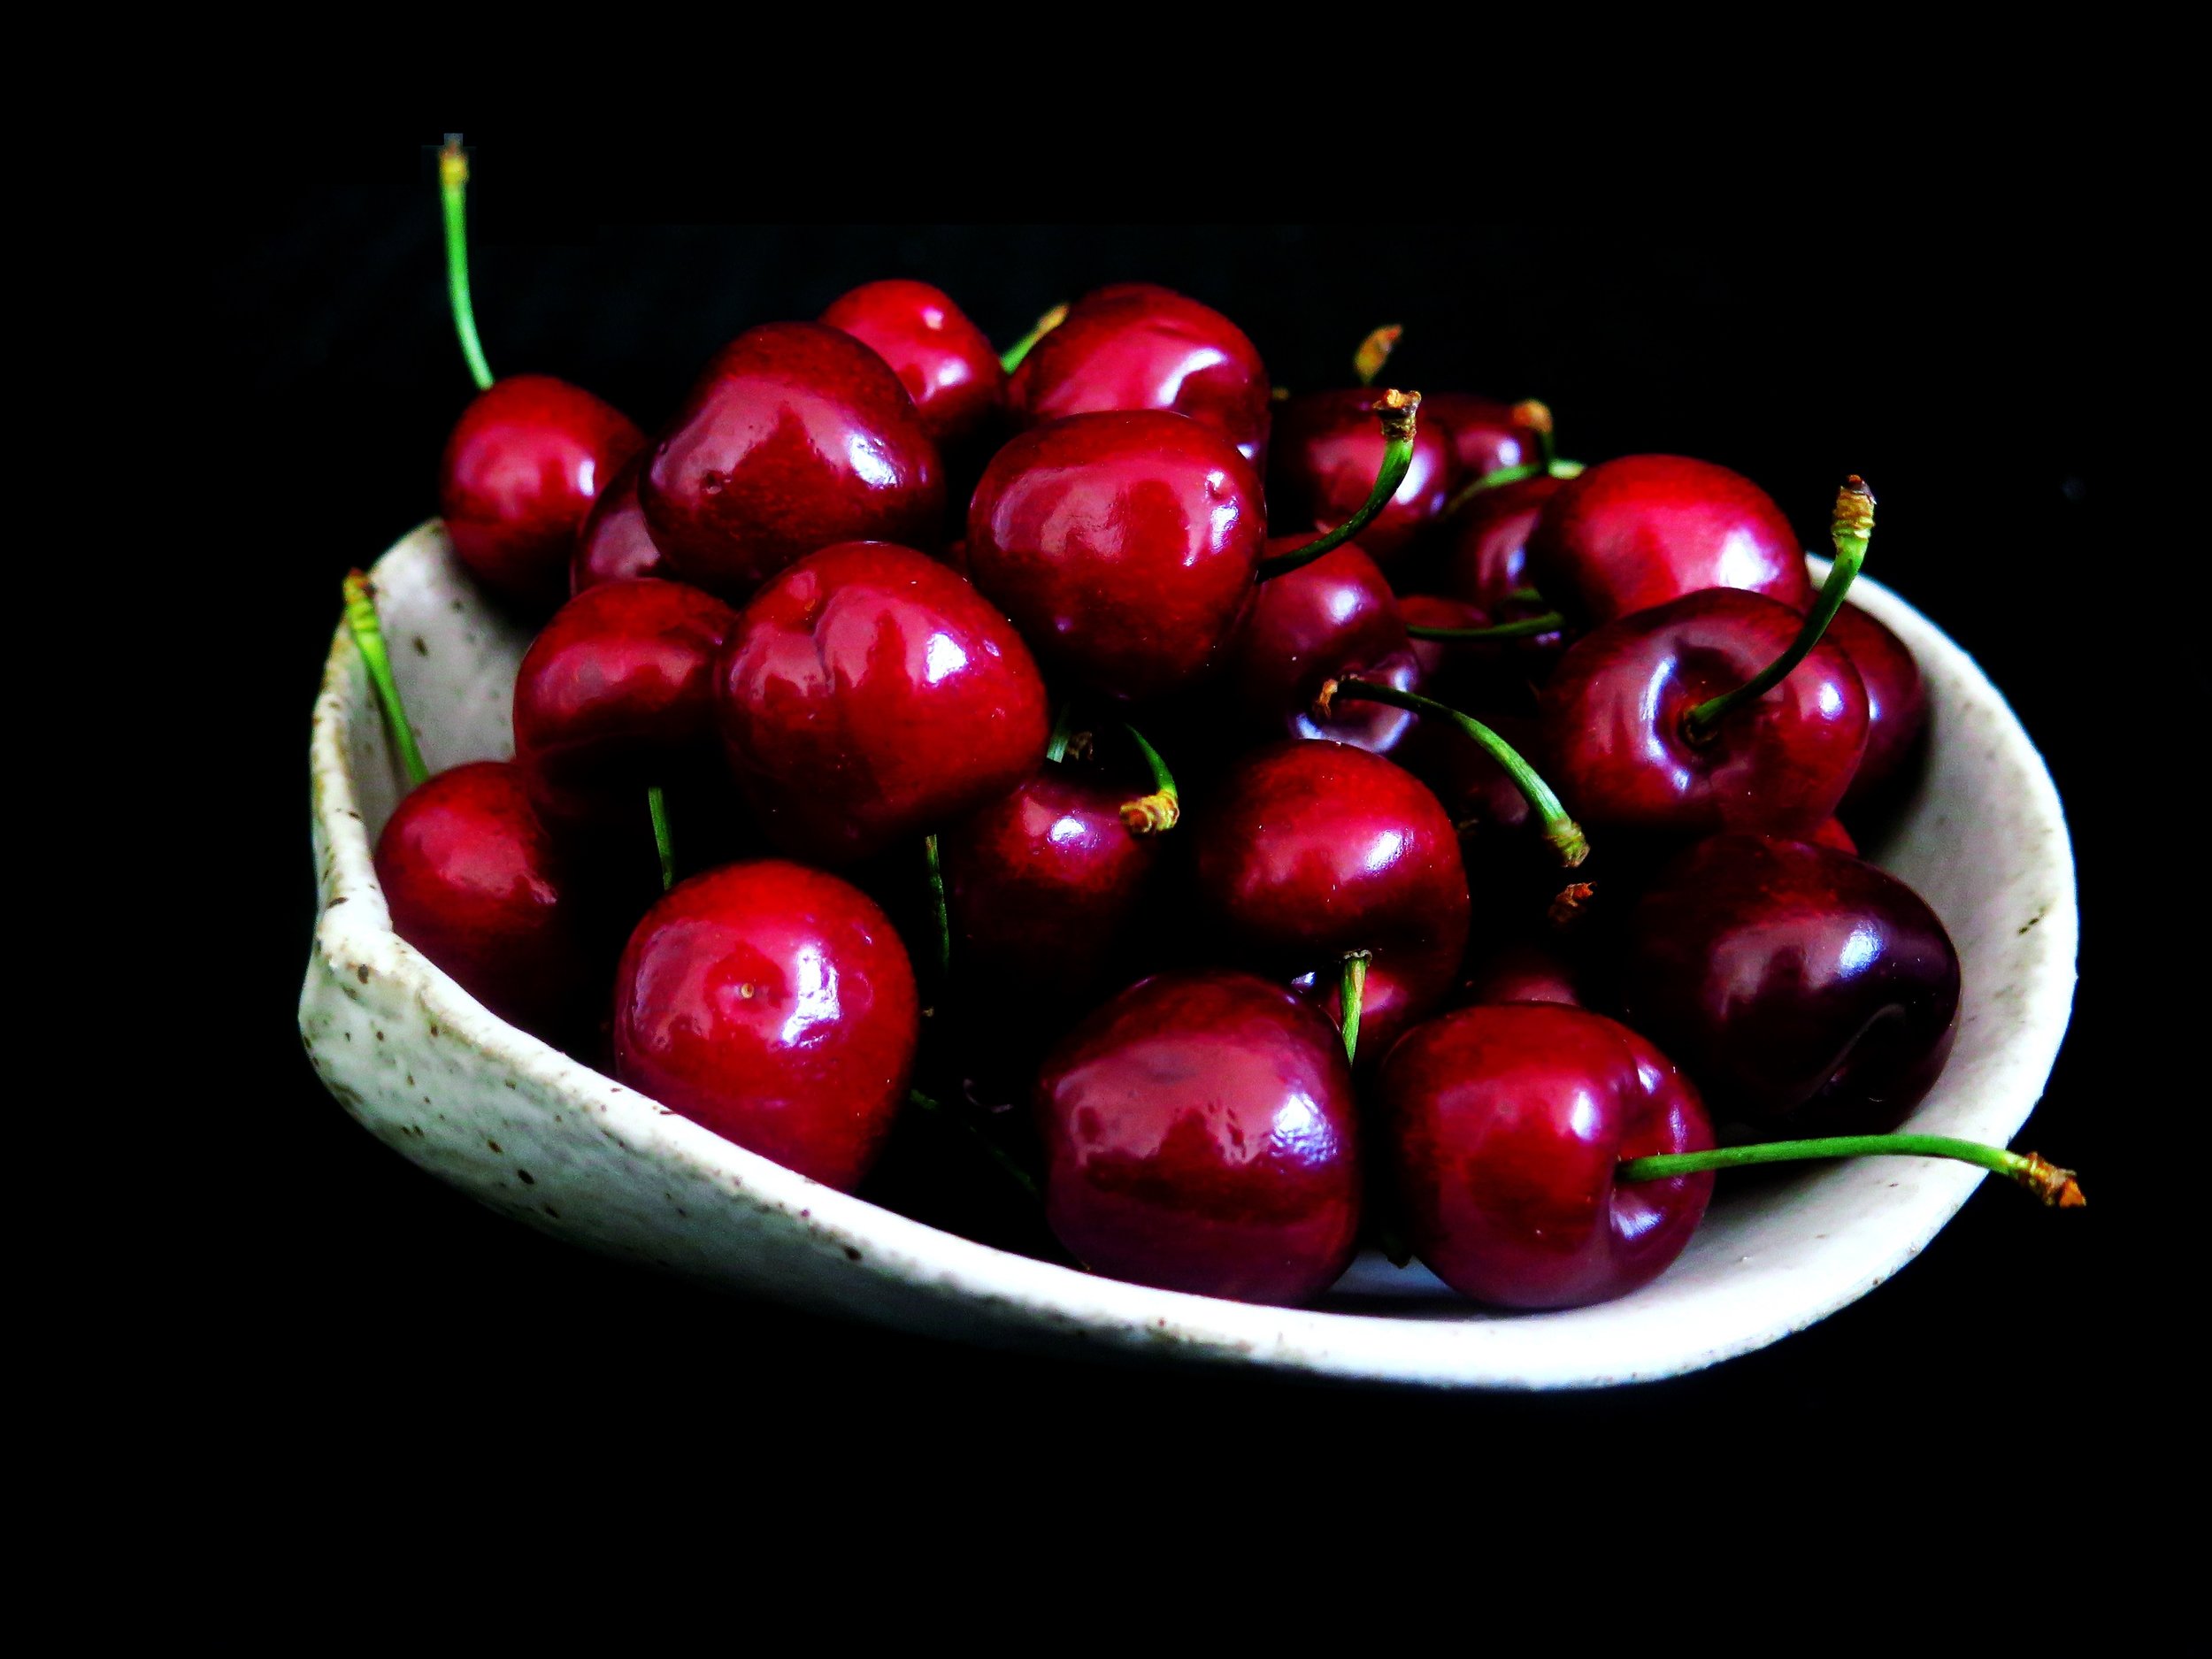
This trait has wound its way down into my family. I name no names, but once the plastic seal has been broken, glace cherries mysteriously disappear at a rapid rate. Although I admit I have, at several low points in my life, spooned jam without any justifying bread straight into my mouth, the general jam supply in my household is a more reliable presence.
 So when recently I came to press the cherries into the Granny Biscuits (an essential step), and found there to be none, jam was a delicious substitute.
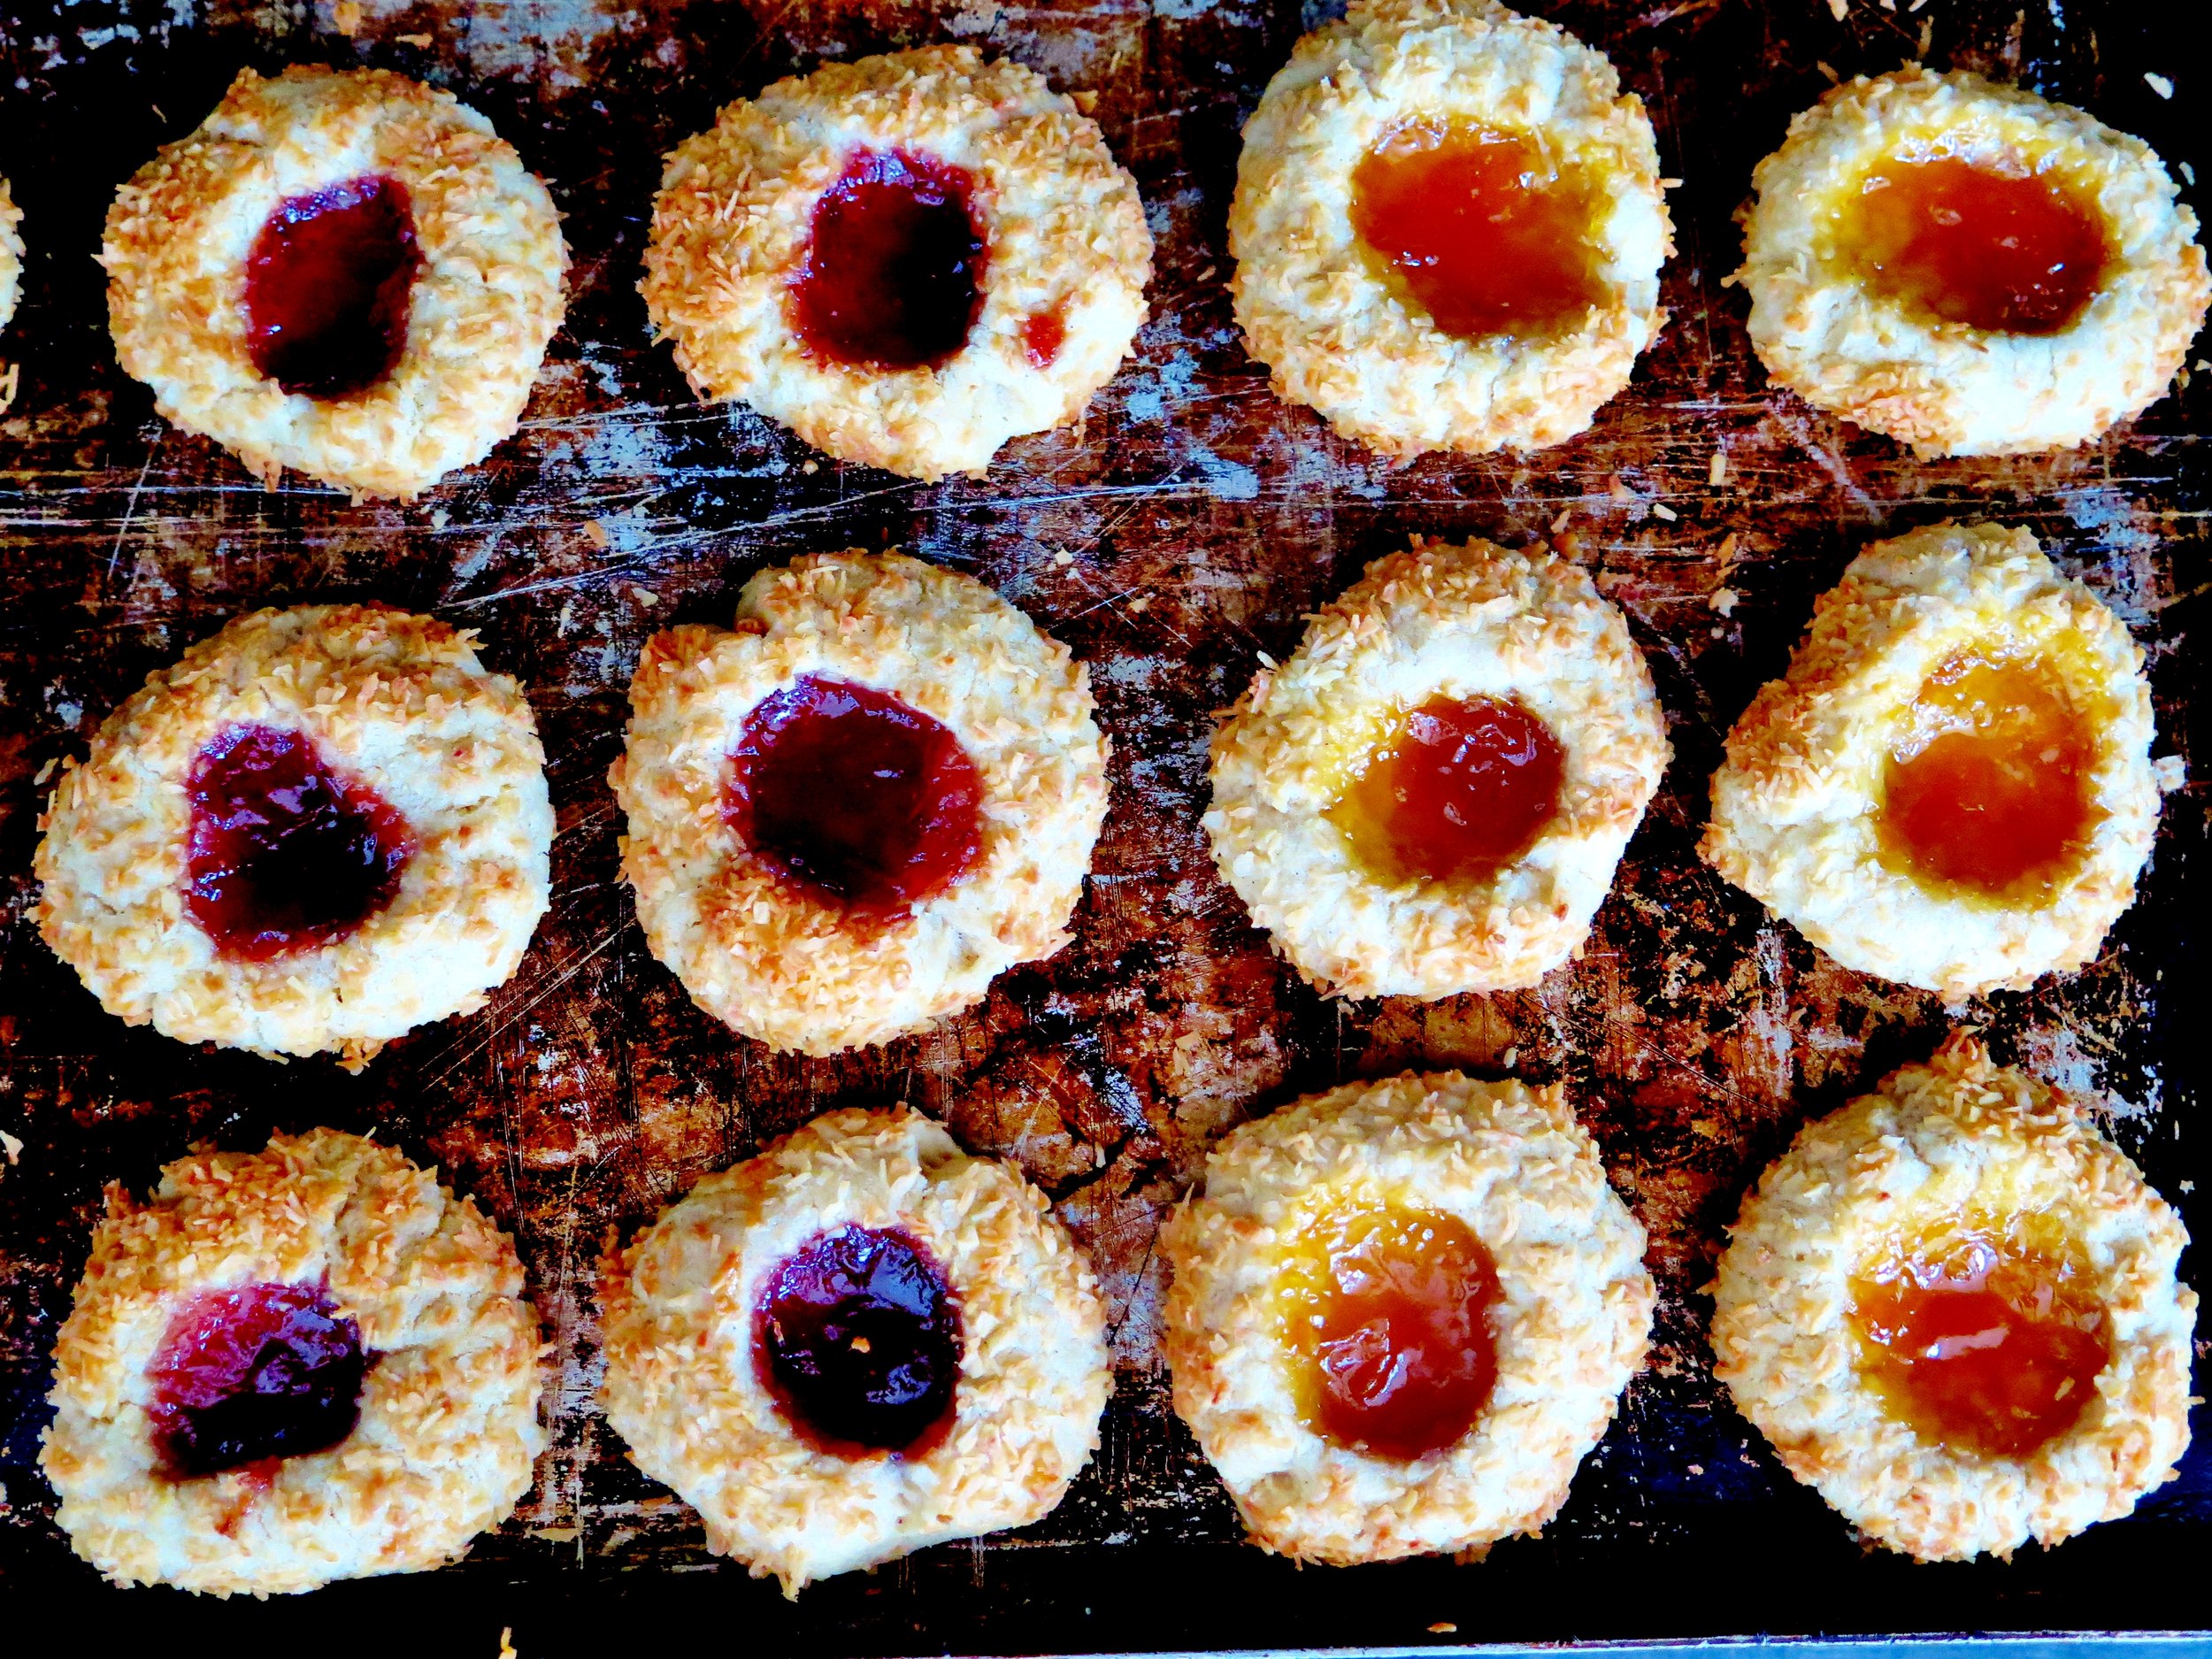
This recipe is further adapted with coconut replacing oats to provide a more even coating and a beautiful golden crunch once baked.
You can use whatever jam or marmalade you desire – strawberry and apricot are two of my favourites.
Ingredients (Makes 25-35 approx.)
350g unsalted butter, at room temperature
200g caster sugar
2tsp vanilla extract
Zest of ½ lemon
½ tsp salt
350g white spelt flour
1 egg, beaten with 2 tsp water
200g desiccated coconut
100g strawberry jam
100g apricot jam
2 baking trays lined with baking parchment
Method
1.) Preheat oven to 180˚C.
2.) In a food mixer fitted with the paddle, or in a large bowl with a wooden spoon, beat butter, sugar, vanilla, lemon zest and salt together until fluffy and pale.
3.) Sift in flour and mix together until fully combined and a soft dough is formed. Flatten the dough into a roughly 2 cm thick disk, wrap in baking parchment, and chill in the freezer for 15 minutes or the fridge for ½ hour.
4.) Roll the dough into 30g spheres (roughly 3 cm in diameter), dip each one in the beaten egg and then roll in the coconut. Space the spheres at least 5 cm apart on the baking sheet.
5.) Press your thumb in the middle of the spheres to create a teaspoon- sized indent. Fill the indent with a teaspoonful of the jam of your choice.
6.) Place in the oven to bake for 15-20 minutes or until cooked through and the coconut turns golden. Allow to cool and serve.

