Viewing entries tagged
fruits

Grape Focaccia (vegan)

Comment

Grape Focaccia (vegan)

What could be better than a mattress of focaccia painted with glistening peppery olive oil, the occasional crunch of salt crystals, and a soft, pillowy interior that creates an insatiable appetite for more?

Almost nothing, apart from simply another version of a focaccia – this time with a layer of succulent grapes folded into the centre of the dough. Grapes, which burst in your mouth as you bite through the focaccia.

It’s perhaps even more beautiful than the OG focaccia, and tastes sublime on its own, or paired with pecorino and a glass of Vin Santo.

Comment

Cherry & Candied Orange Stollen

Comment

Cherry & Candied Orange Stollen

This recipe is delivered with a warning: this stollen, despite its understated, simple, appearance, is highly addictive. I ate almost an entire stollen in one day and felt quite sorry for myself afterwards (guilt streaked sugar-overload), so arm yourself with friends or a freezer before making it

Comment

Cherry Vanilla Victoria Sponge Cake

Comment

Cherry Vanilla Victoria Sponge Cake

This the perfect non-picnic picnic cake. It’s light with a cloudy vanilla sponge, and laced with fresh cherries which burst in your mouth and whose astringency perfectly cut through the smooth rich vanilla-cream. I keep the cherries fresh and unadulterated so as to keep the cake not too sweet, with a hint of cherry jam just to counter too much acidity.

Comment

Roasted Strawberry & Vanilla Cake

Comment

Roasted Strawberry & Vanilla Cake

...& 14 Thoughts from the Kitchen Sink

From the moronic to the morbid, here’s an insight into what happens when I bake and let my mind wander:

fullsizeoutput_13fd.jpeg

-      Drowning in a vat of sticky bread dough would probably be the worst way to die.

-      When you sieve icing sugar and it puffs into the air in clouds, how many calories are there in one mouthful of air?

-      Why do so many obscure meats taste like chicken and not beef?

fullsizeoutput_13f8.jpeg

-      What is the significance of sometimes craving baby food - especially rusks, and pureed apple and banana?

-      Why do we delude ourselves that avocado on toast has been ‘smashed’?  I’ve never seen anyone smash an avocado.  I suppose ‘smeared’ doesn’t have the same ring to it.

-      If I could subsist on one food for the rest of my life it would most likely be oats.

fullsizeoutput_1332.jpeg

-      Nandos’ ‘hot’ sauce is anachronistic.  It was created about 20 years ago and people’s (i.e.my brother’s and my) tolerance for heat has gone up.  They should downgrade it to ‘medium’.

-      What was the exact moment when someone decided to put sugar, milk, butter and flour together to make the very first cake?

-      How do you know nigella seeds are nigella seeds and not mouse droppings?

fullsizeoutput_13b8.jpeg

-      If 2017 was the year of slime porn, why can’t 2018 be the year of dough porn? 

-      Earlier this year some pig farmers tried to halt the use of pig terminology as connotative of greed.  Imagine if other farmers were to do the same: we couldn’t exclaim something was cheesy, or call people ugly cows, or ask people with whom we’re angry if they want beef, or complain that bland people are vanilla, or exclaim that someone is mutton dressed up as lamb, or taunt cowards as being chicken…

fullsizeoutput_13e4.jpeg

-      How many times in my life has a waiter spat in my food on purpose?

-      Why do I have six jars of preserved lemons in my cupboard when I only use a small shaving of one once a year?

-      The smell of freshly baked bread should be a perfume.

fullsizeoutput_139a.jpeg
fullsizeoutput_1369.jpeg

That’s enough musing for one day.

Here’s the recipe for an exceedingly luscious cake. It is succulent, and filled with roasted strawberries so that there is at least one deliquescing in every bite. The berries on the surface turn almost jam-like in the oven.  Absurdly quick and easy to make, it is totally moreish. 

NB. This cake can be made gluten-free by substituting the flour for gluten free. 

Luscious Strawberry cake  

Serves 6-8 (depending on level of greed)

Ingredients

85g unsalted butter, at room temperature

160g caster sugar + 2 tbsp for the topping

1 large egg

120ml milk

1 tsp vanilla extract

190g white spelt flour (or gluten-free equivalent)

1 1/2 tsp baking powder

1/2 tsp salt

400g strawberries, after having been hulled and halved

20cm diameter round springform cake tin, either totally lined with baking parchment (if you’re feeling lazy and you don’t mind crinkly cake sides), or thoroughly greased with butter and the base lined with a circle of baking parchment


Method

1)   Preheat the oven to 180°C. 

2)   Either by hand or in a stand mixer fitted with the paddle, beat the butter and sugar together until soft, light and fluffy (which should take about three minutes).  Then pour in the egg, milk and vanilla extract and beat to combine. It may look slightly curdled but that is not a problem.

3)   Into the wet ingredients sieve the flour, baking powder and salt. Gently fold the dry ingredients through until the batter is smooth and fully combined.  Pour into the prepared cake tin.

4)   Arrange the strawberries cut side down in the batter. You make need to overlap some or push some down to fit them all in. Sprinkle the 2 tbsp of caster sugar over the top and place in the oven. 

5)   Bake for 45-55 minutes (depending on oven), checking after 30 minutes. You may need to cover the top with aluminium foil if the surface looks at risk of becoming too dark. When ready, the top should be a deep gold and a cake tester should come out batterless (moisture from the strawberries will prevent it from coming out totally clean).

6)   Allow to cool on a wire rack and devour on the day, or within two days, of baking.

(Adapted from Smitten Kitchen)

fullsizeoutput_13c9.jpeg

HUNGRY FOR MORE?

Comment

Sticky Date & Amaretti Crumble Bars

Comment

Sticky Date & Amaretti Crumble Bars

fullsizeoutput_db1.jpeg

A trip to Toronto when I was seven years’ old is anchored for me by one thing: not the CN tower, or Niagara Falls or my cousin’s wedding, but a visit to the farmers’ market, and in particular, a potentially life-changing stall.  A tall, russet-cheeked man was in command, his floured apron stretched taught over his protuberant belly. 

fullsizeoutput_db5.jpeg

And on his table lay not the garish, sprinkle- speckled swirls that would have drawn a normal child. Instead, tray after tray of rubbly slabs of oat and date crumble bars were arrayed. 

The date layer of the bars was jaw-clenchingly sticky, and thick – not like the mean, shop-bought equivalent. The oaty outer layers were both crunchy and then soft, golden and not overly sweet, allowing the natural date sweetness to shine through. 

fullsizeoutput_dc8.jpeg

. For the last seventeen years I’ve been raiding bakeries and markets, seeking to relive the experience, but the date and oat crumble bars always disappoint – too saccharine, too solid, too floury. In between raids, I’ve been working on my own: these are the closest I have come to Toronto’s best kept secret. I added the crushed amaretti to give them a little twist. Feel free to leave the sugar out of the crumble if your palate is adjusted to the less-sweet. 

It’s incredibly hard to resist them when they emerge from the oven golden and crisp, but I think they taste even better when they have cooled and the flavours are more distinct (or maybe try them both ways, just to be sure…).

NB. They can be made gluten-free by substituting gluten-free flour for spelt. 

fullsizeoutput_1223.jpeg

Ingredients

Date filling

400g medjool dates, pitted & roughly chopped (about 20)

3 tbsp fresh orange juice

120ml water

2 tsp vanilla extract

½ tsp mixed spice

½ tsp finely grated orange zest


Crumble

250g oats

120g butter

100g wholemeal spelt flour

50g dry amaretti biscuits

40g light brown muscovado sugar

¼ tsp mixed spice

½ tsp vanilla extract

¼ tsp salt

A square 20cm baking tin (or tin of equivalent area), lined with baking parchment, with sides and base fully covered.

Method 

1)    Preheat oven to 180°C

2)    Place all ingredients for the date filling in a pot and place on a medium heat. Stir as the mixture begins to simmer. After about 5 minutes, when the dates have broken down into more of a paste and all the water has evaporated, remove from the heat and set aside.

3)    Pour all the crumble ingredients into a blender and pulse until the mixture still has some texture  and is slightly coarser than sand.

4)    Pour 2/3 of the crumble mixture into the base of the tin, and, with your fingers or the back of a spoon, press the mixture down evenly across the base of the tin until firm and compact. Pour the date filling over and spread evenly across the base. Then pour over the remaining crumble mixture and press down until even and as compact as possible.

5)    Place in oven to bake for 15-20 minutes until golden and firm to the touch.

6)    Slice and allow to cool before devouring. Keeps well in an air tight container in fridge for up to 5 days, or in freezer for 2 months (also tastes delicious when frozen).

fullsizeoutput_1229.jpeg

HUNGRY FOR MORE?

Comment

Spelt Scones & Damson Jam

Comment

Spelt Scones & Damson Jam

fullsizeoutput_8bb.jpeg

Adorned with dew drops of glaucous fruits, the damson tree was innocent in its fairy tale perfection. Plump and firm, tart and succulent they were ideal contenders for picking. There seemed at first glance to be very few, but as the minutes rolled by, our bags heavier and the ladder creaking, the tree continued to proffer its bounty. The result: 6kg of damsons and a swollen stomach from ones that never quite made it into the bag.

fullsizeoutput_8ff.jpeg
fullsizeoutput_8b5.jpeg

Our supply of sugar rather pitiful in the wake of the unsurpassed abundance, I heaved an Olympian quantity back from the supermarket. The one bag that decided to split has left a coating of sticky grit on any coins that I dig out of the corners of my bag.  

fullsizeoutput_8c5.jpeg

Then on to the stove went the damsons, the heated sugar and a touch of water. They blistered, bubbled and broke out of their skins. The stones rose to the surface like witches on trial and had to be picked out one by one. Meanwhile the mixture boiled and thickened, giving off a foamy pink effervescence that I carved off as it supposedly tastes slightly bitter (although I rather enjoyed spooning it directly into my mouth). Then as it reached its rich amethyst depths and a satisfying viscose texture, I took it off and poured it into the sterilised jars: therapeutic and deeply satisfying…the first-time round.

fullsizeoutput_8ac.jpeg
fullsizeoutput_93a.jpeg

But as I tried to leave the kitchen I was bludgeoned with another 3kg worth of damsons. I was pelted, too, with threats of waste and rotting fruit if I didn’t make jam immediately. The kitchen became heated with the upset from my father who had cultivated and nurtured the tree for years.

fullsizeoutput_920.jpeg
fullsizeoutput_915.jpeg

So, I gave in and became a slave to the damson tree once more, boiling, straining, stirring pouring. And now we have half a fridge thronging with jar upon jar of jam. And what does one do when he or she has a year’s supply of jam? Well, I find eating it straight from the jar perfectly acceptable, but others need a medium as an excuse. So I made scones. These are not the dry, stale and overly sweet ones that leave you desperately seeking a currant to relieve you from the accumulating doughy mass at the top of your palate. These are soft, light, moist and crumbly. Rustic in shape, they are best eaten immediately or on the same day (though it is unlikely they will survive longer). 


fullsizeoutput_90c.jpeg
fullsizeoutput_8fa.jpeg

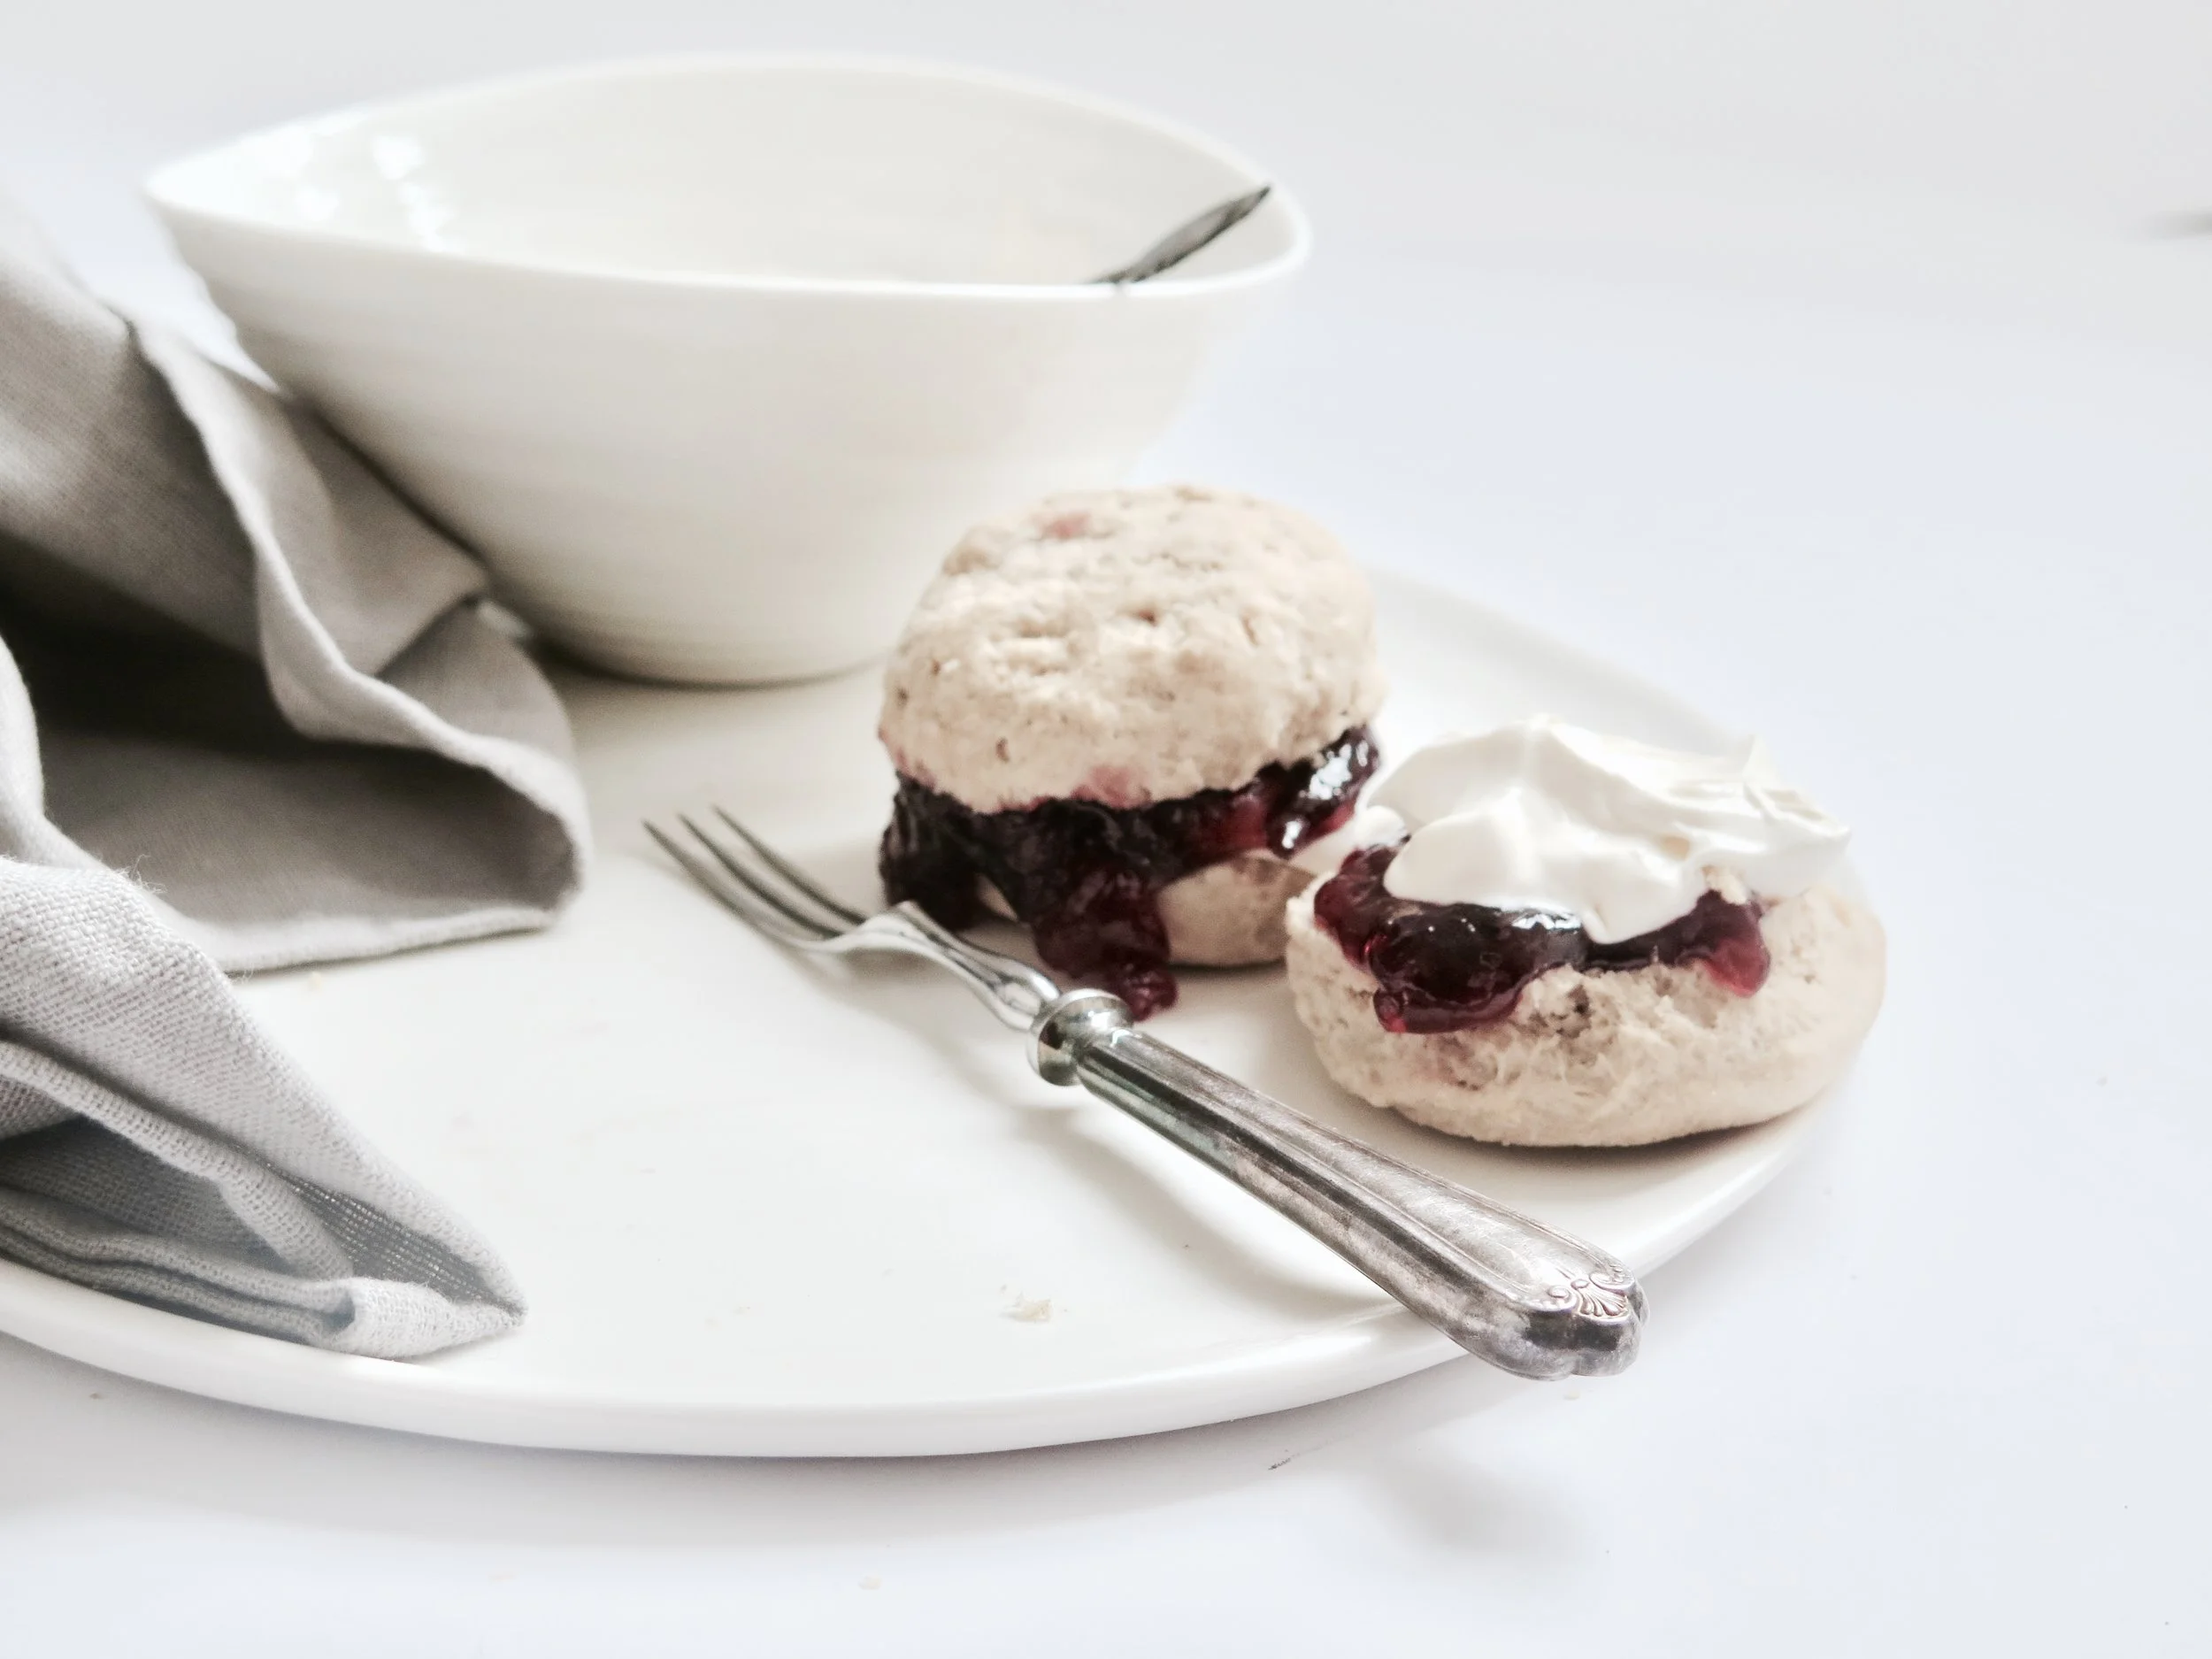
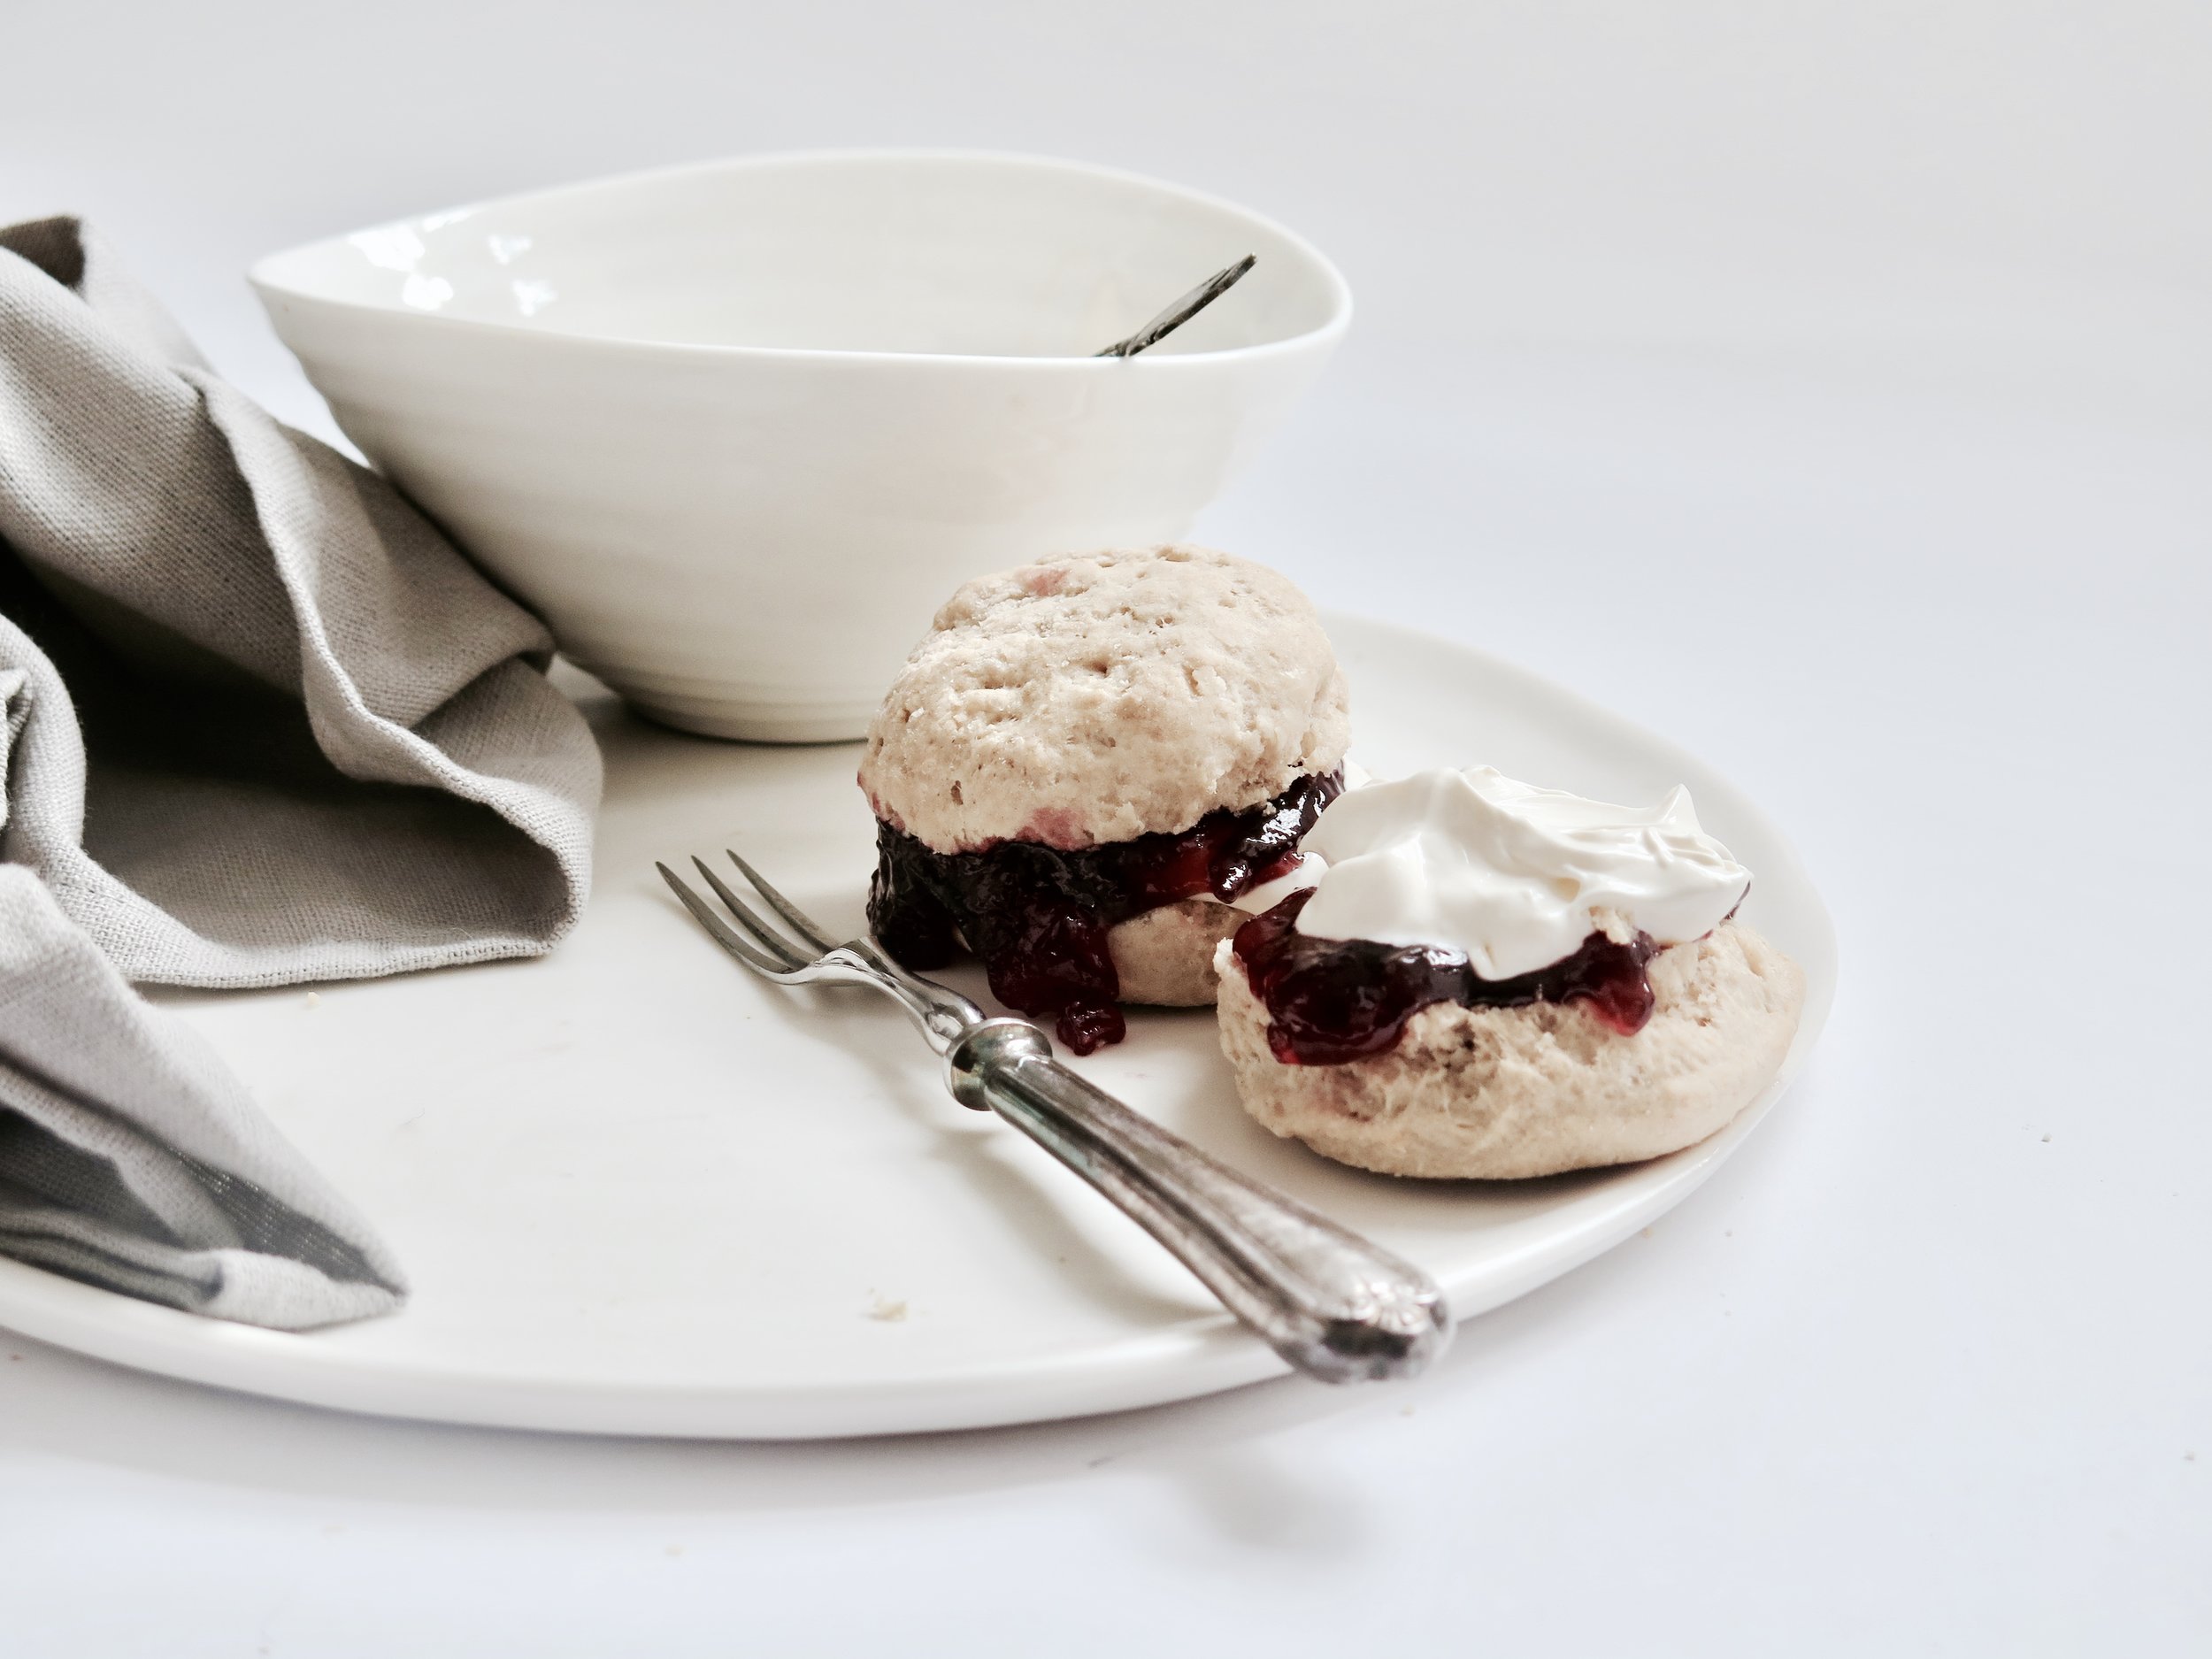
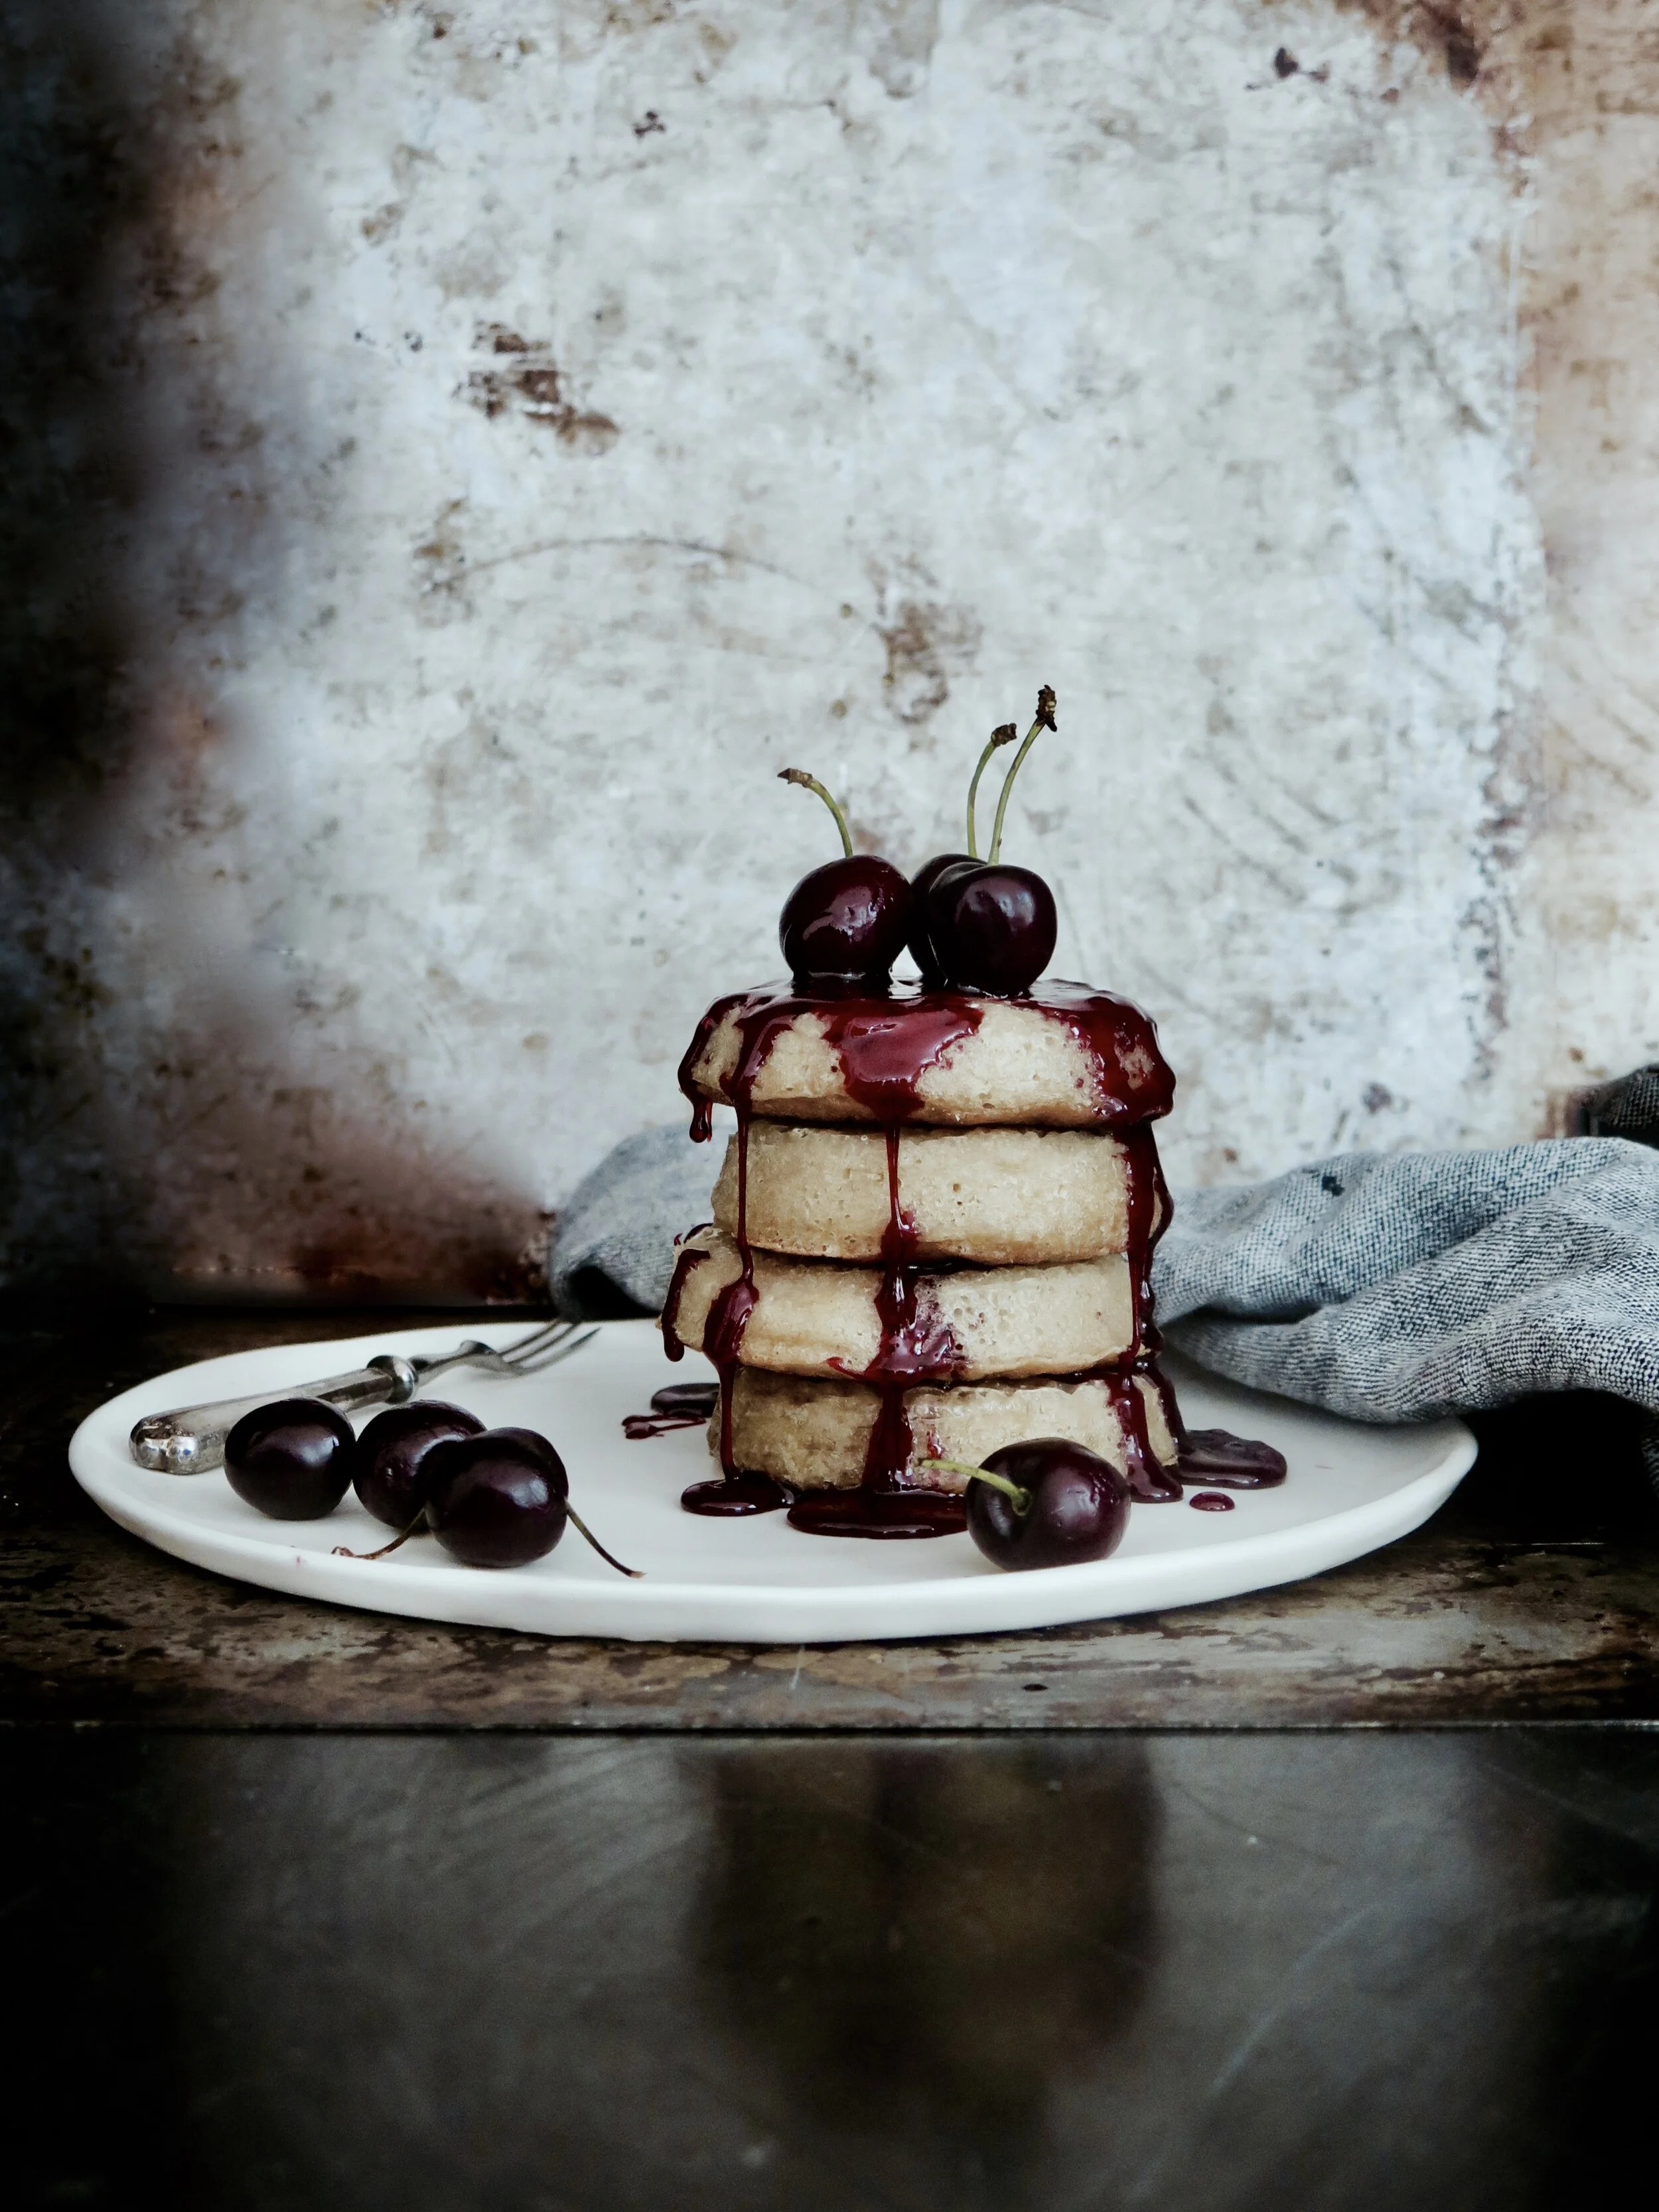
Spelt Scone Recipe – makes 12

500g white spelt flour (can be substituted with plain)

4 ½ tsp cream of tartar

2 tsp bicarbonate of soda

(optional: 2 tbsp sugar if would like them sweet)

1/2 tsp salt

125g cold unsalted butter, diced

300ml milk

1 egg, beaten, for egg wash


6cm round cookie cutter

Large baking sheet, lined with baking parchment


Method

1)    Preheat the oven to 220°C.

2)    Into a large bowl sift all the dry ingredients. Add in the butter and with fingertips rub it into the dry ingredients until like damp sand. Pour in the milk and very gently fold in until just combined (there may still be pockets of flour).

3)    Turn the dough out onto a floured surface and knead it lightly for about 10 seconds. Roll out to a 3cm thickness and then cut out as many scones as possible. Lightly re-knead the scraps of dough and roll out once more to cut out the last remaining scones.  Space them out on the tray and blush with the beat egg. Place in oven to bake for 8-10 minutes until they are shiny and golden.

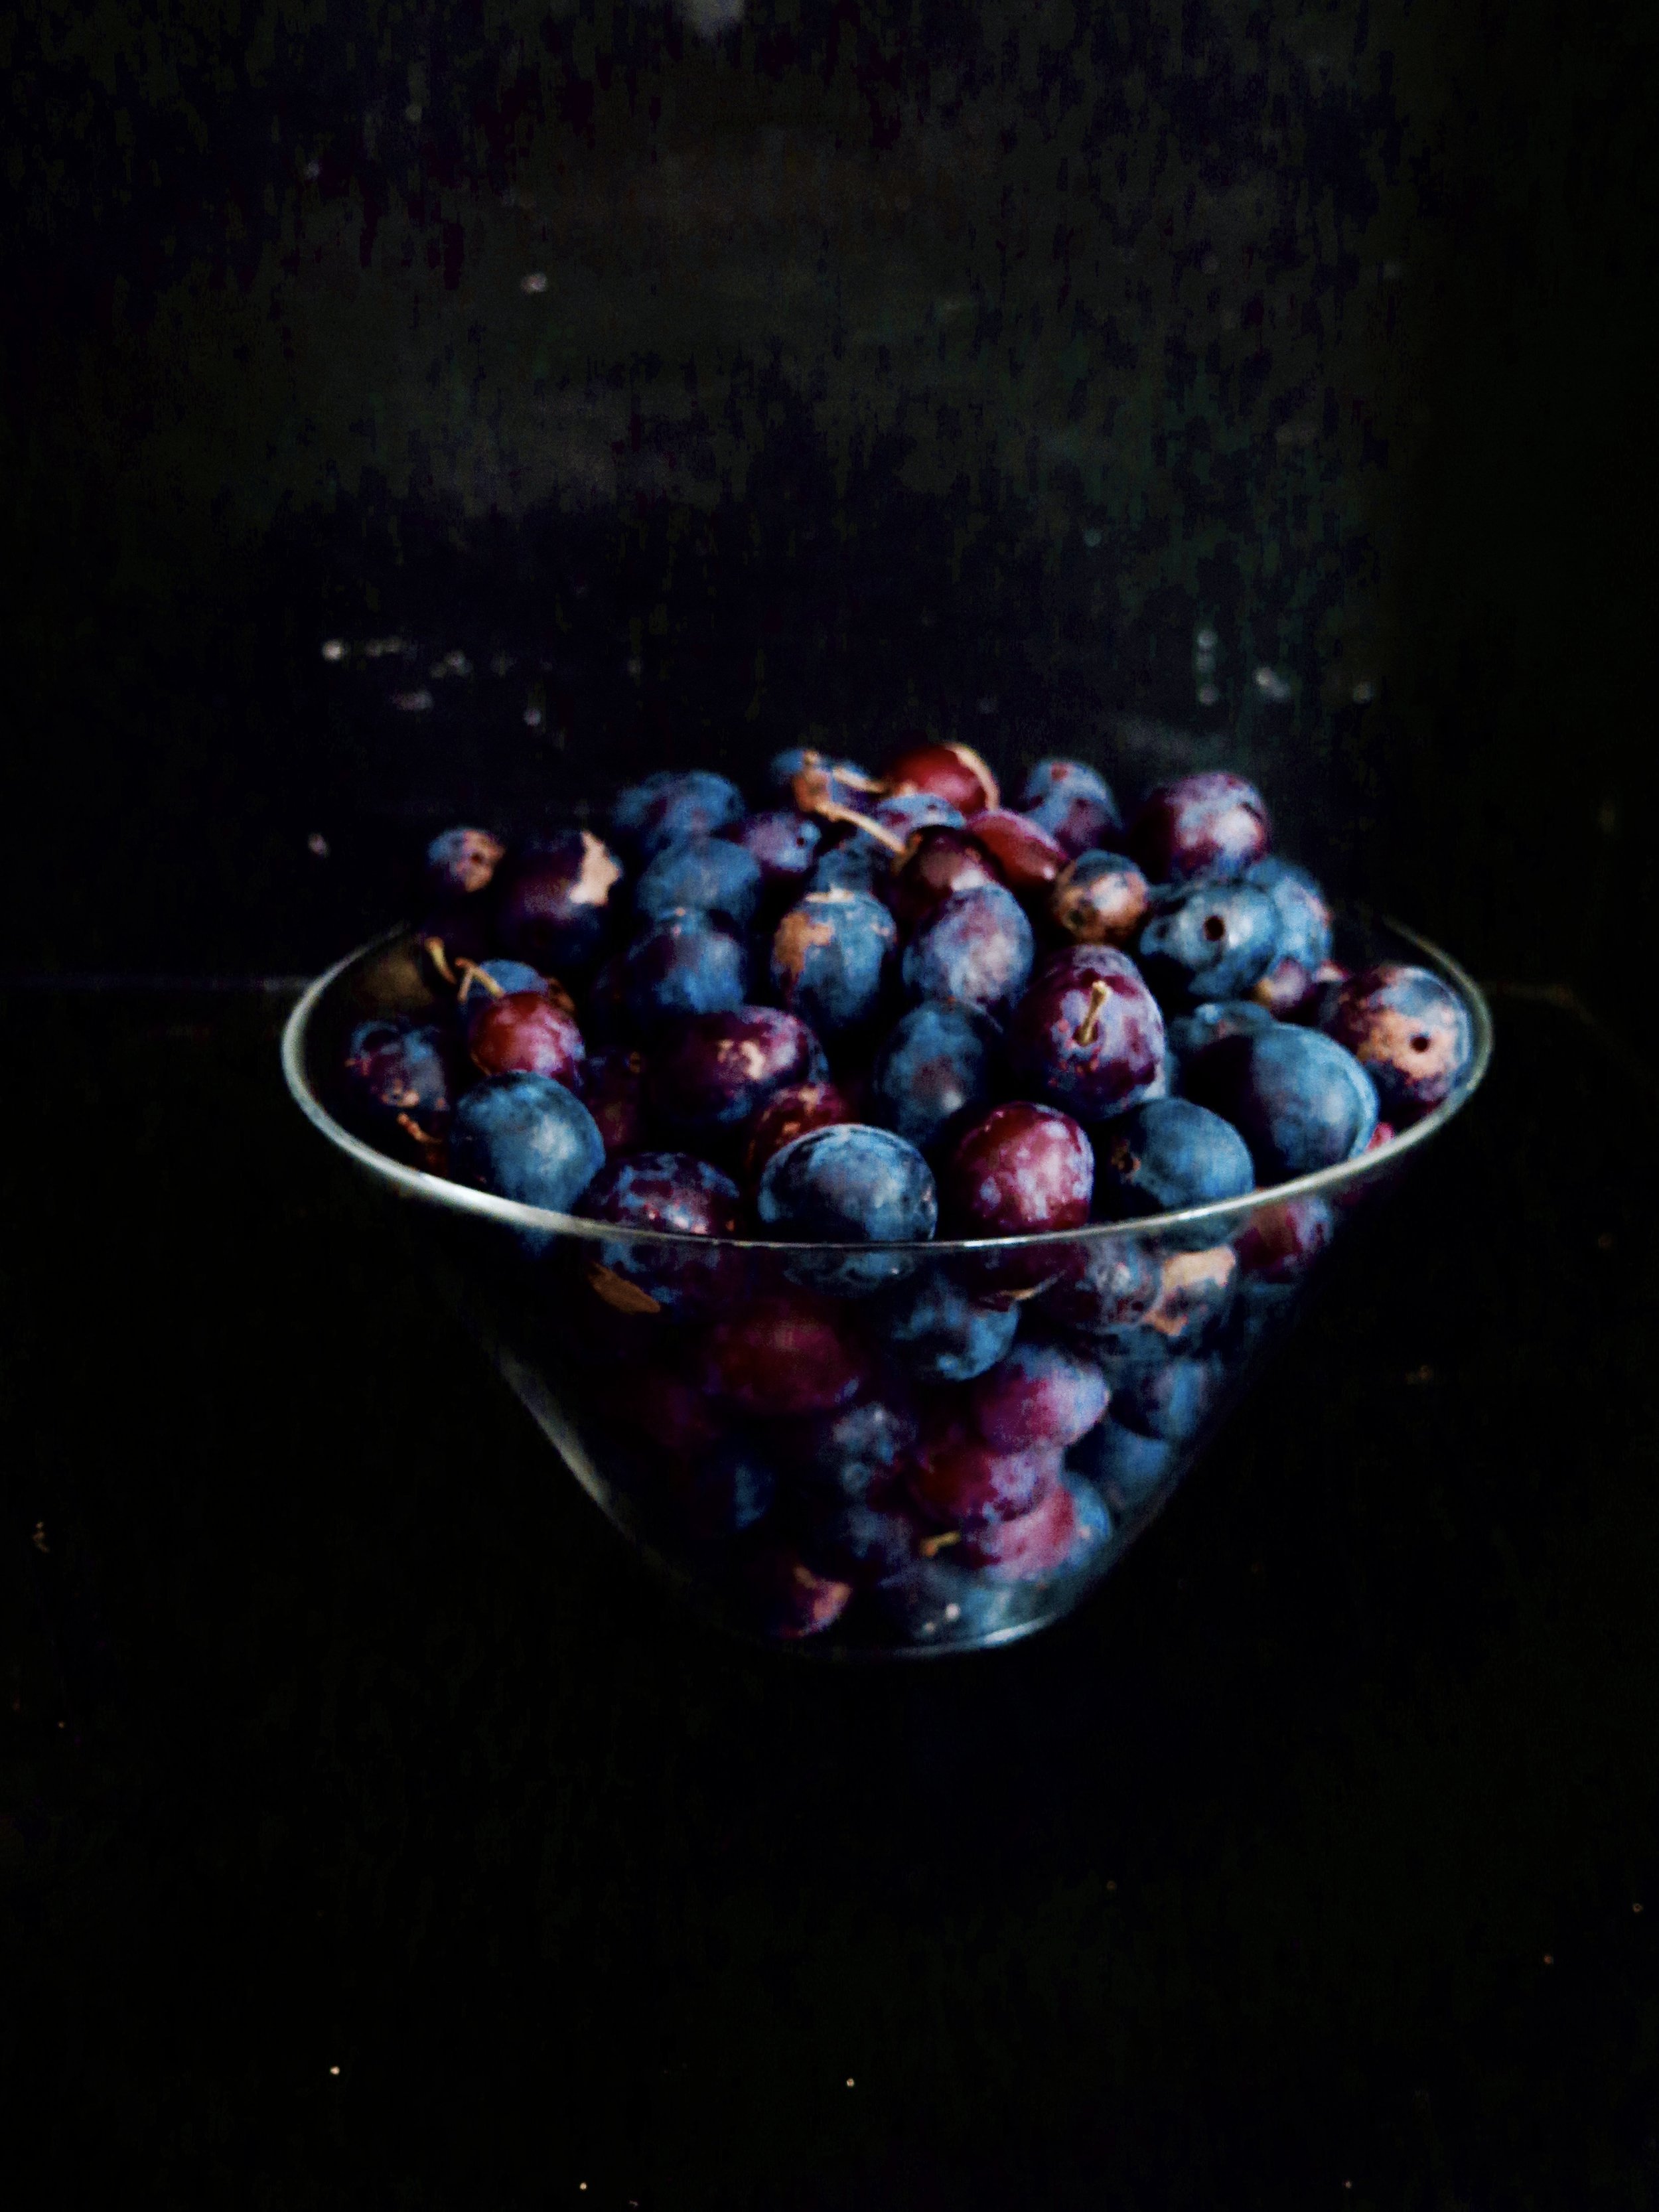
Damson Jam Recipe (makes about 3kg, 9 jars)

NB. This recipe can be adapted for any number of damsons by maintaining the ratio

2kg damsons (slightly under-ripe and not too soft)

2kg sugar

200ml water

9 jam jars, sterilised

Method

1)    Pour sugar into an over proof dish and place in oven heated to a low temperature (around 120°C) while the damsons are prepared. Place a couple of small plates into a fridge to cool – these will be used to check the jam’s consistency later.

2)    Grease a large stainless-steel pot with butter to prevent the fruit from sticking. Then pour in the damsons and water and stew over a medium-low heat, stirring gently until the damsons’ skins break. Pour in the warmed sugar and stir over medium-low heat until the sugar has dissolved.

3)    Increase the heat to medium-high and allow to boil (controllably), stirring occasionally to prevent the fruit from sticking. After a few minutes, as the fruits break down, a pink foam will rise to the surface. Using a slotted spoon, siphon this off into a bowl. If some remains it won’t ruin the jam, it just doesn’t taste as pure as the rest. Then, as the stones begin to rise up, siphon off those too.

4)    After about 15 minutes of boiling, when all the stones have been removed, pour a teaspoon of the liquid onto a cold plate. Let it sit for about a minute then tilt the plate, if the liquid is no longer watery, with a viscosity between a sauce and a jam, and wrinkles when pushed with the finger, it is set. For the more scientifically-minded, it should be 105°C on a sugar thermometer. Pour the jam into the sterilised jars and allow to come to room temperature before sealing them with lids.

fullsizeoutput_908.jpeg

HUNGRY FOR MORE?


Comment

Raspberry & Orange Financiers

Comment

Raspberry & Orange Financiers

Entremets, soufflés, macarons, choux buns - even making ciabatta, a two day process, which culminates in a dough whose tenacious elasticity has been known to reduce some people to tears - I’ve generally met their challenges.

However, hubris met nemesis a couple of weeks ago. I came home to the nutty toasted perfume of a new recipe my mom had tried out: ridiculously simple, five ingredient coconut wafers so thin you could see the sunset through them, so tender that they crumbled in anticipation of hitting one’s tongue, and so light and moreish that a second batch was immediately required in order to satisfy my family’s greed.

I duly crumbed, clumped, chilled, and sliced.  “Make them thinner,” my mom said. And I did, each slice crumbling into thousands of buttery coconut crumbs. I pressed them together and started again. And again. Unfortunately, it was only my patience that turned out thin, and the petulant three year old in me ended up scooping together the entire mixture and, from a height, throwing it down onto the tray.

Finally, I managed to get the fragments to coagulate by adding water. Things went more smoothly, but the biscuits, when baked, were slightly tougher, less flaky and less moreish than the original batch. Nevertheless, my brother took them to university. One of his friends, suffering from tonsillitis, reached into the box of biscuits, and in taking out one, touched many. The rest were binned, mostly due to the possibility of their having being infected with tonsillitis, but clearly not delicious enough to warrant risking it – a failure in my book.

After nursing my crumbled confidence for several days I swerved off the rocky path of coconut wafers to try my hand at financiers. I have always admired them - perfectly bite sized and innocent- looking with the flush of raspberry in the centre. They are also simple to make, requiring few ingredients, and turning out both delicious and delicate.

The history is much debated, but some say they were create by nuns of the Order of the Visitation and then adapted by a French baker, Lasne, to sell in the Parisian financial district where their almond content allowed them to keep well in the pockets of bankers. 

They are elegant and dainty, slightly crunchy on the outside, the tender blond crumb perfumed with a slight orange tang and moistened by the burst of raspberry.  They do keep rather well and would bless a summer’s picnic.

Recipe:

Makes 30 (approx)

50g unsalted butter

50g plain flour

160g icing sugar

140g ground almonds

1/2 tsp salt

200g egg whites (6 large eggs)

1/4 tsp almond extract

zest of 1/4 orange 

60g raspberries (minimum of 30 raspberries i.e. 1 per financier)

 Very well-greased and flour- dusted 3 x 12 hole mini cupcake tins (with 2.5cm diameter circles)  OR 1 to be used 3 times

Method:

  1. Melt the butter in a small pan over a medium heat. When completely melted, stir the bottom of the pan continuously until the butter turns a deep gold colour and nutty in aroma. Set aside to cool.
  2. Sieve the flour and icing sugar into large bowl. Stir in the ground almonds and salt. Once combined, pour in the egg whites, almond extract, zest and slightly cooled butter and stir to fully combine. Cover the bowl and allow the mixture to chill in the fridge for 2 hours.
  3. Preheat the oven to 180C.
  4. Spoon the batter into the holes until each is two thirds full. Press a raspberry into the centre of each - the batter should rise to all the way to the top. 
  5. Place in the oven to bake for 10-12 minutes or until light gold in colour. Transfer to a wire rack to cool (to avoid them becoming soggy) or devour immediately. 

Comment

Chewy Triple Chocolate Nutella & Orange Cookies

Comment

Chewy Triple Chocolate Nutella & Orange Cookies

ANTI-VALENTINES ANCIENT ROMAN-STYLE

Chewy Triple Chocolate Nutella & Orange Cookies

Candlelit dinner in a restaurant suddenly eye-wateringly expensive, a single rose rattling in its cellophane wrapper, chocolates filled with chemical cherry liqueur, and greetings cards covered with hearts and teddy bears and hearts and pictures of champagne and hearts: these are contemporary references to St Valentine’s Day. 

How much more seductive would it be to celebrate Lupercalia as the Ancients did?

Chewy Triple Chocolate Nutella & Orange Cookies

On the 15th February, naked youths of noble birth, anointed with the blood of sacrificed goats, and carrying strips of the animals’ hide, would run through Rome in a spirit of hilarity and lash waiting females in order to promote fertility and assist with pregnancy.

Chewy Triple Chocolate Nutella & Orange Cookies

If this sounds too overtly carnal, how about taking the advice of Ovid in his Ars Amatoria on how to secure a woman or man, how to seduce him or her, and how to keep him or her from being stolen by another? His tips include knowing where to look to find the beloved as he or she will not just fall from heaven. 

Chewy Triple Chocolate Nutella & Orange Cookies

According to Ovid, the theatre is a particularly good place to meet beautiful women.  He warns men to wear well cut and spotless togas, and to avoid having dirty, long fingernails and visible nasal hairs.

Chewy Triple Chocolate Nutella & Orange Cookies

 Beware, too, the persuasive effects of low lighting and alcohol which can mask a woman’s true looks, he says. 

Chewy Triple Chocolate Nutella & Orange Cookies

Women, however, he advises, should use to their advantage all the tricks that cosmetics can offer, while not letting any man observe their application: hide the work in progress, he suggests. Wear simple, unostentatious clothes, revealing a slightly exposed shoulder or upper arm. Sing, play an instrument and learn to play board games, he tells women, and beware of fops.

Chewy Triple Chocolate Nutella & Orange Cookies

But if all this sounds too much like hard work, I heartily recommend that you make these cookies.  Simple to make, they are rich and decadent and infinitely seductive.

Chewy Triple Chocolate Nutella & Orange Cookies


Ingredients (Makes 24)

300g good quality dark chocolate (70% cocoa)

160g Nutella

45g unsalted butter

225g plain flour

35g unsweetened cocoa powder

1/4 baking powder

1/2 tsp salt

4 large eggs

300g caster sugar

finely grated zest of 2 medium-sized oranges

1 tbsp fresh orange juice

80g icing sugar

2 baking sheets, lined with non-stick baking parchment


Method

  1. Place a heatproof bowl over a saucepan of boiling water (without the water touching the bottom of the bowl).  Into the bowl break the chocolate into pieces and add in Nutella and butter. Allow to melt slowly, stirring occasionally until it turns glossy, molten and smooth. Remove the bowl from heat and set aside to cool.
  2. In a large bowl, sieve together flour, cocoa powder, baking powder and salt.
  3. In an electric mixer fitter with the paddle, or in a large bowl by hand, beat together eggs and sugar for 2-3 minutes until creamy, thick and pale.  Pour in orange zest and juice and beat again to combine.
  4. Pour the molten chocolate mix into the egg mixture and very gently fold together so as not to lose the aeration. Pour in the sieved dry ingredients and, again, fold gently until just combined. 
  5. Cover bowl and let the mixture cool in the fridge for half an hour. 
  6. Preheat oven to 170°C. Sieve icing sugar into a bowl. Remove the cookie dough from the fridge and roll the dough into spheres of about 40g each. Roll each one in the icing sugar to coat thoroughly, then place on the tray, leaving about 5cm space between each.
  7. Place in oven to cook for 8-12 minutes, (checking after 8). They should be soft to the touch and feel slightly undercooked. Remove from oven and set aside to cool. They will continue to cook as they cool. If you can manage to resist them, store in a an airtight container for a week (they get fudgier over time), or freeze in an airtight container for 2 months.
Chewy Triple Chocolate Nutella & Orange Cookies

HUNGRY FOR MORE?


Comment

MINI CHOCOLATE & RASPBERRY MERINGUES

Comment

MINI CHOCOLATE & RASPBERRY MERINGUES

Mini Chocolate & Raspberry Meringues

According to most newspapers, January should be the month of indulgence deprivation. With the weather cold, grey and bleak, we’re being told that now is the time to eliminate everything that affords even a hint of pleasure. I admit that it may be time for me to cut down on the panettone habit: I caught myself tearing off fleecy chunks of the ambrosial, yellow, sultana-studded fluff and crowding my mouth until it overflowed. 

Mini chocolate & raspberry meringue

My brother actually created a time-saving method which anticipated the bolus of food that would develop in the gullet by compressing the panettone in his hands first before devouring. I was impressed.

Mini chocolate & raspberry meringue

Fortunately, but lamentably, my mother prevented me from importing from Italy to England the 5 kg of panettone that I’d bought (with the pretence of giving as gifts). To cope with the withdrawal symptoms, I made these instead.  

Mini chocolate & raspberry meringue

I refuse to deprive myself of pleasure - these can be a happy halfway house. So numerous that they can be popped into the mouth in one without anyone noticing that the supply has been reduced, so light that they can be enjoyed without having to loosen waistbands to accommodate them, and so small that they make gorgeous bejewelled petit fours at dinner parties without the guilt attached, in my case, to eating an entire pavlova.  

Mini chocolate & raspberry meringue
Mini Chocolate & Raspberry Meringues

The dark chocolate base adds a touch of sophistication and slight bitterness to undercut the sweetness, and the raspberry provides that much needed astringency to cut through it. Crunch, creaminess, chocolate and tang, all in one mouthful – who needs 5kg of panettone? 

Mini Chocolate & Raspberry Meringues

Ingredients

(makes 70 mini meringues - halve the recipe if you would like fewer)

90g egg white (the whites of 3 large eggs)

175g caster sugar

150g good quality dark chocolate (70%)

200ml double cream

350g raspberries (approximately 1 per meringue)

30g icing sugar (optional)

2 large baking sheets lined with baking parchment

A piping bag fitted with a round 1cm nozzle to be used twice: first to pipe the meringue, and then the cream.  It can be marginally larger or smaller than 1cm. If you lack a piping bag, you can use a freezer bag and cut off a corner to replicate a 1 cm sized nozzle.

Method

  1. Preheat oven to 130°C. Pour egg whites into an electric mixer fitted with a whisk and whisk on high speed until soft peaks form.  It should be foamy in appearance.
  2. Switch the speed to medium-high and pour in caster sugar one tablespoon at a time. Once each tablespoon has dissolved into the mass of egg white, add the next. Keep whisking until the meringue forms hard peaks and is glossy i.e. the meringue should hold its shape when drawn into peaks with a spoon and the tracks of the whisk are visible in its surface.
  3. Spoon the meringue mixture into the piping bag.  Holding the nozzle at a right angle to the baking parchment, pipe 3cm diameter sized meringue peaks onto the parchment in rows, leaving 3cm between each one (they expand slightly as they bake). Place in the oven and cook for 45 minutes, checking after 30 minutes. Once cooked, switch the oven off and allow to sit for another 15 minutes in the oven. They should remain pale and be crisp on the outside and slightly soft in the centre. Remove cooled meringues from the oven, and set them aside.
  4. Break the chocolate into pieces and place in a bowl over a pot of simmering water. Don't allow the water to touch the base of the chocolate bowl. Don't melt the chocolate directly in a pan on the stove as this causes it to seize. Allow to melt, stirring occasionally until glossy and smooth. Remove from the heat. Lightly holding the meringues at the sides with thumb and forefinger, dip the base of each meringue into the molten chocolate so that it coats the base and up to 1cm on the sides of the meringue. Place the dipped meringues back on to the baking parchment. Once the whole batch is coated, place the tray in the freezer for 10 minutes to allow them to set.
  5. In an electric mixer fitted with a whisk (or by hand if you’re feeling strong), whisk the cream until thickened. The tracks of the whisk should be visible and it should hold light peaks. Spoon the cream into a piping bag and pipe about a teaspoon of cream on to each meringue. Place a raspberry on each cream peak, face down. Sieve icing sugar over, if desired, and serve. 
  6. Best eaten on the day but the meringues without topping can be kept in an airtight container for a couple of weeks in a cool dry cupboard, and for a month in the freezer.
Mini Chocolate & Raspberry Meringues

HUNGRY FOR MORE?

Comment

Cinnamon Apple Crumble Pies

Comment

Cinnamon Apple Crumble Pies

IMG_8392.jpg

This is the cinnamon apple crumble pie 2.0. Tried, tested, and enhanced...Cinnamon Apple Crumble Pies Soft, crunchy, crumbly, fresh, sweet, and on the cusp of sour – the Gail’s Bakery apple crumble cake is what I crave.  It’s the ultimate winter treat, although I gaze longingly through the bakery window at them year-round.

Cinnamon Apple Crumble Pies


Cinnamon Apple Crumble Pies
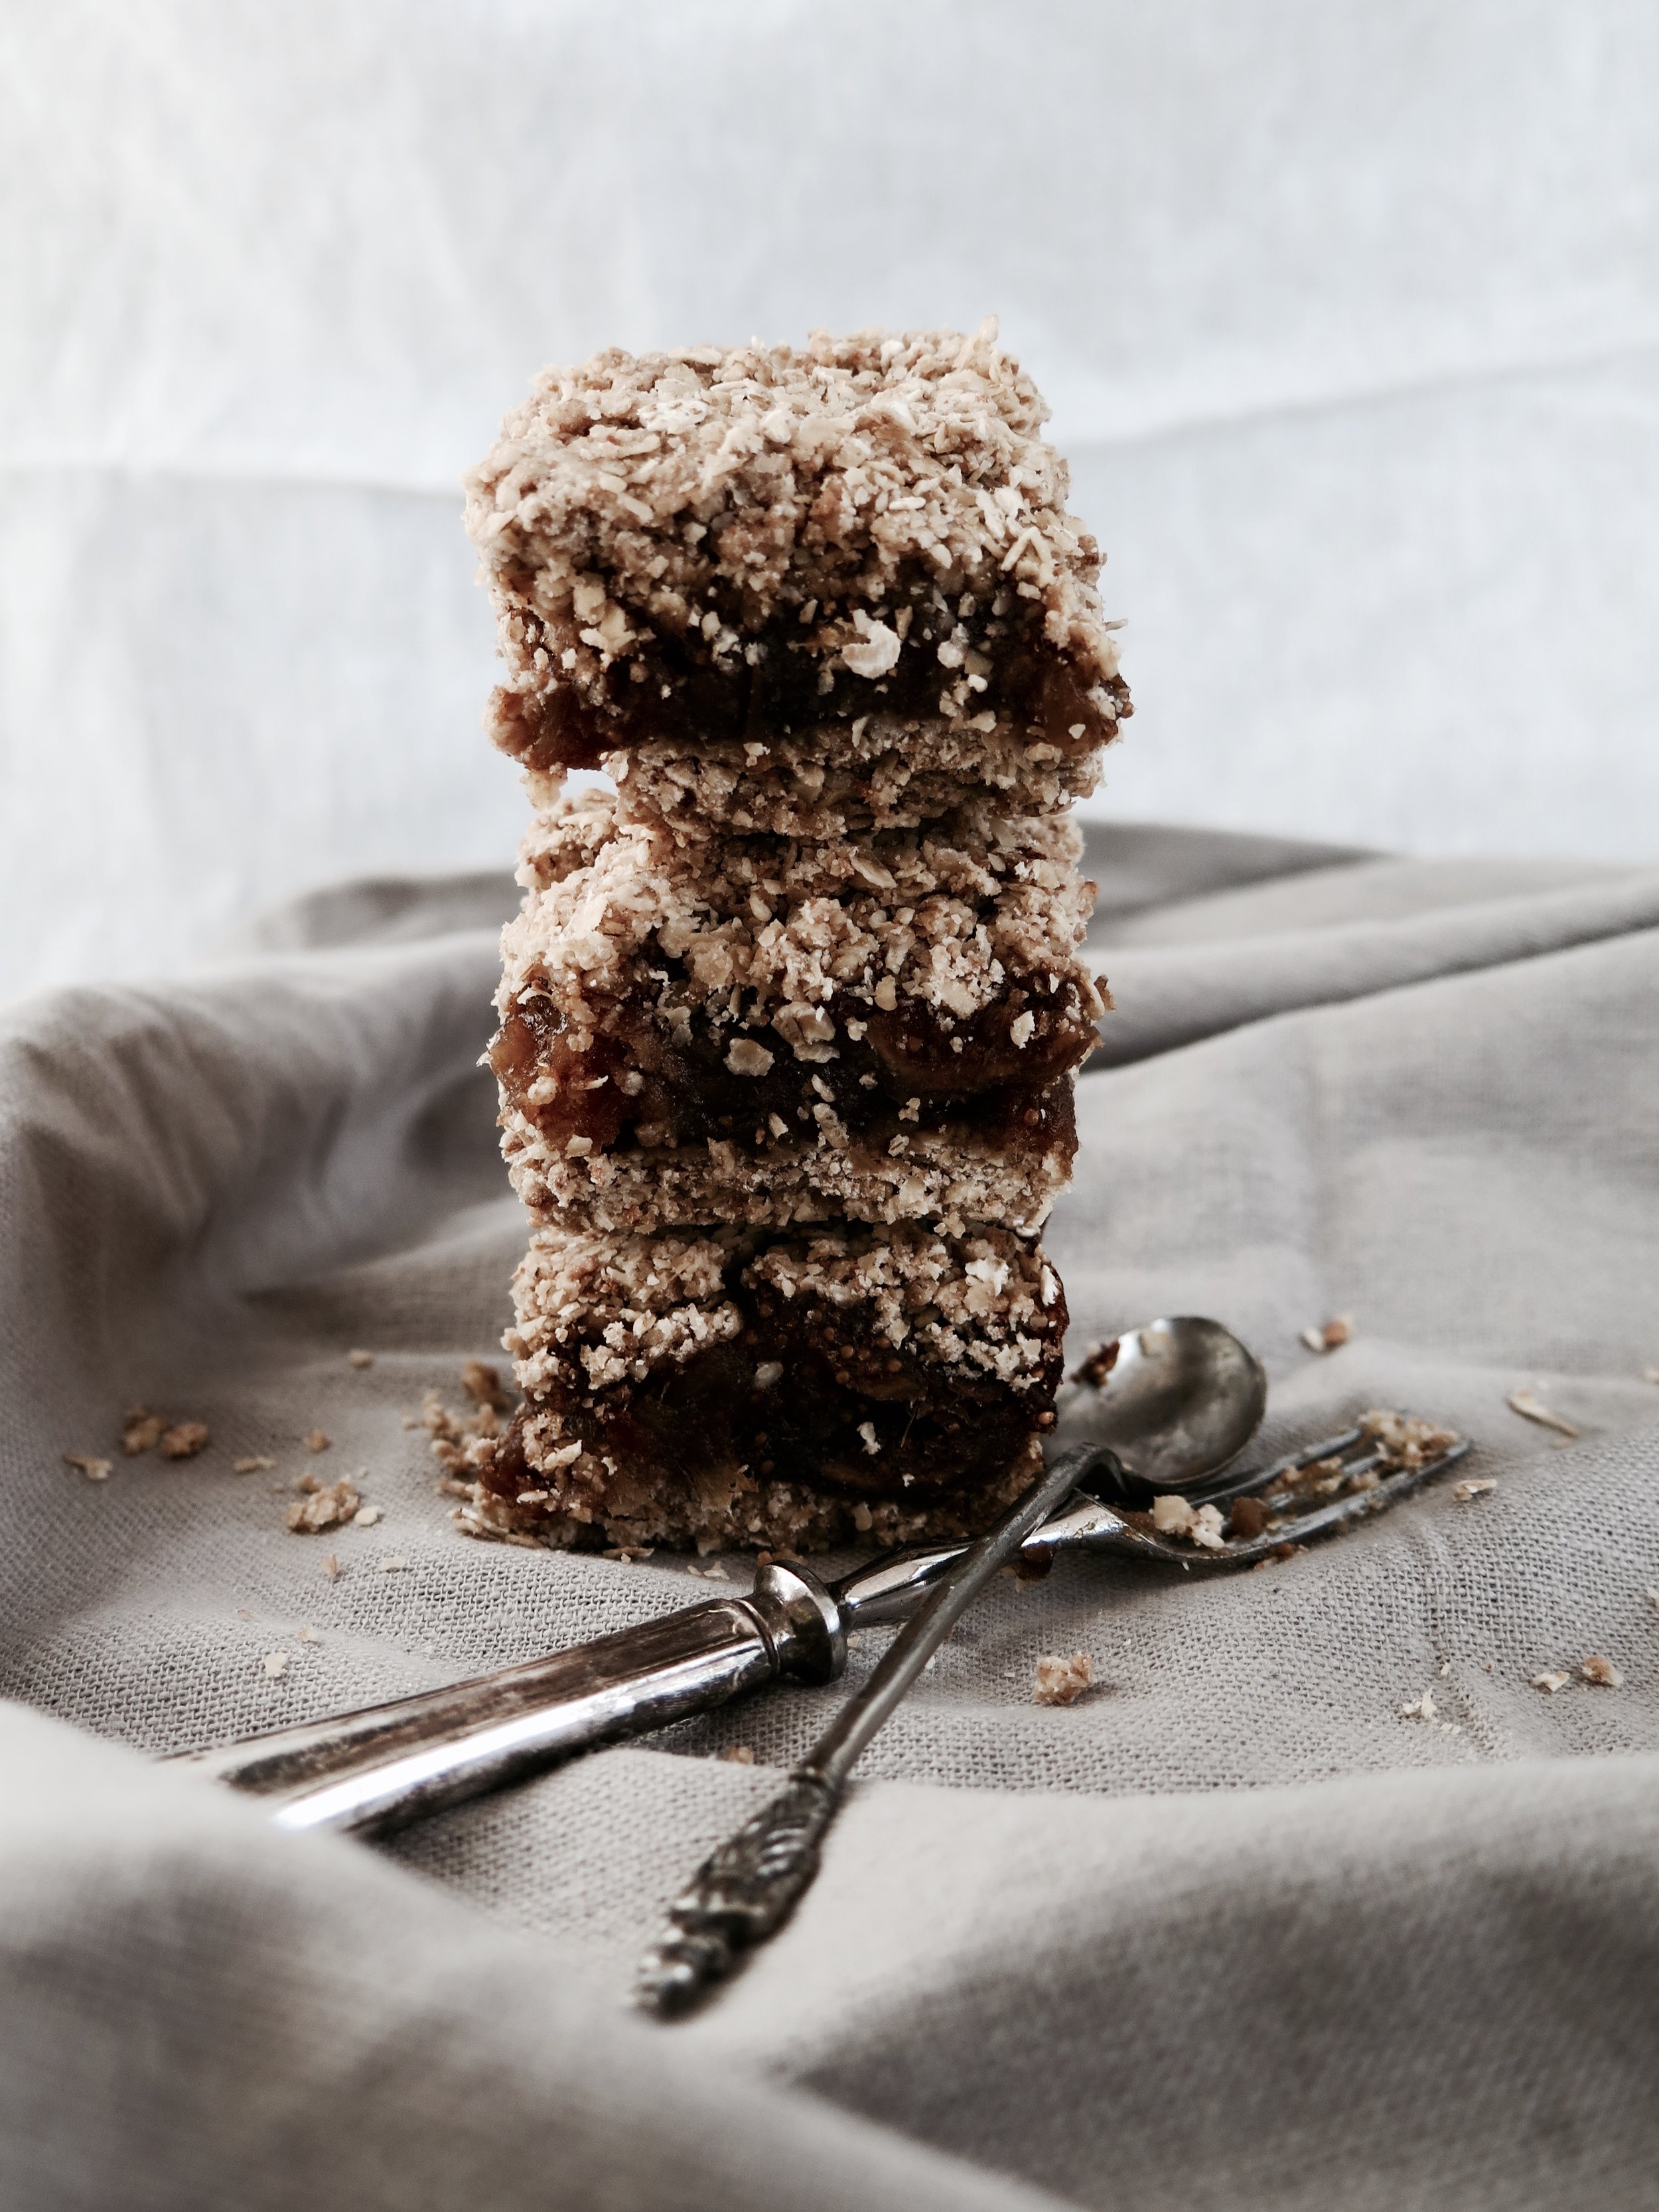
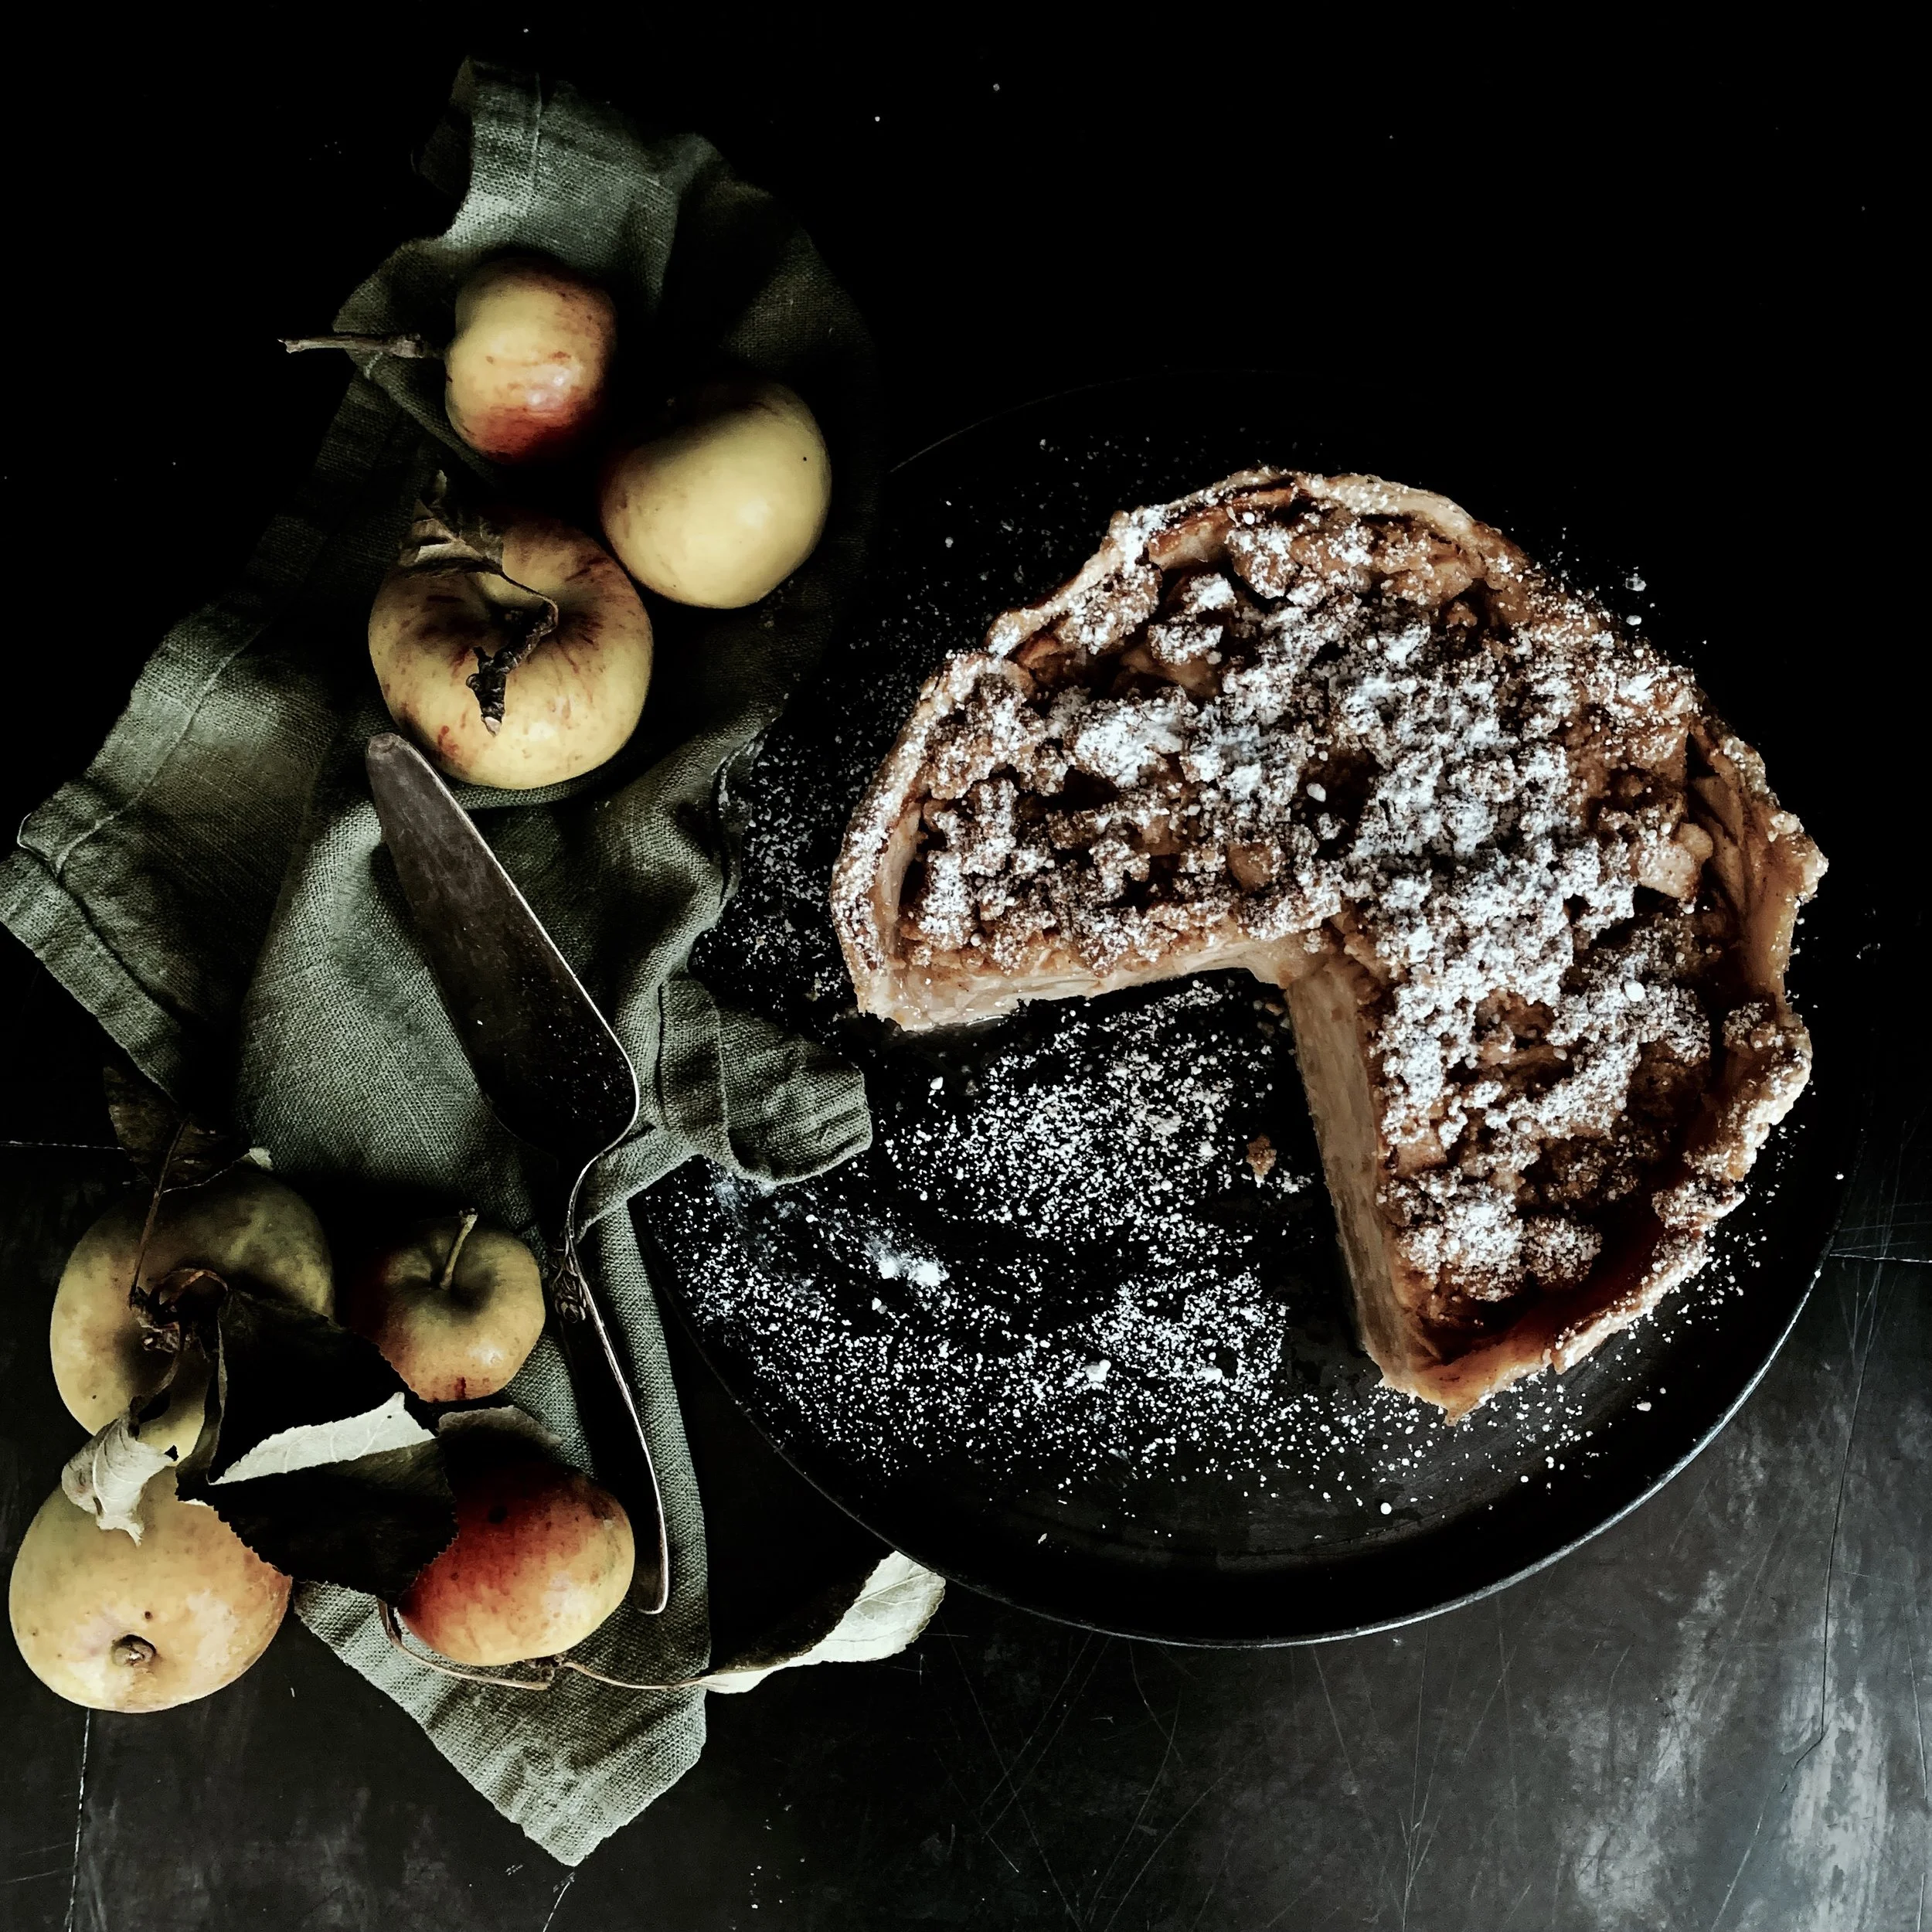
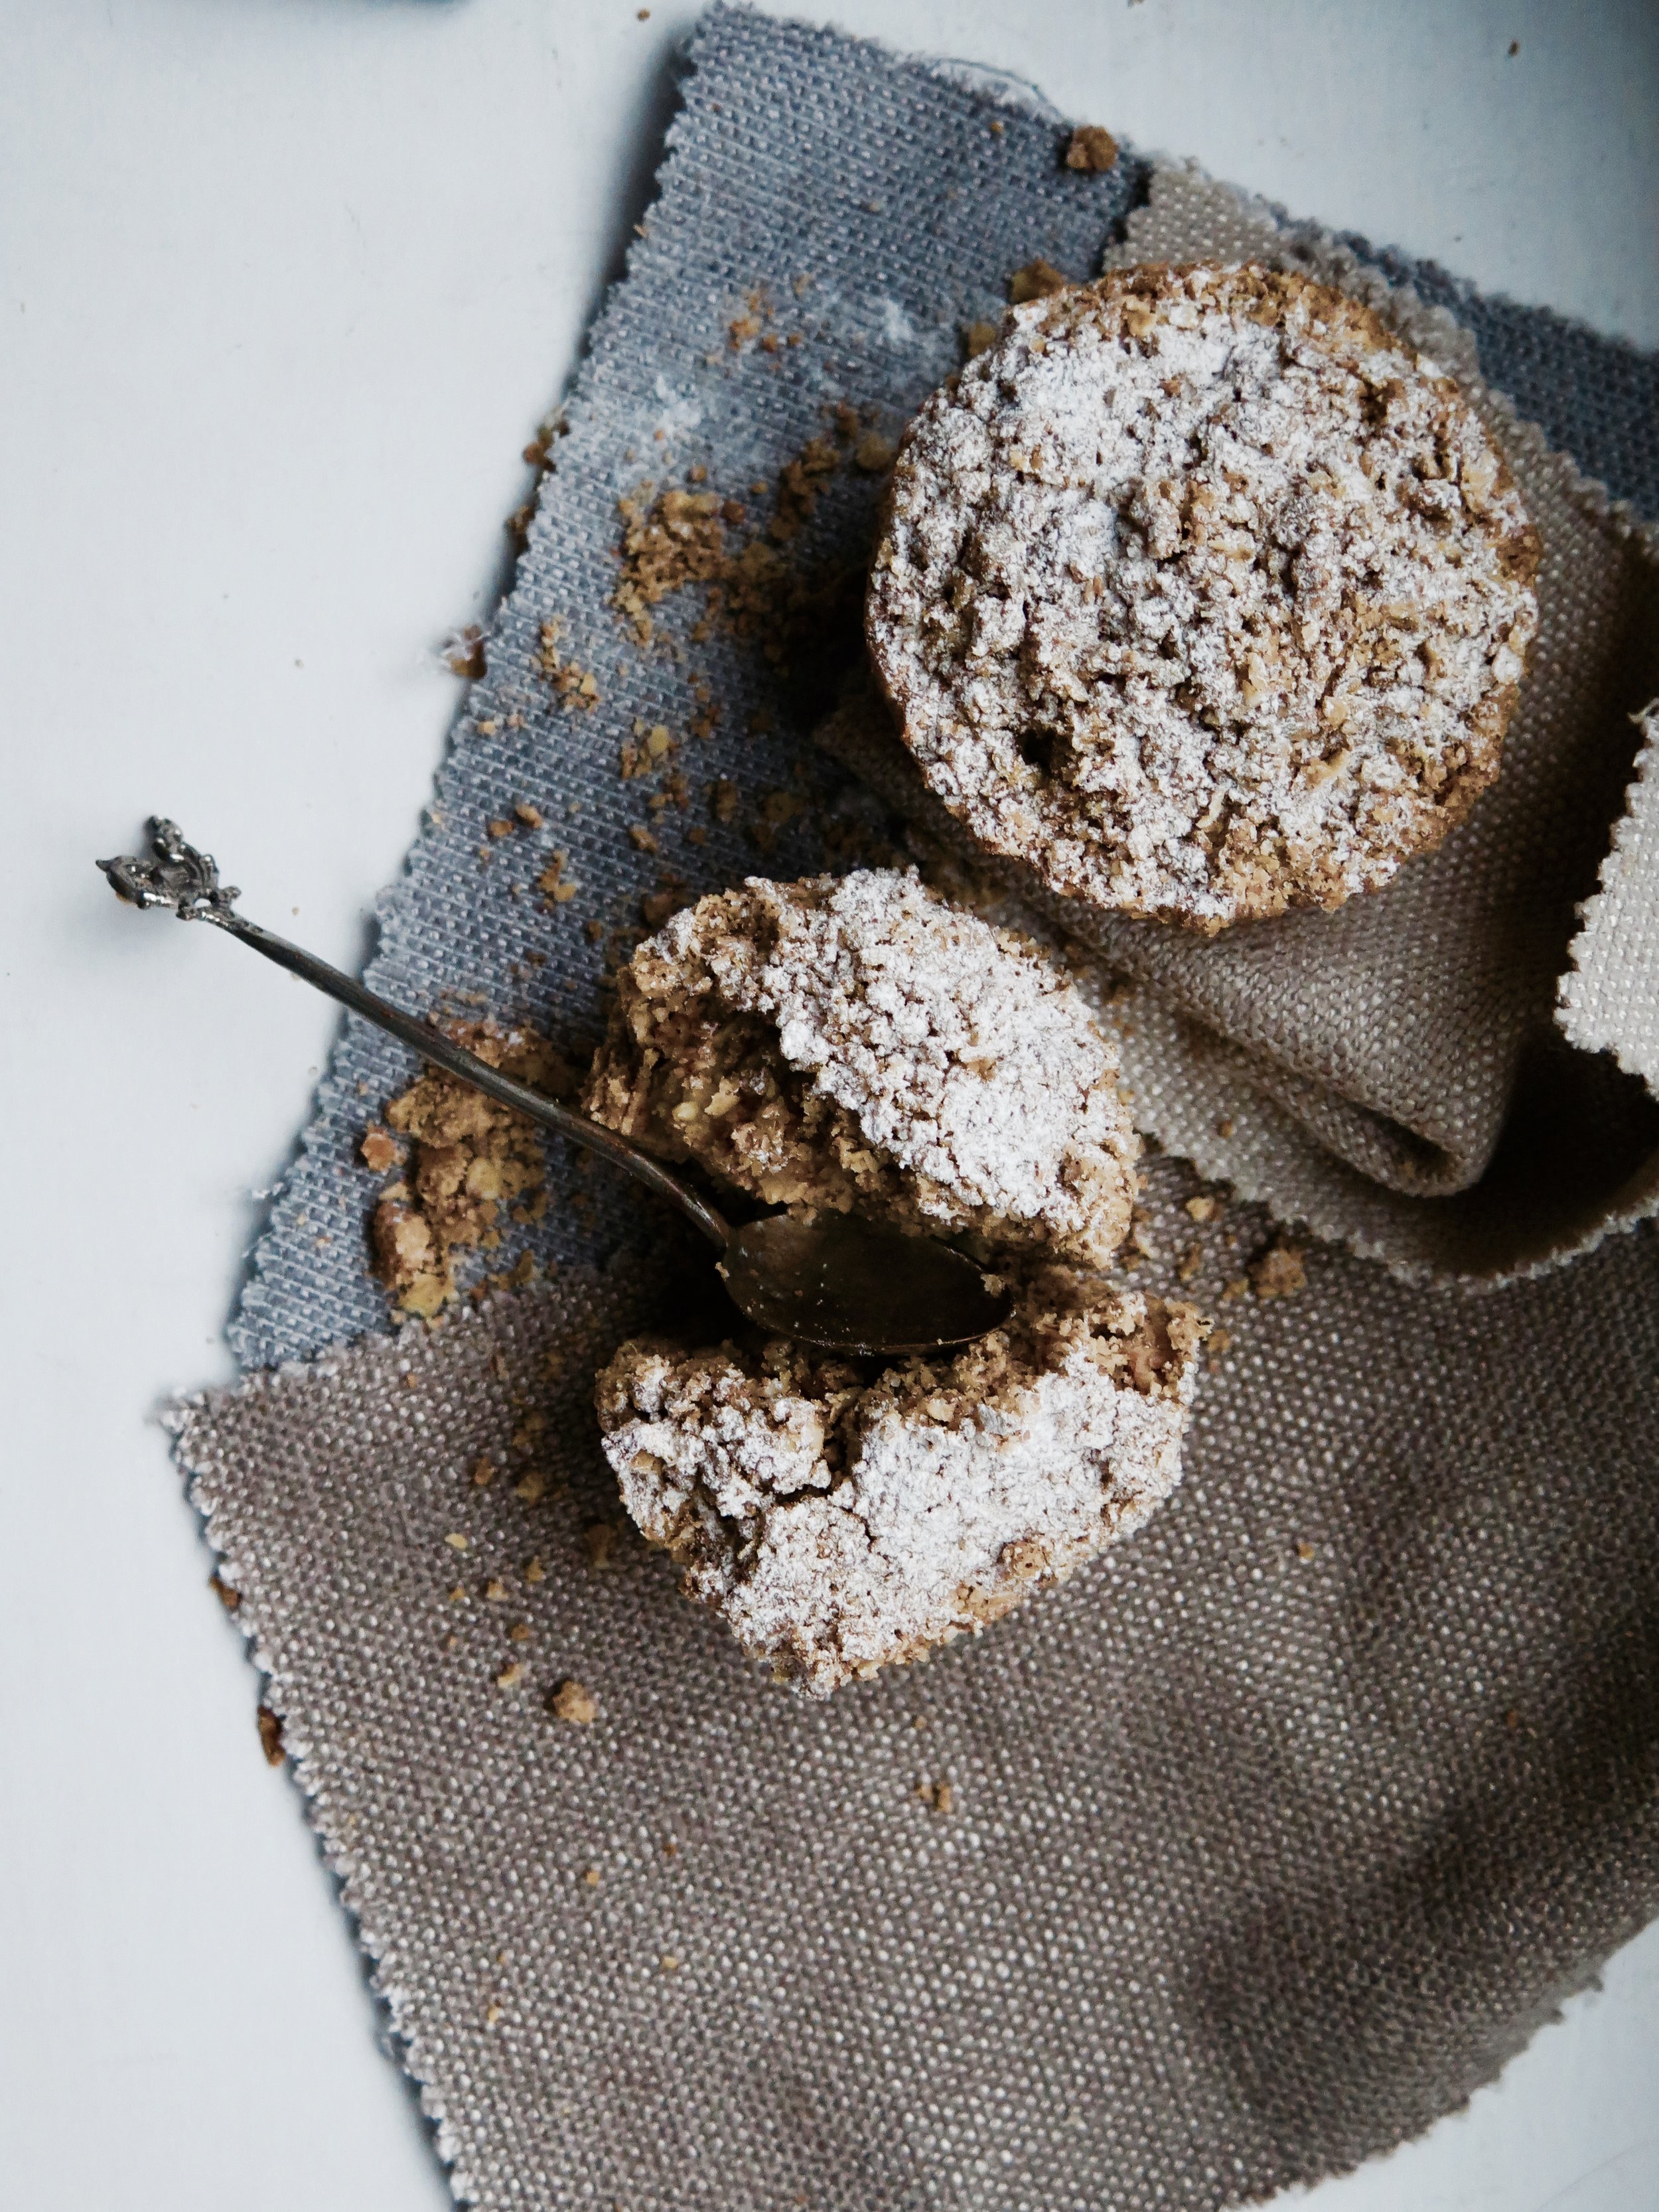
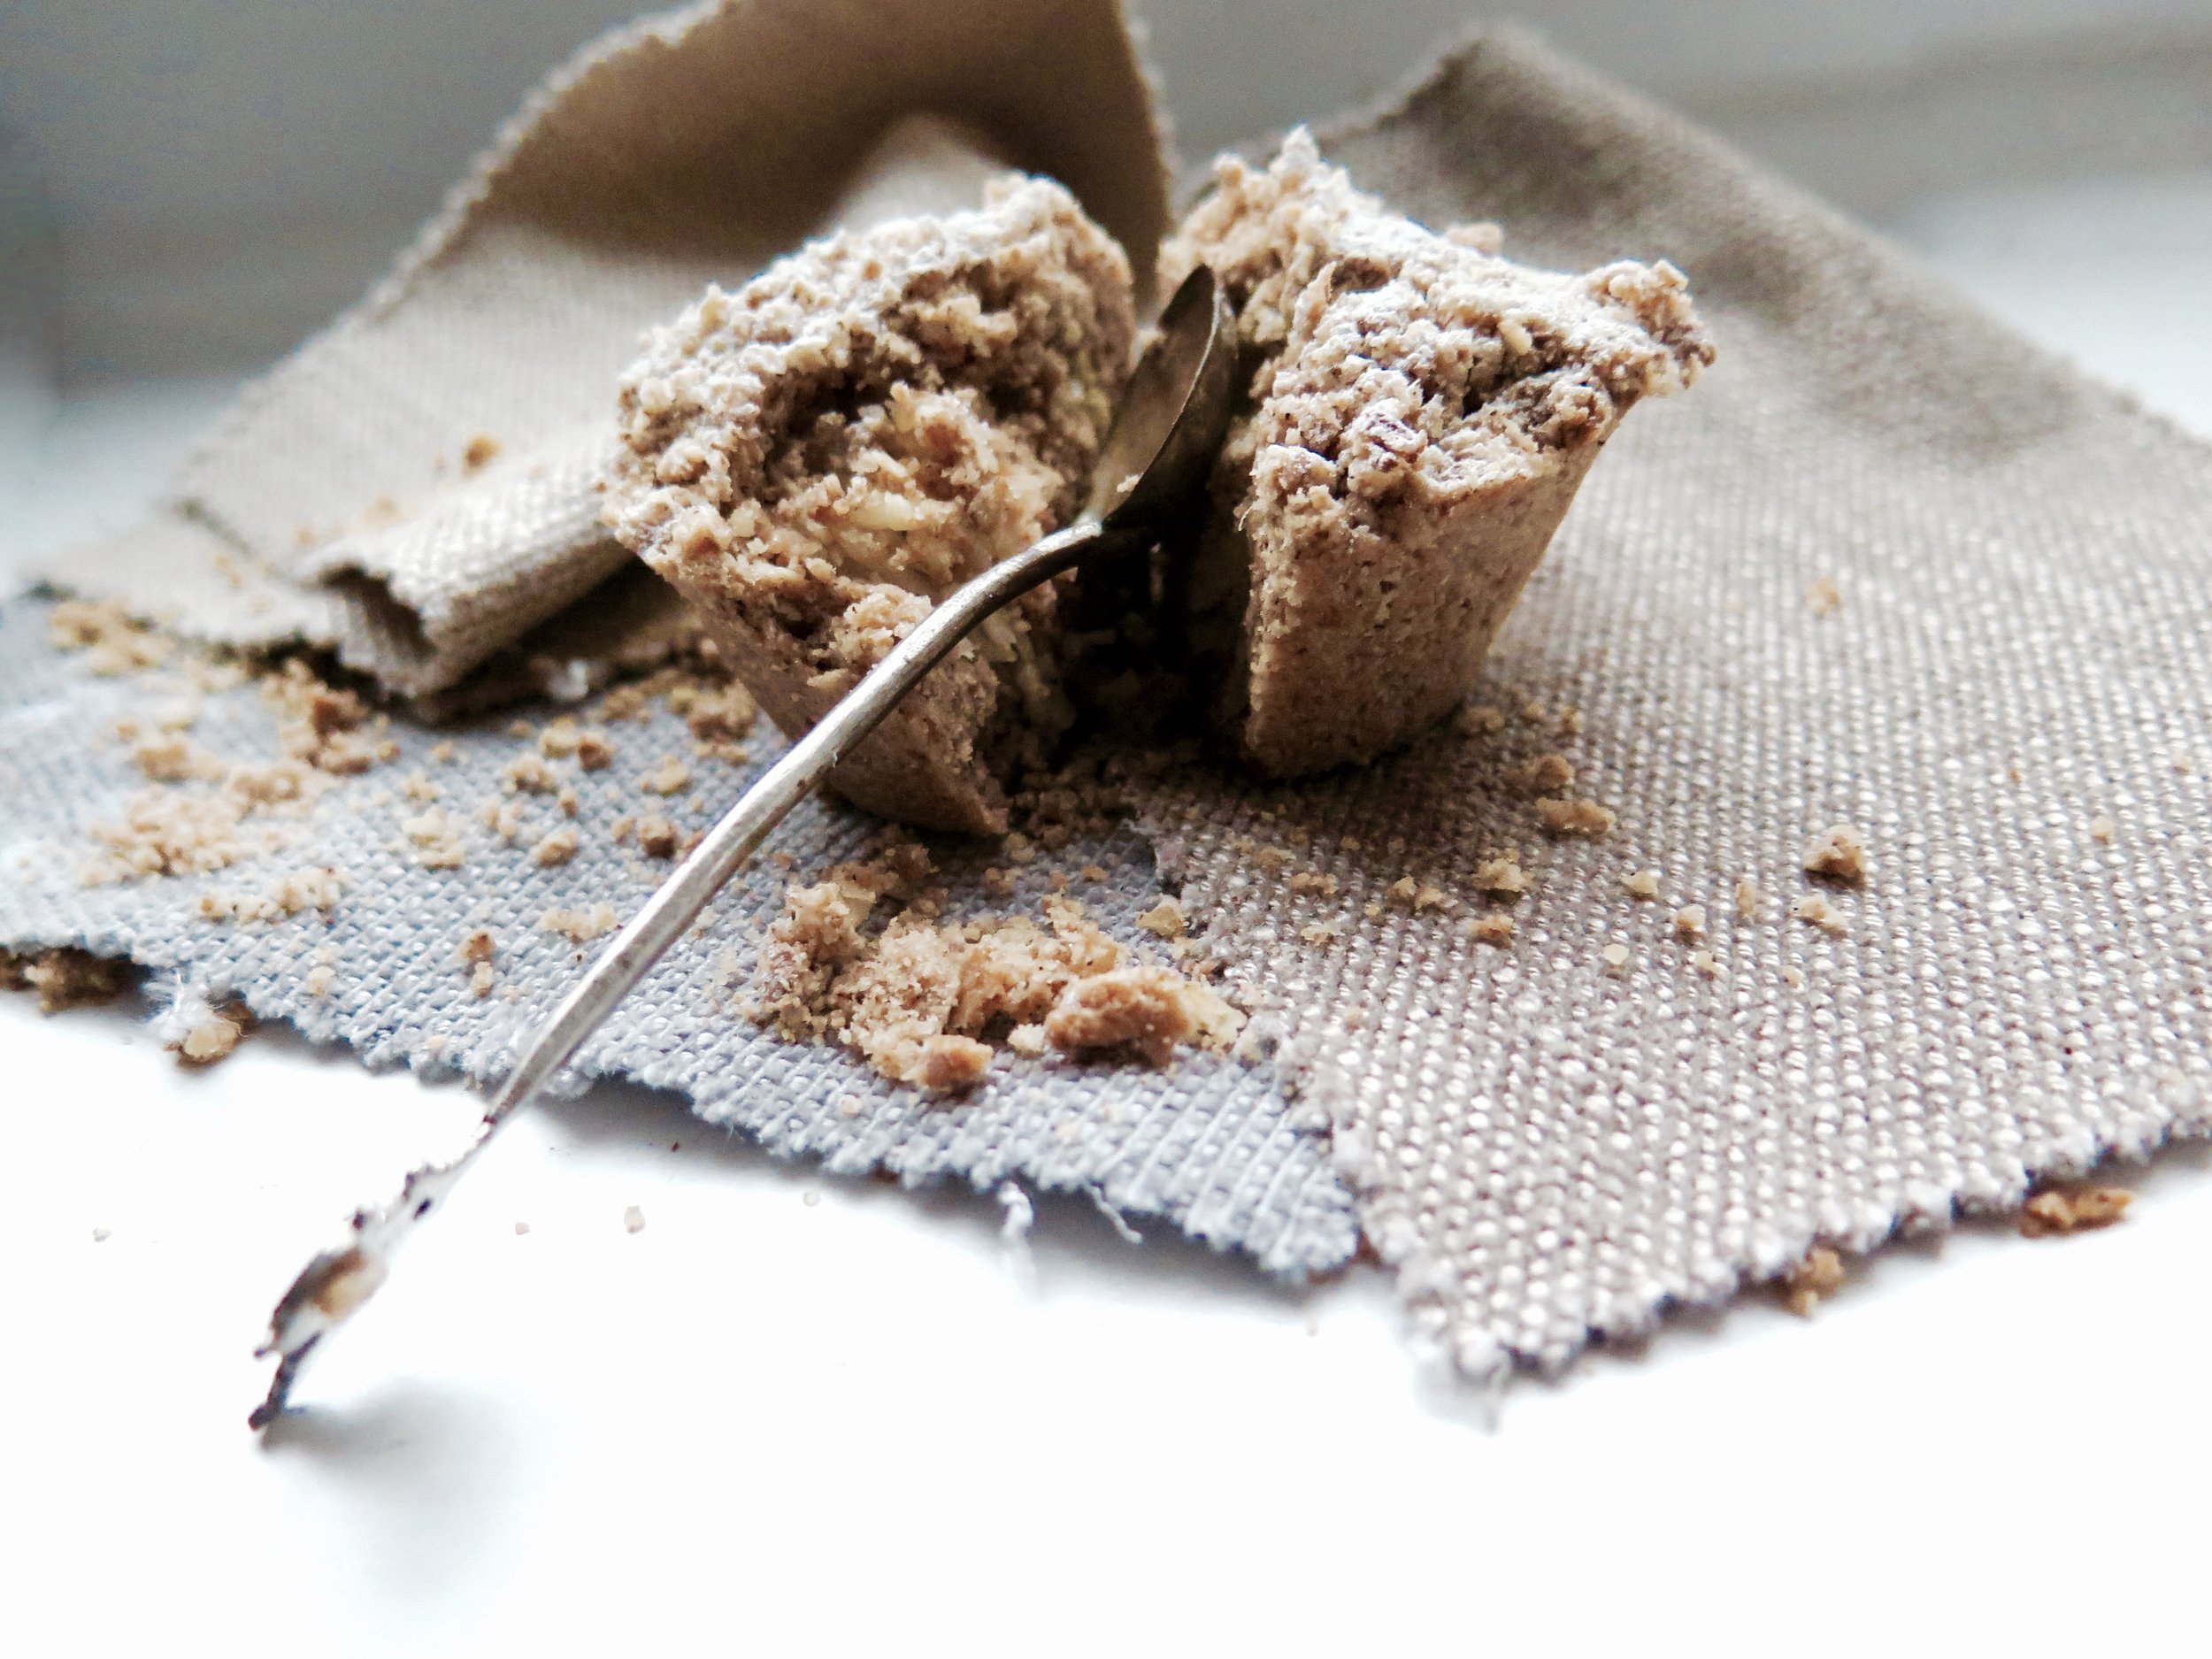
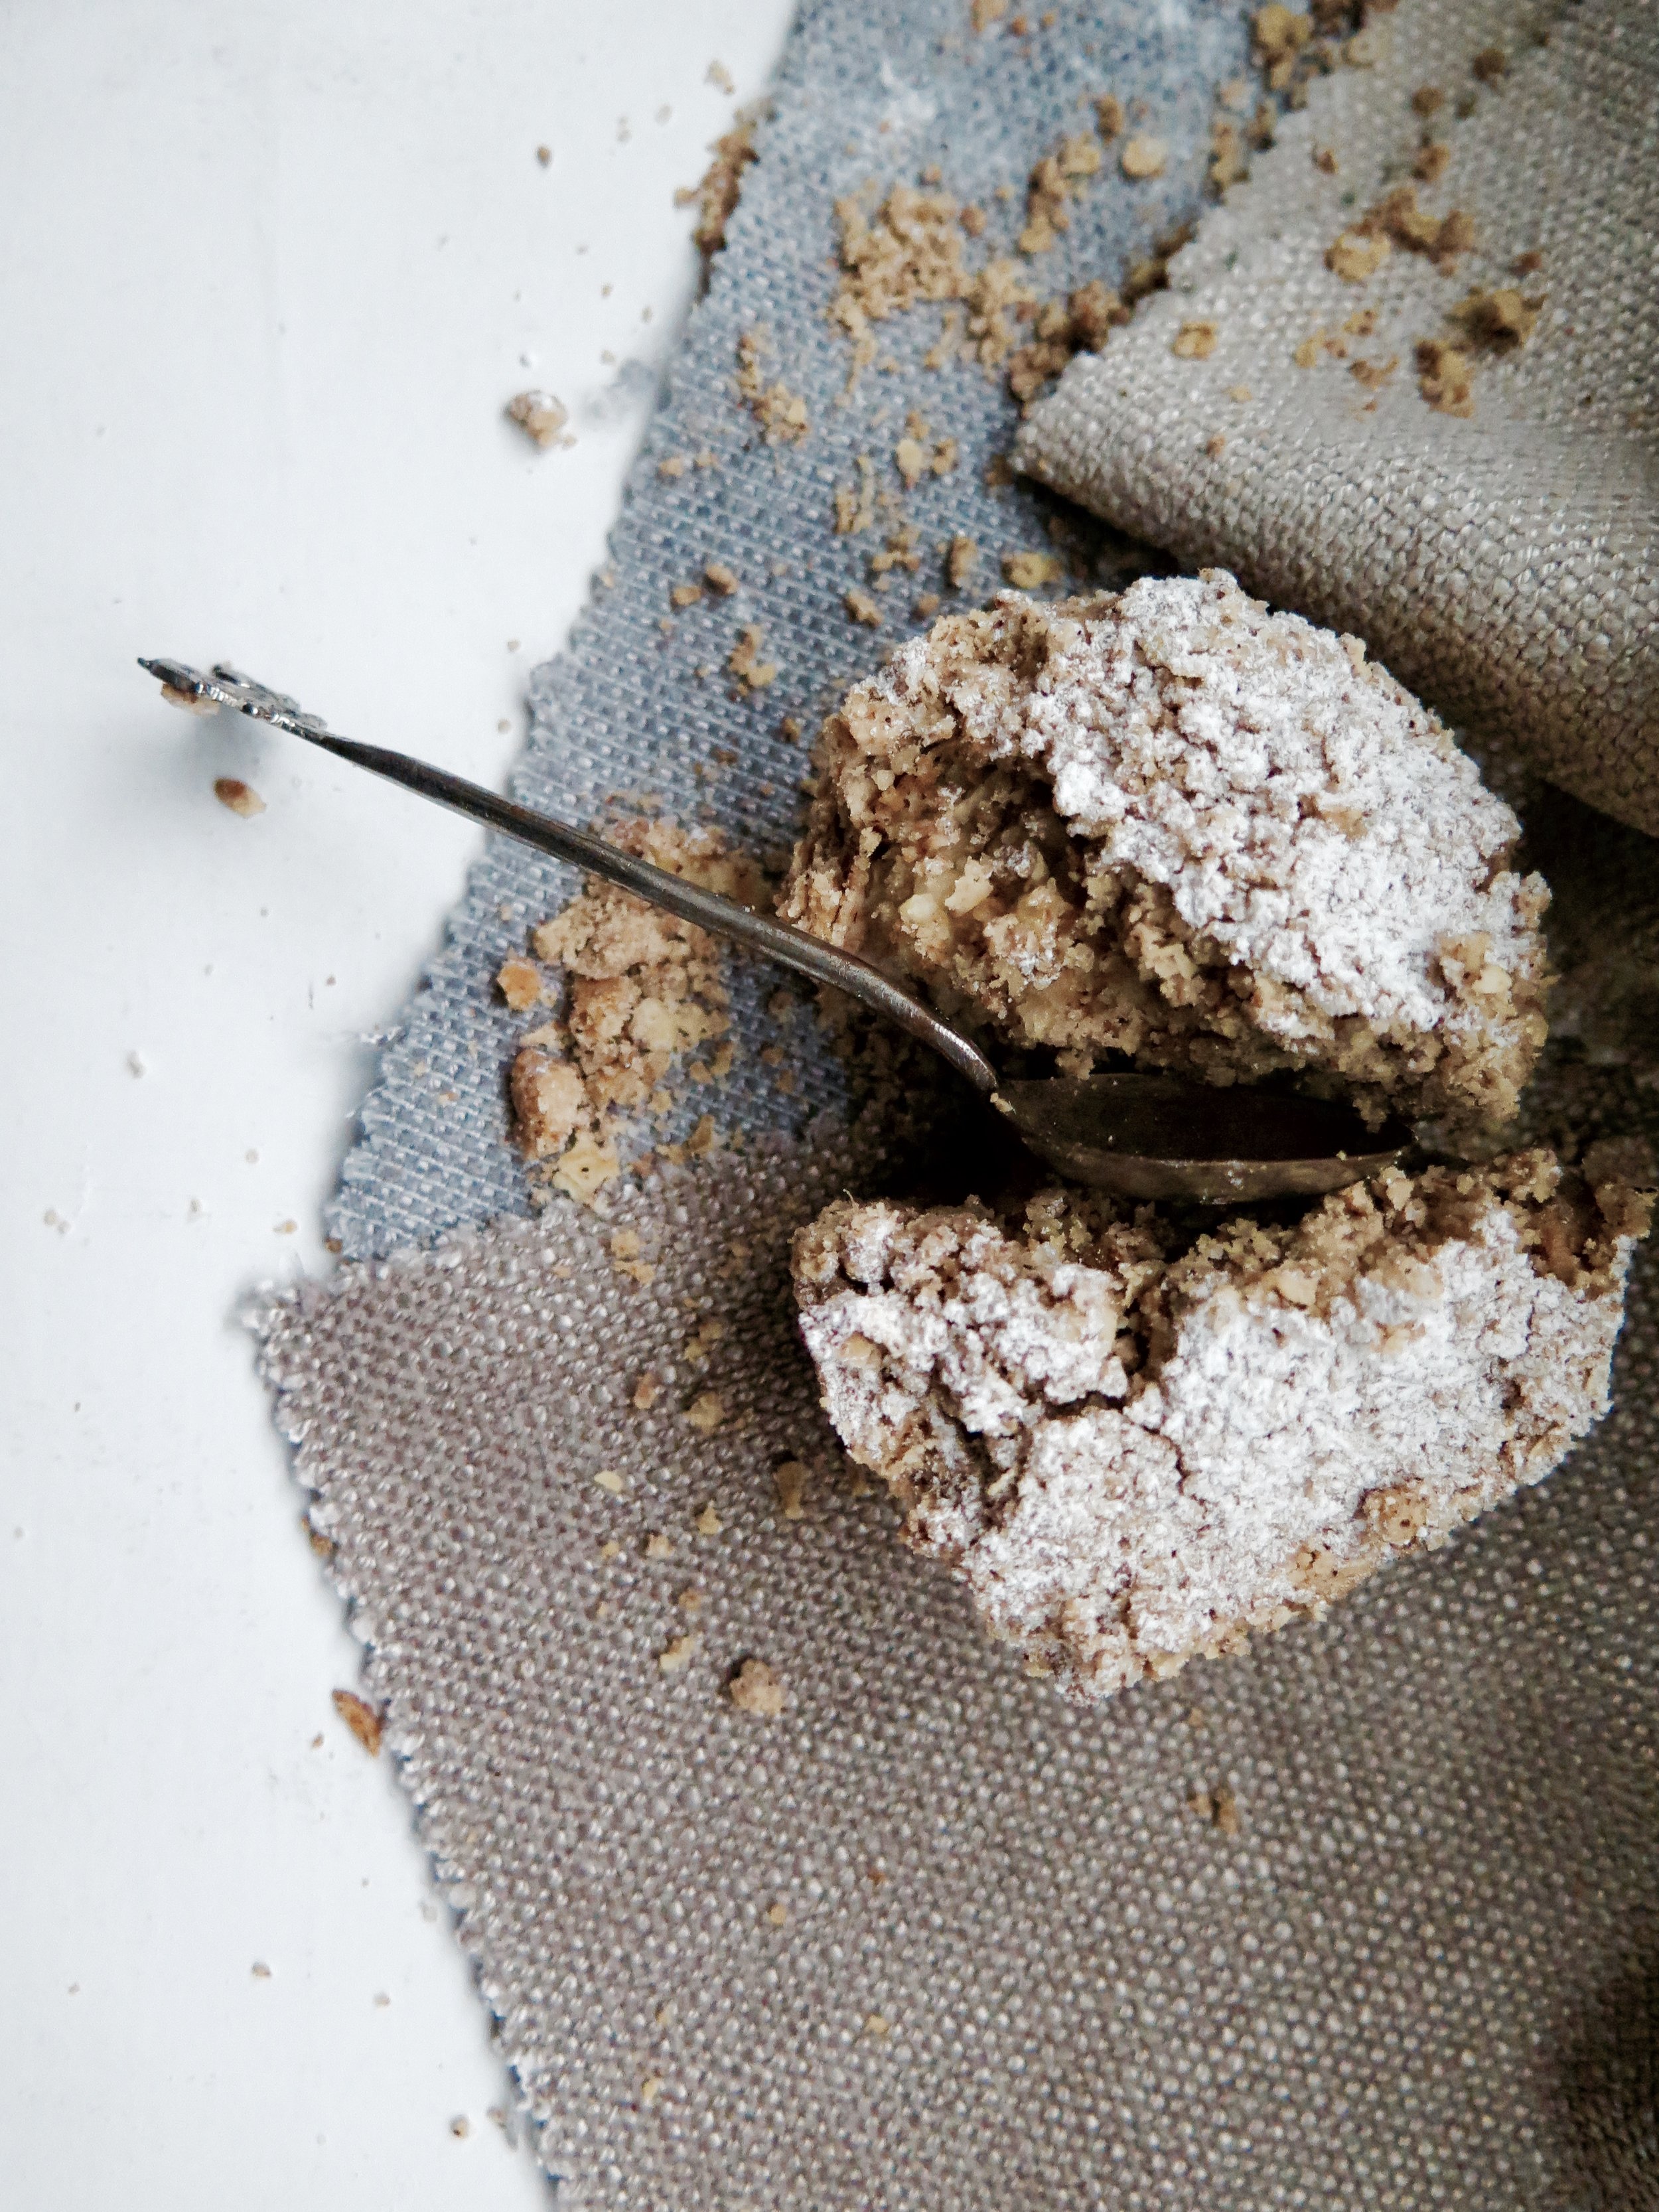
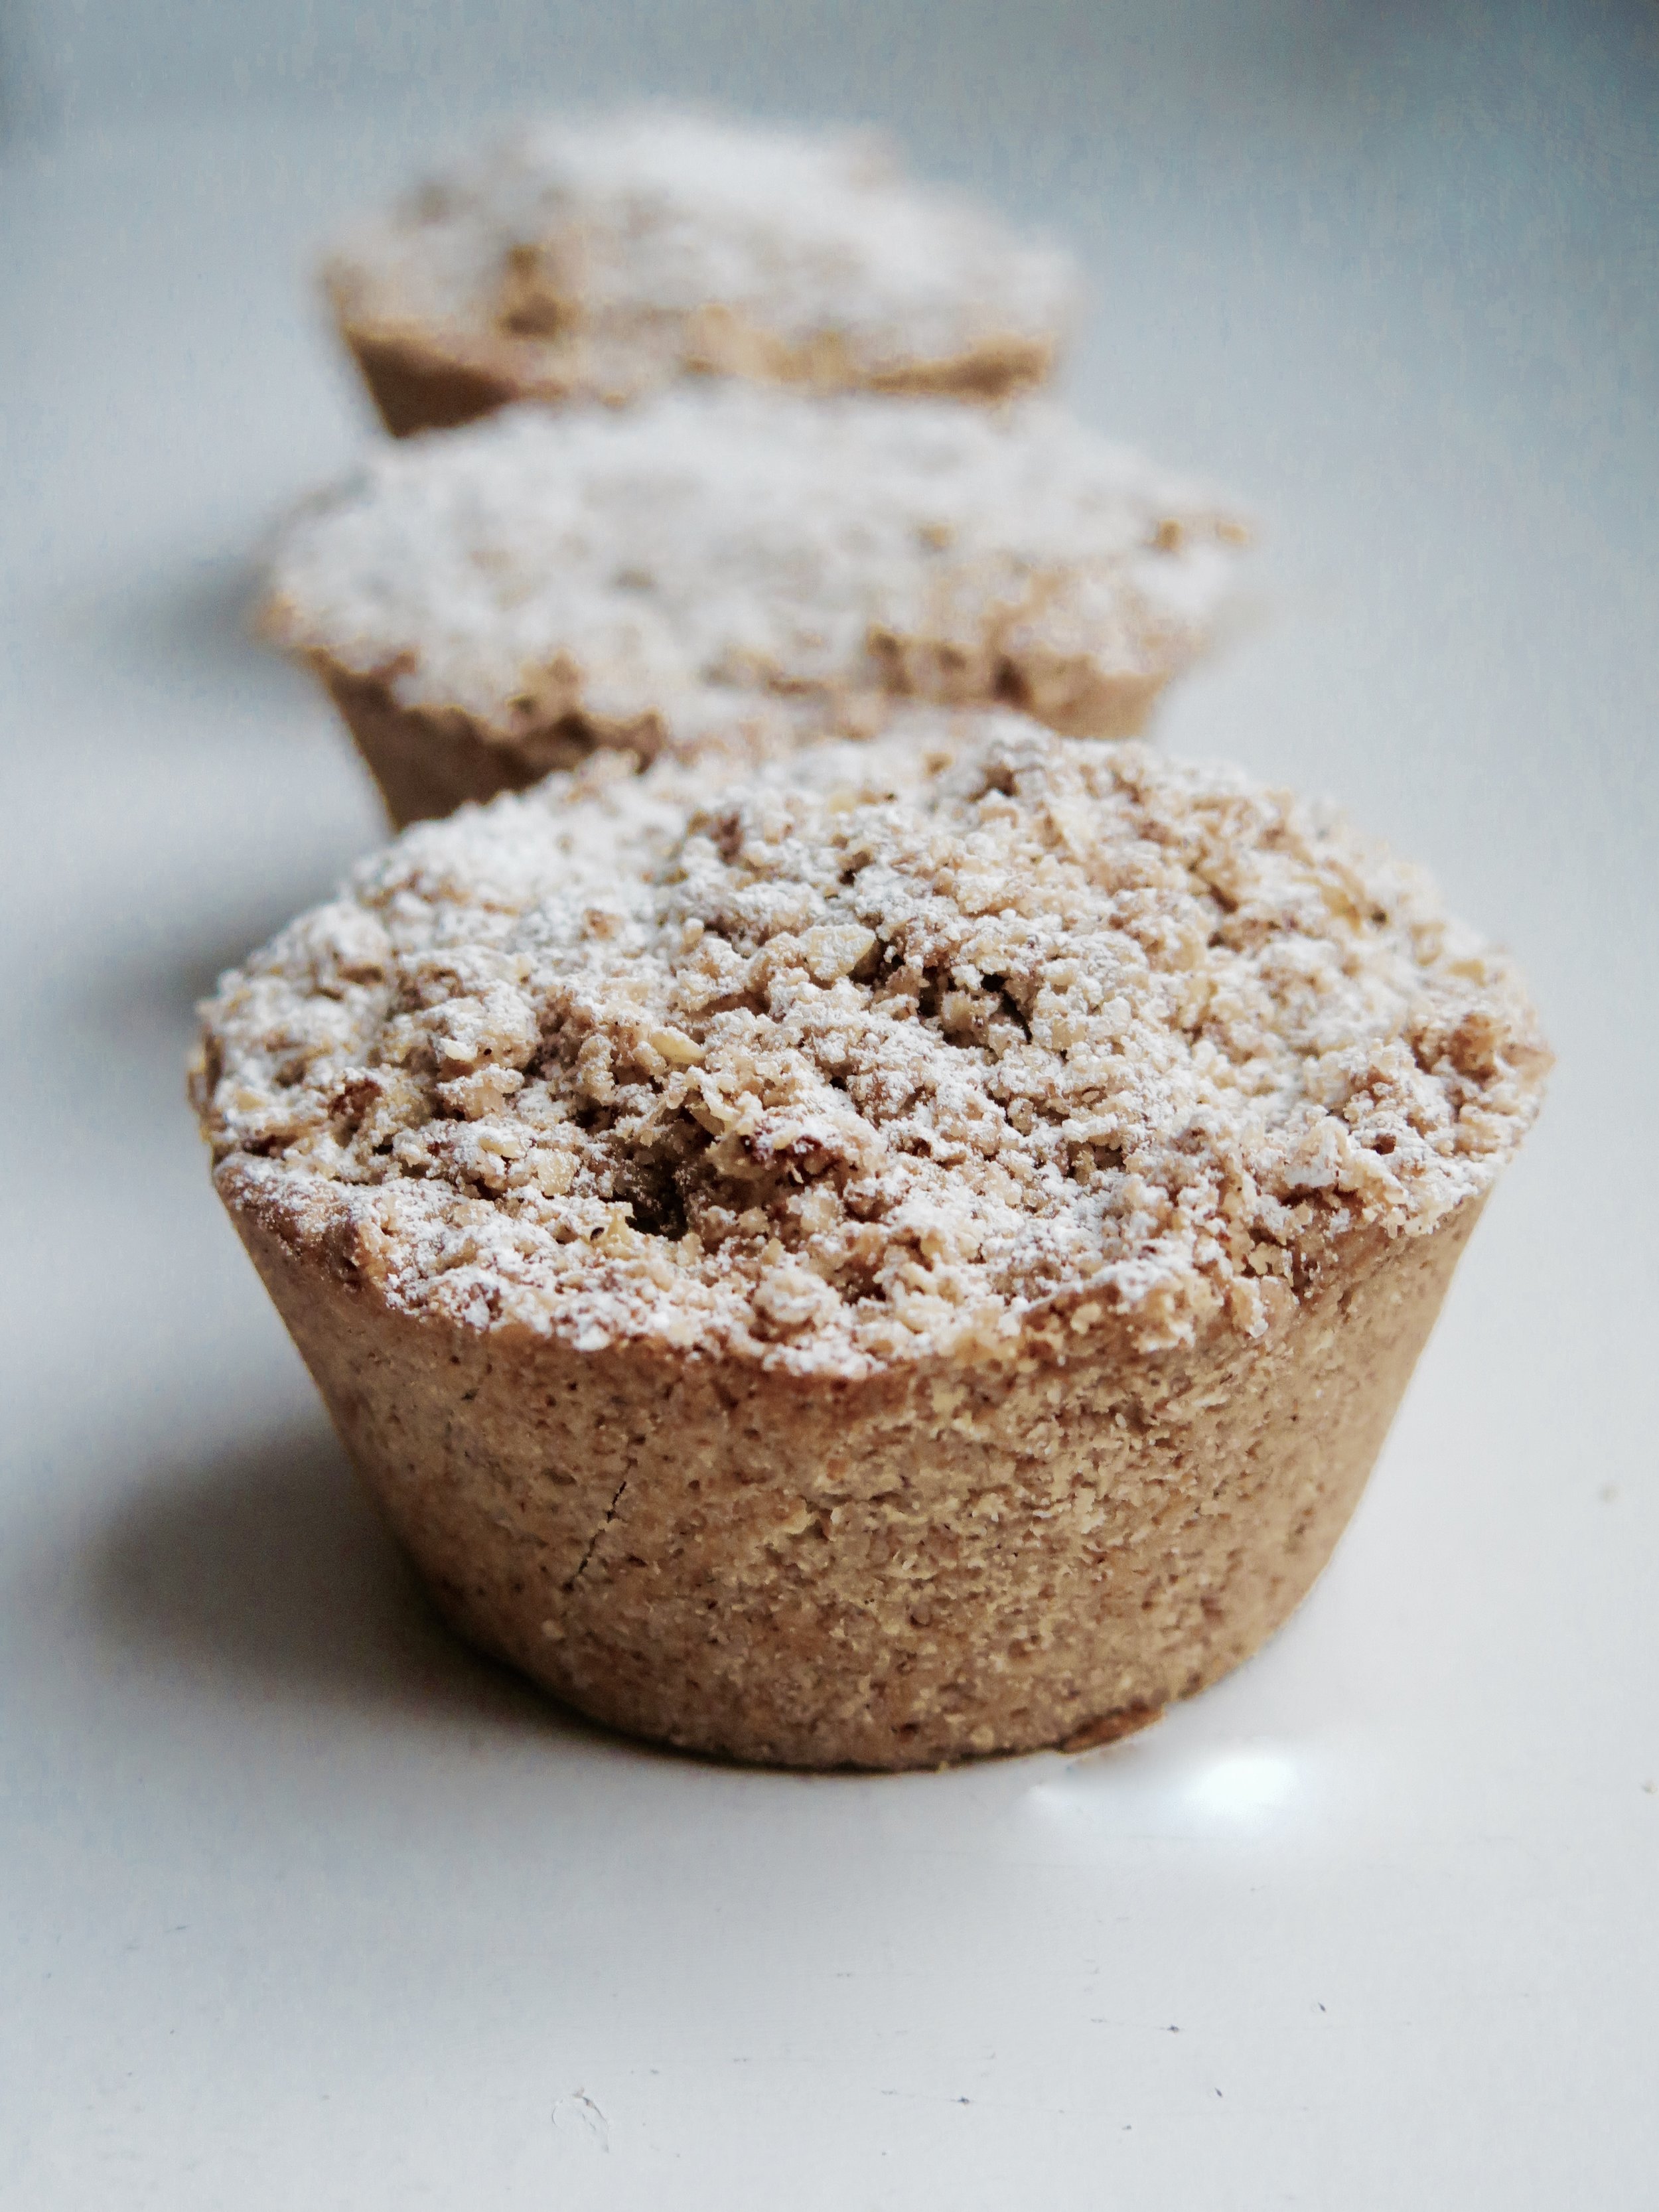
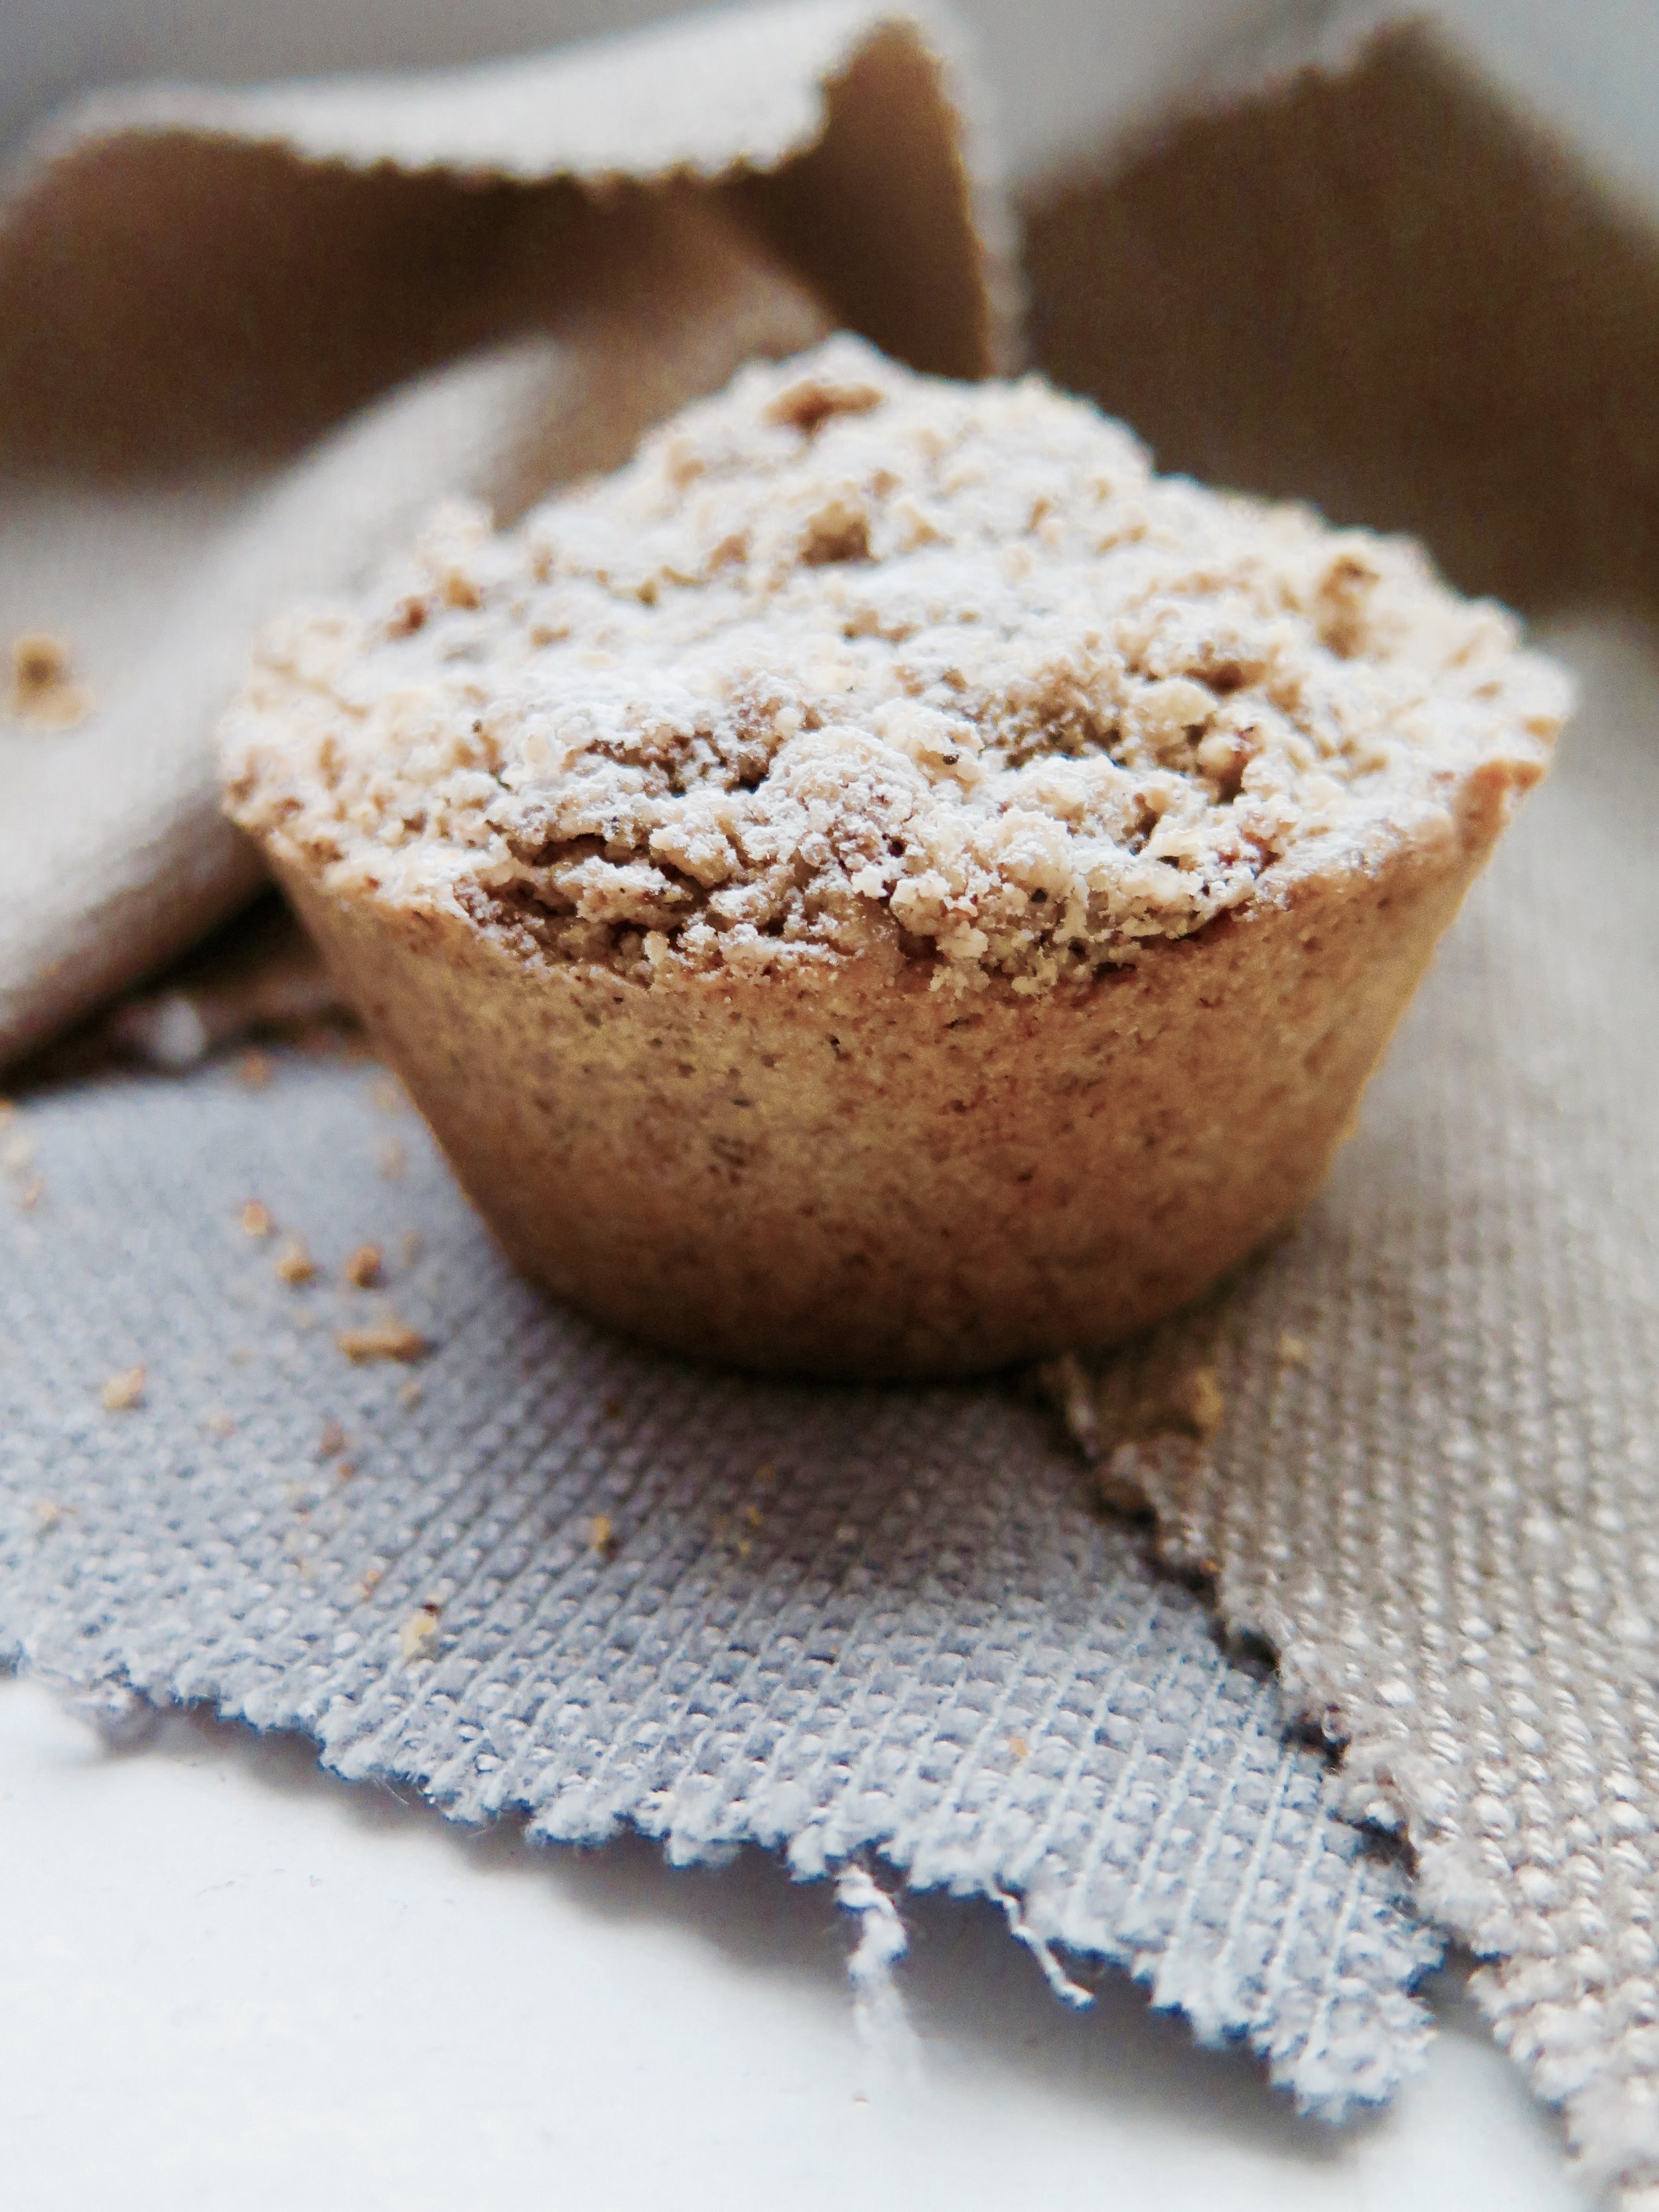
I bought the Gail’s Artisan Bakery Cookbook a few months ago in the hope that they had divulged the secret of their signature apple crumble cake. They hadn’t.

Cinnamon Apple Crumble PiesCinnamon Apple Crumble Pies

As a result I’ve just had to develop my own recipe – more wholesome, with more cinnamon and less sugar, I’ve heard they may even be superior…

IMG_8388

Cinnamon Apple Crumble Pies

Cinnamon Apple Crumble Pies

Cinnamon Apple Crumble Pies


Ingredients

(Makes 15)

Pastry

320g (11.3 oz) wholegrain spelt flour

110g (3.9oz) icing sugar

2 tsp cinnamon

½ tsp salt

165g (5.8oz) butter, roughly chopped into cubes

1 large egg, beaten

Apple Filling

700 (1lb 5oz) grams of peeled, cored and coarsely grated Bramley apples (about 3 large apples)

70g (2.5oz) caster sugar

Crumble topping

80g (2.8oz) wholegrain spelt flour

45g (1.6oz) oats

45g (1.6oz) caster sugar

50g (1.7oz)  butter

2 tsp cinnamon

¼ tsp salt

15 hole muffin/cupcake tin, greased (usually they come in 12s, in which case you will need 2 x muffin trays


Method

Pastry

  1. In a blender, blitz together dry ingredients. Then add in the butter and pulse until the mixture resembles damp sand. Pour in the egg and continue to pulse until the mixture clumps together into a dough. Avoid mixing it more than necessary.
  2. Flatten the dough roughly into a disc and wrap in cling film or baking parchment. Chill in the freezer while you make the other elements.

Apple Filling

  • Place all ingredients in a pan and stir over a high heat for about 5 minutes until the apple turns soft but some texture still remains.  Strain the mixture using a sieve, pressing down to get rid of excess liquid (about 250ml, which incidentally tastes like a delicious mulled cider).  Set aside to cool.

Crumble

  • Place all ingredients in a blender and pulse until the mixture resembles damp sand.

Assembly

  1. Preheat an oven to 180˚C.
  2. On a floured surface, roll out the chilled pasty to a thickness of 0.5cm. Cut the pastry into circles with an area similar to that of the muffin tin holes (about 8-10cm), and press each circle in the holes. You may need to patchwork the pieces together.
  3. Prick the pastry lining the muffin holes with a fork, and bake in the oven for 8-10 minutes, or cooked through and beginning to golden slightly.
  4. Take the tin out of the oven and spoon 2tbsp of the cooked apple into each pastry shells. Top the cakes by spooning a few tablespoons of the crumb topping over each cake, patting it down and then sprinkling the rest of the mixture over.  I like to clump some of it together before scattering it over in order to add further texture and rustic appeal.
  5. Bake in the oven for 8-10 minutes until the crumble topping is golden and crisp. Serve hot or cold.

Cinnamon Apple Crumble Pies

Comment

Passion Fruit & Coconut Truffles

Comment

Passion Fruit & Coconut Truffles

IMG_4223.jpg

Passion Fruit & Coconut Double Chocolate Truffles IMG_4217

My household has recently been beset by a typical problem. My mom rather enjoys pressing the "+”button when ordering from Ocado.  Whereas last week this resulted in a glut of cherries, this week it was passion fruit.   Even after days of bisecting the plum-coloured orbs and slurping up the tangy yellow spawn (sans spoon, and only in the most ladylike way, obviously), the supply remained steady.

IMG_4163

IMG_4135

IMG_4237Clearly, truffles were the solution.  Most truffle recipes create a molten ganache centre by simply combining melted chocolate with the flavour/ingredient of choice and a dribble of cream.  Easy?  Perhaps.  Zero depth of flavour? Indeed.  I make a caramel base to add a darker, nuttier complexity.

IMG_4215

This is poured over the dark chocolate to melt it, and the golden toasted coconut is then swirled in with the fresh and tangy passion fruit juice.

IMG_4126

I recommend using good quality dark chocolate – the results are worth it.  The tangy molten ganache is then frozen, later to be formed into spheres.  These are encased in a crisp white chocolate and coconut shell to add a touch of sweetness and contrast of textures.

IMG_4225

The name “passion fruit” does not, as you might assume, come from any aphrodisiac qualities of the fruit.  Rather, it comes from the shape of flower which resembles a crown like that that of thorns around Jesus’ head – thus, passion derives from the "passion of Christ”.  Indeed, these truffles are rather ambrosial – you could even say that eating them is a religious experience.

IMG_4219

IMG_4157


Ingredients (makes 50 - halve if strapped for time)

For the Ganache

150g 70% dark chocolate (good quality)

150g caster sugar

150g double cream

10g unsalted butter

10g light brown muscovado sugar

½ tsp salt

70g desiccated coconut

8 passion fruits, sieved to extract about 90ml of juice.

100g icing sugar, sifted


Large tray lined with baking parchment


For the shell

500g white chocolate

200g desiccated coconut

Pair of surgical gloves (optional)

  1. Chop the dark chocolate roughly, and set it aside in a large heatproof mixing bowl.
  2. To toast the coconut (70g), place a medium frying pan over a medium-high heat, pour the coconut in and stir continuously for 5 -8 minutes until the coconut turns a light golden colour. Add this to the dark chocolate.
  3. Place the caster sugar in saucepan over medium high heat, and when it starts to melt, stir gently with a spatula to avoid the sugar burning around the edges. Push unmelted sugar into the already caramelised sugar to aid the caramelising process.
  4. Once the sugar has turned a rich, dark gold colour, while still on the heat, pour in the cream, whisking all the time. If clumps form, don’t panic: keep whisking over medium low heat, and they will eventually melt.
  5. Once the lumps have dissolved, whisk in the muscovado sugar, butter, vanilla and salt and stir the bubbling mixture on a medium heat for another 2 minutes.
  6. Pour the hot mixture into the bowl of chopped dark chocolate and coconut and stir immediately until all the chocolate has melted and the caramel and chocolate are fully combined. Pour the passion fruit juice into the mixture, and stir to combine fully. Pour this into a shallow tray, and place in the freezer for an hour to set slightly.
  7. Once it has become slightly more solid, remove the tray of mixture from the freezer. Use a teaspoon to scoop out dollops, and roll each between the palms of your hands to form 2cm diameter spheres. Roll the spheres in the icing sugar to coat them finely, and then place them on a baking tray with space around each sphere to avoid their sticking together. Once all the mixture has been rolled into spheres, place the baking tray in the freezer for half an hour or until the spheres are firm and cold to touch. You may need to do this in batches as the ganache mixture melts very quickly.
  8. Break half the white chocolate (250g) into pieces and place in a bone-dry, heatproof bowl (any drop of water will make the chocolate seize). Place the bowl over a pot of boiling water (without the boiling water touching the base of the heatproof bowl), and stir occasionally until the chocolate is melted.
  9. Remove the dark chocolate spheres from the freezer, and one at a time, skewer with a toothpick and coat by spooning the melted white chocolate over each frozen chocolate sphere. Remove the skewer, replace the coated truffle on the baking tray, and replace in the freezer for 10 minutes for the first layer to set.

Melt the rest of the white chocolate (using the same method as before), and place the desiccated coconut (200g) in a bowl. Remove the truffles from the freezer. If you don’t want to get too messy, wear surgical gloves to do this stage. With one hand, roll the truffle in the melted white chocolate. Then, drop it into the coconut and with your other hand roll it to coat it. Once the batch is complete, place back in the freezer for a minimum 10 minutes to set.

IMG_4216


Comment

Double Chocolate Salted Caramel Tart

5 Comments

Double Chocolate Salted Caramel Tart

IMG_3775.jpg

I never caught on to the Disney hype – I endured a few of the films when I was younger but was never enthralled by its saccharine princesses and unrealistic princes. I rejected the dressing up stage of childhood, and have none of the nostalgia that is awakened in many when hearing or singing the songs.  My only knowledge of Lion King is from Cindies (arguably the stickiest night club in Cambridge) which is played for 30 seconds without fail every Wednesday evening to excite the Disney addicts and to jolt inebriated students out of their drunken kisses.

What I did love was the sugar-glazed brutality of the original Charlie and the Chocolate Factory film.

I adored the Chocolate Room, and my six year old self spent a lot of time fantasising about edible wallpaper and edible TV adverts. However, the first scene, where Augustus Gloop falls into the ‘chocolate’ river, is almost too painful to watch.

It was concocted using 150,000 gallons of water, real chocolate and real ice cream, yet despite its authenticity, its watery thinness is more the stuff of sewers than of dreams.

If I were going to bathe in chocolate it would need to be velvety, glossy and thick… and after 15 years of dwelling on this I’ve come to terms with the fact that this tart is probably the closest I will get to doing that.

Double Chocolate Salted Caramel Tart

Ingredients

Chocolate pastry

225g plain flour

30g cocoa

150g unsalted butter, chopped into cubes

110g white caster sugar

3 egg yolks

¼ tsp salt

1 tsp vanilla extract

1 tbsp ice water

baking beads/uncooked rice/dry beans

4 fresh figs, halved (optional)

12 x 36cm tart tin, greased and dusted with flour

Salted caramel chocolate ganache

300g 70% good quality dark chocolate

300g white caster sugar

300ml double cream

20g light brown muscovado sugar

20g butter

1tsp vanilla extract

1 tsp salt

Pastry Method

  1. Preheat the oven to 200˚C
  2. Blitz all the ingredients in a blender. Pulse until into turns into a damp sand texture. Tip out on to a surface and press it so that it clumps together into dough.   Wrap the dough in baking parchment and put it in the fridge for an hour, or in the freezer for 15 minutes.
  3. Dust a surface with flour and roll the pastry out in a rectangle to a thickness of 0.5cm. Any excess can be frozen and used within 2 months. Transfer the pastry to the greased and floured tin to line it. Don’t panic if it crumbles in the transition, just patchwork it together in the tin. Place a sheet of baking parchment or tin foil over the pastry, and fill it with the baking beads to weigh it down to prevent the pastry from shrinking as it cooks.
  4. Place it in the oven to bake for 10 minutes. Remove from the oven and remove the baking parchment and baking beads. Reduce the oven temperature to 150˚C, and place the pastry back in to bake for a further 10-15 minutes until it is fully cooked. Set aside to cool.

Salted Caramel Chocolate Ganache Method

  1. Chop the dark chocolate roughly, and set it aside in a heatproof mixing bowl.
  2. Place the caster sugar in a saucepan over medium high heat and, when it starts to melt, stir gently with a rubber spatula to avoid it burning around the edges. Push any unmelted sugar into the already caramelised sugar to aid the caramelising process.
  3. Once the sugar has turned a rich, dark gold colour, while still on the heat, pour in the cream whisking all the time. If clumps form, don’t panic: keep whisking over medium low heat, and they will eventually melt.
  4. Once the lumps have dissolved, whisk in the muscovado sugar, butter, vanilla and salt, and stir the bubbling mixture on a medium heat for another 2 minutes.
  5. Pour the mixture into the bowl of chopped dark chocolate and stir immediately until all the chocolate has melted and the caramel and chocolate are fully combined.
  6. Pour into the tart shell, smooth the surface over with a palate knife, and place this in the fridge for an hour (or freezer for half an hour) to set. Decorate with sliced figs to serve.
Double Chocolate Salted Caramel Tart

5 Comments