Viewing entries tagged
figs

Virtuous Vegan Date & Peanut Butter Cookies

Comment

Virtuous Vegan Date & Peanut Butter Cookies

fullsizeoutput_d51.jpeg

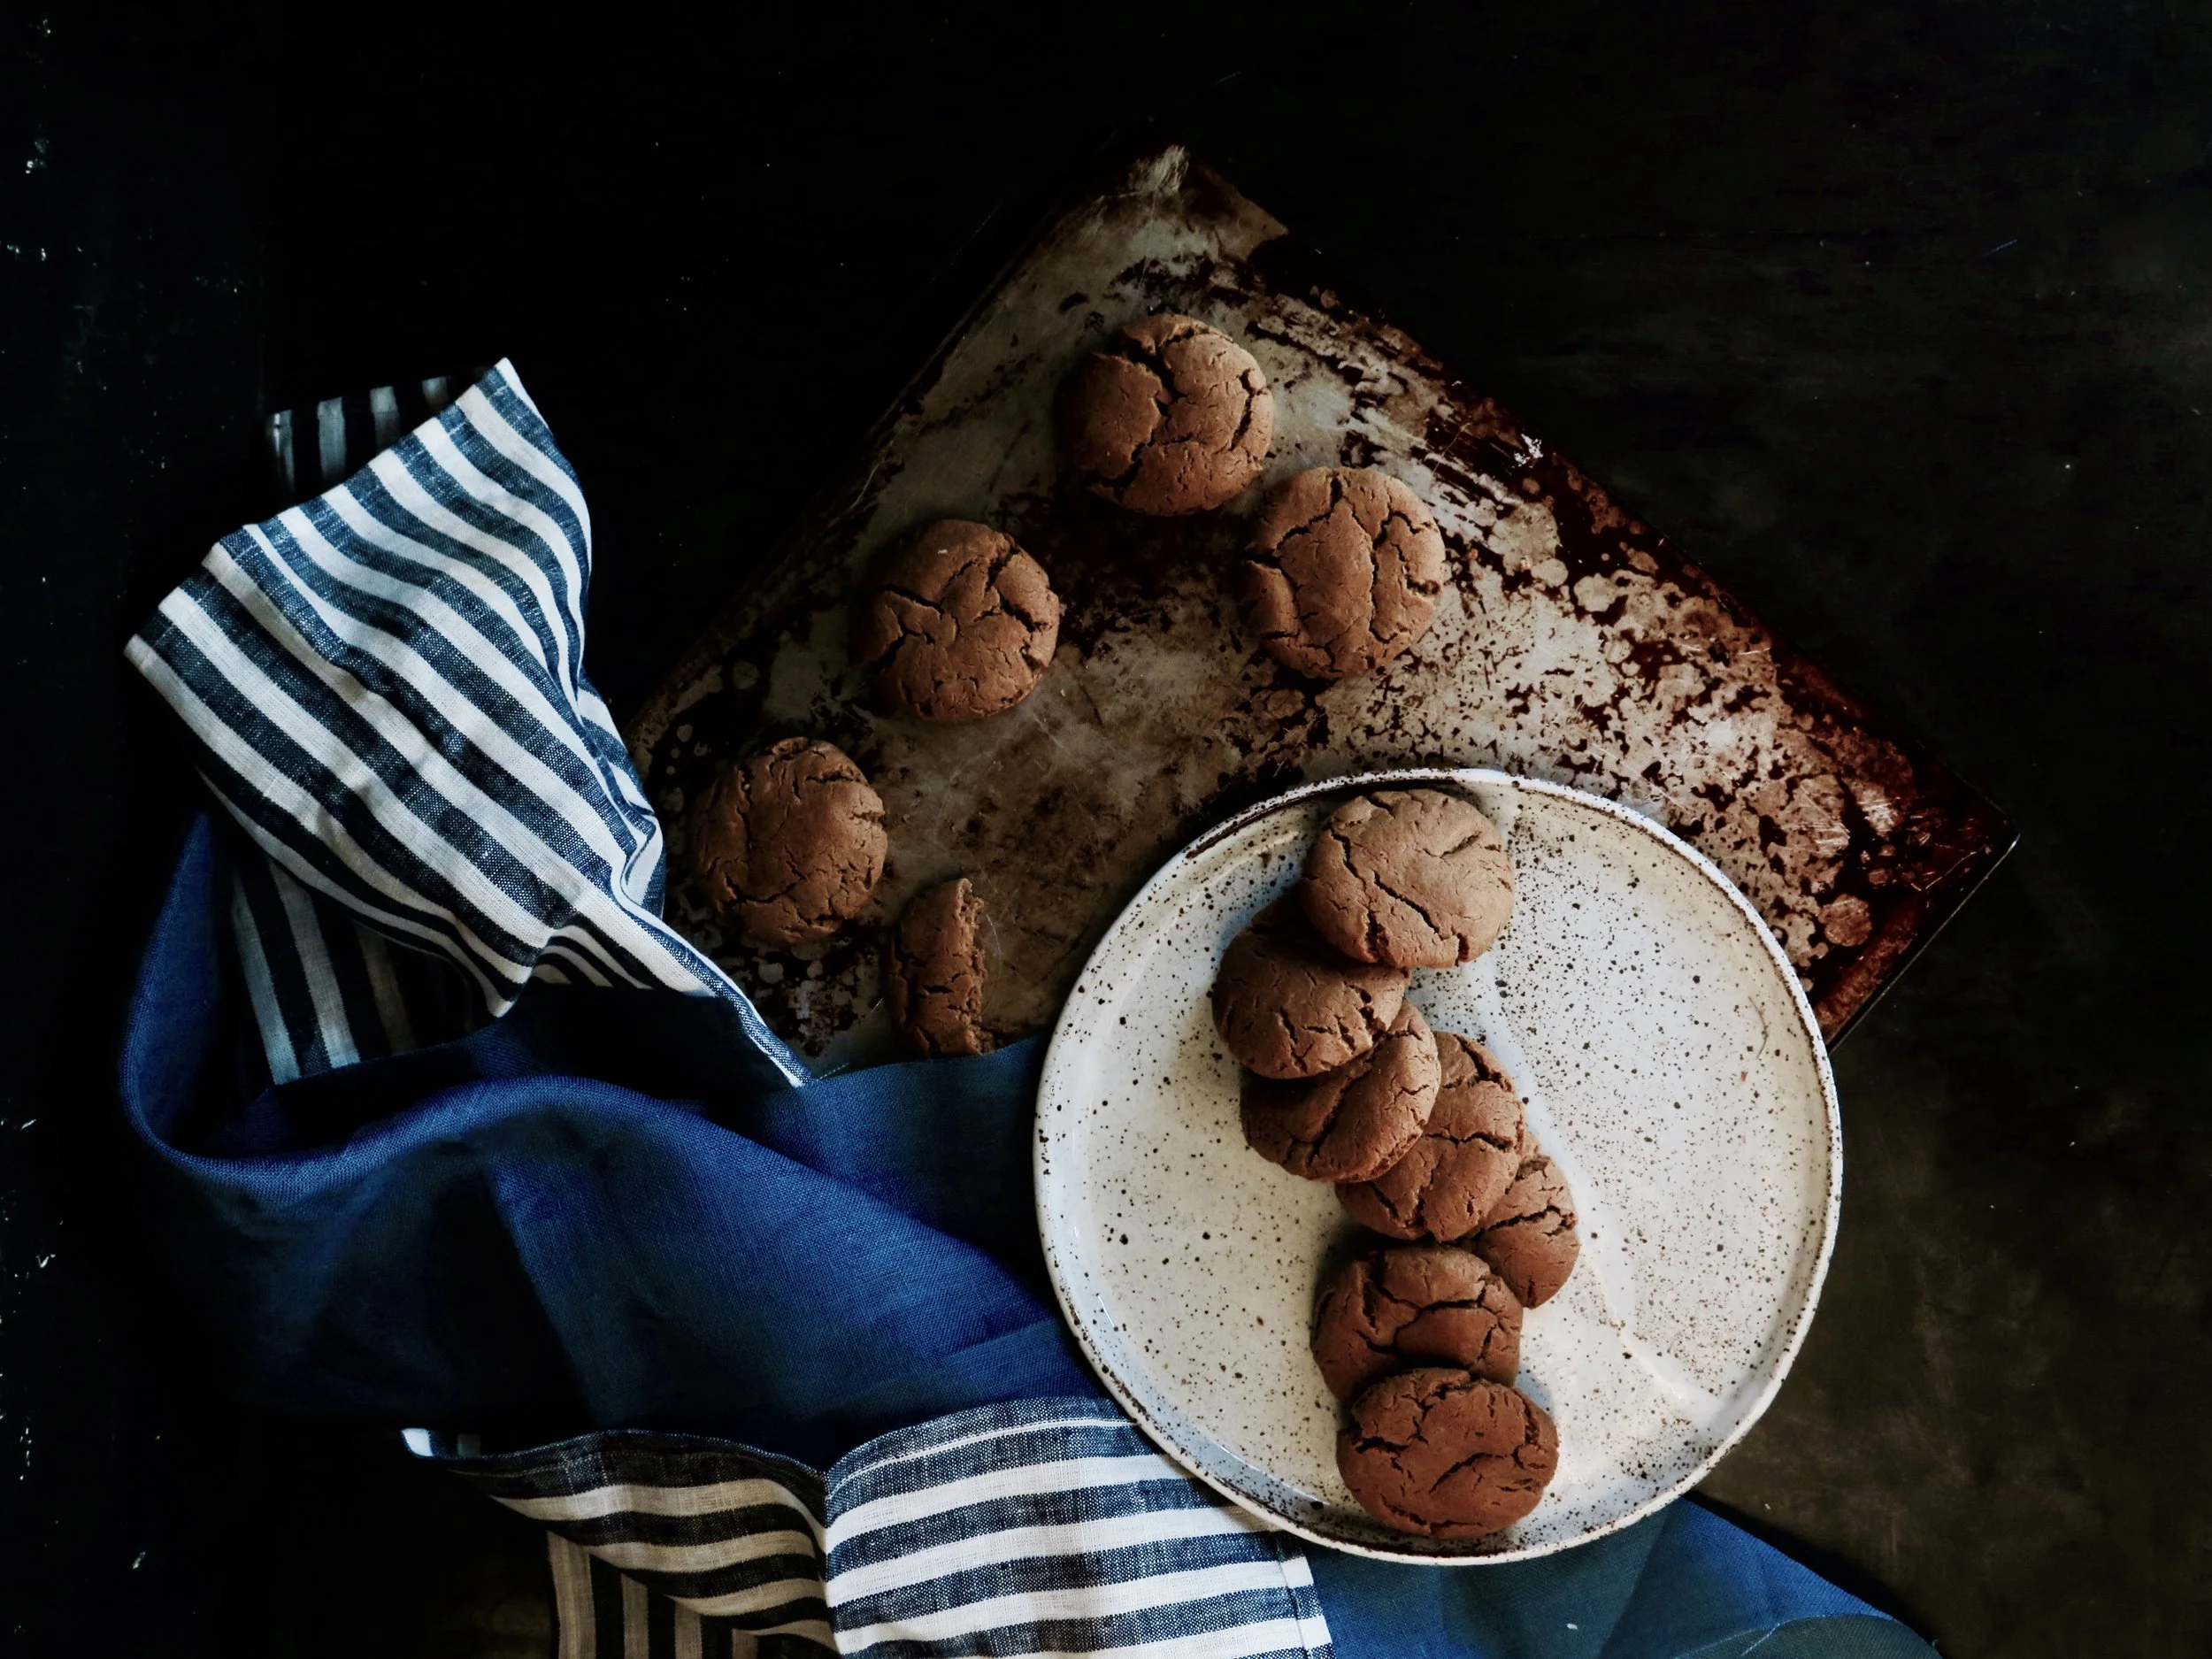
If I told you that a vegan, refined sugar-free, protein-rich, wheat-free, ancient-grain (and if you so desire, gluten-free) cookie existed, you’d think it was the stuff of myth and legend or, alternatively, something so disgusting that it couldn’t be deemed edible.

Well, it does exist.

fullsizeoutput_d69.jpeg
fullsizeoutput_d50.jpeg

After an overindulgent stay in NYC, I made these for my birthday. They aren’t overpoweringly sweet, and they aren’t going to be equivalent to the 500 calories a pop thick, fudgy cookies you see in bakeries. However, they are delicious in their own right, soft and just sweet enough. Plus, being vaguely healthy automatically entitles one to devour 5x the quantity. In fact, for a snack to be officially deemed a source of protein, it needs to contain 6g protein. Well, 3 of these cookies contain just that.

fullsizeoutput_d54.jpeg
fullsizeoutput_d77.jpeg

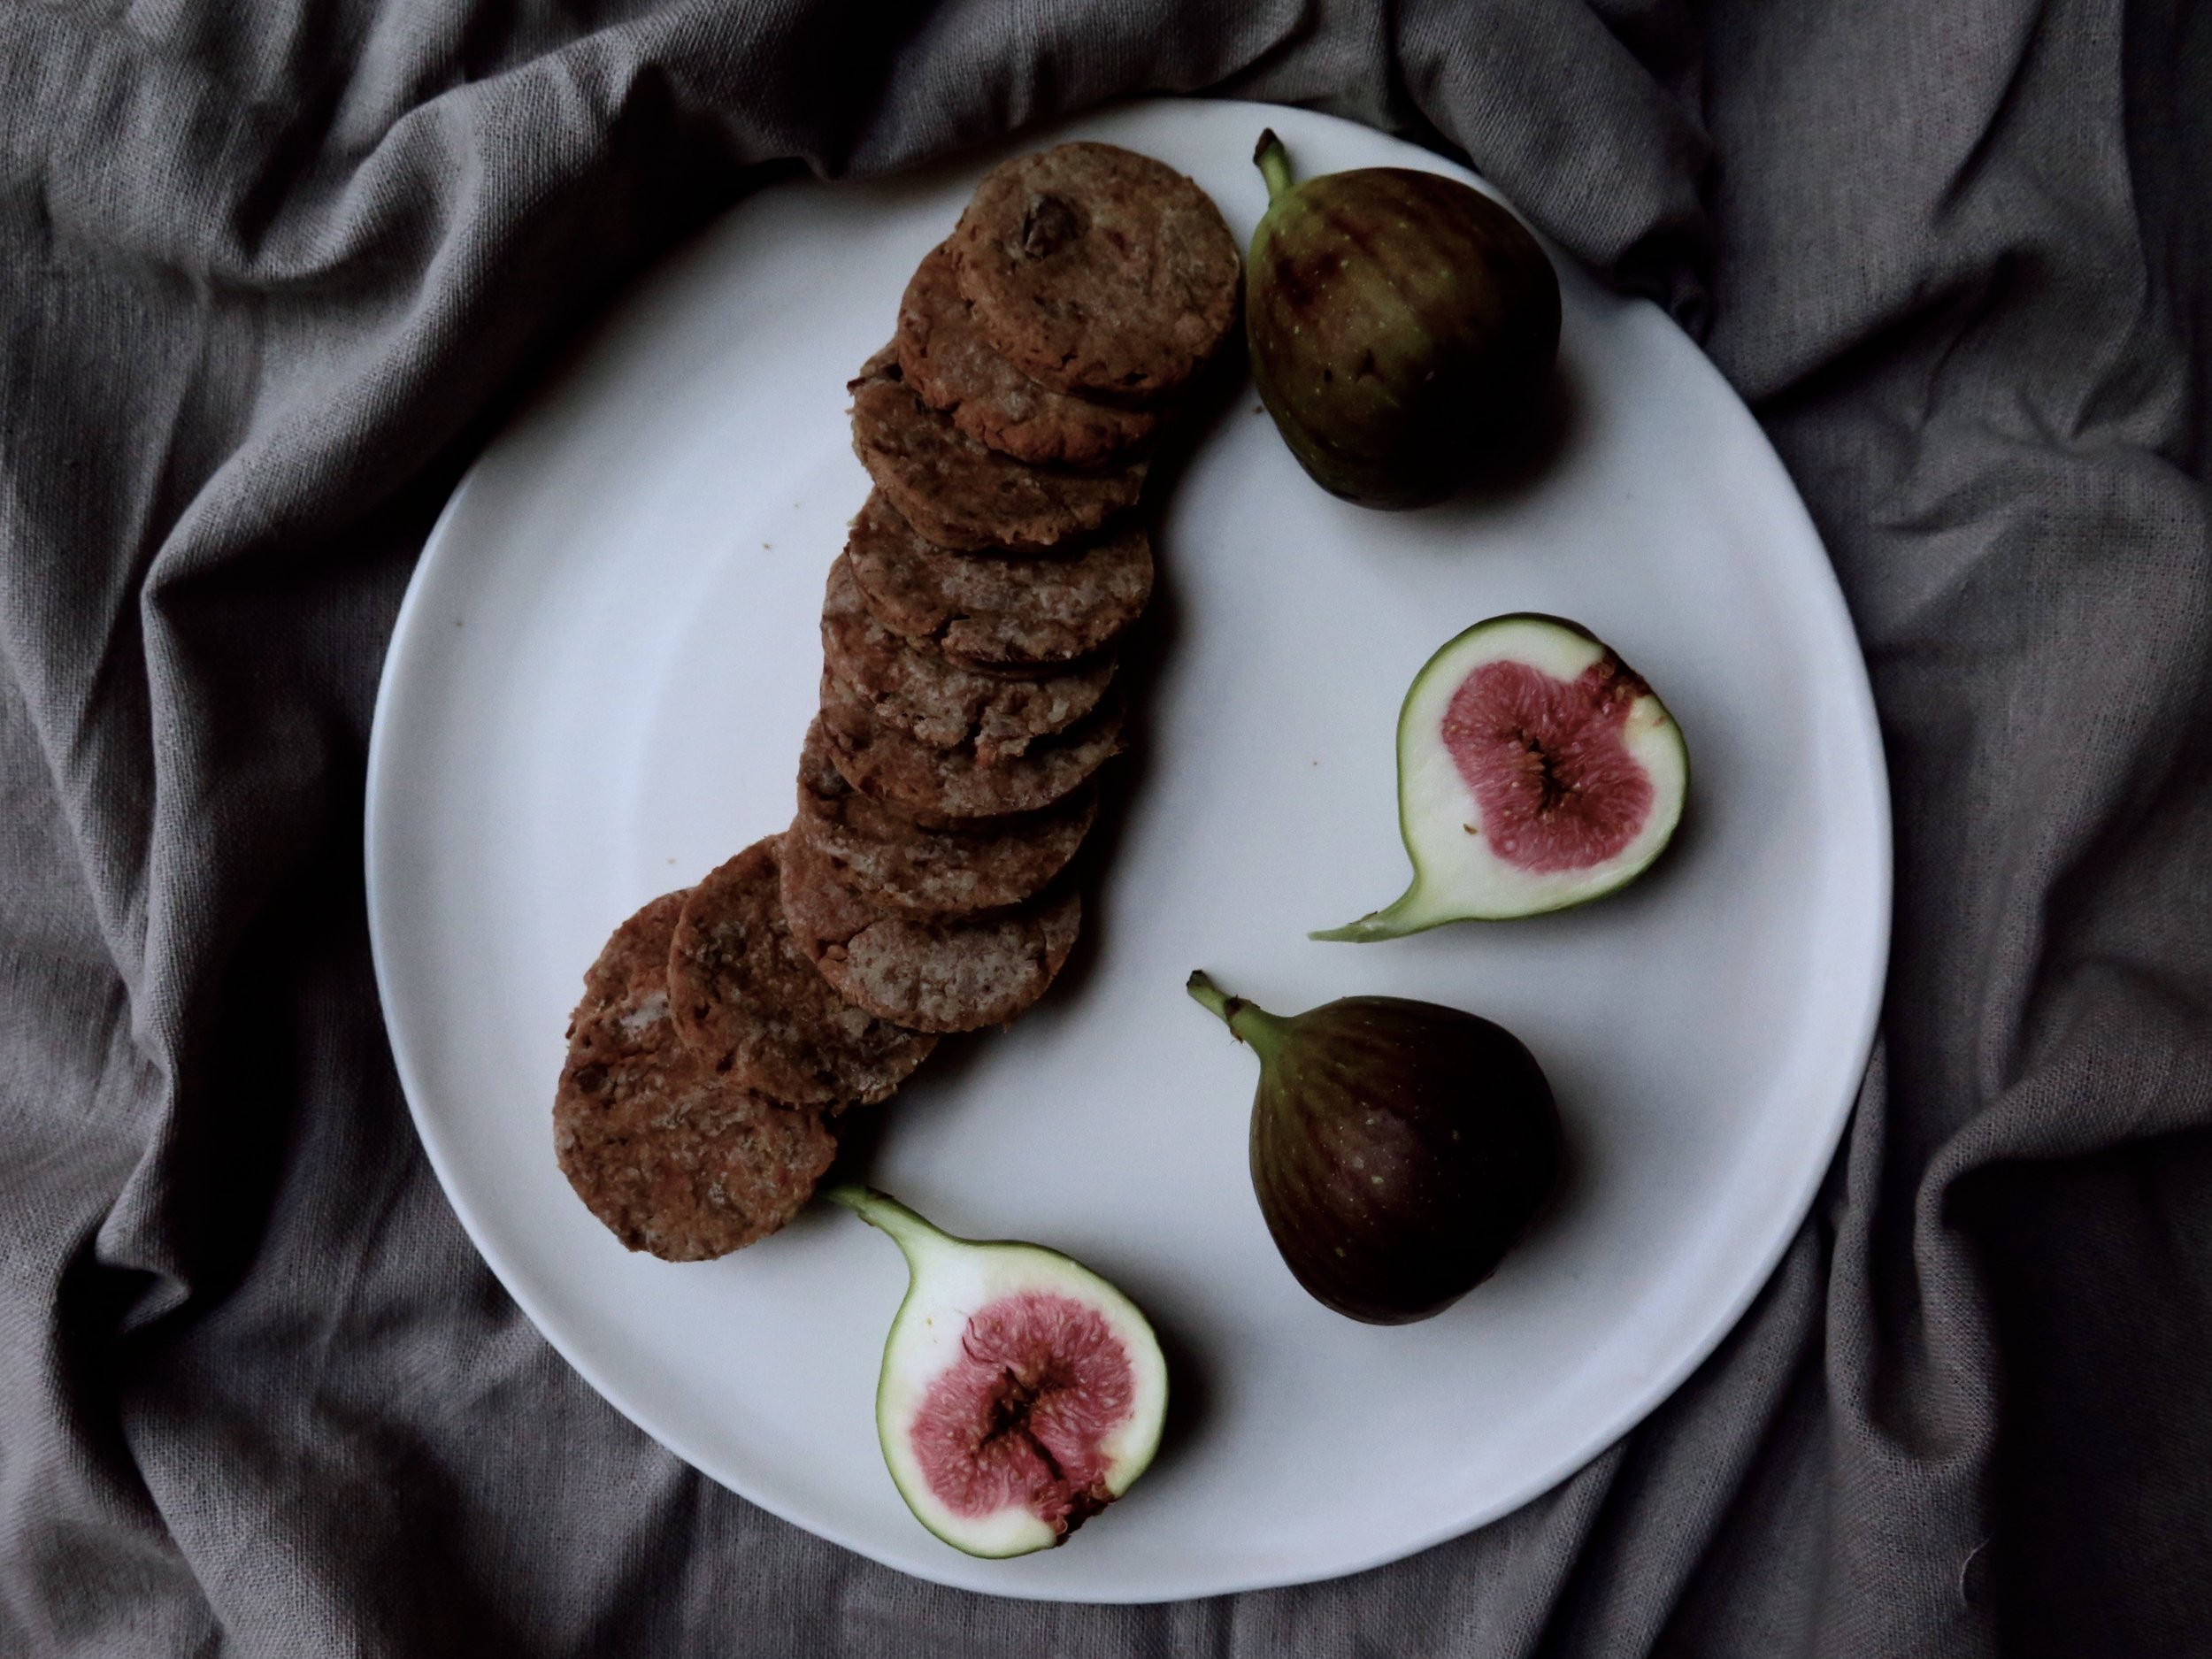
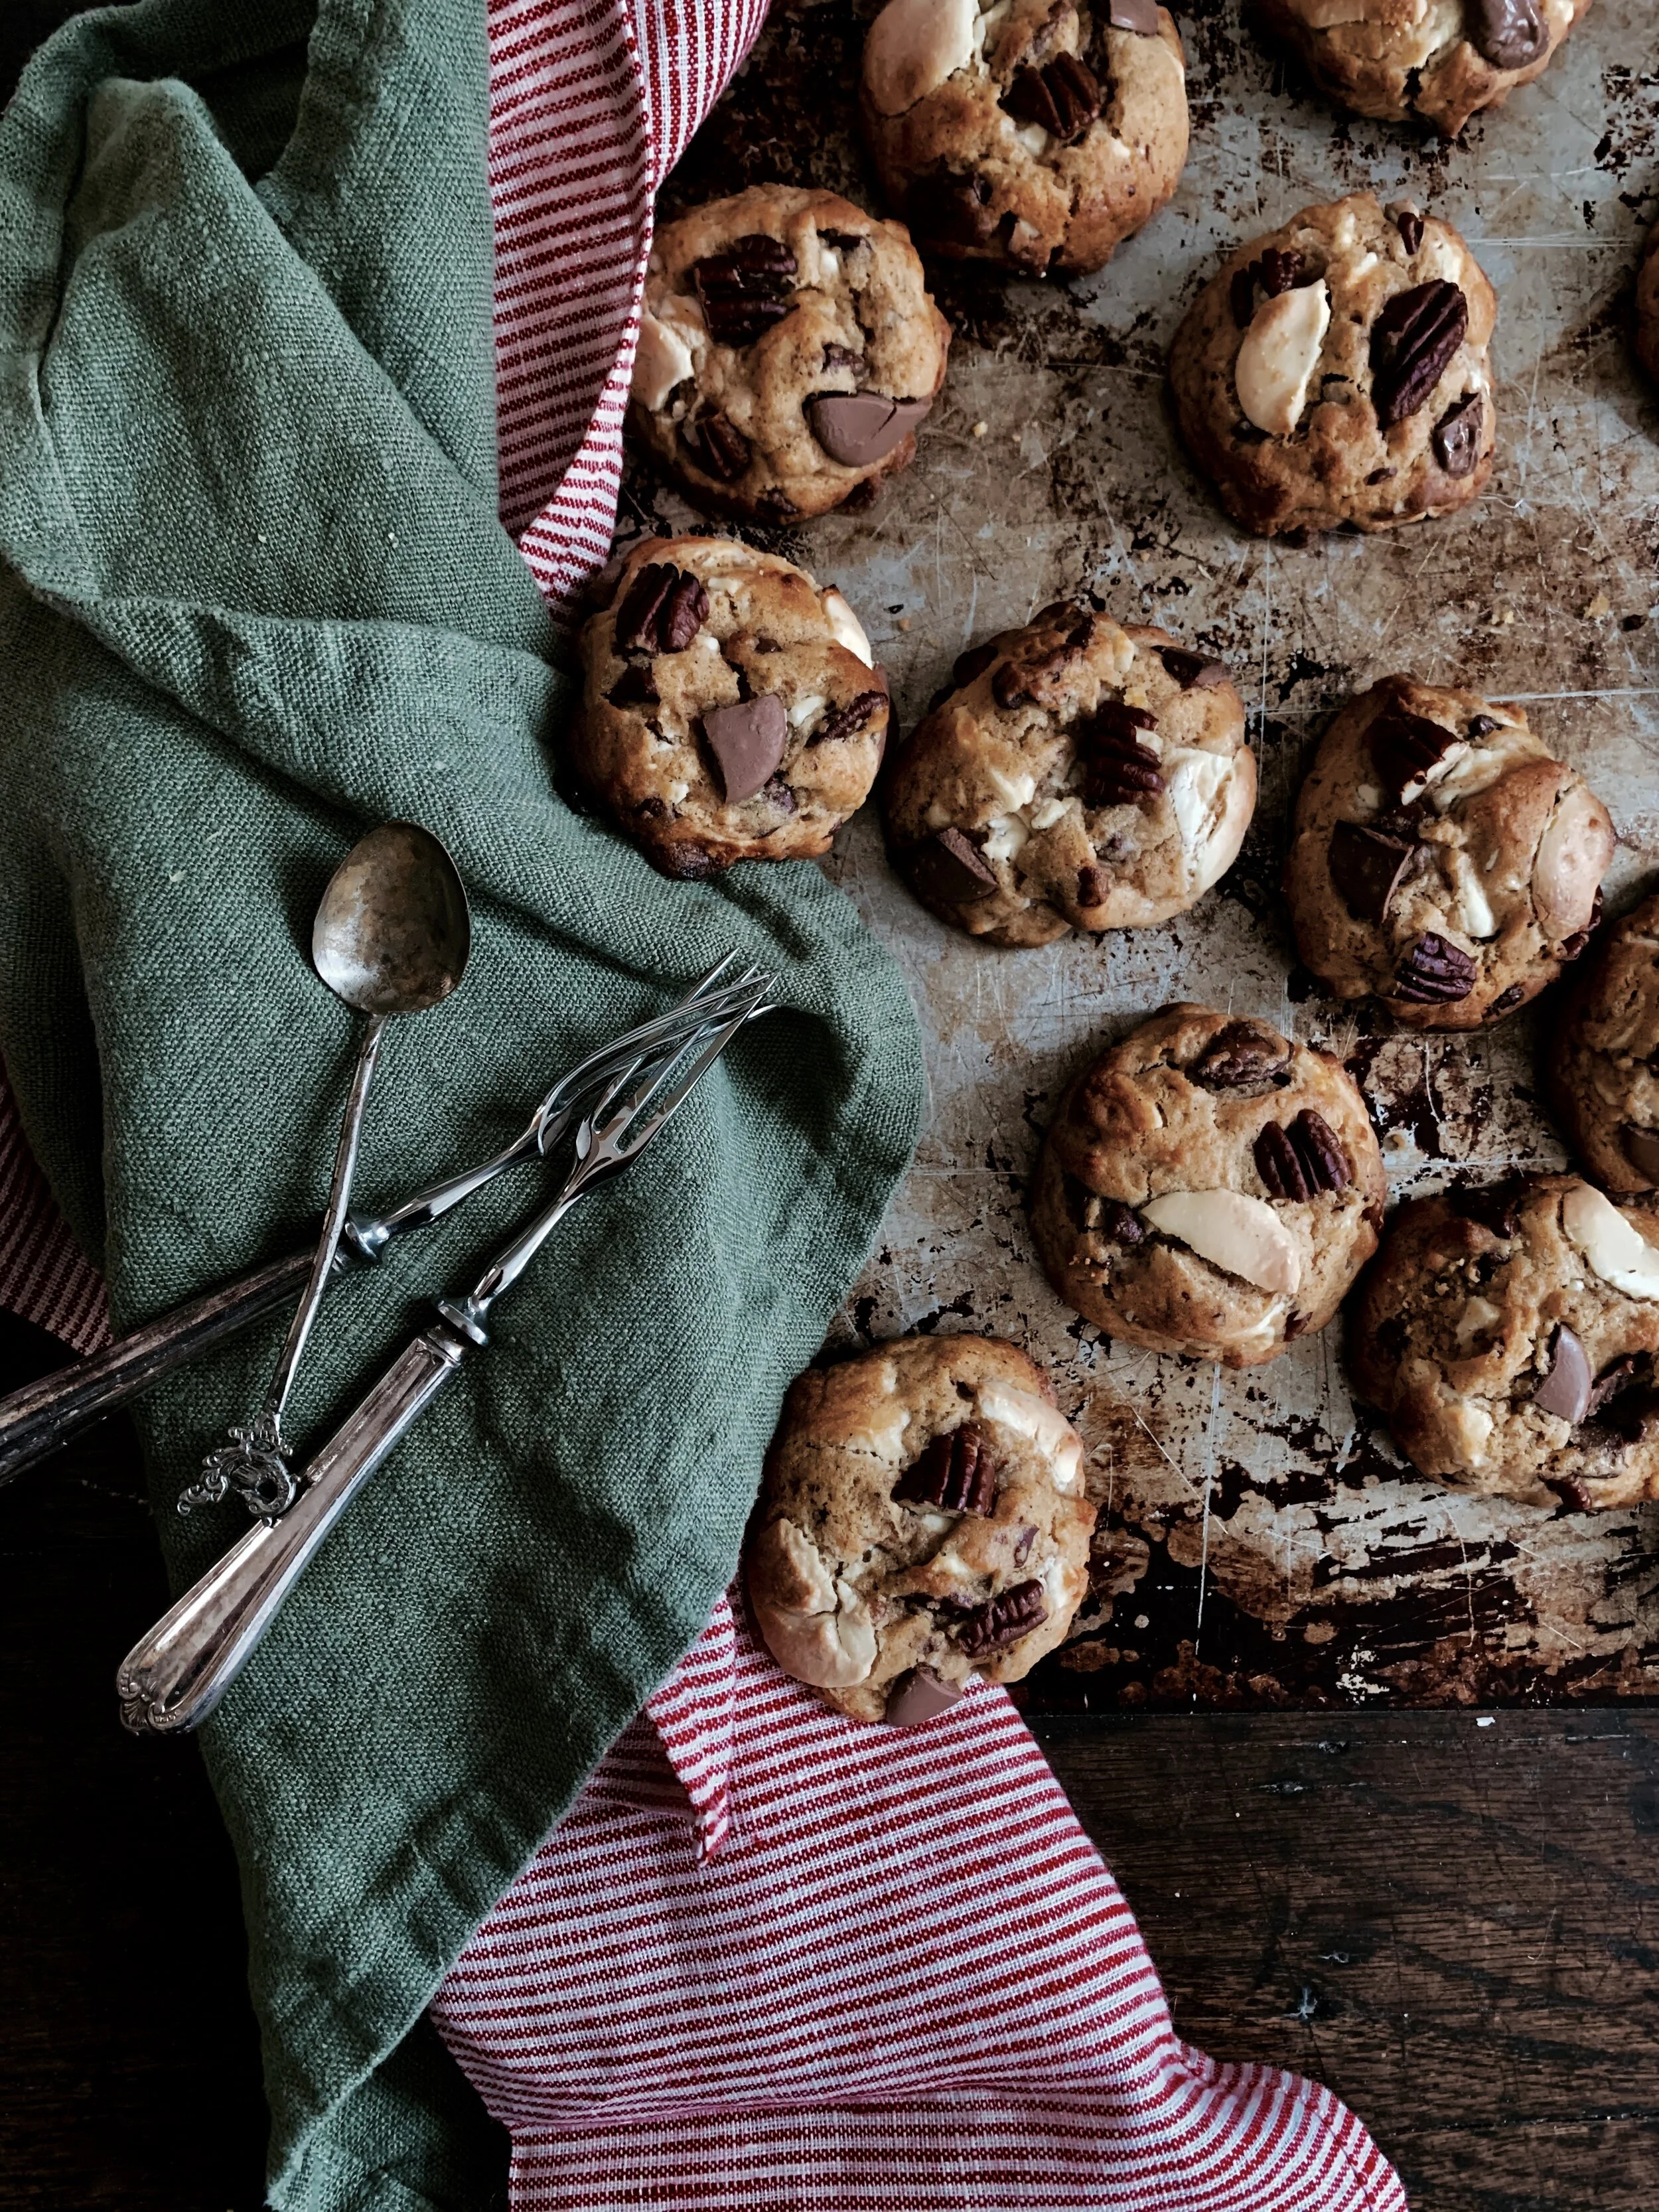
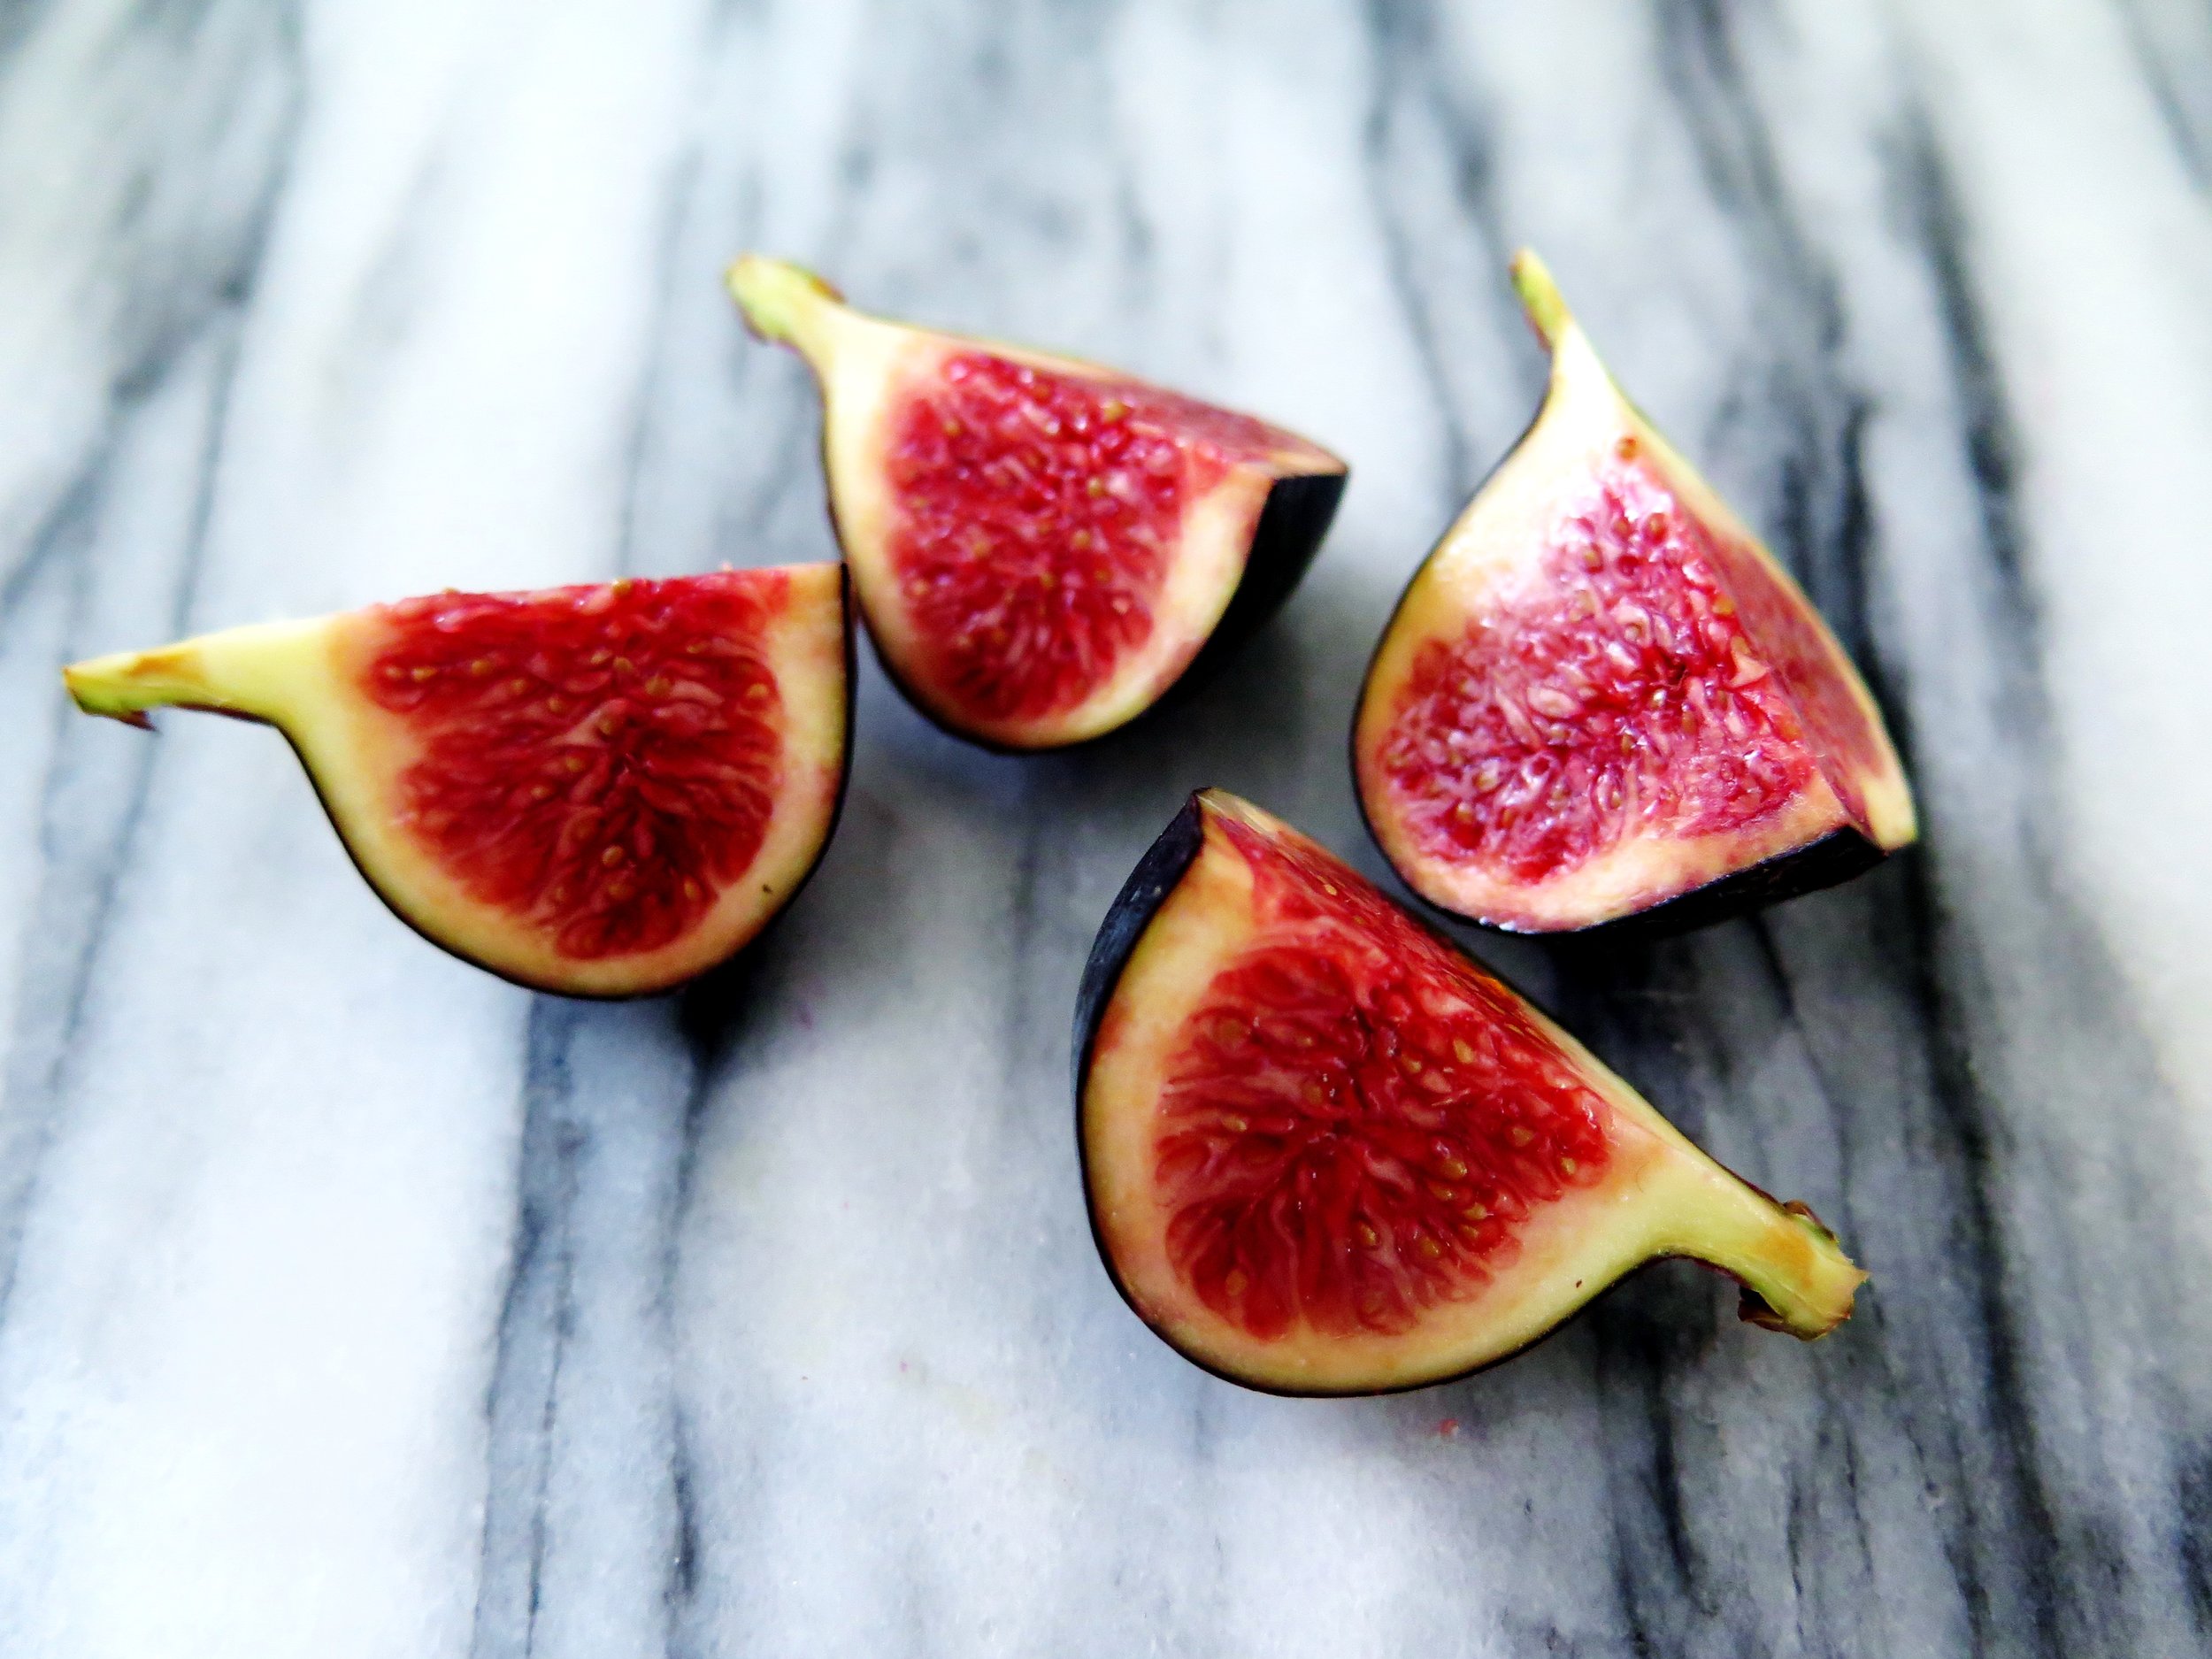
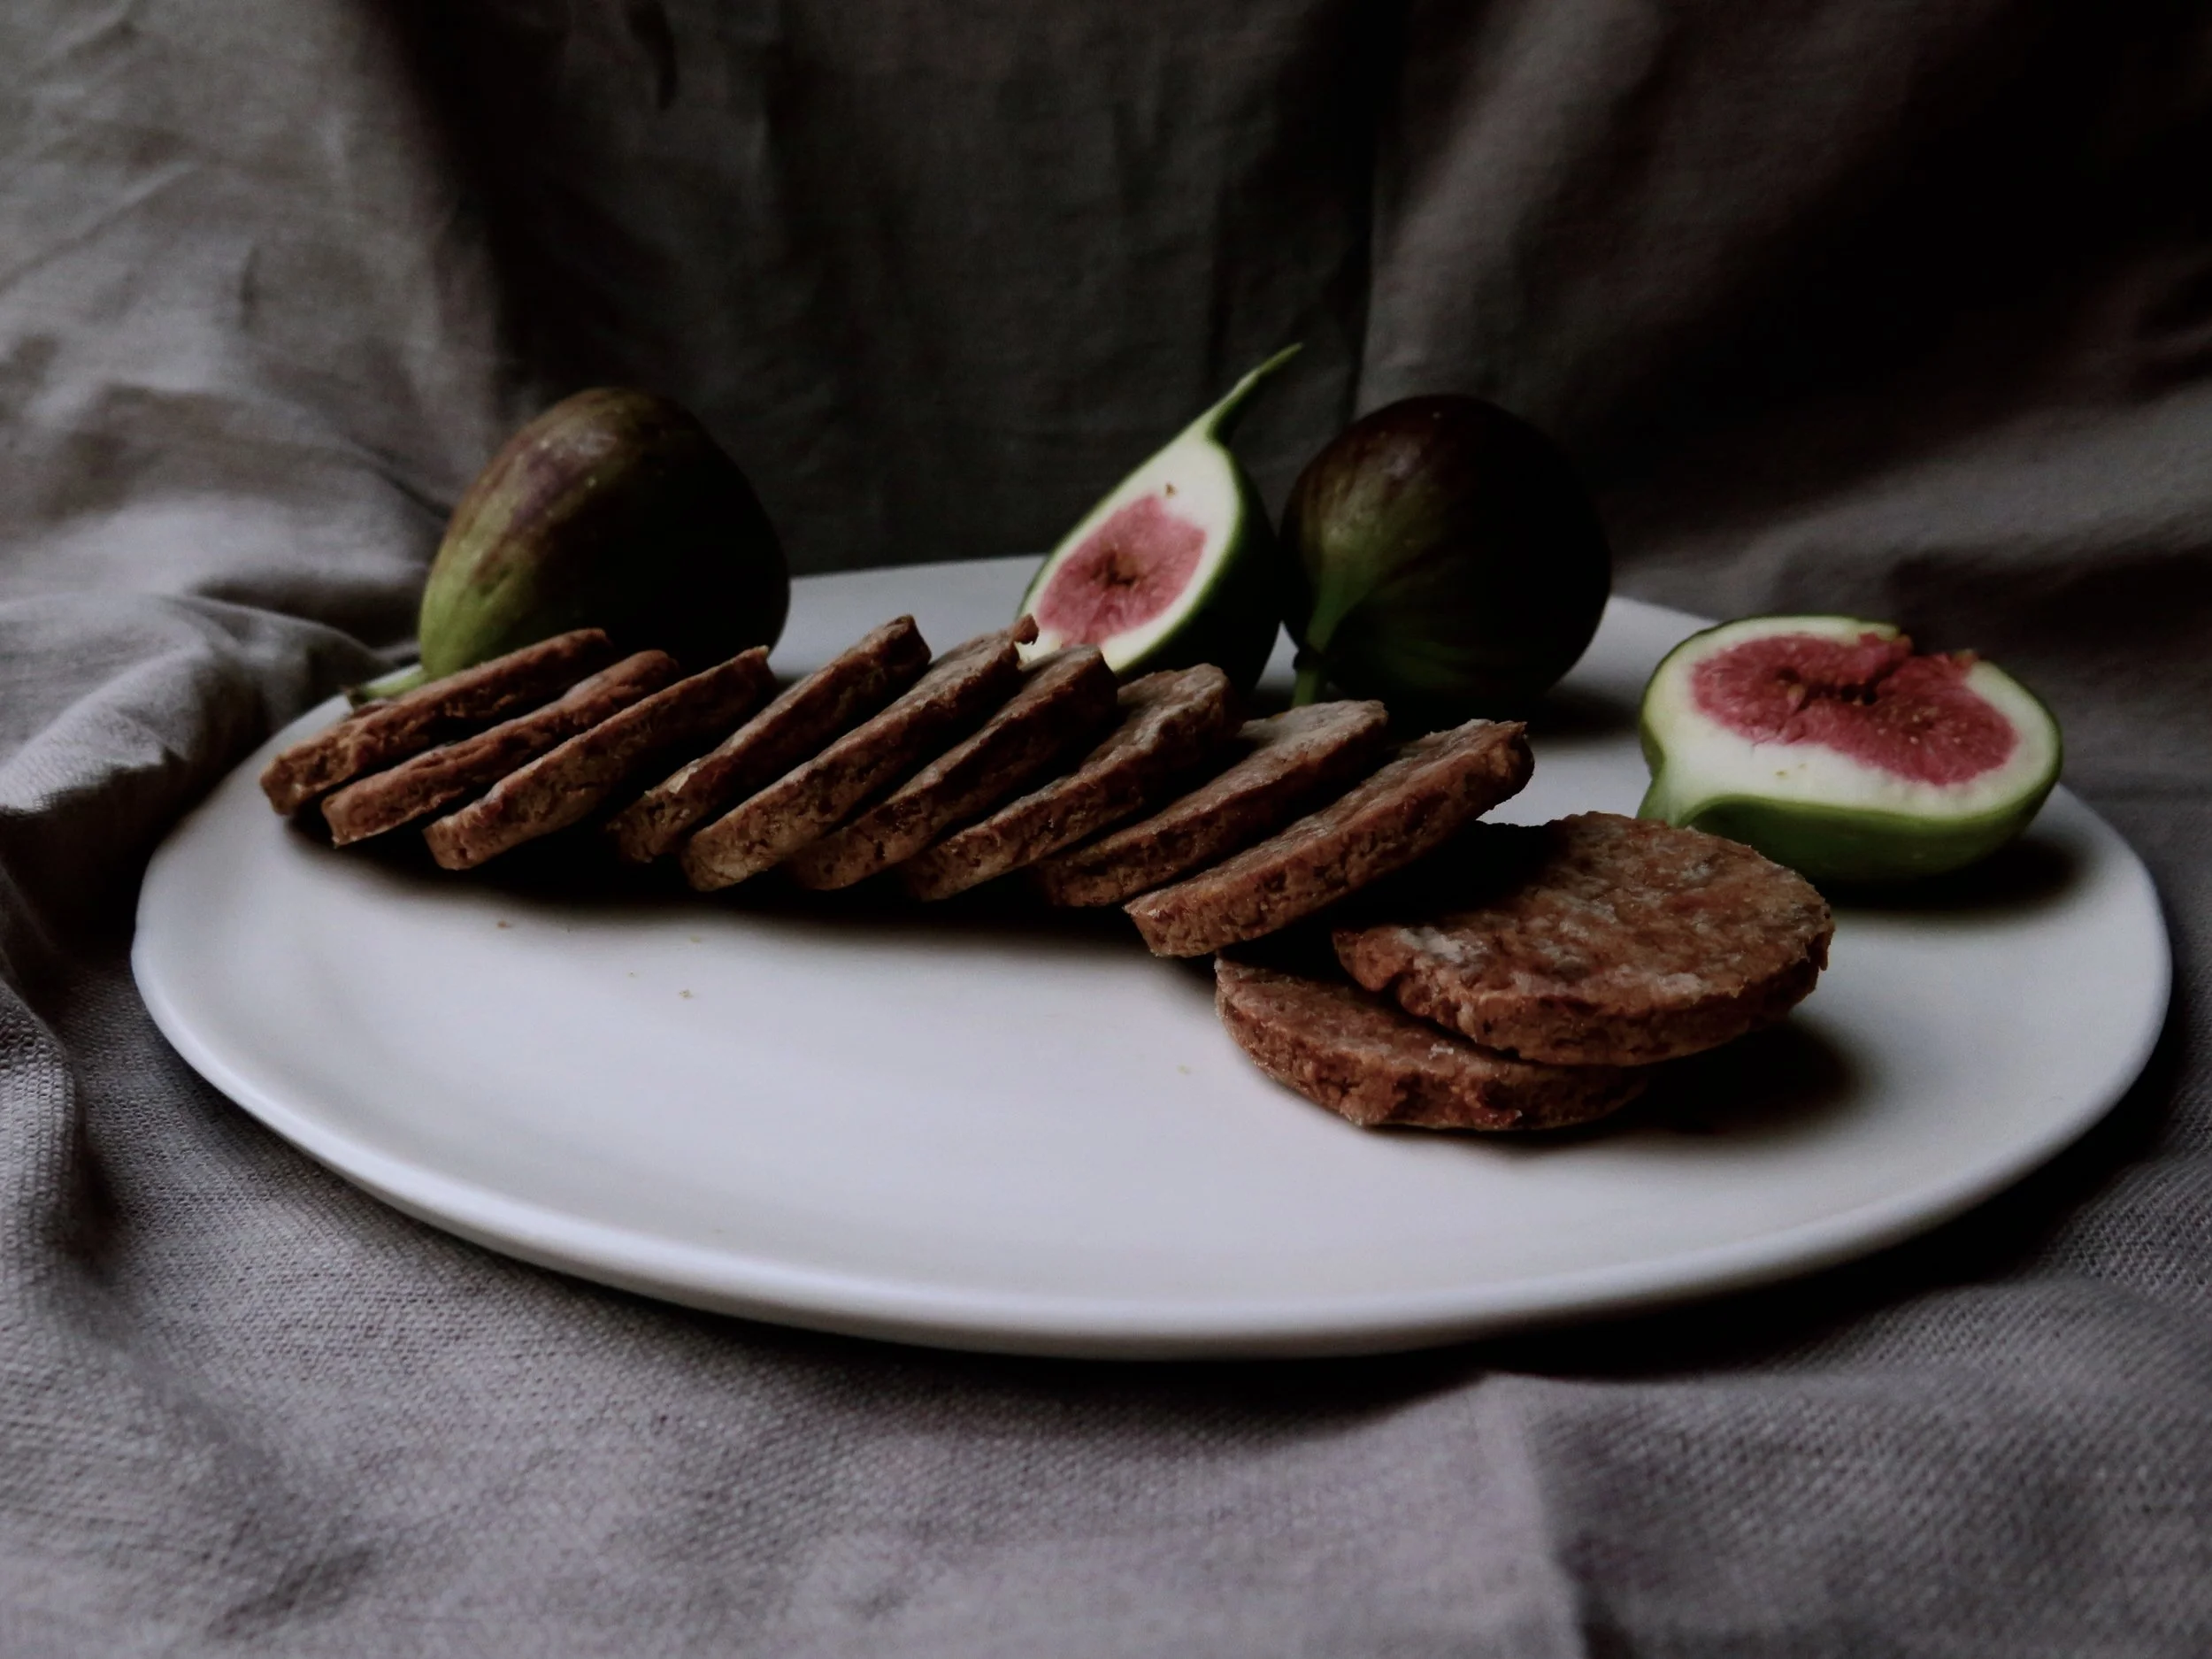
They are extremely quick to conjure up and would be good for that weak-point, late afternoon slump when you crave something sweet, and delicious, too, paired with a (vegan) ice cream for dessert, or even with a wedge of stilton and a dollop of pear compote if you’re going down the non-vegan route. If you want a slightly more savoury option, substitute the dates with figs as in the photos.

fullsizeoutput_d58.jpeg
fullsizeoutput_d7a.jpeg
fullsizeoutput_d82.jpeg

Ingredients (makes 20 medium cookies)

160g pitted medjool dates, roughly chopped (about 10) (if you want a more savoury cookie, substitute dates with figs, as per the photos)

4 tbsp orange juice

4 tbsp water

1 tsp vanilla

½ tsp finely grated orange zest

80g smooth peanut butter

200g spelt flour (or gluten free flour)

½ tsp mixed spice

¼ tsp salt

baking tray lined with baking parchment

4-5cm round cookie cutter


Method

1)    Pre-heat oven to 180°C

2)    Place the chopped dates, orange juice, water, vanilla extract and orange zest in a small pan over a medium/high heat and allow to come to a boil. Stir continuously for about 4/5 minutes until all the liquid has evaporated and the dates have turned into a thick, sticky pulp.

3)    Place the date mixture together with the peanut butter in a blender and pulse until smooth. Pour in the spelt flour, mixed spice, and salt and pulse until it comes together to form a slightly sticky dough.

4)    Lightly flour a board and roll out the dough to a 0.5cm thickness. Stamp out cookies with the cutter and place on the baking tray. Bake in the oven for 7-10 minutes until firm and slightly golden. Allow to cool, then devour.

fullsizeoutput_d6f.jpeg
fullsizeoutput_d89.jpeg

HUNGRY FOR MORE?

Comment

Triple Layer Chocolate, Coffee, Vanilla Cake

Comment

Triple Layer Chocolate, Coffee, Vanilla Cake

fullsizeoutput_848.jpeg
fullsizeoutput_809.jpeg

It’s on an almost daily basis that I find my thoughts converging on that scene in Matilda:  Bruce vs the chocolate cake – moist, dense, dark, and yes, revolting. It’s a tempting challenge, and only on a handful of occasions in my life have I come close to those chocolatey depths (or heights, depending on your perspective). 

fullsizeoutput_819.jpeg

The first time was at my 9th birthday party which took place in the civilized private room of a pottery painting shop, surrounded by friends from my all-girls school, all politely detailing their teacups with flowers, and hearts, and stars. The birthday cake arrived, tall and majestic, lavishly enrobed in sumptuous swathes of soft chocolate buttercream.

All I can say in mitigation of what was to come was that at least I waited until my slice was placed in a bowl. But then the urge became overpowering, and it was with unbridled joy that I plunged my face into my bowl and into the luscious embrace of the cake.

fullsizeoutput_886.jpeg
fullsizeoutput_832.jpeg

But my Bruce experiences don’t end there. I waited a further nine years until I was at university, when a five pence coin thrown into a neighbour’s dessert meant that it had to be devoured without cutlery. This was a curse to many, but an opportunity I wholeheartedly seized. Why waste time on cutlery when you can cut to the chase, pig-in-trough style, with an audience?  

fullsizeoutput_831.jpeg

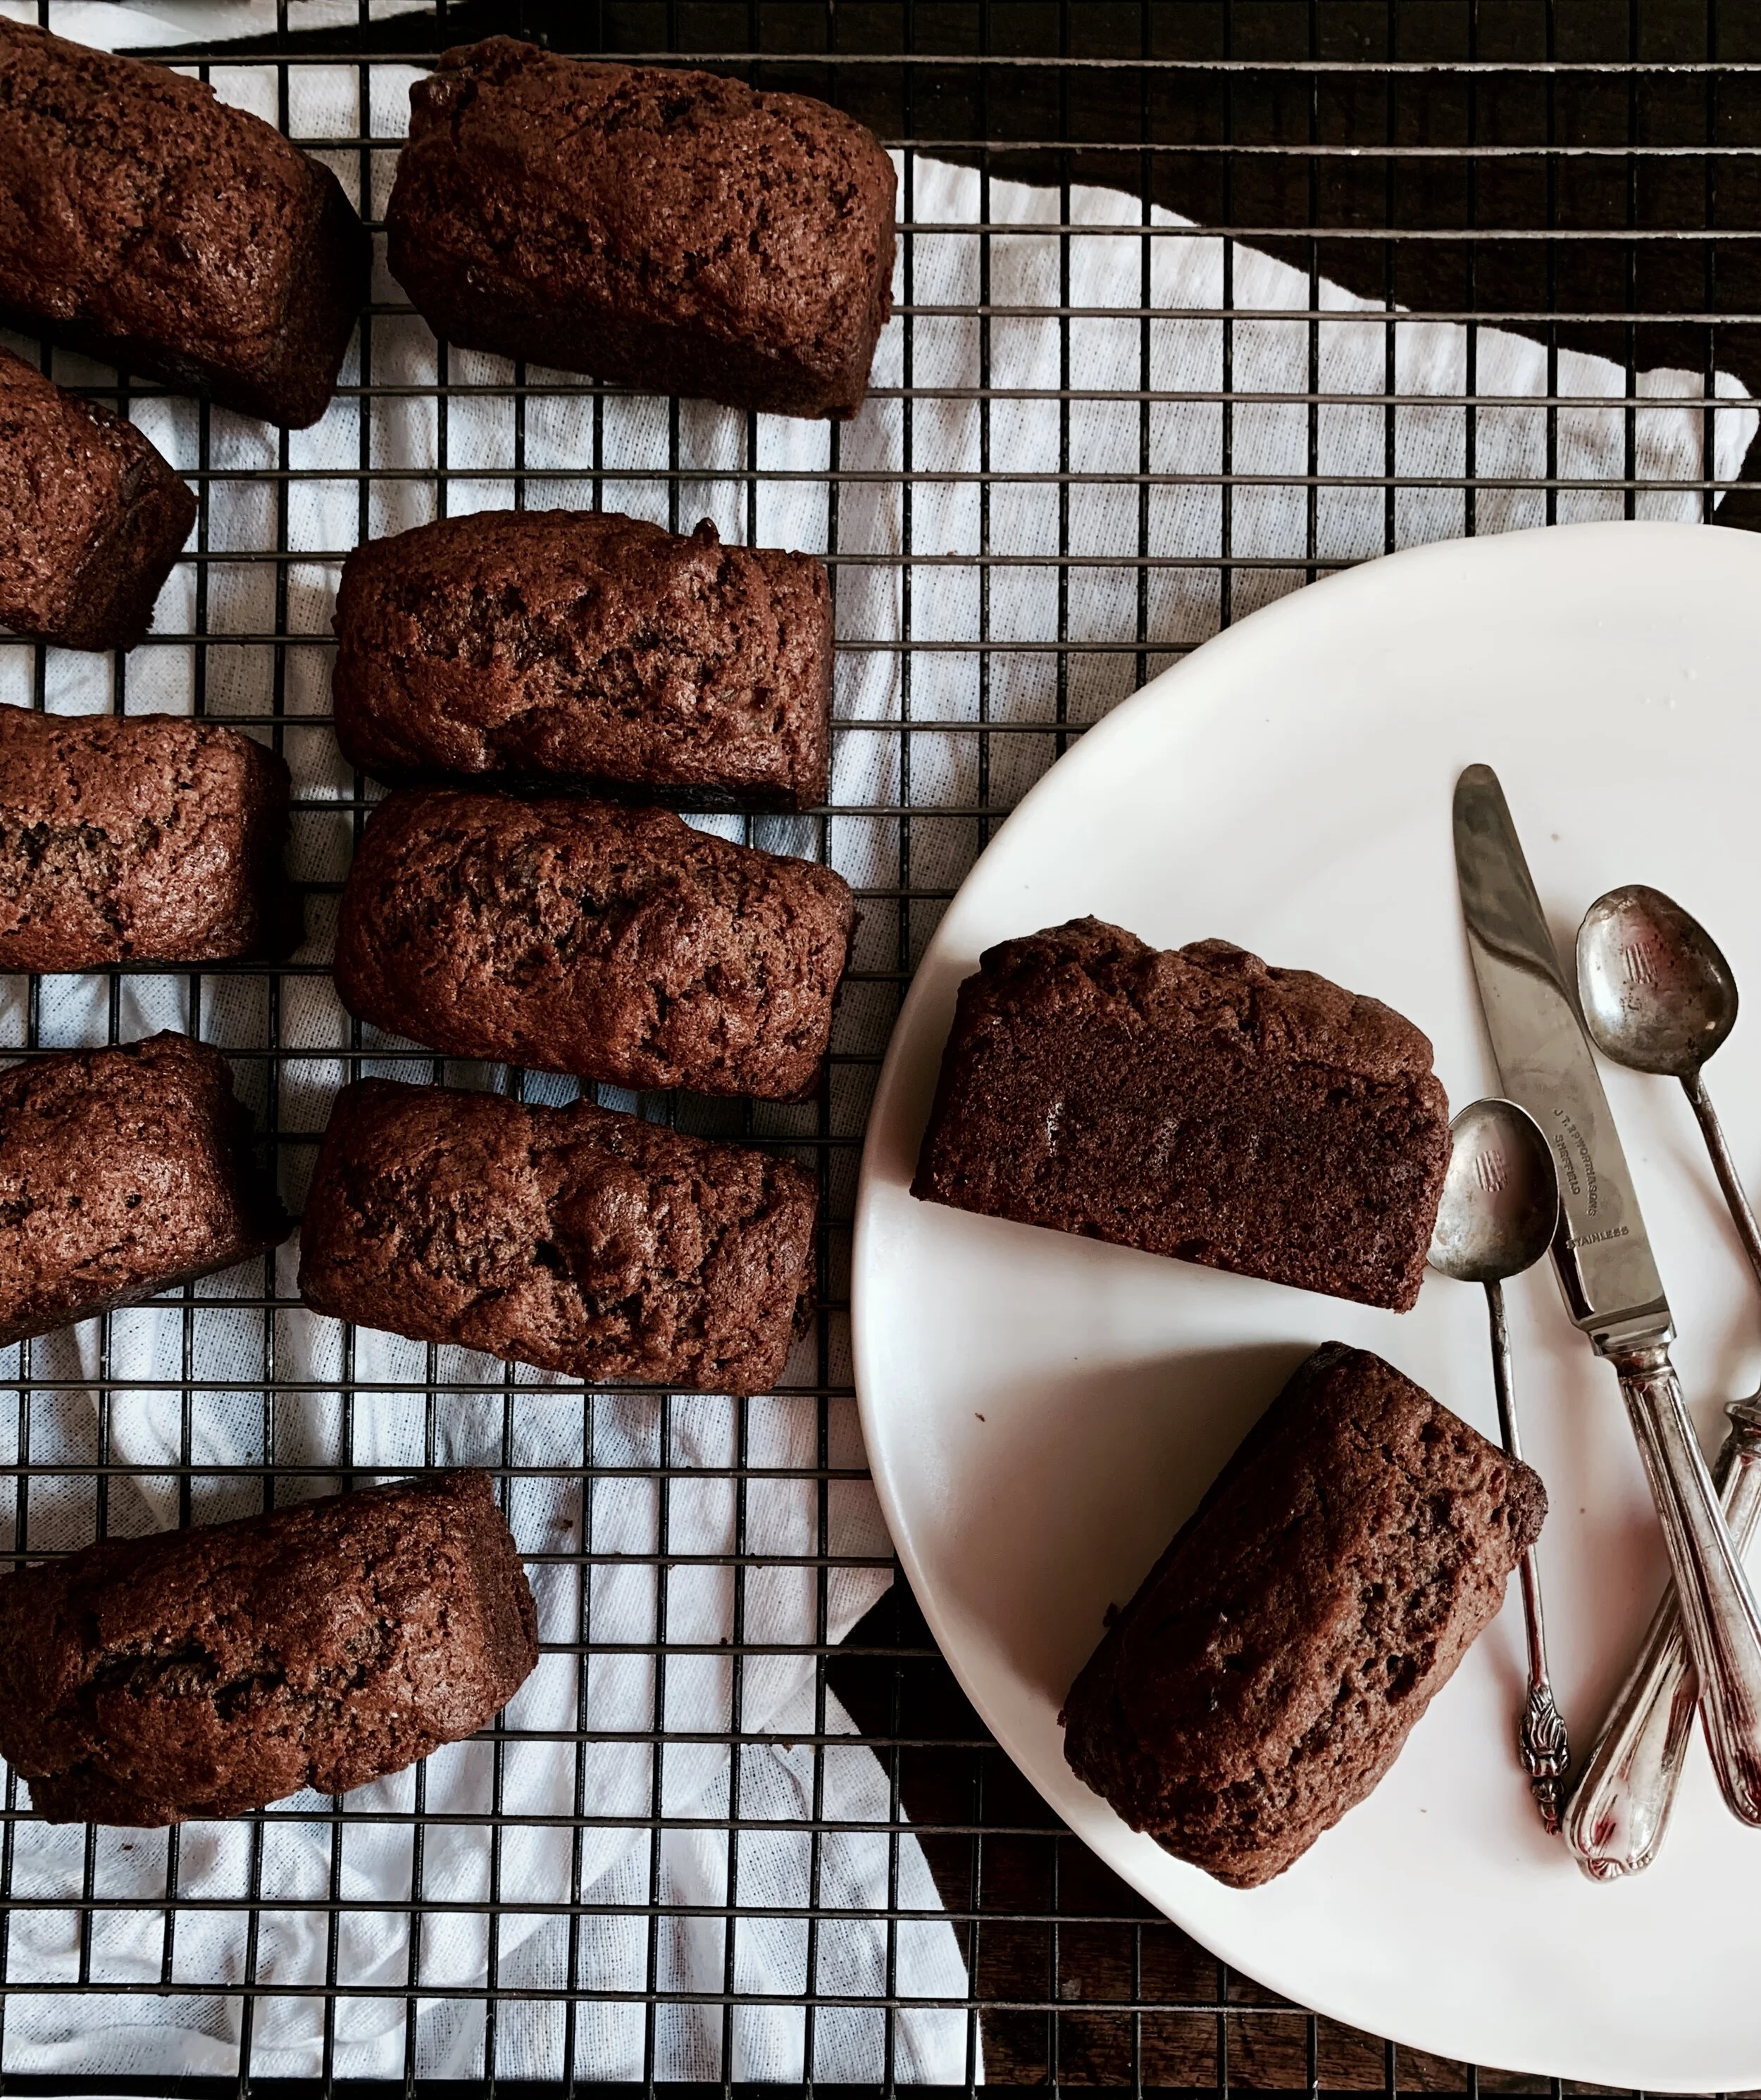
The desire was mostly satisfied then but I still dream up opportunities to replicate it. I imagine this cake would be peak territory for such caveman antics: a base layer of moist and rich chocolate cake (ticks the Bruce box), a golden middle tier of coffee cake, and a fluffy vanilla sponge top tier. The buttercream is deeply chocolatey with a pinch of salt to counteract the sweetness, and the cake is topped with a mirror ganache drip glaze (easier to do than you may think). Nigella famously writes in her recipe: “Feeds twelve, or one with a broken heart”. This feeds twenty, or one with an overpowering Man vs Food, Matilda’s Bruce desire.

fullsizeoutput_87c.jpeg
fullsizeoutput_859.jpeg

Although this cake has multiple elements and steps it is not difficult to carry out.

  •  If you wish to have all three layers identical, then just triple the quantity of one cake.
  • Feel free to experiment with buttercreams as well (for example, vanilla, coffee, or caramel). 
  • Additionally, I use dark fruits to decorate the cake, but you can keep it plain, or venture down more chocolatey routes. It is also delicious kept simple, without the mirror chocolate ganache.
  • This is effectively three cakes in one so you can just make one of the cakes, and make a third of the icing in which to cloak it.
  • The chocolate cake recipe makes slightly more than necessary, hence the muffin cups into which the excess mixture is poured – a bonus in my book…

Ingredients

The vanilla and coffee cakes:

450g unsalted butter, at room temperature
450g caster sugar
2 tsp vanilla extract
4 tbsp milk
8 large eggs, at room temperature
450g self-raising flour, sieved
½ tsp salt
1 tbsp espresso powder, dissolved in 1 tsp boiling water

The chocolate cake:

400g plain flour
250g caster sugar
100g light muscovado sugar
50 high quality cocoa powder
2 tsp baking powder
1 tsp bicarbonate of soda
½ tsp salt
3 large eggs, at room temperature
140g soured cream
1 tbsp vanilla extract
175g unsalted butter, melted
125g corn or vegetable oil
300ml cold water

Salted cocolate buttercream:

250g high quality 70% dark chocolate
375g unsalted butter, at room temperature
680g icing sugar, sieved
½ tsp salt
4 tsp vanilla extract


Mirror chocolate ganache:

100g double cream
100g high quality 70% dark chocolate

Equipment:

3 (or 2 if you wash one up in between making vanilla/coffee and chocolate cakes) x 20cm diameter round cake tins, buttered, with the base lined with a circle of baking parchment
1 muffin tin with 5 muffin cases
piping bag fitted with a 2-3mm round nozzle


Method

The vanilla cake and the coffee cake:

1)    Preheat fan oven to 180C. In a large bowl with a spoon, or in a mixer fitted with the paddle, beat together butter and sugar for about 3 minutes until the mixture turns fluffy, soft and almost white. Beat in the vanilla and milk.  
2)    Then beat in one egg at a time alternating each egg with a tablespoon of flour. Don’t panic if it looks slightly curdled, as this is normal. Add in the rest of the flour and salt and, by hand, gently fold them into the mixture.
3)    Pour half the mixture into one of the lined baking tins – this is the vanilla cake. For the coffee cake, add in the dissolved espresso powder into the remaining mixture and fold in gently. Pour into the second baking tin and place both in the oven to bake for 30-40 minutes until golden on top and a skewer comes out clean. After 30 minutes, you may need to cover them with tinfoil to prevent the surface from burning. 
4)    Once cooked, remove from oven and place on a rack to cool.

The chocolate cake:

1)    Preheat fan oven to 180C. Into a large bowl, sieve all the dry ingredients and mix through. In a separate medium sized bowl, whisk together the eggs, soured cream and vanilla. 
2)    In a third, large bowl, either by hand or in a mixer fitted with the paddle, beat together oil, butter and water until combined. Into this bowl, pour the dry ingredients and fold gently to combine. Then pour in the egg, cream, vanilla mixture and fold gently together until smooth and just combined.
3)    Pour off 300g of the mixture into a separate bowl and divide equally between 5 muffin cases. Pour the rest of the mixture into the prepared cake tin. Place muffins and large cake in the oven. Bake the muffins for 20 minutes, and the large cake for 40-50 minutes until a skewer comes out clean. Check the large cake after 30 minutes, as you make need to cover it with tinfoil to prevent the surface from burning. Once cooked through, remove from the oven and place on a baking rack to cool.

The salted chocolate buttercream:

1)    Melt the chocolate in a bowl sitting on top of a pan of boiling water (don’t let the water touch the base of the bowl containing chocolate). Set the melted chocolate aside to cool slightly.
2)    In a mixer fitted with a paddle, or in a large bowl with a spoon, beat together the icing sugar and butter until combined. Pour in the melted chocolate, salt and vanilla, and beat once more until combined. 

The chocolate mirror ganache:

1)    Make this only once the cake is iced. Heat the double cream in a small pan over a medium heat until it just begins to bubble. Remove from heat immediately and stir in the chocolate until it has melted and both combine into a glossy ganache.

Assembly:

1)    The cakes should be of equal depth, so line the three cakes alongside each other and, with a long-serrated knife, slice the domes off each to make them even. I then place the cakes in the freezer for 10 minutes as it makes them easier to ice. 
2)    Place the chocolate cake on the stand on which you wish to serve the cake. This will be the bottom most layer. Place about a fifth of the icing mixture on top and spread it carefully with a spatula. Place the coffee cake directly on top and repeat, finally placing the vanilla layer on top. 
3)    At this point, if you are impatient, you can continue to ice the rest of the cake with the remaining buttercream, and proceed directly to stage 4.  If, however, you want to ice the cake perfectly, it is advisable to do a crumb layer. This involves placing another fifth of the buttercream on the top of the cake and using a spatula to spread it evenly in as thin layer as possible around the cake, coating and filling any irregularities or gaps so that the sides and top are totally smooth and flat. Once this is done, place the cake in the fridge for a further 30 minutes until the icing is slightly hard to the touch. Remove from the fridge, and place the remaining icing onto the top of the cake and use a spatula to spread it off the top and around the sides. I dip the spatula in hot water to help achieve a smooth result. Place the cake back in the fridge while making the ganache.
4)    Spoon a third of the ganache into the piping bag. Begin by drawing a line round the edge of the cake surface as a border. Then to make a drip, hold the piping bag very still with the nozzle pointing directly down, and put consistent pressure on the bag to allow the drop to fall from the edge down the side of the cake. Stop when the drip is nearly at the length you want. Continue along the edge of the cake making drips of different lengths. Once this is done, pour the remaining ganache onto the top of the cake and spread with a spatula to cover the surface. 
5)    Top with dark fruits or any decoration of choice, and serve. 

All cake recipes are adapted from Nigella Lawson’s Chocolate Fudge Cake and Victoria Sponge Cake recipes

fullsizeoutput_879.jpeg
fullsizeoutput_876.jpeg

HUNGRY FOR MORE?

Comment

The Best Bircher Muesli

2 Comments

The Best Bircher Muesli

'Oats: a grain, which in England is generally given to horses, but in Scotland supports the people’ Samuel Johnson, The Dictionary of the English Language, 1755

If I were the type of person that leafed (ironically) through Cosmo, and stumbled across one of those lazy, page-filling content, tree diagrams which happened to ask “what is your spirit animal?”, I know what mine would be. A horse.  Well, at least that’s what it would have been during the second year of my time at university in terms of comestibles…

Essay crises necessitate fuel in order to feed the adrenaline and, for me, that fuel came in the form of oats.

When you have a 9 am deadline approaching, and there is only one hour remaining, every minute is precious - so there is no time to spare for cooking oats over the hob until they break down into a creamy mulch.
The Best Bircher Muesli

That’s the excuse I gave myself.  Instead, I developed the rather grotesque habit of eating oats straight from the packet, raw and desiccated. In my maddened and pressured state, I savoured the clagginess of the oats, where you can’t quite conjure up enough saliva to swallow them.  Ideal.

I have since moved on from this stage (with the very occasional relapse) to a more acceptable way of dealing with my love of oats: Bircher muesli, invented by Bircher Benner, a pioneer of raw foodism, in the late 19th century as a way of curing his jaundice.  It worked.

I feel, somewhat justifiably, that it runs in my blood (thick & creamy): my great-great-uncle was a frequent patient at Benner’s rather avant garde  Swiss raw food clinic and, one sunny day, he stepped down from a plane on an impromptu visit from Scotland to South Africa with no clothes besides the ones on his back, a vegetable juicing contraption which he trailed behind him on a rickety little cart, and a proselytising passion for Bircher muesli.

The Best Bircher Muesli

I have tried many a Bircher muesli, from Swiss versions to Vietnamese attempts, but I feel I have concocted the ultimate version (excuse my arrogance).  Creamy, healthy, juicy, and exotic, it’s effectively manna, and I would happily have it for every meal of the day (jaundiced or not).

The Best Bircher Muesli  (Serves 5)

Ingredients

2 Braeburn apples, grated

Juice of 1/2 lemon

200ml orange juice

200g natural yogurt

200g almond and coconut milk (can be substituted with dairy or non-dairy alternatives)

3 tbsp maple syrup

1 tsp vanilla bean paste (if you can’t get hold of this, omit it, or substitute with ½ tsp vanilla extract)

50g desiccated coconut, lightly toasted in a pan on a low heat until pale gold)

200g porridge oats

Pinch of salt

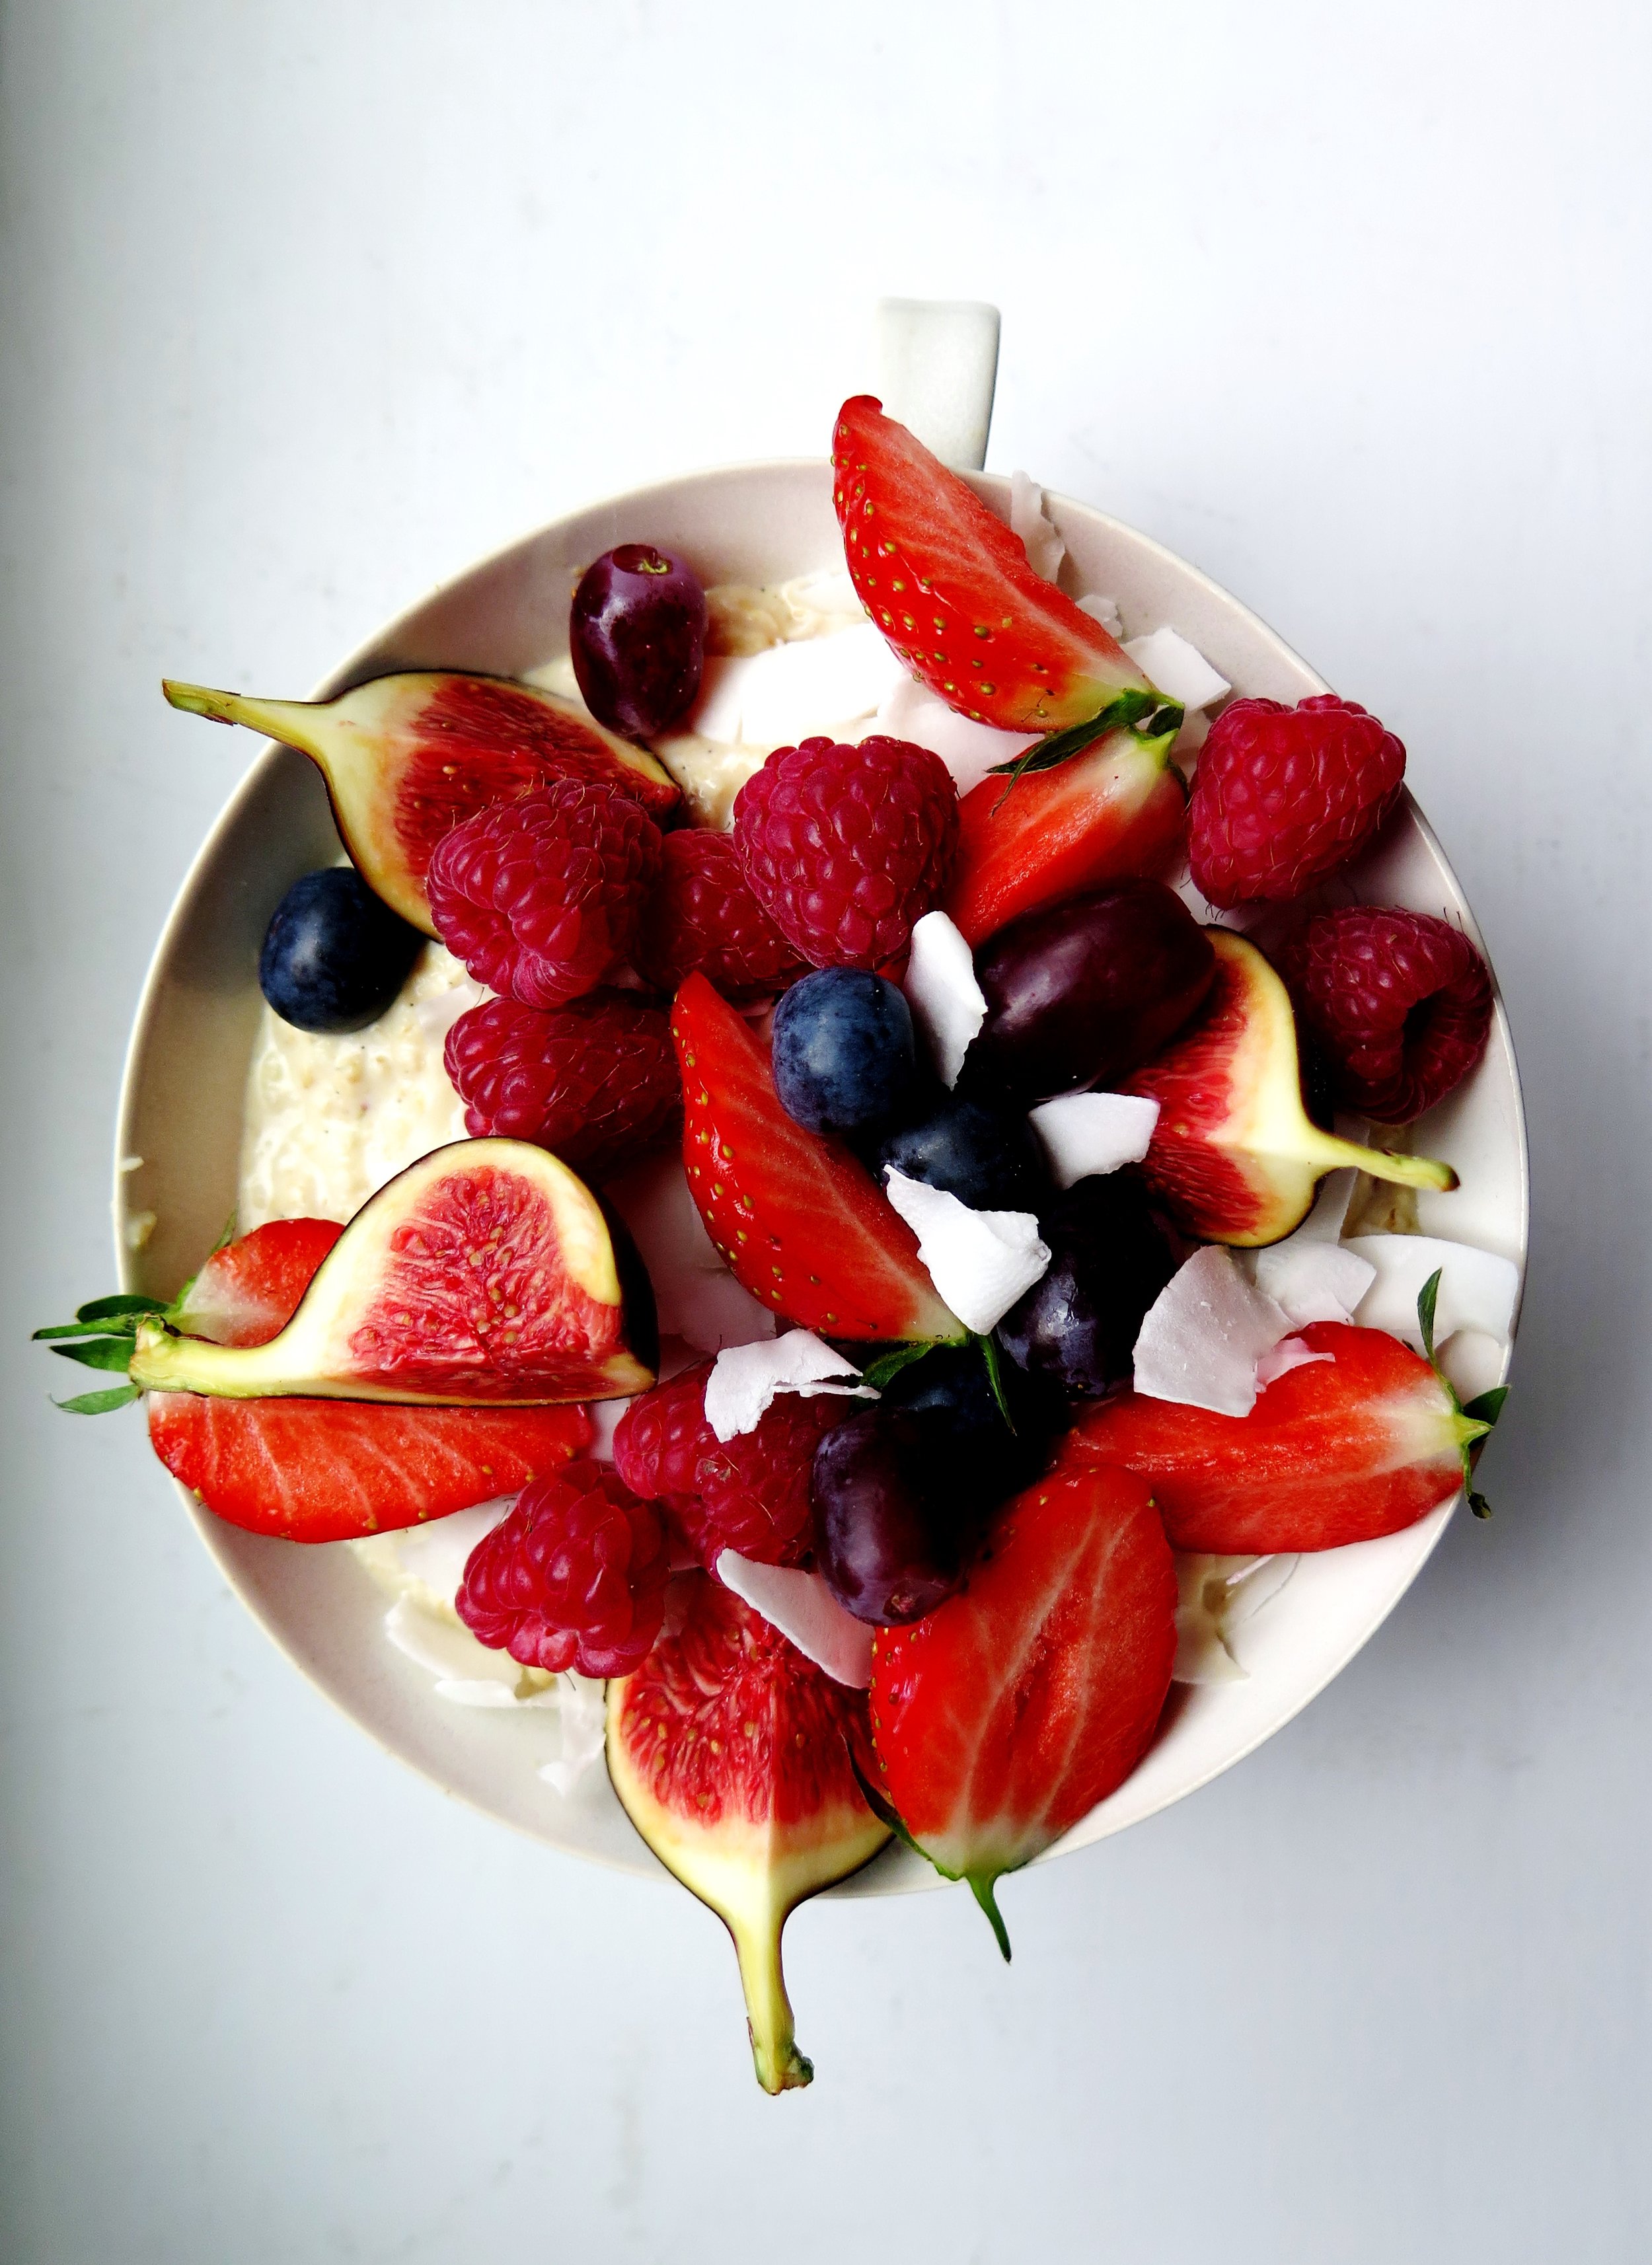
200g of fresh fruit of your choice (blueberries, strawberries, raspberries, figs, sliced banana work well)

40g coconut chips (optional but adds great texture)

Method

  1. In a large bowl mix together all the ingredients apart from the fresh fruit and optional coconut chips. If you are making this the night before, cover the bowl with cling film and place in the fridge overnight to let the oats soak up the flavours.  If you are serving the muesli immediately, stir the mixture for a couple of minutes to break down the oats until they are creamy.
  2. If you are leaving the muesli overnight, allow it to come to room temperature before serving. Scatter mixed berries and fruits and coconut chips over the top and serve.

2 Comments

Double Chocolate Salted Caramel Tart

5 Comments

Double Chocolate Salted Caramel Tart

IMG_3775.jpg

I never caught on to the Disney hype – I endured a few of the films when I was younger but was never enthralled by its saccharine princesses and unrealistic princes. I rejected the dressing up stage of childhood, and have none of the nostalgia that is awakened in many when hearing or singing the songs.  My only knowledge of Lion King is from Cindies (arguably the stickiest night club in Cambridge) which is played for 30 seconds without fail every Wednesday evening to excite the Disney addicts and to jolt inebriated students out of their drunken kisses.

What I did love was the sugar-glazed brutality of the original Charlie and the Chocolate Factory film.

I adored the Chocolate Room, and my six year old self spent a lot of time fantasising about edible wallpaper and edible TV adverts. However, the first scene, where Augustus Gloop falls into the ‘chocolate’ river, is almost too painful to watch.

It was concocted using 150,000 gallons of water, real chocolate and real ice cream, yet despite its authenticity, its watery thinness is more the stuff of sewers than of dreams.

If I were going to bathe in chocolate it would need to be velvety, glossy and thick… and after 15 years of dwelling on this I’ve come to terms with the fact that this tart is probably the closest I will get to doing that.

Double Chocolate Salted Caramel Tart

Ingredients

Chocolate pastry

225g plain flour

30g cocoa

150g unsalted butter, chopped into cubes

110g white caster sugar

3 egg yolks

¼ tsp salt

1 tsp vanilla extract

1 tbsp ice water

baking beads/uncooked rice/dry beans

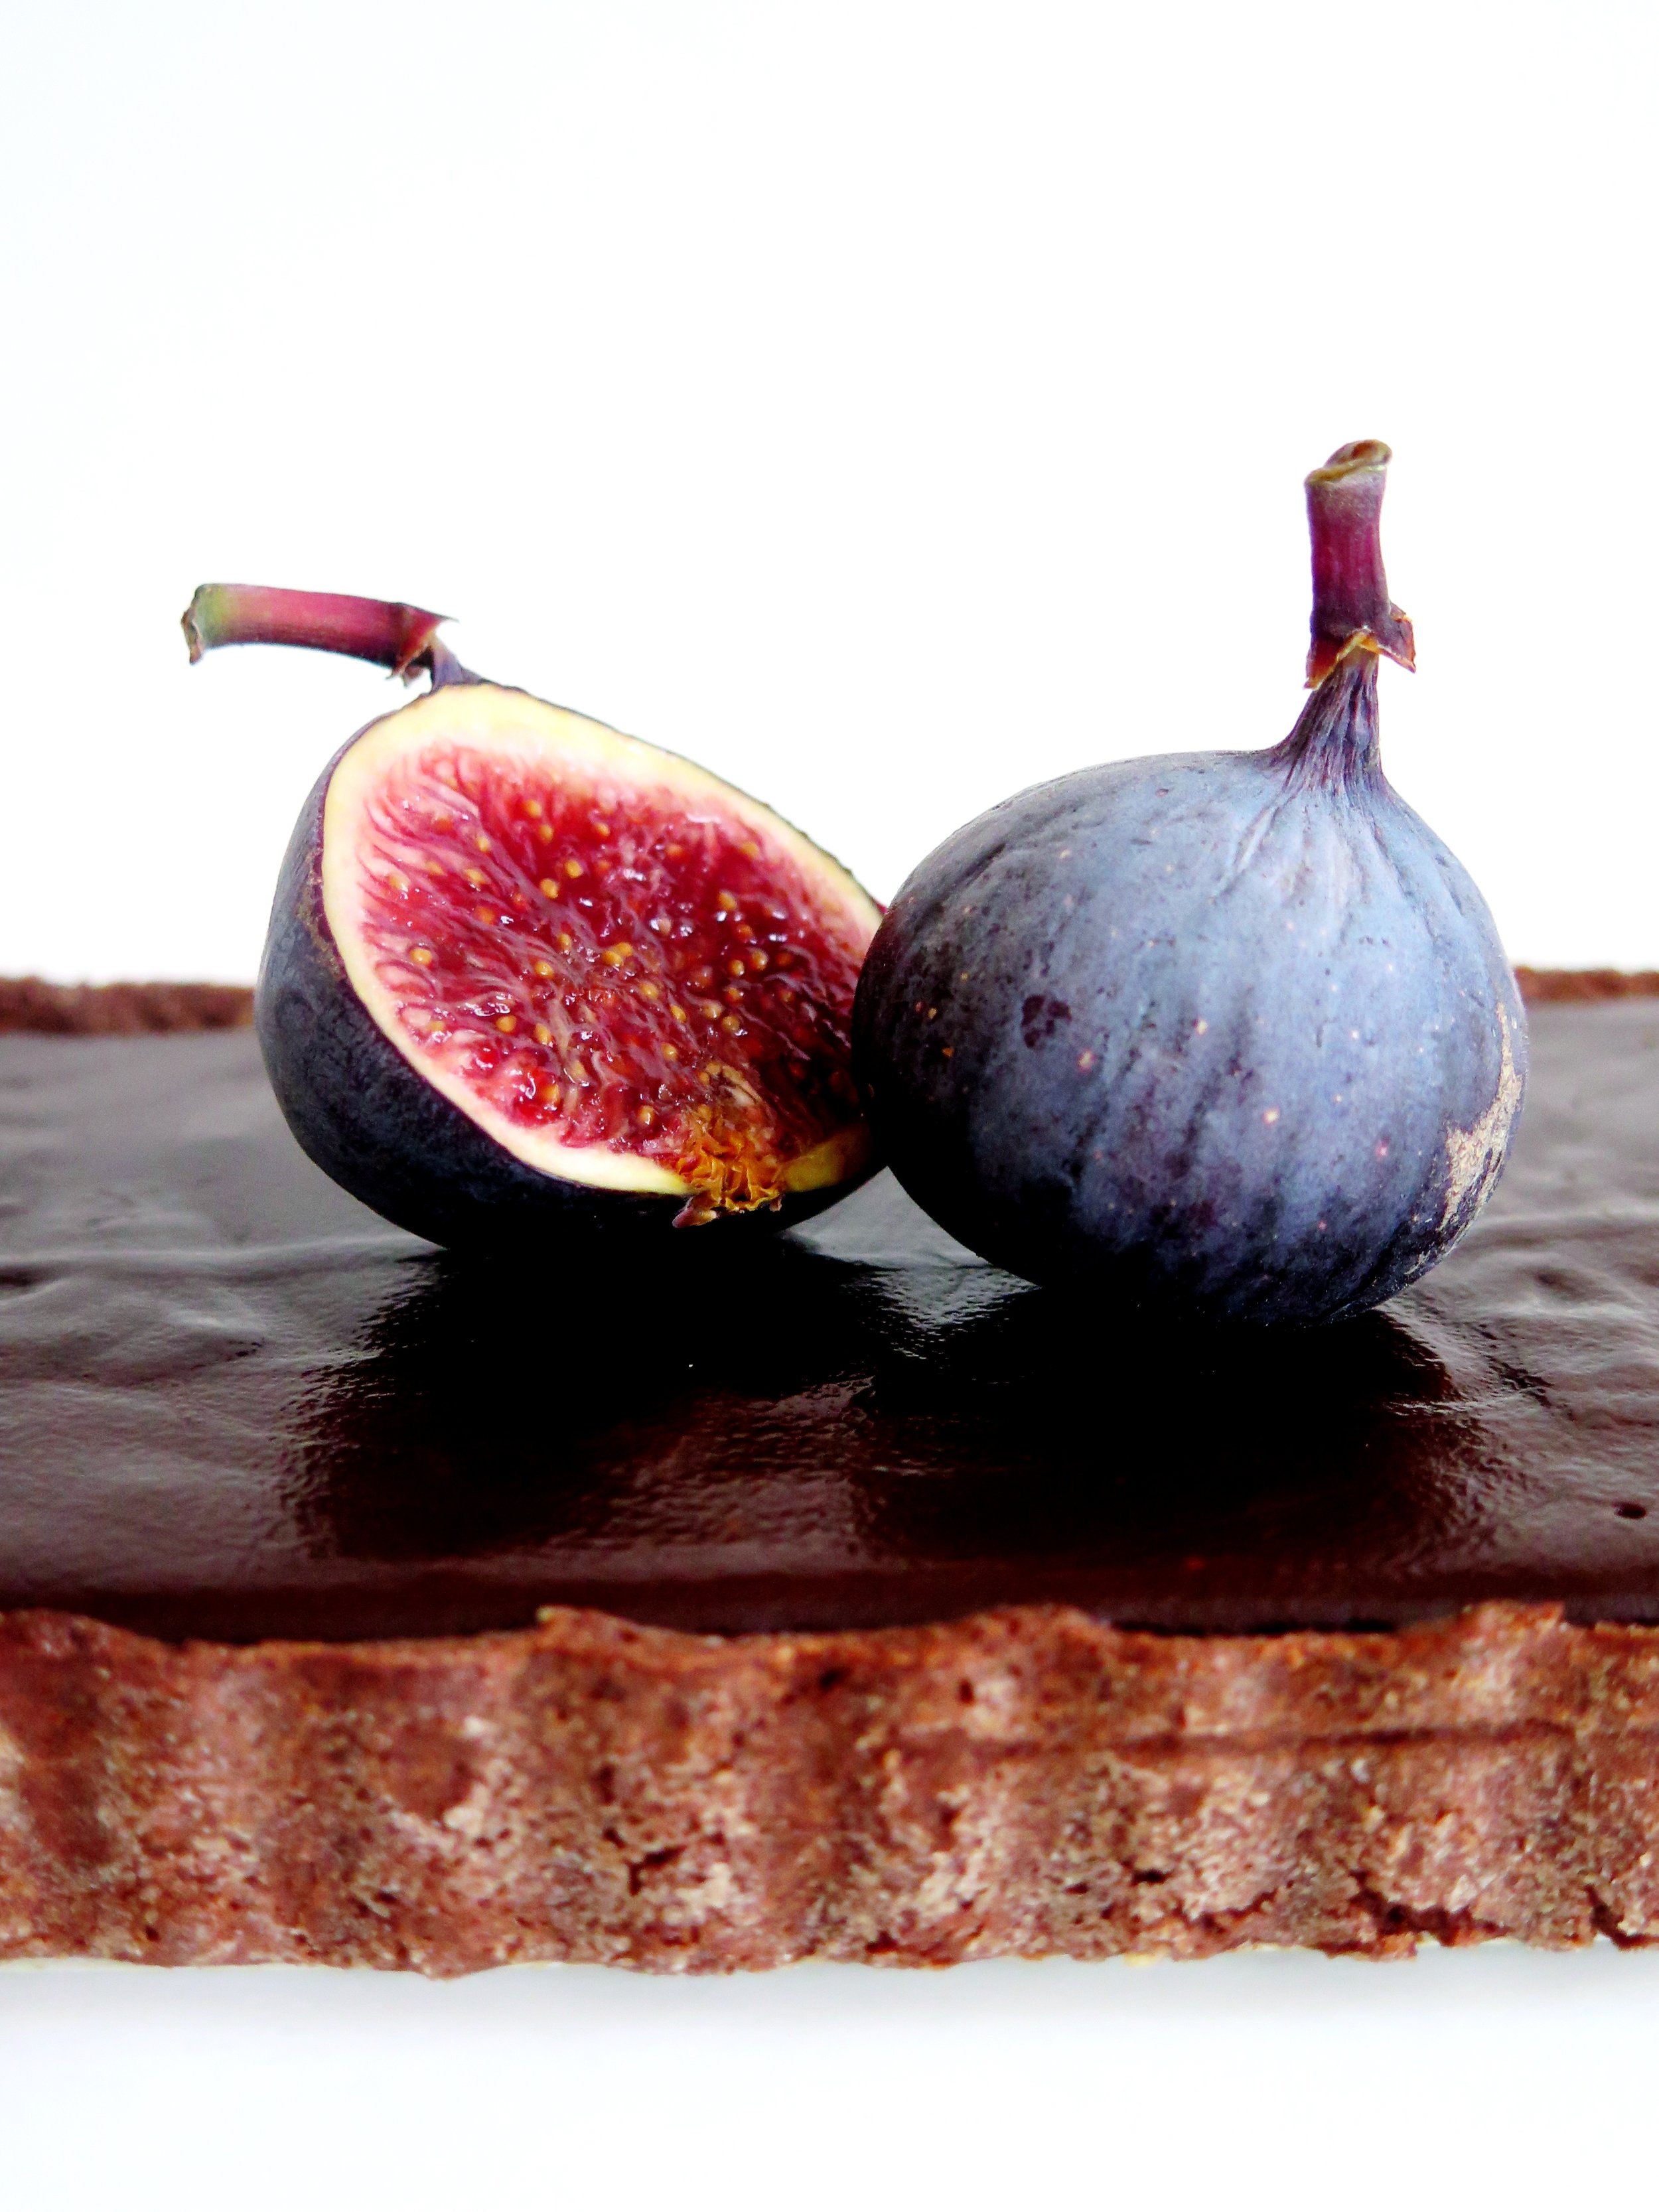
4 fresh figs, halved (optional)

12 x 36cm tart tin, greased and dusted with flour

Salted caramel chocolate ganache

300g 70% good quality dark chocolate

300g white caster sugar

300ml double cream

20g light brown muscovado sugar

20g butter

1tsp vanilla extract

1 tsp salt

Pastry Method

  1. Preheat the oven to 200˚C
  2. Blitz all the ingredients in a blender. Pulse until into turns into a damp sand texture. Tip out on to a surface and press it so that it clumps together into dough.   Wrap the dough in baking parchment and put it in the fridge for an hour, or in the freezer for 15 minutes.
  3. Dust a surface with flour and roll the pastry out in a rectangle to a thickness of 0.5cm. Any excess can be frozen and used within 2 months. Transfer the pastry to the greased and floured tin to line it. Don’t panic if it crumbles in the transition, just patchwork it together in the tin. Place a sheet of baking parchment or tin foil over the pastry, and fill it with the baking beads to weigh it down to prevent the pastry from shrinking as it cooks.
  4. Place it in the oven to bake for 10 minutes. Remove from the oven and remove the baking parchment and baking beads. Reduce the oven temperature to 150˚C, and place the pastry back in to bake for a further 10-15 minutes until it is fully cooked. Set aside to cool.

Salted Caramel Chocolate Ganache Method

  1. Chop the dark chocolate roughly, and set it aside in a heatproof mixing bowl.
  2. Place the caster sugar in a saucepan over medium high heat and, when it starts to melt, stir gently with a rubber spatula to avoid it burning around the edges. Push any unmelted sugar into the already caramelised sugar to aid the caramelising process.
  3. Once the sugar has turned a rich, dark gold colour, while still on the heat, pour in the cream whisking all the time. If clumps form, don’t panic: keep whisking over medium low heat, and they will eventually melt.
  4. Once the lumps have dissolved, whisk in the muscovado sugar, butter, vanilla and salt, and stir the bubbling mixture on a medium heat for another 2 minutes.
  5. Pour the mixture into the bowl of chopped dark chocolate and stir immediately until all the chocolate has melted and the caramel and chocolate are fully combined.
  6. Pour into the tart shell, smooth the surface over with a palate knife, and place this in the fridge for an hour (or freezer for half an hour) to set. Decorate with sliced figs to serve.
Double Chocolate Salted Caramel Tart

5 Comments

Carb-free, Sugar-free, Gluten-free Fruit & Seed Bars

7 Comments

Carb-free, Sugar-free, Gluten-free Fruit & Seed Bars

gluten-free.png

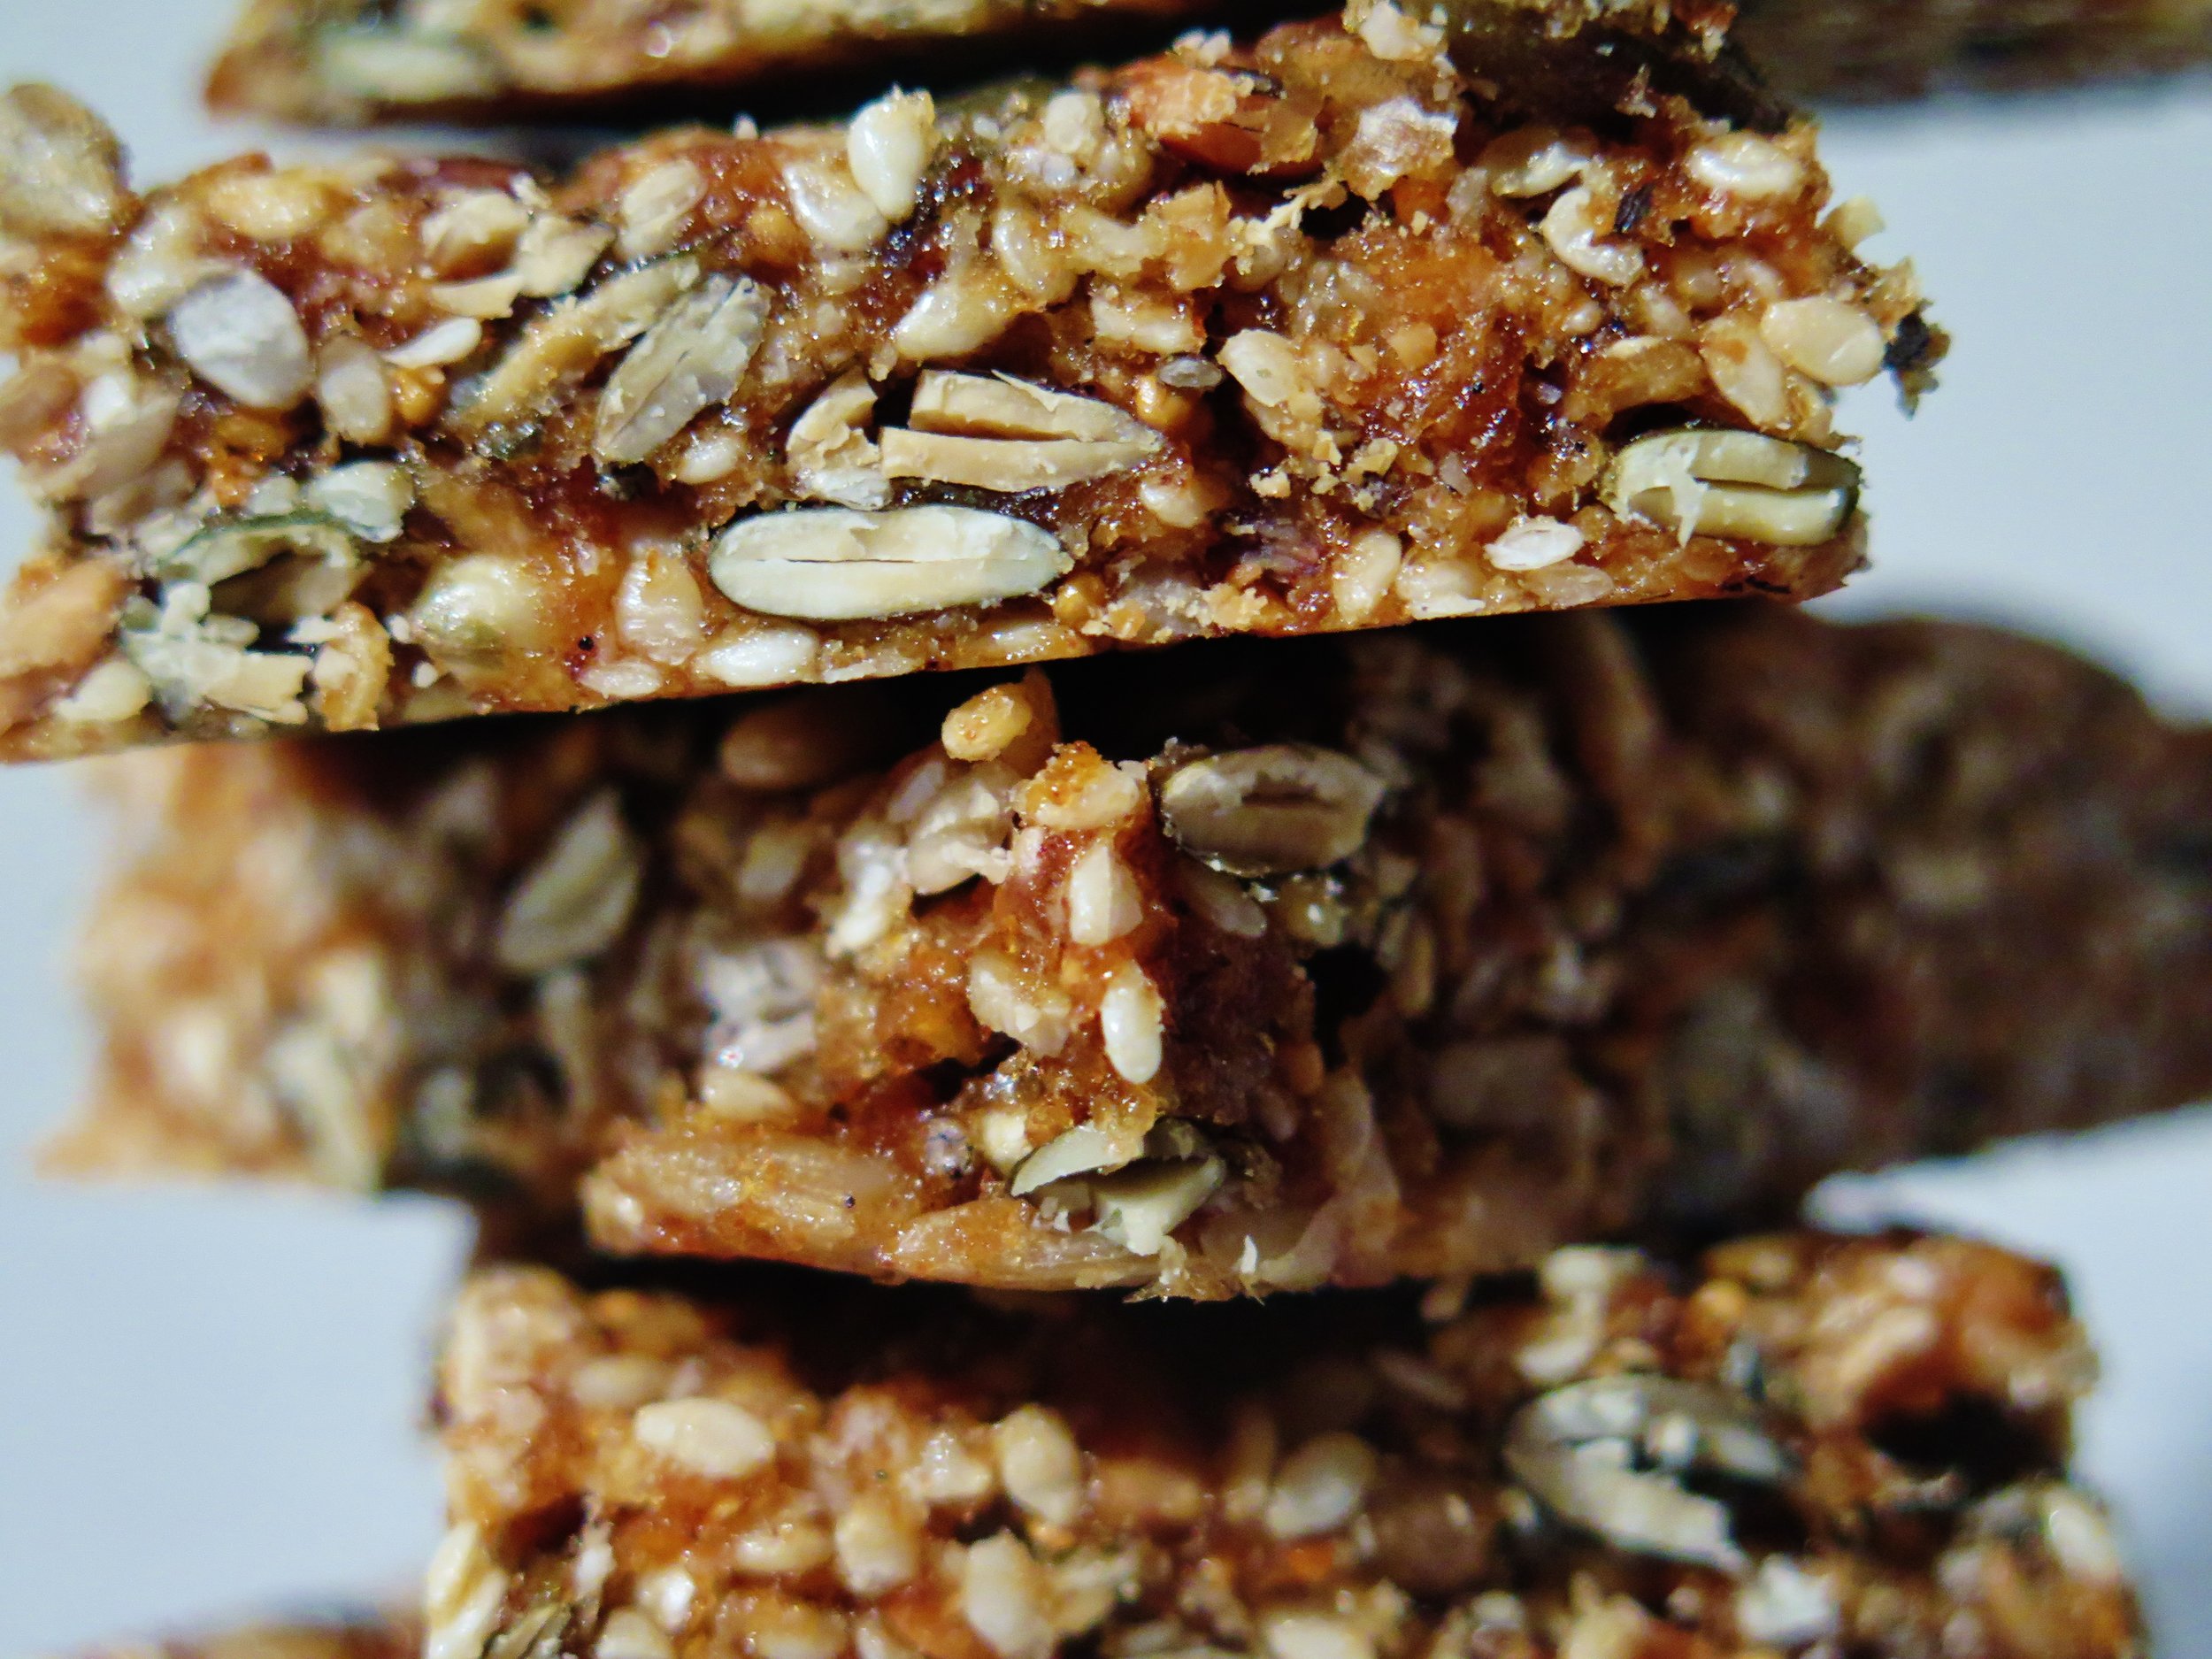
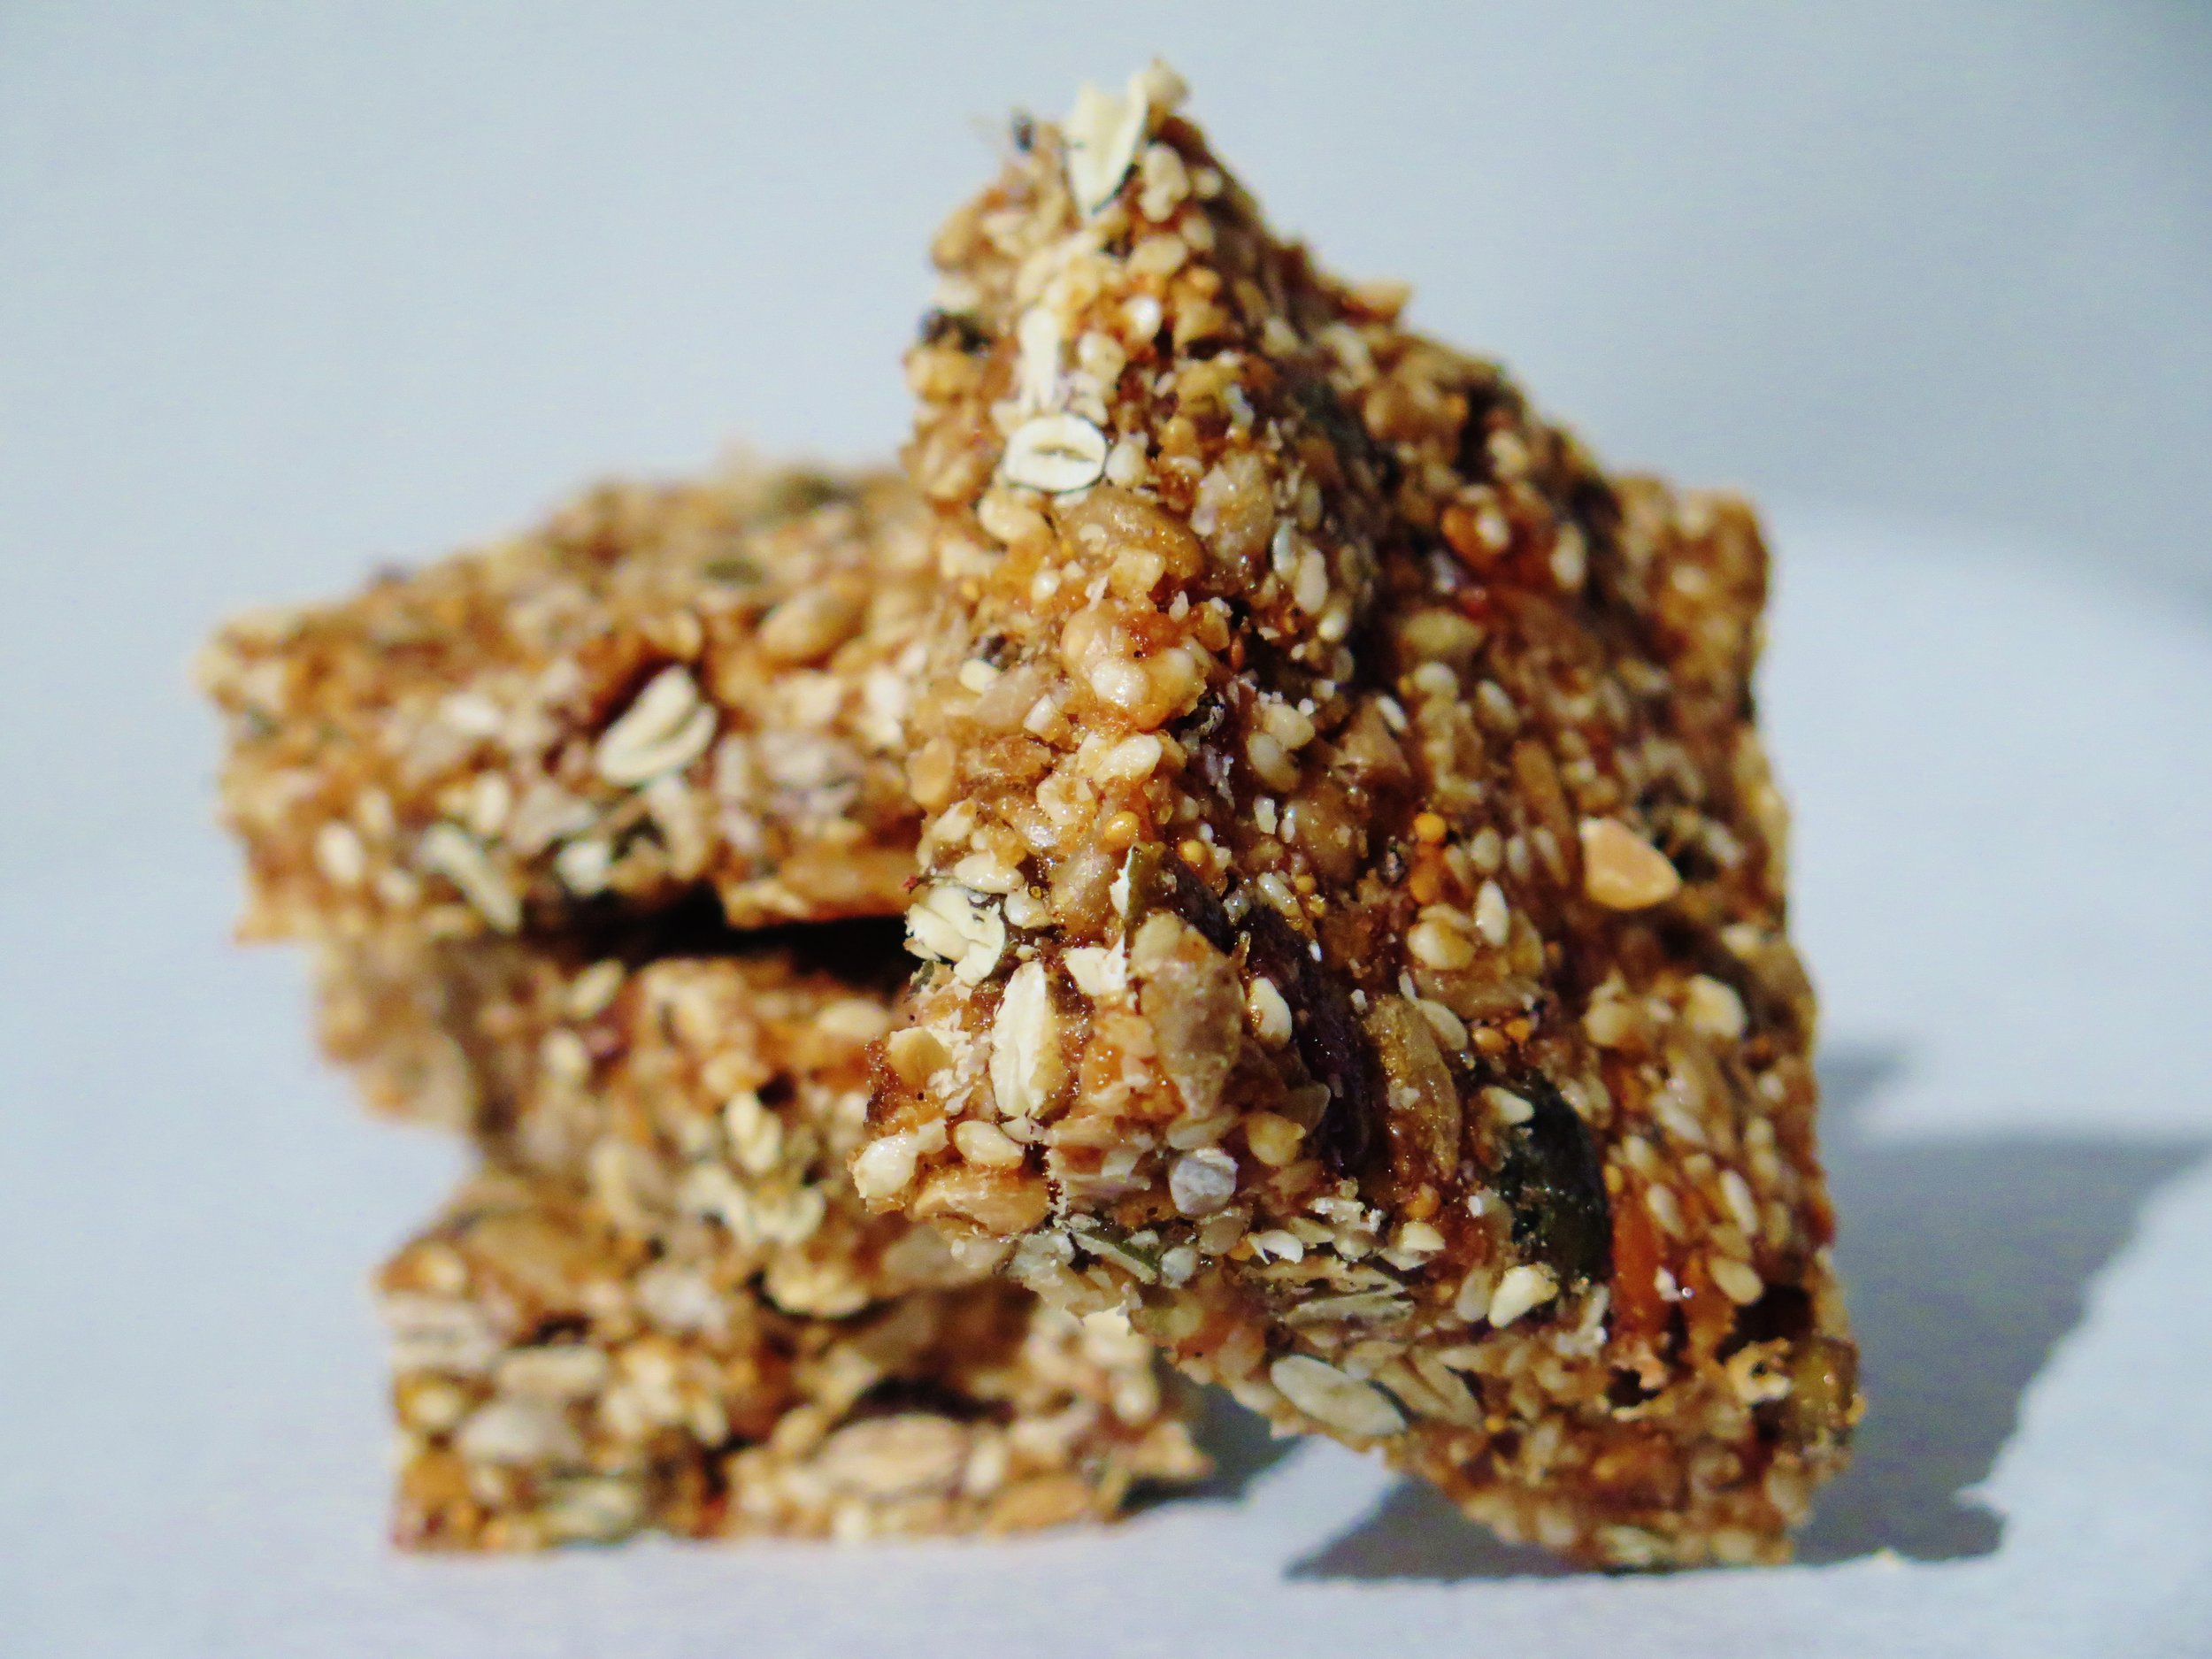
Carb-free, Sugar-free, Gluten-free  Fruit & Seed Bars When you get the 4 o’clock slump, moderation is at an all-time low and chocolate bars are winking at you, reach for one of these carb-free, sugar-free, gluten-free fruit & seed bars instead.  They are high in protein, vitamin rich, low GI, ridiculously easy to make (no baking), yet despite their virtuousness, they are irresistibly delicious.

Carb-free, Sugar-free, Gluten-free  Fruit & Seed Bars

Carb-free, Sugar-free, Gluten-free  Fruit & Seed Bars

Carb-free, Sugar-free, Gluten-free  Fruit & Seed Bars


Ingredients

500g mixed seeds (I use pumpkin, sunflower, sesame)

40g ground almonds (optional)

3 tbsp chia seeds (optional)

3 tsp vanilla bean paste (use vanilla extract if not available)

200g medjool dates

200g dried figs

Pinch of salt

20x25cm baking tray, greased


Makes about 30, depending on size

Method

  1. Pre-heat the oven to 180˚C.
  2. Spread out the mixed seeds on a large baking tray (not the pre-greased one) and place in centre of oven to toast for 5 minutes until they are beginning to turn golden. To achieve the same result without an oven, toast them in frying pan over a medium heat and stir continuously for about 5 minutes.
  3. Blend together figs, dates, vanilla bean paste and salt until they turn to a smooth paste.
  4. In a large bowl mix together toasted mixed seeds, ground almonds, chia seeds and the fig-date paste until thoroughly combined.
  5. Press the mixture into the pre-greased baking tray and slice into bars of desired size.
  6. Wrap the tray with clingfilm and place in freezer for at least an hour, or leave overnight in fridge to set. The bars will last for several weeks.

7 Comments